How to Store Seeds Over Winter: 6 Reliable Methods
Learn how to store seeds over winter with six practical methods, drying checks, refrigerator rules, cold stratification tips, labels, and spring germination tests.
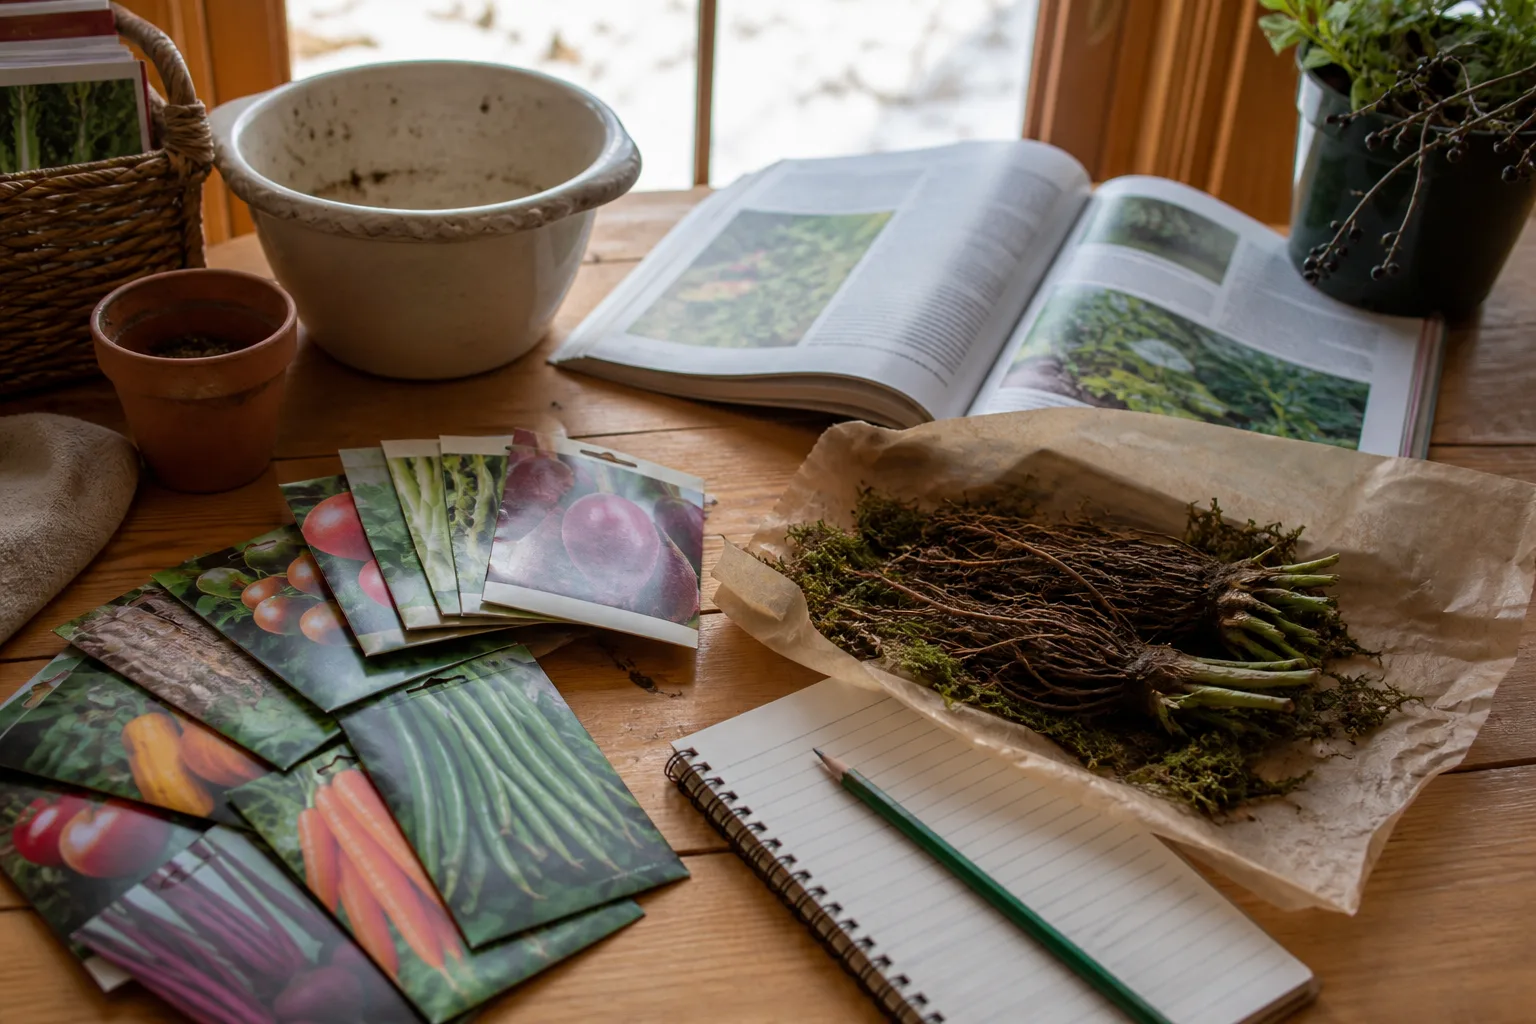
The seed packet you set aside in October is not guaranteed to be ready in March. Heat, damp air, light, insects, and a little condensation can quietly reduce germination before you ever sow it.
The safest routine is simple: identify each seed, finish cleaning and drying any seed you saved yourself, seal it against humidity, keep it cool and dark, and record what you stored. The best container depends on the seed’s condition and on whether it needs ordinary dry dormancy or a deliberate period of moist cold.
The quick answer: cool, dry, dark, and labeled
For most purchased or fully dried garden seeds, store the packet in a cool, dark, dry place, preferably inside a sealed jar or box if your home is humid. A refrigerator can extend storage for many kinds of seed, but only when the seed is dry and the outer container is airtight; warm the closed container to room temperature before opening it so condensation forms on the container rather than on the seed. Johnny’s Selected Seeds uses about 42°F as a practical low-temperature reference, while Utah State University Extension gives 35–40°F with relative humidity below 40% as an ideal range.
The exception is seed that the packet specifically says needs cold stratification. That seed is not meant to stay bone-dry: it needs a measured period of moisture and cold to break dormancy. Keep stratifying seed in its own labeled bag or container, separate from your dry seed collection, and follow the species-specific time and temperature instructions.
Sort seeds before choosing a storage method
Start with three piles: unopened or partly used commercial packets, seed saved from dry flower heads or pods, and seed removed from fleshy fruits. The first pile is usually ready to store. The second needs a check for chaff, insects, and residual moisture. The third needs its pulp or gel removed before it can join the dry-storage pile.
This sort also prevents a common mistake: putting every seed in the refrigerator simply because cold sounds protective. A dry packet that will be sown next spring may need nothing more than a dark cupboard. A damp, newly cleaned tomato seed or a seed that needs stratification has a different job and needs a different setup.
Storage life is not a fixed expiration date. Colorado State University Extension notes that many vegetable and flower seeds can remain usable for about a year at room temperature, while moisture content and temperature become more important when you want to keep seed for several years. Variety, maturity at harvest, and the seed’s condition when packed still matter.
Keep commercial packets in their original envelope
The original packet protects small seeds from spilling, keeps the variety information with the seed, and often includes the sowing depth, temperature, light, and stratification instructions you will need later. Fold or close an opened packet securely, then place it in a paper box, photo box, or sealed outer container if your storage area is damp.
Do not transfer a dry commercial packet into a moist paper envelope just for the sake of organization. Paper is useful because it separates varieties and lets you handle packets easily; the sealed outer box is what adds humidity and pest protection.
Treat saved seeds differently from purchased seed
Saved seed is only as good as the plant and fruit it came from. Let seed mature fully, remove pulp or chaff, and discard cracked, shriveled, insect-damaged, or discolored pieces before you store it.
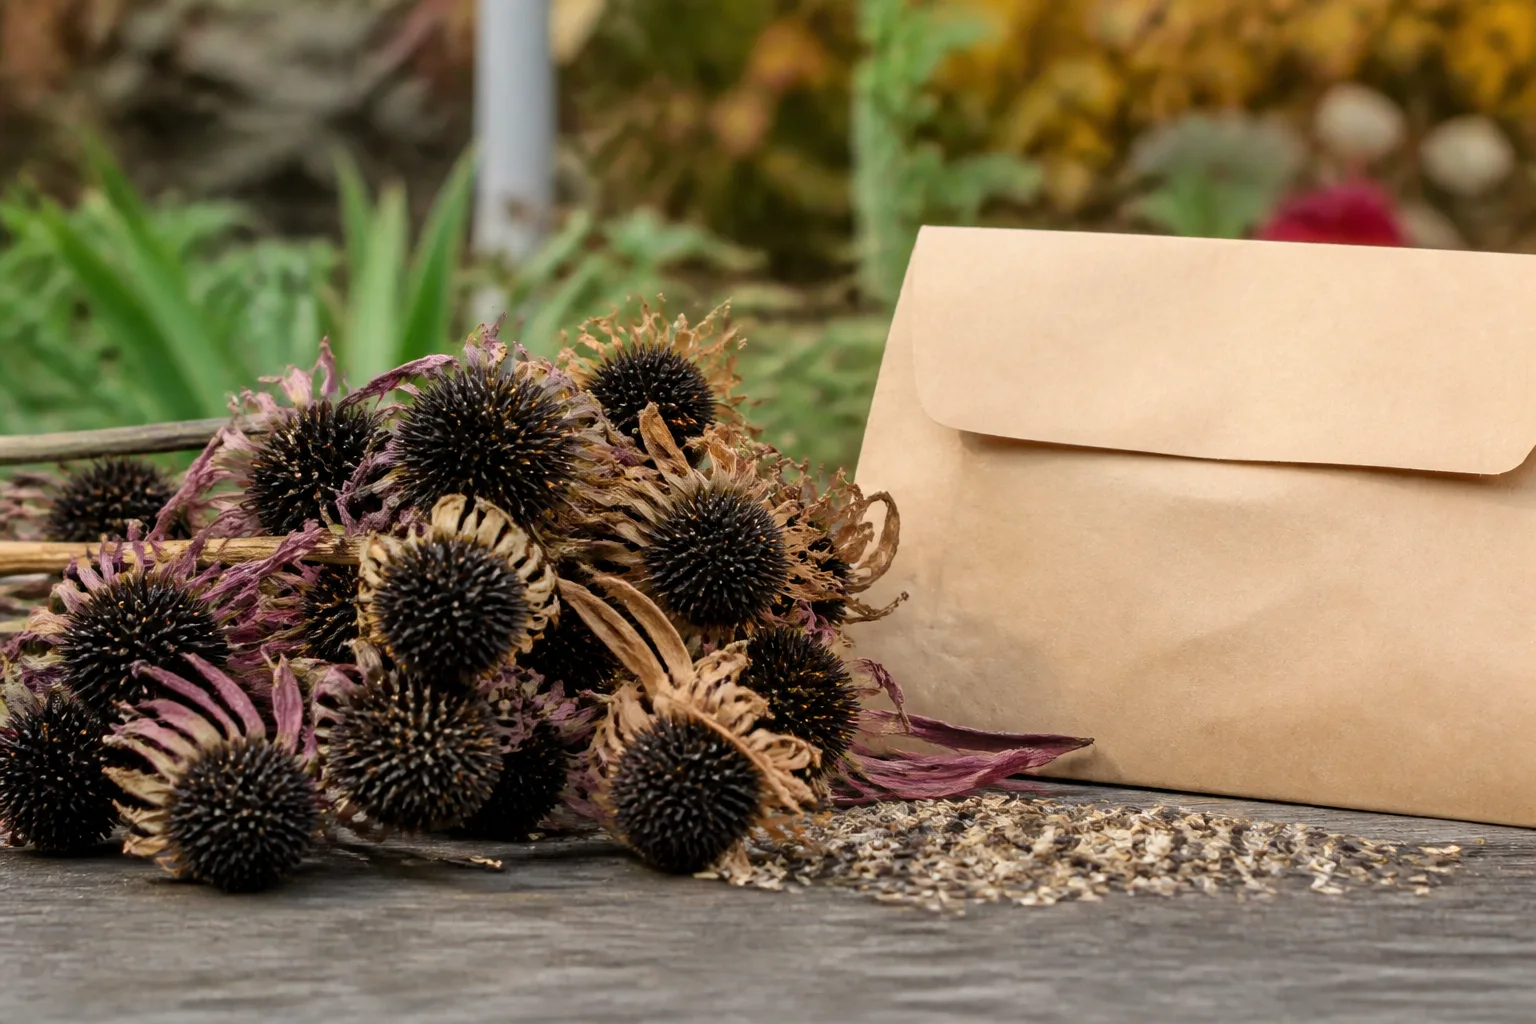
Also record whether the parent was open-pollinated or hybrid. Seed from an F1 hybrid may germinate normally but produce plants that do not reliably repeat the parent’s size, color, flavor, or disease resistance. BBC Gardeners’ World Magazine recommends selecting strong plants and explains why beans and tomatoes are among the easier crops to save true to type, while cross-pollinating crops can produce surprises.
Dry saved seeds before sealing anything
Moisture is the failure point most likely to turn a good seed lot into a moldy one. Clean seeds first, then spread them in a thin, single layer on a labeled piece of paper, parchment, screen, or another surface that allows air movement. Keep them out of intense heat and direct cooking sunlight, and stir or turn larger pieces so the underside does not stay damp.
Drying time depends on seed size, surface area, and how wet the starting material was. Small, loose seeds may dry in roughly 24–48 hours with good airflow; large seeds or seeds removed from fleshy fruit can take a week or longer. Epic Gardening describes this range as a practical guide, while the Gardeners’ World method for wet tomato seed uses a longer drying period after the gel is removed.
Do not use a microwave. Avoid a conventional oven unless you can control the temperature carefully, and do not use a food dehydrator that runs hot enough to cook the embryo. The extension guidance from Colorado State describes very dry seed as useful for long storage but also warns that beans and peas can become “hard seed” when overdried, so maximum dryness is not a reason to apply high heat or guess at a moisture target.
How to tell when seeds are dry enough
There is no perfect kitchen test for seed moisture, but several checks together are useful. The seed should no longer feel cool or tacky, visible pulp should be gone, and a handful should not clump after sitting spread out. Large seeds should feel firm rather than rubbery; a pod or coating should be papery, not flexible and damp.
For a cautious home check, place a small sample in a clean jar by itself for a day before you pack the full lot. If the jar fogs or beads with moisture, take the sample back out and continue drying the batch. This is a screening step, not a laboratory moisture test, so allow extra drying time for wet seeds and do not use it to override species-specific instructions.
Six storage methods, matched to the seed
Use the lightest method that gives your seeds a stable environment. A packet for next spring does not need the same setup as a rare, fully dried seed lot you hope to keep for several years, and neither should be treated like a seed that needs moist stratification.
| Seed situation | Best starting method | Main risk to control |
|---|---|---|
| Partly used commercial packets | Original packets in a dark box | Heat, light, and pests |
| Fully dry saved seed | Paper envelopes in a sealed outer container | Residual moisture and mislabeling |
| Bulky or fluffy seed | Resealable bag inside a rigid box | Trapped humidity and crushed seed |
| Humid room or long storage | Sealed jar with a desiccant | Condensation and leaks |
| Dry seed kept several seasons | Airtight jar in a refrigerator | Opening the cold jar too soon |
| Seed marked for stratification | Moist medium in a labeled refrigerator bag | Drying out, mold, or wrong duration |
1. Paper envelopes and original packets
Paper envelopes are the most convenient choice for small quantities that will be sown within the next growing season. They keep varieties separate, are easy to write on, and make it simple to arrange packets by month or crop. Store them in a drawer, cabinet, or opaque box away from a stove, radiator, sunny window, and exterior wall that experiences condensation.
This method is often enough for unopened commercial seed in a stable, dry home. If the room is warm or humid, put the labeled envelopes inside a larger sealed jar or storage box. The envelopes organize the seed; the outer container creates the more stable microenvironment.
2. Sealed containers in a cool cupboard
A glass jar, metal tin with a good seal, or sturdy plastic container adds protection from humidity and pests without requiring refrigerator space. Put one packet or one small envelope per variety inside, leave enough room to remove the packet without spilling it, and keep the container in the darkest cool cupboard you have.
The key condition is that the seed must already be dry. A sealed container does not dry seed; it traps whatever moisture is inside. If the lid fogs, the seed feels damp, or the package was filled immediately after washing, open the container in a dry room and restart the drying step.
3. Resealable bags for bulky or fluffy seed
Resealable plastic bags are useful when envelopes split, when seeds are large, or when you need to store a fluffy seed head or a larger quantity. Press out excess air without crushing the contents, close the seal fully, and place the bag in a rigid box so it is not punctured or buried under heavy supplies.
Plastic is not automatically the problem. A clean, completely dry seed in a well-sealed bag can be protected from humid air. The problem is sealing moisture into the bag or repeatedly opening it in a damp room. Use a separate small bag for each variety and write the crop, variety, source, and date on the bag rather than relying on memory.
4. A desiccant inside a sealed container
A desiccant is an extra safeguard when the storage room is humid or when you are putting dry seed into a refrigerator. Use a commercial silica-gel packet intended for drying, or keep a small amount of plain dry rice in a breathable sachet so grains cannot mix with the seed. Do not pour loose rice into a packet of small seed.
Desiccant helps manage humidity; it cannot rescue seed that was packed wet. Do not let silica gel or rice touch seed that needs moist stratification, and replace the desiccant if it becomes saturated. Holmes Seed Company also emphasizes keeping storage cool, dry, dark, and protected from garages, attics, and sheds where conditions fluctuate.
5. Dry seeds in the refrigerator
Refrigeration is a good choice for valuable, fully dry seed that you expect to keep beyond the next season. Put labeled paper packets inside a sealed glass jar or other moisture-proof container, add a desiccant if needed, and keep the jar toward the back of the refrigerator where the temperature changes less than it does in the door.
Household refrigerators are cool but not always dry. That is why a loose packet on a refrigerator shelf is a poor compromise: it experiences humid air every time the door opens. Utah State University Extension specifically recommends a well-sealed container for refrigerated seed because refrigerator humidity can be high.
When it is time to sow, remove the closed jar and let it reach room temperature before opening. Johnny’s Selected Seeds gives this step to prevent condensation from forming on the seed surface. Open only after the container no longer feels cold, then take out the packets you need and reseal the rest promptly.
6. Moist cold storage for stratification
Cold stratification is a dormancy treatment, not a general storage upgrade. Some seeds need a combination of moisture and a sustained cold period before they will germinate. If the packet or a reliable species guide calls for it, place the seed in a barely damp medium such as vermiculite, peat moss, or a paper towel, seal it in a labeled bag or container, and refrigerate it for the stated duration.
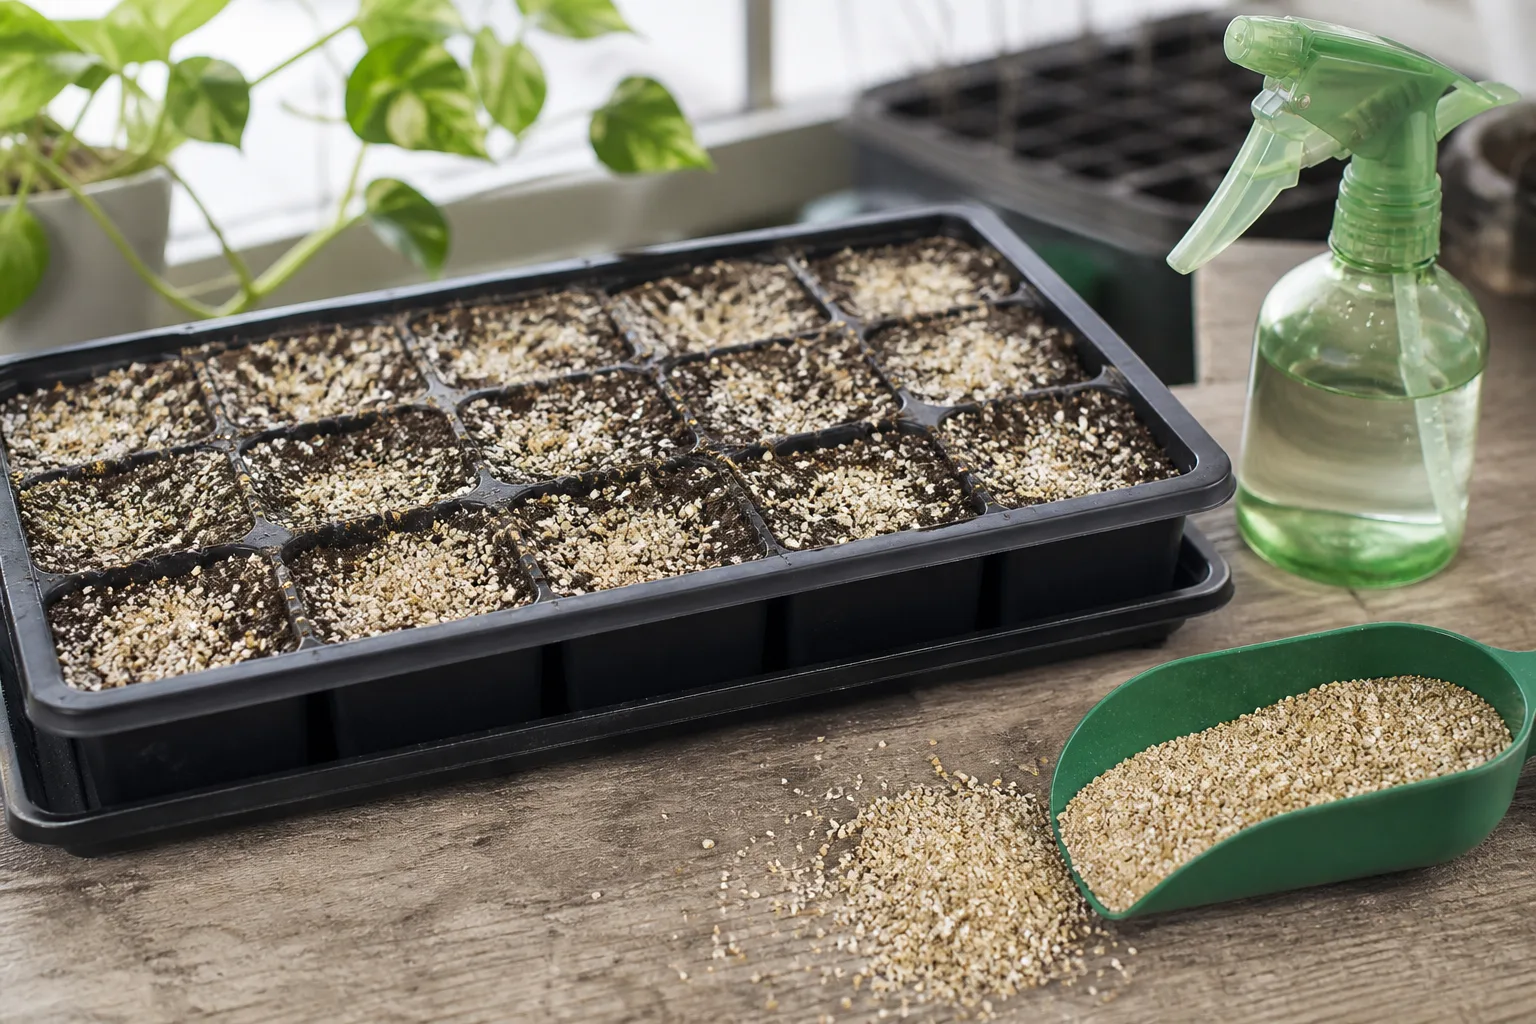
The medium should be moist enough to keep the seed from drying but never dripping wet. Check the packet or species guidance for the number of weeks, the target temperature, and whether the seed should be sown immediately after the cold period. Inspect occasionally for mold or a medium that has dried out, but do not open a stratifying bag unnecessarily and then return it wet to the refrigerator.
Keep stratifying seed away from your ordinary dry packets. Mixing the two methods is how gardeners accidentally wet an entire collection or interrupt a treatment before dormancy has been broken.
Avoid the freezer and unstable winter spaces
A kitchen freezer is not the default answer for leftover garden seed. Professional seed banks freeze carefully dried material under controlled, stable conditions, but a home freezer may experience temperature swings, power interruptions, and condensation when containers are opened. If seed is not thoroughly dry and sealed, freezing can damage it; if a cold container is opened in warm humid air, moisture can condense before you notice.
For most home gardeners, a stable refrigerator or a dry cupboard is a more forgiving choice. The same logic rules out garages, sheds, attics, and unheated porches: winter cold is not stable storage when a sunny afternoon, a damp thaw, or a freeze-thaw cycle changes the conditions repeatedly. Keep seed away from fuel, fertilizers, pesticides, and any place rodents can reach it.
Build a label-and-inventory system
Write the crop, variety, source, and storage date on every envelope or outer container. Add the harvest year for saved seed, whether the plant was open-pollinated or hybrid, and any instruction such as “needs cold stratification” or “sow by March.” Labels turn a box of anonymous seeds into a spring plan.
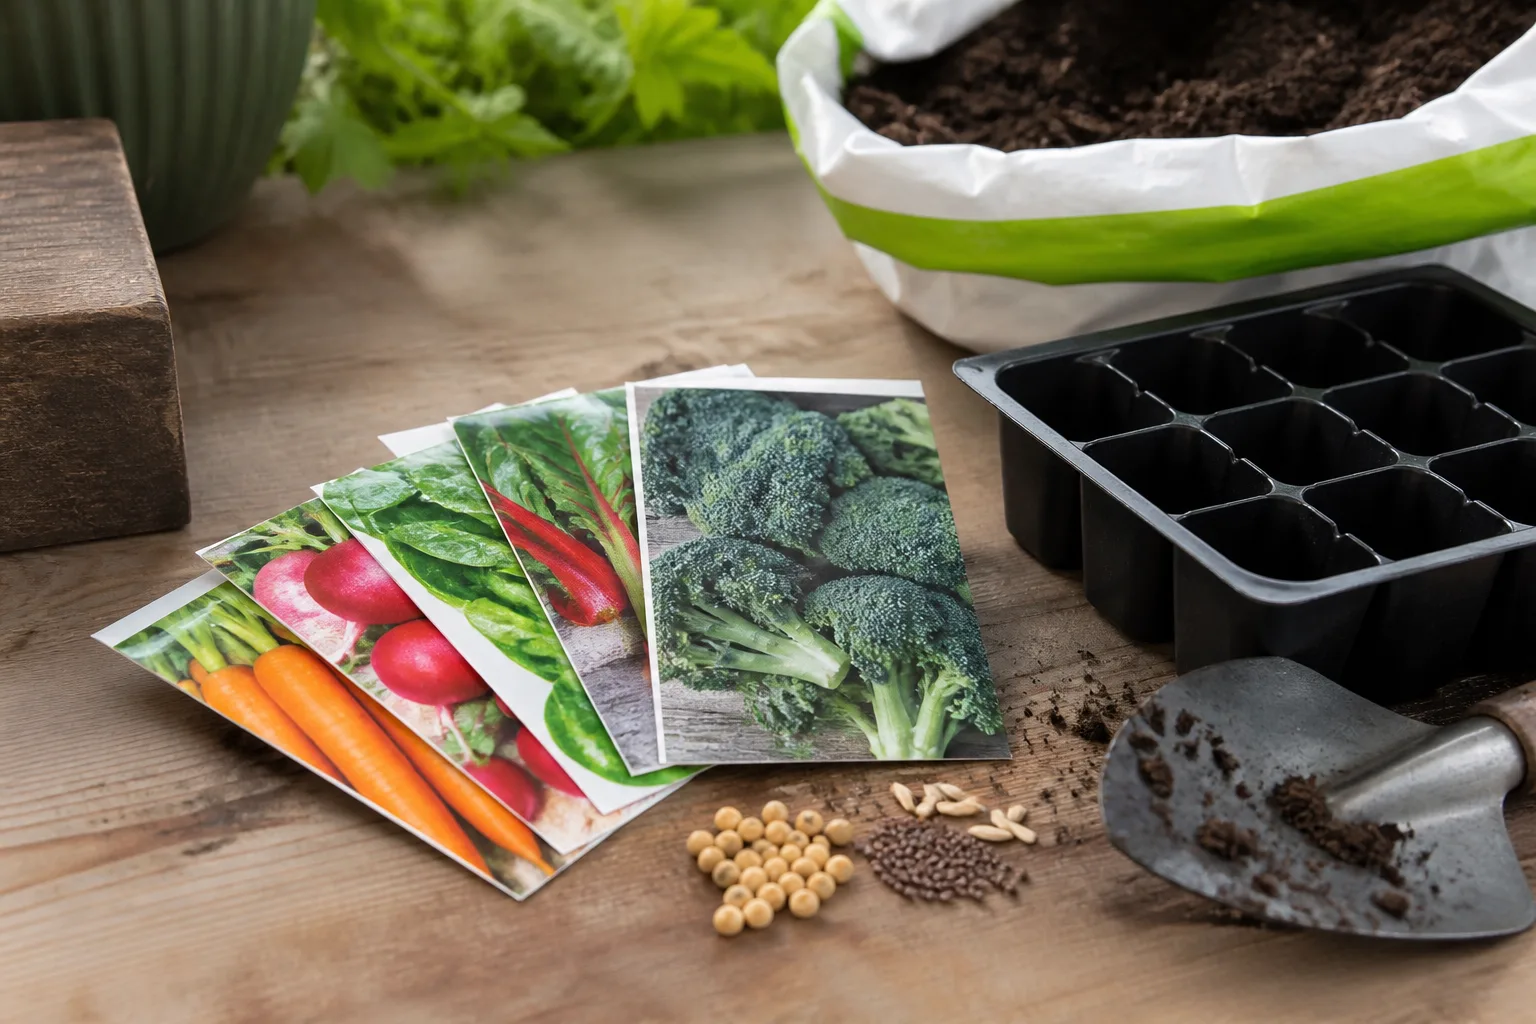
Store packets by sowing window rather than by the date you bought them. One section can hold cool-season direct-sown crops, another can hold seeds to start indoors, and a third can hold summer or fall crops. This keeps you from opening the entire refrigerated collection every time you need one packet and reduces condensation opportunities.
Once a month during winter, look for torn packets, insects, damp spots, or a jar that is no longer sealed. Remove compromised seed from the collection instead of letting a single moldy packet contaminate its neighbors. A quick inventory also tells you what to buy before the spring rush rather than after a packet fails.
Test old seeds before spring sowing
Seed age is a reason to test, not an automatic reason to discard. Johnny’s Selected Seeds distinguishes viability—the ability to produce a vigorous seedling—from germination percentage. Old seed may still sprout but produce weaker seedlings, so a quick test tells you whether to sow normally, sow more thickly, or replace the packet.
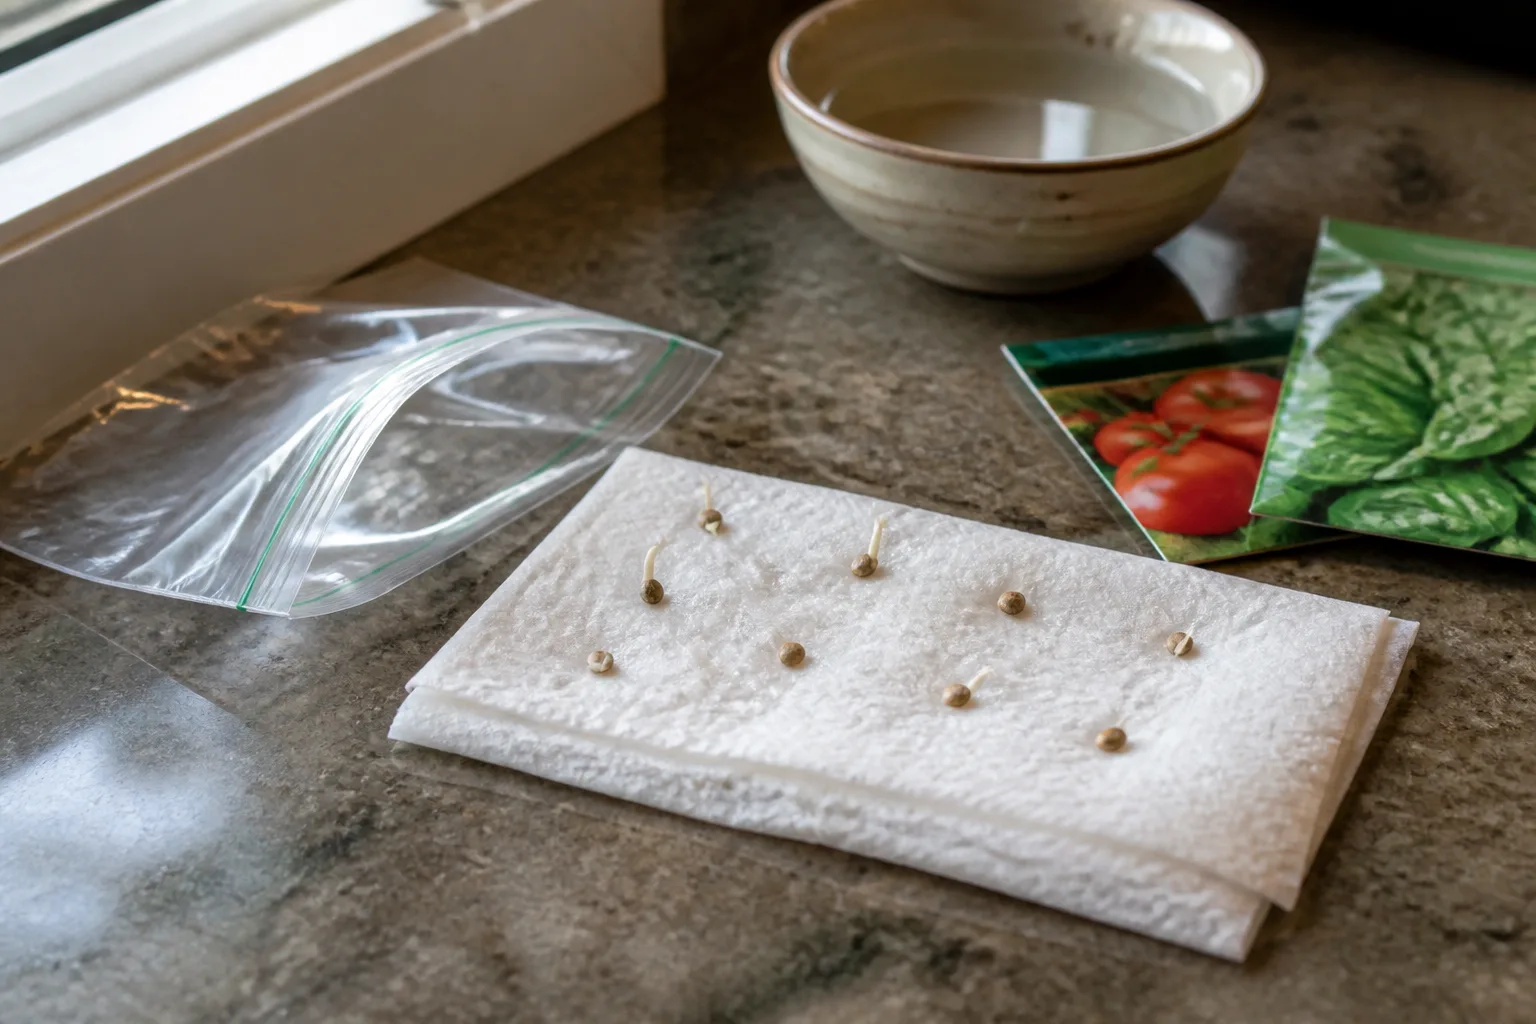
The standard home test uses a counted sample between damp paper towels or another clean, absorbent medium. Put the sample in a loosely sealed bag or covered container, keep it at the temperature recommended for that crop, and check it over the expected germination window. University of Nebraska–Lincoln Extension describes testing stored seed between moist paper layers and counting the sprouts over two to three weeks at roughly 70–75°F, while noting that timing varies by crop.
Do not test every packet. Prioritize seed that is more than a year old, seed stored in a warm room, seed with uncertain drying history, and crops known to have shorter storage lives. Test a representative sample from the same packet you plan to sow; a different packet can have a different age or storage history.
A 10-seed decision rule
For a quick household decision, count 10 seeds and run the paper-towel test using the packet’s germination temperature. Record how many produce a normal root and shoot, not merely how many swell.
- Eight to 10 sprouts: sow at the packet rate, assuming the seedlings look normal.
- Five to seven sprouts: sow extra seed or buy a backup packet, especially for a crop that is difficult to thin or transplant.
- Zero to four sprouts: replace the packet unless it is a slow or specialized seed whose test window has not finished.
This is a practical rule, not a legal seed-quality standard. For a larger lot, testing 25 or 50 seeds gives a more stable percentage. If sprouts are weak, moldy, or twisted even when the count looks acceptable, treat vigor as a warning and start fresh seed for important plantings.
Fix common winter-storage failures
The packet is damp but not moldy. Separate it from the collection, spread the seed out to dry, and inspect each piece. If it clumps, smells sour, or shows fuzzy growth, discard the affected material rather than sealing it again. Clean the outer container before returning healthy packets.
The jar fogs after refrigeration. Keep it closed until it reaches room temperature, then open it in a dry room and restart drying if the seed itself is damp. Next time, use a better seal and let freshly dried seed cool to room temperature before packing it.
Seeds sprout in the container. Moisture or warmth has broken dormancy. Move any unaffected dry seed to a cool, stable location and reserve sprouted seed only if you can plant it immediately; do not return active sprouts to ordinary dry storage.
You cannot remember what the seed is. Do not guess from shape alone. Separate it from the labeled collection, write down where it came from, and use a small test sowing if identification matters. An unknown packet is not a useful bargain if it makes the spring bed unpredictable.
The stored seed came from a hybrid. Germination may be fine, but the resulting plants can differ from the parent. Use the seed if you enjoy the experiment; buy or save open-pollinated seed when uniformity matters.
Beans or peas germinate unevenly after aggressive drying. Overdrying can create hard seed that resists taking up water. Colorado State University Extension describes this as a known issue for legumes, so avoid high heat and allow extra time for imbibition rather than repeatedly soaking or discarding the whole lot without a test.
Conclusion: make spring sowing easier now
The best winter seed-storage method is the one that matches the seed’s biology and your home’s conditions. Keep ordinary seed dry, cool, dark, pest-proof, and labeled; add a sealed outer container or refrigeration when humidity and long storage make it worthwhile; and reserve moist cold storage for seed that truly needs stratification.
Spend one dry afternoon sorting packets, finishing any saved-seed drying, and recording a spring sowing date. In late winter, test the oldest or most questionable packets before you fill trays or garden rows. That small amount of preparation turns seed storage from a hopeful pile of packets into a dependable planting plan.



