How to Divide Daylilies: Timing and Steps
Learn when to divide daylilies in spring or late summer, how to split crowded clumps, replant the crown, and protect new divisions before frost.
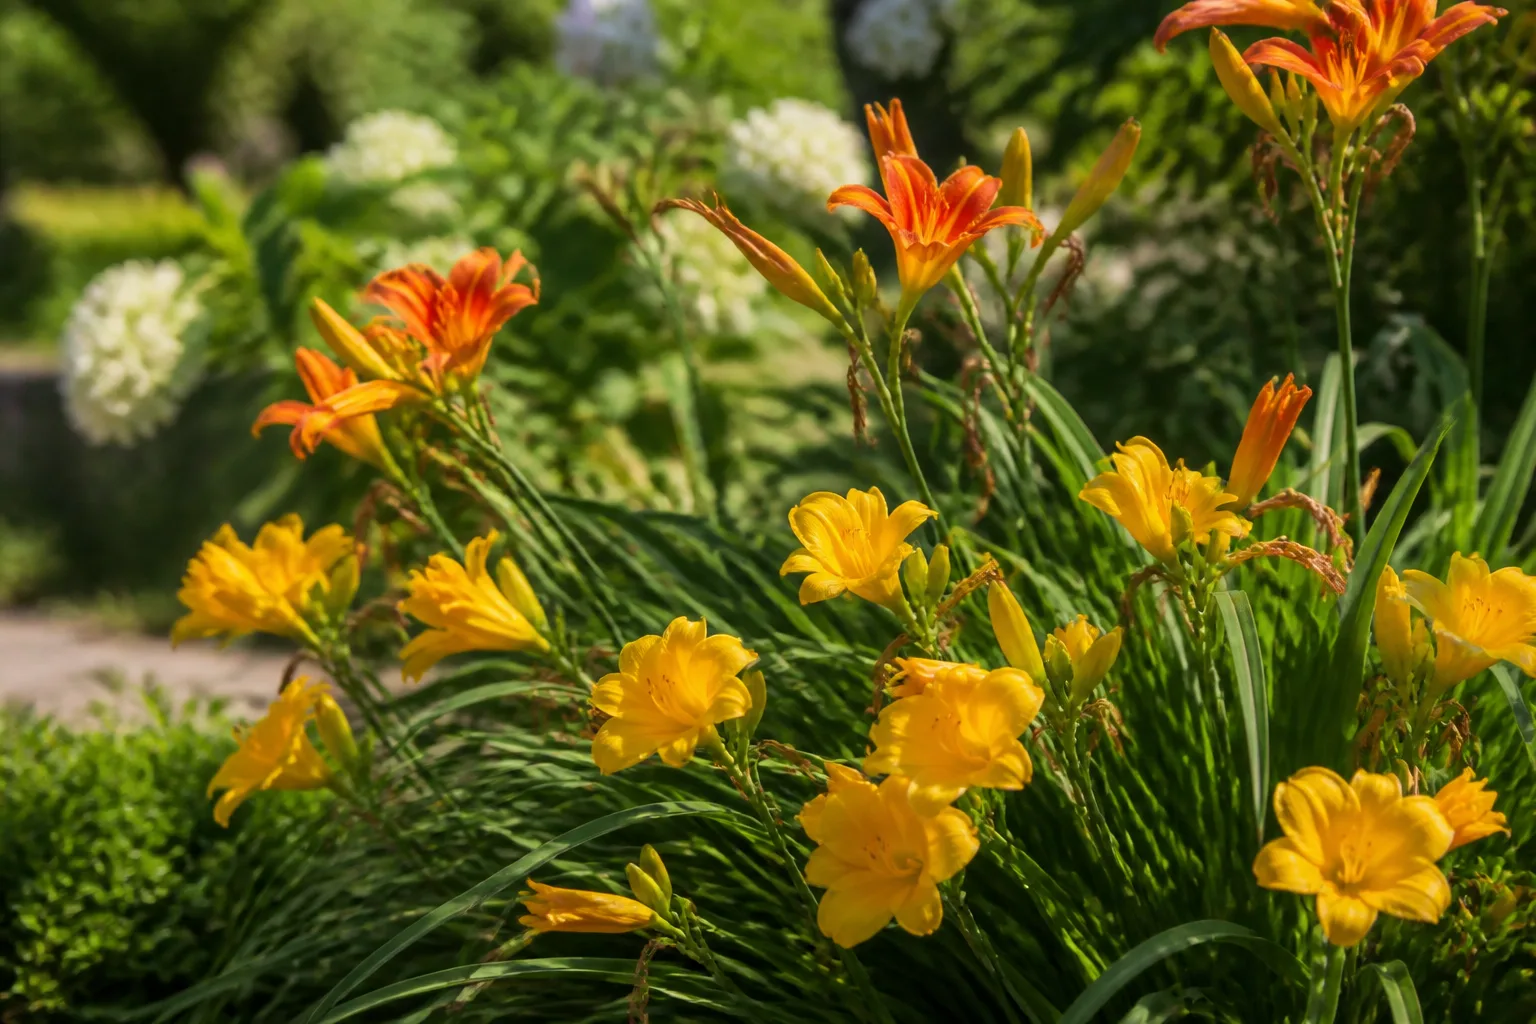
The Short Answer: Choose Spring or Post-Bloom Timing
The best time to divide daylilies is early spring as new shoots emerge or late summer after flowering finishes, provided the soil is workable and the plant has several weeks of warm growing weather left. Spring is the easiest default for many gardens because the foliage is short, the clump is easier to handle, and the divisions have the whole season to make roots. Late-summer division is especially useful when the bed is visibly overcrowded after its main bloom period.
Think in conditions, not a single calendar date. Colorado State University’s PlantTalk says daylilies can be divided in spring as new growth emerges or in late summer after flowering, while the New York Botanical Garden lists early spring and early autumn as planting and division windows. (Colorado State University PlantTalk, New York Botanical Garden) Your local soil temperature, summer heat, and expected first frost matter more than whether the calendar says April, August, or September.
If you want the strongest chance of flowers during the same growing season, divide as early in spring as your ground can be worked. A division made close to bloom time may spend its energy rebuilding roots instead of opening scapes. Ask Extension gives the useful trade-off plainly: spring division is possible as new shoots emerge, but the closer division occurs to bloom, the more likely stress will reduce that season’s flowers; if the spring window has passed, wait for fall. (Ask Extension)
For the largest improvement next year, focus on the health of the clump rather than forcing a division at the first sign of a smaller bloom. A crowded plant in good soil can respond dramatically after division, but a plant in deep shade, drought, or soggy soil will need those conditions corrected too.
Signs a Daylily Clump Needs Division
Daylilies do not need to be divided on a strict annual schedule. A useful starting point is every three to five years, but some vigorous rebloomers fill in faster while slower cultivars may remain productive longer. The New York Botanical Garden gives a broad four-to-ten-year range for most daylilies and suggests that vigorous rebloomers may need division every two to three years. That range is a reminder to watch the plant, not just the date.
The clearest sign is a clump that has become all foliage and few flowers. Look at the center of the planting: if the middle is thin, bare, or no longer producing strong fans while the outer edge keeps creeping outward, the plant is telling you that its crown and roots are congested. Missouri Botanical Garden describes this as an old center that stops producing leaves and flowers while the bed begins to look thin.
Divide when you notice two or more of these signals:
- Flower count or flower size has declined despite adequate sun and water.
- The clump has expanded into nearby plants or a path.
- New fans are packed so tightly that you cannot see soil between them.
- The center is unproductive while the outer ring is vigorous.
- The plant has not been divided for years and is difficult to water evenly.
- You want to move a named cultivar or share healthy divisions.
Do not use smaller flowers alone as proof that division is needed. Daylilies also flower poorly in heavy shade, during prolonged drought, in compacted soil, or when they were planted too deeply. Fixing light and moisture may be more useful than cutting up the roots.
How Cultivar Vigor Changes the Schedule
The phrase “divide every three to five years” is a practical alert, not a law. A reblooming daylily that makes a dense dinner-plate-sized clump in two seasons may need attention sooner than a modest cultivar that still has open soil around its fans. If the plant is healthy and flowering well, leave it alone even if the calendar says it is due.
Daylilies are Hemerocallis, not true lilies. They grow from a crown with fleshy roots rather than a scaly bulb, and each fan is a small growth unit connected to that crown. HGTV’s daylily guidance emphasizes that these roots hold moisture and nutrients, which helps explain why an established clump tolerates division but also why a tiny piece with no crown is unlikely to recover well. (HGTV)
Spring vs. Late-Summer Division
Both windows work, but they solve slightly different problems. Use the season that gives the new divisions the best balance of manageable foliage, mild weather, and time to root before the next stress event.
Choose Spring for Easier Handling and Recovery
Early spring is the most forgiving choice in cold-winter climates. Divide when the first fans are emerging but before they have grown into a tall, tangled mass. Short foliage makes it easier to see where the crown begins, and the plant has the entire warm season ahead to replace roots.
Spring division is also the best choice when you want to move a clump before it invests in flower scapes. Prepare the new bed first, then lift and replant in one session. If the soil is still frozen, waterlogged, or too sticky to work without smearing it into a hard layer, wait; “early” is not helpful if digging destroys the soil structure.
The trade-off is that a newly divided plant may not bloom much that year. Clackamas County Master Gardener Association notes that spring-divided daylilies may not flower in the same season. That is normal recovery, not evidence that the division failed. (Clackamas County Master Gardener Association)
Choose Post-Bloom Timing for Targeted Renovation
Late summer is a good window when the clump has finished its main display and the crowding is obvious. In Missouri, the Botanical Garden recommends renovating overgrown daylily beds in early to mid-August, after flowering and when the heat makes weak, yellowing foliage easier to notice. (Missouri Botanical Garden)
The rule for any late-summer or early-fall division is simple: count backward from your usual first hard frost. Missouri Botanical Garden estimates that daylilies need about six to eight weeks to develop a new root system. In a short-season garden, divide earlier; in a mild climate, the window may extend later. Do not treat a warm afternoon as proof that roots have enough time if the soil will freeze soon.
Late-summer division can cost you the remainder of the current display because you will cut back foliage and disturb roots. It often pays off the following year, though, especially when the center of the clump has stopped flowering. Divide on a cool day, keep lifted roots shaded, and do not let them sit in the sun while you prepare planting holes.
What to Prepare Before Lifting the Clump
Choose the destination before you dig. Daylilies generally flower best with six to eight hours of sunlight, though light afternoon shade can help dark red and purple flowers hold their color in hot climates. Pick a site with good drainage and enough room for the mature fans rather than squeezing a new division into the same crowded footprint. (New York Botanical Garden, HGTV)
Loosen the receiving soil before the roots are exposed. Work compost into compacted ground, but do not turn the planting hole into a rich pocket that stays wet. Daylily roots need moisture while they establish, not standing water around the crown. If the bed is already fertile and crumbly, a modest layer of compost is enough.
Have these items ready:
- A garden fork for lifting and loosening soil.
- A sharp spade, hori-hori, or clean knife for stubborn crowns.
- Clean bypass pruners for trimming foliage if division is in late summer.
- A bucket or hose for removing enough soil to see the crown.
- Compost, a watering can or hose, and loose mulch for the new bed.
- A tarp or shaded spot where lifted clumps will not dry out.
Water the clump deeply the day before if the soil is dry. Do not divide a plant that is already wilted from drought and then leave its exposed roots in the open air. If you are sharing divisions, inspect the crown and roots first; do not pass along a clump with rot, suspicious pests, or diseased foliage.
How to Split Daylilies Step by Step
The goal is not to make as many pieces as possible. The goal is to make several independent plants, each with a healthy crown, live roots, and at least one strong fan of leaves.
Lift the Clump Without Unnecessary Root Damage
Cut late-season foliage to about five or six inches if it is long enough to get in your way. In spring, leave the short new growth alone. Drive a garden fork into the soil several inches beyond the outside edge of the fans, then work around the plant to loosen the root mass. A fork usually pries through soil with less slicing than a shovel used as a lever.
Lift from underneath rather than pulling on the leaves. If the clump is too large to remove in one piece, excavate and divide it in sections. A partial division from the outer edge is a good option when you want to leave the main crown in place, but cut far enough behind the outer fans to take a complete crown and roots.
Once the clump is out, shake away loose soil. A gentle rinse can expose the points where fans join, but do not blast fragile roots or keep the plant soaking for hours. You only need enough visibility to make deliberate cuts.
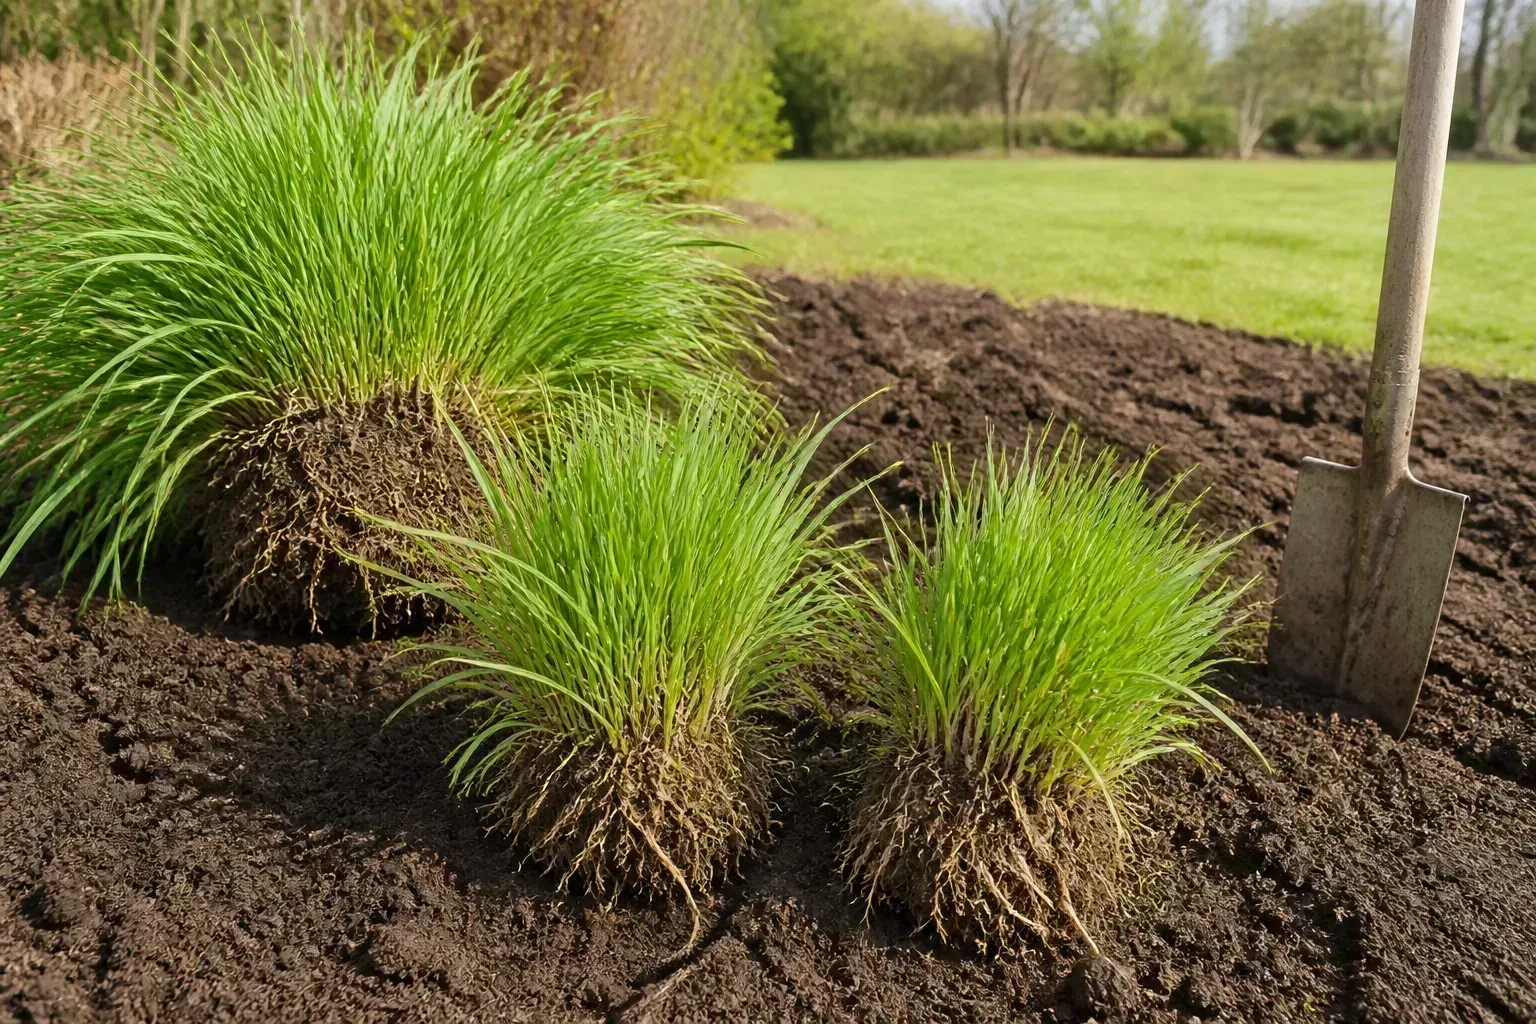
The visual goal is a group of rooted crowns, not a pile of loose roots. Daylily clumps are forgiving, but every division still needs a crown and living roots.
Separate Fans and Inspect the Crown
Start by looking for natural seams between fans. Small clumps may pull apart with your hands. For a dense clump, insert two garden forks back-to-back into the center and press the handles apart. This double-fork method opens the crown with controlled force and keeps you from repeatedly hacking at the same spot.
Use a clean, sharp knife or spade when the forks cannot separate the plant. Cutting through some fleshy roots is not automatically a problem. What matters is whether each resulting section has a crown—the junction where the leaves meet the roots—and a healthy cluster of roots attached to it.
Discard soft, hollow, foul-smelling, or badly damaged tissue. Remove weeds tangled through the crown before replanting. If the clump has a clear disease or pest problem, do not share its soil or divisions; clean the tool between cuts and dispose of questionable material according to local guidance.
Each usable division should have at least one strong fan. Two or three fans make a more substantial starting plant, and four-fan sections typically recover and flower faster than tiny single-fan pieces. The New York Botanical Garden recommends one to four fans per division and notes that larger divisions rebloom sooner. (New York Botanical Garden)
Size Divisions for Faster Recovery
It is tempting to turn one huge clump into a dozen new plants. Resist that impulse if your priority is a strong display next year. Very small divisions can live, but they have less stored energy and fewer leaves to rebuild roots and produce scapes.
Use the size of the original clump to choose a sensible split. A medium clump may become two to four sections. A very old clump can produce more, but keep the pieces generous enough that each still has a visible crown and a balanced root mass. If you are dividing a prized cultivar, favor fewer strong divisions over a large count of weak ones.
Replant immediately whenever possible. If you must pause, wrap the roots in damp—not dripping—paper or a damp towel and keep the divisions cool and shaded for a short time. Do not store them in a hot car or let wind dry the roots.
Replant Each Division at the Right Depth
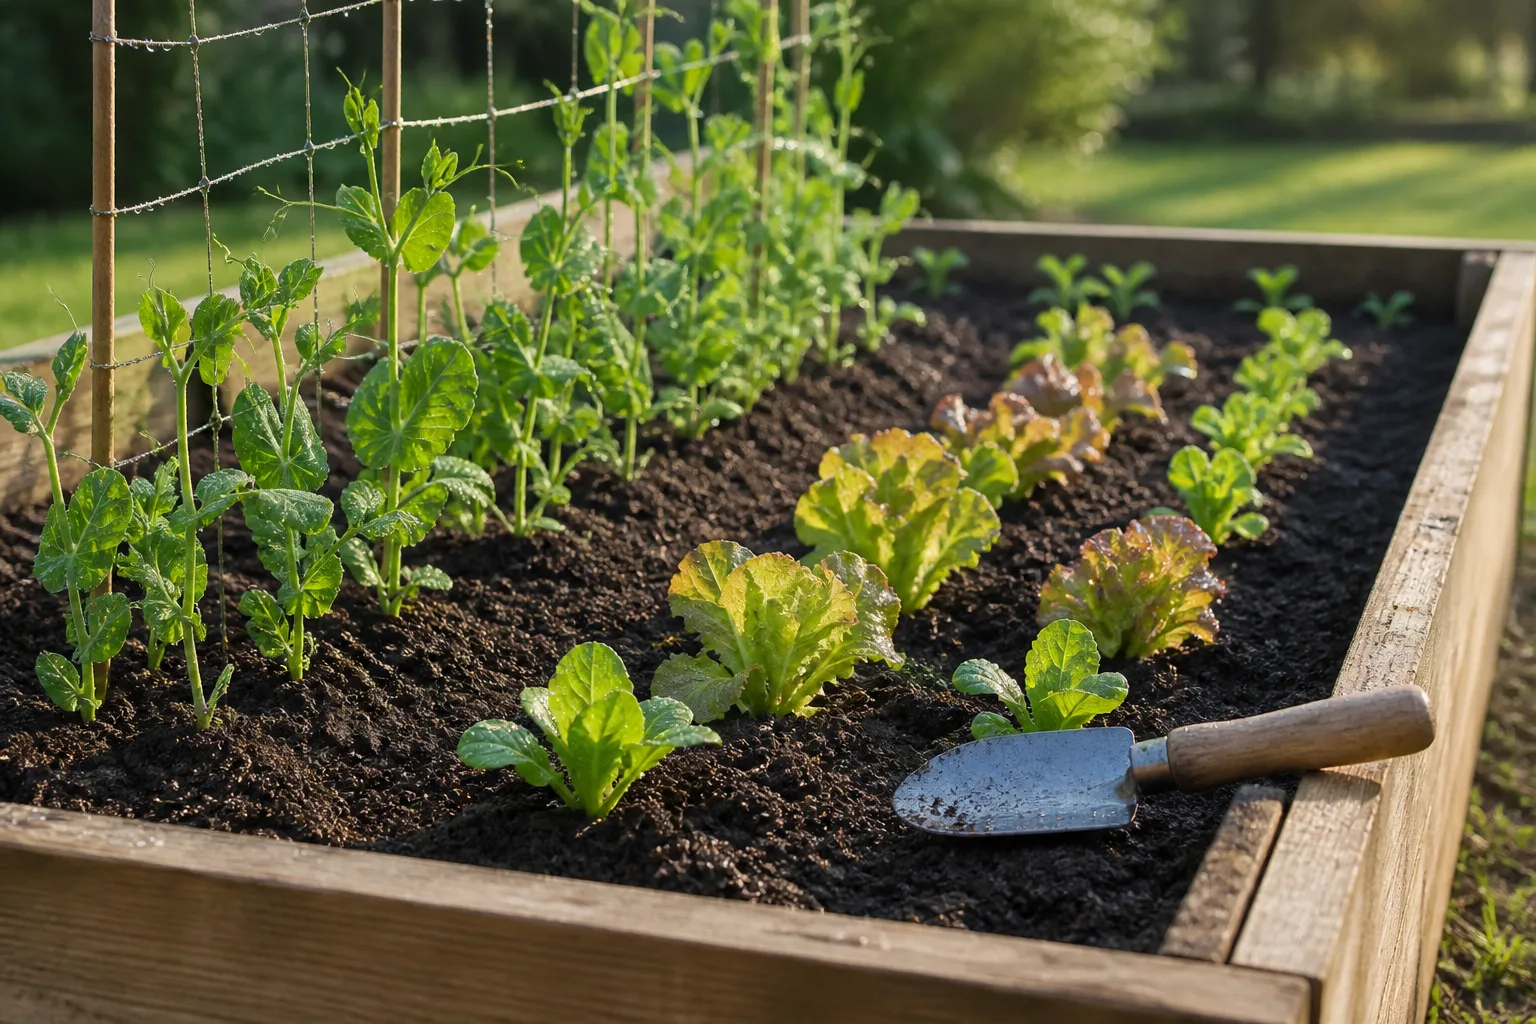
Prepare the receiving bed before lifting the clump so the roots spend as little time exposed as possible.
Dig a hole wider than the roots and deep enough to let them spread downward and outward. Build a small mound of soil in the center, set the crown on top, and arrange the roots around the mound rather than folding them into a tight bundle.
The crown should sit at the same depth it grew before—at soil level or only slightly below it. Missouri Botanical Garden advises planting no more than about one inch below the surface because deeper planting can delay or reduce flowering. Do not bury the fan bases under a thick layer of compost or mulch. (Missouri Botanical Garden)
Backfill with the soil you removed, working it gently between the roots. Firm the soil enough to eliminate large air pockets, but do not compact it into a hard collar around the crown. Water slowly and deeply so the soil settles around the roots. If the division sinks after watering, lift it back to the correct level rather than leaving a buried crown.
Space divisions about 16 to 24 inches apart depending on cultivar size and how quickly you want the bed to fill. Smaller reblooming cultivars can be placed closer than large, vigorous plants. Good spacing is part of the cure for crowding; replacing one packed clump with four packed divisions only postpones the same problem.
Aftercare: Water, Mulch, and Feeding
Keep the soil evenly moist while new roots form. That does not mean watering on a fixed daily schedule. Check the soil several inches down and water thoroughly when the upper layer begins to dry, adjusting for rain, temperature, soil type, and sun. New divisions need more reliable moisture than established daylilies, especially during a warm late-summer window.
Apply two to three inches of organic mulch around the planting area to reduce evaporation and buffer temperature swings, but leave a clear ring around the crown. The New York Botanical Garden specifically warns against covering the crown with mulch, and Missouri Botanical Garden recommends organic mulch to protect newly divided plants. (New York Botanical Garden, Missouri Botanical Garden)
Do not reach for a strong fertilizer immediately after dividing. The first priorities are root contact, moisture, and a crown planted at the correct depth. Once the plant is established, a light spring feeding based on soil needs can support growth; avoid pushing soft, leafy growth late in the season when a division needs to harden before winter.
For a late-summer division, count the weeks until your normal first frost and keep the root zone watered until the ground begins to freeze. In colder regions, a little additional mulch after the soil cools can protect shallow new roots, but remove excess mulch from the crown when spring growth begins.
When Not to Divide Daylilies
Wait if the plant or the bed is under obvious stress. Division is a renovation task, not an emergency cure for every disappointing daylily. Postpone it when:
- The soil is frozen, waterlogged, or so dry that it will not hold a root ball.
- A heat wave is pushing the plant into afternoon wilt.
- The plant is in full bloom and preserving this season’s flowers is your priority.
- A hard frost is likely before six to eight weeks of root growth have passed.
- The clump shows rot, a serious pest infestation, or a spreading disease that should be diagnosed first.
- You have nowhere prepared to replant the divisions immediately.
Do not divide just because one flower flush was weak. First check whether the plant receives at least six hours of light, whether water reaches the root zone, and whether the crown is buried. If the clump is not crowded, division may add stress without addressing the actual cause of poor flowering.
Common Mistakes and How to Fix Them
Planting the crown too deep is the most consequential error. If the fan bases disappear under soil, gently lift the plant and reset it at the old soil line. A buried crown can survive while producing leaves instead of flowers.
Making divisions from roots alone creates pieces without the growth point needed to produce a fan. Recut the clump so each piece includes a crown and living fan. When in doubt, make fewer divisions.
Cutting all the foliage in spring removes the leaves that would help the plant rebuild roots. Trim only long, damaged, or unmanageable foliage; leave short spring fans intact. Late-summer cuts are more reasonable when foliage is floppy or the division is being moved into a new bed.
Leaving roots in the sun turns a simple transplant into a dehydration problem. Work in the shade, cover exposed roots briefly, and replant as soon as the receiving bed is ready.
Watering shallowly and often can leave the new root zone dry below the surface. Soak slowly, allow excess water to drain, then check soil moisture before watering again.
Fertilizing heavily at planting does not compensate for a damaged or buried crown. Let the division settle first and feed only when the plant is growing and the soil or a soil test indicates it needs nutrients.
Sharing questionable soil can spread pests and disease. Clackamas County Master Gardener Association advises removing soil and checking plants and roots before sharing divisions, a useful precaution whenever plants move between gardens. (Clackamas County Master Gardener Association)
What to Expect in the First Year
A division can look unimpressive before it becomes a good plant. Leaves may droop briefly, a few may yellow, and the plant may produce fewer scapes than the original clump. Those changes are expected after root disturbance, especially for spring divisions made near the start of the flowering season.
The size of the division and the timing both affect bloom. A large division made in early spring may flower lightly in summer if it roots quickly. A small division made just after flowering may spend the rest of the season underground and show its real improvement the following year. Neither outcome means you made the wrong choice.
Measure recovery by new growth, firm soil around the crown, and the return of healthy fans—not by forcing flowers. If the plant is not growing, check the crown depth and soil moisture first. If the crown is firm but the foliage is stalled, give it time and protect it from competition while roots establish.
By the next growing season, the strongest divisions should have enough root mass to support fuller fans and more scapes. Bigger blooms are most likely when division is paired with the basics that flowers require: adequate sun, consistent moisture during growth, good drainage, and enough space to expand.
Conclusion
Divide daylilies in early spring as new shoots emerge or in late summer after flowering, choosing the window that leaves enough warm soil before your first hard frost. Lift the clump with a fork, separate it into rooted fans with visible crowns, replant at the original depth, and water consistently while new roots form.
The best division is not the one that creates the most plants. It is the one that leaves each section strong enough to recover, gives the crown room to grow, and solves the crowding that reduced flowering in the first place. With the right timing and aftercare, a tired clump can return to stronger foliage and a fuller bloom display in the seasons ahead.



