When to Transplant Hydrangeas: Fall or Spring?
Decide whether fall or early spring is right for transplanting hydrangeas, with practical advice for root balls, pruning, planting depth, and first-year care.
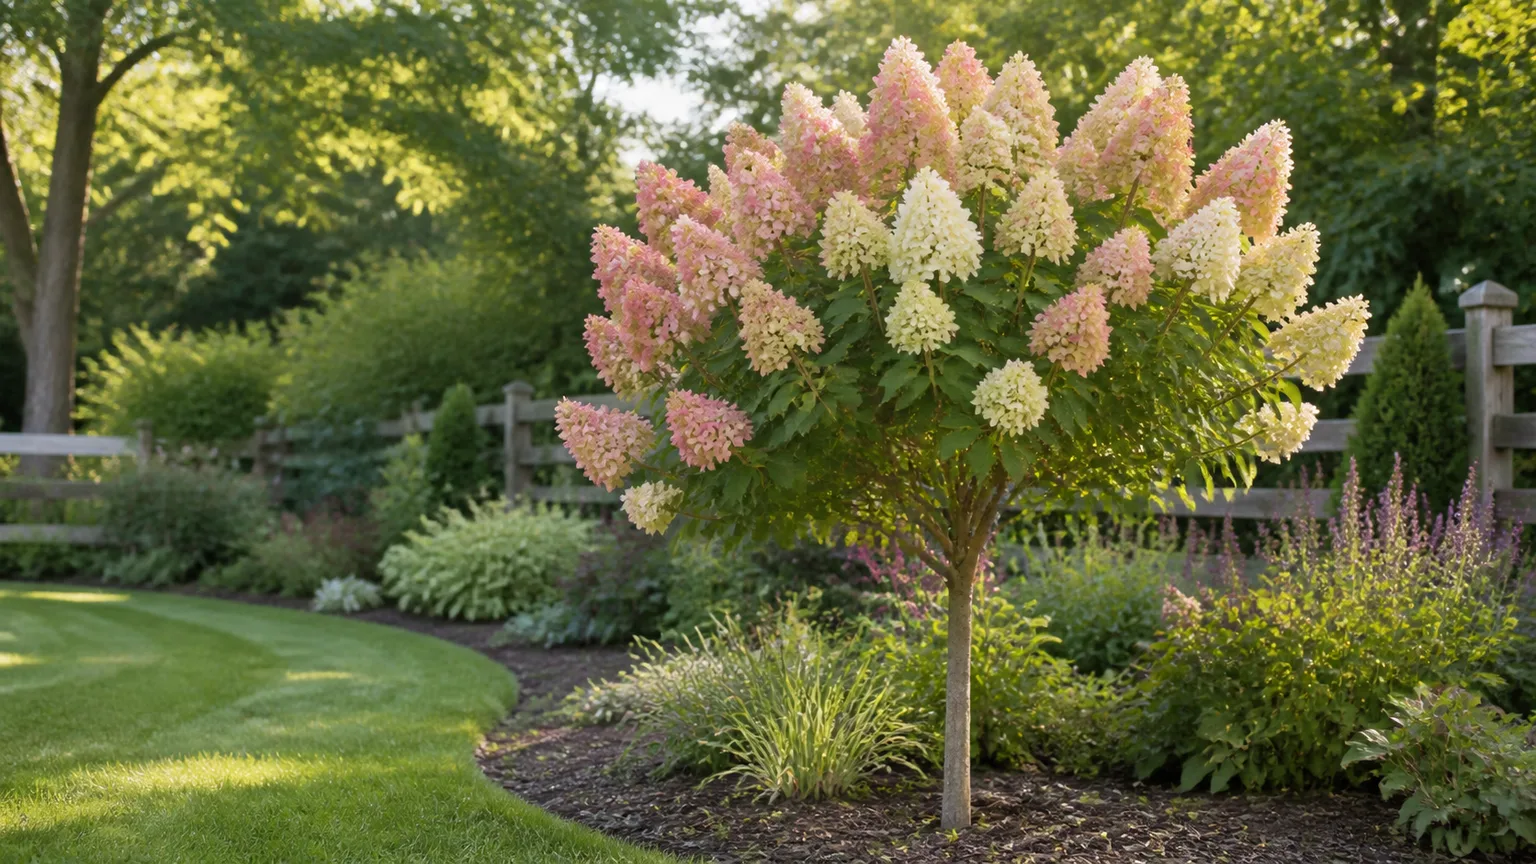
The best time to transplant a hydrangea is usually when it is dormant: after its leaves have dropped in fall or before new growth begins in early spring. The right window depends less on a month on the calendar than on whether the ground is workable, the weather is mild, and the shrub is not pushing leaves or flowers.
That timing reduces demand on a root system that will lose some of its fine roots in the move. It cannot remove all transplant stress, and it does not guarantee flowers the following season, but it gives the shrub a better chance to settle before summer heat or a hard freeze adds another challenge.
The short answer: move a dormant shrub in cool, workable conditions
For most established, deciduous hydrangeas, aim for the dormant season. In a cold-winter garden that often means fall after leaf drop but before the soil freezes, or early spring after the soil thaws but before the buds open. The Elisabeth C. Miller Library at the University of Washington gives the same useful plant cue: move hydrangeas when they have no leaves, with early spring before new growth as the backup window if fall has passed (Miller Library).
Do not treat “dormant” as permission to dig in any winter weather. A calm, cool day with soil that crumbles when handled is much better than a frozen, flooded, or sticky bed. If the ground is saturated, frozen, or too dry to keep the root ball together, wait for a workable stretch; a dormant plant can wait longer than a gardener needs to force a bad move.
In practical terms, select a time when the shrub has stopped growing above ground and the new site can support roots below ground. If a local extension office or your hydrangea’s cultivar tag gives more specific guidance for your area, use that information to refine the window. Hydrangea species and winter patterns vary, so local plant cues matter more than copying a date from another region.
Use plant and soil cues instead of a fixed calendar
Start by checking the shrub itself. In fall, wait until leaves have naturally dropped and the season’s soft growth has hardened; in spring, move before buds swell and new leaves unfold. A shrub with tender new growth is already spending energy above ground, which makes a disruptive move less forgiving.
Then check the soil at both the old and new locations. It should be moist enough to hold together around roots but not saturated, slick, or frozen. A quick squeeze helps: workable soil forms a loose clump that breaks apart when pressed, while waterlogged soil smears and clings. If recent rain has left standing water in the planting area, solve the drainage problem before moving a hydrangea there.
Finally, look at the weather pattern rather than the forecast for one afternoon. A cool, overcast, calm day limits drying while the roots are exposed. Avoid a move during a heat wave, an unusually dry spell, or just before a sharp temperature swing; even a well-dug root ball can lose moisture quickly in sun and wind.
Fall or early spring: which window fits your garden?
There is no single season that wins everywhere. Both fall and early spring can work because each gives a deciduous shrub a period with lower leaf and flower demand, but each window has a different risk: fall may leave too little time before frozen ground, while spring can bring fast warming and drying before a damaged root system is fully functional.
Choose fall when roots have a mild runway
Fall is a sensible choice when the shrub is dormant, the soil remains unfrozen, and your local winter does not arrive immediately after leaf drop. The ground often retains warmth as air temperatures cool, which can allow some root growth before winter dormancy deepens. Garden Design suggests leaving roughly four to six weeks before the ground freezes as a planning rule, but treat that as a guide, not a guarantee; local soil, rainfall, and weather patterns can shorten or lengthen the useful window (Garden Design’s transplanting guide).
In a mild or coastal climate, fall may be especially convenient because the shrub is not carrying leaves through the move and the soil may remain workable into winter. In colder areas, however, an early freeze, exposed site, or very short autumn can make the fall option less attractive. If you cannot complete the move with time for the ground to remain workable, wait for spring rather than racing a freeze.
Autumn can also be a poor choice if the ground is waterlogged. A freshly moved plant has fewer roots to explore for air and moisture, and a soggy hole can stay cold and oxygen-poor. Choose a better-drained site, improve drainage across the bed, or postpone until the soil is no longer saturated.
Choose spring when winter is severe or fall has passed
Early spring is often the safer alternative where winters are severe, the first hard freeze comes early, or autumn passed before you could prepare the new site. Move after the soil thaws and drains but before the buds open. This gives the shrub a full growing season to rebuild roots, though you will need to monitor soil moisture as leaves develop and demand increases.
The drawback is that spring conditions can change quickly. A few warm days may start bud growth, while spring winds and sun dry the surface soil; a plant that looks dormant one week may be actively leafing out the next. Check the shrub frequently as winter ends, prepare the hole before lifting, and move on a cool day while buds are still closed.
In warm-winter regions where the ground rarely freezes, a dormant window may occur in late fall or winter rather than the familiar early-spring thaw. Gardening Know How describes December through February as a possible period in warmer climates, but those dates are not a universal schedule: use dormancy and workable soil as the deciding cues (Gardening Know How).
When to postpone the move
Postpone transplanting during active summer heat unless a construction problem, safety issue, or other urgent reason makes delay impossible. Hydrangeas lose water quickly through their leaves, and lifting them reduces the fine roots that normally replace that lost moisture. A summer move may be necessary, but it calls for a smaller root ball only if the plant can tolerate it, careful shade, prompt replanting, and very close moisture checks; it is not the easy default.
Wait if the plant is drought-stressed, recently suffered root damage, or is already declining for an unclear reason. Moving a stressed shrub can compound the original problem, and a wilted hydrangea may be reacting to heat, dry soil, overwatering, root disease, or the light at its current site. Check moisture and drainage first. If the site is fundamentally wrong—too little light for the cultivar, chronic standing water, or no room for mature size—plan a future dormant-season move after the plant has stabilized.
Do not dig in frozen or saturated soil, and avoid a day with strong sun or wind. Frozen soil can tear roots and makes digging difficult; waterlogged soil collapses around a root ball and may leave it sitting in a poorly aerated hole. A weather delay is usually less costly than exposing roots while conditions make it difficult to keep them intact and moist.
Decide whether transplanting is worth the stress
A move makes sense when the current location is likely to keep causing problems: the shrub is crowded, blocked from suitable light, too close to a building or path, or competing with larger plants for space. It can also be the right choice when you are redesigning a bed or need to protect the shrub from construction. Before digging, confirm that the new site actually corrects the problem; otherwise, you may put the hydrangea through the same stress twice.
If the plant simply had one poor flowering year, troubleshoot before moving it. Hydrangeas can flower weakly after poorly timed pruning, late frost injury, drought, excess shade, or a recent transplant. Look at the pattern over more than one season and inspect the basics—light, water, drainage, and pruning history. A move will not fix a cultivar that is being cut at the wrong time or a plant whose roots are sitting in chronically wet soil.
Young, mature, and container-grown hydrangeas
Young shrubs are easier to lift because their root systems and branches are smaller. If a recently planted hydrangea is clearly in the wrong place, moving it during the next dormant window may be better than waiting until its roots spread farther. Water the shrub the day before, dig wider than the original nursery root mass, and keep that soil attached as you lift.
A mature hydrangea can be moved, but the work and risk increase with age and size. The RHS advises moving established trees and shrubs only when necessary and notes that, as a rule of thumb, plants that have occupied a site for more than five years are less likely to thrive after transplanting; a large shrub may need a larger root ball and professional equipment (RHS guidance on moving trees and shrubs). That is not a cutoff for every hydrangea, but it is a reason to be realistic about how much soil you can safely lift and transport.
If the shrub is very large, has been in place many years, or sits close to a foundation, pipes, or a retaining wall, contact a qualified landscape professional before digging. Root pruning well ahead of a planned move can sometimes encourage a denser mass of feeding roots inside the future root ball, but it is a preparation technique for a planned transplant, not an emergency step to improvise on moving day.
A hydrangea growing in a nursery pot is different from an established shrub dug from the garden. It already has a contained root ball and can often be planted across a wider range of the year if watering and weather are managed, but cool, mild conditions still make establishment easier. If pot-bound, loosen only the circling outer roots gently; do not break apart a healthy, cohesive root ball just because the plant came from a container.
Identify the hydrangea before cutting it back
Do not hard-prune a hydrangea simply to make it lighter to move. Removing a large share of the branches does not replace lost roots, and it can remove the flower buds you were hoping to enjoy next year. Start by taking out only dead, broken, or hazardous stems, and tie flexible branches loosely if you need to keep them out of the way while digging.
If you are considering more extensive pruning, identify the hydrangea first. Bigleaf and oakleaf hydrangeas generally bloom on old wood, meaning the flower buds form on growth from the previous season; fall or early-spring pruning can remove those buds. Panicle and smooth hydrangeas bloom on new wood, while some reblooming bigleaf varieties can flower on both old and new growth. The exact pruning window depends on the type, so use a cultivar label or a local extension guide before making structural cuts. Garden Design’s pruning overview explains these differences by hydrangea group (pruning hydrangeas); NC State Extension’s profile for Hydrangea paniculata notes that its summer flower panicles appear on new growth (panicle hydrangea profile).
Move the plant with as much healthy framework intact as possible. If a few branches break during the lift, make clean cuts after planting; avoid a major haircut just to balance the top with a smaller root system. New leaf growth may be slower in the first season, and flowers may be fewer, but protecting the buds and allowing the shrub to rebuild roots is usually the more conservative trade-off.
Choose a new site the shrub can keep
Match the new location to the hydrangea’s mature size and light needs, not to the empty space available today. Many hydrangeas do well with morning sun and some protection from hot afternoon sun, while panicle types generally tolerate more sun if the soil stays evenly moist. Too much shade can reduce flowering, and intense afternoon sun can stress leaves in hot climates; the cultivar label and local advice can refine the choice.
The soil should hold moisture without remaining waterlogged. If the new spot puddles after rain, drains slowly, or lies at the bottom of a slope where runoff collects, choose a better position or address drainage across a broader area before planting. A hole filled with loose amendments inside compacted clay can behave like a basin; improving the planting area is more useful than creating a small pocket of unusually rich soil.
Leave space for the shrub’s expected width and access for watering, pruning, and air movement. Check mature dimensions for the named cultivar rather than relying on the current plant size, which may be limited by shade or root competition. Also consider what will shade the site in summer and whether nearby tree roots or lawn will compete for the moisture a recently moved hydrangea needs.
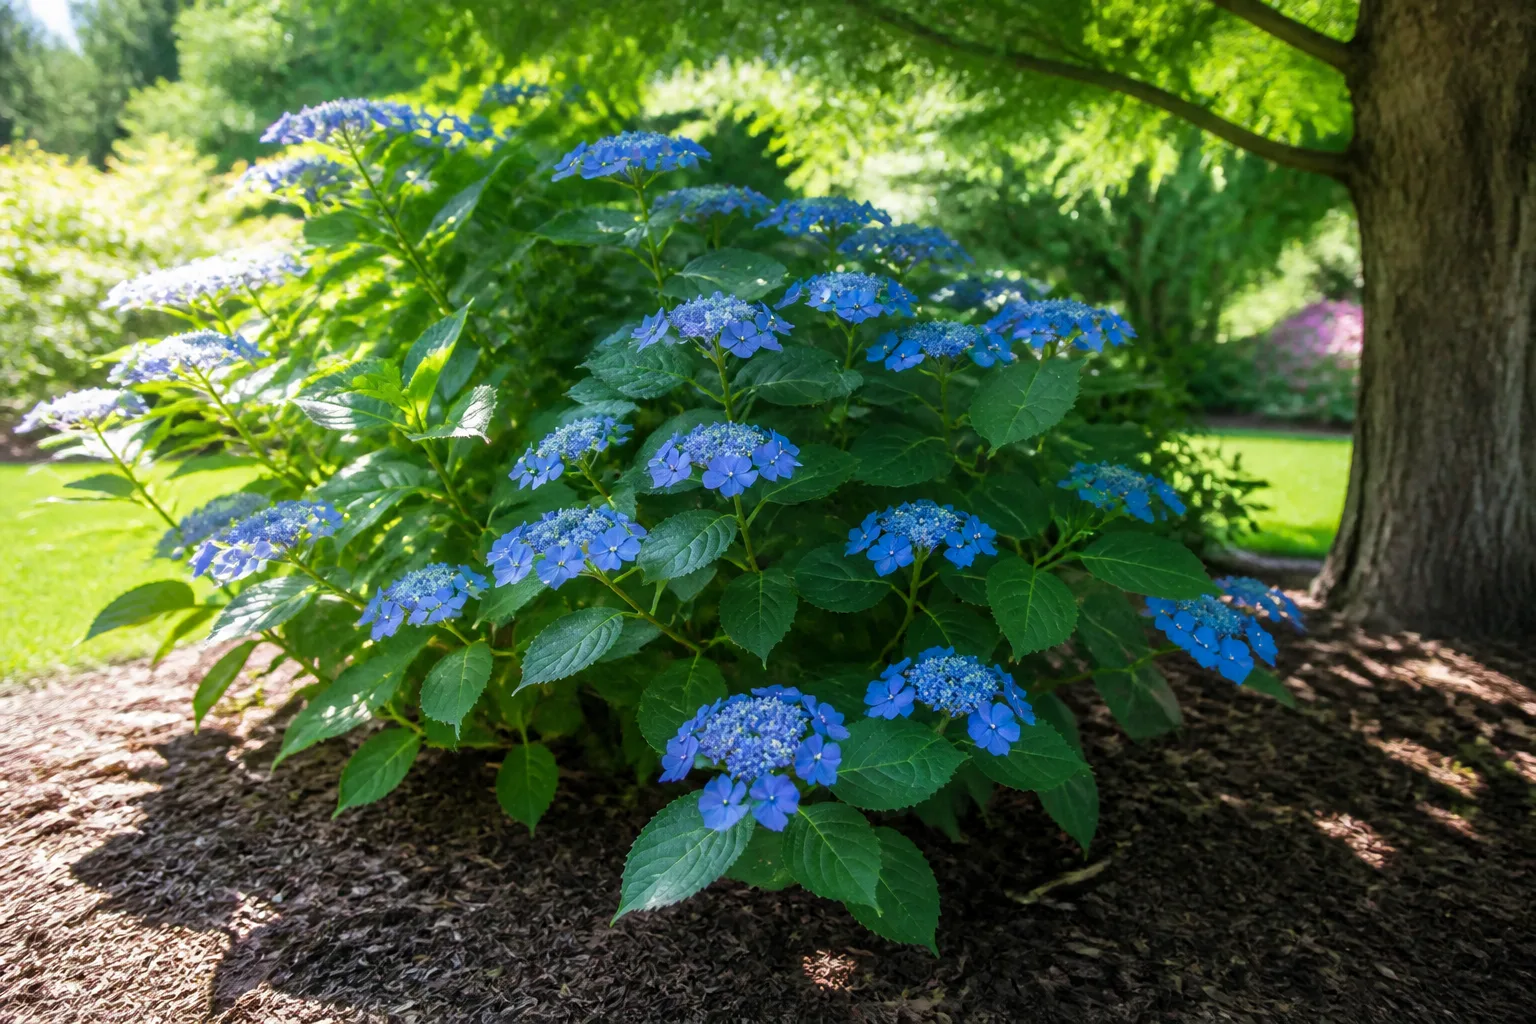
Before the move, mark the old soil line on a stem or take a clear photo of the shrub where it stands. That reference helps you avoid planting the crown too deeply in the new bed. The RHS planting guide recommends preparing soil for drainage and rooting across a wide area and warns that deep planting can interfere with air movement around roots (RHS planting guidance).
Move a hydrangea with the root ball intact
A successful move depends on keeping the roots protected from drying, not on digging the deepest possible hole. The root ball should be wide enough to retain as many fine feeder roots as practical and cohesive enough to stay together during lifting. Prepare every step before you begin so the shrub spends as little time out of the ground as possible.
Prepare the hole and water before digging
Dig the new hole before lifting the shrub. Make it wider than the root ball so the roots can extend into loosened surrounding soil, but no deeper than the root ball’s height. A hole that is too deep invites settling and buries the crown; if you have to correct the bottom after the plant has been lifted, the roots remain exposed longer.
Loosen compacted soil in a broad ring around the hole, but avoid digging deeply into the base where the shrub will sit. The backfill can usually be the soil from the hole, unless a soil test or a real drainage problem points to a specific amendment. Do not put a pocket of compost or fertilizer directly under the root ball; the RHS notes that organic matter under a planting hole can decompose and let the plant sink, and routine fertilizer is not needed at planting time.
Water the hydrangea thoroughly the day before if the soil is dry, so the root ball is moist but not dripping wet. Have a tarp, burlap, sturdy cart, and helper ready for a large shrub. Hydrate the plant before digging, but do not keep watering simply to make heavy saturated soil easier to lift.
Dig, lift, and protect the root ball
Begin a circular trench outside the shrub’s main stem cluster, ideally near the outer edge of its canopy rather than right beside the stems. Hydrangea roots spread through the surrounding soil, so digging too close can sever a large share of the fine roots before you free the plant. The exact diameter depends on the shrub’s size and what you can safely lift; a broad, manageable root ball is better than an oversized one that breaks apart or injures someone.
Work around the plant with a sharp spade, cutting straight down and then angling beneath the root mass as you go. If the shrub resists, widen the trench and check for remaining roots instead of pulling it by its branches. Cleanly sever a root that cannot be freed, and preserve the soil around the rest of the root system.
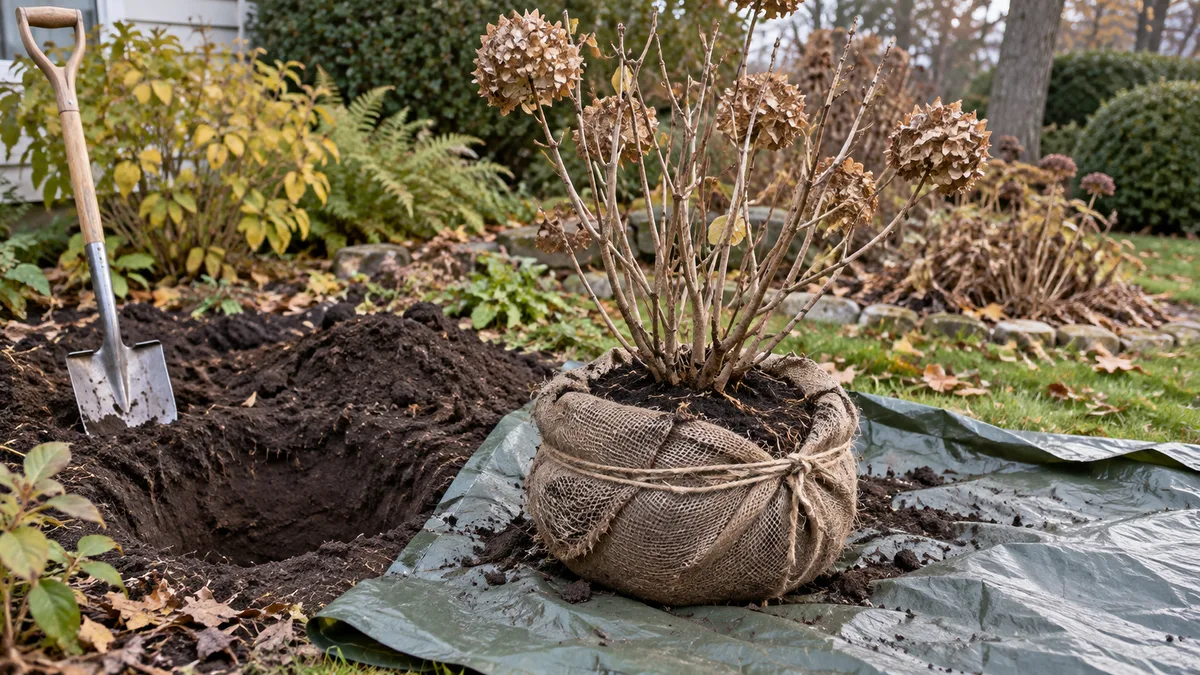
Once the root ball is free, slide a tarp or damp burlap underneath and use it to support the soil while lifting. Keep the root ball shaded and moist, protect it from wind, and move it directly to the prepared hole. If you must pause, cover the roots and set the plant in a cool, sheltered spot; do not leave it in sun while you finish other garden work.
Large root balls can be heavy even when they look modest, especially when the soil is wet. Use a second person and a cart or enlist a professional rather than trying to lift by the stems or strain your back. A mature hydrangea whose root ball cannot be moved intact may be a poor candidate for a do-it-yourself transplant.
Replant at the original soil level
Set the shrub in the hole so the top of its root ball sits at the same level as the surrounding soil, using the old soil mark as a guide. The first roots should remain covered but the stem cluster should not be buried. Step back and check the plant from several directions; a tilted or deeply set shrub is easier to correct before backfilling than after soil has been packed around it.
Backfill with the soil you removed, working it gently around the sides to eliminate large air pockets without tamping it into a hard layer. Water slowly as you fill so soil settles around the roots; then finish the backfill and water thoroughly again. If the soil settles, add enough to restore the original grade rather than piling it against the stems.
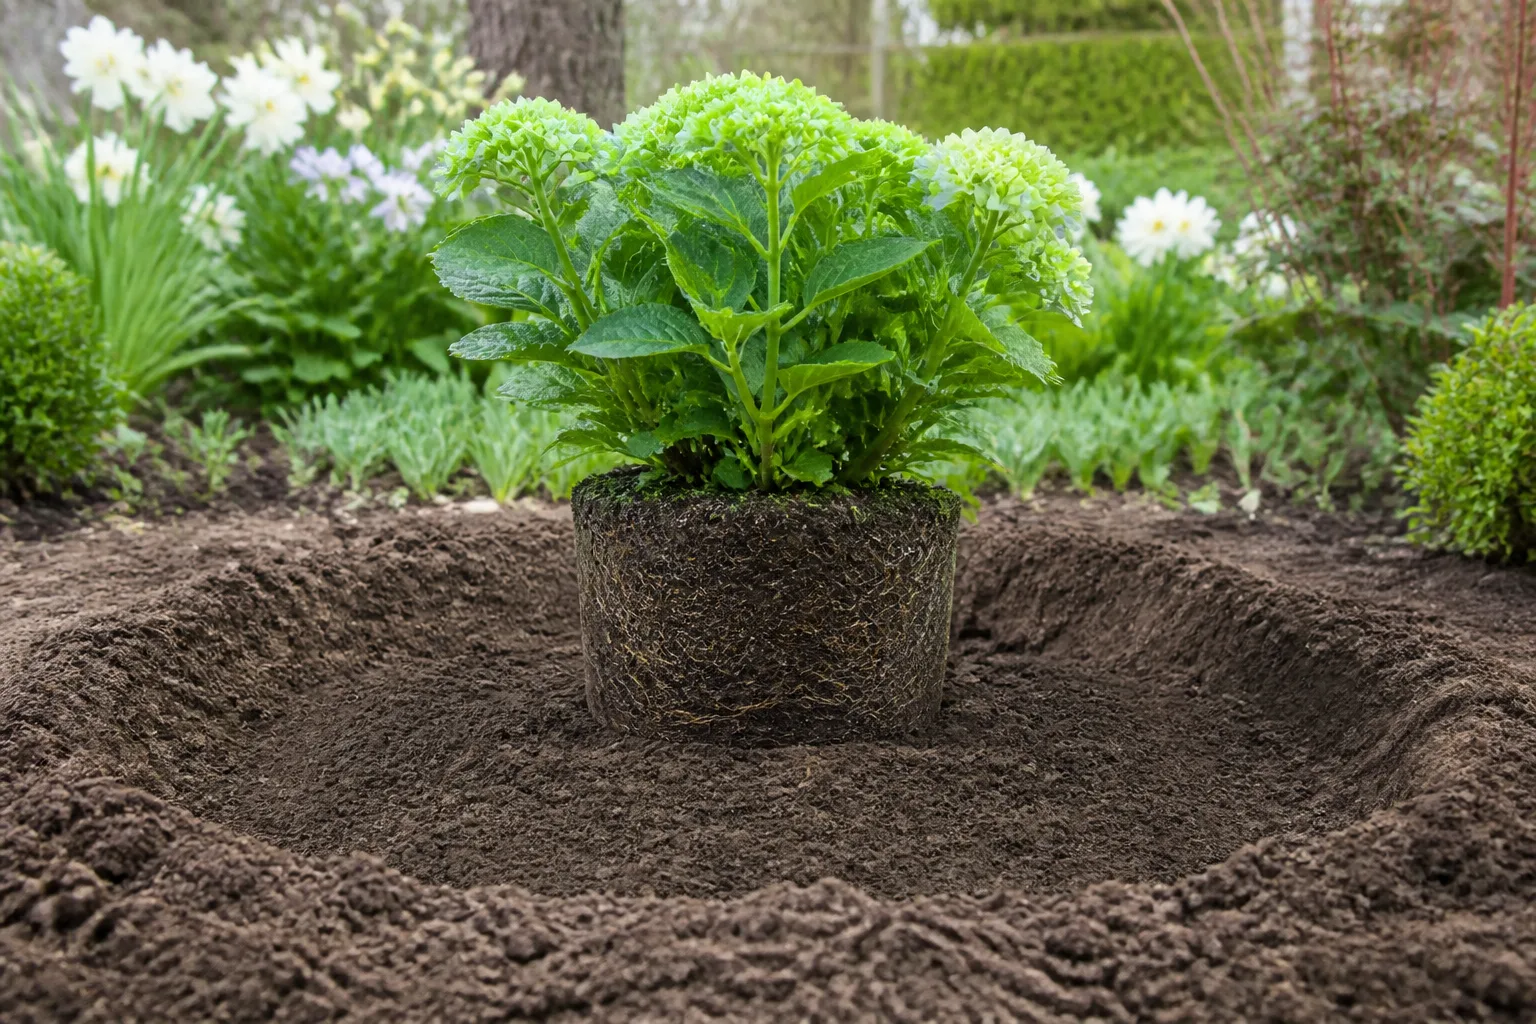
Spread a 2- to 3-inch layer of organic mulch over the root zone to slow evaporation and buffer temperature changes, but leave a small clear space around stems. Mulch should cover soil, not pile against the crown. If the site is windy and the shrub rocks in the ground, use a temporary support only if needed and remove or adjust it once roots anchor the plant.
Help it reestablish through the first year
Water thoroughly after planting, then check the soil at the root ball and just beyond it before watering again. A recently moved hydrangea needs consistent moisture while it replaces lost feeder roots, but constant saturation can deprive roots of air and cause a different kind of decline. Rainfall, soil texture, drainage, sun, wind, and leaf area all change how often you need to water, so do not follow a fixed weekly schedule without checking the soil.
In the first growing season, probe a few inches down near the edge of the root ball when the surface looks dry. If the soil at root depth is moist, wait; if it is beginning to dry, water slowly at the base until the root zone is wet through. During a dry spell, repeat the check more often, especially for spring transplants as leaves unfold. For a fall move, water when the soil is dry and unfrozen, including during a mild winter with little rain; avoid watering when the ground is frozen.
Keep the mulch in place and control nearby weeds or turf that compete for water. Do not cultivate deeply around the new root zone, because the very roots rebuilding after the move may be close to the surface. The RHS recommends consistent aftercare for moved shrubs, including thorough watering and moisture-conserving mulch, while warning that too little or too much water can both slow reestablishment (RHS moving guidance).
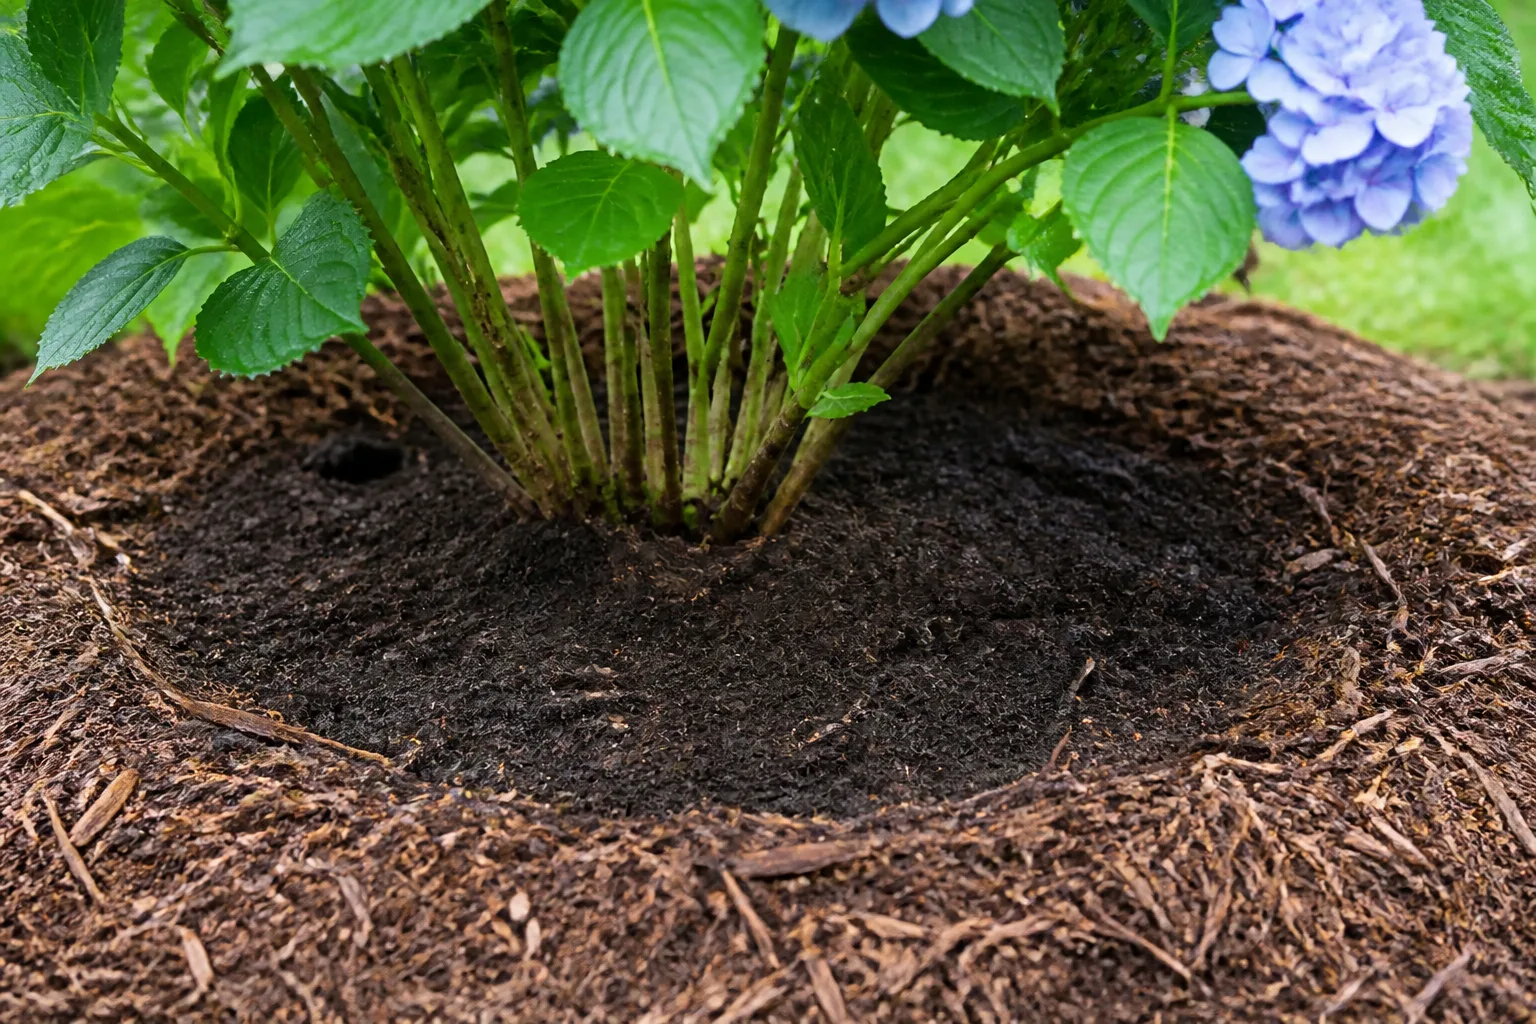
Skip fertilizer at planting and avoid strong pruning in the first recovery period unless a stem is dead or damaged. Fertilizer cannot restore roots and may push new growth before the plant is ready; an immediate hard prune can remove buds and reduce the foliage that supports recovery. Give the shrub a season to settle, then reassess its shape and flowering once it has had a chance to resume normal growth.
Expect some temporary drooping, leaf loss, or fewer flowers after a spring or summer move, particularly if the root ball was small relative to the canopy. A dormant fall transplant may not show much activity until spring, so do not assume it failed just because there is no winter growth. Watch for buds to swell and new shoots to appear at the normal time for your climate; if growth is delayed, keep moisture appropriate and wait before deciding the plant is dead.
Mistakes that cost roots or flowers
The most common timing mistake is choosing a date by the calendar while ignoring the plant and soil. A dormant shrub dug into frozen ground, a wet clay hole, or a forecasted heat spell faces avoidable stress. Use leaf and bud activity, soil condition, and the next few weeks of weather together; if one of those signals is poor, postpone.
The most common preparation mistake is digging the plant first and planning the new site afterward. A shrub left uncovered while you make a hole can lose moisture quickly, and a narrow or too-deep hole can force hurried corrections. Have the site selected, hole dug, tools ready, and help arranged before you start the old root ball.
Avoid cutting the canopy back hard to compensate for root loss. That can sacrifice blooms on hydrangeas that flower on old wood, and it does not make a damaged root system whole again. Also avoid dragging the shrub by its stems, leaving bare roots exposed to air, planting deeper than its former level, fertilizing the planting hole, or keeping the soil waterlogged in the belief that more water always means faster recovery.
Finally, do not move a very large shrub simply because you can. If an established hydrangea is already healthy and only looks untidy, a lighter pruning plan or a small adjustment to the surrounding garden may carry less risk. If the location truly cannot work, plan the move well in advance or ask a professional to assess the size and access before you commit.
Conclusion
Transplant a hydrangea while it is dormant and the soil is cool, moist, and workable—usually after leaf drop in fall or before bud break in early spring. Pick the season that gives your shrub time to settle before your garden’s next major stress, whether that is frozen ground, summer heat, or a dry spring.
Before digging, decide that the move solves a real problem, identify the hydrangea before pruning, and prepare a suitable new site. Lift a generous root ball, keep it protected, replant at the old soil level, then water by checking root-zone moisture and keep mulch off the stems. Those steps cannot promise an immediate flush of blooms, but they give the shrub a sounder start in its new location.



