When to Prune Azaleas Without Losing Next Spring’s Flowers
Learn when to prune azaleas, which branches to remove, and how to shape or rejuvenate a shrub without needlessly sacrificing next year’s flowers.
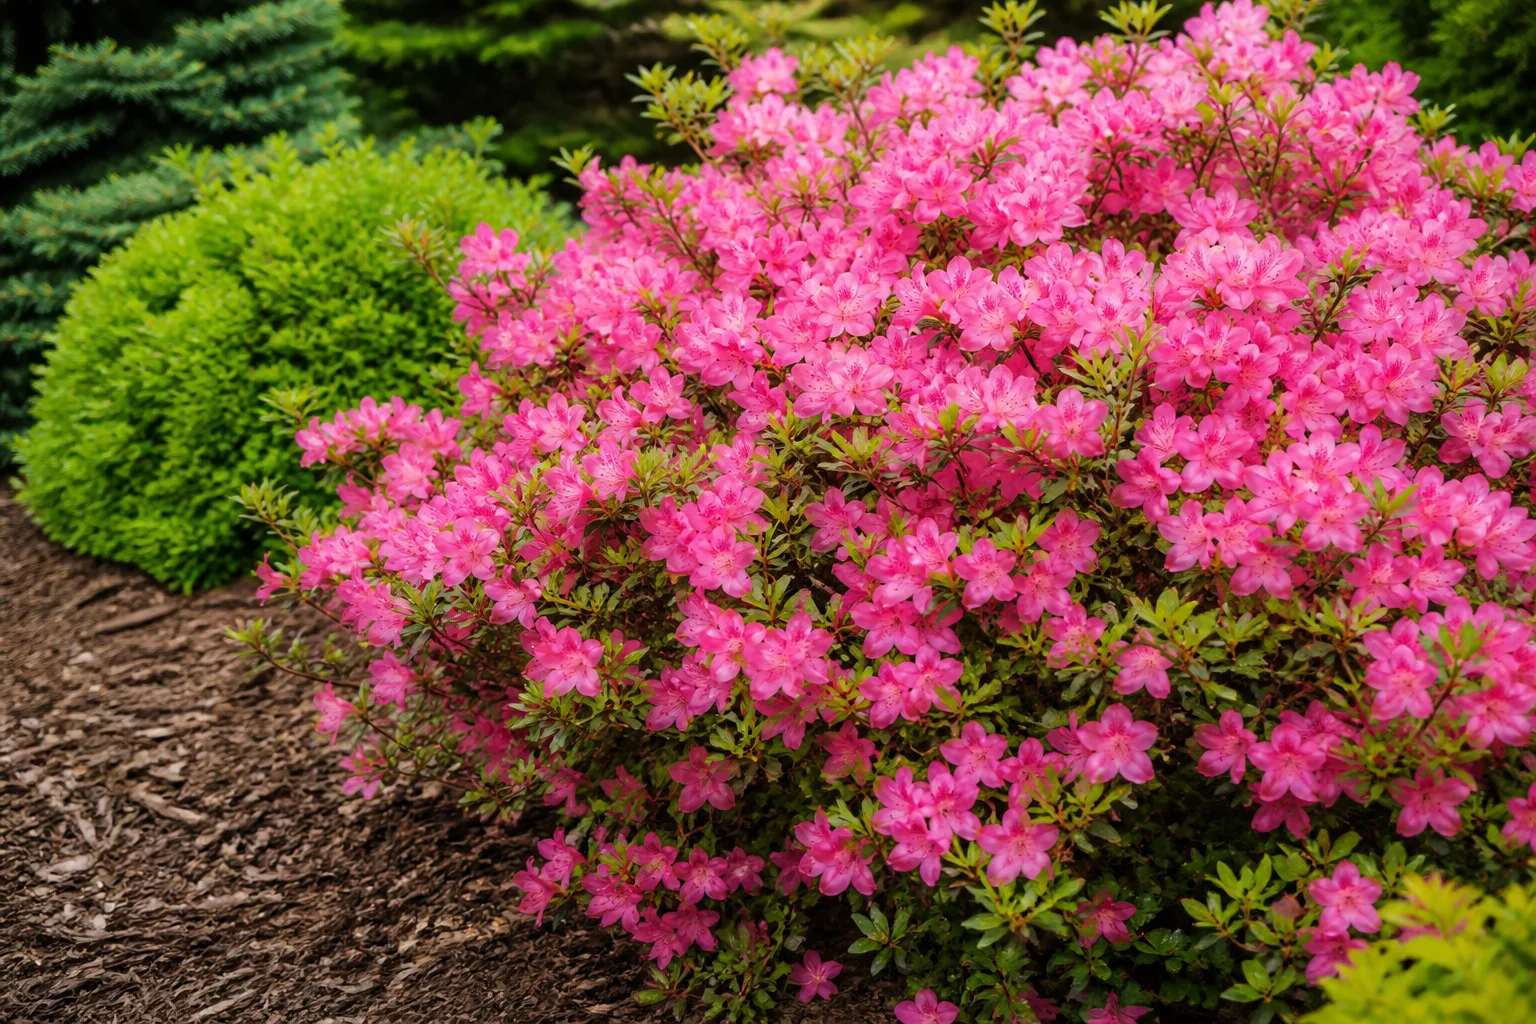
The short answer: prune just after flowering
For most azaleas grown for spring flowers, do planned shaping and size control soon after the shrub finishes blooming. That window gives new growth time to develop before the plant sets flower buds for the next season. The date on the calendar varies by cultivar and climate, so follow the flowers rather than a rule such as “prune in March” or “finish by June.”
You do not have to prune a healthy azalea simply because it is in the garden. Remove a dead, broken, or clearly diseased branch when you find it, but reserve routine trimming for a specific purpose: correcting an awkward stem, opening a congested area, reducing size, or renewing an old shrub. If you do not need one of those outcomes, leave the plant’s natural shape intact.
The main exception to the post-bloom schedule is a renovation cut that is intended to rebuild an old shrub. Guidance differs on whether that large-scale work is best done before spring growth or after flowering, and either approach can cost flowers for a season. The choice depends on the plant, local climate, and whether you value this year’s bloom or a quicker reset more.
Why post-bloom timing protects next year’s flowers
Many familiar azaleas flower on buds formed during the preceding growing season. Once the spring show ends, the shrub pushes new shoots; flower buds develop later in summer and into fall. If you shear or shorten healthy stems after that bud set, the cut can remove the very buds that would have opened next spring. This is why a shrub may leaf out vigorously after late pruning yet flower poorly.
Clemson Cooperative Extension recommends pruning just after spring flowering to reduce the effect on the next year’s flowers. N.C. Cooperative Extension likewise emphasizes pruning evergreen azaleas after their bloom cycle, which can vary by variety and location; it notes that some azaleas bloom as early as February while others continue into June. Those observations are more useful than a fixed month because bloom timing shifts across regions and cultivars. (Clemson HGIC; N.C. Cooperative Extension)
A modest delay is not a plant emergency. If you miss the ideal window, decide whether a small amount of shaping is worth losing some flowers, or whether you can wait until after the next bloom. The exception is a hazard or diseased branch: protecting people and limiting disease spread take precedence over preserving every flower bud.
Identify the azalea before choosing a date
“Azalea” covers many species and hybrids with different growth habits and bloom schedules. Evergreen landscape azaleas usually flower in spring and carry leaves through winter, while deciduous azaleas drop their leaves and often have a more upright, open structure. Both are commonly pruned after their main bloom, but their flowering dates can differ by weeks. If the plant label is still available, look up the cultivar’s mature size and whether it reblooms before making a major cut.
Reblooming types, including Encore cultivars, need a little more attention. They produce a later flush of flowers, so a hard trim after spring flowering may remove developing growth or buds for the next display. The N.C. Cooperative Extension guidance calls out late-summer and fall-flowering cultivars as an exception to the usual post-spring window. For an unidentified or reblooming azalea, keep summer work selective: remove a broken limb or one clearly misplaced shoot, and avoid shearing the whole plant until you know its flowering cycle.
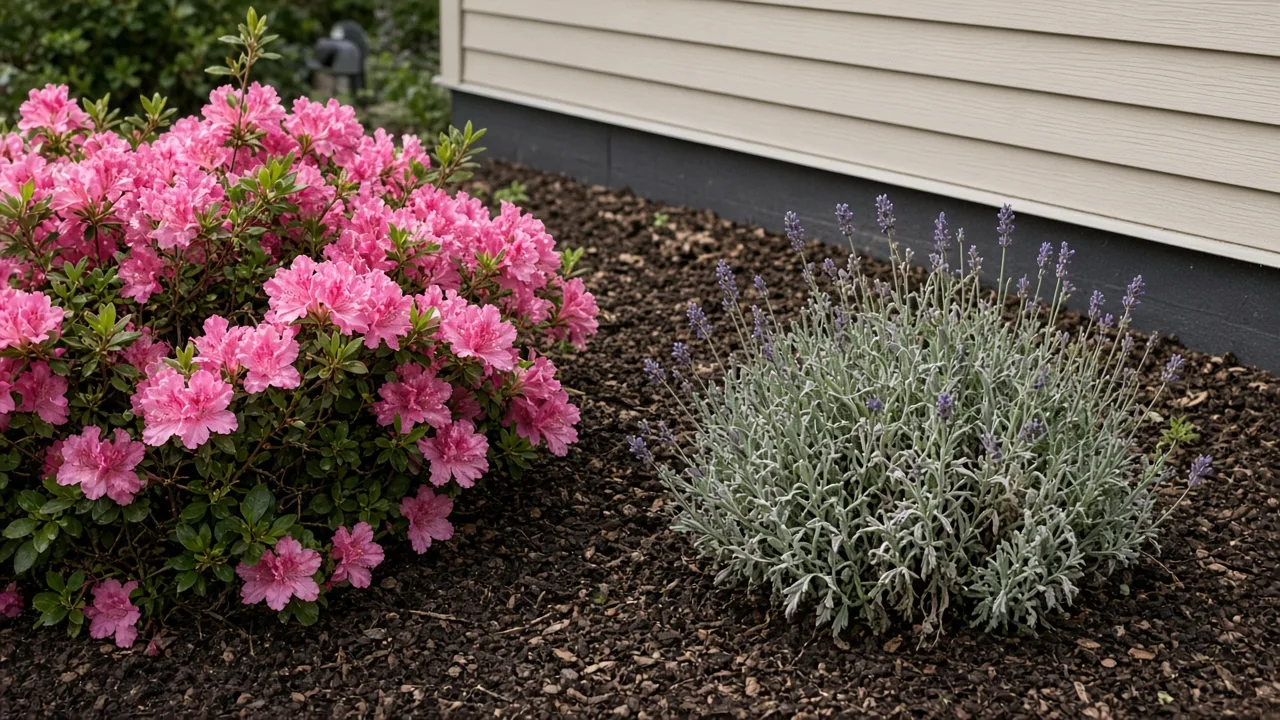
For a new plant, the tag or a local nursery can often identify the group. For an established mystery shrub, note when it flowers over a full year, whether it blooms again later, and whether it keeps leaves in winter. That simple record is enough to make next year’s pruning date more predictable.
Does your azalea need pruning at all?
Azaleas are not naturally high-maintenance shrubs. A plant that flowers well, fits its space, and has no damaged branches can be left alone. Pruning will not correct shade, poor drainage, drought stress, root damage, or the wrong cultivar for the site. If the shrub is thin or declining, diagnose those conditions before removing healthy foliage; a stressed plant has less reserve for recovering from aggressive cuts.
Prune when you can name the result you want. Removing one branch that blocks a path is a clear job. Thinning one stem that rubs another is a clear job. Cutting the entire surface because the shrub looks “untidy” often removes flower-bearing tips, makes a dense outer shell, and leaves the plant no better matched to the space.
A quick inspection can keep the work small. Look for broken or dead stems, branches rubbing together, shoots growing into a walkway, and one or two stems that rise far above the natural outline. If none of those are present, clean up loose petals and mulch instead of reaching for shears.
Pick the right job: thinning, heading, or renewal
The cut you choose should match the result. Thinning removes a whole branch back to its point of origin or to a stronger lateral branch. It reduces congestion without shaving the entire outside surface. Heading shortens an individual stem, usually just above a healthy bud or side shoot. It controls length and can encourage branching near the cut. Renewal pruning removes some of the oldest framework stems low on the shrub to prompt replacement growth.
Use thinning for dead or crossing wood, a long bare stem, or a branch pushing beyond the canopy. Use heading sparingly for a shoot that sticks above the outline or reaches into a path. Use renewal only when the shrub is genuinely overgrown, leggy, or declining from age and you have a plan for the following growing season. These terms matter because “cut it back” can mean anything from one small tip to almost the whole plant.
The method also changes the trade-off. Selective cuts preserve more of the shrub’s natural outline and typically remove fewer flower buds. Shearing the outer surface is quick but can leave a dense layer of shoots at the edge while the interior receives less light. Clemson’s azalea guidance describes thinning and heading as distinct methods and ties each to a different pruning goal. (Clemson HGIC)
Tools and setup for small, clean cuts
For most home azaleas, sharp bypass hand pruners are enough. Their blades pass each other to make a clean cut on small stems. Use loppers only for thicker branches within the tool’s rated capacity; if a stem is too large to cut cleanly without crushing or twisting, stop and choose a pruning saw or ask a qualified professional. Gloves protect your hands from rough twigs, and eye protection is sensible when branches spring back near your face.
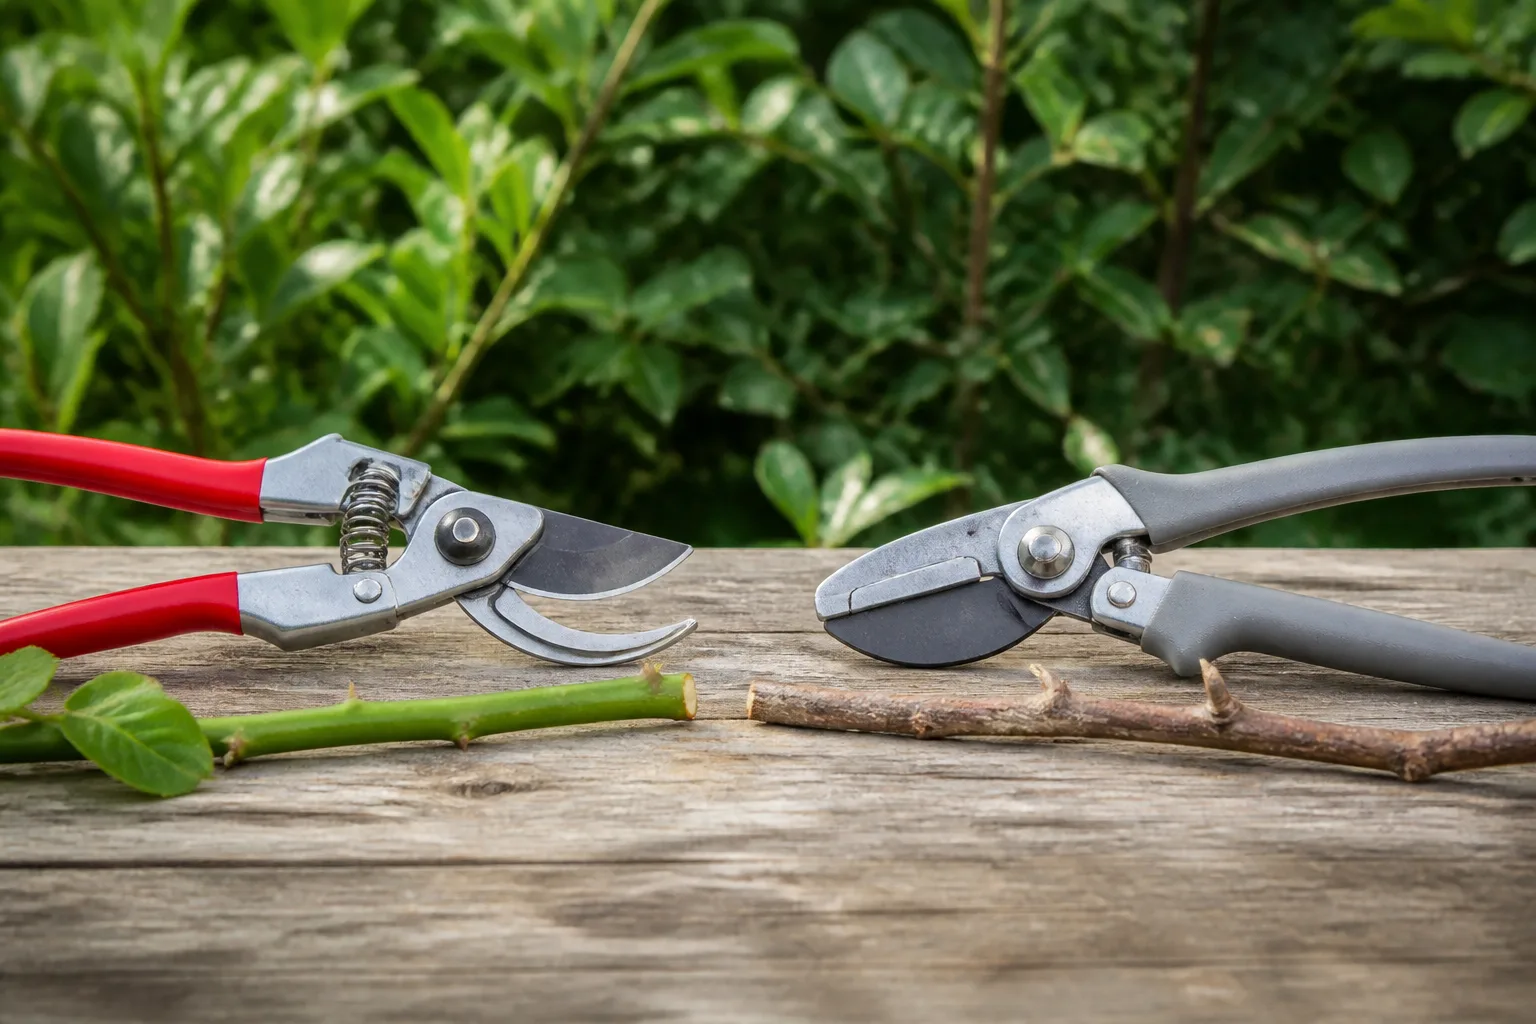
Before cutting, remove soil and plant debris from the blades. If you have been cutting diseased material, disinfect the blades before moving to another branch or plant; N.C. Cooperative Extension specifically advises cleaning tools with alcohol when removing diseased azalea growth. Keep disinfectant off the shrub and follow the product directions. A sharp, clean tool reduces ragged wounds and makes it easier to place each cut accurately.
You rarely need powered hedge trimmers for an individual azalea. If the shrub is part of a formal hedge, hand shears can handle a very light post-bloom touch-up, but they do not replace selective cuts inside the canopy. A bucket or tarp for debris helps you remove suspect branches promptly instead of leaving diseased material underneath the shrub.
Read the shrub before you begin
Stand back several feet and view the whole azalea from more than one side. Decide on a maximum height or width only if the plant truly needs to be smaller; then identify the few stems that create the problem. Trace each candidate branch inward before cutting so you do not remove an entire section of healthy growth by clipping only the visible tip.
Look for the branch’s direction, not just its length. A shoot that rises above the mound but points toward an open gap may be useful as a replacement stem. A shorter branch that rubs the plant’s center can do more harm. Preserve strong, well-spaced branches that fill the shrub’s outline, and prioritize removing growth that is dead, rubbing, damaged, or growing where it will keep causing trouble.
Make a few cuts, then step back again. Azaleas can look surprisingly different after a handful of carefully placed branches are removed. If you cannot tell which of two healthy stems should go, leave both for now. You can always remove one later; you cannot reattach it after an impulsive cut.
Remove dead, diseased, or broken wood
Dead, damaged, and diseased branches are the first priority, regardless of the ordinary shaping calendar. A branch that has snapped, is clearly dead, or is rapidly wilting while the rest of the shrub remains healthy should not be kept just to protect the spring display. N.C. Cooperative Extension advises removing diseased or dying azalea branches when noticed and cleaning tools to reduce the chance of carrying a problem elsewhere. (N.C. Cooperative Extension)
Follow the branch toward a healthy junction and remove it there without leaving a long stub. For a small damaged tip, shorten the stem to a healthy lateral shoot or bud. If the branch is large, make sure you can support it and control where it falls; do not pull a partly detached limb through the canopy, since it can strip bark from neighboring stems. Collect diseased debris and dispose of it according to local guidance rather than composting material when the disease is unknown.
Do not confuse winter injury with a dead branch too early. Cold damage can take time to show clearly, and bark splitting may be followed by delayed dieback. If a branch is not hazardous, wait until buds break or new growth begins, then identify the living boundary and cut back to healthy tissue. If it is broken or threatens a walkway, remove the dangerous portion sooner, avoiding frozen conditions when practical.
Thin crowded or leggy branches
When the center is congested, remove a few whole stems instead of clipping every branch tip. Choose a crowded, weak, or poorly placed stem and cut it back to its point of origin or to a stronger lateral branch. The objective is a more balanced framework, not a hollow middle. Removing every interior stem can expose bark and foliage to harsh sun and leave an unnaturally skeletal shrub.
For a long, bare stem, follow it into the plant and see whether it can be removed where it joins a more useful branch. A cut at the canopy edge may trigger a tuft of shoots exactly where the shrub is already dense. Selective thinning also lets you preserve a naturally rounded azalea outline without forcing each side into a geometric wall.
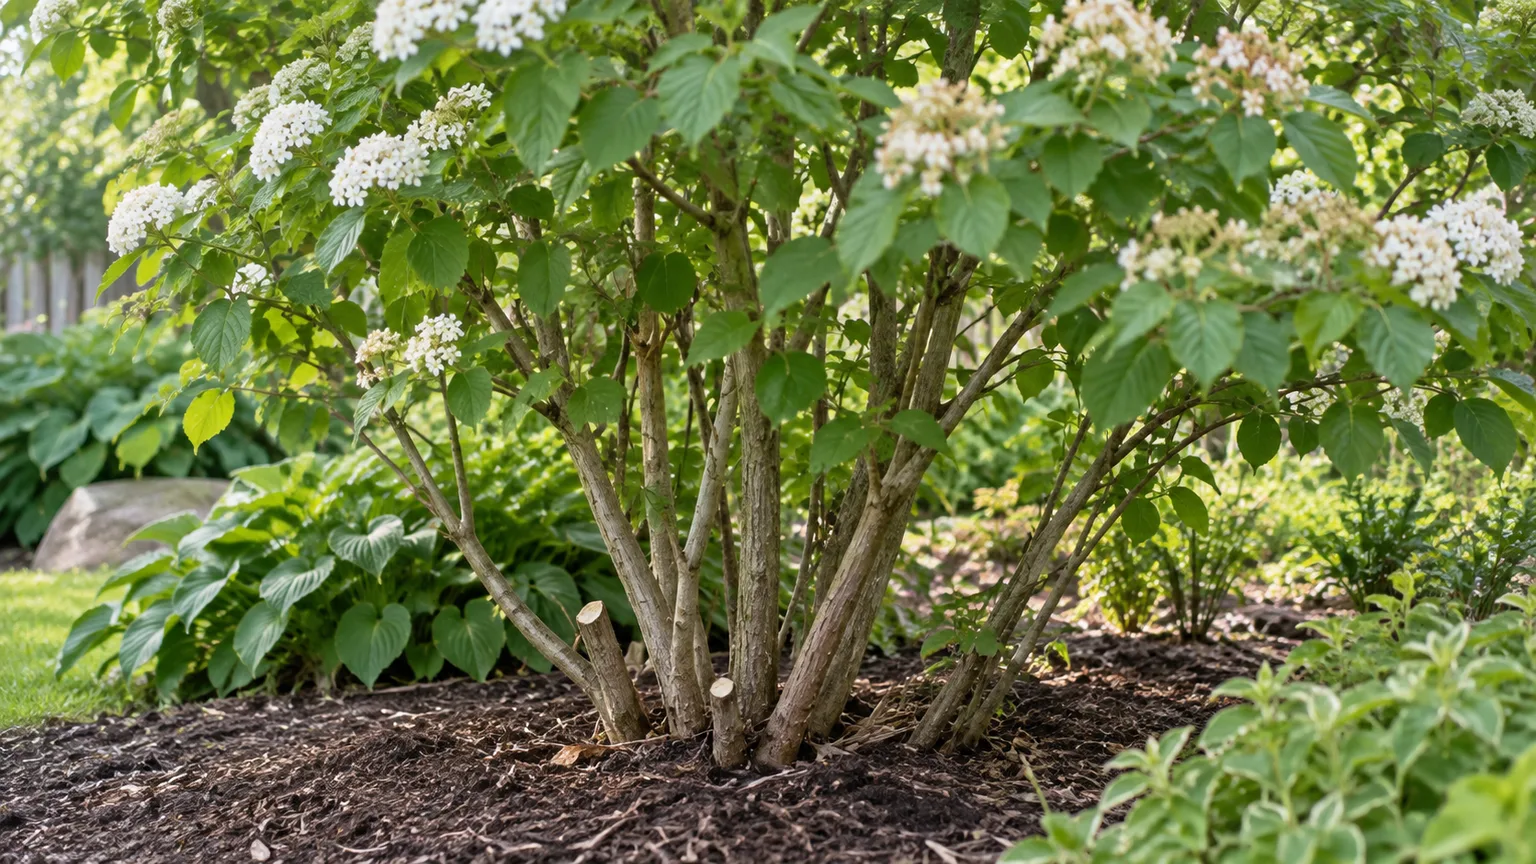
Azaleas benefit from adequate air movement, but pruning is not a cure-all for fungal disease. Good site conditions, proper watering, and avoiding prolonged leaf wetness matter too. Thin only enough to remove conflict and improve the structure you can see; do not strip healthy branches on the assumption that a bare center guarantees disease prevention.
Shorten individual shoots to keep a natural shape
If one stem sticks above the plant or reaches too far, shorten that stem rather than leveling the entire shrub. Find a healthy side branch or outward-facing bud below the unwanted length, then cut just above it. This directs the next growth toward open space. Avoid leaving a stub several inches long, and avoid cutting so close that the bud or side branch is damaged.
Work around the azalea in small sections. Cut the tallest shoots first, then reassess the overall outline before taking more. A few stems can usually be brought back toward the body of the shrub without changing the overall mound. If you find that achieving the desired size would require removing a large portion of healthy growth, the plant may be too large for the location; consider staged reduction or eventual replacement with a cultivar that fits.
Keep in mind that a cut stimulates growth near the remaining buds. If you repeatedly shorten every outer shoot, the shrub can become dense at the surface and less open inside. Alternating selective heading with occasional thinning gives you better control than making every cut at one height.
Shearing and formal azalea hedges
A light shear after the main bloom can be used on an azalea that is intentionally maintained as a formal, dense hedge. It is a compromise: the even outline comes at the cost of a less natural look and may reduce flower buds if done after they begin to form. Hand shears also cut many stems at one plane, encouraging a tight outer layer that can shade interior leaves and conceal crossing branches.
For most shrubs in a home landscape, selective hand pruning is more forgiving. If you do shear, wait until flowering is finished, keep the cut shallow, and avoid taking the surface down into old bare wood unless the cultivar is known to recover from that treatment. Do not repeat a late-season shear simply because a few shoots extend beyond the line; those tips may carry next year’s flower buds.
Family Handyman’s pruning guidance, citing woody-plant and gardening experts, favors hand pruners for individual azaleas and cautions against treating them like a hedge that needs repeated clipping. Gardening Know How also distinguishes thinning from heading and recommends finishing heading work early enough for new growth to mature. These practical suggestions fit the main principle: choose a cut that matches the plant’s flowering schedule, not just the hedge line. (Family Handyman; Gardening Know How)
Renew an overgrown azalea without losing years of bloom
An old azalea can often send out new shoots after severe pruning, but renewal is a project, not a quick shape-up. First confirm that the plant is established and otherwise healthy. If it is declining from root problems, chronic drought, poor drainage, or a site that is too shady, cutting it to stubs will not fix the cause. Correct the growing condition or replace the shrub instead of using pruning as a rescue for a problem it cannot solve.
The lower-risk approach is gradual renewal. Soon after flowering, remove one or two of the oldest stems close to the ground, then let the shrub replace them while retaining the rest of its canopy. Repeat in later years if needed. This preserves some flowers and lets you judge whether new shoots are strong enough to become replacement framework. Remove weak, crowded new shoots later so a cluster of replacements does not become its own tangle.
A full renovation cut is faster but more disruptive. Clemson HGIC describes cutting an overgrown azalea to roughly 6–12 inches before spring growth begins; it notes that this sacrifices that year’s flowers and recommends keeping the soil moist as new growth develops. N.C. Cooperative Extension describes hard pruning evergreen azaleas after they flower and notes that some can recover with a new flush. Because these recommendations differ, identify the cultivar and ask a local extension office which timing fits your region, especially for reblooming varieties or a plant near the edge of its hardiness range. (Clemson HGIC; N.C. Cooperative Extension)
If you proceed with a hard cut, expect an uneven shrub for a while and do not shear the new shoots repeatedly. Water during dry periods, keep mulch over the shallow root zone without piling it against the stems, and allow replacement growth to mature. Clemson advises tipping new shoots when they reach about 6–12 inches to encourage branching; use that technique only where you want a fuller structure, not across every shoot automatically. (Clemson HGIC)
Care for the shrub after pruning
For light shaping, normal garden care is usually enough. Water the root zone during dry spells, especially if the cut removed a substantial amount of foliage or the shrub is newly planted. Azaleas have shallow roots, so a mulch layer helps moderate moisture and temperature; keep mulch away from direct contact with the stems. Avoid fertilizing automatically after pruning. Extra nitrogen can push soft growth, and a plant with healthy foliage may not need fertilizer at all.
After a severe renovation, monitor the soil rather than watering by habit. The root zone should stay evenly moist, not waterlogged. If shoots emerge in a dense cluster near a cut stem, retain the strongest well-positioned replacements and remove only the weak or badly crowded ones. Give the plant a full flush of growth before judging whether the new framework is enough.
Do not respond to a sparse bloom by piling on fertilizer or cutting again. First consider whether the shrub was pruned after bud set, received too much shade, suffered drought or winter injury, or is a cultivar whose bloom timing differs from the rest of the garden. The cause determines the fix.
Deadheading is optional
Most azaleas do not need every spent flower removed to remain healthy. Deadheading is mainly a tidiness choice, and it can be fiddly on a large shrub. Gardening Know How notes that many azaleas drop faded flowers themselves and that removing them does little to extend the bloom period. (Gardening Know How)
If you like a cleaner appearance, pinch or snip the spent flower cluster without removing the new leafy shoot underneath it. Work gently: new growth can be close to the old flower, and cutting an entire tip may remove developing stems or future buds. If there are too many blooms to deadhead comfortably, leave them; the shrub will continue growing without the extra cleanup.
What to do if you pruned at the wrong time
If you shaped the shrub in fall or winter, do not make another round of cuts to “correct” it. The plant may flower less the next spring because some buds are gone, but the remaining branches can still bloom and support healthy growth. Wait until the next flowering cycle is complete before resuming routine shaping. A vigorous leaf flush after pruning is not proof that the plant needs more cuts.
If you pruned after bud set, mark the date and the cultivar if known. That record helps explain a thin bloom and prevents the same timing mistake next year. Restore good moisture during dry weather, avoid heavy fertilizer, and monitor the plant for new growth. It usually takes patience, not another drastic intervention.
If you cut an azalea hard and it does not resprout, check whether the remaining wood is alive and whether the root zone stayed moist. Some older plants, stressed shrubs, or poorly sited cultivars may recover slowly or fail. Do not keep cutting downward in search of green growth. When the base is dead or the root system has failed, replacement is more sensible than further pruning.
A seasonal pruning calendar
Use bloom stage as your primary cue and the calendar as a reminder. Exact dates vary with cultivar, elevation, winter conditions, and local climate. The table below is for common spring-flowering azaleas; repeat-blooming plants need a lighter hand and closer attention to their second bloom period.
| Plant or task | Best timing | Practical approach |
|---|---|---|
| Routine shaping of spring-flowering azaleas | Soon after the main flowers fade | Thin crowded stems and shorten only the shoots that need control. |
| Dead, broken, or diseased branch | When noticed, avoiding frozen conditions when possible | Remove back to sound tissue or a branch junction; clean tools after diseased wood. |
| Light touch-up of a formal hedge | After bloom and before the next bud set | Keep the cut shallow; expect fewer flowers wherever buds are clipped. |
| Reblooming azalea | After the spring flush, with cultivar-specific caution | Avoid broad shearing before its later display; check the label or ask local Extension. |
| Gradual renewal | After bloom, over several seasons | Remove a small number of old stems low, then assess replacement growth. |
| Full renovation | Before spring growth or after bloom, depending on regional guidance | Expect to sacrifice flowers or risk removing later buds; confirm the approach locally. |
The most common mistake is to see “spring pruning” and interpret it as late winter. For a spring-flowering azalea, late-winter shearing can remove unopened buds. If you are unsure, wait until the shrub finishes flowering, then make only the cuts needed to meet a clear goal.
When to get expert help
A homeowner can handle small, accessible stems with hand pruners. Get help when a large limb is over a walkway or roof, when the shrub has grown into utility wires, when the cut would require a ladder, or when you cannot control where a heavy branch will fall. Do not climb into a brittle shrub or use a chainsaw overhead to solve a pruning problem.
Ask a local Cooperative Extension office or a knowledgeable nursery to identify a mystery azalea before a major renovation. That is especially helpful when the shrub may be a rebloomer, when it blooms at an unusual time, or when severe pruning seems necessary. Extension guidance is regional; local advice can resolve differences in timing that a national calendar cannot.
If one branch suddenly wilts while nearby stems remain healthy, photograph the leaves, stem, and whole plant and seek a diagnosis before pruning the entire shrub. Several problems can create similar symptoms. Removing one clearly dead branch is reasonable, but a widespread decline may need diagnosis of drainage, roots, pests, or disease before you make more cuts.
Conclusion
For most azaleas grown for spring flowers, prune for shape and size soon after flowering. That timing leaves the shrub’s next flower buds in place and gives new shoots the rest of the growing season to mature. Remove damaged or diseased branches when necessary, but let a healthy azalea grow naturally if it already fits its space.
Choose the cut by the job: thin a whole branch to open the structure, shorten an individual shoot to correct its outline, or renew an old shrub gradually unless you have a reason to renovate it all at once. Identify reblooming cultivars, avoid routine late-season shearing, and keep the root zone evenly moist after major cuts. A small, well-timed intervention usually gives you more control and more flowers than an annual haircut.



