Why Garden Soil Feels Dry No Matter What You Do
Garden soil still feels dry after watering? Learn how mulch can block infiltration, test the root zone, rehydrate safely, and refresh the layer correctly.
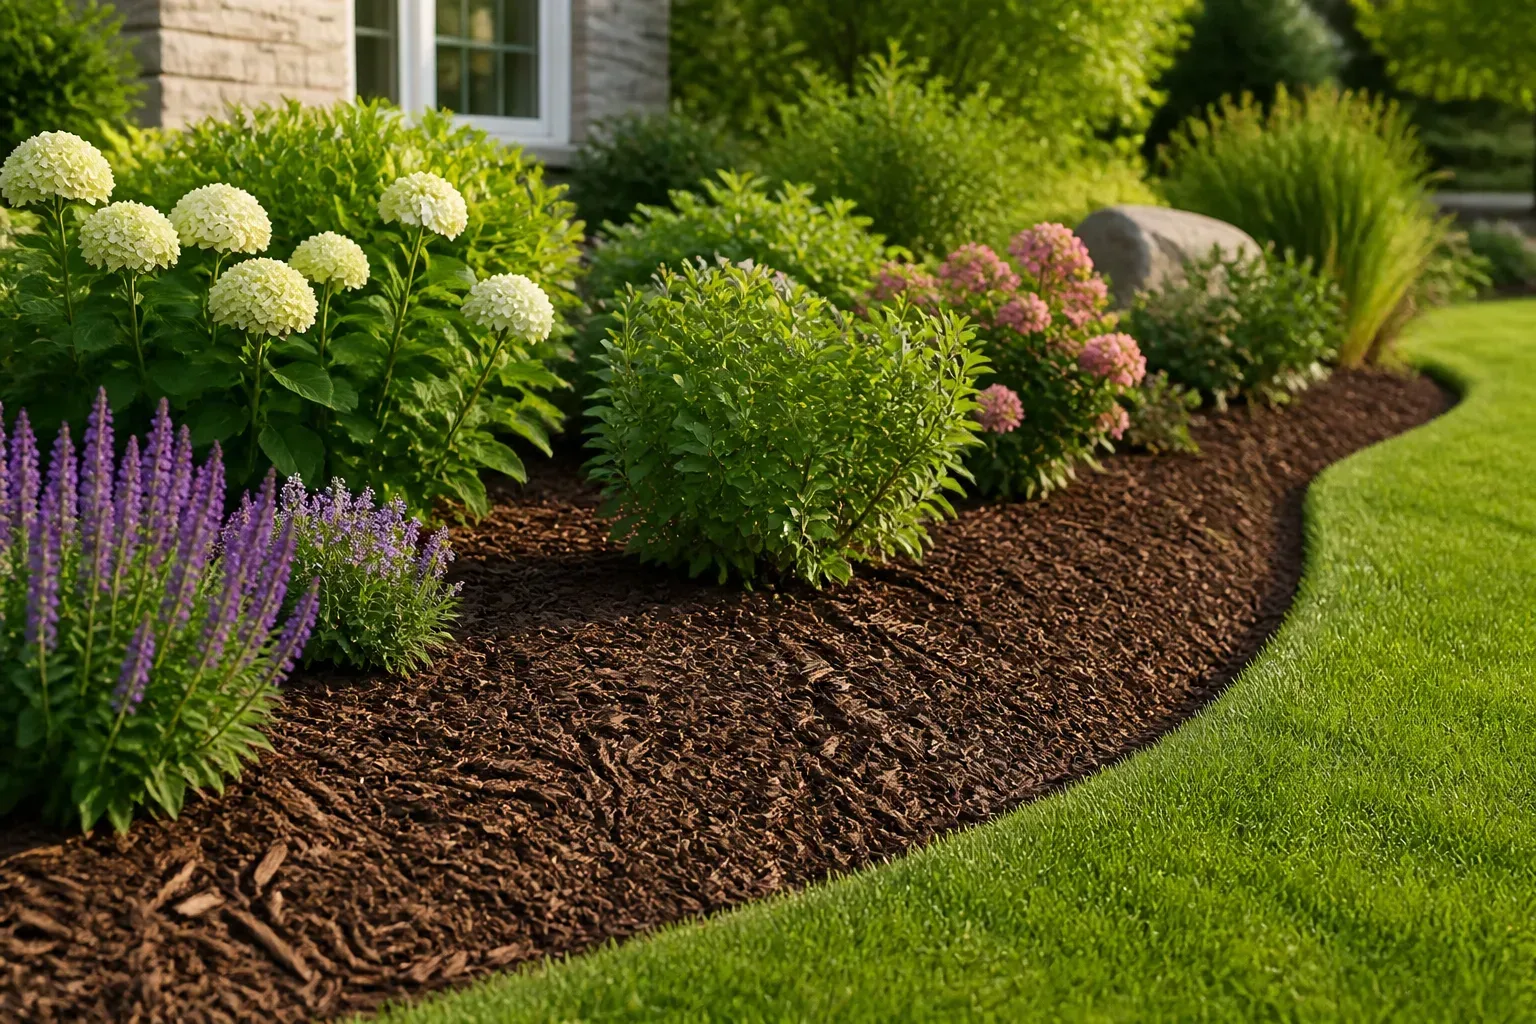
If garden soil feels dry every time you check it, do not immediately add more mulch or turn on the hose for longer. First pull the mulch aside in two or three places and inspect the soil beneath it. A crusted, matted, or sun-baked layer can shed water, but the same symptom can come from a sprinkler that misses the bed, compacted soil, a slope that sends water downhill, or naturally fast-draining sand.
The goal is not to keep the surface permanently wet. Roots need both water and air, so the right fix is to restore a steady path for water into the root zone and then use a loose mulch layer to slow evaporation. The Colorado State University Extension guide to mulching describes mulch as a surface covering that can reduce evaporation, stabilize moisture, and improve infiltration—benefits that depend on the material, depth, and site.
The fastest way to tell whether mulch is the problem
Go to the driest-looking part of the bed and make three quick checks. Look at the mulch surface, feel the soil below it, and watch what happens when you apply a small amount of water. This takes less time than guessing from the color of the mulch or the number of days since the last rain.
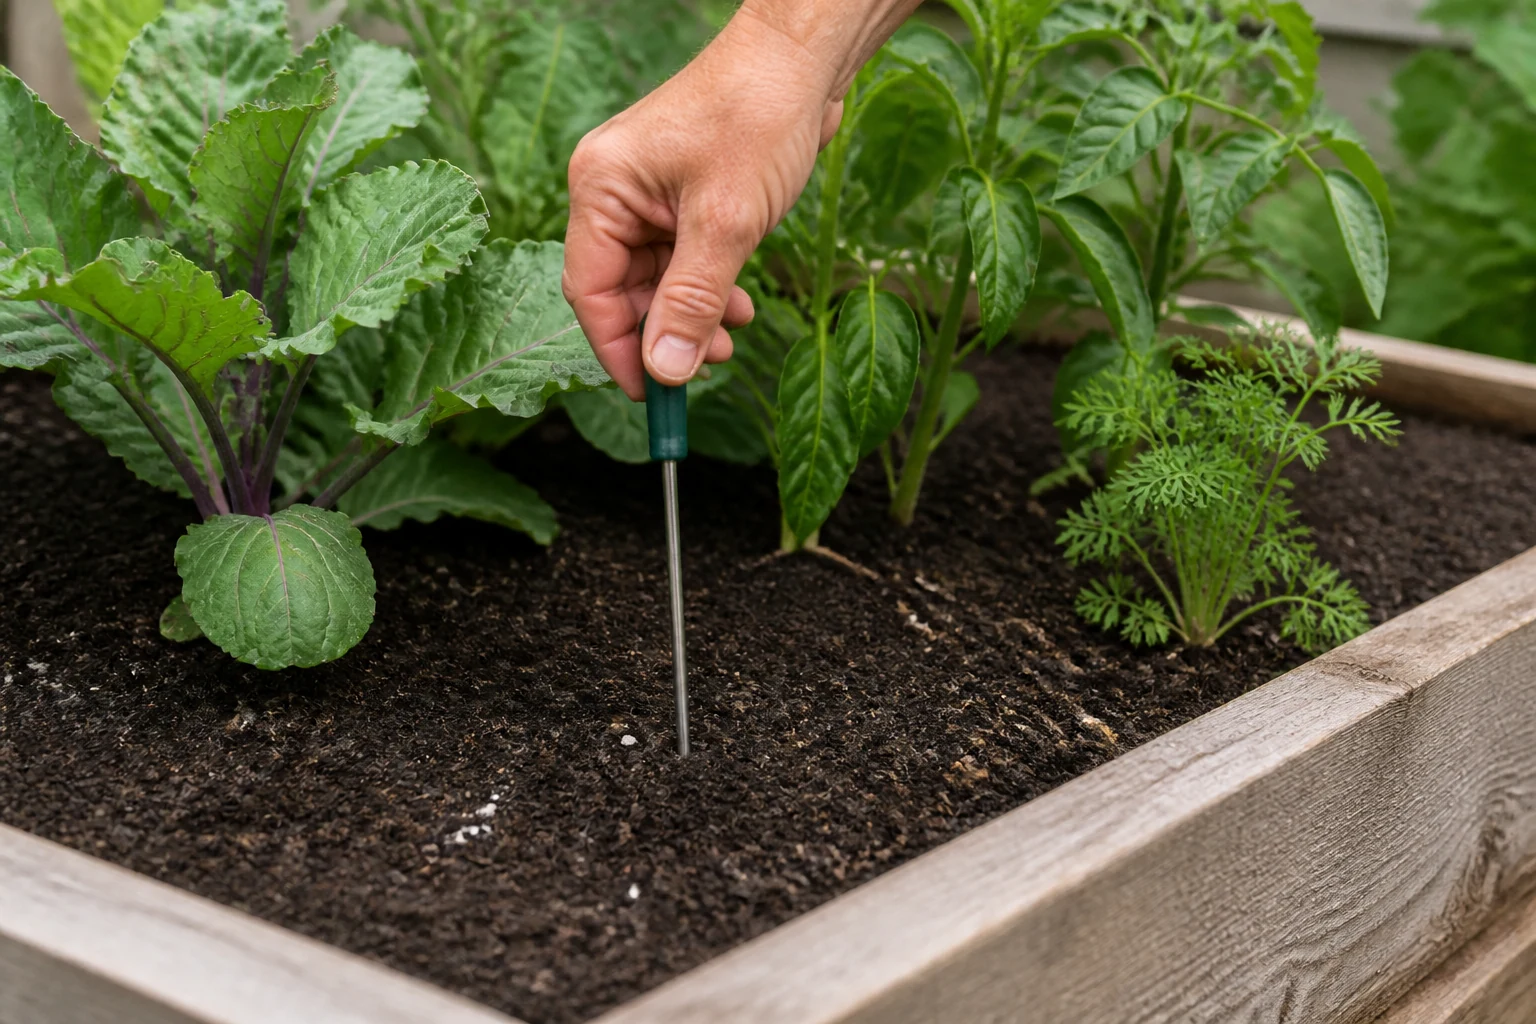
If the mulch is hard, shiny, felted, or woven into a solid mat, rake it gently with a hand cultivator or pull the worst of it aside. If the exposed soil is moist while the surface mulch is dry, the mulch is not the immediate cause of root stress; the plant may simply have a dry-looking top layer over usable moisture. If both are dry, check whether water is reaching that spot before rebuilding the bed.
Now run water slowly on a small test patch. If it disappears into the mulch and soil, the problem is more likely insufficient volume, a fast-draining soil, shallow roots, or a leak or coverage gap. If it beads on the mulch, forms rivulets, or runs toward the path, the surface is blocking infiltration. If it penetrates the mulch but then pools on the soil, the compacted or water-repellent layer is below the mulch.
Do not make a decision from one corner. Hydrophobicity and compaction can be patchy, especially where fine mulch accumulated, a downspout repeatedly hit the ground, a wheelbarrow crossed the bed, or a shrub’s roots have taken over. Compare a healthy-looking spot with the dry spot so you know whether you are correcting a local bottleneck or the whole bed.
Why mulch sometimes dries a bed instead of protecting it
Mulch normally shades the soil and reduces evaporation. It can also cushion rain, limit crusting, moderate temperature swings, and add organic matter when it decomposes. Problems arise when the mulch surface becomes less permeable than the soil, when the layer is too deep to breathe, or when the material does not suit the site’s sun, wind, irrigation, or plants.
A crusted or matted layer blocks infiltration
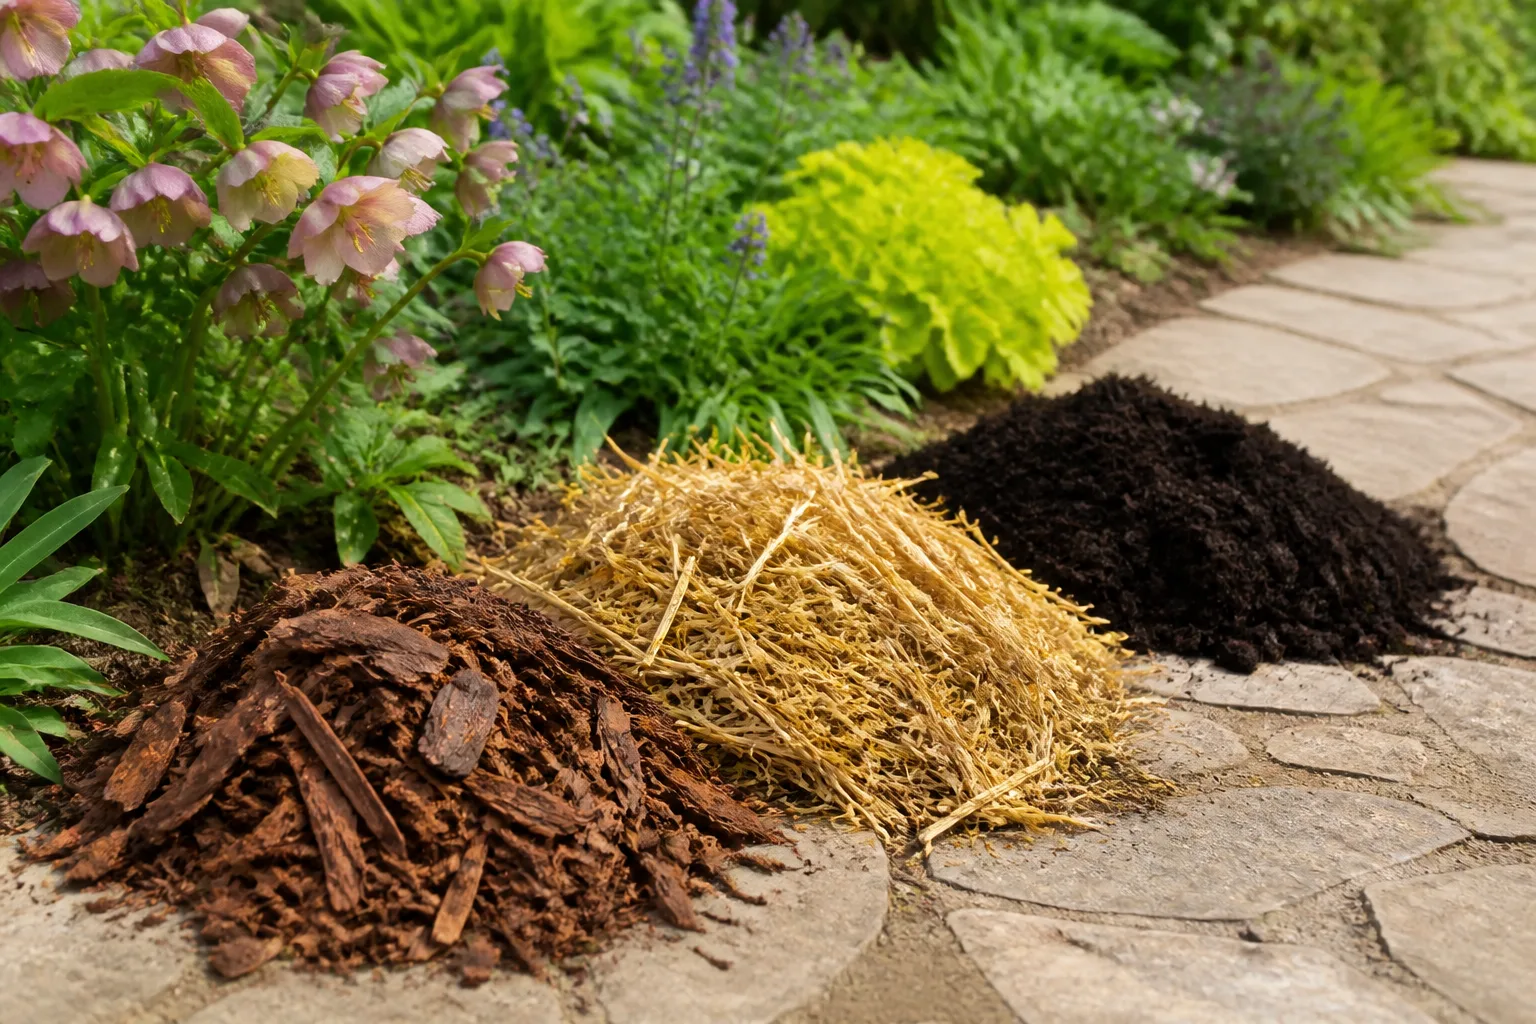
Fine particles, decomposed leaves, shredded bark, and grass clippings can knit together after repeated rain, irrigation, and drying. Fresh grass clippings applied in a thick blanket are especially prone to matting; the layer can exclude air, slow water movement, smell sour, and eventually repel water rather than guiding it down.
Wood chips and bark can also become water-repellent after prolonged exposure to intense sun and dryness. Colorado State University Extension notes that some mulching materials reduce evaporation while also reducing precipitation infiltration, and that sun-exposed wood or bark can become hydrophobic in very dry conditions. A loose layer beneath a tree canopy may behave differently from the same material on an open, reflective slope.
Mulch is simply too thick for the site
A deep layer can look tidy while creating an oxygen-poor lid over the soil. It may also hide a layer of old mulch that has already collapsed into a dense mat. The result is confusing: the top can be dry and fluffy, the middle can be wet, and the actual soil where feeder roots live can remain dry or intermittently wet.
Depth is not a contest. The Royal Horticultural Society’s mulch guidance recommends at least 2 inches and ideally about 3 inches for organic mulch, while Colorado State University Extension gives a deeper upper limit for certain weed-suppression goals and warns that more is not automatically better. Use roughly 2–3 inches as a practical starting point for most home beds, then adjust for a coarse or fine material, the plants, rainfall, and your local extension advice.
Sun, wind, and the wrong material expose the weakness
A mulch that works in a shaded perennial border may fail in a hot, windy bed. Dark, dry organic material can heat at the surface; light, loose pieces can blow away; large stones can send water around rather than into the bed; and an impermeable sheet can prevent water and oxygen exchange. Gravel may be useful in a dry landscape when its size and depth suit the site, but it will not build organic matter or repair a depleted soil.
The type of plant matters too. A Mediterranean herb bed that needs sharp drainage should not be treated like a moisture-loving vegetable row. Low, spreading plants may rot when buried under wet mulch, while newly planted shrubs benefit from a moisture buffer as their roots establish. Think of mulch as part of the site’s water system, not a universal blanket.
First rule out a watering problem below the mulch
Before you remove a sound mulch layer, confirm that the water is arriving where roots can use it. A short sprinkler cycle may wet the mulch while leaving the soil dry. Overhead water can also be intercepted by dense foliage, blown off target, or lost to evaporation in hot weather.
Check the wetting pattern before changing the mulch
Pull back mulch and dig a narrow inspection hole with a trowel. For shallow annuals and vegetables, check the upper few inches; for established shrubs, inspect deeper and farther from the trunk, where the active root zone usually extends toward the drip line. You are looking for a gradient, not a magic moisture reading: damp soil that is cool and crumbly, bone-dry soil that falls apart, or wet soil that smears and smells stale.
Run the irrigation system long enough to observe its pattern, then inspect several locations. If emitters sit above a water-resistant mulch, move them beneath the layer or create a small open watering zone so the water reaches soil. If a soaker hose is buried too deeply, clogged, or placed only beside the stem, it may miss the roots that spread outward. A simple catch-can test can reveal whether a sprinkler is delivering evenly, but the soil check tells you whether that water is infiltrating.
Also check for physical causes. Compacted soil under a path or former construction area may accept water slowly. A sloped bed may shed water at the edge. Dense tree or shrub roots may be taking water before shallow annuals can use it, and weeds can consume a surprising amount during a dry spell. If the soil is wet below the mulch but plants wilt, stop adding water and investigate roots, drainage, heat, wind, and plant-specific stress instead.
How to test soil for water repellency
A simple water-drop test can screen for hydrophobic, or water-repellent, soil. It is not a substitute for a laboratory test or a complete drainage assessment, but it is useful when water sits in beads instead of soaking in. Gardening Know How’s practical hydrophobic-soil test also begins by moving mulch aside and checking more than one spot.
- Move mulch aside without mixing it into the soil.
- Choose several dry spots, including one that looks normal for comparison.
- Smooth a small patch of soil with the back of a trowel.
- Place a few drops of clean water on the surface and watch them for about a minute.
- Record whether the drops disappear, flatten slowly, or remain rounded and shiny.
Healthy, reasonably wettable soil should begin absorbing a small drop quickly. A drop that remains beaded for a long time suggests water repellency at the surface, but a single spot cannot diagnose the whole bed. University of Minnesota researchers describe water-drop penetration time as a widely used way to assess soil water repellency while also noting that the result is affected by soil type and the test conditions. Treat your garden version as a screening clue, not a precise severity rating.
Test beneath the first layer as well. If the top inch accepts water but a lower layer forms a hard shelf or stays dry, you may be dealing with compaction, a buried mulch crust, or a texture change rather than a problem with the visible mulch. If the mulch itself beads while the soil accepts a drop, loosen or replace the mulch and retest before amending the bed.
What to do today: rehydrate the bed without flooding it
The first repair is controlled wetting. You want water to move through the blocked surface and into the root zone, not run down the path or sit against a crown. If plants are wilted, shade them from harsh afternoon sun where practical and start with the least disruptive correction.
Lift, loosen, and slow the water
Remove only the crusted or excessive mulch first. If the layer is merely dry but loose, do not strip the entire bed; rake it open so rainfall and irrigation can reach the surface. Around established plants, keep tools shallow and work between roots. Do not stab a garden fork into the crown of a perennial or chop through the root zone of a shrub to solve a surface problem.
Apply water at a low flow. A hose held close to the ground, a drip line beneath the mulch, or a properly placed soaker hose is easier to control than a high-pressure spray. Water until the surface begins to accept it, pause when runoff starts, and resume after the water has had time to move. Two or three slow passes are usually safer than one long blast on a dry, sloped, or compacted bed.
After the first soak, wait long enough to inspect the soil again rather than continuing automatically. If water has reached the intended depth and the soil is holding it, stop. If only a narrow channel became wet, repeat the slow cycles over a wider area or correct the delivery pattern. Mulch reduces evaporation after the repair; it cannot replace enough water for a newly planted shrub, a fruiting vegetable, or a plant in a heat wave.
Amend the root zone only when it needs it
If the soil is genuinely depleted or compacted, improve the soil—not just the mulch. The RHS explains that regular organic mulching can improve drainage in clay soils and moisture retention in fast-draining sandy soils as organic matter is incorporated gradually by soil life. Finished compost, leaf mold, or well-rotted organic matter can help, but the right amount depends on soil texture and the plants already growing there.
For an established bed, topdress with a modest layer and let rain, worms, and normal cultivation incorporate it over time. In an empty bed, you can blend compost into the planting zone, but avoid working wet clay because it smears into dense clods. Do not bury fresh wood chips or bark in the soil to “hold water.” Surface-applied chips generally do not tie up nitrogen in the same way that wood mixed into soil can, and buried wood decomposes slowly while microbes compete for available nitrogen.
Avoid adding sand to clay as a quick texture fix; the result can be denser rather than looser if the proportions are wrong. If the bed remains water-repellent after shallow loosening, repeated gentle wetting, and organic-matter improvement, consider a soil test or local extension diagnosis. Persistent runoff on a slope may need grading, a planting swale, a check berm, or a professional drainage assessment rather than another mulch layer.
When to refresh mulch—and when to remove it
Measure before you buy. Push a ruler through the mulch in several places and look at the layer’s structure. If organic mulch has mostly decomposed, is only a thin dusting, and the soil beneath is not crusted, add enough fresh material to restore a loose 2–3-inch layer. If it is compacted, shiny, sour-smelling, contaminated with weeds, or much deeper than the target, remove or break apart the problem material first.
Do not confuse decomposition with failure. A partially decomposed layer is doing useful soil-building work. Top it up when it loses protective thickness, but do not bury an old mat under a new one. Rake away loose debris, pull perennial weeds, open the soil surface where needed, water the root zone, and then apply the new layer.
Timing is flexible around an established plant. The best routine window is often late winter or early spring, or mid- to late spring after soil has warmed and plants are emerging. The RHS advises laying organic mulch over moist, unfrozen soil and delaying when the ground is frozen or waterlogged. If a plant is already drying out in summer, correct the water pathway now; do not leave roots exposed while waiting for a perfect calendar date.
Keep direct-sown seed rows open until seedlings are established. Mulch suppresses weeds by blocking light, which means it can also suppress the small seedlings you intentionally planted. Newly transplanted starts can be mulched after the soil is watered and the stems are clear, but leave room for air circulation and future growth.
Choose mulch that fits your soil, plants, and climate
There is no single best mulch for every dry bed. Choose based on the job, then watch how the material behaves after rain, irrigation, wind, and a full dry-down. A good mulch should slow evaporation without becoming a waterproof lid.
Wood chips, bark, leaves, and compost
Coarse wood chips are useful for perennial beds, shrubs, and paths because they resist compaction and break down gradually. They are a strong choice when the goal is long-term soil improvement, but fine or sun-baked chips can repel water, especially in exposed dry landscapes. Rake them occasionally and test infiltration after long hot spells.
Bark lasts well, but shredded bark contains more fine particles than chunky chips and can form a dense surface. If you use it on a slope or under a dense canopy, check that irrigation is still passing through. Keep it away from trunks and crowns, and do not mix it into the root zone.
Leaf mold and shredded leaves are excellent for building organic matter and are usually easy to renew. Whole leaves can mat when wet, so shred them or apply a moderate layer that stays loose. Finished compost is valuable where soil needs organic matter, but a thick blanket of fine compost can crust like any other fine material; treat it as a soil improver and mulch, not as an unlimited water sponge.
Grass clippings and straw
Grass clippings are fast decomposers and can work well in vegetable beds when applied in thin, dry layers. Colorado State University Extension specifically warns that fresh clippings in thick layers can mat, reduce air and water infiltration, and become hydrophobic. Let each layer dry before adding more, and never use clippings from a lawn treated with a persistent herbicide or pesticide unless the product label and local guidance make that use safe.
Straw is useful for vegetable rows and strawberries because it is light and airy when applied correctly. It decomposes faster than wood chips, may contain weed seeds if poorly sourced, and can blow away in open sites. Use enough to shade the soil but not so much that a wet, matted blanket forms around crowns.
Gravel and landscape fabric
Small gravel or pea gravel can reduce evaporation and suit some dry-climate landscapes, but it does not add organic matter. Colorado State University Extension notes that size matters: large rocks can increase runoff, while small gravel can support infiltration in certain dry-landscape conditions. Gravel also changes heat around plants, so test it carefully around shallow-rooted or heat-sensitive species.
Permeable landscape fabric can be useful for a new bed or a heavily managed production area, but it is not a cure for poor soil. It can clog, collect fine soil, complicate future planting, and allow weeds to root on top. Avoid impermeable plastic beneath permanent garden mulch unless you have a specific, managed production use and understand its effects on gas and water exchange. For most home beds, a correctly chosen loose mulch is easier to inspect and repair.
Apply the new layer correctly
Once the bed is accepting water, use this sequence:
- Remove perennial weeds and any crusted, sour, contaminated, or excessive old mulch.
- Check the soil moisture below the surface; water slowly if it is dry, but wait if it is already saturated.
- Spread a loose, even layer, usually about 2–3 inches deep for an established home bed.
- Leave a clear ring around stems, crowns, and woody trunks. A 3–4-inch gap around a shrub or tree is a useful minimum; never build a cone against bark.
- Keep mulch out of direct-sown rows until seedlings are established.
- Run irrigation or wait for rain, then inspect several spots and rake away any newly formed crust.
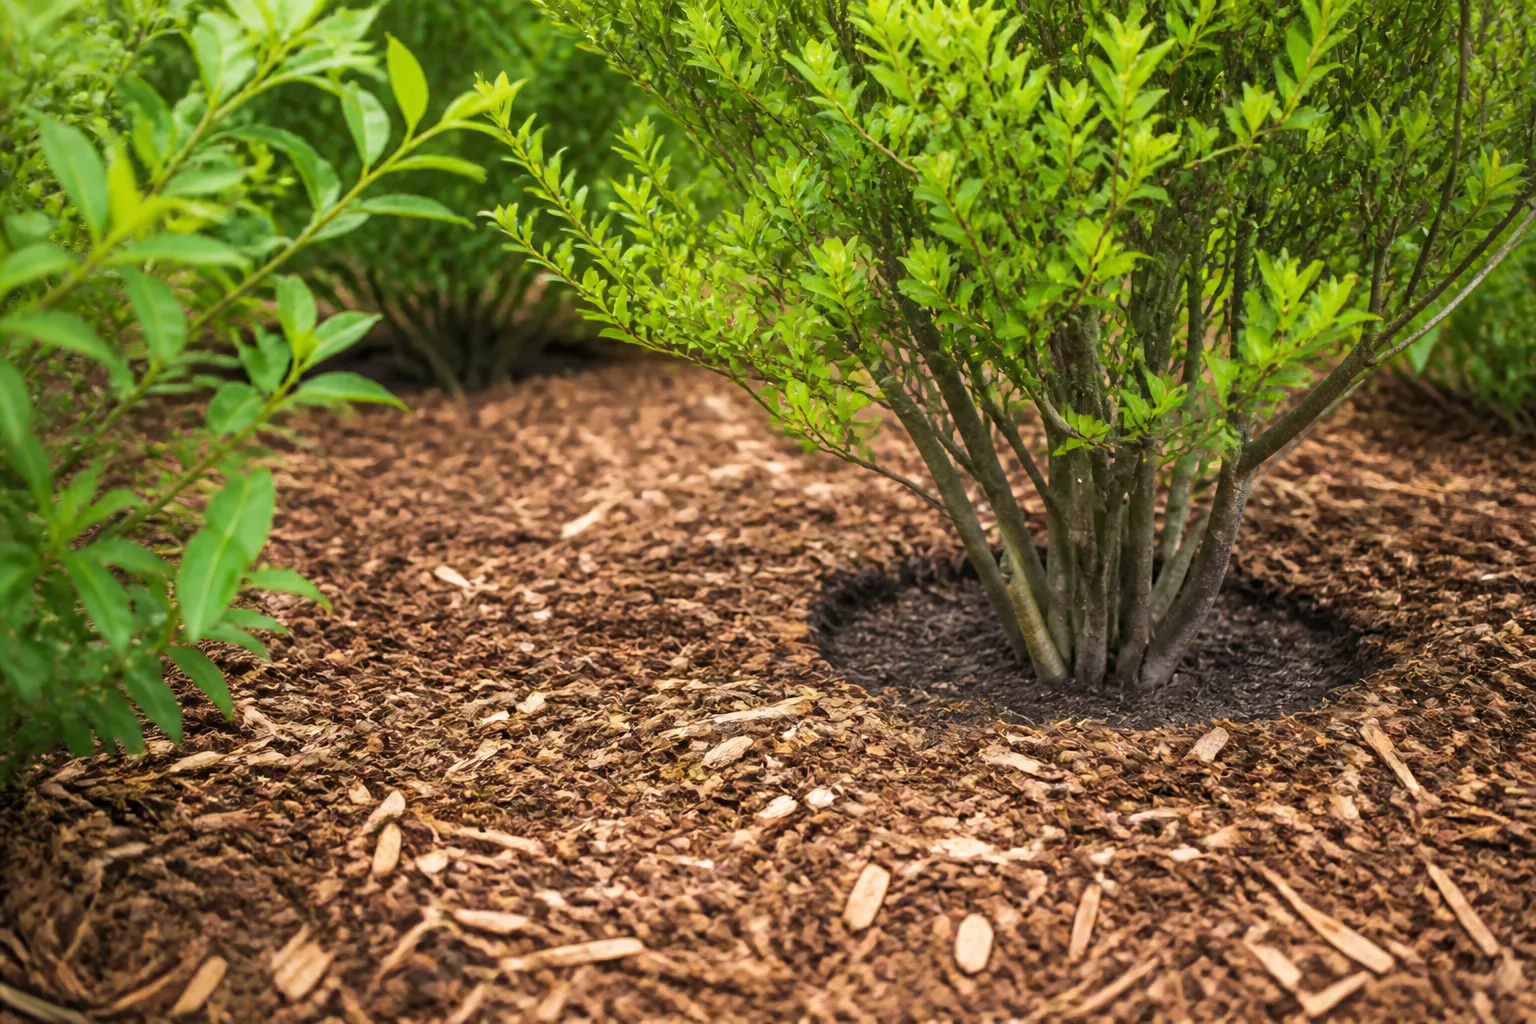
The surface should look continuous but not compressed. You should be able to move a hand cultivator through it without hitting a felted sheet, and water should spread into the mulch instead of racing across it. The RHS step-by-step mulching guide recommends applying mulch to moist soil, spreading it at least 2 inches and ideally around 3 inches deep, and leaving a mulch-free circle around woody stems.
Do a follow-up check after the next substantial irrigation or rain. If the top is wet but the soil below is still dry, the layer or irrigation pattern is still blocking infiltration. If the soil is wet for days and plants begin to yellow or wilt, the correction went too far or drainage is poor. Good mulch makes watering more effective; it does not remove the need to observe the soil.
Common mistakes that keep soil dry
Adding fresh mulch over a compacted mat. This hides the barrier and makes the bed harder to diagnose. Pull apart or remove the old problem layer first.
Treating a depth number as a target to exceed. A 4-inch layer of coarse material in one site may behave differently from 4 inches of fine, wettable material in another. Measure, observe infiltration, and account for plant crowns and climate.
Watering only the plant’s stem. Many roots spread outward. Apply water across the useful root zone, especially beneath the canopy edge of shrubs and trees, while keeping the trunk itself dry.
Mixing wood chips into soil. Surface mulch and soil amendment are different jobs. Mixing woody material into soil can temporarily reduce nitrogen available to plants and can damage roots during unnecessary cultivation.
Using one water-drop test as proof. A beaded drop is a clue, not a complete diagnosis. Test multiple locations and check for compaction, poor drainage, irrigation gaps, and root competition.
Leaving the hose on until runoff is severe. Runoff is not evidence that the root zone is full. Slow the flow, pause, and repeat so water has time to infiltrate.
Piling mulch against trunks or crowns. Moisture held against bark can cause decay and create pest habitat. Keep the base of a woody plant visible and let perennial crowns breathe.
Mulching seed rows too early. Weed suppression also suppresses desired germination. Keep direct-sown rows accessible until the seedlings can grow through the chosen layer.
Conclusion: Healthy mulch is a water pathway, not a lid
When soil stays dry beneath mulch, start at the surface but do not stop there. Pull the layer aside, check the root zone in several places, observe the irrigation pattern, and test whether water is being absorbed or rejected. A crusted or over-deep mulch layer may need to be loosened or removed, while a dry bed with loose mulch may need better coverage, deeper watering, or improved soil structure.
Once the bottleneck is corrected, apply a modest, permeable layer over moist soil and keep it clear of stems and crowns. The best mulch is not the thickest or most attractive one; it is the one that slows evaporation while still allowing rain and irrigation to reach living roots.



