Benefits of Composting at Home for Your Garden
Discover the benefits of composting at home, from richer soil and steadier moisture to less landfill waste, with a simple beginner setup.
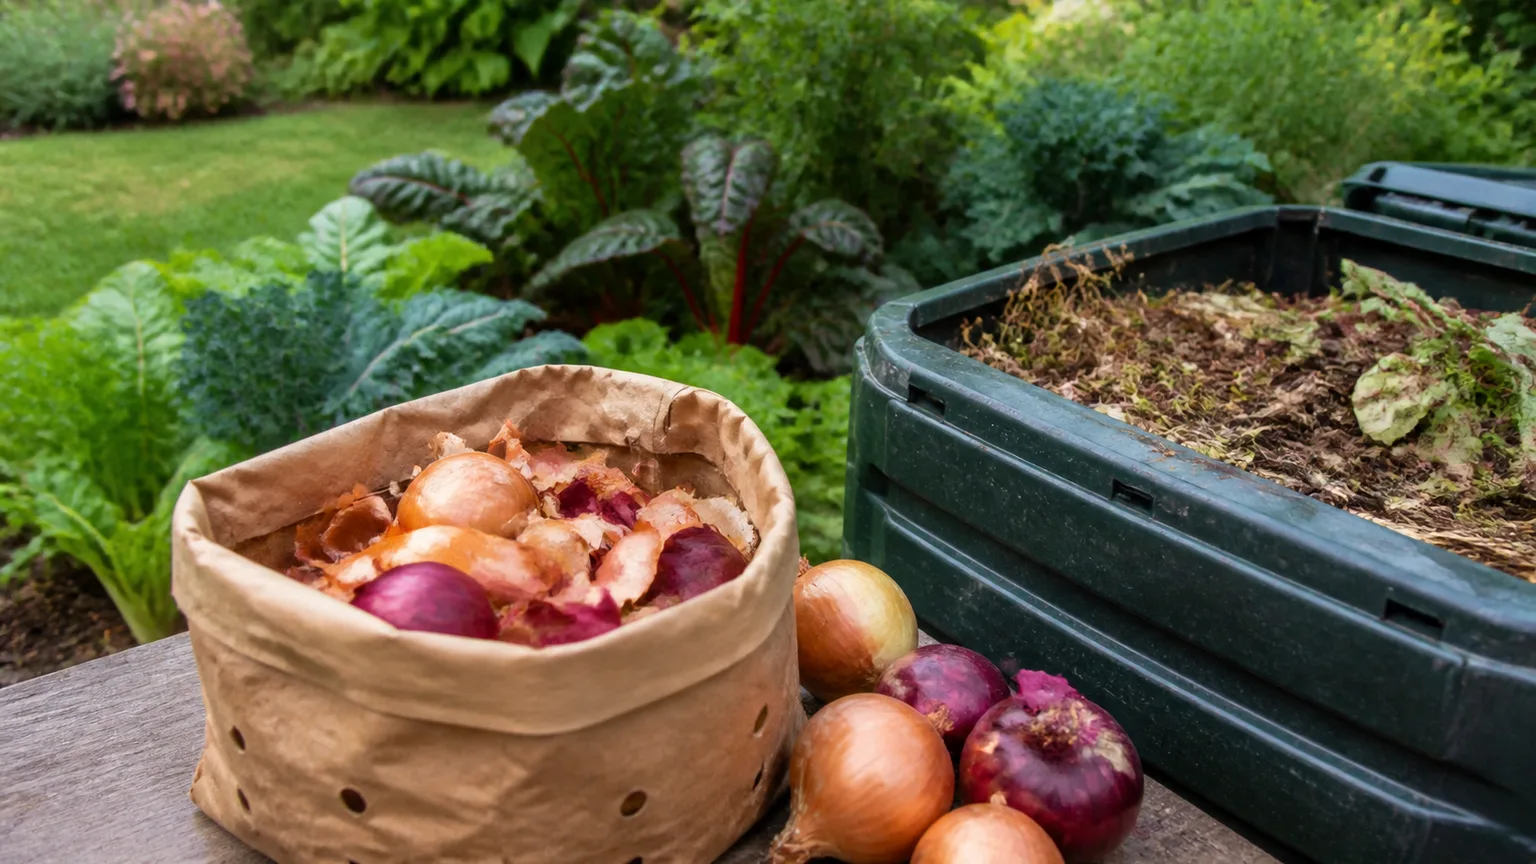
The Short Answer: Composting Pays You Back in Soil
The best reason to start composting this year is that one small household habit improves two systems at once: it keeps plant-based waste in a useful cycle and gives your garden more organic matter. Fruit peels, coffee grounds, autumn leaves, and shredded cardboard become a dark soil amendment instead of another bag headed for the trash or a collection route.
Compost is not instant fertilizer and it is not magic soil. It is a slow, living material that helps soil hold and release water more evenly, creates better pore space, and supports the organisms that break down organic matter around plant roots. The USDA Agricultural Research Service describes composting as an accelerated form of nature’s recycling and notes benefits such as improved rainfall penetration, less runoff and erosion, and stronger soil biology.
That makes composting worth doing even if you grow only a few containers or a small bed. You do not need a perfect three-bin system, a thermometer, or a year’s supply of leaves on day one. You need a method that matches your space, a dependable source of dry carbon-rich material, and a habit of covering each wet addition.
What Compost Actually Does for Soil
Finished compost is best understood as a soil amendment, not a concentrated plant food. It changes the physical and biological environment around roots, while the amount of any single nutrient varies with the ingredients, maturity, and testing of the compost. The RHS definition of garden compost describes it as decomposed plant waste added to improve fertility, structure, and water-holding capacity; that is a more useful expectation than promising a universal fertilizer replacement.
It improves water handling without acting like fertilizer
Organic matter can make a sandy soil better at holding usable moisture and can help a compacted or clay-heavy soil develop more open spaces for air and water. Compost does not turn a badly drained site into a wetland cure, though. If water sits for days because the grade or soil is fundamentally wrong, adding more organic matter is not a substitute for correcting drainage.
The water benefit is also about infiltration, not just storage. The USDA Agricultural Research Service connects compost with better rainfall penetration and reduced runoff and soil erosion. In a garden bed, that can mean less water skimming across the surface during a storm and more of each watering reaching the root zone. In a container, use a purpose-made potting mix rather than filling the pot with garden compost; a dense, compost-heavy mix can settle and stay wet.
Compost also works well as a surface mulch when it is mature. A thin, even layer slows evaporation and protects the soil surface without burying plant crowns. Keep it off stems and trunks, and do not use unfinished, hot, sour-smelling material around delicate seedlings.
It feeds soil life while reducing waste
Compost supplies a changing mix of partially decomposed organic matter that bacteria, fungi, earthworms, and other soil organisms can continue to process. The EPA’s home-composting guidance notes that compost can encourage beneficial bacteria and fungi, enrich soil, help retain moisture, and reduce reliance on synthetic fertilizers.
There is a practical waste benefit before you ever harvest finished compost. The EPA guide says food scraps and yard waste together make up more than 30 percent of what is thrown away in its referenced waste stream, and explains that composting keeps those materials out of landfills where they can generate methane. The exact percentage depends on the waste stream and location, but the household decision is simple: if your kitchen scraps can become a soil input, they do not need to be treated as useless waste.
This is why composting feels more satisfying than buying another soil product. You can see the loop: a handful of leaves and a bowl of vegetable trimmings become future organic matter for the same garden that produced some of the waste.
Choose a Composting Method You Will Keep Using
The right system is determined less by what looks impressive in a garden center and more by what you throw away, where you live, and what you can maintain. Before buying a bin, answer three questions: Do you have outdoor space? Do you produce mostly yard waste, raw kitchen scraps, or cooked food? And do you have a use for the finished material?
Backyard aerobic composting for yard waste
An outdoor bin or open-sided heap is the most flexible choice when you have leaves, weeds, spent plants, prunings, and grass clippings. Microorganisms break the material down in the presence of oxygen, and the pile becomes faster and less smelly when it has a balanced mix, enough moisture, and occasional mixing.
Choose a stationary bin if you want to add material a little at a time. A tumbler is convenient for small batches that you can turn easily, but it can be harder to keep balanced when you have a large seasonal volume of leaves. An open heap can work just as well if you have room and can keep the edges contained.
The trade-off is patience. An outdoor pile slows in cold or dry weather and may take months—or much longer if it is small, compacted, or rarely mixed. That is not failure; it is a reason to maintain a second holding area for fresh material while the first batch finishes.
Worm bins for small amounts of food scraps
Vermicomposting is a good match for an apartment balcony, a small garden, or a household that produces more fruit and vegetable scraps than yard waste. The USDA Agricultural Research Service specifically points to vermicomposting as an efficient option when space is limited and kitchen scraps are the primary material, with a finished product suitable for houseplants, seedlings, and gardens.
Worm bins need shade, airflow, bedding, and a controlled amount of food. They are not a place to dump a week’s worth of scraps at once. Add small amounts, cover them with damp bedding, and keep the bin out of baking sun and freezing wind. Worm composting does not heat up like a well-built hot pile, so it is not the system to choose when your main goal is processing a large load of diseased garden material.
Bokashi or municipal collection for cooked food and limited space
Bokashi is a sealed fermentation method rather than finished composting. It can handle a broader range of kitchen waste than a beginner’s open pile, but the fermented material still needs a second stage in soil or a compost bin. The RHS overview of food-waste methods explains that bokashi produces pre-compost and can suit homes with small gardens or no outdoor space.
If you have no place to mature compost, a municipal food-waste program, community garden, or local compost drop-off can be the most responsible option. It still keeps the material in a recovery system without forcing an indoor bin to do a job it cannot do cleanly. A countertop appliance that dries or chops scraps may reduce volume, but the output is not automatically finished garden compost; follow that product’s directions and local rules.
Start With the Right Materials, Not a Perfect Formula
Composting advice often becomes confusing because people search for one exact greens-to-browns ratio. The more useful rule is to keep wet nitrogen-rich material surrounded by enough dry carbon-rich material that the pile stays airy, damp, and neutral-smelling. The Old Farmer’s Almanac suggests thinking in the neighborhood of two parts browns to one part greens while emphasizing that gardeners should not panic over a precise ratio.
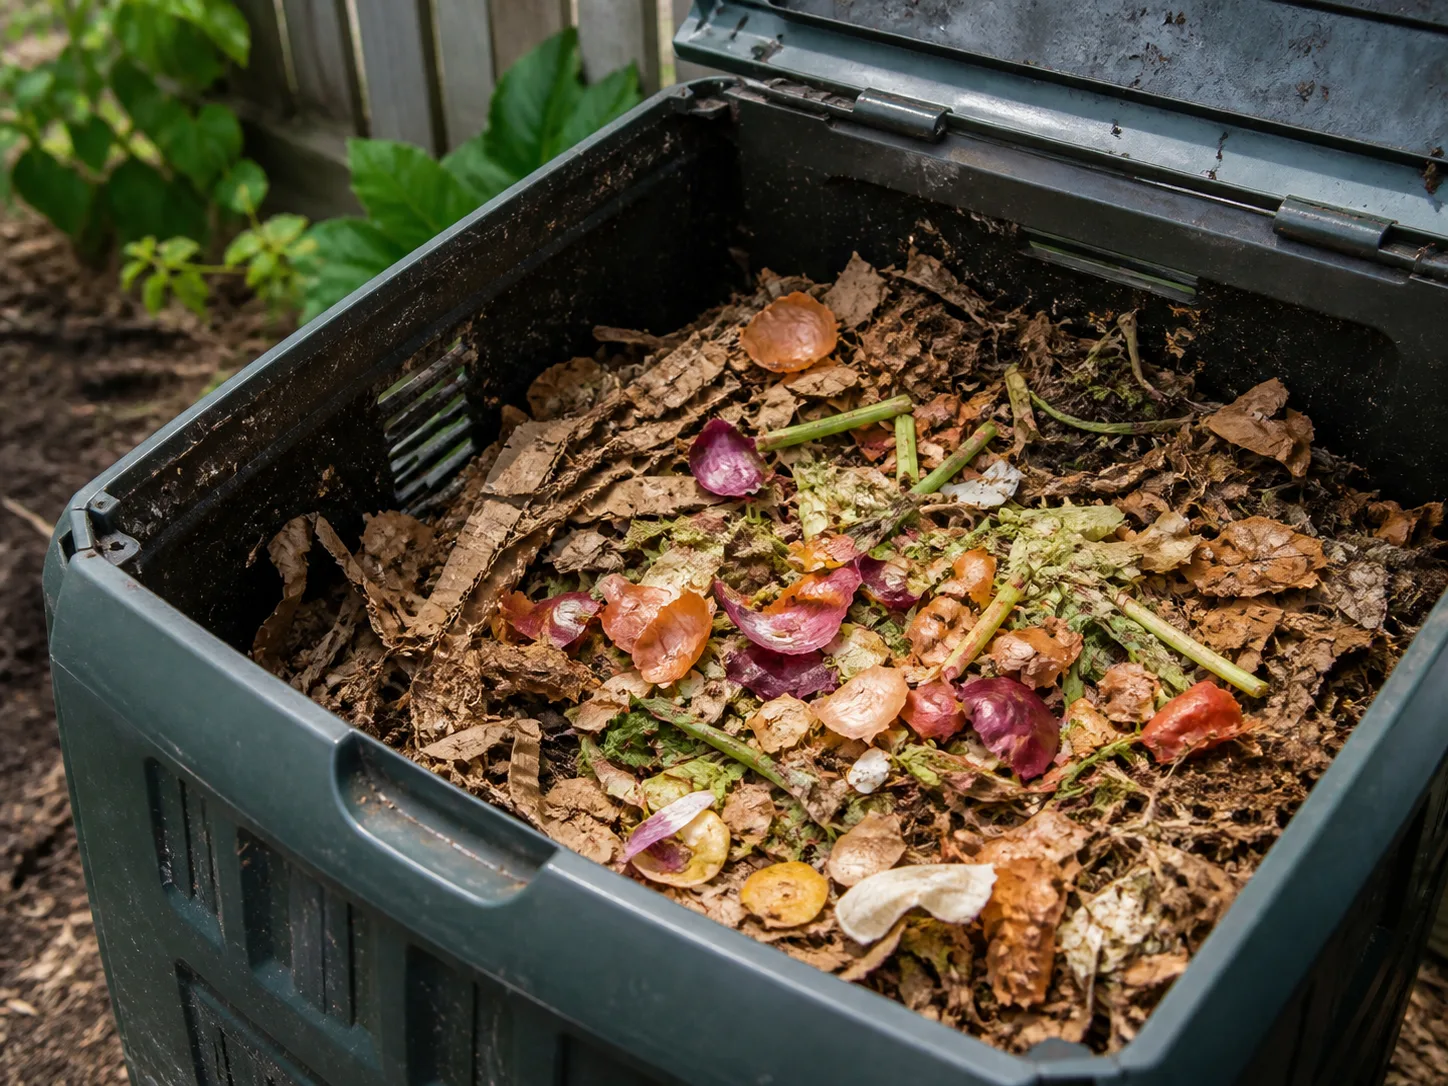
Browns supply carbon and structure
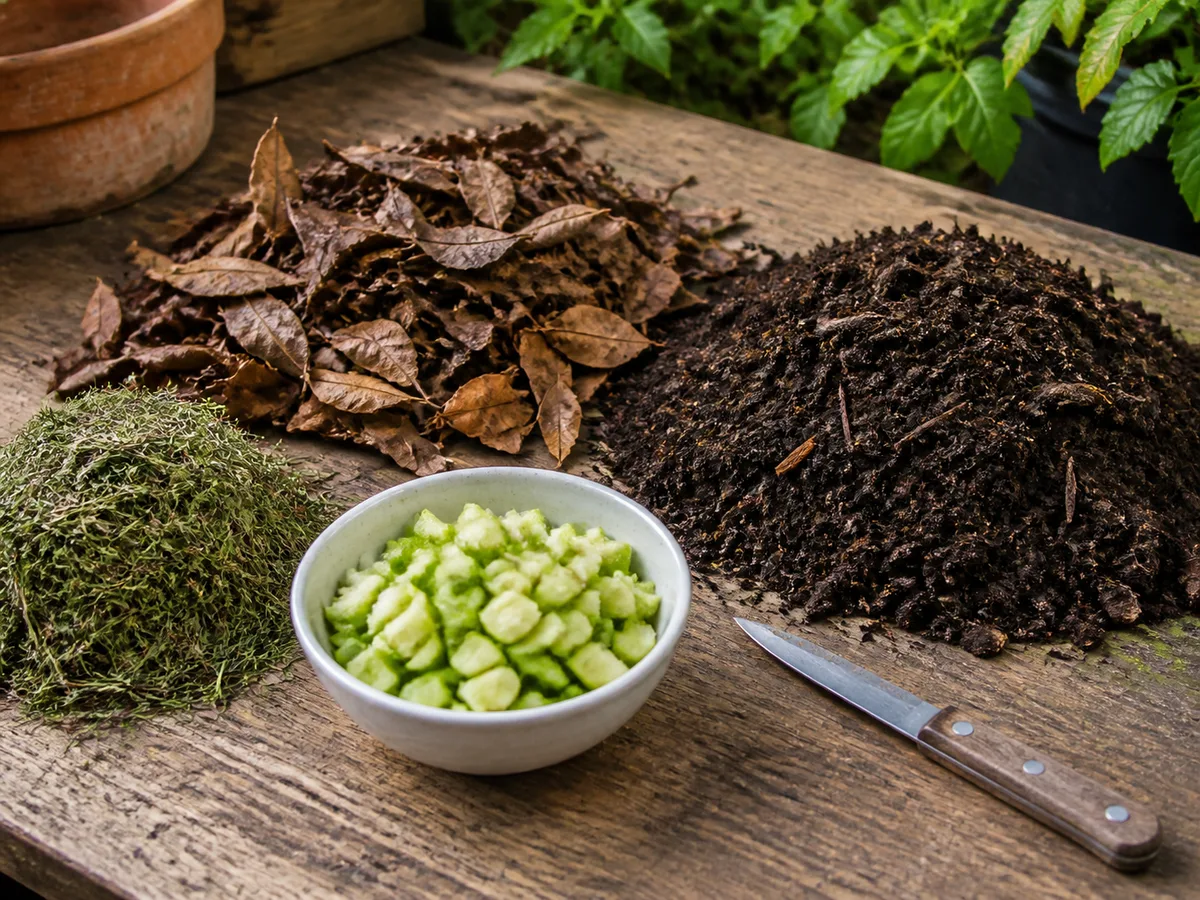
Browns are usually dry, fibrous, or woody materials: fallen leaves, shredded or torn plain cardboard, uncoated paper, small twigs, straw, and old plant stems. They create air spaces and provide the carbon-rich structure that prevents a pile from collapsing into a wet mat.
Keep a bag or lidded container of dry leaves, torn cardboard, or shredded paper next to the bin. That reserve is more valuable than a gadget because it lets you correct the pile immediately when you add a bowl of wet scraps or a bucket of fresh grass. Do not add glossy, plastic-coated, or heavily inked paper simply because it is brown in color.
Leaves can be composted whole, but they break down faster when shredded. A dense layer of leaves can mat together and slow the pile, so mix them with wetter greens or use excess leaves separately as leaf mold. The Almanac’s guidance also recommends adding cardboard in smaller pieces and moistening dry material as it is added.
Greens supply moisture and nitrogen
Greens include fruit and vegetable scraps, fresh grass clippings, coffee grounds, fresh weeds before they set seed, and green plant trimmings. They usually carry more moisture and nitrogen than browns, which helps microbes multiply and heat the pile when the material is mixed well.
Cut large scraps into smaller pieces when convenient, but do not turn composting into a second cooking project. A few minutes of chopping on bulky stems, melon rinds, or dense leaves is enough. Add fresh grass in thin layers rather than a heavy wet clump, and cover kitchen scraps with browns so they do not sit exposed at the surface.
Coffee grounds are a green material even though they look brown. Treat them as a moist ingredient and balance them with leaves, cardboard, or other dry material. The same principle applies to a large amount of fresh weeds: they can be useful, but a pile made almost entirely of them will compact and smell.
What to leave out of a beginner backyard pile
For a simple open or lightly covered backyard bin, keep out meat, fish, dairy, fats, oils, pet waste, and food scraps that attract wildlife. Leave out diseased plants and any yard material treated with a product whose label or local guidance does not allow composting. Avoid coal or charcoal ash, and do not add invasive perennial weed roots or seed-filled weeds unless you know your system reaches conditions that will neutralize them.
The EPA list of compostable materials and exclusions is a helpful beginner boundary, but it also points out that local programs may accept materials a home pile should not. Some managed municipal, hot, or bokashi systems have different rules. Follow the rules of the system you actually use; “compostable somewhere” does not mean “safe for this bin.”
Build Your First Pile in One Afternoon
The first pile succeeds when it is easy to feed and easy to inspect. Put it where you can reach it with a kitchen caddy, a hose or watering can, and a fork or shovel. A bin at the far end of the property often becomes a place where scraps go to die because every trip feels like a chore.
Pick the site and size the system to your routine
Choose a level, well-drained spot with some shade or protection from the harshest afternoon sun. It should be near the garden or the path you already use, but not so close to a door, fence, or seating area that any occasional odor becomes a daily nuisance. The EPA recommends a dry, shady spot near a water source for a backyard pile.
Make the system large enough for your normal inputs but not so large that you cannot turn or reach it. A compact enclosed bin is sensible for a small yard; two adjacent bays are useful when you have space because one can mature while the other receives fresh additions. Leave the base open to soil when appropriate for your bin and local conditions, and use a secure lid or mesh barrier if rodents are common.
Add, moisten, and mix in a repeatable sequence
Start with a coarse layer of twigs or dry leaves for airflow. Add a mixed layer of greens, then cover it with a generous layer of browns. Repeat that sequence each time you add scraps. If the material is dry and crisp, sprinkle it as you build; if it is already wet, add more dry browns instead of more water.
The target texture is similar to a wrung-out sponge: moist enough to feel cool and slightly damp, but not dripping when squeezed. The EPA home-composting guide recommends moistening dry materials as they are added, chopping or shredding larger pieces, and mixing the pile regularly. You do not need to turn after every handful; mix when the pile is compacted, slow, or developing an odor.
When you add fruit or vegetable scraps, push them into the center or cover them under roughly a hand’s depth of brown material. That simple habit reduces smells and makes the surface less interesting to flies and animals. Keep a small reserve of leaves or torn cardboard beside the bin so the next addition can be covered immediately.
Troubleshoot the Three Common Failure Modes
Most compost problems are not mysterious. The pile is usually too wet, too dry, too compacted, or receiving a material that belongs in another system. Correct one variable at a time so you can see what changes.
A sour or rotten smell usually means low oxygen. Pull apart compacted layers with a fork, add dry leaves or torn cardboard, and mix the wet center with the drier outside material. If the pile is saturated after rain, protect the top while keeping enough ventilation around the sides. Do not solve a wet pile by adding more greens.
A pile that is dusty, cold, and unchanged needs moisture or fresh nitrogen. Water dry layers lightly as you turn them, then add a modest amount of fresh green material mixed with browns. A small pile may also be too exposed to weather to heat consistently; keep expectations realistic and let time do more of the work.
Flies, rodents, or other visitors usually point to exposed food or unsuitable inputs. Bury kitchen scraps in the center, cover them with browns, secure the lid, and remove meat, dairy, oils, and pet waste from an ordinary backyard pile. If a sealed system still attracts animals, check gaps at the base and whether scraps are spilling around the opening.
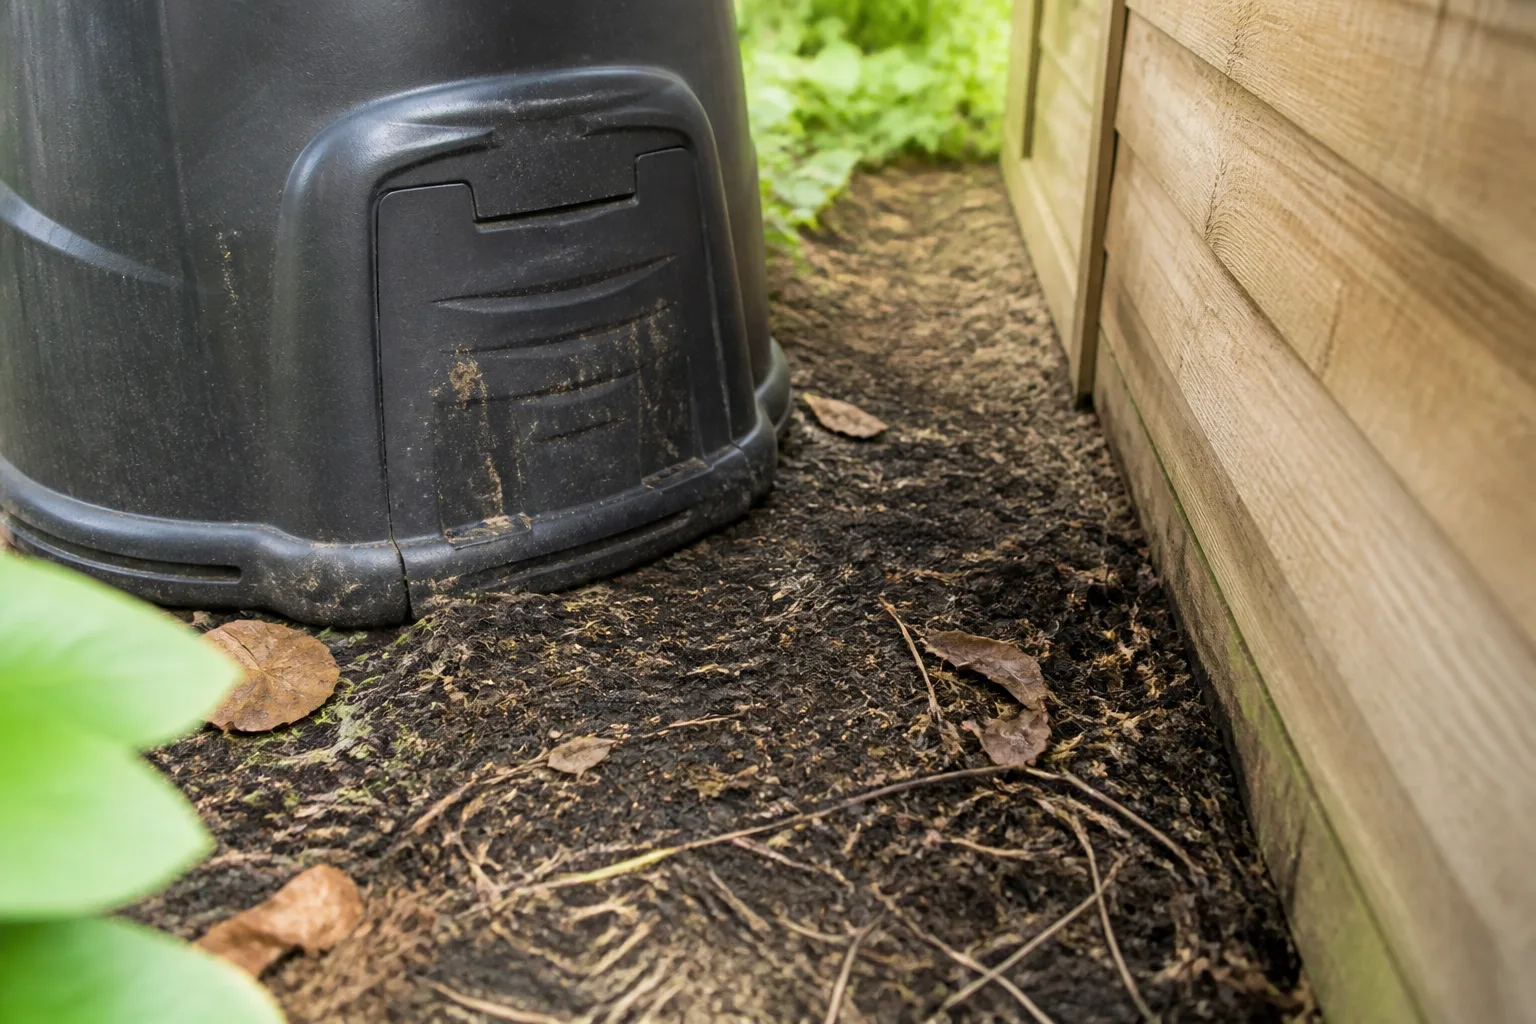
There is also a fourth problem worth naming: impatience. A pile does not become finished compost simply because the top looks dark. Weather, particle size, oxygen, moisture, and the size of the pile all change the timetable. If the bottom is dark and earthy while the top still contains recognizable scraps, harvest the finished lower material and return the unfinished portion to the active pile.
Know When Compost Is Ready and How to Use It
Finished compost is dark brown to nearly black, crumbly, and earthy-smelling. You may still see a few tough leaf stems or small wood fragments, but you should not find recognizable kitchen scraps, a sour odor, or a hot center. If it reheats strongly after turning or feels slimy, give it more time and air before using it around plants.
The time range is broad. The EPA’s general home-composting guidance says a backyard pile can take anywhere from about two months to two years, depending on how it is managed. That spread is a reminder to judge the material by maturity rather than by a promised calendar date. A small, cold, rarely turned bin can still make useful compost; it just works on a slower schedule.
Use mature compost in the places where organic matter helps most:
- Spread it as a thin top-dressing around established plants, keeping it away from stems and crowns.
- Mix a modest amount into a garden bed before planting to improve structure and biological activity.
- Add it to a new raised bed as one component of the soil, not as the entire bed.
- Screen it for seed-starting or delicate containers, and use a lighter, well-drained potting mix for most potted plants.
- Use a coarse, unfinished fraction as a future pile ingredient rather than forcing it into a seed tray.
Compost can reduce the need for routine fertilizer, but it cannot guarantee that every plant gets every nutrient in the right quantity. If plants show a persistent deficiency, growth problem, or poor performance, test the soil and address the specific cause. Adding more compost to a high-phosphorus soil, a waterlogged bed, or a container with poor drainage can make the original problem worse.
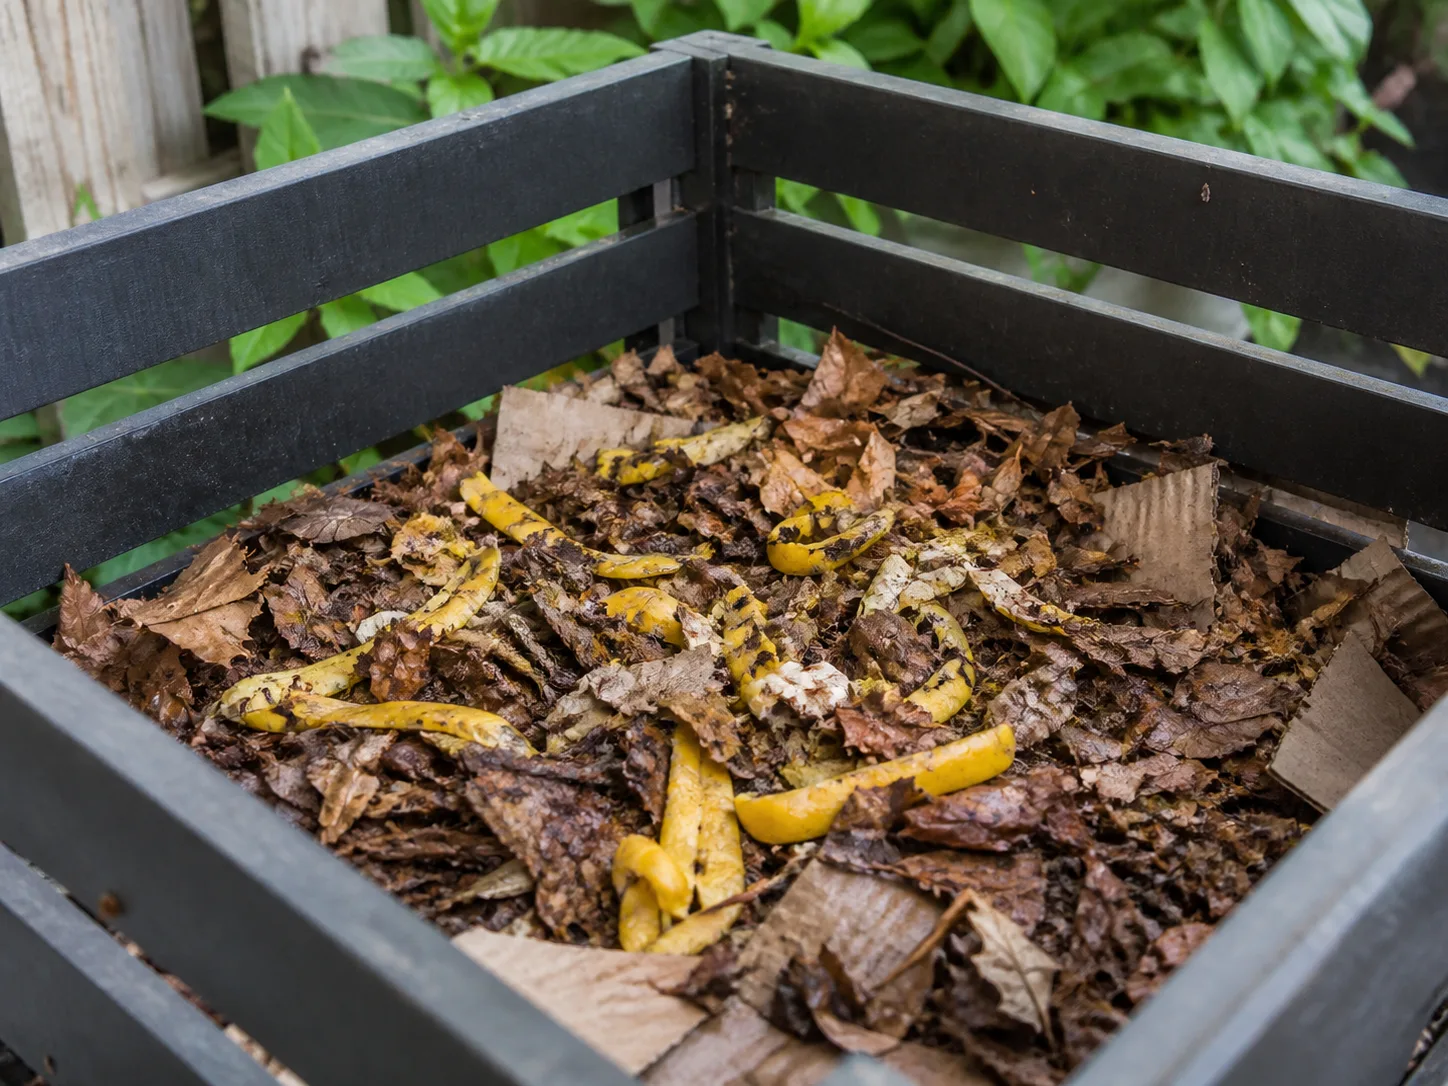
Turn Composting Into a Low-Effort Habit This Year
The habit that lasts is deliberately boring. Keep a small lidded caddy by the food-preparation area, keep a dry-brown reserve by the outdoor bin, and add scraps in a batch rather than making many small trips. Every time the caddy goes out, cover the addition. Every week or two during active weather, inspect the texture and turn only if the pile needs air or mixing.
Use the seasons to make the routine easier. Save dry leaves when they are abundant, shred or bag a portion for later, and use fresh grass in thin layers instead of waiting for a giant load. In a hot, dry spell, check moisture before adding more water; in a wet season, protect the pile and add extra browns. In cold weather, let the pile slow down rather than dismantling it in search of progress.
If you have little outdoor space, start with the smallest useful version: a worm bin, a bokashi bucket, or a municipal collection caddy. If you have a large garden, a two-bay system or an extra leaf-mold area may save more effort than buying a faster tumbler. The best method is the one that accepts the materials your household actually produces and gives the finished product somewhere to go.
Composting is also a reason to look more carefully at waste before you throw it away. Use edible food first, share or store what you can, and compost the unavoidable scraps. That order matters: composting is valuable, but preventing food waste is usually the higher step in the waste hierarchy.
Conclusion
Start composting this year because the payoff is concrete: fewer plant-based scraps in the waste stream, more organic matter for the garden, steadier soil moisture, and a better environment for soil organisms. You do not need a perfect recipe. You need the right method for your space, a dependable supply of browns, enough moisture and air, and a clear boundary around what your system should not accept.
Begin with one bin or collection method, one small kitchen caddy, and one bag of dry leaves or torn cardboard. Feed it consistently, correct odors by adding air and browns, and wait for the material to mature before spreading it. By this time next year, the most convincing reason to keep composting will be sitting in your own soil.



