5 Tips to Help Your Houseplants Survive the Dry Winter
Dry winter air can crisp leaves, but extra water is not always the answer. Learn how to adjust humidity, placement and care without overcorrecting at home.
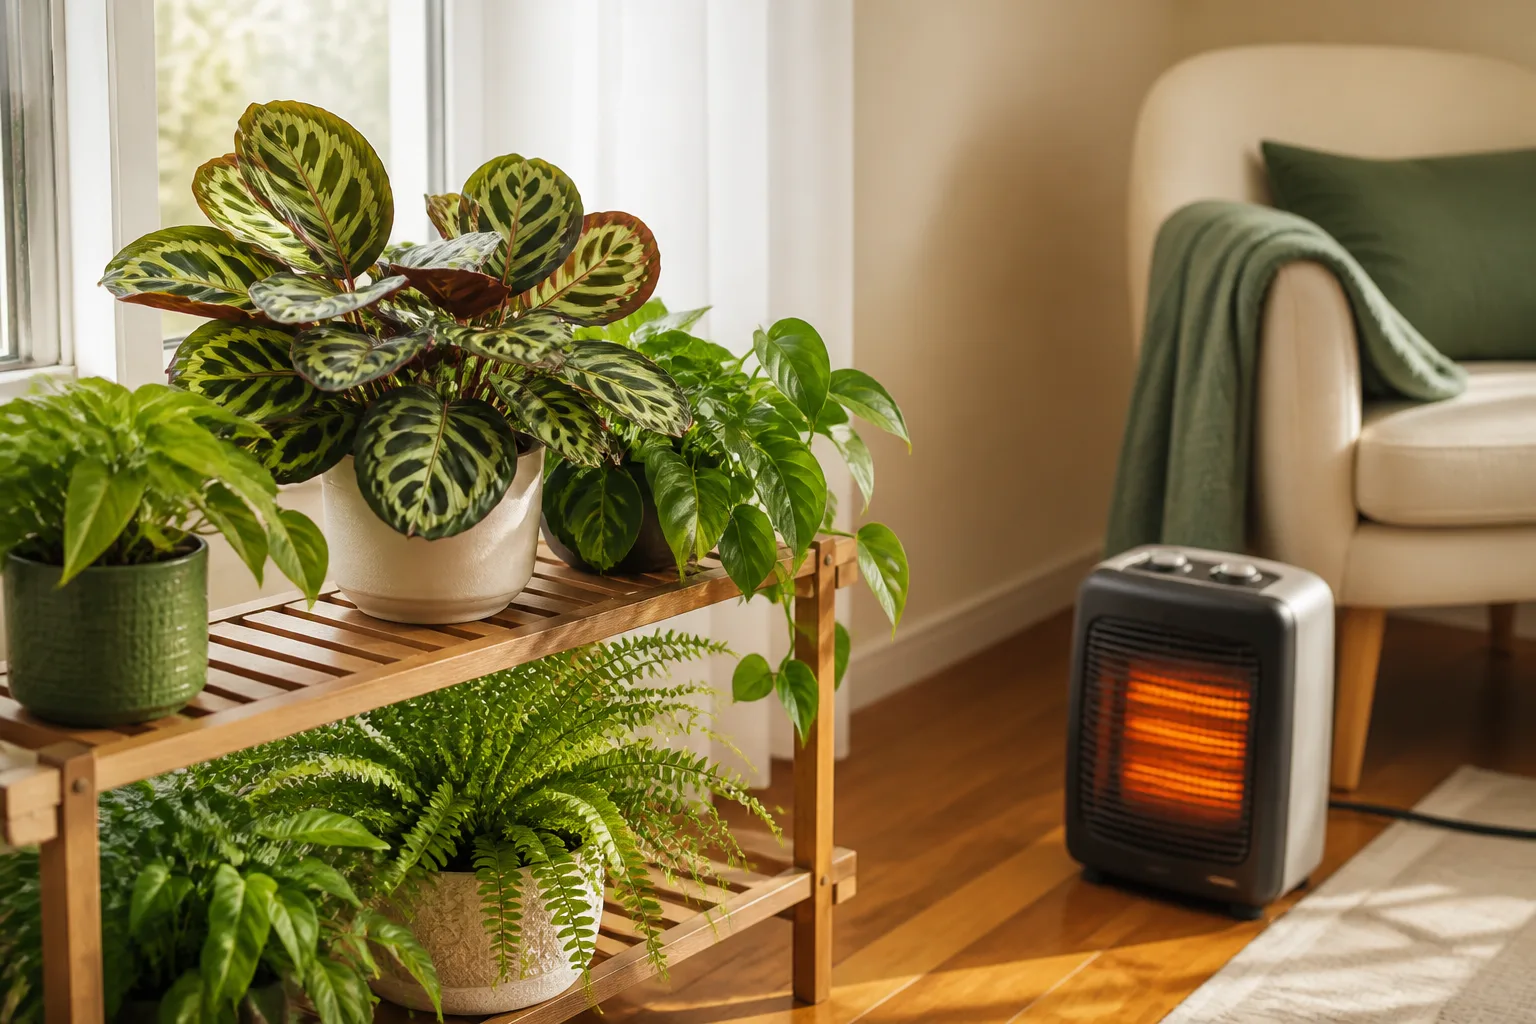
Dry winter air often shows up first at the leaf tips: edges turn brown, thin leaves curl, or a plant that looked fine in October begins to look tired. The tempting response is to water more or mist every leaf. Neither is a reliable fix on its own, because leaves can lose moisture quickly while a cool, dim pot remains wet for days.
The better approach is to check the room and the root zone separately. Measure humidity near the foliage, move plants out of direct hot or cold airflow, and water according to each plant’s mix and growth—not according to crispy leaves or a weekly reminder. These five adjustments can reduce winter stress without turning a humidity problem into root rot.
What winter dryness actually does to houseplants
Cold outdoor air contains less water vapor than warm air. When that air enters a heated home and warms up, its relative humidity drops; heating can therefore leave the room feeling dry even though a heater is not literally pulling water out of every leaf. Penn State Extension notes that indoor humidity can fall below 30% during the heating season, while N.C. Cooperative Extension reports that some homes can drop below 20%. Those readings are not universal, but they explain why a tropical plant near a vent may struggle while the soil still feels damp.
Plants lose water through tiny openings in their leaves, a process called transpiration. Dry air, warm airflow and direct sun can all increase water loss from foliage. Roots can replace that water only if they are healthy and the potting mix has enough available moisture; cold, saturated soil slows root activity, so adding more water may deepen the problem rather than solve it. The RHS winter-care guidance describes this seasonal combination of lower light, cooler conditions and more delicate leaves exposed to central heating.
Check humidity and temperature at foliage height
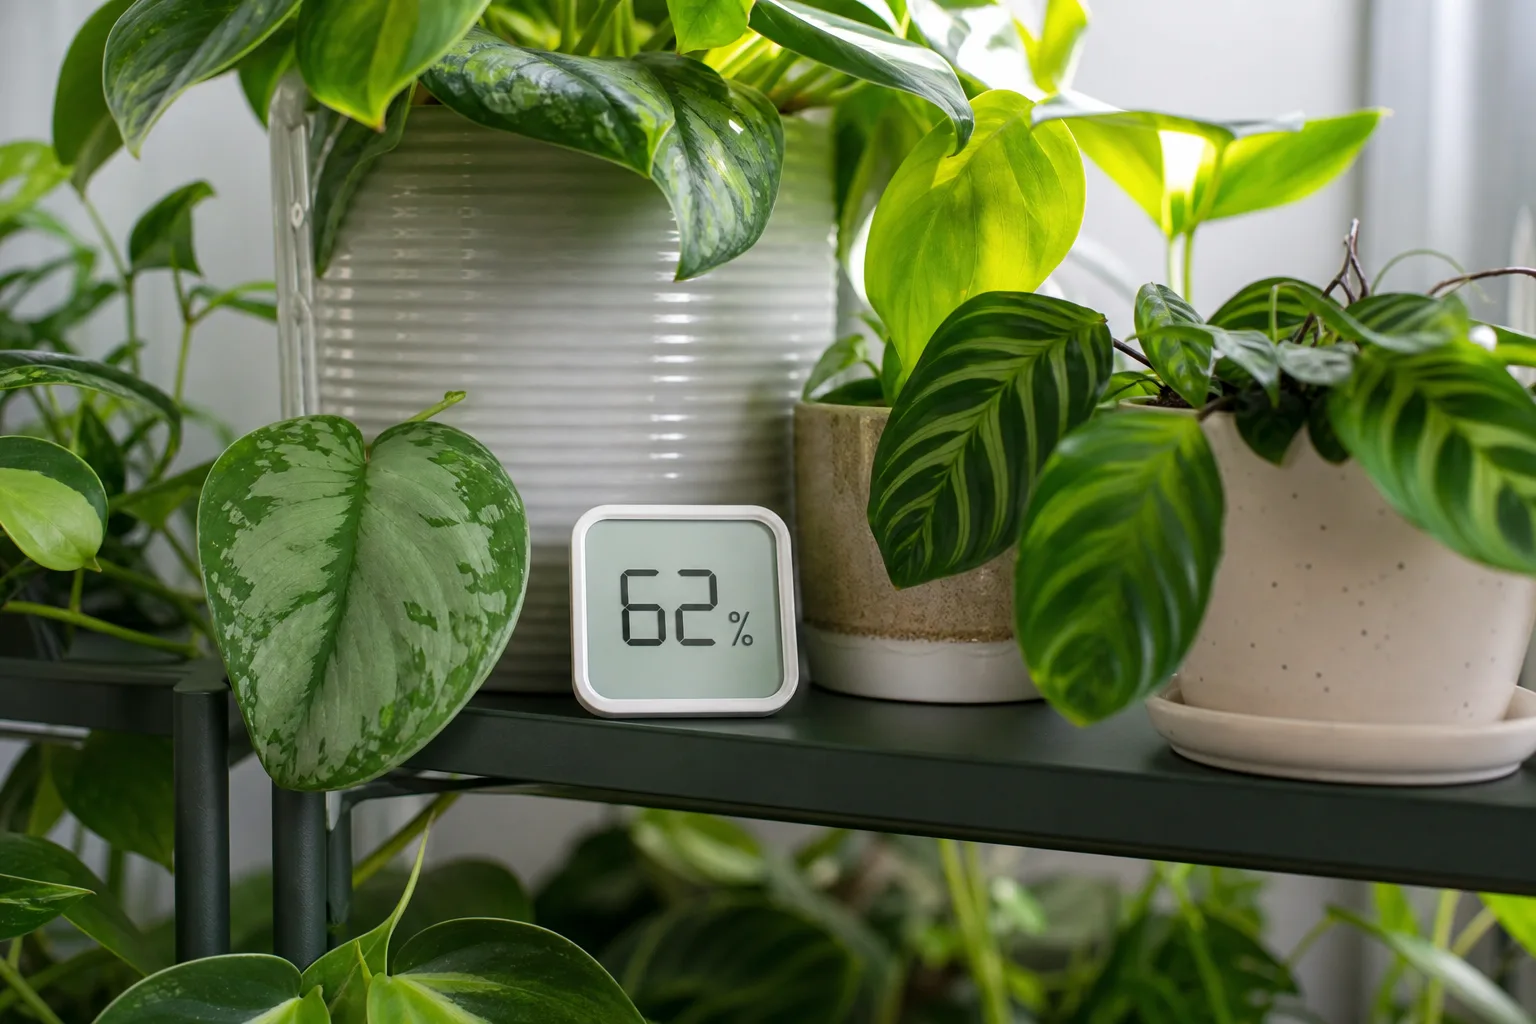
A small digital hygrometer gives you a more useful starting point than a dry-feeling room or a single brown leaf. Place it near the leaves—away from a window, heater outlet, humidifier mist or sunny pane—and let the reading settle. Take a reading at different times of day for a few days; central heating cycles, cooking, showers and ventilation can make one snapshot misleading.
Humidity requirements vary. A fern or thin-leaved tropical may react to dry air sooner than a thick-leaved pothos, while many cacti and succulents prefer a drier atmosphere. N.C. Cooperative Extension offers 40–50% as a helpful range for many houseplants, but that is not a universal target or a promise that every species will thrive at the same number. Start by comparing your room’s reading with your plant’s needs, then make one adjustment and watch the plant rather than trying to recreate greenhouse conditions in the whole home.
Read brown tips as clues, not a diagnosis
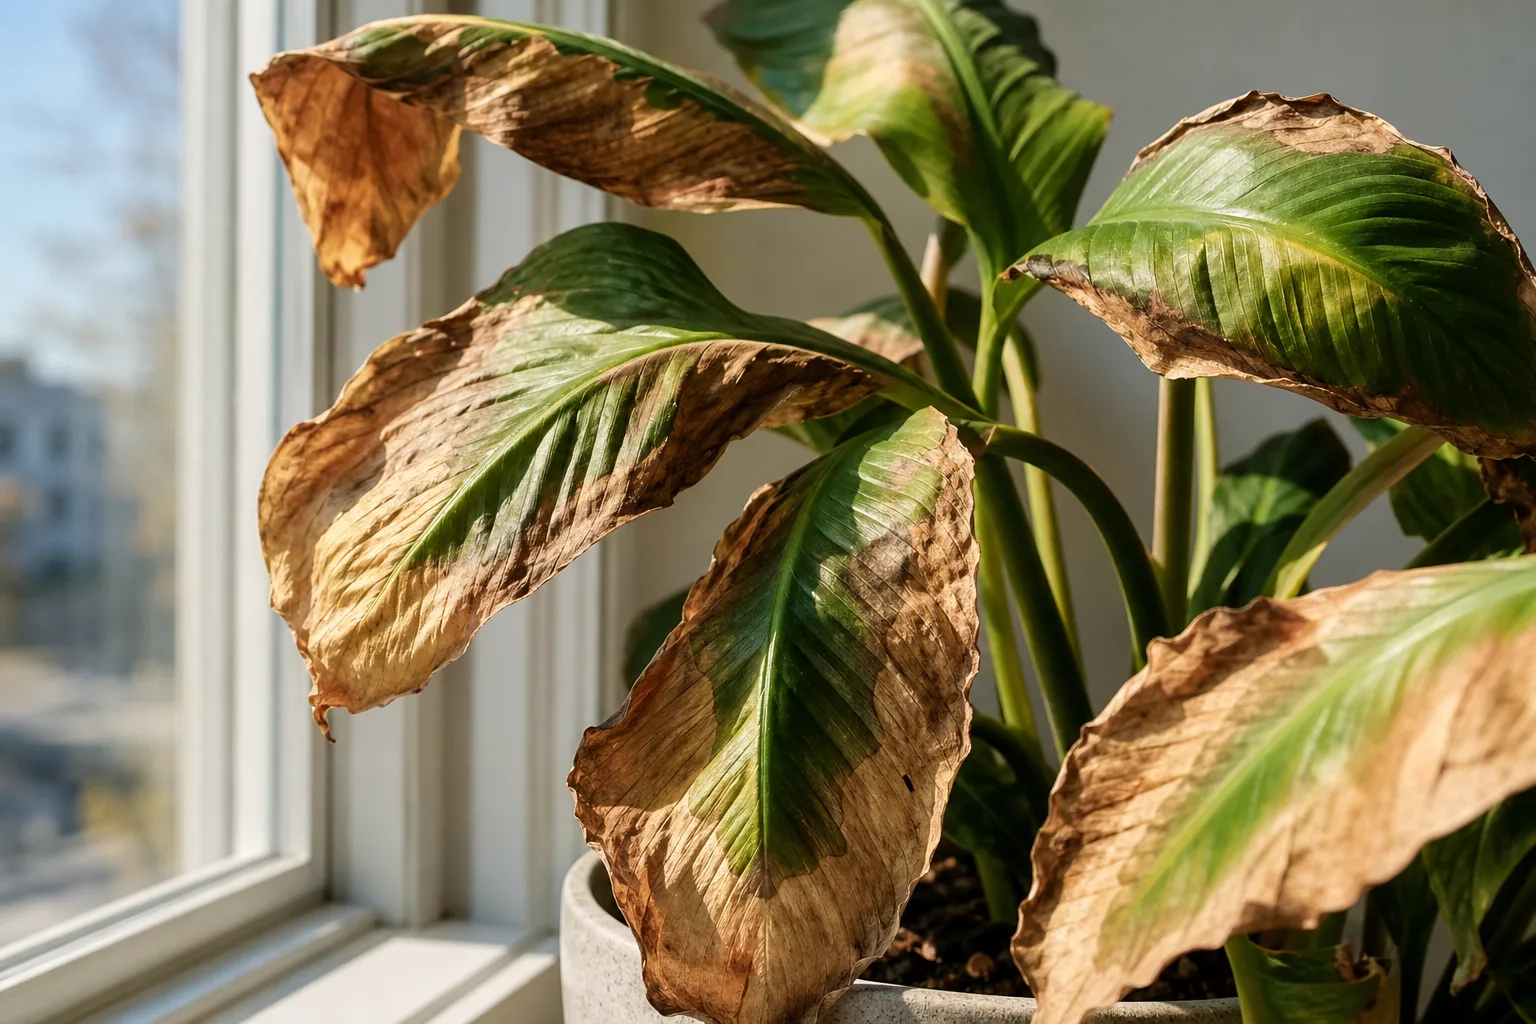
Brown, crispy margins are compatible with low humidity, but they can also follow missed watering, root damage, excess fertilizer salts, strong sun, a hot draft or cold injury. A symptom is most useful when paired with a pattern: several plants beside one vent point toward airflow; one plant with wet soil and drooping stems points toward a root-zone problem; fine pale stippling or webbing calls for a pest inspection, not another drink.
Use the quick comparison below to decide what to inspect first. It is a triage tool, not a diagnosis from a photograph: species, recent moves and the condition of the roots all matter.
| What you notice | First check | Safer first response |
|---|---|---|
| Dry edges on several plants near a vent | Hot airflow and room humidity | Redirect the airflow or move plants; measure before adding humidity |
| Crispy tips with very dry, shrunken mix | Root-zone moisture and whether water soaks in | Rehydrate slowly, then drain fully |
| Drooping leaves while the mix is still wet | Drainage, cold roots and pot weight | Pause watering and check the pot, outer cachepot and temperature |
| Fine pale speckles, webbing or sticky residue | Leaf undersides, stems and nearby plants | Isolate the plant and identify the pest before treatment |
1. Measure before you try to raise humidity
If the air is consistently dry at plant height and you grow humidity-sensitive tropicals, a clean, properly sized humidifier is the most controllable household option. Put it near the plant group but not so close that it blows damp air directly onto foliage, a wall or a cold window. Run it long enough to change the reading where the leaves are, then adjust based on the hygrometer instead of assuming the tank being empty means the plants received enough moisture.
For many common foliage plants, moving a room from very dry conditions toward the middle of the range cited by extension guidance can be a sensible first goal. Do not treat 50% as a magic number, though: a plant’s species, airflow and leaf condition matter, and succulents do not need the same treatment as calatheas. If condensation appears on windows or nearby surfaces, reduce the output or improve ventilation; moisture should help the plant without creating a persistently damp corner.
Humidifiers need routine cleaning according to the manufacturer’s directions. Standing water and a neglected reservoir can become a hygiene problem, and mineral-heavy water can leave dust on nearby surfaces in some units. Keep cords and the unit stable around pots, and never put an electrical appliance where runoff can reach it. A hygrometer lets you use the lowest output that makes a useful difference instead of running a humidifier at full power by habit.
When a humidifier is worth using
A humidifier is worth considering when a hygrometer repeatedly shows dry conditions, a plant that prefers humid air develops new damage, and other likely causes—wet or bone-dry soil, pests, cold glass or direct heat—have been checked. It is particularly practical for a concentrated plant shelf: one unit can serve several plants while you monitor the same area. Penn State Extension includes a portable humidifier among the options for raising indoor humidity and cautions that plants do not share one exact ideal level.
Choose a model you will maintain. A small unit that is easy to empty and clean may be more useful than a large one that is awkward to service. Position it so the plume mixes into room air instead of soaking one leaf, and keep enough space around the plants for airflow. If only one humidity-sensitive plant needs extra help, a smaller area or a clear enclosure with ventilation may make more sense than humidifying an entire open-plan home.
Do not run a humidifier simply because the calendar says it is winter. If your measured room conditions are already suitable and your plants are growing normally, extra moisture may not help. If the symptoms continue after humidity improves, return to the diagnosis: brown edges do not identify the cause by themselves.
Why misting and pebble trays can disappoint
Misting wets leaf surfaces but does not keep the surrounding air humid for long. Penn State Extension says the increase lasts only until droplets evaporate, sometimes just minutes. It can also leave moisture sitting on foliage, which is undesirable for some plants, especially fuzzy-leaved types or plants in a cool room with little air movement. Use a spray bottle for a species-specific task or a gentle leaf rinse when appropriate, not as a substitute for humidity control.
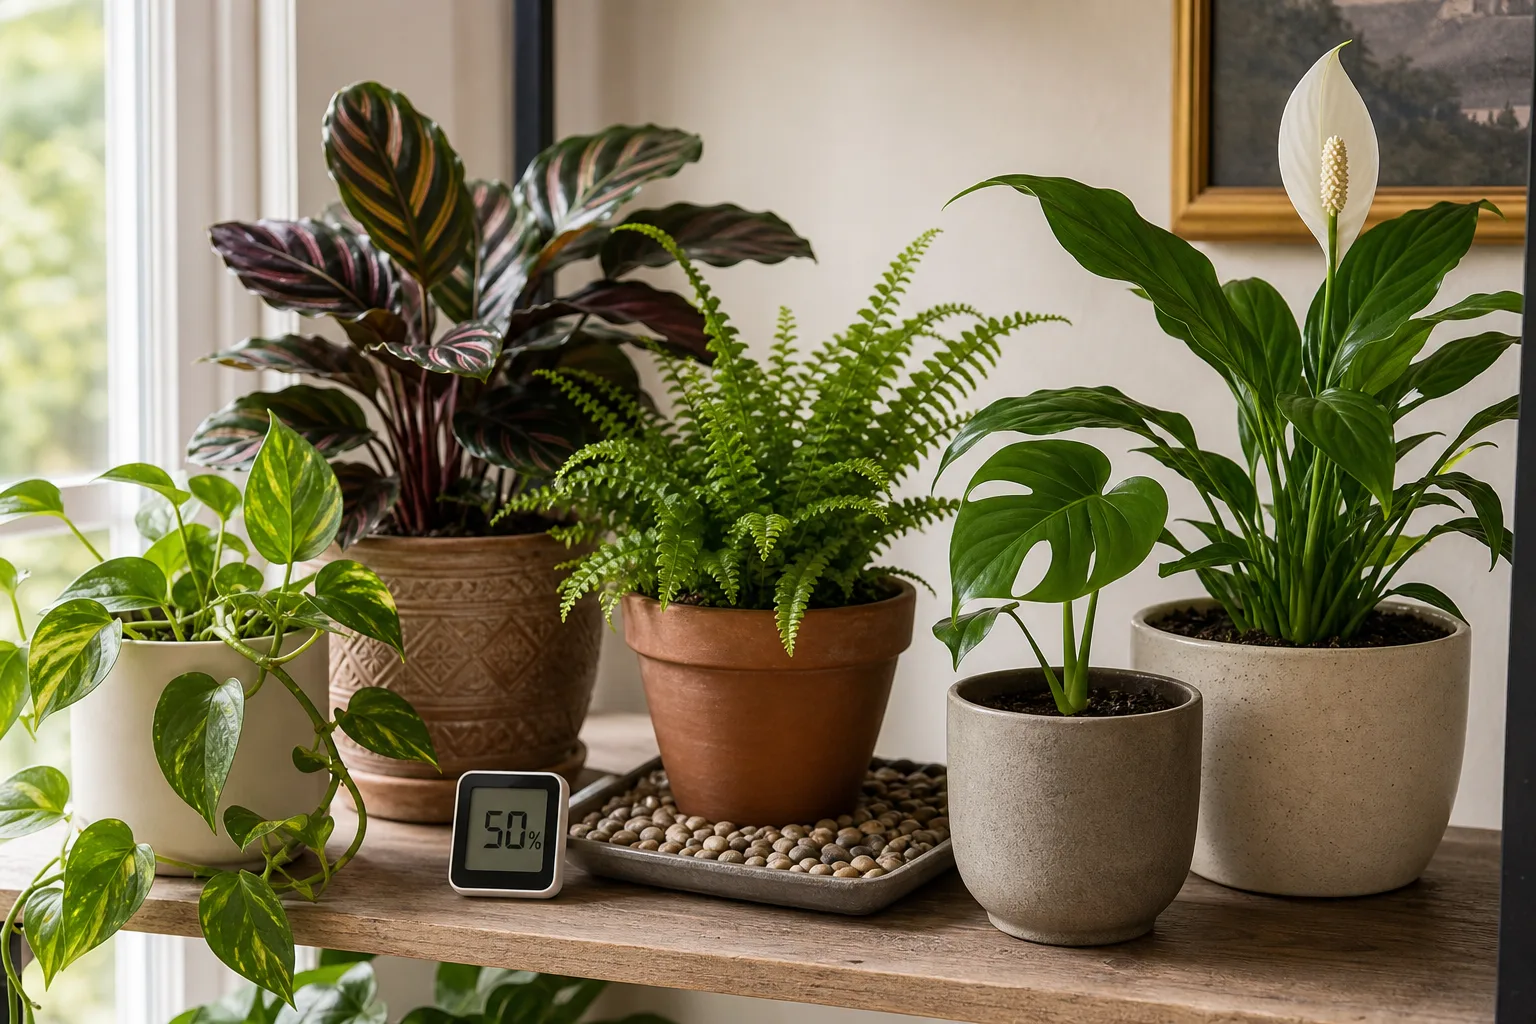
Gardening advice is divided on pebble trays. The RHS and Epic Gardening’s winter humidity guide include trays among the ways to give plants a more humid immediate setting. By contrast, Penn State Extension’s review explains that evaporation diffuses into the room and a small tray has little effect on overall relative humidity; the practical guide from Empress of Dirt reaches a similar conclusion about relying on trays or misting as a fix.
The practical middle ground is modest: a tray can be a tidy way to catch drips and provide a small evaporating surface near foliage, but do not expect it to change the humidity of a whole room or rescue a plant in a very dry home. If you use one, set the pot on stones above the waterline, keep drainage holes out of standing water, and clean the tray regularly. A pot left in water can stay wet when winter roots are already slow to use it.
2. Move plants out of hot airflow and cold drafts
Direct heat can warm leaf surfaces and increase water loss; forced-air vents also deliver a moving stream of dry room air. Space heaters, fireplaces and radiators create similar hot spots, while a drafty door or a pane of cold glass can chill foliage and roots. Find the plant’s actual exposure: a thermostat on the opposite wall cannot tell you how hot the leaves feel above a floor vent or how cold the pot becomes overnight on a sill.
Move vulnerable plants out of the direct path of a vent, radiator or portable heater. They do not need to be banished to a dark corner or placed in a cold hallway. A stable shelf in the same bright room is often enough; if the nearest suitable spot is cooler, check how the plant responds and avoid abrupt temperature swings. The N.C. Cooperative Extension winter checklist and RHS both call out hot vents, fireplaces, cold windowsills and drafts as conditions to manage, rather than simply turning up humidity.
Keep winter light without pressing leaves against glass
Winter days are shorter, and the sun sits lower, so a location that was bright in summer may deliver much less usable light. Pull curtains open during the day, clean the window, and move a plant a little closer to bright light if its species tolerates that exposure. Keep foliage from touching cold glass, and pull plants back from the pane on nights when the sill becomes unusually cold.
If you use a grow light, treat it as a way to compensate for lost daylight, not as a heater. Follow the fixture’s distance and timing guidance, and avoid placing a plant directly under a strong lamp for long hours without observing it. Leaves that bleach or scorch after a move may be reacting to sudden intensity, while a plant stretching toward the window may need more light; make changes gradually so you can tell what helped.
Bathrooms and kitchens can have higher humidity than a living room, but they are not automatically better homes for plants. A windowless bathroom may be too dark, and a kitchen cabinet above a stove may be hot and drafty. Use these rooms only if light, temperature and airflow suit the plant as well as humidity does.
3. Water the root zone, not the crispy leaf
Dry air can increase water loss from leaves, but it does not prove that the pot needs water. Winter’s lower light and slower growth often mean that potting mix dries more slowly; watering on the summer schedule can leave roots in cold, wet soil. At the same time, a plant next to a warm vent or in a small terracotta pot may still dry quickly. Measure the soil condition for that pot instead of applying a blanket rule to the collection.
Check the mix where the active roots are, not only the surface. For many common foliage plants, the upper inch or two drying can be a useful prompt to check deeper, but ferns, orchids, succulents and moisture-sensitive species do not share one watering threshold. Push a finger into the mix, use a clean wooden skewer for a deeper pot, or learn the difference in pot weight between a fully watered plant and one ready for its next drink. Gardening Know How’s winter-care advice also recommends judging the mix and adjusting for slower winter growth rather than keeping a summer routine unchanged.
Check the mix at the plant’s usual drying depth
When it is time to water, wet the whole root ball evenly until water drains from the bottom, then empty the saucer or decorative cachepot. Repeated tiny sips can leave dry pockets in the mix and encourage roots to grow only near the surface. If the plant is in a container without drainage, use extra caution: excess water has nowhere to go, so small measured drinks are safer than soaking the pot and hoping it will dry.
Do not water a plant just because its leaves droop. If the pot feels heavy and the lower mix is damp, more water can deprive roots of oxygen and worsen the decline. Check for blocked drainage holes, standing water inside an outer pot, a cold sill, or signs of root damage before deciding that thirst is the problem. Conversely, if the mix is dry well below the surface and the pot is unusually light, a thorough drink may be appropriate even in January.
Re-wet a dry, water-repellent root ball carefully
Very dry peat-based or compacted mixes can shrink from the pot edges and resist water. A fast pour may then run down the gap and out of the drainage holes while the center of the root ball stays dry. If you see water bypassing the soil, pause and apply smaller amounts slowly across the surface, giving the mix time to absorb before adding more.
For a pot with open drainage and a healthy plant, a brief bottom soak can help rehydrate a stubborn root ball: set the pot in shallow room-temperature water for about 10 to 15 minutes, check whether the mix has begun to take up moisture, then remove it and let it drain completely. Do not leave the plant sitting in water afterward. Skip this approach if the soil is already wet, the plant is prone to root rot, the container has no drainage, or you suspect a root problem; in those cases, soaking adds moisture where the plant may not be able to use it.
4. Group only plants with compatible needs
Grouping plants can make it easier to care for a collection and may create a slightly more humid pocket as leaves and potting mix release moisture. It is a useful low-cost experiment, not a promise of tropical greenhouse conditions. The effect depends on the number and size of plants, the room’s air movement and how much space separates the group from the rest of the room. Check with a hygrometer at the leaves before and after grouping if you want to know whether it changed anything measurable.
Cluster plants that can share similar light, temperature and moisture conditions. Calatheas, marantas and some ferns may suit a more humid shelf together; a desert cactus or a succulent that prefers drier air should not be placed in the middle of a constantly damp grouping. Leave room between leaves so air can move, and do not let pots touch if pests or leaf disease are concerns. A crowded display can make inspection harder and can pass a pest from one plant to its neighbor.
Use bathrooms and trays as small-scale aids, not guarantees
A bright bathroom may help a humidity-sensitive plant if shower use regularly raises the room’s humidity, but a hygrometer will show whether the effect lasts beyond the shower. Keep plants away from soap spray, hot steam, cold windows and stagnant corners. If the room lacks daylight, use a grow light or choose another location; humidity cannot replace photosynthesis.
You can put a water-and-pebble tray beneath a grouped display only if the containers remain above the waterline. Treat it as a modest extra, not the center of the winter plan. If a tray makes it easier to share a small shelf or catch drips, use it for that practical purpose; if a plant’s humidity reading remains too low, use a measured humidifier or a smaller ventilated enclosure instead. Do not nest one pot inside another with water trapped at the bottom.
5. Adjust feeding and leaf care to actual growth
Many foliage plants slow down in winter as light and growth decline, so they use less water and generally need less fertilizer. Pause routine feeding when a plant is not actively growing, especially if its potting mix is staying wet longer than usual. Fertilizer does not correct low humidity, and applying extra to a stressed plant can add soluble salts to the root zone and worsen damaged leaf margins.
Use the plant, not the month, as your guide. A plant under a suitable grow light that continues to produce healthy new leaves may still be actively growing; a winter-blooming plant may also have a different feeding cycle. Check the species-specific care guidance and the fertilizer label before feeding. For a dormant or nearly stalled plant, waiting for renewed growth and stronger seasonal light is usually more useful than encouraging tender growth during the darkest stretch.
Do not repot or prune healthy growth solely because the air feels dry. Remove a leaf only when it is mostly damaged or dead, and leave green tissue that still contributes to the plant. If you change humidity, light and watering all at once, you may not learn which change helped; make the most important correction first and give the plant time to respond.
Clean leaves and inspect for pests
Dust on broad leaves can block light and make it harder to spot early pest activity. Wipe smooth foliage gently with a damp, soft cloth or rinse it with lukewarm water if the species tolerates that treatment. Avoid polishing products and be careful with fragile, fuzzy or folded leaves that can hold moisture. Cleaning is a maintenance step, not a humidity treatment, but it helps you see whether new damage is appearing.
Dry, warm conditions can coincide with spider-mite problems, but brown tips alone do not prove mites are present. Turn leaves over and look for fine stippling, webbing, tiny moving specks or fresh damage near veins. If you find a likely pest, separate the plant from the group and identify it before treating; spraying every plant with a household remedy can create more stress than the original symptom. Recheck neighboring plants over the next several days because early detection is easier than trying to undo an established infestation.
A simple one-week winter reset
Start with a baseline instead of changing every pot. On day one, note the room’s humidity near the plant leaves, find any heater stream or cold draft, and check the soil of the most affected plant. Photograph the damage if useful; old brown edges will not turn green again, so the appearance of new growth is a better measure of whether your change is helping.
Over the next few days, move plants out of direct airflow while preserving bright light, and use a humidifier only if readings and plant needs justify it. Check soil before watering, drain excess water, and group compatible plants only if the arrangement keeps good airflow. On day seven, compare humidity readings and look for new damage, new growth, pests or lingering wet soil. If several symptoms persist, change one condition at a time and reassess instead of increasing water, misting and fertilizer together.
Conclusion
Dry winter air can stress leaves, but the remedy is not automatically more water. Measure conditions near the foliage, protect plants from heater blasts and cold drafts, water according to the root zone, and choose a humidity strategy that matches the species and the room. A humidifier can provide sustained control when it is needed; misting is temporary, pebble trays are limited, and grouping works best as a small, compatible microclimate.
Watch for new growth and fresh damage rather than expecting old brown tips to recover. If you also need a broader seasonal checklist for winter light, cold windows, watering and pests, see our winter houseplant care guide.



