Bay Laurel Pruning: When, Where, and How
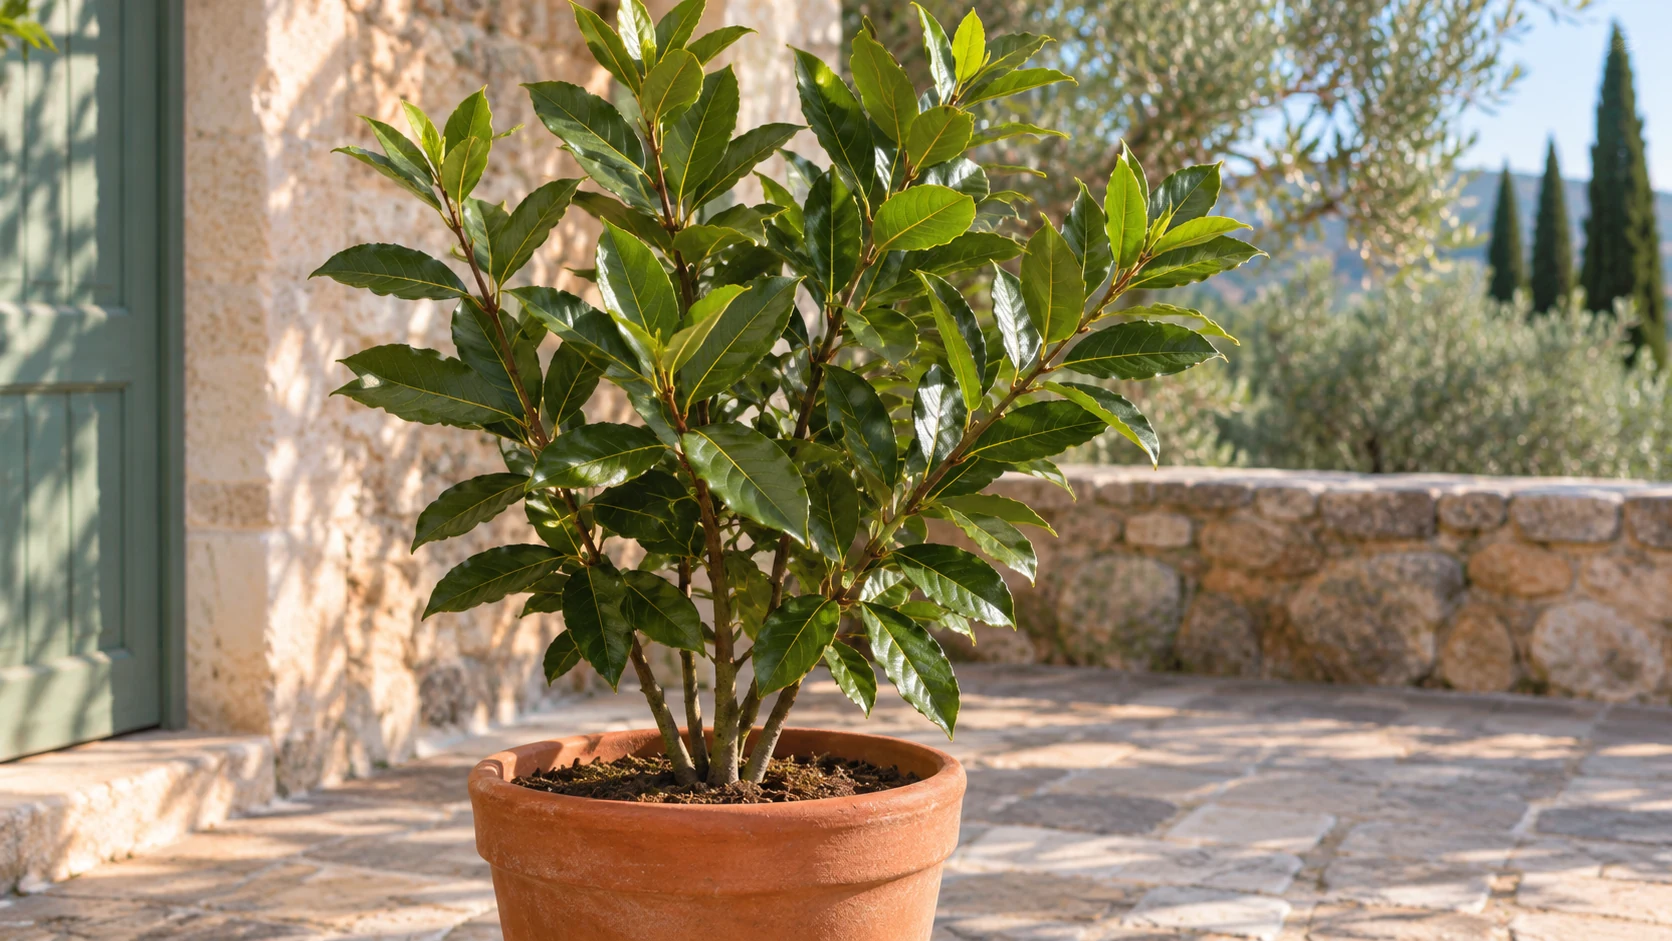
Bay Laurel Pruning: When, Where, and How
Bay Laurel Pruning: When, Where, and How
First, remove only dead, broken, or clearly diseased growth with clean, sharp pruners. If the bay laurel has no damaged branches, pause before cutting and decide whether you want to thin a shrub, shape a topiary, or simply harvest a few leaves. True bay (Laurus nobilis) is a woody evergreen that can be grown as a shrub, small tree, standard, or topiary, and each form needs a different cut. The RHS distinguishes routine shaping from winter-damage cleanup.
Your first cut: remove damaged growth
Inspect the plant before you shorten any healthy branch. Remove a dead or broken stem back to healthy wood or to its point of origin, and take away winter-damaged leaves once the risk of severe cold has passed. If you cannot tell whether a branch is dead, scratch a small patch of bark: green tissue beneath indicates it may still be alive, so wait before removing it. The Bay Leaf plant hub covers the species and its seasonal care.
Assess the plant’s shape and goal
Step back and look at the whole canopy. A bushy shrub may need only a few crossing or badly placed branches removed; a trained standard needs unwanted shoots cleared from its trunk; a topiary needs light trims that preserve its outline. Bay is evergreen and responds to shaping, but its growth is relatively slow, so large cuts take time to fill. NC State Extension describes sweet bay as suitable for pruning into topiary; choose one goal for the session rather than combining every possible cut.
When to prune bay laurel
Published timing varies with climate and pruning purpose. Better Homes & Gardens and The Spruce place routine pruning in late winter or early spring, before active growth. The RHS recommends late-spring pruning for winter damage and hard renovation, while Gardener’s Path favors late spring after new growth has emerged. In a mild climate, prune lightly as winter ends; where frost remains a risk, wait until late spring. This timing reconciles the sources by protecting fresh cuts and allowing recovery growth.
Choose the right pruning method
Use thinning cuts to remove a whole branch at its origin, and heading cuts to shorten a stem just above a healthy leaf or bud. Thinning opens a crowded canopy; heading helps shape the outline or encourages branching near the cut. For a casual shrub, start with thinning and then make only a few heading cuts. A standard or topiary needs more frequent small trims. The light guide helps diagnose sparse growth before you cut a branch that is stretching toward a window.
Prepare clean, sharp tools
Use hand pruners for small stems, loppers for thicker branches, and a pruning saw for a mature limb. Clean blades make a precise cut without crushing bark. Wipe tools clean between plants, especially if you are removing diseased tissue, and follow the disinfectant label if you sanitize them. Gardener’s Path recommends clean, sharp shears for bay, and the RHS gives separate guidance for trimming shrubs and standards. Avoid tearing a branch by twisting it off.
Remove dead, broken, or frost-damaged branches
Cut broken or dead stems back to a healthy side branch or to their junction with the main stem. Make the cut just outside the branch collar instead of leaving a long stub or cutting flush into the trunk. For frost damage, wait until late spring so the boundary between dead and living tissue is clear. The RHS advises lightly pruning winter-damaged leaf tips in late spring; if only leaf ends are damaged, you can trim the affected portion without removing the entire branch.
Thin crowding and remove unwanted shoots
If branches cross, rub, or grow inward through the canopy, remove one of the competing stems at its origin. Do not strip the interior simply to make the plant look tidy; bay foliage helps the plant maintain its canopy, and every large cut removes stored growth. A shrub that has sent up basal suckers can be kept as a multi-stem form or trained to a single trunk. Gardener’s Path describes removing suckers below soil level when a clear-stemmed standard is the goal.
Lightly shape a bay shrub
For a loose shrub, shorten only the shoots that break the outline or crowd a neighboring branch. Cut back to a healthy leaf or outward-facing bud so the next shoot grows in a useful direction. The RHS recommends trimming shrubs to a lower leaf or bud in spring or summer. Step back after each few cuts to keep the canopy balanced. Avoid cutting every branch to the same height unless you deliberately want a formal, clipped shape.
Maintain a standard or topiary
A standard bay has a clear stem supporting a rounded or shaped crown. Remove shoots emerging along the trunk while they are small, and trim the crown lightly to retain its form. For a ball, pyramid, or other topiary, work around the plant in small passes instead of cutting deeply into one side. The RHS recommends summer trims for topiary, while Wisconsin Horticulture notes that bay adapts to pruning and shaping as a standard or topiary. Frequent light trimming keeps the outline more manageable than infrequent severe cuts.
Where exactly should you cut?
For a heading cut, find a healthy leaf or bud on the stem and cut slightly above it, angled away from the bud. Choose a bud that points toward the direction you want new growth to take. For a thinning cut, follow the branch to where it joins a larger stem and remove it just outside the collar. Avoid leaving long stubs, cutting into the trunk, or making a large flat wound. If the stem is too thick for hand pruners, change tools rather than forcing the cut.
How much can you prune at once?
For routine shaping, remove only a modest portion of the canopy so the plant still has plenty of healthy foliage. Gardener’s Path describes reducing a bay by up to about one-third when a size correction is needed, but that is an upper limit for a healthy specimen, not a target for every trim. If the plant is weak, recently repotted, drought-stressed, or recovering from cold, limit pruning to dead or broken growth. The watering guide helps you stabilize moisture before shaping.
Rejuvenate an overgrown bay gradually
A mature bay may tolerate a hard cut, but recovery can be slow and a severe reduction leaves a bare outline for a while. The RHS recommends spreading hard pruning over two or three seasons; Gardener’s Path similarly describes removing about one-third of the overall size in late spring, then reassessing in following years. Begin with dead and crossing branches, then reduce one section at a time. Do not cut the whole canopy back to bare wood in a single session unless an expert has assessed the plant and the situation requires it.
Harvesting leaves is not a shaping cut
To harvest, remove a few mature leaves with clean scissors or take a small leafy side shoot. Avoid stripping one branch or repeatedly cutting the newest growth from a young plant. Harvesting can lightly maintain a usable canopy, but it does not replace structural pruning when branches cross or the tree becomes top-heavy. If you want more leaves for cooking, support steady growth with suitable light and watering instead of taking a large amount at once. See watering and fertilizer for basic recovery care.
After pruning: give bay time to recover
Water according to soil moisture and keep the plant in its usual bright, sheltered position. Do not immediately fertilize heavily or repot just because you pruned; those extra changes can add stress. A light trim may be followed by new growth during the active season, but a large cut or root-stressed plant can take longer. The Missouri Botanical Garden notes that pruning controls bay’s size, while its slow growth means a dramatic shape change will not disappear overnight. The repotting guide is for root and container problems, not routine pruning recovery.
When pruning will not solve the problem
Pruning cannot correct low light, poor drainage, pests, or an unhealthy root system. If a branch is bare or leaves are yellowing, inspect the cause before removing healthy wood. Stretched shoots indoors may need brighter light; the light guide covers placement. If the root ball stays wet, use the soil guide and watering guide first. Avoid a structural cut until you know the plant can support recovery.
Keep clippings away from pets
Collect leaves and stems as you prune, rather than leaving them where a pet could chew or carry them indoors. ASPCA lists bay laurel as toxic to dogs, cats, and horses, so dispose of trimmings securely and wash tools and hands after handling. Do not use clippings as pet bedding or let them accumulate near a feeding area. This is a cleanup precaution for the pruning task; it is not a substitute for veterinary advice if an animal has eaten the plant.
Related Bay Leaf guides
Start with the Bay Leaf plant hub for plant identity and overall care. Use light and watering guidance before making structural cuts, and see propagation if you want to root a healthy cutting. The fertilizer, soil, and repotting guides cover separate root-zone decisions.
Conclusion
Start by removing dead, broken, or clearly diseased growth, then choose one shaping goal. Prune bay lightly in late winter or early spring in mild climates, or wait until late spring where frost and winter damage are concerns. Make cuts above a healthy bud or at a branch junction, keep routine removal modest, and phase any major renovation across seasons. Bay can be shaped into a shrub, standard, or topiary, but it needs time to recover after large cuts.