How to Water a Bay Leaf Plant
How to Water a Bay Leaf Plant
How to Water a Bay Leaf Plant
Water true bay laurel (Laurus nobilis) when the root zone has started to dry, then water thoroughly enough to moisten it without leaving the pot standing in water. That simple check works better than a fixed weekday schedule because a small container on a hot patio dries much faster than a mature tree planted in the ground. Bay prefers well-drained soil with steady, moderate moisture; persistently soggy mix can damage roots, while an established plant can tolerate some short dry periods. Better Homes & Gardens describes the soil as moist but not waterlogged, and The Spruce recommends allowing some drying between waterings.
Bay leaf watering at a glance
Check the soil before watering. For a container, feel the upper layer and lift the pot to learn how heavy it is after watering and as it dries. If the top few centimeters are beginning to dry and the pot feels lighter, water slowly until excess drains from the bottom. Empty the saucer afterward. For a garden tree, inspect soil several centimeters below the surface near the root zone. Water deeply when that layer is dry, then allow rainfall and drainage to do their work.
Start with true bay laurel
Common names can be confusing. This guide covers culinary bay, Laurus nobilis, rather than cherry laurel or California bay, which are different plants. Young true bay is more sensitive to drying than a mature, established tree, and plants in containers need closer checks because their soil volume is limited. The Bay Leaf plant hub gives the species overview and the full care cluster.
Check the root zone, not the calendar
The surface can look dry while the mix below is still damp. Push a finger or wooden stick into the potting mix rather than watering as soon as the top looks pale. For a large pot, check more than one location, since roots and moisture are not evenly distributed. Better Homes & Gardens recommends letting topsoil dry slightly, while The Spruce advises allowing some drying without letting the root ball become completely dry. Use these as cues to inspect, not as a rigid depth threshold for every pot.
Watering bay in the ground
A newly planted garden bay needs more frequent checks than an established specimen because its roots have not spread far into surrounding soil. Water slowly around the root ball so moisture reaches the planting area rather than running across the surface. As the plant settles in, widen the watered area toward the outer canopy. Nature & Garden recommends watching moisture closely in the months after planting. Rainfall, soil texture, wind, and heat all affect how quickly the ground dries; test the soil before adding more water.
Watering a potted bay tree
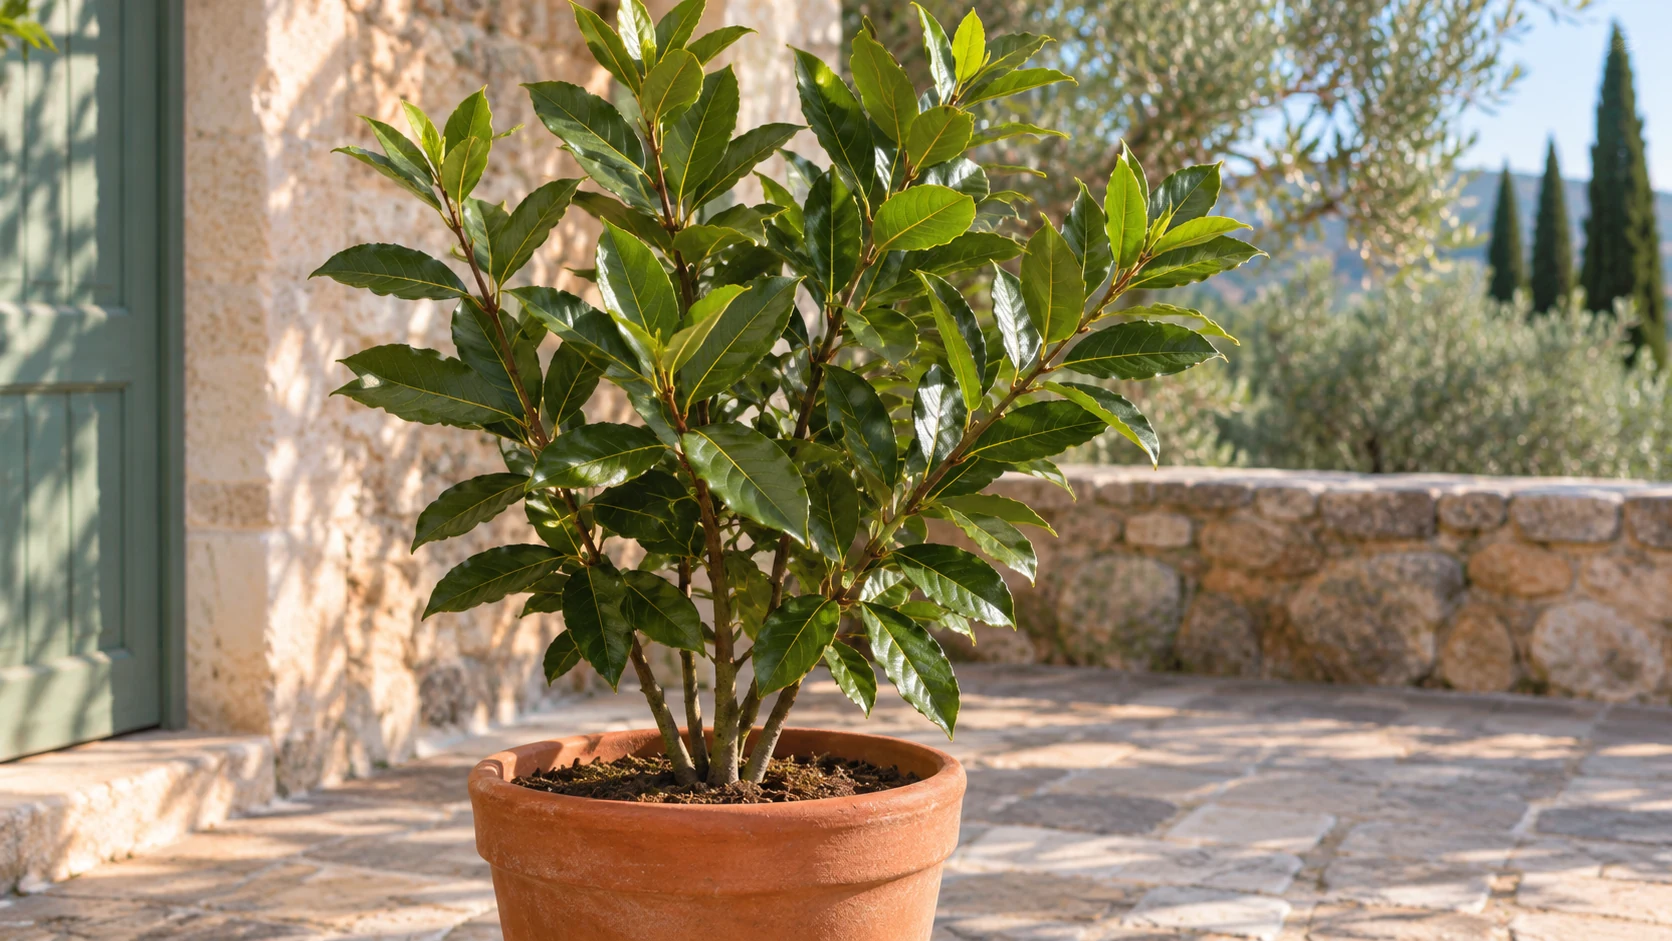
Containers lose water through the mix and drainage holes, and small pots can dry quickly in warm weather. Water when the root zone begins to dry, applying water across the whole surface instead of pouring only next to the trunk. Continue until water emerges from the drainage holes, then let the pot drain freely. The RHS recommends moderate watering for container bay and warns that overwatering can damage roots. A stable pot with open drainage holes makes this routine easier.
How often should you water bay laurel?
There is no reliable universal interval. A recently planted bay, a small pot in full sun, and a large tree in a cool room have different water use. During warm, bright weather, check more often; during cool weather or slow growth, the mix may stay wet much longer. Keep a brief note of how many days it takes the pot to dry enough for the next watering, then use that only as a reminder to check. Do not water solely because that many days have passed.
Water deeply, then let it drain
A shallow splash may wet the top without reaching the deeper roots. Apply water in a slow pass, pause so it can soak in, and repeat if dry mix initially repels water. For a container, the goal is evenly damp mix with excess flowing out of the base, not water held in a decorative cachepot. If water runs down the sides without wetting the root ball, bottom-water briefly or re-wet in stages, then allow the pot to drain. Never leave it sitting in a filled saucer.
Drainage matters as much as the amount
Bay likes moisture, but it does not need permanently wet roots. A pot without drainage holes, compacted mix, or a blocked saucer can keep the root zone saturated even when you water infrequently. NC State notes that Laurus nobilis is susceptible to root rot, and the Missouri Botanical Garden describes its preferred soil as moist but well drained. If the pot remains heavy and wet for days, inspect drainage before increasing the time between waterings. The Bay Leaf soil guide covers mixes and drainage in more detail.
Adjust watering with the seasons
Warmth, sunlight, and moving air increase water loss; cool, cloudy weather slows it. A bay moved from outside to a winter room may need much less water, even if it still has leaves. Conversely, a plant moved to a sunny patio can dry faster than it did beside an indoor window. Recheck the soil after every seasonal move rather than carrying over the old interval. The light guide explains how exposure affects indoor and outdoor placement.
Watering bay through cool winter dormancy
If bay is kept in a cool room and growth slows, keep the mix only slightly moist and let it dry more between checks. Wisconsin Horticulture describes a cool overwintering range of about 35–60°F and recommends very little water during dormancy. Avoid keeping the root ball wet in cold conditions. A warmer indoor plant is more active and needs regular moisture checks, but the same rule still applies: water according to the mix, not the date. The Bay Leaf plant hub summarizes the seasonal setup.
Indoor bay watering
Indoor pots may dry slowly when light is limited, especially in winter. Check the soil rather than assuming a houseplant needs weekly watering. Keep the plant away from hot air vents that can dry foliage and the surface while deeper mix remains moist. If the container is inside a decorative outer pot, remove it for watering or empty any collected water afterward. When light or room temperature changes, recheck moisture more often until you understand the new drying pattern.
Signs you may be watering too much
Yellowing leaves, soft growth, a sour smell, or mix that stays wet can point to excess moisture, but none of these signs alone proves root rot. Check that water can escape freely and that the pot is not left in a saucer. If the plant is declining while the soil remains wet, pause routine watering and inspect the root system for dark, mushy roots. Correct drainage first, then use the repotting guide if the mix has collapsed or roots are damaged.
Signs your bay may be too dry
A very dry root ball may pull away from the sides of a pot, feel unusually light, or cause leaves to curl and become brittle. Confirm the soil is dry below the surface before watering; leaf droop can also follow cold, heat, or root trouble. If water beads and runs away from dry peat-based mix, apply smaller amounts in several passes or briefly soak the pot from below, then drain it completely. Once moisture is restored, avoid compensating with repeated heavy watering.
Newly planted and recently repotted bay
Water a new planting thoroughly to settle the soil around the roots. During establishment, check the root ball and nearby soil more often, because the original nursery mix may dry at a different rate from surrounding ground. After repotting, water to settle fresh mix and let it drain; do not keep the plant saturated in an attempt to force new roots. A plant that was root-pruned or moved may use less water until growth resumes. See repotting for timing and aftercare.
Mature bay and short dry spells
Established garden bay can handle some short periods without rain, particularly when roots have spread into suitable soil. That does not mean it should be allowed to become severely drought-stressed during heat or while forming new growth. Gardener’s Path recommends deep autumn watering before soil freezes and cautions against watering in freezing conditions; its guidance also changes for mild, frost-free winter weather. Local rainfall and soil drainage matter, so use that seasonal distinction rather than copying a single winter schedule.
Water quality and fertilizer are separate decisions
Ordinary tap water is generally suitable for bay unless it is unusually salty or leaves heavy deposits on the pot. If a white crust develops, flush the mix thoroughly and check your water source and fertilizer use. Do not add fertilizer simply because a plant looks thirsty or has yellow leaves; excess nutrients cannot repair dry or damaged roots. The Bay Leaf fertilizer guide explains how and when to feed container plants.
A simple check-and-adjust routine
At each watering check, note the plant’s location, feel the soil below the surface, lift the pot if practical, and look for standing water. Water thoroughly only when the root zone has begun to dry, then let all excess drain away. Repeat the check more often during hot outdoor weather and less often in a cool room. If the plant still looks stressed, compare light, drainage, and root condition before changing the amount again. The Bay Leaf pruning guide and propagation guide cover other reasons to handle or inspect the plant.
Conclusion
Water bay laurel according to the moisture in its root zone. Let the mix begin to dry, water thoroughly, and allow free drainage; shorten or lengthen the interval as weather, pot size, and growth change. A cool, dormant bay needs very little water, while a newly planted or warm, bright container may need closer checks. Avoid both a bone-dry root ball and persistently soggy soil, and use drainage, not a calendar, to guide your next watering.