Cherry Tomato Propagation: Seed-Starting Guide
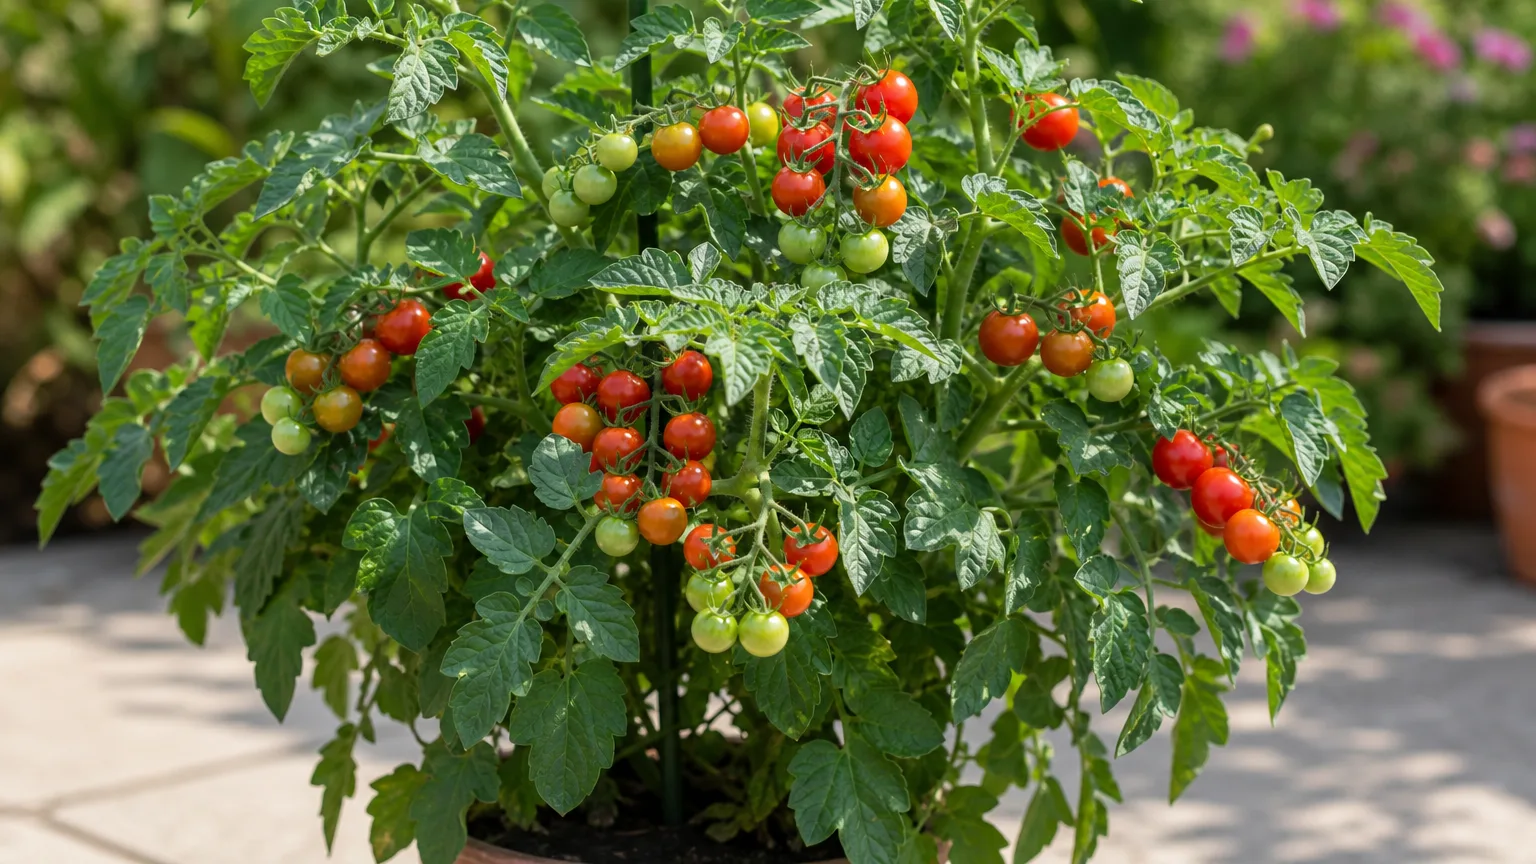
How to Propagate Cherry Tomatoes From Seed
How to Propagate Cherry Tomatoes From Seed
Cherry Tomato Propagation: A Seed-First Guide
Cherry tomatoes are most usefully propagated from seed. Seed gives home growers a clean starting point, lets you choose a cultivar for a balcony or garden, and fits the way tomatoes are normally raised as seasonal crops. A stem cutting can also root, but it should be treated as a way to clone one healthy plant—not as the default method for starting the next crop.
That distinction matters because “cherry tomato” describes fruit size, not one stable cultivar. A packet may contain a compact determinate, a dwarf patio plant, or an indeterminate vine. The cultivar name and whether it is open-pollinated or hybrid tell you more about what the next generation will become than the cherry-sized fruit does.
Quick answer: sow seed unless you need an exact clone
Choose commercial seed or correctly saved seed when you want several plants, a fresh crop, or a known cultivar. The University of Minnesota Extension recommends starting tomatoes indoors roughly five to six weeks before they can be planted outside, a useful planning interval even where “outside” means a warm balcony or terrace rather than a post-frost garden.
Choose a cutting only when you have a vigorous, disease-free plant worth duplicating, perhaps to carry a favorite open-pollinated or hybrid individual into another mild-season planting. A cutting preserves that individual plant’s genetics; seed begins a new generation and, in a hybrid cultivar, that generation may not resemble the parent.
Why seed is the primary propagation method
Seed is practical because dozens of seedlings can be started in little space, then the strongest can be selected before they occupy final containers. It also avoids carrying adult whiteflies, mites, leaf-miner damage, or an established root problem directly into the new planting. Penn State Extension’s tomato program treats seed starting, transplanting, and seed saving as distinct stages of a complete tomato crop.
Seed does not guarantee a duplicate of the fruit you ate. Named open-pollinated seed is the appropriate choice when repeatable seed saving is the goal. Fresh F1 hybrid seed is the better choice when you specifically want the traits printed on a hybrid packet, because saved F1 offspring can segregate into visibly different plants.
Before sowing: read the cultivar label
Look for the cultivar name, “F1” or “hybrid,” determinate or indeterminate habit, days to maturity, and any disease-resistance codes. Compact, determinate, and dwarf cherry tomatoes are usually easier in containers, while vigorous indeterminate cultivars need a larger final root volume and tall support. Those differences do not change the sowing method, but they do change how many seedlings you can realistically keep.
Avoid treating seeds scooped from any cherry tomato as a reliable copy. Iowa State University Extension explains that seed collected from hybrid tomatoes will not resemble the parent reliably. The seed can still be an interesting experiment, but it is a poor choice when container size, harvest timing, or disease resistance must be predictable.
Open-pollinated seed versus hybrid seed
Open-pollinated cultivars can reproduce broadly true to type when pollen has not been mixed with another cultivar. Tomatoes are largely self-pollinating, which makes them one of the easier vegetables for beginners to save; UGA Extension identifies tomatoes as a beginner-friendly self-pollinated crop. Occasional crossing is still possible, so growers preserving a named line should isolate cultivars or bag flowers rather than assuming every saved seed is pure.
Hybrid seed has a different limitation. The original F1 plant may be excellent, but its seeds recombine parental traits in the next generation. The plant you grow may still bear edible cherry tomatoes, yet size, flavor, vigor, fruit color, growth habit, and disease response can vary. A cutting is the only method in this guide that makes a genetic clone of that particular F1 plant.
When to start cherry tomato seed in India
Work backward from the transplanting window, not from a universal month. In north Indian plains, seedlings are commonly timed for a mild post-monsoon or late-winter window while avoiding frost and the most punishing heat. In frost-free southern and coastal areas, choose a period with strong light, manageable rain, and nights mild enough for active growth; local heat, monsoon disease pressure, and elevation matter more than a national calendar.
Allow about five to six weeks from sowing to a transplant-sized seedling, then add time if light is weak or temperatures are cool. Do not start so early that seedlings spend weeks circling tiny cells. If the final site is not ready, sow later or pot up once rather than holding a stressed, flowering seedling in a plug tray.
Seed-starting setup that prevents early losses
Use a clean tray or small cells with drainage and a fresh, fine-textured seed-starting medium. Garden soil in a shallow tray compacts easily, drains unevenly, and can expose emerging seedlings to damping-off organisms. Wash reused rigid containers, remove old roots and residue, and do not reuse a medium in which seedlings recently collapsed.
Give the tray warmth for germination, but prepare strong light before seedlings emerge. A bright outdoor position may be too harsh for a newly emerged tray at midday, while a dim indoor windowsill often produces thin, leaning stems. The goal after emergence is bright, even light, gentle airflow, and moisture without saturation; the broader UMN indoor seed-starting guidance emphasizes matching sowing time, containers, light, and storage of unused seed.
How to sow cherry tomato seeds step by step
- Pre-moisten the medium. It should feel evenly damp and hold together lightly, not release water when squeezed.
- Sow one or two seeds per cell. Cover them shallowly with the same fine medium and label the cultivar and date immediately.
- Water gently. Bottom-water briefly or use a fine spray so the seeds are not washed into one corner.
- Hold humidity only until emergence. A clear cover slows drying, but remove or vent it as soon as shoots appear.
- Move seedlings into strong light. Rotate trays if light comes from one side and thin each cell to its strongest seedling.
Sowing several seeds in one undivided pot can work, but separating tangled roots adds avoidable transplant stress. Individual cells make moisture and seedling selection easier. If seed is scarce, sow one seed per cell and keep the medium under close observation instead of compensating with constant wetness.
Germination care: warm, damp, never waterlogged
Check the medium daily with a fingertip. Water when the surface begins to lighten while the layer beneath is still slightly moist; do not keep the tray standing in water. A sealed, saturated tray combines low oxygen with stagnant humidity, the conditions under which seedlings are most likely to rot at the soil line.
Once most seedlings emerge, remove any dome and provide airflow without blasting them with a hot fan. Keep foliage dry by watering the medium rather than misting leaves repeatedly. If only one cell fails, wait a little longer; if the whole tray fails, investigate old seed, cold or overheated medium, sowing depth, and moisture before resowing.
Raising short, sturdy seedlings
Strong cherry tomato seedlings are compact, green, and steadily adding true leaves. Give them the brightest practical light, space leaves so neighboring plants do not form a dense canopy, and avoid pushing tender growth with heavy fertilizer. A weak stem is not corrected by staking the plug tray; it is corrected by better light, sensible spacing, and an appropriate growing temperature.
Thin by snipping the weaker seedling at medium level rather than pulling it past the roots you want to keep. Brush or move seedlings only gently; useful airflow should make leaves tremble slightly, not dry the cells within hours. Check the Cherry Tomato light guide before choosing the final growing position, because propagation succeeds only if the young plant moves into enough sun to mature.
Potting up without stalling growth
Pot up when roots hold the cell together and the seedling has true leaves, before a dense root spiral forms. Use a small intermediate pot with free drainage and a quality potting mix, handling the plant by a leaf rather than squeezing the stem. Tomato stems can form roots where buried; Penn State Extension notes that stem portions touching soil can root, so a leggy seedling may be planted somewhat deeper after its lowest leaves are removed.
Do not bury leaves or a damaged, soft stem. Water once to settle the medium, let excess drain, and return the seedling to bright light with a brief adjustment period. For final container sizing and root-bound warning signs, use the Cherry Tomato repotting guide rather than repeatedly shifting a crop plant through many small pots.
Harden seedlings before full outdoor exposure
Indoor-raised seedlings need gradual exposure to stronger sun, wind, and faster moisture loss. Start in a protected bright-shade position, then increase morning sun and outdoor time over about a week while checking the small pots frequently. Penn State Extension recommends hardening tomato transplants over a week with progressively more sun and wind.
Pause the process during severe heat, driving rain, or unusually cold nights. A pale, bleached patch after sudden sun exposure is damage, not a signal to leave the seedling out longer. Move it back one stage, allow recovery, and resume more gradually.
Transplant into the final container or bed
Transplant a stocky, actively growing seedling before it is badly root-bound. Install the stake, cage, or trellis at planting so later work does not spear established roots. Water the root ball and surrounding soil thoroughly, then keep moisture steady during establishment without leaving the container in a filled saucer.
Space and support follow cultivar habit: a dwarf cherry tomato and a vigorous indeterminate vine are not interchangeable. Consult the Cherry Tomato soil guide for the final mix and the Cherry Tomato watering guide for moisture checks after transplanting. Delay strong feeding until roots are active; the Cherry Tomato fertilizer guide covers feeding once growth resumes.
Saving seed from ripe cherry tomatoes
Save from a healthy, fully ripe fruit on a known open-pollinated plant. Do not save from a plant showing unexplained wilt, mosaic-like distortion, severe leaf spots, or poor vigor simply because one fruit looks attractive. Record the cultivar at harvest; unlabeled seed quickly becomes “mystery tomato” seed with no dependable habit or fruit description.
Squeeze the seed and gel into a small labeled container, add a little water, and allow a short fermentation before rinsing. UGA Extension describes fermenting wet-seeded crops such as tomato, then separating viable settled seed and drying it before storage. Fermentation helps remove the gel surrounding tomato seed, but leaving a foul container unattended for many days increases the chance of sprouting or decay.
Clean, dry, and store saved seed
Rinse the seed in a fine sieve after fermentation and spread it in a single layer on a non-stick, labeled surface. Dry it thoroughly out of direct sun, breaking up clumps so trapped moisture can escape. Pack only completely dry seed in a labeled paper envelope or moisture-resistant container kept cool, dark, and dry.
Choose open-pollinated rather than hybrid cultivars when faithful seed saving is the aim; this is also the central recommendation in the University of Minnesota seed-saving guide and the UC Agriculture and Natural Resources tomato seed guide. Before committing an entire season, germinate a small test batch and keep backup seed.
Propagating a cherry tomato from a cutting
Cuttings are a secondary option for cloning a healthy plant. The biological basis is sound—tomato stems readily form roots, as the Penn State tomato planting guidance explains—but a cutting carries the parent’s pests and infections as well as its genetics. Do not clone a declining plant to “rescue” it unless the cause is clearly non-infectious.
Take a clean 10–15 cm non-flowering side shoot from vigorous growth, remove the lowest leaves, and place the bare lower nodes in a clean, airy propagation medium. Keep it bright but out of harsh midday sun while it has no functional roots, maintain light moisture, and provide airflow. General Iowa State Extension cutting guidance supports using stem cuttings as a vegetative method; for tomatoes, move the cutting into stronger light only after it resists a very gentle tug and produces new growth.
Rooting in a glass of water is useful for observing roots but leaves them adapted to water, not potting mix. If you use water, change it when cloudy and pot the cutting once a modest root system forms rather than waiting for a dense tangle. A cutting may save time within a warm season, but a late clone still needs enough sun and favorable weather to flower and ripen fruit.
Common propagation failures and the first correction
Seeds rot without emerging: the medium is often too wet, cold, compacted, or the seed is old. Correct the environment before sowing a replacement tray. Seedlings collapse at the soil line: discard affected plugs, improve sanitation and airflow, and reduce surface wetness rather than trying to prop them upright.
Seedlings stretch: increase usable light, reduce crowding, and avoid keeping emerged seedlings excessively warm. Leaves bleach after moving outside: return seedlings to protection and restart hardening more gradually. A cutting wilts continuously: reduce leaf area and sun exposure, but discard it if the stem base turns dark or soft.
Saved seed produces mixed plants: hybrid segregation or crossing is the likely explanation, not a propagation failure. Keep only plants that fit your space, but do not relabel the offspring as the original cultivar. Start with fresh named seed next season if uniformity matters.
When to use this page vs other Cherry Tomato guides
Use this page from seed selection through transplant establishment, or when deciding whether a cutting is justified. Once a seedling is rooted and growing in its final position, switch to the Cherry Tomato overview for the whole crop and use the topic guide that matches the immediate decision.
Propagation cannot compensate for a dark site, saturated mix, undersized final pot, or unsuitable feeding. Diagnose those conditions through the linked light, soil, watering, repotting, and fertilizer pages instead of repeatedly restarting seed.
Related Cherry Tomato guides
- Cherry Tomato overview — cultivar habit, mature size, support, and whole-season priorities.
- Cherry Tomato light guide — direct-sun needs and signs that seedlings or mature plants need more light.
- Cherry Tomato watering guide — moisture checks after seedlings leave the propagation tray.
- Cherry Tomato soil guide — seedling potting mix and final-container drainage are different decisions.
- Cherry Tomato repotting guide — when to pot up and how large the final container should be.
Conclusion
For most growers, successful cherry tomato propagation means choosing a named cultivar, sowing seed about five to six weeks before a suitable planting window, providing strong light as soon as shoots emerge, and hardening seedlings gradually. Save seed only with a clear understanding of open-pollinated versus hybrid genetics.
Use cuttings selectively to clone an exceptionally healthy plant, not as a routine substitute for a clean seed-started crop. Whichever route you take, the next decisive step is timely: move a sturdy young plant into enough root space, sun, support, and steady moisture to turn propagation into a productive harvest.