Cherry Tomato Soil Guide for Beds and Containers
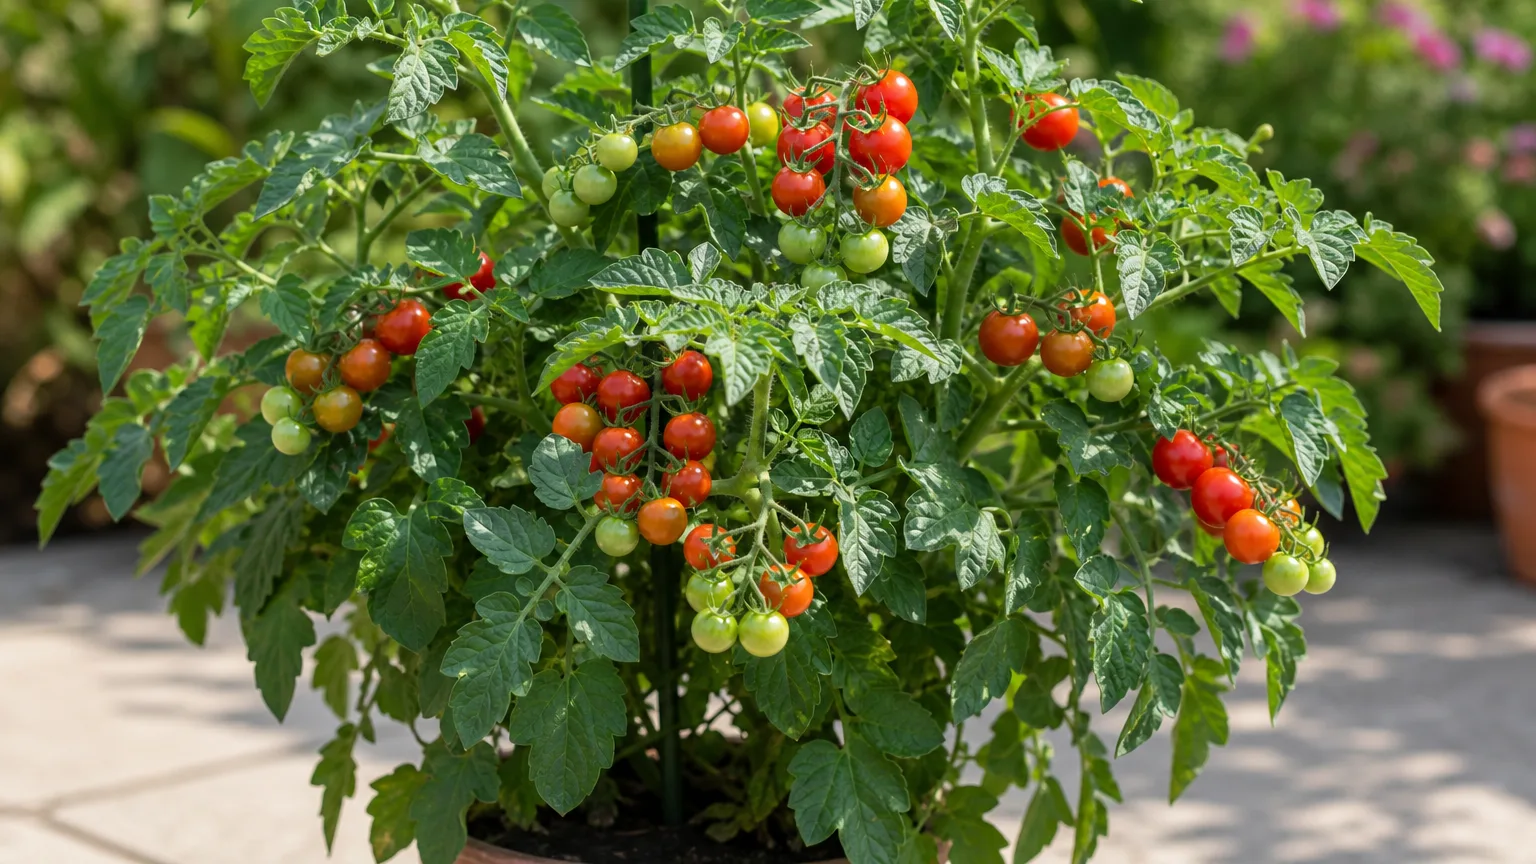
Cherry Tomato Soil Guide for Beds and Containers
Cherry Tomato Soil Guide for Beds and Containers
Cherry tomatoes have vigorous roots and a long fruiting season, but they do not need a mysterious “tomato soil.” They need a root zone that holds useful moisture without remaining saturated, supplies nutrients without an overload of soluble salts, and stays open enough for air to return after watering or heavy rain. Those requirements apply to Solanum lycopersicum var. cerasiforme in both beds and pots, although the materials used should differ.
The first decision is therefore not which bag to buy. It is whether you are improving mineral garden soil or filling a container. Garden soil belongs in a bed; a pot needs a lighter, stable potting mix. Once that distinction is clear, drainage, pH, and organic matter become manageable rather than contradictory.
The short answer: fertile, airy, and evenly moist
The best cherry tomato soil is fertile loam with good drainage and steady moisture, usually in a slightly acidic range. NC State Extension specifies moist, loamy soil at pH 5.8 to 6.8, while the Royal Horticultural Society describes tomato soil as rich, free-draining, and moisture-retentive. These descriptions are compatible: water should spread through the root zone, then excess should leave while small pores retain enough moisture for the next day’s growth.
For a bed, improve structure with mature compost and protect the surface with mulch. For a pot, begin with quality potting mix, not excavated garden soil, and add a coarse aeration material if the mix collapses or drains slowly. Neither setup should form a puddle after normal watering.
What good cherry tomato soil does
Tomato roots need both water and oxygen. Dense clay can remain airless after prolonged rain, while pure sand may drain so quickly that moisture and nutrients fluctuate sharply. A productive root zone balances large pores for drainage with smaller pores and organic matter that retain water.
That balance matters during flowering and fruiting. Wide swings in available moisture are associated with fruit cracking and blossom-end rot; Penn State explains that a consistent moisture supply helps calcium move from soil to developing fruit. Soil structure cannot prevent every fruit defect, but it makes steady watering much easier.
Aim for pH 5.8–6.8
Use 5.8–6.8 as a practical target, not as a number to chase with repeated amendments. The range supports tomato growth and nutrient availability, and a simple soil test is more reliable than judging acidity from plant appearance. University of Minnesota Extension places most fruit and vegetable crops in a broader pH 6.0–7.0 range, which reinforces that a reading near neutral is not an emergency.
If a bed tests too acidic, use the lime rate supplied with a laboratory or local soil-test report. If it is alkaline, do not pour vinegar into the root zone; pH correction depends on the soil’s buffering capacity and takes time. Container growers should normally replace a failing mix rather than attempt improvised chemical corrections in a small root volume.
Preparing an in-ground bed
Loosen only enough soil to remove compaction and incorporate mature compost through the planting zone. The objective is a crumbly bed that drains after rain, not a soft pocket surrounded by hard soil. Penn State notes that tomatoes can grow in almost any moderately well-drained soil and that organic matter can improve production.
Before planting, water an empty section deeply and observe it. If water stands for hours, correct drainage or move to a raised bed rather than hiding the problem beneath compost. If the surface crusts hard after drying, add organic matter over successive seasons and avoid walking on the growing area.
Improving clay or sandy soil
For clay, compost helps aggregation over time, but adding a small amount of sand can create a dense, concrete-like blend rather than a loam. Build beds above the surrounding grade, keep paths separate, and let organic roots and mulch improve structure gradually. Do not work clay when it smears wet; that destroys pore space.
For very sandy soil, compost increases water and nutrient retention, and surface mulch slows evaporation. Add moderate amounts repeatedly instead of turning the bed into almost pure compost. A soil test should guide fertilizer because visual richness does not reveal nutrient balance.
When a raised bed is the better choice
A raised bed is useful where native soil drains poorly, compacts under foot traffic, or receives runoff during heavy rain. Elevation creates a deeper aerated zone, but it does not guarantee drainage if the bed sits over an impermeable surface or has no route for water to escape. Keep the bed open to soil below where possible and redirect roof or terrace runoff away from it.
Fill with a mineral-soil and compost blend designed for beds, not lightweight potting mix alone. The bed should retain its structure across seasons. During a dry spell, mulch helps; during monsoon weather, unobstructed outlets and a slightly crowned surface matter more.
Soil for cherry tomatoes in containers
Containers impose sharper limits: roots cannot explore beyond the pot, and heat can dry the sides while the centre remains wet. NC State recommends at least a 5-gallon, 1-to-2-foot-deep container for a tomato plant. A compact determinate cherry cultivar may cope with the lower end, while a vigorous indeterminate cultivar benefits from substantially more volume and a heavy, stable base.
Never fill the pot with unamended garden soil. In a container, mineral soil packs down, drains unpredictably, and becomes very heavy. Use a manufactured potting mix or a carefully blended soilless medium that stays springy after repeated watering.
A practical container mix
A workable starting blend is 50% quality potting mix, 30% mature screened compost, and 20% perlite, pumice, or another coarse aeration material. Treat that as a performance recipe, not a laboratory formula. If the base mix already contains abundant coarse particles, reduce the extra aeration; if it is fine coir or peat that slumps when wet, increase it modestly.
Compost should smell earthy and be fully mature. Fresh manure, half-finished kitchen compost, and uncomposted woody material can create salinity, heat, or nitrogen problems in the confined root zone. The RHS recommends loam-based or multi-purpose potting compost for tomatoes in large containers.
Drainage holes and container depth
Drainage holes must remain open. Covering the base with a deep gravel layer does not repair a poorly draining mix and reduces usable root volume; instead, use mesh only to keep mix from washing out. Elevate a terrace pot slightly if its holes seal against a flat floor, and empty any saucer after rain.
Do not leave a nursery pot inside a decorative cachepot where monsoon water can collect unseen. Check the central root zone, not just the dry rim, before watering. The Cherry Tomato watering guide covers how to adjust irrigation once the soil structure is sound.
Compost, fertility, and the “more is better” trap
Compost improves structure and contributes nutrients, but an entire pot of compost is not a balanced tomato medium. It can shrink, stay wet, or carry excessive salts depending on feedstock and maturity. In beds, over-applying manure compost can also raise phosphorus and pH over time.
Start with moderate compost and base later feeding on plant growth, crop load, and—where available—a soil test. Excess nitrogen favours leaves over fruit; NC State cautions that too much nitrogen can produce extensive foliage with little fruit. Use the Cherry Tomato fertilizer guide for feeding decisions rather than trying to load every nutrient into the initial soil.
Monsoon soil management
Before sustained rain, clear drainage outlets, remove water-holding saucers, and shift movable pots under a bright rain shelter that still has airflow. Do not add more compost or coir to a mix that already stays wet. Where a bed repeatedly floods, create surface channels that lead water away without exposing roots, or move future crops to a raised bed.
Wet weather also increases foliar disease pressure. Penn State notes that early-blight spores can spread by splashing rain and require a wet surface to germinate. Mulch over bare soil, water at soil level when irrigation is needed, tie vines up, and remove leaves that rest on the soil. These steps do not sterilise the garden, but they reduce splash and improve drying.
Disease hygiene starts at soil level
Do not compost visibly diseased tomato foliage unless your composting system reliably reaches pathogen-killing temperatures. Remove fallen leaves and mummified fruit, clean supports, and avoid carrying wet debris from one container to another. At season’s end, discard badly diseased container mix rather than using it for another tomato or related crop.
In beds, rotate away from tomatoes and other nightshades where space allows. NC State advises avoiding ground that held a nightshade-family crop in the previous three to four years, and the RHS likewise advises against consecutive tomato crops in the same bed. Rotation cannot remove airborne disease, but it helps limit pathogens and pests that persist with crop debris or in soil.
Read the plant and the soil together
Slow growth with a pot that remains heavy for days points toward poor aeration, a blocked outlet, or an oversized container. Wilt in wet soil is not a signal to water again; inspect roots and drainage. A sour smell, black roots, or a green film on constantly wet mix indicates that the root environment needs correction.
Fast wilting with mix pulling from the pot wall suggests the opposite: a hydrophobic or undersized root ball. Rehydrate gradually, then consider a larger final container through the Cherry Tomato repotting guide. Pale leaves can reflect pH, roots, watering, or nutrition, so do not diagnose a deficiency from colour alone.
Test and correct the soil methodically
First, check drainage by watering thoroughly and timing how quickly excess exits. Second, check moisture deeper in the root zone over the following days. Third, obtain a pH and nutrient test for a bed that performs poorly despite correct light and water. Change one major variable at a time so the response remains interpretable.
For a saturated pot, open blocked holes and shelter it from rain; repot only if the mix remains airless or roots are failing. For compacted bed soil, use surface compost, mulch, and protected paths rather than aggressive cultivation around established roots. For unexplained weak growth, compare conditions with the Cherry Tomato overview and Cherry Tomato light guide before adding amendments.
When to use this page vs other Cherry Tomato guides
- Use this soil guide to choose a bed or potting medium, assess drainage, manage pH, and correct compaction.
- Use the watering guide when the mix is suitable but you need a moisture-check routine.
- Use the fertilizer guide for nutrient timing and product choices.
- Use the repotting guide when a container is too small or the root ball has failed.
- Return to the Cherry Tomato hub for whole-plant care and cultivar context.
Related Cherry Tomato guides
- Cherry Tomato overview — cultivar habit, seasonal growth, and whole-plant priorities.
- Cherry Tomato light — sun exposure and heat management.
- Cherry Tomato watering — soil checks and irrigation during fruiting.
- Cherry Tomato fertilizer — feeding beds and container plants.
- Cherry Tomato repotting — final container size and transplant timing.
- Cherry Tomato propagation — seed and cutting establishment.
Conclusion
Cherry tomato soil should hold moisture without trapping it. In beds, aim for well-drained loam improved gradually with mature compost; in containers, use a light potting mix with sufficient coarse structure and open drainage holes. Keep pH roughly 5.8–6.8, but test before making chemical adjustments.
Before monsoon rain, give excess water a clear exit and keep foliage off splash-prone soil. After the crop, remove diseased debris and rotate beds where practical. Those structural and hygiene choices do more for healthy roots than any single “tomato soil” product.