How to Prune Mulberry: When, Where & What to Cut
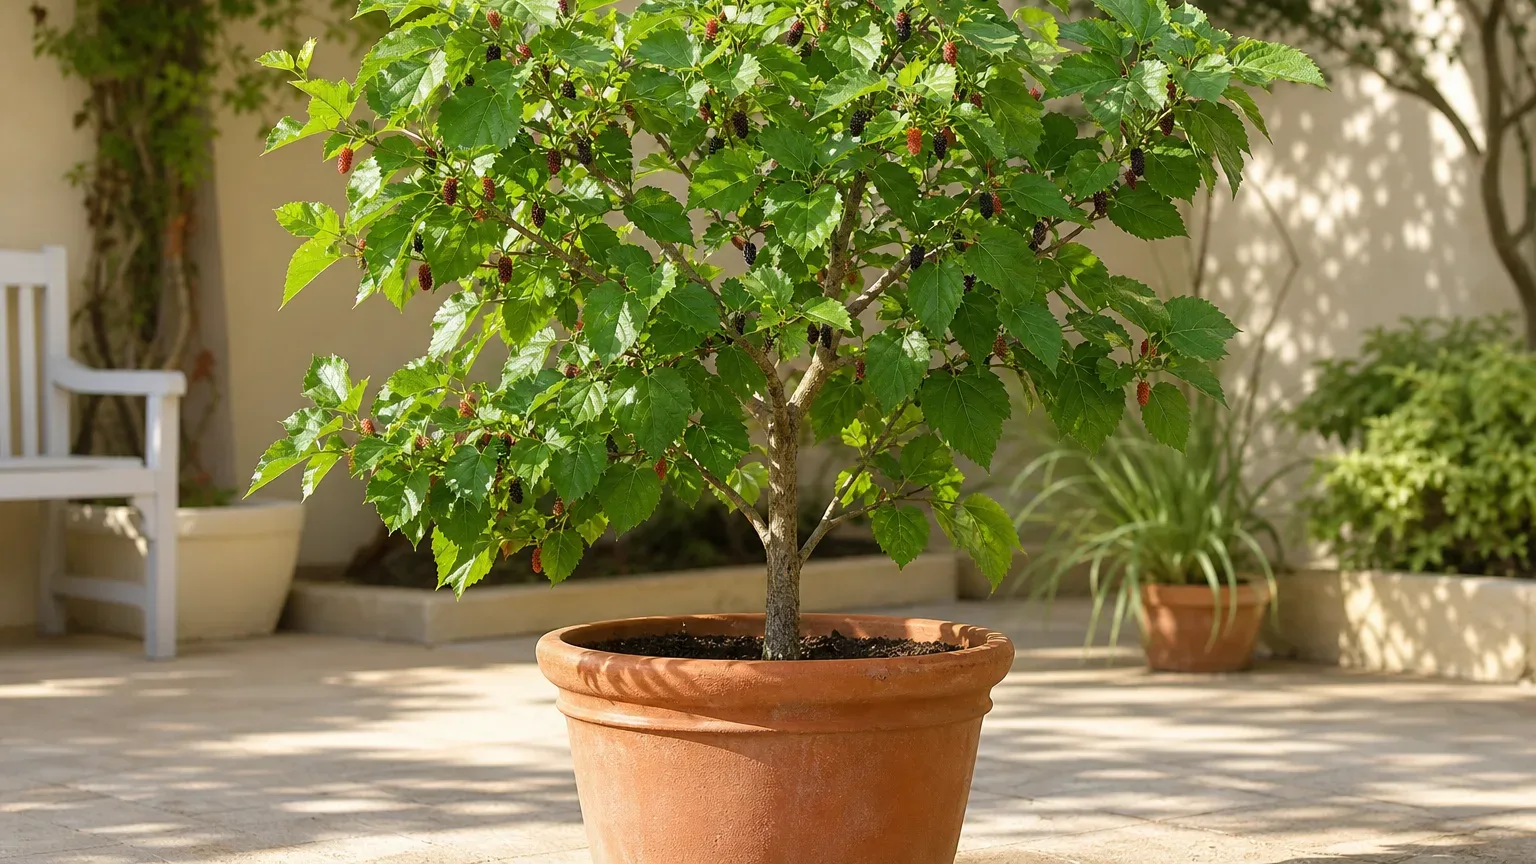
How to Prune Mulberry: When, Where & What to Cut
How to Prune Mulberry: When, Where & What to Cut
First, remove only dead, damaged, or clearly diseased branches on your Mulberry (Morus alba) with clean, sharp bypass pruners or loppers. Trace each failing limb to its base and cut just outside the branch collar — do not leave stubs, and do not start height reduction or heavy canopy thinning until that cleanup is finished. For whole-plant context — outdoor sun needs, fruit mess, and milky latex caution — see the Mulberry overview.
Quick answer
Prune Mulberry mainly while the tree is dormant, from late autumn after leaf fall through early winter, so cuts bleed far less sap (RHS; NC State Extension; Missouri Botanical Garden). Established free-standing trees need only light work: remove dead, damaged, crossing, and overcrowded wood, then shorten wayward shoots that spoil the framework (RHS mulberry cultivation). White mulberry is a fast grower that can reach 9–18 m in the ground, so repeated modest dormant pruning is easier to manage than occasional topping. Pruning improves structure and access; it cannot fix chronic shade or wet roots — correct light placement and watering before expecting a hard cut to improve fruit or form.
What pruning does for Mulberry
Morus alba is a rounded, rapid-growing deciduous fruit tree with a spreading crown and shallow roots. Owners prune when the canopy blocks paths, fruit stains paving, container trees outgrow pots, crossing limbs rub, or storm damage leaves broken wood. Young trees also need formative cuts so a short clear trunk supports a balanced framework rather than a tangle of competing leaders.
Pruning on this species serves four jobs:
Cleanup removes dead, cracked, or diseased wood whenever you find it. Formative training on young trees sets a bush, half-standard, or standard framework. Maintenance thinning opens congested crowns and removes rubbing branches on established trees. Size control shortens vigorous shoots on dwarf cultivars and large containers so harvest stays reachable.
What pruning cannot do is turn a sun-starved, waterlogged Mulberry into a productive tree. Fix soil drainage and outdoor exposure first, then use dormant cuts to refine the structure you already have.
Cleanup vs formative training vs size control
These are separate decisions. Cleanup of dead or diseased wood is urgent and season-flexible when safety is at stake. Formative training belongs to the first few dormant seasons while wood is still flexible. Size control on containers is an annual dormant habit, not a one-time topping event — hard heading cuts on fast mulberries often trigger dense, weak regrowth that needs more work next year.
When to prune Mulberry
Best dormant window
Schedule structural and size-control pruning for late autumn to early winter, after leaves fall and before the spring sap rise (RHS; RHS Plant Finder). Missouri Botanical Garden and NC State both advise late fall or winter pruning specifically to avoid bleeding (Missouri Botanical Garden; NC State Extension). RHS lists mulberry among trees that bleed heavily if cut at the wrong time and recommends pruning Morus from autumn to early winter.
In mild climates where leaves linger, wait until the canopy is mostly bare and buds are still closed. Aim to finish major cuts well before late-winter bud swell.
What can be removed anytime
Dead twigs that snap dry, hanging storm-broken limbs, and clearly diseased wood with cankers or dieback can come off whenever you can reach them safely. That emergency cleanup is different from reshaping live canopy. If you must remove a live branch outside the dormant window for clearance or safety, accept more sap flow — bleeding is usually unsightly rather than fatal, but it is best avoided (RHS).
When not to prune
Skip heavy live-wood pruning in late winter through active spring growth, when sap pressure is high and cuts weep freely. Avoid hard cuts on a newly planted or newly repotted tree until roots settle — see the repotting guide if you just moved a container specimen. Do not shear the entire canopy in midsummer hoping to keep the tree small; white mulberry responds with vigorous shoots that recreate the problem.
What to check before cutting
Walk the tree and answer these questions before touching healthy wood:
- Is the wood dead, live, or diseased? Dead twigs are brittle and dry; live wood is flexible and green under the bark; cankers or coral-spot fruiting bodies signal tissue to remove and bag.
- Where is the branch collar? At each limb junction, look for the slight swelling where the branch meets a larger stem — that collar should stay on the tree.
- Are branches crossing or rubbing? Rubbing bark creates wounds that invite decay on a tree already prone to canker issues (RHS).
- How much fruiting canopy would you remove? Mulberry flowers and fruits on the living framework; removing large healthy limbs in one session costs crop as well as shade.
- Is the tree leaning or sparse from poor light? Fix outdoor sun exposure before repeated structural cuts on a stretched container tree.
The first cut to make
Remove dead, damaged, and clearly diseased branches first. Start with anything cracked, hanging, or bark-dead back to solid wood at a collar or a healthy lateral. Only after that cleanup should you thin crossing live branches or shorten wayward shoots for shape.
This order matters on Mulberry because the tree grows fast and often carries crowded wood. Clearing failed tissue first reveals the true framework so you do not accidentally cut the only well-placed scaffold limb while chasing height.
How to prune Mulberry step by step
Work in this order on a typical dormant maintenance day:
- Remove dead, damaged, and diseased wood.
- Cut out crossing or rubbing branches, keeping the better-placed limb.
- Remove water sprouts and shoots erupting from the clear trunk below the canopy if you want a clean standard or bush form (RHS mulberry cultivation).
- Thin overcrowded laterals so remaining branches have room to thicken.
- Shorten only the most wayward or oversized shoots if size control is still needed.
For a young bush tree, RHS formative guidance is to cut the main leader back to about 70–90 cm above strong side-shoots, then develop roughly eight to ten framework branches. Half-standards and standards follow the same idea with a taller clear trunk (about 1.2–1.5 m or 1.8–2.1 m). After the framework is set, established free-standing mulberries need very little routine pruning beyond cleanup and light thinning.
Where exactly to cut
Make branch removal cuts just outside the branch collar and branch bark ridge — never flush with the trunk and never leave a long stub (Clemson HGIC; Penn State Extension). For shortening a limb, use a reduction cut to a healthy lateral that is large enough to take over — typically at least about one-third the diameter of the branch you are removing (Penn State Extension).
On pencil-thick shoots, cut just above an outward-facing bud or lateral so new growth continues away from the trunk. Avoid heading cuts in the middle of long internodes; stubs die back and invite disease.
How much you can safely remove
Keep live-canopy removal modest. Mature trees should be pruned lightly; excessive cutting removes photosynthetic capacity and opens large wounds (Penn State Extension). A practical home guideline on a healthy Mulberry is to stay well under about one-quarter of live foliage in a single dormant session, and prefer selective thinning over topping. Young, vigorous trees tolerate formative work better than old landscape specimens tolerate sudden hard reduction.
If the tree is badly overgrown, spread renovation across two or three dormant seasons rather than stripping half the canopy at once. Fast regrowth after severe cuts is common on white mulberry and often produces dense, poorly attached shoots.
Tools, latex, and sanitation
Use sharp bypass pruners for small twigs, loppers for thicker limbs, and a pruning saw for anything beyond comfortable lopper capacity. Dull blades crush soft mulberry wood and slow wound closure.
Young twigs exude milky latex when cut. NC State notes that leaves and young shoots contain mildly toxic white latex, and unripe fruit plus milky sap are low-toxicity hazards if ingested (NC State Extension). Wear gloves if sap irritates your skin, keep cuttings away from children and pets, and wash tools and skin after pruning. Do not paint or wrap pruning wounds — let cuts dry naturally; sealants can trap moisture (RHS).
Wipe blades between diseased cuts and between plants. Mulberry can develop coral spot cankers and bacterial blight that kill twigs and branches (RHS; Missouri Botanical Garden), so sanitation matters more than fancy wound dressings.
Useful hardwood prunings from dormant cleanup can become cuttings — see the Mulberry propagation guide if you want to root healthy wood rather than compost it.
Aftercare and recovery timeline
After dormant pruning, keep the root zone evenly moist once spring growth starts, without leaving a container sitting in water. Do not fertilize on pruning day; wait until active spring growth and follow your normal fertilizer rhythm only if the tree is established and hungry. Confirm soil drainage is still sound — shallow mulberry roots resent stagnant pots after canopy loss.
Recovery expectations:
- Light cleanup of dead wood: little visible setback; spring buds break on schedule.
- Moderate thinning: new shoots appear with the spring flush, usually within a few weeks of bud break.
- Hard size reduction: expect a flush of vigorous watersprouts; plan a follow-up dormant pass next year to select the best of them.
Signs pruning worked: remaining scaffold limbs stay firm, spring leaves emerge evenly, and new shoots arise near correct cut points rather than from dying stubs. Signs you cut too hard or too late: prolonged sap weeping into the growing season, sparse canopy, or a thicket of weak vertical sprouts replacing a balanced crown.
Mistakes to avoid
- Pruning live wood in late winter or spring when sap is rising — expect heavy bleeding.
- Topping the main leader to “keep it short” — invites weak, crowded regrowth on a naturally fast tree.
- Leaving stubs instead of cutting to the collar or a proper lateral.
- Removing more than a modest share of live canopy in one session on a mature tree.
- Ignoring diseased twigs that can harbor cankers while you focus only on height.
- Skipping gloves when latex irritates your skin, then rubbing eyes or handling food.
Related Mulberry guides
- Mulberry overview — growth habit, fruit mess, latex and ripeness safety
- Mulberry light — full-sun placement before structural cuts on sparse trees
- Mulberry watering — root-zone moisture during spring recovery
- Mulberry soil — drainage for shallow roots after canopy loss
- Mulberry fertilizer — when to resume feeding after dormant pruning
- Mulberry propagation — hardwood cuttings from healthy dormant wood
- Mulberry repotting — delay hard pruning after a recent pot change
Conclusion
Mulberry pruning is mostly about timing and restraint. Clean out dead and diseased wood first, then thin crossing limbs and shorten wayward shoots during the late-autumn to early-winter dormant window so Morus alba does not bleed heavily. Keep live cuts modest, protect the branch collar, wear gloves around milky latex, and let the tree push its spring flush before judging the result. Steady outdoor sun and sensible watering do more for long-term shape than any midseason shearing ever will.