When and How to Repot Oregano Plants
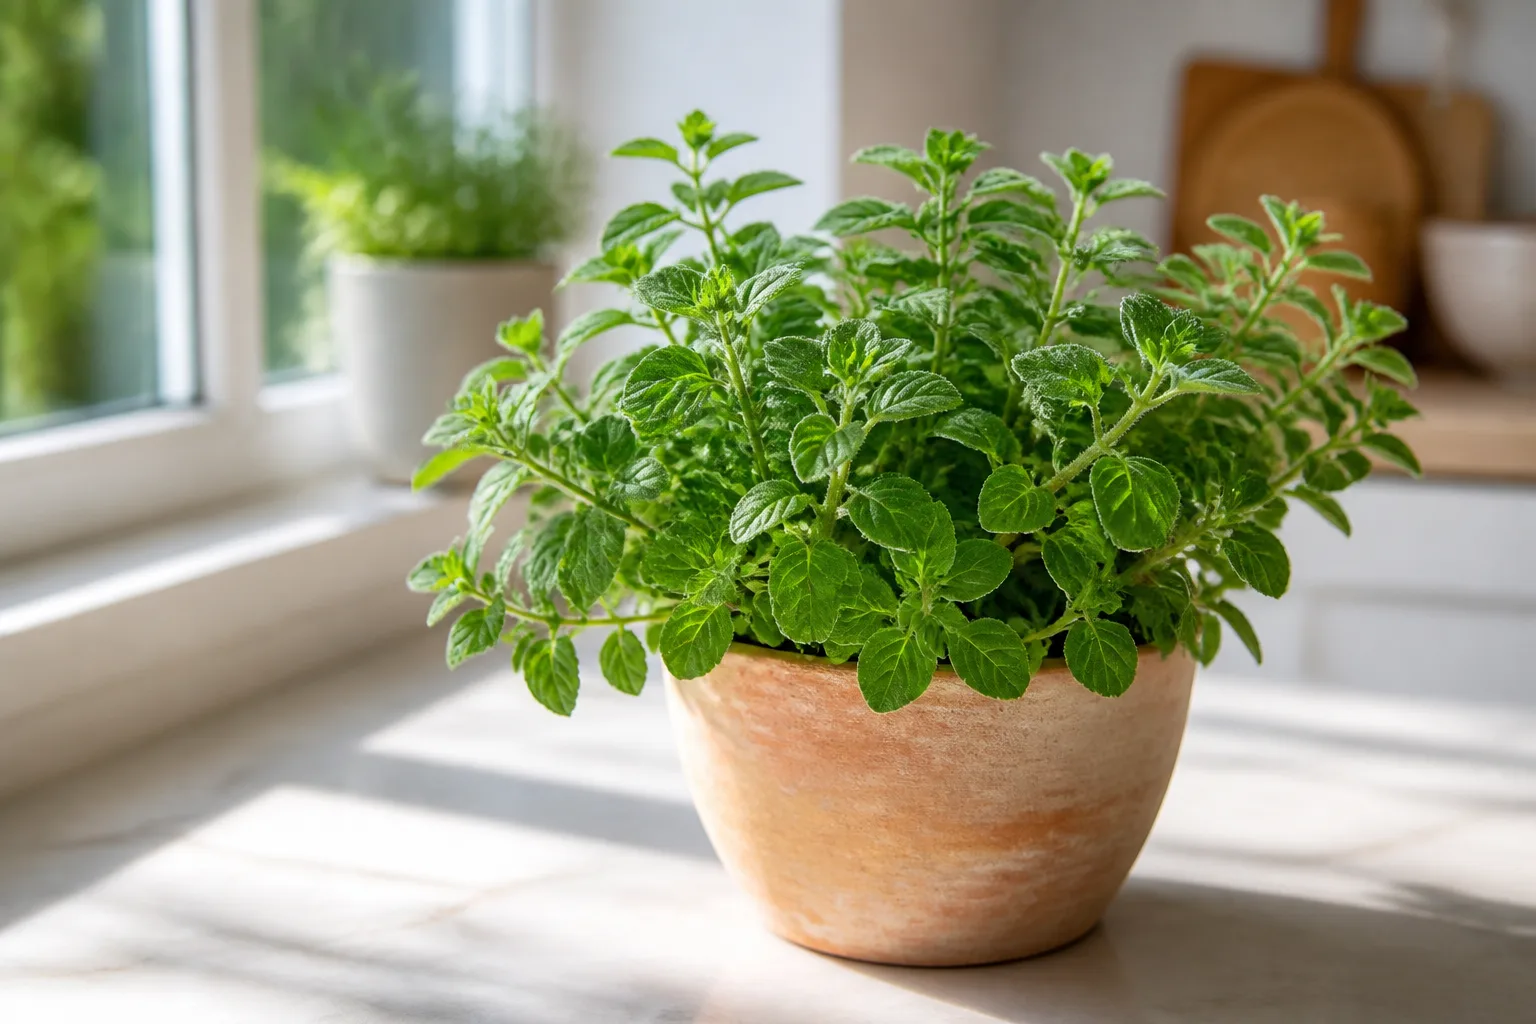
When and How to Repot Oregano Plants
When and How to Repot Oregano Plants
Repot oregano when roots fill the container, the mix has compacted, or water no longer moves through it normally. Do not move every plant on a fixed calendar: oregano can grow well in a modest pot, and a much larger pot can leave unused compost wet for too long. Spring, as new growth resumes, is a useful time to pot up or divide a crowded clump.
Quick answer: repot when roots or mix need it
Look for roots circling the pot, emerging from the drainage hole, or forming a dense mat at the bottom. Other signs include water running straight through a compacted mix, the pot drying unusually fast, or a clump that has become crowded and woody. If the plant is otherwise healthy and the mix still drains well, it may not need a larger pot yet.
Oregano spreads into a clump and can be divided when it outgrows its space. NC State describes oregano as a slowly spreading plant and lists division among propagation options (NC State Extension). For division steps, see the Oregano propagation guide.
Signs oregano needs repotting
Check the root zone rather than judging only by the plant’s height. Roots at the drainage hole, a dense spiral around the root ball, or a pot that becomes dry soon after watering suggest the container may be full. A mix that has become hard, shrunken from the pot edge, or slow to drain may need refreshing even if roots are not yet visible.
A single yellow leaf or a few older stems turning woody does not prove the pot is too small. Check light, water, and drainage first. Oregano can tolerate dry conditions once established, so a plant that wilts in a small pot may need a more careful watering routine rather than an immediate move to a huge container.
Do not repot only because a date has passed
Care sources give different replacement intervals for oregano pots. Penn State suggests replacing plants after about four years, while Harvest to Table advises refreshing container plants after roughly three years (Penn State Extension, Harvest to Table). These are useful reminders to inspect an older plant, not deadlines that apply to every pot and climate.
A plant in a large, well-drained container may stay healthy longer. A small pot in a hot climate can become crowded much sooner. Let root density, drainage, and the plant’s vigor guide the decision.
Choose the best time to repot
Spring, as new growth starts, is the easiest time to repot or divide oregano. Penn State lists spring for root division and cuttings, and RHS notes that oregano should settle in quickly when planted in late spring (Penn State Extension, RHS growing guide). A mild period gives roots time to establish before intense heat or prolonged rain.
In a warm climate, use the season when temperatures are moderate and the plant is actively growing rather than following a temperate calendar literally. Avoid repotting in a heat wave, during heavy monsoon rain, or while the roots are already stressed by soggy soil. If drainage failure is urgent, move the plant sooner and protect it from harsh sun while it recovers.
Pot up or divide the plant
Potting up means moving the whole plant to a slightly larger container. Choose this when the plant is healthy but roots fill the old pot. Division means separating a mature clump into smaller rooted sections; choose it when the plant has spread widely or the center is old and crowded.
Gardenary recommends dividing oregano that has spread too far, and Epic Gardening describes division as a way to refresh woody growth and make new plants (Gardenary, Epic Gardening container guide). Keep each division with healthy roots and several shoots. If the plant is small, a simple pot-up is less disruptive than splitting it.
Choose a suitable pot
Use a container with at least one clear drainage hole. For one young plant, RHS recommends a pot at least 15 cm wide and deep; Harvest to Table suggests a container about 6 inches deep, while Epic Gardening recommends around 12 inches in diameter for oregano to spread (RHS growing guide, Harvest to Table, Epic Gardening container guide). These recommendations describe different pot styles and plant sizes, so use the root ball as your starting point.
For a crowded but healthy plant, move up one pot size rather than jumping into a container several times larger. A large volume of unused compost can stay wet, especially in cool weather. If keeping oregano compact is important, divide the clump or keep it in a manageable pot instead of giving it unlimited room.
Prepare a free-draining mix
Use a peat-free, soil-based potting compost with horticultural grit or coarse perlite mixed through it. RHS recommends a soil-based compost with added grit for container oregano (RHS growing guide). The Oregano plant hub gives a practical mix of peat-free compost plus grit or perlite and emphasizes an open drainage hole.
Moisten dry mix slightly before potting so it settles around the roots, but do not start with saturated compost. Avoid heavy garden soil in a small pot. If the old mix stays soggy or has a sour smell, discard it rather than mixing all of it into the fresh medium.
Remove oregano from its old pot
Water the plant lightly the day before if the mix is extremely dry; this can help the root ball hold together. Tip the pot sideways and ease the plant out while supporting the crown. If it is stuck, press the sides of a flexible pot or run a clean tool around the inside edge rather than pulling hard on the stems.
Inspect the outside of the root ball. Gently loosen roots circling the bottom and sides. Trim only roots that are clearly dead, mushy, or damaged with clean scissors. If the roots are healthy and tightly bound, teasing the outer layer is usually enough; aggressive root pruning can add stress without improving the new soil.
Set the plant at its original depth
Add fresh mix to the base of the pot, set oregano at the same depth it was growing before, and fill around the root ball. Keep the crown and lower stems above the soil line. Press gently to remove large air gaps without packing the mix tightly; roots need both contact with the medium and air space around them.
If dividing, separate the clump with a clean knife or spade and retain healthy roots with each section. UC IPM lists root division as a propagation method for oregano (UC IPM). Pot each section into a container sized for its roots rather than placing every piece in one oversized pot.
Water and settle the new mix
After potting, water slowly until the mix is evenly moist and excess drains from the bottom. Empty any saucer or outer pot. Do not keep the soil saturated while the roots adjust. Once the top layer begins drying, check the root zone before watering again.
RHS warns against letting oregano compost become waterlogged, and NC State notes that wet, poorly drained soil can cause root rot (RHS growing guide, NC State Extension). If water does not leave through the drainage hole, check the container before returning the plant to its usual spot.
Care for oregano after repotting
Keep the repotted plant in bright light, but protect it from extreme midday heat for several days if the roots were disturbed. Resume direct sun gradually if it was divided or moved from shade. Leave it undisturbed while new growth appears; avoid pruning it hard and fertilizing it at the same time.
Fresh potting mix may already contain nutrients. Wait until the plant is actively growing before deciding whether fertilizer is needed. Use the Oregano fertilizer guide rather than feeding automatically after the move. If leaves droop, check whether the mix is dry or wet before adding water.
Repot indoor oregano
Indoor oregano follows the same root and drainage signs, but windowsills can be warm and pots can dry quickly. Gardening Know How recommends a container with excellent drainage and a mix that dries somewhat between waterings (Gardening Know How). After repotting, place the plant near a bright window and do not leave water in a decorative cachepot.
If the indoor plant is thin or stretched, repotting may not solve the problem. Check its light first and use the Oregano light guide before increasing the pot size or fertilizer.
Avoid common repotting mistakes
Do not move oregano into a pot with no drainage hole, bury the crown, or leave a much larger volume of wet mix around a small root ball. Avoid repotting simply because roots appear through one hole if the plant is healthy and the soil drains well; roots sometimes reach the bottom before the container is truly full.
Do not divide an already weak plant unless the clump is rotting or urgently crowded. Fix the main stress first, then wait for recovery. If the plant is woody but has enough room, the Oregano pruning guide may address the problem without a repot.
When to use this page vs other Oregano guides
Use this guide when roots have filled the pot, the mix has compacted, or you need to divide a crowded clump. The soil guide covers mix ingredients and drainage; the watering guide explains moisture checks after repotting. Read the propagation guide for division and cuttings, and the pruning guide for woody stems.
Related Oregano guides
Start with the Oregano plant hub for plant size and quick care. The overview links repotting to light, water, and seasonal care. After moving a plant, check watering and soil; if it needs renewal, use propagation or pruning.
Conclusion
Repot oregano when roots crowd the container or the mix no longer drains well, not just because a calendar interval has passed. Move a healthy plant into a slightly larger pot, or divide a crowded clump in spring. Keep the crown at its original depth, use a free-draining mix, and let the soil begin to dry between waterings as the plant settles.