Plumeria Repotting Guide: Pots, Soil and Aftercare
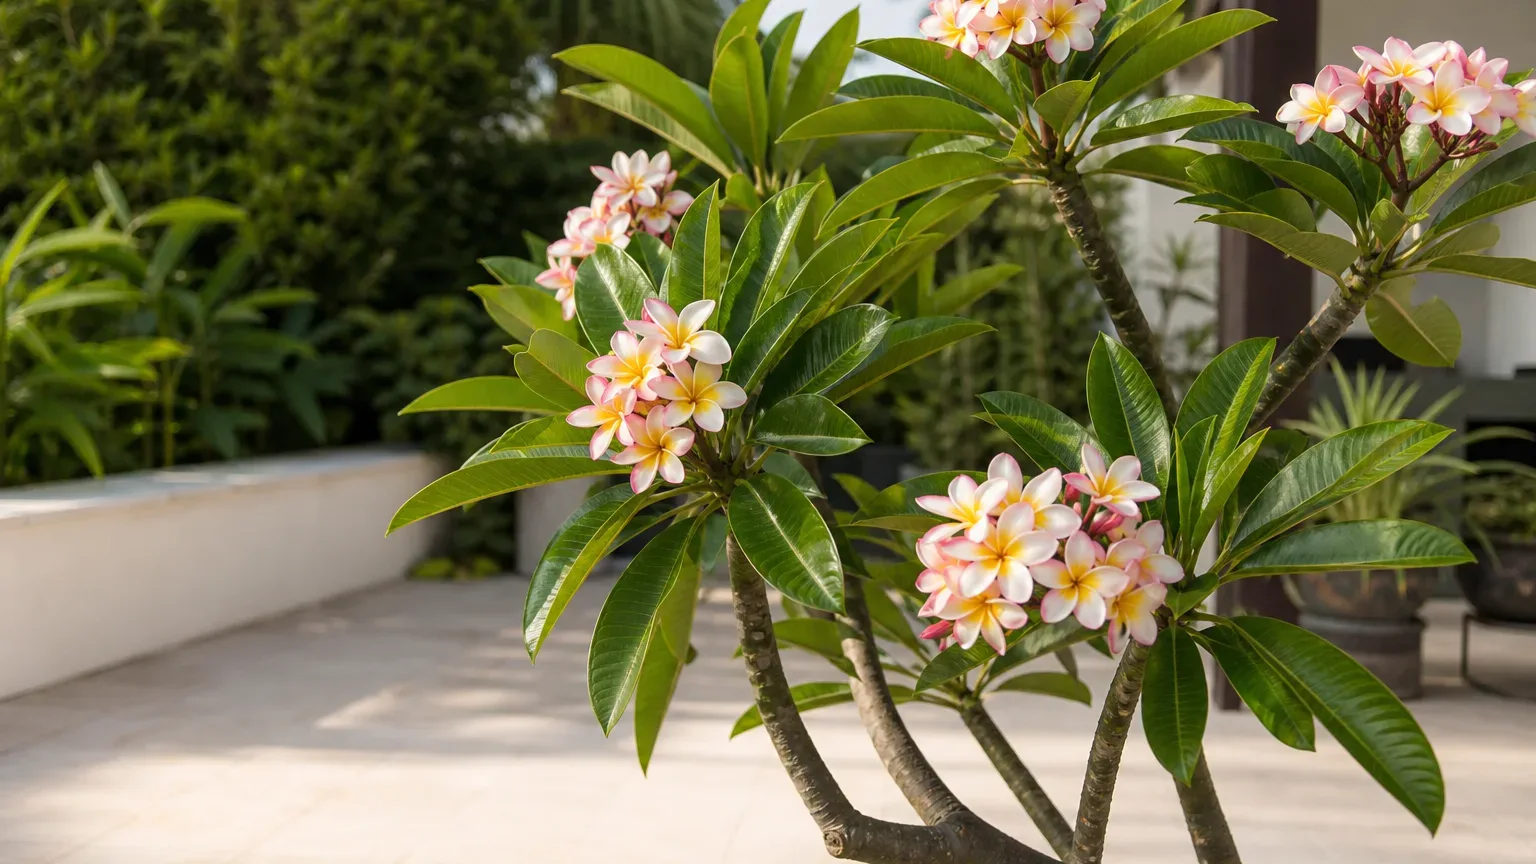
Plumeria Repotting Guide: Pots, Soil and Aftercare
Plumeria Repotting Guide: Pots, Soil and Aftercare
Repot a Plumeria because its root zone needs attention, not simply because a calendar says two years have passed. Plumeria rubra is a seasonally deciduous tropical tree with thick stems and a crown that can become heavy while the roots remain relatively contained. The safest upgrade is usually a stable container only slightly wider than the existing rootball, filled with a coarse mix that drains promptly.
This matters especially on Indian balconies and terraces. A large volume of fresh, wet mix can remain saturated through humid or monsoon weather, while a small black nursery pot can overheat and dry in a day before the rains arrive. The goal is enough new root room without creating a reservoir of unused wet mix.
Signs your Plumeria actually needs repotting
Look for several signals together: roots emerging from drainage holes, a dense spiral visible when the rootball slides out, water running straight through channels, active-season mix drying within a day, stalled warm-season growth, or a crown that repeatedly tips the container. Penn State recommends confirming pot-binding by examining whether roots circle the rootball or fill the lower portion so densely that little mix remains (Penn State Extension).
A plant in a poor nursery substrate may need a soil refresh even when it does not need a bigger pot. If dense peat stays wet for days, smells sour, or has collapsed away from the pot edge, replace it with a more porous medium while keeping the size increase modest.
Root signals worth acting on
Healthy Plumeria roots should feel firm. Pale tan or cream new roots and firmer brown mature roots are generally preferable to black, mushy tissue that slips apart. If you find rot, remove only dead tissue with a clean blade, correct the wet conditions, and do not compensate by moving the reduced root system into a larger pot.
Frequent wilting alone is not proof of root crowding. First push a wooden skewer into the mix or lift the pot to check whether the root zone is truly dry; a damaged root system can leave stems wrinkled even while the center remains wet.
False alarms: dormancy, heat and temporary thirst
Winter leaf drop is normal for many plumerias. UF/IFAS notes that plumerias commonly become dormant and lose leaves in winter, while their green stems remain capable of photosynthesis (UF/IFAS Gardening Solutions). A leafless plant with firm stems and a sound rootball does not need emergency repotting.
Likewise, midday droop during severe terrace heat can improve by evening. Check moisture, drainage and overnight recovery before disturbing roots. Repotting an otherwise healthy plant during a heat wave adds stress without solving excessive leaf temperature.
Best time to repot Plumeria
The most forgiving window is late winter to early spring, just before buds expand and active root growth resumes. General repotting guidance also favors spring because new roots can move into fresh mix during seasonal growth (Penn State Extension). In frost-free southern India, use visible growth as the trigger: repot as dormant tips begin to swell, before sustained flowering and monsoon saturation.
Emergency work follows a different rule. Repot immediately if the mix is sour and waterlogged, the container has no functional drainage, or roots are rotting. Keep intervention conservative during cold dormancy: remove failed mix and dead roots, then hold the plant warm and relatively dry rather than forcing growth.
Choose a pot only one size larger
Choose a pot roughly 2–5 cm wider than the old one for a small or medium plant. The RHS warns that overpotting leaves a small root system surrounded by compost that stays wet, increasing root-rot risk. The exact diameter matters less than maintaining a modest step up and unobstructed drainage holes.
Plumeria becomes top-heavy, so balance drainage with stability. Terracotta dries faster but may need more frequent summer watering; heavy ceramic or concrete resists tipping but can be difficult to move. Penn State notes that stone and concrete are stable for top-heavy outdoor plants, while plastic and fiberglass are lighter and easier to move (Penn State Extension). Never plant directly into a sealed decorative cachepot.
Build a fast-draining Plumeria mix
Use a coarse medium that holds the tree upright but allows air and water to pass readily. A practical starting blend is 40% quality potting mix, 30% coarse mineral grit or coarse sand, 20% perlite or pumice, and 10% mature compost. Adjust by climate: use more mineral material where monsoon rain repeatedly reaches the pot, and slightly more moisture-holding material only where hot, dry wind empties containers unusually fast.
Container media need different structure from garden beds. UGA Extension explains that restricted container depth reduces drainage and that excess moisture plus poor aeration stresses roots and favors root-rotting fungi (UGA Extension). Clemson similarly describes a good container mix as one that supports the plant while allowing water and air to pass readily (Clemson Extension). Do not add a gravel layer beneath fine mix; make the whole root zone porous instead.
Prepare the plant, pot and workspace
Gather gloves, clean pruners, fresh mix, mesh for unusually large drainage openings, and ties or help for a tall specimen. Damaged plumeria releases irritating milky sap; UF/IFAS identifies the plant as an Apocynaceae member whose sap contains harmful irritants (UF/IFAS). Keep sap away from eyes and skin, and keep cut roots or branches away from children and pets.
Let a normally watered plant become only lightly moist before work so the rootball holds together without being sodden. Pre-moisten dusty ingredients evenly. Clean reused pots, confirm every drainage hole is open, and plan the final location before lifting a large tree.
How to repot Plumeria step by step
- Lay a tall plant on its side and support the stem base; do not pull on branches.
- Ease the rootball out by tapping or flexing the pot. Cut a disposable nursery pot if roots have locked into its holes.
- Remove loose, exhausted mix from the outside and base. Keep the central rootball intact unless the substrate is failed or rot is present.
- Inspect roots, trimming only dead, mushy or severely circling sections with clean tools.
- Add enough mix to hold the original soil line at the same height. Burying the stem deeper creates a persistently damp collar.
- Backfill around the rootball in stages, working mix into voids without compressing it hard. UGA advises against packing container media because compaction restricts the pore space needed for water and air movement (UGA Extension).
- Leave a watering lip below the rim, settle the plant, and verify that it stands securely.
Inspect, loosen or prune the roots
Gently loosen a few circling outer roots on a moderately bound plant. For a mature specimen that must stay in the same container, limited root pruning and fresh mix can control size; the RHS repotting guide recognizes repotting into the same container after compost refresh or root pruning. Avoid removing a large share of roots in hot weather or while the tree is flowering.
If rot is present, distinguish dead tissue from stained but firm roots. Make clean cuts into sound tissue and reduce the future watering volume to match the smaller root system. Sterilize tools before moving to another plant.
Post-repot care for the first month
After a routine spring repot with healthy roots, water once to settle the mix and let all excess escape. Then return to moisture-based watering rather than keeping the new mix constantly damp. The RHS emphasizes that drainage holes are essential and that winter waterlogging can kill container roots (Royal Horticultural Society).
Give bright light but protect a heavily disturbed plant from the harshest afternoon sun for several days, then restore its normal full-sun position gradually. Stake only if the rootball shifts in wind. Delay fertilizer until new leaves or shoots show that roots have resumed growth; fresh commercial media may already contain nutrients.
Expect a short pause or a few yellow leaves, but investigate worsening stem wrinkles in wet mix, a soft stem base, foul odor or continued collapse. Those signs point beyond ordinary repotting stress and call for an immediate root-zone check.
When not to repot
Do not repot a firm, dormant plant merely because it is leafless. Avoid routine upsizing immediately before prolonged cool rain, during peak flowering, after a recent relocation, or while the plant is recovering from severe sunburn or pest treatment. Stabilize the main stress first unless drainage failure or root rot makes delay more dangerous.
Do not move directly from a small nursery pot into a decorative floor planter several sizes larger. The RHS recommends using the rootball as the size guide, because excess compost can remain waterlogged around roots that cannot yet use it.
When to use this page vs other Plumeria guides
Use this page for pot size, root inspection, soil replacement and recovery after root disturbance. Use the Plumeria soil guide to fine-tune ingredients, the watering guide for seasonal moisture checks, and the fertilizer guide once new growth confirms recovery. For cutting-based multiplication rather than moving an established rootball, follow the propagation guide.
Related Plumeria guides
Start with the Plumeria overview for its annual growth rhythm, then match aftercare to the Plumeria light guide. If the crown is too large for safe handling, plan structural work separately with the Plumeria pruning guide rather than combining severe root and branch reduction without a clear reason.
Conclusion
Successful Plumeria repotting is a measured root-zone correction: confirm crowding or failed mix, work near the start of active growth, choose a stable pot only slightly larger, and preserve drainage through the entire profile. Afterward, let the new mix approach dryness between thorough waterings and judge recovery by firm stems and fresh growth, not by a rigid schedule.