Plumeria Propagation Guide: Cuttings and Seeds
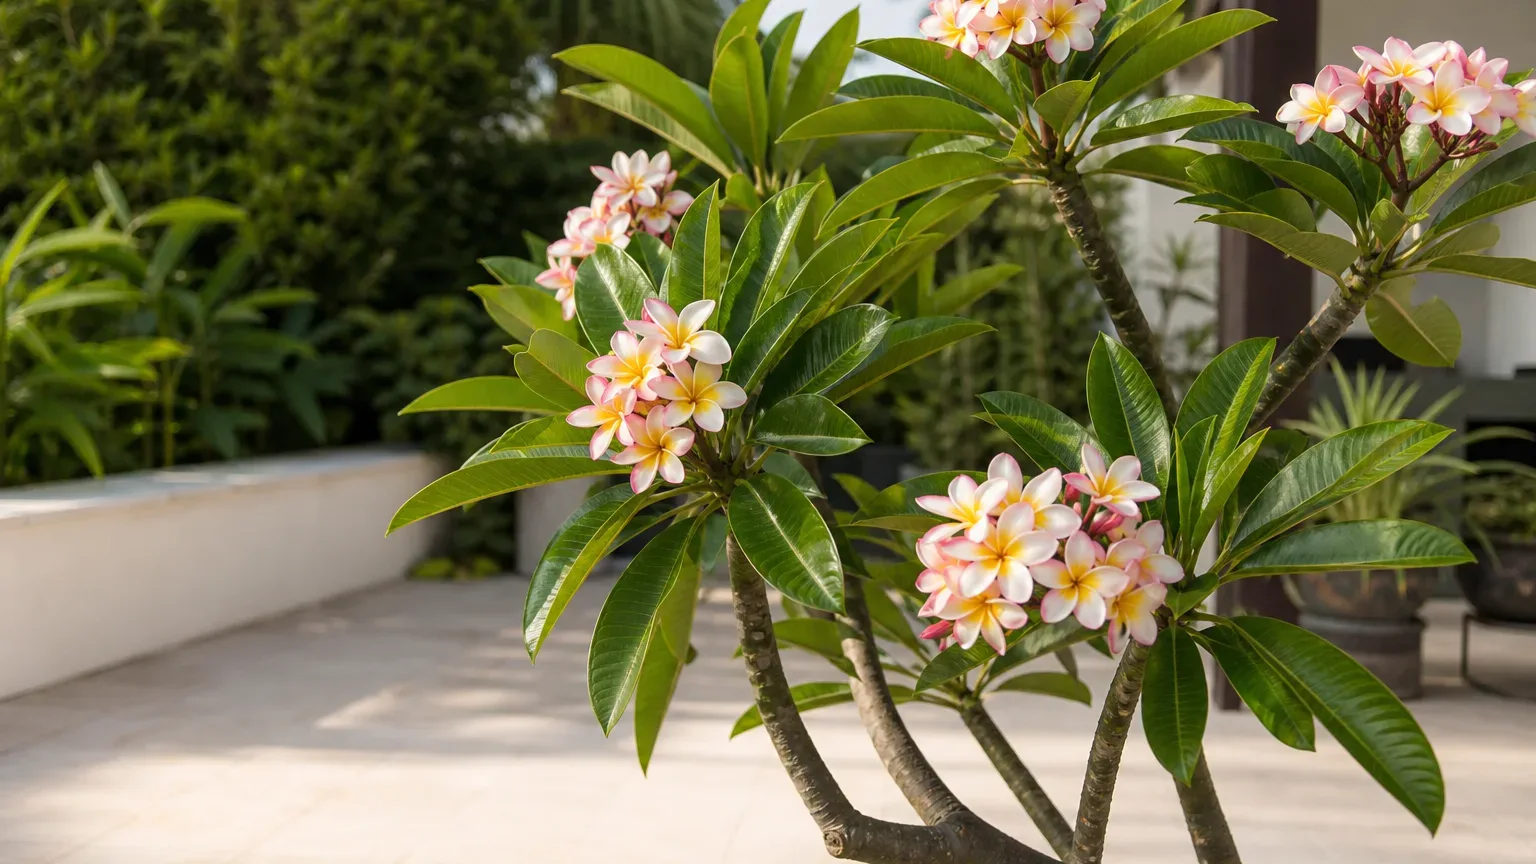
Plumeria Propagation Guide: Cuttings and Seeds
Plumeria Propagation Guide: Cuttings and Seeds
A plumeria branch can survive for weeks on moisture stored in its thick stem, so a cutting that still looks green is not necessarily rooted. Successful plumeria propagation depends on three separate stages: making a clean cutting, letting the wound seal, and keeping the planted stem stable and only lightly moist while new roots form. Most failures happen when these stages are rushed and an unrooted cutting is watered like an established plant.
For Plumeria rubra—the frangipani, Champa, or temple tree widely grown across India—stem cuttings are the practical choice when you want another plant like the parent. Seed is useful for experimentation, but seedlings vary. The species belongs to the dogbane family, Apocynaceae, and its cut surfaces release irritating milky latex, so propagation also requires deliberate handling.
The best way to propagate Plumeria rubra
Use a mature stem cutting for the most direct route to a recognizable copy of the parent plant. Cuttings are vegetative clones: barring a mutation, they retain the parent’s flower colour and other cultivar traits. Seedlings result from sexual reproduction and therefore do not reliably preserve a named selection, a distinction explained in the University of Florida’s propagation overview.
Plumeria’s thick, water-storing branches suit cutting propagation, but that reserve creates a deceptive pause before rooting. The branch can open leaves or stay firm using stored resources. Do not treat leaf movement alone as proof of roots; resistance to a gentle tug, stable new growth, and later roots at a drainage hole are better evidence.
Choose the right season for your climate
Take cuttings when the parent is actively growing and warm conditions are dependable. UF/IFAS describes plumeria as a tropical plant that performs in full sun and well-drained soil; those same warm, bright conditions support rooting. Avoid beginning during cool dormancy, when a leafless stem uses little water and a wet medium stays risky.
In much of India, late spring to early summer works well if you can protect the pot from the first prolonged monsoon rains. In very humid coastal areas, choose a spell with airflow and shelter from downpours. In cooler northern regions, wait until nights are consistently warm. Climate matters more than a single calendar month.
Tools and materials
Prepare a sharp knife, pruning saw, or secateurs suited to the branch diameter; gloves and eye protection; 70% alcohol for cleaning the blade; a label; and a small nursery pot with open drainage holes. Use fresh, porous rooting medium such as equal parts coarse perlite or pumice and a low-organic potting component. A small amount of coarse sand can add weight, but construction sand or fine silt closes air spaces.
Rooting hormone is optional, not a substitute for a healthy cutting and correct moisture. General extension guidance on rooting stem cuttings emphasizes a clean tool, an appropriate medium, and humidity and moisture management. With plumeria, excess wetness around the large cut surface remains the more urgent risk.
Take a healthy plumeria cutting
Choose a firm, mature branch with no black lesions, soft spots, deep wrinkles, rusted leaves, scale, or mealybugs. A piece about 30–45 cm long is manageable and has enough stored reserve without becoming difficult to anchor. Make one clean cut rather than crushing or repeatedly sawing the base; Iowa State Extension’s cutting guidance likewise starts with healthy plant material and clean, sharp tools.
Mark the top if the cutting’s orientation could become unclear. Remove leaves and flower stalks so the cutting does not spend its reserves supporting a bloom before it has roots. Do not take material from a plant already declining from watering problems or a soft stem base; propagation cannot make infected or decaying tissue healthy.
Cure the cut end before planting
Set the cutting upright or on its side in a dry, shaded, airy place until the base is dry and corky rather than wet or tacky. For a thick plumeria branch this often takes about one to two weeks, but use the wound—not the date—as the final test. Humid weather slows drying; a thinner piece in hot, dry air may seal sooner.
Callusing reduces the time a fresh, open wound sits in moist medium. This is not permission to bake the branch in harsh sun or leave it for months until it is severely shrivelled. Keep rain off, allow airflow around the base, and plant when the cut face is fully sealed and the stem above it remains firm.
Choose a small pot and fast-draining medium
Use a container only wide enough to hold the cutting securely, with several unobstructed drainage holes. A very large pot surrounds an unrooted stem with more wet medium than it can use. Plumeria is sensitive to persistent wetness; NC State’s plant profile lists good drainage and full sun among its cultural needs.
Moisten the medium lightly before planting so it is evenly barely damp, never dripping. The structure should remain open after watering rather than collapsing into mud. For long-term growing, consult the Plumeria soil guide; a rooting medium can be leaner and more porous than the mix used after a young plant is established.
Plant the cutting securely
Insert the cured base roughly 7–10 cm deep, just enough to hold it without burying a large length of stem. Firm the medium gently. Add a stake if the cutting rocks, because movement can damage fragile new roots where they emerge.
Keep the original orientation—base down, growing tip up. Label the cultivar and date. If using rooting powder, apply only a thin coating to the dry base and follow its label; a heavy paste can hold moisture against the wound and does not compensate for cold or saturated medium.
Water the cutting without causing rot
After planting into lightly moist medium, wait rather than repeatedly soaking the pot. Check below the surface and add a modest amount only when the medium is dry through most of the container. An unrooted cutting has no working root system to replace water on demand, while its succulent stem already contains reserves.
Once firm new growth and root resistance appear, transition gradually to the deep-but-spaced routine in the Plumeria watering guide. Never leave the nursery pot standing in a saucer or exposed to days of monsoon rain. Water management must change with the plant’s stage: restrained during root initiation, then more thorough during established active growth.
Give warmth and light while roots form
Place the pot in warm, bright conditions with morning sun or bright filtered light at first. Protect a leafless cutting from the fiercest afternoon heat until it begins to root, then acclimate it gradually toward the direct sun an established plumeria needs. The Royal Horticultural Society’s guidance on cuttings similarly stresses avoiding scorching and preventing the propagation medium from becoming waterlogged, though plumeria’s succulent stem needs less humidity than soft leafy cuttings.
Do not seal a plumeria cutting inside a plastic humidity tent. That technique helps thin leafy cuttings retain moisture, but here it traps humidity around a large succulent wound. Air movement, warm medium, and stability are more useful than constantly wet air.
Signs the cutting has rooted
Expect rooting to take several weeks and sometimes longer when nights are cool or the cutting is very thick. A healthy waiting cutting stays firm. New leaves are encouraging, but stored stem energy can produce an early flush before roots are functional.
Look for several signs together: the cutting resists a very gentle tug, fresh growth continues instead of stalling, the pot begins drying faster, or roots become visible at a drainage hole. Do not pull the stem out merely to check. Once rooted, increase watering gradually and delay strong feeding until growth is steady; the Plumeria fertilizer guide covers feeding an established root system.
Common plumeria propagation failures
A soft or black base usually points to rot, commonly associated with planting before the cut cured, cold wet medium, an oversized pot, or repeated watering. Severe wrinkling from the top downward can mean the cutting is exhausting its reserve without rooting, but adding water blindly can worsen a damaged base. Inspect conditions before choosing a response.
Rocking stems fail because new roots are repeatedly torn. Deep burial holds more stem in a damp zone. Strong fertilizer can injure tender roots, while flowering stalks divert limited reserves. Water rooting is also a poor fit for this woody succulent cutting: roots formed in water face a sharp transition to an airy medium, and the submerged wound has little margin against decay.
What to do if the cutting turns soft
Remove the cutting from the pot if softness starts at the base. With a sterile blade, cut upward until every part of the cross-section is firm and clean, then disinfect the tool again. Allow the new wound to cure fully before replanting in fresh, dry, porous medium and a clean pot.
Discard a cutting if blackening continues high into the stem, the tissue smells rotten, or no clean firm section remains. Do not compost obviously diseased material beside healthy plumerias. If the cutting is firm but not rooting, correct warmth, stability, and drainage before changing several variables at once.
Growing plumeria from seed
Seed propagation is worthwhile when you want genetic variation, many inexpensive plants, or the possibility of a new flower form. Use fresh, plump seed from a mature pod and sow it shallowly in a clean, free-draining seed medium. Keep it warm and lightly moist—not saturated—through germination, following the same sanitation and moisture principles in University of Minnesota Extension’s seed-starting guidance.
Do not expect a seedling to match its seed parent or flower quickly. Cuttings preserve the known parent and begin with mature tissue; seedlings must pass through a juvenile phase. The accepted botanical identity and native range of Plumeria rubra are documented by Kew’s Plants of the World Online, but garden seedlings may reflect hybrid parentage even when sold under the species name.
Handle plumeria sap safely
Wear gloves and eye protection when taking or recutting branches. Damaged plumeria tissue exudes milky sap, and UF/IFAS warns that it contains harmful irritants. Keep fingers away from your face, wash tools and exposed skin, and keep fresh cuttings and discarded pieces away from children and pets.
This precaution matters during propagation because one job can create several large, actively bleeding cuts. Let the parent plant’s wound dry in open air and prevent irrigation or rain from repeatedly washing over it immediately after cutting.
When to use this page vs other Plumeria guides
- Start with the Plumeria overview for the plant’s seasonal growth habit and whole-plant care.
- Use the Plumeria pruning guide when your main goal is shaping the parent rather than collecting propagation material.
- Check the Plumeria repotting guide before moving a newly rooted cutting into its first larger container.
- Consult the Plumeria light guide when rooted growth is weak or stretched.
- Return to the Plumeria watering guide once the cutting has an established root system.
Related Plumeria guides
- Plumeria care overview — seasonal growth, dormancy, and the core care rhythm.
- Plumeria soil — a durable mix for the plant after rooting.
- Plumeria light — acclimating young growth to stronger direct sun.
- Plumeria watering — shifting from restrained rooting moisture to established care.
- Plumeria fertilizer — when a rooted cutting is ready to feed.
- Plumeria repotting — sizing up without surrounding young roots with excess wet mix.
Conclusion
The reliable path to plumeria propagation is a healthy mature cutting, a fully dry callus, a small stable pot, and restraint with water until roots actually form. Work during dependable warmth, keep monsoon rain and cool wet conditions away from the pot, and judge progress from firmness, sustained growth, and root resistance rather than leaves alone.
Seeds are useful when variation is the goal; cuttings are better when you want the parent’s known flowers. Whichever route you choose, use clean tools, protect yourself from the latex, and let each stage finish before moving to the next. With plumeria, patience is not passive—it is the main protection against rot.