How to Prune Plumeria: Timing, Cuts & Recovery
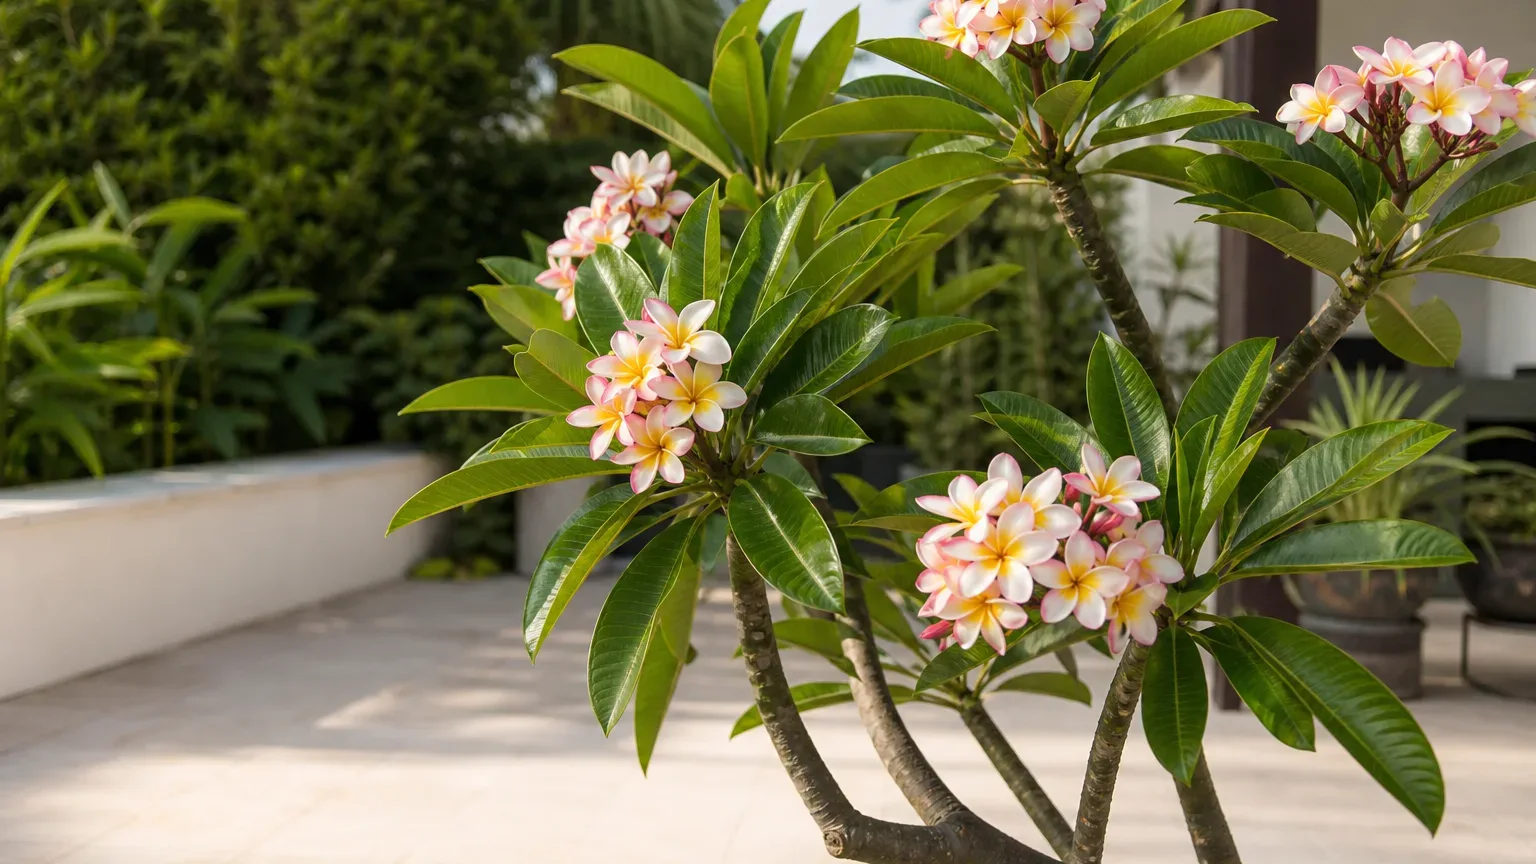
Plumeria Pruning Guide: When, Where, and What to Cut
Plumeria Pruning Guide: When, Where, and What to Cut
First, remove one clearly dead, broken, or diseased branch with a clean, sharp blade. Make that cleanup cut back to firm, pale tissue or to the branch junction, then stop and inspect the remaining framework before shortening healthy stems. Plumeria stores water in thick, brittle branches and carries flowers at the tips, so careful selection matters more than making many cuts.
Reviewed by LeafyPixels Review Board · Author: sai-ananth
Quick answer
Prune Plumeria rubra in spring, ideally just before its deciduous branches leaf out. Remove dead or damaged growth first; for height or shape, shorten selected firm branches rather than shearing the whole crown. The University of Wisconsin-Madison Extension notes that Plumeria usually needs little pruning and recommends doing necessary pruning in spring before deciduous types produce leaves.
Choose each cut with flowering in mind. Plumeria bears flower clusters at branch ends, and removing a healthy tip can remove that season’s bloom site. A shaping cut can encourage branches below the injury, but it cannot correct weak growth caused by insufficient Plumeria light or roots kept persistently wet.
What pruning can—and cannot—do
Pruning is useful when a branch is dead, split, crossing, too long for the space, or making a container dangerously top-heavy. A selective heading cut can reduce height and stimulate a new fork near the cut. It can also supply a healthy stem for the Plumeria propagation guide.
Pruning cannot make a shaded plant flower, repair soft rot inside a stem, or permanently miniaturize a vigorous tree. P. rubra naturally forms widely spaced, succulent branches, and Wisconsin Extension reports that these plants branch after flowering or injury. That means a cut can change the framework, but the result will still look like a Plumeria rather than a densely clipped hedge.
When to prune Plumeria
The best window for shaping
Use late winter to early spring in warm climates, after the coldest weather has passed but before strong leaf growth. In much of India, that means pruning near the end of the dry, leafless period rather than during monsoon humidity. A plant already pushing new leaves can still be pruned, but a pre-leaf-out cut avoids discarding a fresh flush and gives the entire active season for recovery.
Avoid planned height reduction late in autumn or during cool dormancy. UF/IFAS describes Plumeria as winter-dormant and commonly leafless; a dormant stem may remain firm without producing replacement shoots until warmth returns. Dead, split, blackened, or storm-damaged tissue is different—remove it promptly rather than waiting for the ideal shaping season.
When to delay a healthy cut
Postpone structural pruning if the plant was recently repotted, has wrinkled stems while its mix stays wet, is losing green leaves rapidly, or has soft dark tissue at the stem base. Resolve watering or root trouble first with the Plumeria watering guide and Plumeria soil guide. Do not combine a major canopy reduction with routine repotting simply for convenience.
Inspect the plant before cutting
Stand back and identify the exact problem: one overlong arm, excessive total height, a crowded fork, a broken branch, or a decayed tip. Then inspect the branch from its tip toward the trunk.
- Healthy wood feels firm and shows even grey-green bark without sunken black patches.
- Dead wood is dry, hollow, or brown through the cross-section.
- Rotting wood is soft, dark, or wet and may continue farther down than the surface mark suggests.
- A potential flower tip may carry a developing inflorescence or a compact cluster of buds; keep it if flowering matters more than size reduction.
- Rust-affected leaves show orange pustules underneath. Remove fallen infected leaves rather than cutting sound branches solely because foliage is spotted.
The University of Minnesota Extension’s pruning guidance prioritizes dead, diseased, damaged, and structurally problematic branches. Apply that order here: cleanup first, then one deliberate shaping decision.
Tools and milky-sap safety
Use bypass pruners for small green tips, loppers for thicker branches, and a fine pruning saw for wood too large to sever cleanly in one squeeze. A crushed Plumeria stem leaves a broad, ragged wound, so sharpen the blade or step up to the correct tool instead of twisting the branch.
Clean soil and sap from the blade, then disinfect it before the first cut and after cutting suspect tissue. Iowa State University Extension recommends sanitizing pruning shears to reduce disease transfer. Wear gloves and eye protection: Plumeria’s white latex can irritate skin and eyes. Keep children and pets away from fresh cuts and bag discarded material.
Where to make each type of cut
Removing an entire branch
Follow the branch to the slightly swollen junction where it meets its parent stem. Cut just outside that junction without slicing flush into the parent branch. Support a heavy limb and remove its outer weight first so it cannot peel bark as it falls; the University of Maryland Extension explains staged cuts for larger branches and preserving the branch collar.
Do not leave a long handle-like stub. It dies back, catches water, and makes the final structure harder to assess. Also do not scoop into the trunk to make the surface look flat.
Shortening for height or branching
Pick a firm section at the height where you can accept a new fork. Make one clean, slightly angled cut just above a visible leaf scar or dormant bud area, leaving roughly 1–2 cm of stem rather than shaving the bud. New shoots commonly form close below the injury, but their number and direction vary, so do not promise yourself a perfectly symmetrical fork.
If the crown is uneven, shorten the longest branch first. Keep several untouched tips to preserve leaf area and possible flowers. Never repeatedly shear all branch ends to one level; that removes the terminal architecture that gives Plumeria its characteristic form.
How to prune Plumeria step by step
- Choose a dry morning and place the pot where falling branches cannot injure anyone.
- Put on gloves and eye protection, then clean and disinfect the correct-size tool.
- Remove the first dead, broken, or diseased branch back to firm tissue or its junction.
- Wipe the blade and inspect the plant again from several angles.
- Mark one healthy branch for height or balance only if shaping is still necessary.
- Support that branch, reduce its weight if it is large, and make a clean final cut.
- Allow the milky sap to stop naturally. Do not wrap the cut or keep it wet.
- Stop after the planned correction and photograph the framework before considering another cut.
If you want to root a removed healthy tip, keep it separate from diseased waste. Follow the callusing and dry-medium steps in Plumeria propagation rather than planting a fresh, bleeding stem immediately.
How much to remove
For routine shaping, treat about one-quarter of the healthy canopy as a conservative ceiling, not a target. A small container plant often needs only one shortened branch. Dead material does not count as productive canopy, but removing extensive decay can still leave the plant unable to support its previous watering schedule.
Stage a drastic renovation over two active seasons. First remove hazards and shorten the most unbalanced branch; allow new shoots to harden before reducing another major limb. Plumeria can regrow after injury, but a leafless trunk with few viable buds may sit bare for months, and a weak root system may not support a hard cutback.
Protect flowers while shaping
Plumeria flowers form in terminal clusters, so a spring tip cut may trade that branch’s near-term bloom for new framework. Before cutting, look closely for a developing flower stalk between the clustered tip leaves. If you see one and the branch is safe, leave it through flowering and reassess later.
Deadheading individual spent flowers is optional; removing the entire flower stalk is not required for rebloom. Let a finished cluster detach naturally or snip only the dry stalk without cutting into the live branch tip. For a plant that has become long and sparse, correct its light exposure before sacrificing more tips—sun, not repeated cutting, is what supports compact growth and flowering.
Aftercare and recovery
Return the plant to its established sunny position rather than moving it into shade. Keep a fresh cut dry during rain or watering, and water according to the remaining foliage and actual mix dryness. A heavily reduced crown uses water more slowly, so the old schedule may now be excessive.
Do not fertilize merely to force recovery. Wait until new leaves are expanding, then resume the normal active-growth plan in the Plumeria fertilizer guide. In warm, bright conditions, buds near the cut may swell within several weeks; this is a practical range, not a deadline. During cool weather, a firm cut stem may wait until seasonal growth resumes.
Positive signs are firm tissue below the cut, a dry callused surface, and expanding shoots. Softening that advances down the branch, black wet tissue, a foul smell, or collapse below the cut suggests decay rather than normal recovery. Recut into clean firm tissue with a disinfected blade and correct any source of prolonged wetness.
Common Plumeria pruning mistakes
- Cutting every tip and unintentionally removing most potential flower sites.
- Pruning a cold, dormant plant for cosmetic reasons and expecting immediate shoots.
- Making a flush cut into the parent branch or leaving a long dying stub.
- Using small pruners to crush a thick, brittle stem.
- Handling irritating latex without gloves or eye protection.
- Watering on the old schedule after removing much of the leafy crown.
- Rooting diseased trimmings or planting a healthy cutting before it calluses.
- Applying sealant, soil, or wet cloth to a fresh cut.
Related Plumeria guides
- Plumeria overview — whole-plant growth habit and seasonal care
- Plumeria light — sunlight needed for compact branches and flowers
- Plumeria watering — adjusting moisture through growth and dormancy
- Plumeria soil — drainage around rot-prone fleshy roots
- Plumeria propagation — callusing and rooting healthy pruning cuts
- Plumeria repotting — timing root work separately from major pruning
Conclusion
Good Plumeria pruning is selective: remove one failed branch first, preserve healthy flower-bearing tips where possible, and make planned size-control cuts in spring before leaf-out. Cut cleanly at a junction or chosen bud area, keep routine shaping well below a wholesale cutback, and let warmth, direct sun, and stable watering drive recovery. If the plant is merely stretched or slow to bloom, improve its growing conditions before reaching for the pruners again.