Spring Onion Pruning Guide: Harvest Cuts and Flower Stems
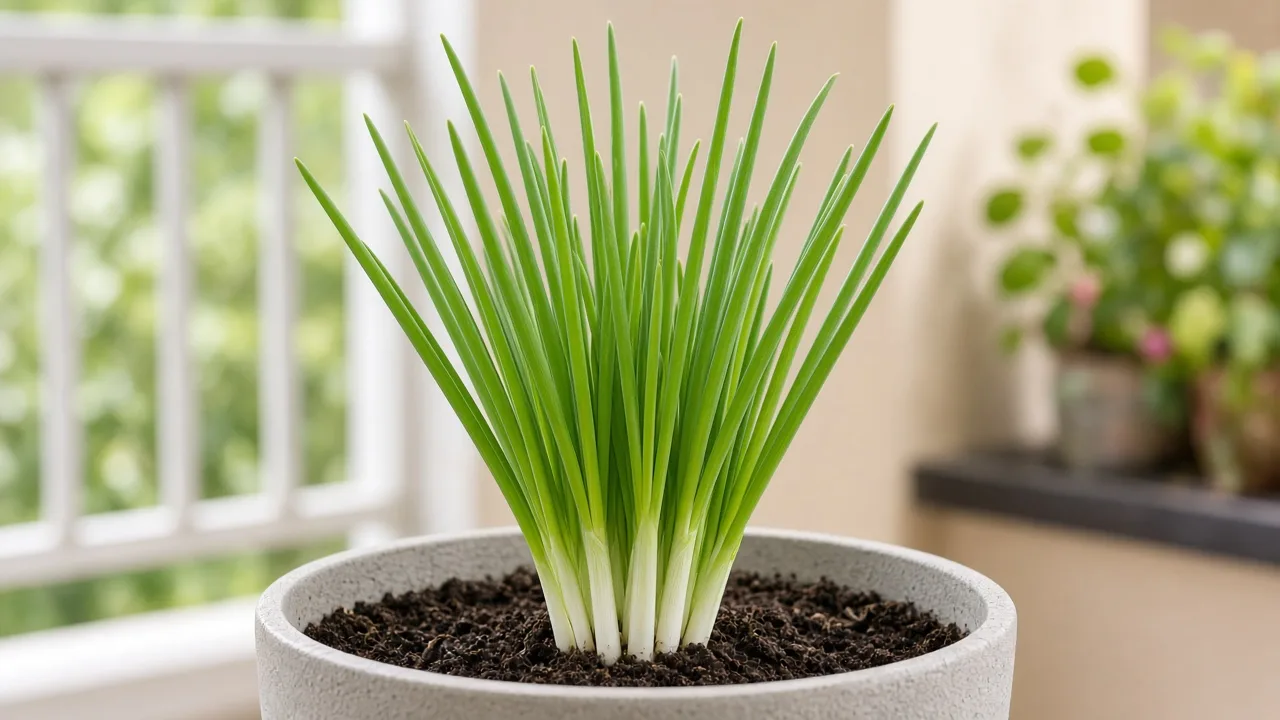
Spring Onion Pruning Guide: Harvest Cuts and Flower Stems
Spring Onion Pruning Guide: Harvest Cuts and Flower Stems
First, snip only yellow, slimy, or clearly damaged lower leaves at the base with clean kitchen scissors—do not start a full kitchen harvest until the clump has enough green to recover. For species context (bunching Allium fistulosum versus bulb onions), spacing, and container depth, start on the Spring Onion overview.
Quick answer
Spring onion (Allium fistulosum) is pruned by timed leaf harvests and flower-stem removal, not shaping a woody canopy. After sanitation cuts, your main tool is cut-and-come-again: snip hollow green tops about 2–5 cm (1–2 in) above the soil line, leaving the crown and roots in place so new shoots emerge. Gardener’s Path describes harvesting by snipping leaves as needed (similar to chives) or pulling whole plants like green onions once clumps mature. Epic Gardening notes that leaving the base in the ground while cutting stalks an inch or two above soil can yield continual harvests from the same roots. Pair cuts with steady watering, full sun on the shank, and loose, well-drained mix so regrowth stays tender rather than tough.
What spring onion pruning actually means
Bunching spring onions form clumps of hollow leaves rising from a slim white shank; they do not swell into large storage bulbs like Allium cepa. New leaves emerge from the crown at soil level. “Pruning” here means harvest timing, bolting control, and hygiene—not hedge trimming.
RHS lists routine pruning as removing old flowered stems and foliage on this perennial, while kitchen growers focus on repeated green picks. Gardening Know How notes scallions can be ready in about 60 to 80 days when transplants reach roughly a foot (31 cm) tall, with shallow roots that need constant moisture—dry stress after heavy cutting produces limp, folding leaves and can push plants toward flowering.
Cut-and-come-again vs whole-plant harvest
| Goal | Method | Where to cut | Regrowth |
|---|---|---|---|
| Steady garnish supply | Snip tops | 2–5 cm above crown | Repeated picks in cool, moist weather |
| One full bunch | Pull entire plant | Lift roots; trim roots in kitchen | Removes that station unless neighbors fill in |
| Perennial patch maintenance | Light snips + division | Outer leaves only; divide clumps in spring | Years of harvest in mild climates |
Gardener’s Path adds that harvesting can start once plants reach four to six inches high, with flavor strengthening as plants size up, and that leaves grow back quickly after snipping.
Bunching onion vs grocery green onion
Store “green onions” may be true A. fistulosum or young bulb onions depending on source. This guide targets Welsh or Japanese bunching types without a large bulb—matching the Spring Onion plant hub profile. Bulb-onion greens follow different daylength and storage rules; do not assume identical regrowth after a hard cut.
When to prune or harvest spring onions
First harvest size
Wait until seedlings have several true leaves and a usable white shank—not threadlike cotyledons only. Gardener’s Path suggests four to six inches as an early snipping window; Gardening Know How ties full-size scallion harvests to plants about a foot tall after 60–80 days.
On first-year perennial clumps, Gardener’s Path recommends waiting until midsummer before heavy harvest and avoiding over-harvest so roots establish—especially if you want the same patch next season.
Season and bolting pressure
Alliums bolt when heat, drought, or daylength shift the plant toward seed. RHS explains that flowering diverts energy and can make leaves bitter or tough—the same biology applies to bunching onions even without a large bulb. In warm lowlands (including much of India outside the cool season), treat scallions as a short cool-window crop and succession-sow rather than expecting year-round tender regrowth from one summer clump.
Snip thick flower stalks as soon as you see them elongate unless you are deliberately saving seed—Gardener’s Path advises removing flower heads for leaf production.
What to check before you cut
Run a quick inspection:
- Crown firmness — soft, rotting bases at the white shank mean pull affected plants and fix drainage and watering, not harder cutting.
- Soil moisture — shallow roots dry fast in terrace pots; water before harvest if leaves fold from thirst.
- Bolting cues — a stiff central stalk, narrower new leaves, or a swelling bud at the center means leaf quality is declining.
- Spacing — crowded troughs yield thin shanks; light harvest alternates with thinning or propagation divisions rather than shearing alone.
- Light quality — pale, floppy tops often need brighter placement before scissors will thicken shanks.
If plants are limp with wet mix, hold harvest and address saturation first—cutting stressed crowns invites rot.
The first cut to make
After removing yellow or damaged tissue, choose one modest harvest: either snip one outer leaf bundle leaving plenty of green on the plant, or cut a single regrowth line about 2–5 cm above the crown on a well-rooted clump. Wait three to five days and watch the center; new hollow shoots confirm your height and timing were safe.
This conservative first snip matters most on young seedlings and grocery-regrown bases, which have smaller root reserves than mature divisions.
How to harvest spring onions step by step
Cut-and-come-again snip
- Hold the green tops upright and identify the white shank where it meets the soil.
- With clean scissors, cut straight across roughly 2–5 cm above the soil line—Epic Gardening describes leaving roots and base in place while cutting stalks an inch or two above soil for regrowth.
- Rinse harvested greens; grit hides between hollow layers.
- Repeat on other plants, leaving each crown partially leafed unless you plan to pull that plant.
Whole-plant pull
When you need a full bunch—or when flavor fades on regrown scraps—loosen and lift the entire clump. Gardener’s Path notes pulling whole plants is valid once clumps reach maturity, often four to five months from seed for maximum size. Trim roots in the kitchen; compost only healthy residue.
Flower-stem and spent foliage cleanup
Cut flower stems at the base when they appear. RHS includes old flowered stems and foliage in routine pruning. Remove yellow lower leaves anytime; bag leaves with obvious pest mines instead of composting in humid climates.
Kitchen-scrap regrowth
Regrown grocery bases tolerate several cut cycles before vigor drops—see Spring Onion propagation for when to restart from seed. Scrap regrowth often produces thinner shanks than seed-grown plants; prune lightly so roots can rebuild.
How much you can safely remove
On established perennial patches, Gardener’s Path notes leaves can be cut down several times through the season when moisture and weather cooperate. On young plants, take one modest pick per plant per week at most until clumps thicken.
Avoid:
- Scalping every leaf from a seedling in one pass
- Cutting into the white shank below the green line—damaged crowns rot easily
- Repeated heavy harvest during heat waves without replacing the sowing
If you need volume for one meal, pull whole plants from a dense section of the row and leave neighbors to fill in, or sow a succession batch for dedicated cutting.
Where to cut
Place cuts above the crown, not through it. The crown is the compressed growing point where new hollow leaves emerge; slicing into neighboring young leaves invites decay in wet mix.
For sanitation, remove individual yellow leaves at their base rather than shaving the whole clump flat. For flower control, cut the stem at soil level or just above where it separates from the leafy cluster.
What not to cut
Do not remove every green leaf from a young plant while the shank is still pencil-thin. Do not strip flowering plants expecting tender regrowth—replace them. Avoid tearing leaves by hand; clean scissors reduce crown bruising.
Do not confuse healthy white shank tissue with rot—only remove tissue that is soft, smelly, or clearly brown. Heavy nitrogen feeding after aggressive cutting rarely fixes heat-bolted clumps; sow fresh instead.
Aftercare after pruning
Water gently after a large harvest if mix dried out during picking. Hold heavy fertilizer until new green is visible and temperatures are mild—lush weak growth bolts faster under stress. Mulch open soil in beds to keep crowns cool; containers may need daily water checks.
Sanitize scissors between plants if you removed diseased tissue. For perennial clumps, plan spring division every few years so harvest pressure spreads across vigorous offsets—workflow overlaps repotting and bed prep more than “moving up a pot.”
Recovery timeline and signs pruning worked
In cool, moist conditions, new hollow shoots often appear within several days to two weeks after a proper cut-and-come-again harvest. Signs you timed it right:
- Fresh green emerging from the crown center
- White shank staying firm, not slimy
- Steady leaf length on the next pick without sudden thinning
Signs cuts were too aggressive or poorly timed:
- Crown softening or sinking after wet weather
- No regrowth for weeks while a flower stalk dominates
- Increasingly tough, flat-tasting leaves after heat stress (RHS bolting)
Grocery-regrown bases may give two to four useful cycles; seed-grown clumps in mild climates can persist multiple seasons with light snips and occasional division.
Mistakes to avoid
- Flat-shearing young seedlings like a lawn—pull or snip selectively instead.
- Harvesting wet, rotting crowns—fix drainage before the next cut.
- Ignoring flower stalks until seed heads form—energy is already gone.
- Crowding then blaming scissors—thin or divide for thicker shanks.
- Storing trimmed tops with rotting bases—separate and refrigerate promptly.
When not to prune
Delay kitchen harvests when seedlings are only cotyledons, when plants are wilting from drought (water first), or when mid-summer heat is pushing obvious bolting—replace the sowing instead of harder cutting. Skip aggressive harvest on first-year clumps before midsummer if you want a perennial patch next season (Gardener’s Path).
Related Spring Onion guides
Use this page for harvest height, cut-and-come-again limits, and flower-stem removal. For the growing system around those cuts, open light and watering when regrowth stalls, soil and fertilizer when shanks stay thin despite good cuts, propagation for sowing cadence and divisions, and repotting for seasonal container workflow. The Spring Onion overview ties species traits to your local cool season.