Spring Onion Propagation: Seed, Division & Scraps
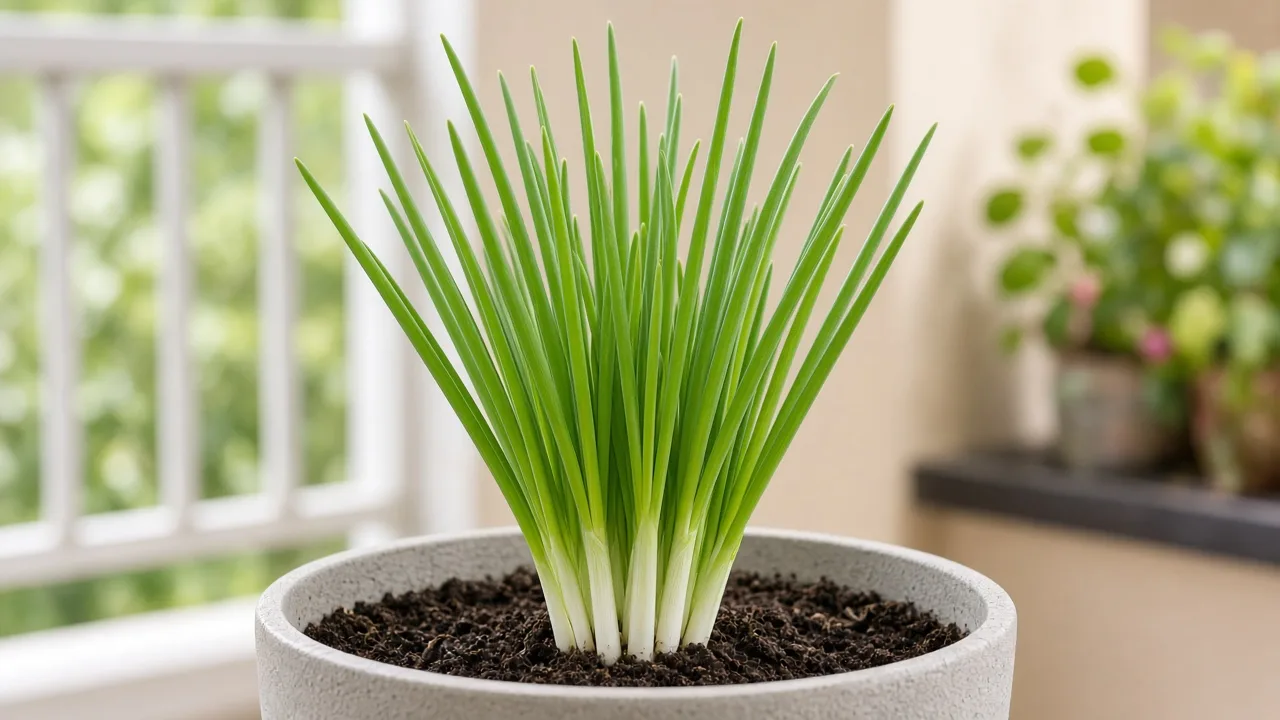
Spring Onion Propagation: Seed, Division & Scraps
Spring Onion Propagation: Seed, Division & Scraps
Spring onion propagation for kitchen scallions (Allium fistulosum, Welsh or Japanese bunching onion) means starting new plants from seed, lifting and splitting perennial clumps, or planting trimmed grocery bases that still have roots—not rooting a hollow leaf like a pothos. The RHS Welsh onion profile lists propagation by seed for this clump-forming edible allium that wants full sun and moist but well-drained fertile soil. Because fistulosum forms slender white shanks without swelling into a large storage bulb, you are managing leaf production and spacing, not matching daylength to latitude the way bulb Allium cepa growers do.
For species identity, mature size, and terrace habits, start with the spring onion overview. Pair propagation timing with spring onion light and spring onion soil so seedlings land in a sunny trough with loose, drained mix from day one.
Best propagation methods for Allium fistulosum
Seed sown in the final container is the most economical propagation path for balcony growers who want a full row of scallions. Gardening Know How’s scallion guide notes varieties sown in spring can be harvest-ready in about 60 to 80 days when transplants reach roughly 30 cm (1 ft) tall—propagation success here is really seed-to-establishment, not vegetative cloning.
Seed: the default for containers
Sow fresh bunching-onion seed where plants will finish growing. One seed yields one plant you can pull whole or cut for regrowth. The RHS vegetable seed-sowing advice applies: use fine, firmed seedbed, keep even moisture through germination, and thin so each plant has room to thicken.
Clump division for established Welsh onion
In mild climates, fistulosum can persist as a perennial clump for years. Lift overcrowded plants in cool weather, tease apart small divisions with roots attached, and replant at the same depth with fresh mix. This is the closest analogue to “propagating” an ornamental grass—each division is already a living plant, not a cutting callusing over weeks.
Kitchen scraps with roots attached
Trimmed scallion bases from the market often regrow leaves when roots are intact. Stand them in water briefly or plant directly into moist mix, leaving the white shank above soil. Expect a few cut-and-come-again cycles before flavor fades; this is a fun kitchen project, not a substitute for seed if you want a full trough of uniform shanks.
How bunching onion propagation differs from bulb onion
Spring onion is not a shortcut to propagating large pyaz bulbs. The biology drives different tools and timing.
No daylength bulbing stage
Allium fistulosum produces hollow leaves and slender shanks without the photoperiod-triggered bulbing stage that defines Allium cepa. You will not “propagate” a storage onion by planting a fistulosum division. If your goal is swollen bulbs, use the onion propagation guide instead.
Shallow roots and fast leaf cycles
Gardening Know How emphasizes shallow root systems that need constant moisture and benefit from tight plantings plus mulch to limit weeds. Propagation fails when seedbeds dry on a hot terrace surface or when crowded seedlings never get thinned—problems that look like “bad seed” but are really moisture and spacing.
When to sow or plant spring onions in India and similar climates
Think cool establishment, not peak summer heat on a concrete balcony.
Cool-season windows on terraces
In warm lowlands, sow or plant divisions during the coolest months you can keep mix evenly moist without baking the surface—often aligning with local Rabi or mild winter windows rather than copying a northern European calendar. At elevation or in hill stations, you may have a longer cool slot; on exposed terraces, prioritize afternoon shade on containers only if sun is extreme, because stocky scallions still want strong light once established.
Succession sowing for steady harvests
Because individual plants mature quickly, sow small batches every two to three weeks during suitable weather so one propagation wave does not all bolt or oversize at once. Pause succession sowings when heat makes germination unreliable or leaves turn tough; resume in the next cool window.
Direct sowing vs starting modules indoors
Direct sowing into the final trough is simplest for spring onion: roots stay shallow and undisturbed, and you avoid transplant shock on a crop with a short harvest window. Start modules indoors only when you need protection from heavy rain, birds, or pests—then move seedlings while they are still small, with minimal root handling, and water in immediately. Heavy root disturbance on warm days costs days of regrowth you were planning to eat.
Propagate spring onion from seed in containers
Choose a wide planter at least about 15 cm deep with open drainage—horizontal room matters as much as depth for pencil-thick shanks. Wilson Garden Pots’ container scallion guide recommends sprinkling seed on the surface, covering about ¼ inch (6 mm), and keeping soil consistently moist until germination.
Depth, spacing, and row layout
Gardening Know How suggests sowing about 6 mm deep, initially 1 cm apart, with 30–45 cm between rows in beds; in a window box, translate that to a grid or tight row and thin in place. Set transplants or divisions about 2.5 cm deep with 5–8 cm spacing between plants. Crowded scallions produce thin shanks that compete for the moisture rhythm described in spring onion watering.
Germination temperature and moisture
Expect germination in about 7 to 14 days in evenly moist mix at favorable temperatures, per Wilson Garden Pots. The critical propagation window is surface moisture: do not let the top centimeters bake dry until seedlings are up. After emergence, shift to deeper finger checks rather than constant surface soaking.
Step-by-step: direct sow scallions in a trough
- Fill a wide, drained container with loose mix from the spring onion soil guidelines—compost for structure, grit or perlite for drainage.
- Firm and moisten the surface before sowing so irrigation does not wash seed into deep cracks.
- Sprinkle seed evenly across the row or grid; cover with a fine layer about 6 mm deep.
- Water gently with a fine rose or mist until the surface stays damp, not flooded.
- Label sowing date—fast emergence makes it easy to forget which trough is which.
- Plan thinning as soon as the first true leaves appear; overcrowding is the main reason propagation “works” but harvest disappoints.
Place the trough where it will receive full sun once seedlings are up; weak light during propagation yields floppy, pale plants that never thicken.
Thinning and spacing after emergence
When seedlings have a couple of leaf sets, thin to about 2–3 cm apart for dense green-onion rows, or 5–8 cm if you want thicker shanks—snip extras at soil level with scissors rather than pulling and disturbing neighbors. Wilson Garden Pots recommends thinning to about 2.5 cm (1 inch) in pots after the first true leaves. Use thinnings in salads when large enough to handle.
Dividing perennial clumps
Where winters are mild enough for clumps to persist, lift plants every few years when centers die out or pots become crowded. Shake off old mix, separate outer divisions with healthy roots, trim damaged leaves, and replant at the same depth in refreshed soil. Water in and shade lightly for a few days if sun is harsh. In hot lowlands, treating scallions as a cool-season annual and resowing seed is often simpler than maintaining perennial stock.
Regrowing grocery scallions and hari pyaz bases
Choose bases with visible roots and firm white shanks. Trim tops to about 5 cm if they are floppy, plant so the white base sits at soil level with roots buried, and keep mix evenly moist. You can start in a glass of water to watch roots extend, then move to soil for better long-term growth—constant water-only culture weakens plants after a few cuts.
Water-only starts vs soil finish
Water starts are fine for a windowsill experiment; soil finish gives minerals and stability for repeated harvests. Use the same drained mix as seed-grown plants and a pot wide enough that multiple regrown bases are not jammed together.
How many harvest cycles to expect
Plan on two to four cut-and-come-again harvests from a strong grocery base before texture and flavor decline—then compost the spent base and sow fresh seed for a full crop. Regrowth is propagation for greens, not for rebuilding a thick shank underground.
Prepare mix and pot before you propagate
Propagation success is mostly container choice and mix structure decided before seed touches soil. Shallow decorative pots without drainage fail fast. Refresh collapsed peat-free mix between heavy harvest cycles instead of sowing into a crusted, hydrophobic surface. Light feeding after establishment belongs in the spring onion fertilizer guide—not at sowing time, when lush nitrogen can outrun root establishment.
Aftercare from seedling to first cut
Keep moisture steady without waterlogging the crown—soggy bases rot quickly. Harvest young leaves or whole plants at pencil thickness, or snip greens leaving 2–5 cm of white base for regrowth as described in the spring onion pruning guide. Remove flower stalks promptly if they appear so energy stays in leaves. Most seed-grown crops reach useful size in about 60–80 days depending on season and variety.
Common propagation failures and first fixes
No emergence after two weeks: crusted dry surface, old seed, or soil too hot. Scratch the row lightly, resow fresh seed, cover with fine compost, and shade the trough during midday until seedlings appear.
Seedlings collapsed at the soil line: suspect damping-off in wet, stagnant mix—improve airflow and avoid saturating the surface. NC State Extension’s damping-off bulletin describes fungi attacking overwatered seedlings at the stem base.
Thin, floppy plants after “successful” germination: too little light or overcrowding—thin, move to full sun, and see spring onion light.
Regrown scraps stall after one cut: exhausted base or exhausted water-only culture—plant fresh bases in new mix or sow seed.
Plants bolt with few usable leaves: heat, drought, or oversize plants—remove stalks if you want more leaves, then resow in the next cool window.
When to use this page vs other Spring Onion guides
Use this propagation guide for seed sowing, division, scrap regrowth, germination moisture, thinning, and succession timing. Use the spring onion overview for identity and seasonal expectations. After plants are established, move to watering, soil, light, and fertilizer for ongoing care.
Use spring onion repotting to understand final container choice and mix refresh between cycles—not mid-season upsizing like a houseplant. Use spring onion pruning for harvest cuts, not for creating new plants from leaf tissue alone.
Related Spring Onion guides
- Spring Onion care overview — bunching habit, aliases, and terrace basics
- Spring Onion light needs — sun for stocky seedlings and thick shanks
- Spring Onion watering — even moisture for shallow roots
- Spring Onion soil — loose, drained mix for fast establishment
- Spring Onion fertilizer — feeding after propagation, not at sowing
- Spring Onion repotting — final trough size and mix refresh
Conclusion
Propagate spring onion by sowing seed in a wide, drained container during cool weather, keeping the seedbed evenly moist until fast seedlings emerge, then thinning on schedule. Add clump division where perennial Welsh onion persists, and use rooted grocery bases for quick greens—not as a replacement for seed when you want a full row. Skip bulb-onion daylength rules; focus on sun, spacing, and steady moisture instead. When germination or regrowth fails, fix the seedbed or refresh mix and resow in the next cool window rather than stressing crowded transplants.
Related tool
Try the Propagation Success Calculator with spring-onion pre-selected to estimate needs for your setup.