How to Propagate Thyme: Cuttings, Layering and Division
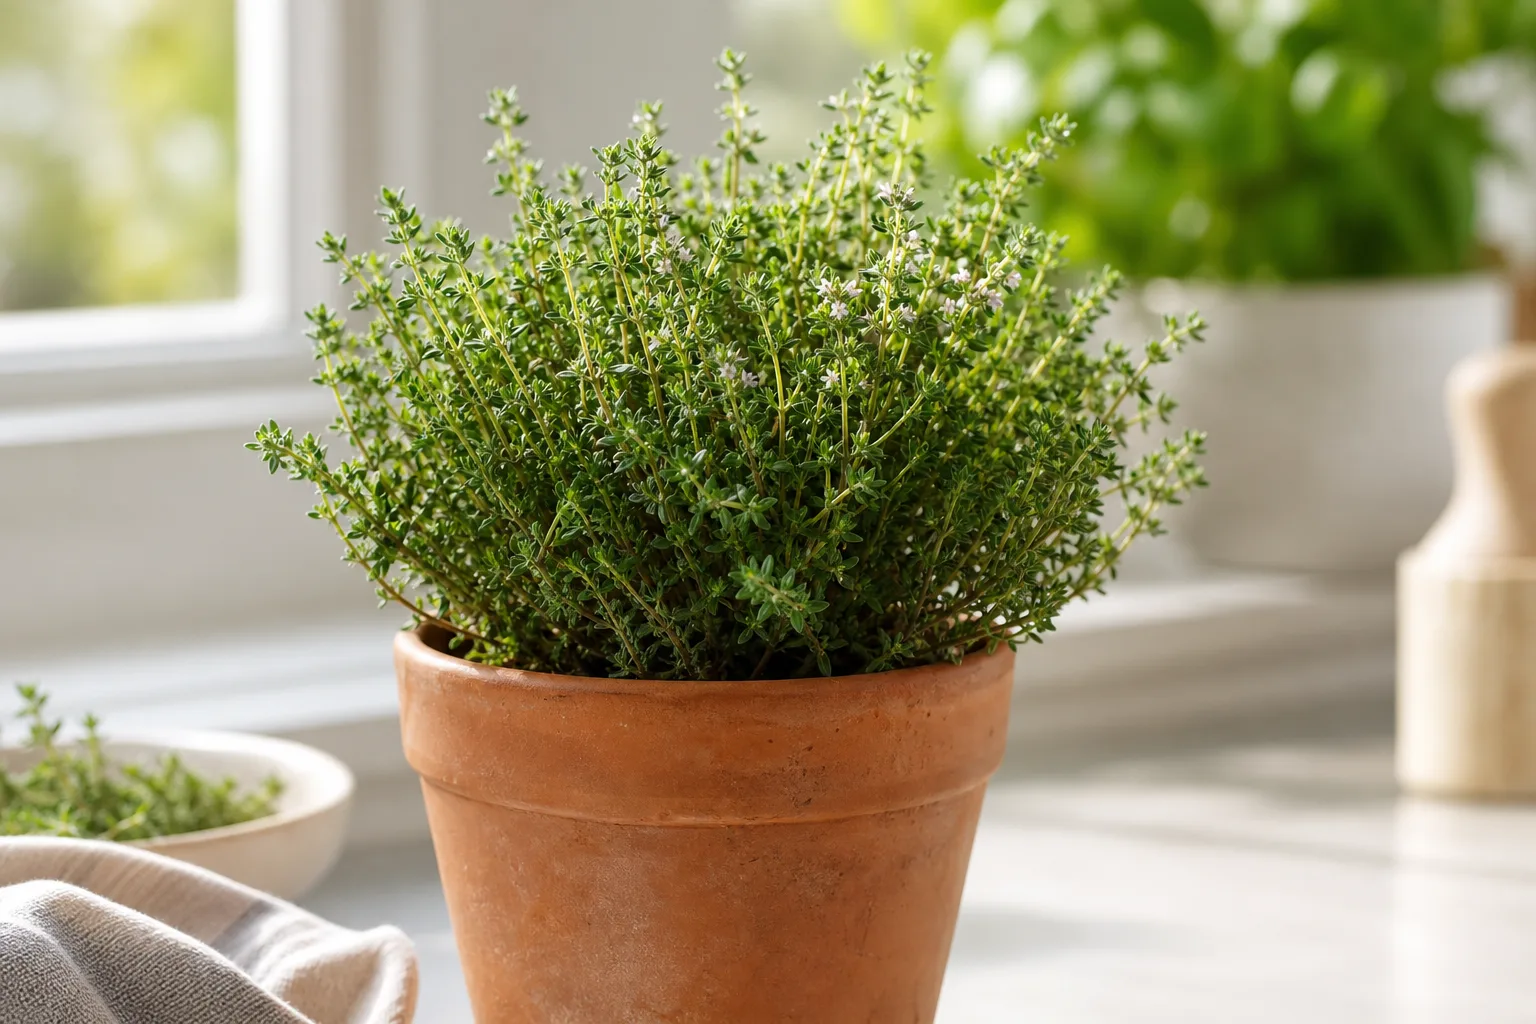
How to Propagate Thyme: Cuttings, Layering and Division
How to Propagate Thyme: Cuttings, Layering and Division
Choose the propagation method that fits your plant
Common thyme (Thymus vulgaris) can be propagated by stem cuttings, layering, division or seed. NC State Extension lists cuttings, layering and division as suitable methods, while noting that seed can germinate unevenly (NC State Extension). For most home growers who want a plant like the parent, use a cutting or layer; divide only a healthy established plant with several rooted sections.
Cuttings are easy to make in batches. Layering is gentler because a stem stays attached until roots form. Division gives you larger starts quickly but disturbs the whole root system. Seed is useful when you want multiple seedlings and can wait longer for harvestable growth.
What propagation can preserve
Vegetative methods—cuttings, layering and division—make new plants from the parent’s stems or roots and usually keep its growth habit and named cultivar traits. The RHS describes cuttings, layering and division as ways to produce plants matching the parent (RHS how-to-grow guide). Seed-grown plants may vary, especially when the parent is a selected cultivar.
This distinction matters if you grow a particular culinary variety. If you simply want more common thyme, seed can work, but it may take longer to establish. Penn State Extension notes that seed-grown thyme can take several years to mature enough to harvest (Penn State Extension).
When to propagate common thyme
Take soft, green cuttings in spring or early summer, after new growth appears and before the plant flowers heavily. Penn State recommends taking cuttings from new growth in late spring (Penn State Extension); RHS recommends softwood cuttings in spring or early summer (RHS how-to-grow guide). In warm climates, use a mild period when the mother plant is actively growing, not during a heat wave or prolonged monsoon rain.
Layering can be done while stems are flexible and actively growing. Divide only an established, vigorous plant in a mild period. In India, early spring or a cooler, drier window before extreme heat is usually easier than attempting division during peak summer or saturated monsoon weather.
Take healthy stem cuttings
Choose a vigorous green, non-flowering shoot from a healthy plant. Use clean, sharp scissors and take a cutting about 8–12 cm (3–5 inches) long. Remove leaves from the lower portion that will sit in the rooting medium, leaving foliage near the tip. Gardening Know How recommends spring cuttings from green, non-woody shoots and describes keeping the medium moist while roots develop (Gardening Know How).
Do not take every usable stem from one side of the plant. A mother plant needs enough leafy growth to recover and continue growing. If the plant is small or stressed, take one or two cuttings and wait for new shoots before taking more.
Root cuttings in a free-draining medium
Fill a small clean pot with a light, free-draining propagation medium such as sterile sand mixed with potting medium or a seed-starting mix. Make a small hole, insert the leaf-stripped end, and firm the medium gently around it. Penn State recommends placing late-spring shoot tips in pots of sand medium and keeping them well watered (Penn State Extension).
Keep the mix lightly and evenly moist, not saturated. Covering the pot loosely with a clear bag can reduce drying, but keep foliage from touching the cover and vent it daily to limit condensation. Place it in bright light away from harsh midday sun. Gardeners’ Path gives a similar cutting method in sterile, well-drained medium and notes that roots may take several weeks to form (Gardeners’ Path).
Root a cutting in water if you prefer
Water rooting is another option for small batches. The Spruce’s propagation guide describes placing the leafless lower stem in clean water in a warm, bright location out of direct sun, refreshing the water regularly and potting the cutting after roots appear (The Spruce propagation guide). Rooting timelines vary by temperature and cutting condition; inspect the cutting rather than expecting a fixed number of days.
Some growers prefer a soil medium because the rooted cutting transfers directly to potting mix; other growers report success with water. If you choose water, pot the cutting once it has a small network of roots, then keep the new medium evenly moist while it adjusts. Do not leave it in water indefinitely.
Layer a low stem without detaching it
Layering suits a plant with a flexible stem close to the soil. Choose a healthy shoot, bend one section down to the surface and pin it in place with a small U-shaped wire or a smooth twig. Keep the tip exposed. The stem can form roots while it remains connected to the parent; RHS recommends layering thyme in spring or autumn, and notes that low stems may root naturally (RHS how-to-grow guide).
Check after a few weeks by gently testing whether the buried section has anchored; do not tug repeatedly. Once it has roots, cut the connection to the parent and pot or transplant the rooted section. Gardeners’ Path also describes pegging a stem to the soil and separating it after roots develop (Gardeners’ Path).
Divide an established plant carefully
Division is best for a mature, healthy clump that can be separated into pieces with their own roots and shoots. Water the plant lightly beforehand if the soil is dry, lift the root ball with a garden fork, and separate it into sections using clean hands or a sharp knife. Keep each section substantial enough to include roots and leafy stems, then replant promptly at its previous depth.
Penn State advises spring division of well-established plants and keeping rootlets with each piece (Penn State Extension). Gardener’s Supply notes that older thyme can become woody and sluggish and describes spring division as a way to start new plants (Gardener’s Supply). Do not divide a young or already declining plant; taking cuttings may be less disruptive.
Grow thyme from seed when you want variation
Thyme seed is small and seedlings grow slowly. Sow on the surface of a fine, free-draining seed mix and press lightly without burying it deeply. Keep the medium evenly moist and bright until seedlings establish. The RHS notes that seed-grown thyme may take about a year to become established enough for harvest, while Penn State warns that it may take several years to reach harvest maturity (RHS how-to-grow guide; Penn State Extension). Those timelines differ by conditions and harvest expectations.
If you want a reliable harvest sooner, starting with a nursery-grown plant or vegetative cutting is more practical. Bonnie Plants recommends planting young thyme plants in spring after frost in its general growing guidance (Bonnie Plants).
Pot up and transplant rooted plants
When a cutting has several healthy roots, move it into a small pot with drainage and a free-draining mix. Handle the root system gently and set it at the same depth it was growing before. Water enough to settle the mix, let it drain, and keep the plant out of strong direct afternoon sun for a few days.
For an outdoor bed, wait until the plant is stable and the weather is mild. The Thyme repotting guide covers root handling and pot choice; the Thyme soil guide explains how to keep the new root zone open.
Give new plants the right light and water
Newly rooted thyme needs bright light but should not be moved from a sheltered propagation spot straight into intense afternoon sun. Increase exposure gradually as new growth appears. Keep the mix lightly moist while roots settle, then allow it to dry between thorough waterings once the plant is established. The Thyme light guide covers acclimation, and the Thyme watering guide explains how to check moisture below the surface.
Avoid leaving a propagation pot in a tray of water. In humid climates, remove covers once the cutting is stable and keep air moving around the foliage to reduce persistent wetness.
Protect the mother plant while taking cuttings
A cutting is a small harvest from the parent plant. Select shoots from different parts of the plant so it stays balanced, and do not remove more than the parent can replace. The Spruce recommends taking cuttings from a well-established mother plant and leaving enough green growth for recovery (The Spruce propagation guide).
If the mother plant is old and woody, new green shoots may be limited. Light pruning can encourage compact growth, but avoid cutting deep into leafless old wood. See the Thyme pruning guide before trimming a plant you plan to propagate.
Common reasons cuttings fail
Cuttings may rot if the medium stays saturated, dry out if the leaves lose too much moisture, or fail if the stem was already woody or weak. Use a clean pot, a freely draining medium, and a healthy green shoot. If a cutting turns black at the base or collapses, discard it and start again with a fresh tip.
A cutting can remain green for a while without rooting. Check gently after several weeks; do not keep pulling it from the medium. If it stays green but shows no roots, give it more time in bright indirect light and stable moisture, or try layering instead.
Choose a method for your climate and goal
- Fastest batch: take several green stem cuttings in a mild growing period.
- Lowest disturbance: layer a flexible stem while it remains attached to the parent.
- Largest starts: divide only a mature, healthy clump.
- Most seedlings: sow seed, accepting slower growth and possible variation.
- Quick kitchen harvest: buy or use a nursery plant while new propagations establish.
For a hot or rainy season, layering or waiting for a cooler window may be safer than dividing a plant under stress. In a dry inland climate, protect small cuttings from rapid drying while maintaining airflow.
First-month care checklist
Keep new cuttings bright and sheltered from hard afternoon sun. Check the medium daily at first, adding a little water if it is drying, but do not let the pot sit wet. Vent a humidity cover and remove it once the cutting stays firm without it. After roots form, pot up carefully and resume gradual exposure to sun.
Do not feed until the new plant is established and actively growing. The Thyme fertilizer guide explains why established thyme usually needs little or no feeding.
Conclusion
For common thyme, green stem cuttings and layering are practical ways to make new plants while preserving the parent’s growth traits. Division works for healthy established clumps, while seed takes longer and can produce variation. Choose an active, mild growing period, use clean tools and free-draining medium, and keep new roots lightly moist without leaving them saturated.
When to use this page vs other Thyme guides
- Use Thyme overview for the complete care routine.
- Read Thyme pruning before taking cuttings from an old or woody plant.
- See Thyme soil for the rooting and potting medium.
- Follow Thyme light to acclimate rooted plants.
- Use Thyme watering while cuttings establish.
- Visit Thyme repotting when roots are ready for a larger container.
Related Thyme guides
- Thyme pruning helps keep the mother plant productive.
- Thyme soil covers drainage for propagation and potting.
- Thyme watering explains moisture checks as roots establish.
- Thyme overview puts propagation into the full growing routine.