Bud Drop on Houseplants: Causes and Fixes
Getting houseplants to bloom indoors is tricky because homes rarely match native conditions. Bud Drop with Flower buds fall before opening can mean the plant is too young, light is wrong, humidity shifted, or buds were stressed during shipping or repotting. Track weekly progress after you change care, and note watering, light, and repotting dates so you can tell whether the symptom is improving or returning. Compare upper versus lower leaves, new versus old growth, and soil moisture at root depth before you treat, because the same visible symptom can come from watering, light, pests, or normal aging on different plants.
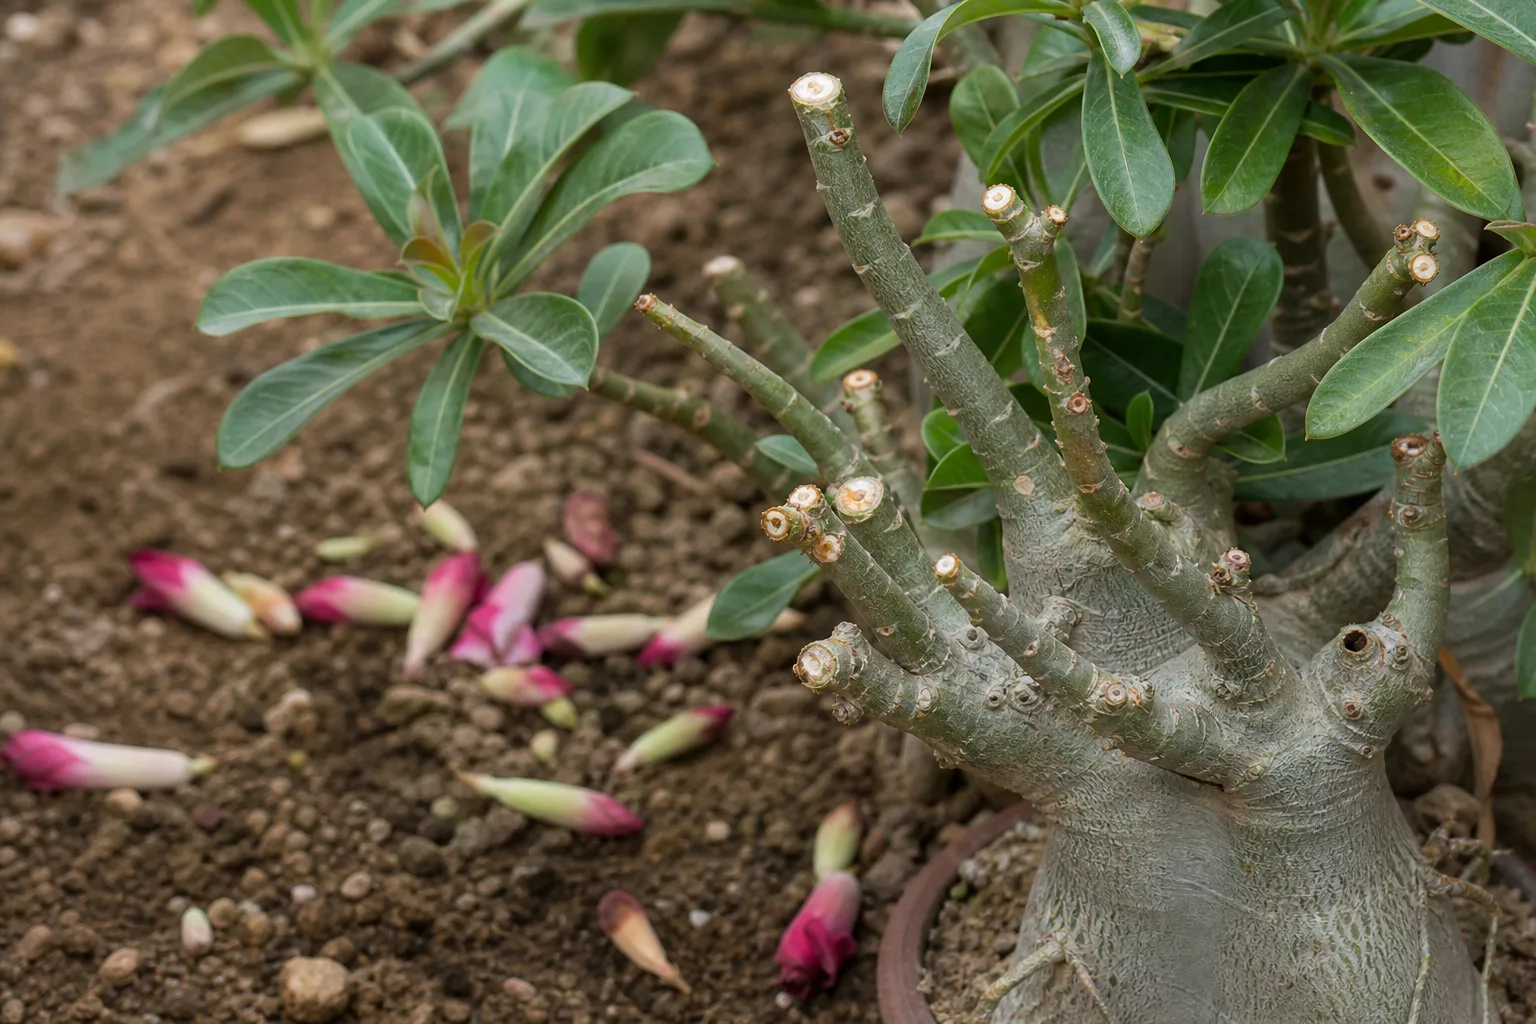
Bud Drop on Houseplants
Still unsure?Match your symptoms to the most likely problems in under a minute.Run diagnosis →Understand and fix bud drop
Getting houseplants to bloom indoors is tricky because homes rarely match native conditions. Bud Drop with Flower buds fall before opening can mean the plant is too young, light is wrong, humidity shifted, or buds were stressed during shipping or repotting. Track weekly progress after you change care, and note watering, light, and repotting dates so you can tell whether the symptom is improving or returning. Compare upper versus lower leaves, new versus old growth, and soil moisture at root depth before you treat, because the same visible symptom can come from watering, light, pests, or normal aging on different plants.
Overview
Getting houseplants to bloom indoors is tricky because homes rarely match native conditions. Bud Drop with Flower buds fall before opening can mean the plant is too young, light is wrong, humidity shifted, or buds were stressed during shipping or repotting. Track weekly progress after you change care, and note watering, light, and repotting dates so you can tell whether the symptom is improving or returning. Compare upper versus lower leaves, new versus old growth, and soil moisture at root depth before you treat, because the same visible symptom can come from watering, light, pests, or normal aging on different plants.
How to identify it
- Buds form but drop before opening
- Plant has never bloomed despite years of care
- Flowers fade quickly after opening
- Recent repot, move, or dry air episode preceded bud drop
- Plant is still juvenile for its species
When to worry
All buds drop after a big environmental shock while roots are wet-check for rot and drafts, not just light.
Common causes
Insufficient bright light
Many bloomers need brighter light than foliage-only plants. Dim spots prevent bud formation entirely.
Inconsistent watering during bud set
Letting soil dry completely or staying too wet while buds form causes Bud Drop.
Dry air and drafts
Heat vents and air conditioning dry buds quickly, especially on orchids and holiday cacti.
Recent repotting or relocation
Bud drop is common after stress-even if long-term the move was beneficial.
Step-by-step fix
Confirm the plant is mature enough to bloom
Some species need years or specific size before flowering indoors.
Increase bright indirect light
Move closer to a window or supplement with grow lights during bud formation.
Stabilize watering and humidity
Keep soil evenly moist for budded plants; avoid soggy or bone-dry swings.
Avoid moving or repotting while buds form
Wait until after the bloom cycle to repot or change rooms.
Use appropriate bloom fertilizer if needed
Phosphorus-forward feed at half strength during bud set for heavy bloomers-only during active growth.
Prevention tips
- Research species-specific bloom triggers before buying
- Keep humidity steady around budded plants
- Do not repot while buds are visible
- Provide winter cool period for plants that need it to set buds
- Document which leaves show symptoms first and whether the soil is wet, dry, or compacted before changing multiple variables at once.
Common mistakes
- Repotting when buds appear hoping for 'more energy'
- Placing bloomers in low-light corners
- Over-fertilizing with nitrogen, which pushes leaves over flowers
When flower buds fall before opening, the plant has abandoned an expensive project. Producing a flower requires stored energy, water, stable cell expansion, and conditions that match the species’ flowering cycle. If one of those inputs changes sharply—or the roots, buds, or flower stalk are damaged—the plant may shed the bud rather than continue investing in it.
That response is called bud drop, bud blast, or flower-bud abscission. It is a symptom, not a diagnosis. A newly purchased orchid beside a cold window, a thirsty hibiscus in summer sun, and a holiday cactus moved after setting buds can all lose unopened flowers for different reasons. The fallen buds look similar, but the useful fixes are not interchangeable.
The most reliable approach is to reconstruct what changed, inspect the buds closely, and make the smallest correction supported by evidence. Do not immediately repot, fertilize, mist, and move the plant at once. Multiple changes erase the diagnostic clues and add fresh stress.
This guide uses a conservative home-triage method: rank possible causes from the timeline, the distribution and texture of damage, root-zone evidence, and the species’ flowering biology, then test the least disruptive explanation first. It synthesizes extension-service, botanical-garden, and horticultural-society guidance; appearance alone cannot confirm a pest or pathogen. Rapidly spreading lesions, extensive root decay, or an uncertain pesticide decision warrants help from a local extension diagnostic service or qualified horticulturist.
Quick Answer: Why Flower Buds Fall Before Opening
Bud drop usually follows one or more of six cause groups:
- Water imbalance: roots became much drier or wetter than the species tolerates.
- Temperature shock: a cold draft, heat vent, hot glass, or large day-to-night swing disrupted bud development.
- Environmental change: the plant was shipped, turned, relocated, or repotted after buds formed.
- Insufficient or mistimed light: the plant lacks the energy or seasonal signal to complete flowering.
- Direct bud damage: thrips, gray mold, physical injury, or wet flowers damaged the tissue.
- Normal or species-specific behavior: a single weak bud aborts, pollination shortens a flower’s life, or the plant is responding to a normal seasonal transition.
The American Orchid Society’s explanation of bud blast is useful beyond orchids because it emphasizes the same core principle: sudden environmental changes can cause developing buds to yellow, shrivel, and drop. That does not mean every case has the same trigger. It means the timeline is often more informative than the fallen bud alone.
Start with three questions: Did all buds fail or only one? Did the loss begin within days of a move or care change? Is the rest of the plant firm and growing, or are leaves and roots declining too? One lost bud on an otherwise healthy plant is a different problem from every bud collapsing while the pot stays wet.
First Decide Whether the Loss Is Abnormal
Not every unopened bud is destined to bloom. Plants sometimes initiate more reproductive growth than they can carry to maturity. A shaded inner bud may abort while exposed buds continue normally. A mechanically bruised bud can fail without indicating a whole-plant disorder. On some inflorescences, the oldest flowers fade while newer buds still open.
Treat the pattern as significant when several buds stop developing together, buds repeatedly fail across flowering cycles, or bud loss occurs with leaf yellowing, wilt, stem lesions, root odor, insects, or spreading spots. Repetition matters. A single event after shipping may be acclimation; the same loss every cycle points to an unresolved cultural or biological cause.
Species context also matters. Holiday cacti use day length and temperature cues to initiate flowers. Many orchids are sensitive to drafts and rapid environmental shifts. Gardenias often react to inconsistent root moisture and relocation. Hibiscus can shed buds during hot, dry conditions or pest pressure. Before applying a generic fix, identify the plant and check a botanical garden, extension service, or specialist society for its bloom requirements.
Build a Seven-Day Change Timeline
Write down what happened during the week or two before the first bud changed. Include watering dates, unusually hot or cold nights, a heater or air conditioner turning on, a trip home from the nursery, repotting, fertilizer, pesticide, window cleaning, and any relocation. If the plant came from a greenhouse or shop, the transition began before it reached your room.
A timeline prevents a common error: blaming today’s condition for damage initiated earlier. A bud can remain attached for days after the decisive stress. Moving the plant again because a bud dropped today may compound the original shock.
Record the pot’s condition at root depth, not just the surface. Note whether the container sat in water inside a decorative cachepot. Check whether a curtain traps cold night air around the plant or a heat vent blows across it. Photograph the remaining buds from the same angle every few days. These simple records turn a vague problem into a testable one.
Do not interpret correlation as proof. If a bud dropped after watering, the cause might be chronic root damage that preceded that watering. If loss started after moving closer to a window, the trigger might be cold glass rather than brighter light. Use the timeline to rank hypotheses, then confirm them with physical clues.
Read the Bud: Dry, Yellow, Spotted, or Soft
The texture and distribution of damage help separate environmental abortion from disease or pests.
- Clean yellowing followed by a dry, intact drop: often fits environmental bud blast.
- Crisp, shriveled buds: can follow dehydration, hot dry airflow, root failure, or an abrupt change.
- Water-soaked or soft brown tissue: raises concern about flower blight or rot.
- Tan or brown flecks that spread across petals: can fit Botrytis under cool, humid conditions, though laboratory diagnosis is needed for certainty.
- Distorted buds, streaked petals, or black specks: inspect closely for thrips.
- A damaged stalk below otherwise healthy buds: look for a kink, lesion, chewing injury, or break.
| What you observe | First hypothesis to test | Best next check | Avoid doing first |
|---|---|---|---|
| Clean, dry buds drop after a move | environmental change | reconstruct the previous 7–14 days | moving the plant again |
| Crisp buds plus a light pot | water deficit or hot airflow | check moisture through the root ball and inspect vents | repeated small sips |
| Soft or spotted buds | flower blight or prolonged wetness | isolate, inspect airflow, and look for spreading lesions | misting the flowers |
| Distortion or black specks | thrips or other direct feeding | tap over white paper and inspect with magnification | spraying without identifying the pest |
| Bud loss plus yellow leaves or soft roots | root-zone failure | check drainage, odor, and representative roots | fertilizing |
Use a bright light and magnification. Examine the bud bases, flower stalk joints, leaf axils, and the underside of nearby leaves. Tap a flower or bud over white paper; tiny slender insects may become visible. Do not diagnose thrips from a single pale mark because mechanical damage, edema, and fungal spots can overlap visually.
The NC State Extension plant-disease guidance stresses diagnosing the pattern, host, and environment rather than treating every spot as infectious. That principle is especially important with flowers: delicate petals bruise, age, and react to water differently from leaves.
Watering and Root-Zone Stress
Flowering does not suspend normal root biology. Roots still need both water and oxygen. A potting mix that becomes bone dry may not deliver enough water for expanding buds; a saturated mix can exclude air and impair root function. Either route can end with the plant shedding reproductive tissue.
Check moisture several centimeters down using a finger, wooden skewer, or the weight of the pot. A dry surface alone is not enough evidence to water, and a dark surface does not prove the root ball is evenly moist. Peat-heavy mixes can shrink from the pot and allow water to race down the sides, leaving the central root ball dry. Conversely, a cachepot may conceal standing drainage water.
Container size and mix structure influence the result. An oversized pot holds a larger wet volume around a small root system. A compacted or decomposed mix drains more slowly. A severely rootbound plant may dry rapidly and unevenly. The Missouri Botanical Garden’s indoor-plant guidance connects many indoor-plant disorders to interacting water, light, temperature, and humidity conditions rather than one isolated input.
Too Dry Versus Too Wet
Use multiple clues:
| Evidence | A drier-than-needed root zone | A wetter-than-needed root zone |
|---|---|---|
| Pot weight | unusually light | stays heavy for many days |
| Mix | dry through the active root area; may pull from pot edge | wet below the surface; may smell sour |
| Roots | pale or tan and firm, sometimes desiccated | brown or black, soft, outer tissue may slip |
| Leaves | loss of firmness, crisp edges, rapid wilt | yellowing, edema, limp growth despite wet mix |
| Immediate action | rehydrate thoroughly and drain | stop calendar watering; improve drainage and inspect roots if decline continues |
These are tendencies, not a universal diagnostic test. Succulent stems may hide dehydration; damaged roots can cause wilting in wet soil because they cannot supply the canopy. If the pot is wet and the plant is wilting, do not add more water automatically.
When watering is warranted, wet the root ball evenly until excess drains, then empty the saucer or cachepot. Do not give repeated small sips that moisten only the top. Afterward, let species requirements and actual moisture—not a fixed weekday—determine the next watering.
Temperature Swings, Drafts, and Moving Shock
Buds are often less forgiving of abrupt environmental change than mature leaves. Transport from a humid greenhouse to a heated home changes light, temperature, airflow, and humidity at once. A brief cold exposure at a doorway or in a vehicle may be enough to injure tender buds even when leaves look acceptable.
Indoors, inspect microclimates. Window glass can become much colder than room air at night and much hotter in direct afternoon sun. Heating vents create warm, dry jets; air conditioners create cold airflow. A plant may experience large swings even when the thermostat appears stable.
Keep a budded plant away from direct forced air and from contact with glass. If it has just arrived, choose an appropriate position and leave it stable. Rotating a flowering plant a little for balanced display is not inherently harmful, but repeatedly moving it between rooms, balconies, and windows increases variation.
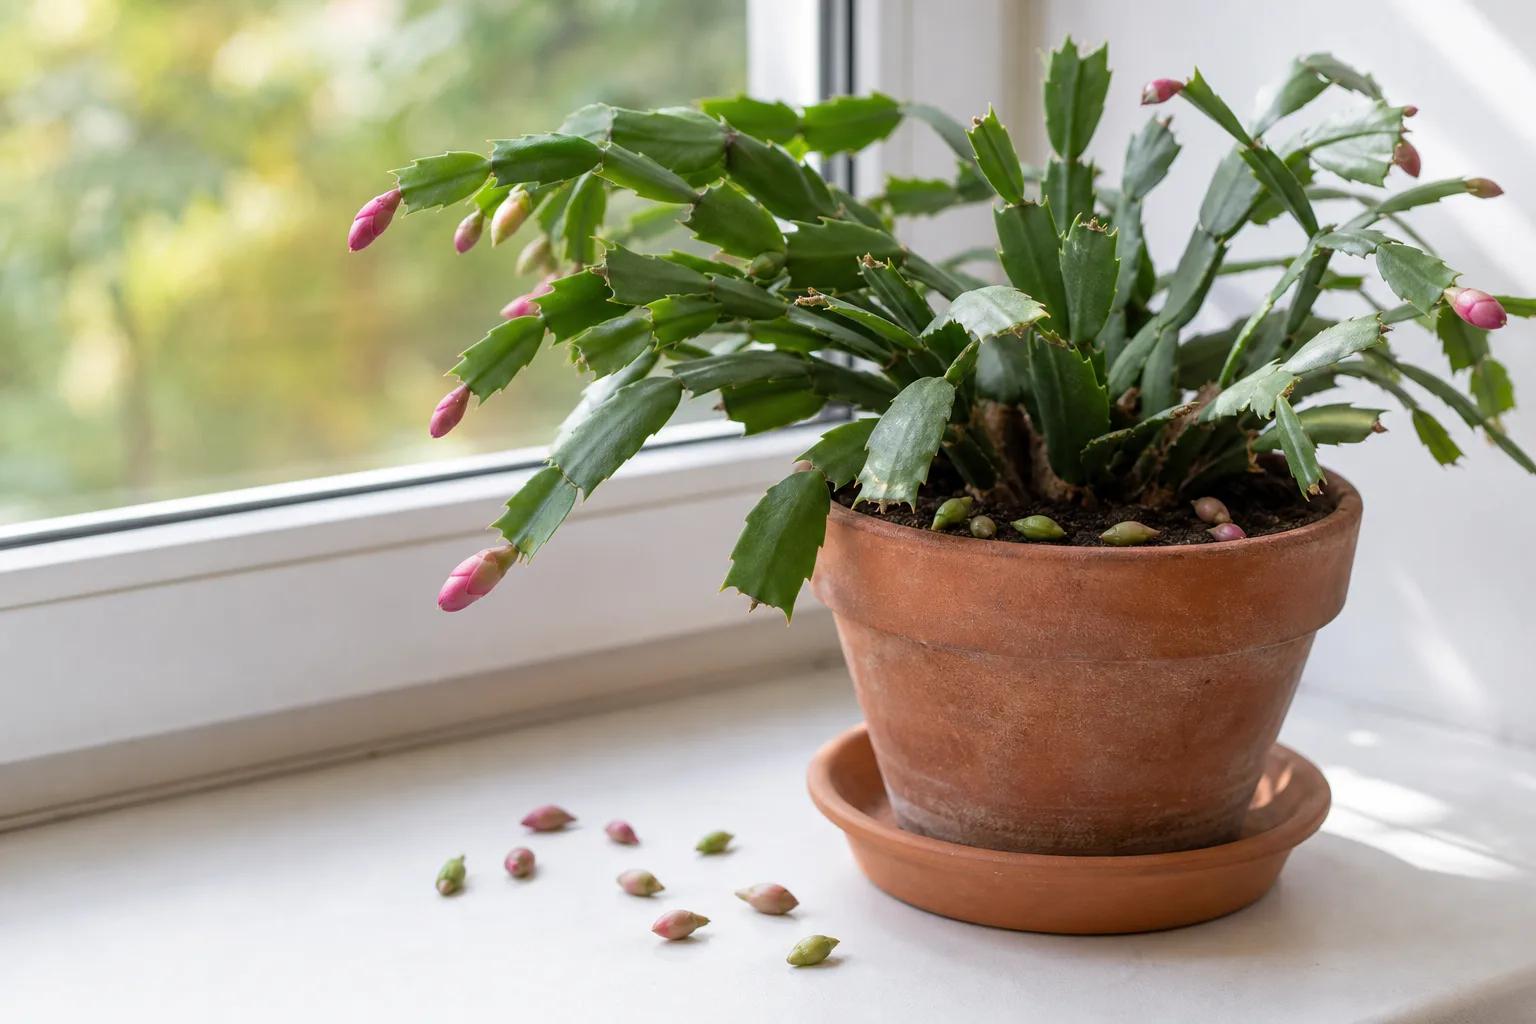
Holiday cactus illustrates why species-specific advice matters. The University of Minnesota Extension guide to holiday cacti explains that flowering is linked to uninterrupted darkness and cooler conditions, while changes after buds form can contribute to bud loss. An orchid, hibiscus, and holiday cactus should not be given the same temperature program simply because each dropped buds.
Light and Species-Specific Bloom Triggers
Light provides energy, but “more light” is not a universal cure. Low light can leave a plant without enough photosynthetic capacity to sustain flowers. Sudden direct sun can overheat or scorch tissues. Some species initiate buds in response to day length, some respond to temperature, and others flower after mature growth reaches a particular stage.
Assess light over the whole day. A bright-looking room can provide little useful light at plant level if the pot stands far from the window. The University of Maryland Extension’s indoor-light guide explains how window direction, distance, season, and obstructions alter available light. Move gradually when increasing exposure so leaves and buds can acclimate.
A grow light can help when natural light is insufficient, but duration and distance matter. Follow the fixture manufacturer’s coverage guidance and the plant’s requirements. Do not run light around the clock; plants need a daily dark period, and photoperiod-sensitive species may need specific uninterrupted nights to form buds.
Look at the plant’s recent growth. Long internodes, smaller pale leaves, and growth leaning strongly toward a window support a low-light hypothesis. Bleached patches, hot glass exposure, or damage on the window-facing side support excessive intensity or heat. Bud drop alone cannot distinguish the two.
Humidity, Airflow, and Ethylene Exposure
Humidity affects how quickly plants lose water, but the phrase “low humidity caused it” is often too simple. Root moisture, leaf temperature, airflow, and species all affect water loss. A heater blowing across buds can create rapid drying even when a room hygrometer across the room looks reasonable.
Measure near the plant if humidity is a serious hypothesis. Grouping plants or using a clean humidifier can moderate dry indoor air, but avoid keeping flowers constantly wet. Pebble trays have limited reach in open rooms. Misting is brief, difficult to quantify, and can leave petals wet; it is not a substitute for stable root moisture or room humidity.
Airflow is beneficial when gentle because it helps wet surfaces dry. Strong forced air is different. Aim for a stable environment without stagnant, saturated conditions or direct blasts.
Ethylene is another possible trigger for sensitive flowers and buds. It is a plant hormone involved in senescence and abscission, and sources can include ripening fruit, combustion, smoke, and aging plant material. This does not make a fruit bowl the leading diagnosis in every home. Consider exposure mainly when sensitive flowering plants are kept in enclosed areas with ripening produce, fumes, or heavy smoke and other evidence is weak.
Pests and Diseases That Damage Buds
Inspect before spraying. Thrips feed within flowers and buds, where they can be difficult to see. Damage may include streaking, distortion, failure to open, premature aging, and small dark fecal spots. Different thrips species and host plants produce different patterns, so confirm with magnification, tapping tests, and repeated inspection.
Botrytis gray mold can affect buds and petals, especially where aging flowers remain damp in cool, humid, poorly ventilated conditions. Symptoms can include small spots that enlarge, soft brown tissue, and fuzzy gray sporulation. The University of Wisconsin Extension’s gray mold guidance describes the pathogen’s broad host range and association with humid conditions and senescent plant material.
Other diseases, mites, aphids, and mechanical injury can also compromise flowers. If several plants develop similar damage after a new plant arrives, isolation and close inspection become more urgent. If the symptom is confined to one recently moved plant with clean buds and no pests, environmental stress ranks higher.
Thrips, Botrytis, and When to Isolate
Move a plant away from the collection when you find live pests, suspect a spreading disease, or see unexplained damage on adjacent plants. Remove fallen flowers and badly affected tissue with clean tools. Bag debris rather than leaving it on the potting mix.
For confirmed thrips, combine sanitation, monitoring, and a product labeled for the pest and the plant. Flowers can hide life stages and may be damaged by sprays. Follow label directions exactly and test on a small area when the label permits. Repeat treatment only at the labeled interval; one application often misses protected stages.
For suspected Botrytis, reduce prolonged petal wetness, remove infected and senescent material, and improve gentle air circulation. Avoid creating aerosol drift or applying an unregistered fungicide. If a valuable plant continues to decline or symptoms are ambiguous, a local extension diagnostic service can distinguish infectious disease from environmental injury more reliably than a photograph.
A Low-Risk Recovery Plan
Use this order:
- Stabilize the location. Keep the plant out of forced air and temperature extremes.
- Check moisture and drainage. Correct clear dryness or standing water, but do not chase a perfect number.
- Inspect roots only when evidence warrants it. Persistent wetness, odor, stem collapse, or progressive wilt justifies a closer look.
- Inspect flowers and foliage for pests. Use magnification and isolate if you find them.
- Remove decaying flowers. This improves sanitation and lets you track new damage.
- Match light and seasonal cues to the species. Make gradual changes.
- Hold other interventions steady. Monitor new buds and vegetative growth.
Accept that damaged buds will not recover. The goal is to protect the plant and improve the conditions under which the next buds form. Removing every bud preemptively is unnecessary unless tissue is rotting or a pest-management plan requires flower removal.
Repotting and Fertilizer: Usually Not First Aid
Repot only when the root system or medium is part of the diagnosis: severe root rot, a hydrophobic collapsed mix, a pot without drainage, or a root mass that dries too rapidly to manage. Repotting a healthy plant during bud development can add disturbance and may sacrifice the current display.
Fertilizer does not reverse environmental shock. A plant with damaged roots cannot use a heavy dose safely, and soluble salts can worsen root stress. Feed only when the plant is actively growing, the roots are healthy, and the product and dose suit the species. Avoid assuming that a high-phosphorus “bloom booster” fixes every flowering problem; flowering depends on light, maturity, seasonal cues, and overall nutrition, not phosphorus alone.
If you recently fertilized, do not add more because buds dropped. Check whether product concentration, dry media, or accumulated salts could have contributed. Leaching may be appropriate for a salt-affected, freely draining pot, but not for a waterlogged or severely rotted root ball.
What Recovery Looks Like
Judge recovery by what happens next, not by the fallen buds. Useful signs include firm new growth, stable leaf color, healthy roots, no new pest damage, and later buds that continue enlarging. The current flower cycle may be lost even after you correct the cause because bud development crossed an irreversible threshold.
Recovery time varies by species and season. A continuously growing hibiscus may attempt buds again relatively soon under suitable conditions. A holiday cactus may wait until its next induction period. A Phalaenopsis may need to complete a vegetative growth phase before producing another spike. Avoid promising a fixed number of days.
Keep a simple log through the next cycle. Record when buds first appear, watering, major weather or heating changes, and the stage at which any bud stops. If loss recurs at the same stage, compare the log with species requirements. Repeated evidence is far more useful than changing products at random.
Escalate when the crown or stem becomes soft, roots are extensively rotten, pests spread despite correct treatment, or lesions advance rapidly. Those signs are no longer merely a flower-quality issue.
Prevention for the Next Bloom Cycle
Preventing bud drop is mostly about reducing avoidable swings:
- Learn whether the species needs a cool period, short days, mature growth, or a dry rest before bud initiation.
- Give enough light during active growth so the plant can store energy.
- Water from actual root-zone conditions and drain excess water.
- Keep newly budded plants away from doors, vents, hot glass, and cold panes.
- Avoid unnecessary repotting after buds are visible.
- Quarantine new plants and inspect flowers for thrips before joining the collection.
- Remove fading flowers and fallen debris promptly.
- Keep petals dry when cool, humid conditions favor gray mold.
- Make environmental changes gradually and document them.
No prevention plan can eliminate every aborted bud. Plants adjust reproduction to their resources, and a weak or damaged bud may still fall. Success means fewer unexplained losses and a healthier plant—not forcing every initiated bud to open.
Conclusion
Bud drop is the plant’s final response to a problem that often began days earlier. The fallen bud cannot identify whether the cause was dry roots, saturated mix, temperature shock, a move, insufficient light, thrips, gray mold, or a species-specific flowering cue. The pattern and timeline can.
Begin with evidence: count affected buds, inspect their texture, check root-zone moisture and drainage, review recent changes, and look closely for pests or decay. Stabilize one variable at a time. Reserve repotting, fertilizer, and pesticides for cases where the roots, nutrition, or a confirmed organism actually justify them.
You may not save the current buds. You can still protect the plant and create a more stable next bloom cycle—and that is the realistic measure of recovery.
Plants commonly affected
These houseplants often struggle with bud drop. Open a care guide or plant-specific troubleshooting page for tailored fixes.
 Medium
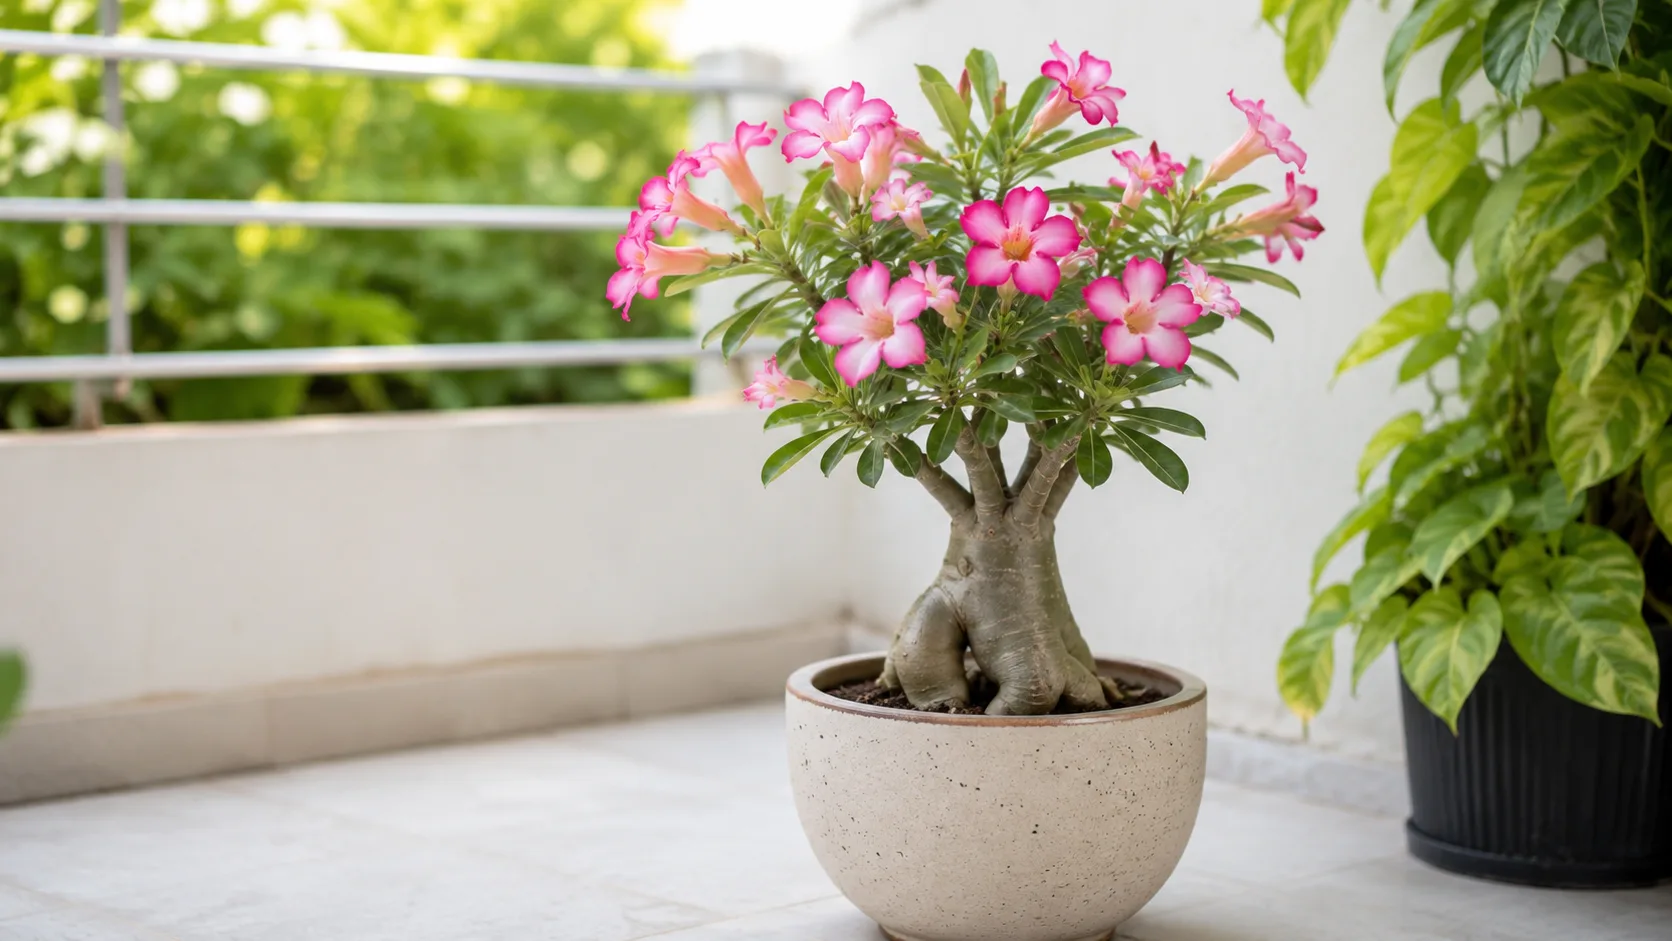
Adenium
Likely causeFlower buds abort when light is weak, soil stays wet, temperatures swing, or the plant was recently moved/repotted.
Quick fixStabilize placement in full sun, water only when dry, and inspect buds for aphids or thrips.
 Medium
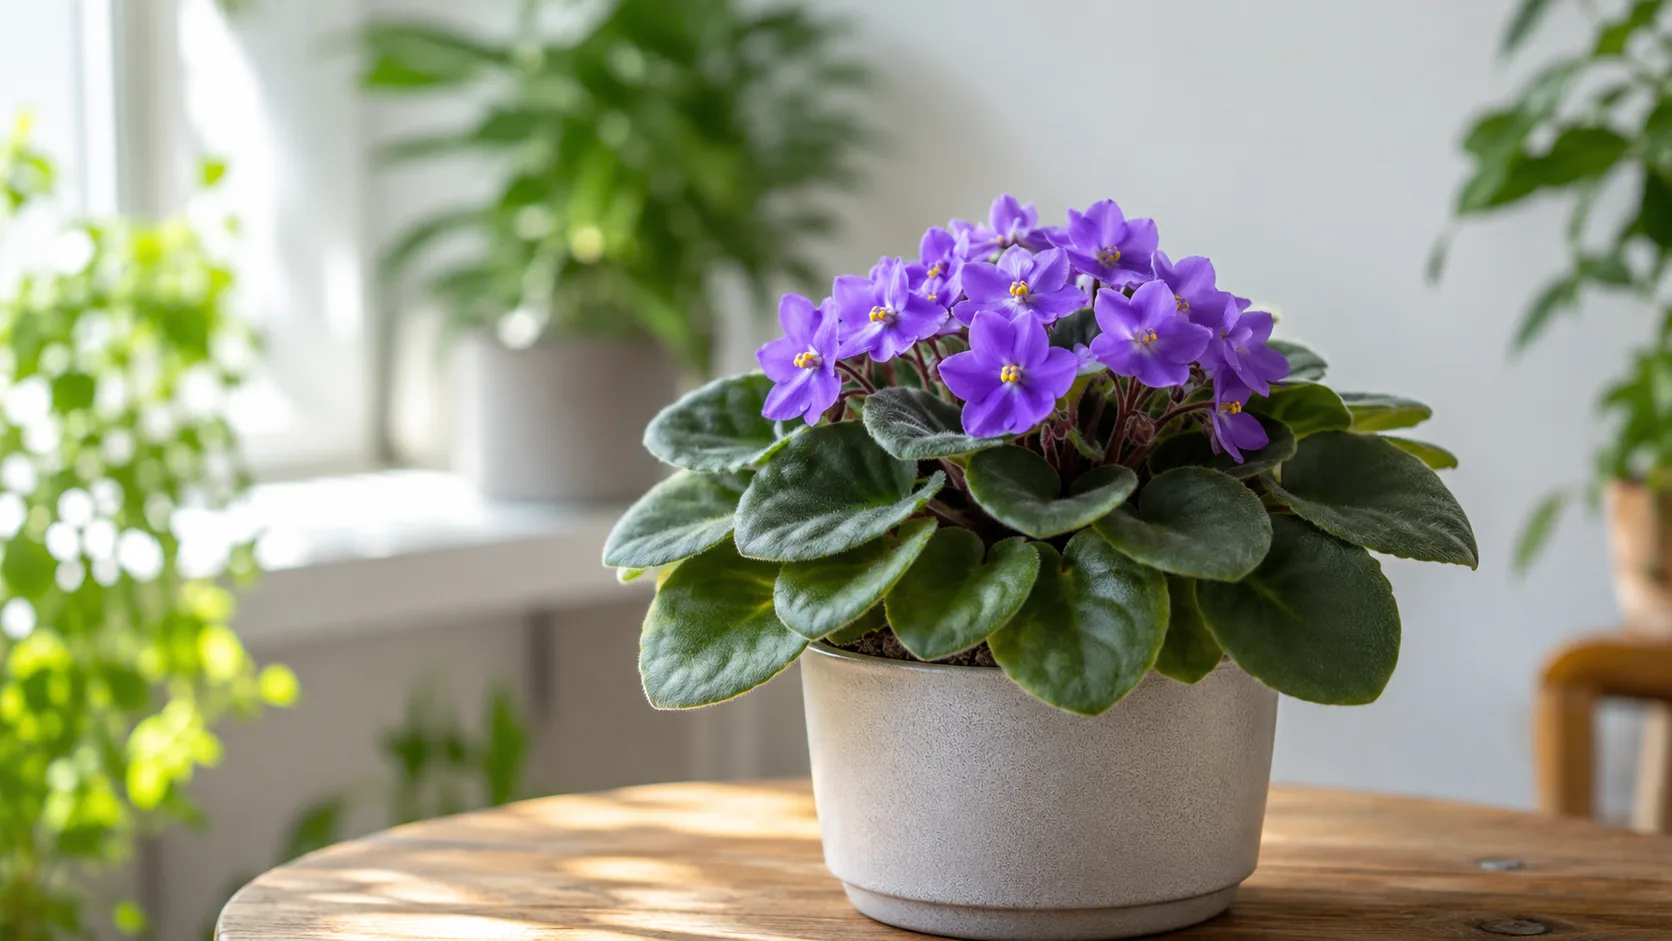
African Violet
Likely causeBud Drop on African Violet: African violet buds usually fall off because of dry stress, sudden temperature swings, low light, root stress, or moving the plant while it is setting blooms.
Quick fixInspect African Violet, confirm bud drop matches your symptoms, then adjust care or treat per authoritative guides.
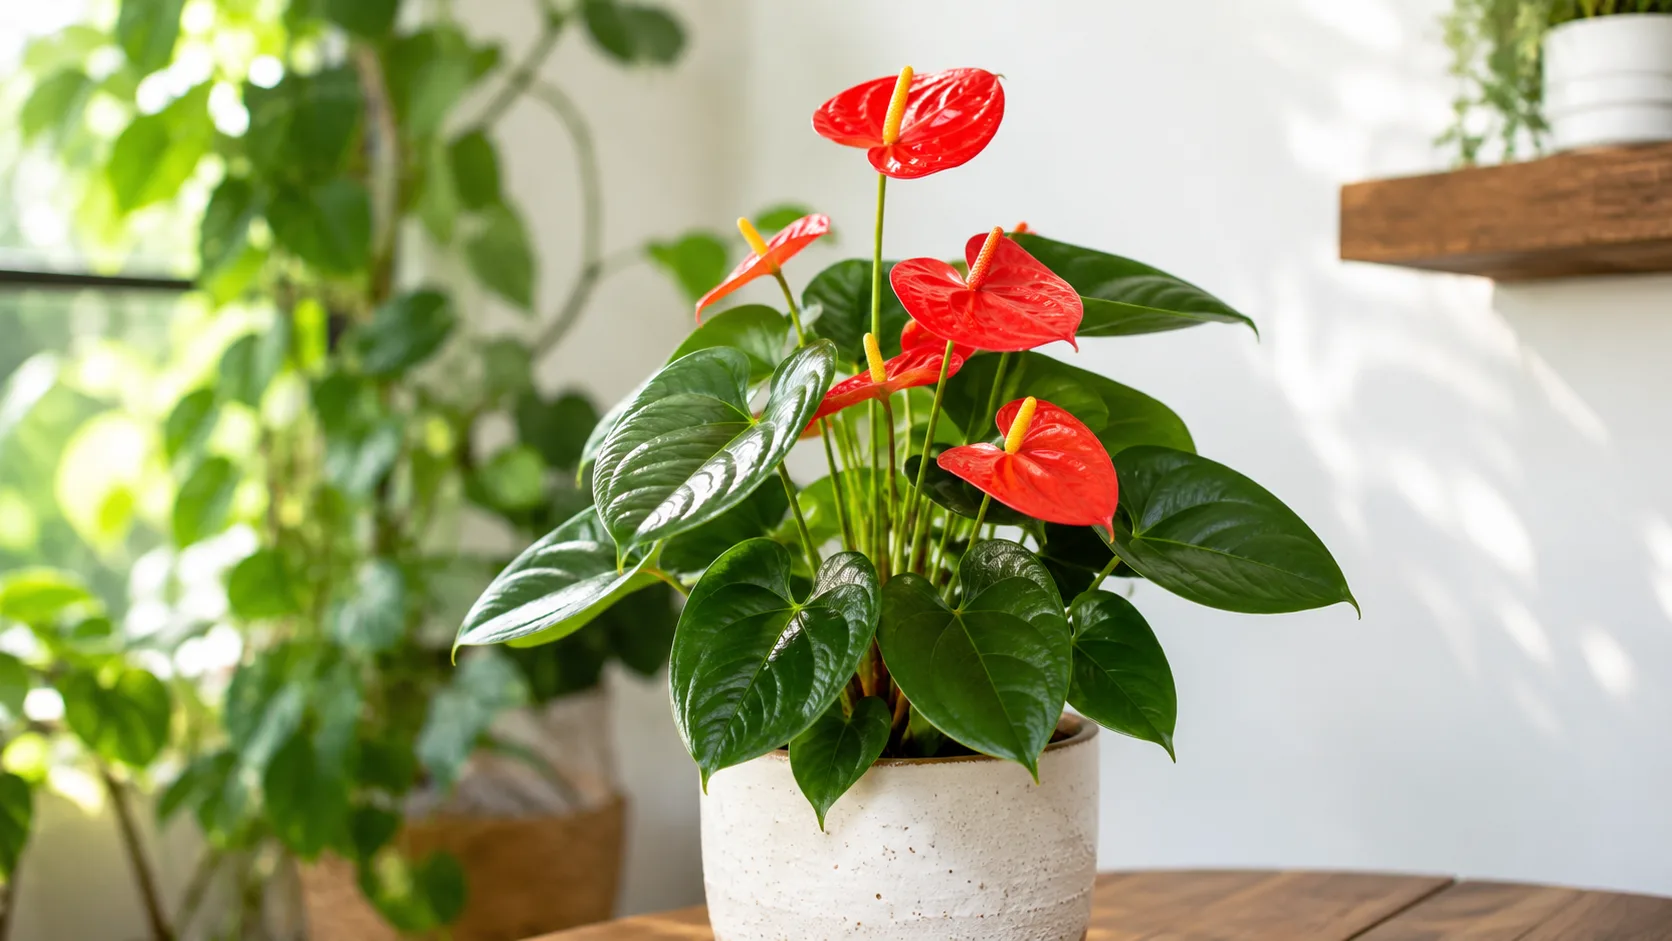 Medium
Anthurium
Likely causeCommon on this plant type; confirm with recent watering, light, and root checks.
Quick fixInspect the plant and correct the most likely care stressor before stacking treatments.
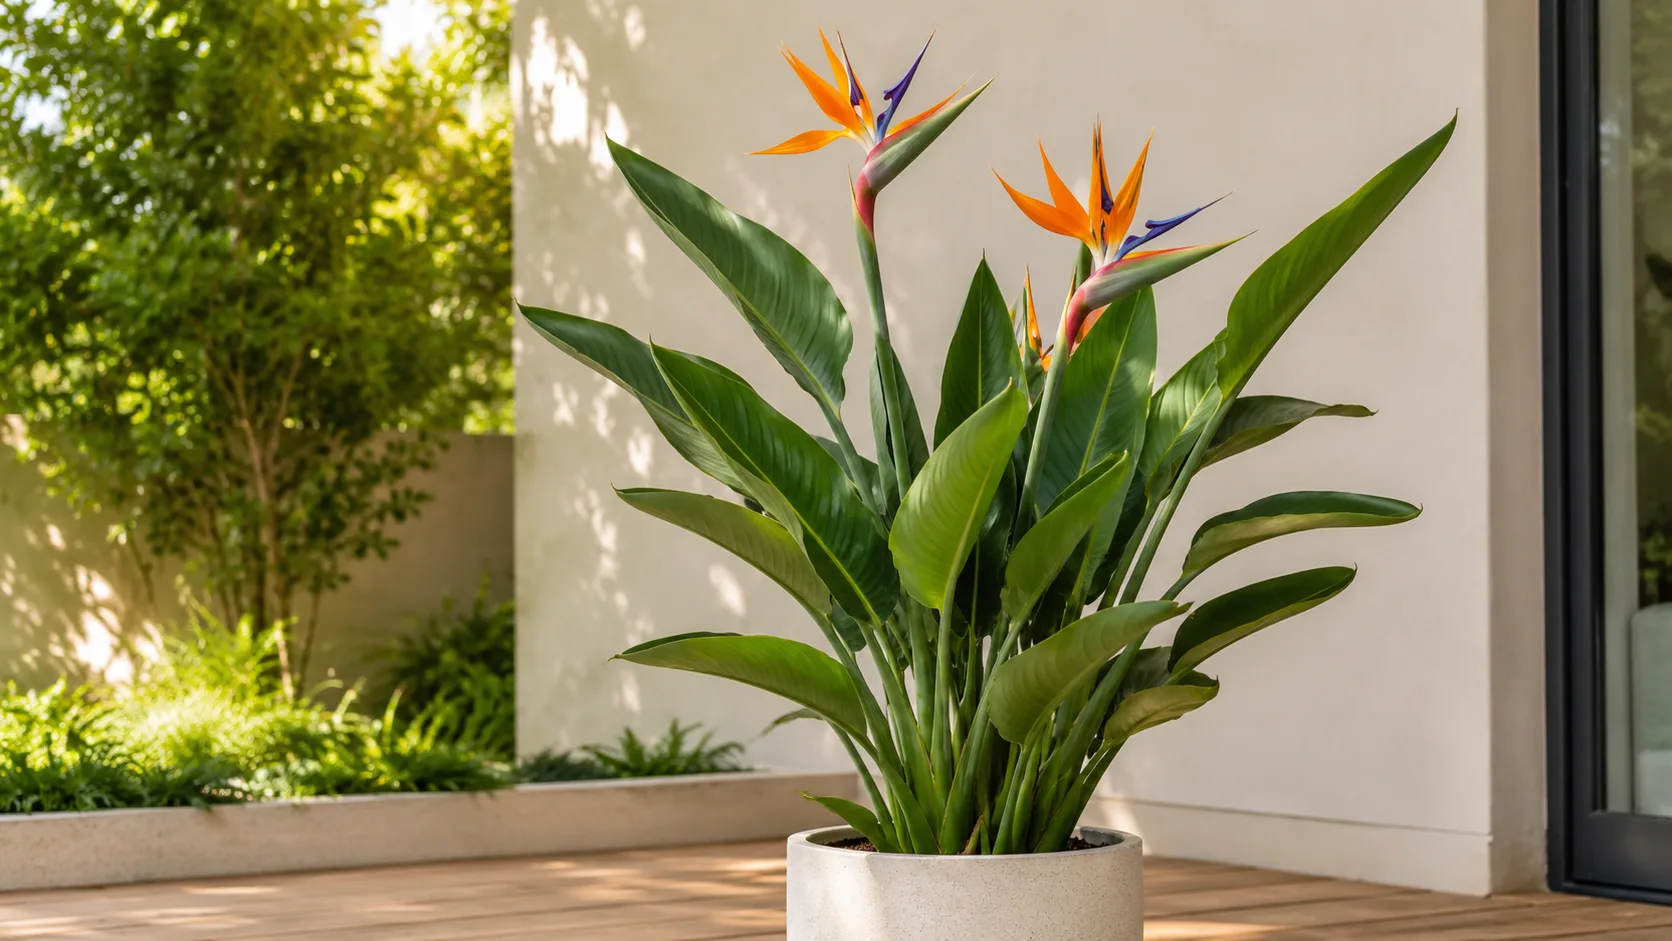 Medium
Bird of Paradise
Likely causeCommon on this plant type; confirm with recent watering, light, and root checks.
Quick fixInspect the plant and correct the most likely care stressor before stacking treatments.
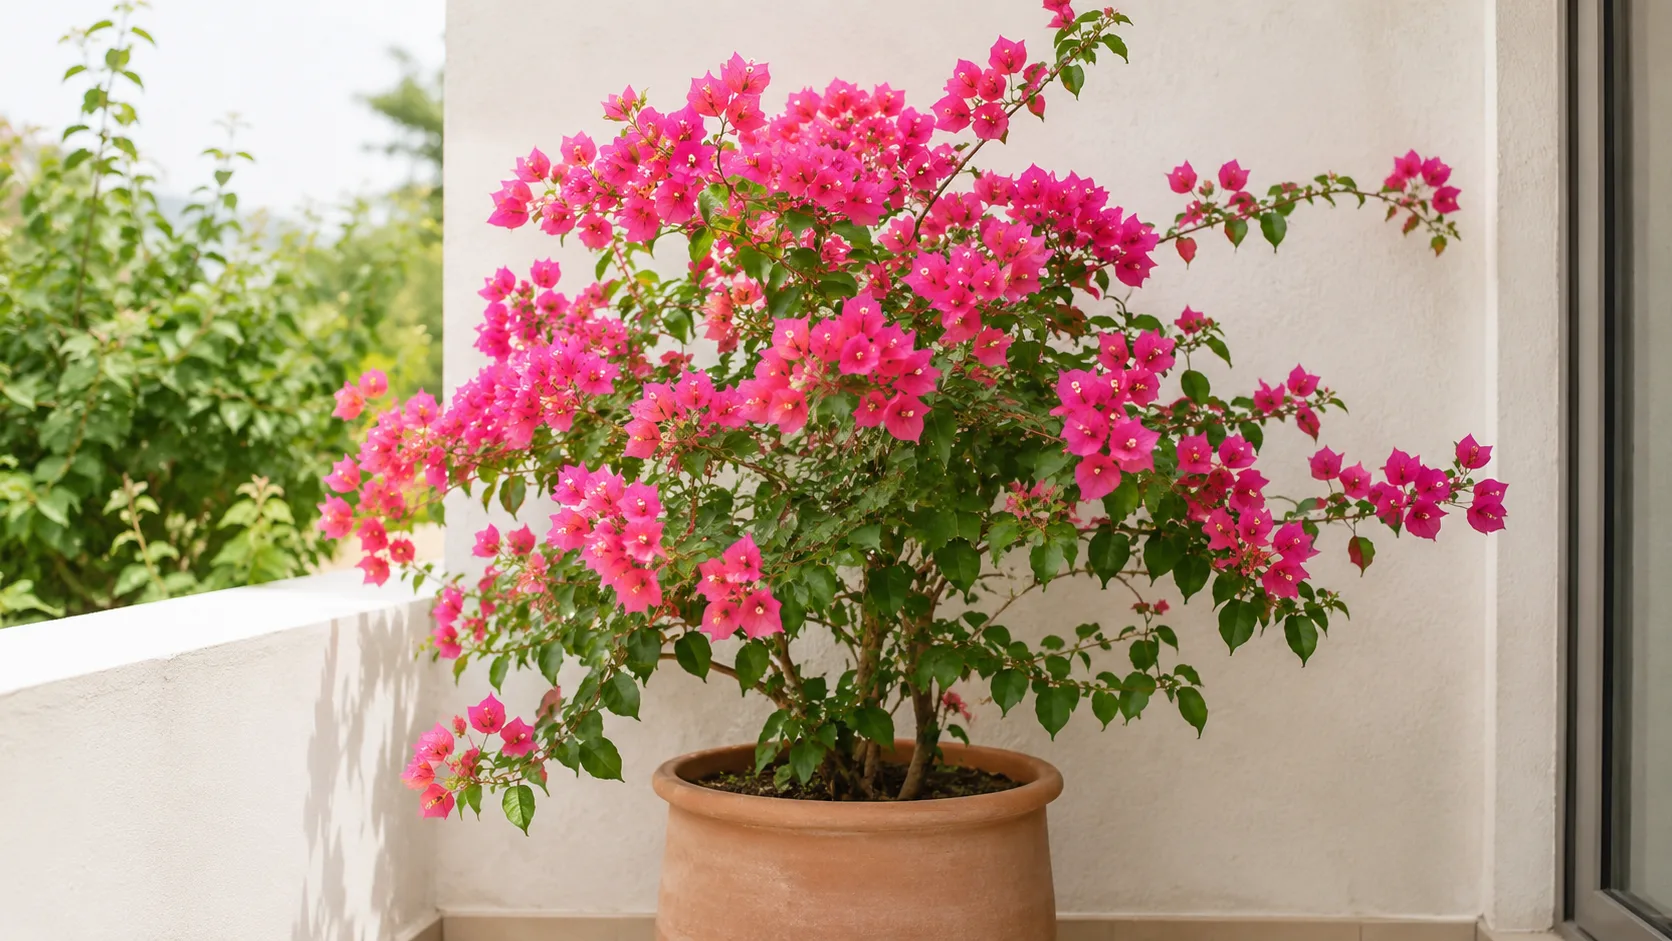 Medium
Bougainvillea
Likely causeCommon on this plant type; confirm with recent watering, light, and root checks.
Quick fixInspect the plant and correct the most likely care stressor before stacking treatments.
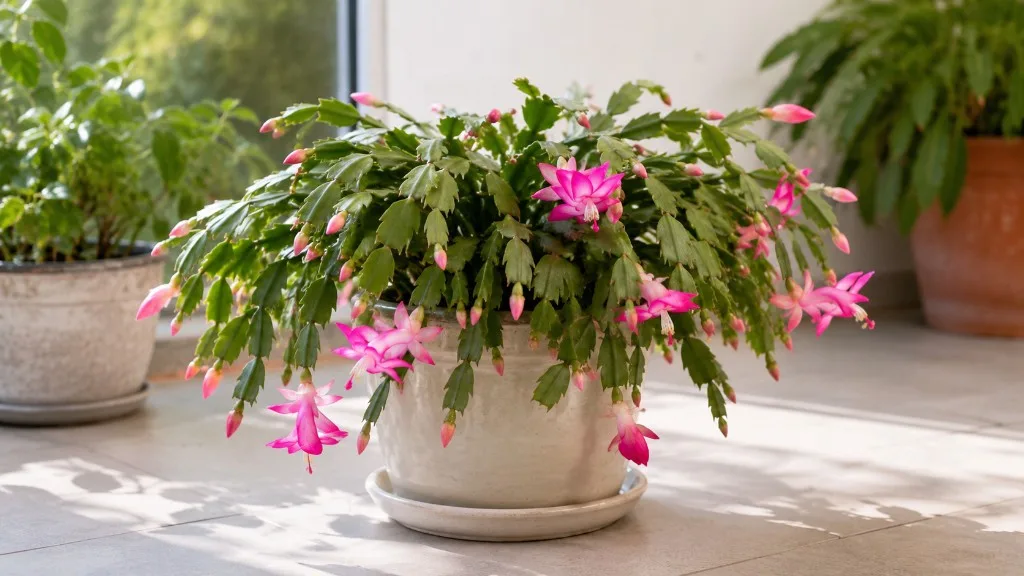 Medium
Christmas Cactus
Likely causeCommon on this plant type; confirm with recent watering, light, and root checks.
Quick fixInspect the plant and correct the most likely care stressor before stacking treatments.
 Medium
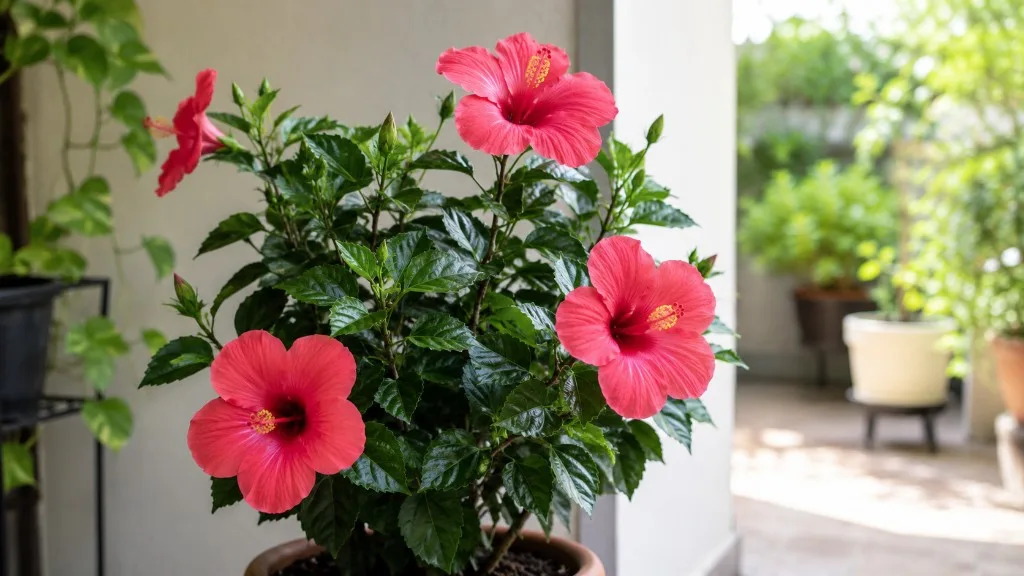
Hibiscus
Likely causeHibiscus drops flower buds in response to inconsistent watering, low humidity, temperature change, or moving the plant
Quick fixMaintain consistent watering; raise humidity; stabilise temperature; do not move during budding
 Medium
Jade Plant
Likely causeHow do I care for a jade plant when some of its leaves turn yellow and drop off? ... drop buds falling off what can i do when to cut back best time to ...
Quick fixConfirm diagnosis on your Jade Plant, then address the most likely care or pest factor described in current extension guidance.
 Medium
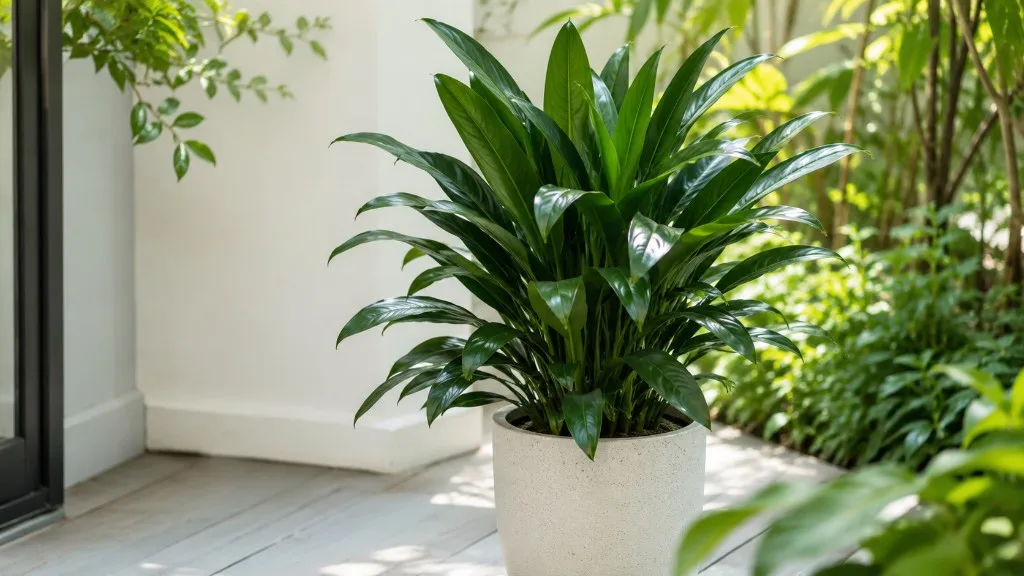
Janet Craig Dracaena
Likely causeApr 16, 2025 · Rapid fluctuations or exposure to cold drafts can trigger leaf drop or yellowing. Keeping the plant away from heating or cooling vents is wise because consistent indoor temperatures support stable growth.
Quick fixConfirm diagnosis on your Janet Craig Dracaena, then address the most likely care or pest factor described in current extension guidance.
 Medium
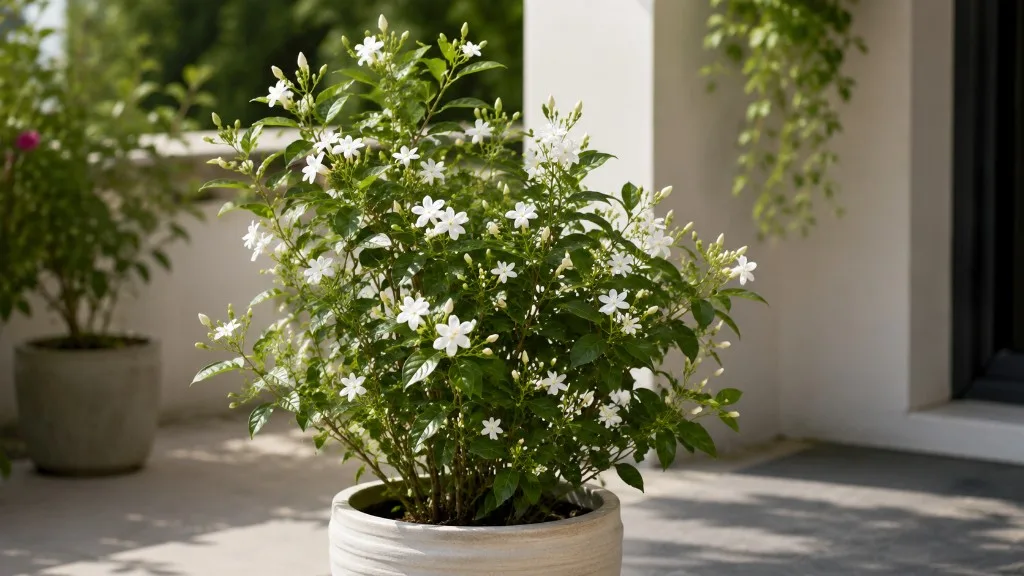
Jasmine
Likely causeWater stress, low humidity, or sudden temperature change causes flower buds to drop before opening
Quick fixMaintain consistent watering during budding; raise humidity; stabilise temperature
 Medium
Lavender
Likely causeThe phrase "Is it safe to use lavender around bud drop?" indicates a misunderstanding . Lavender is a plant, and "bud drop" is a plant problem or symptom where flower buds fall off prematurely. You would not "use" lavender to treat bud drop
Quick fixConfirm diagnosis on your Lavender, then address the most likely care or pest factor described in current extension guidance.
 Medium
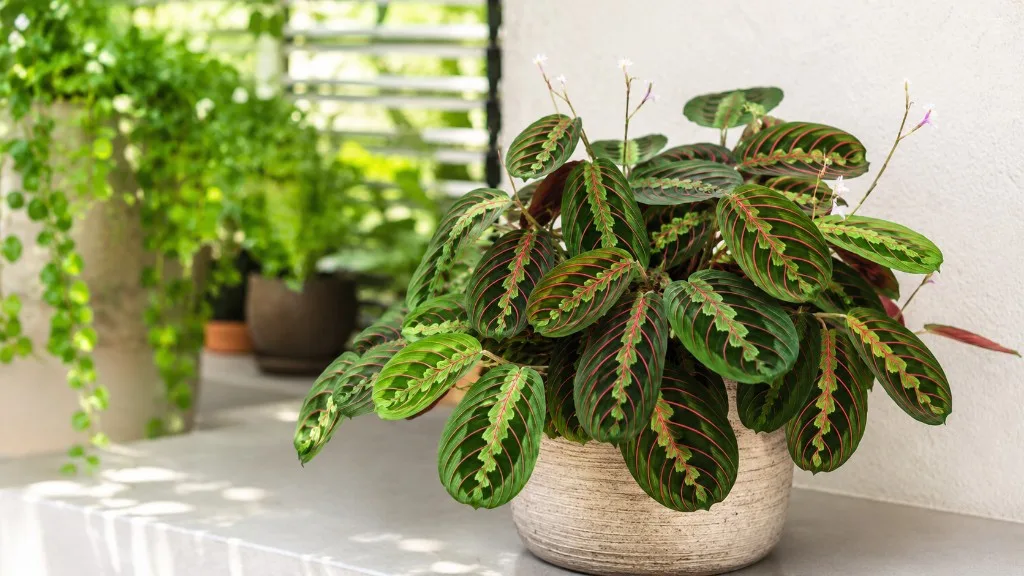
Maranta Leuconeura
Likely causeFlowers drop off if not pollinated, and stalk dies if it contains no pollinated flowers. Numerous cultivars have been produced.
Quick fixConfirm diagnosis on your Maranta Leuconeura, then address the most likely care or pest factor described in current extension guidance.