10 Garden Arbor Plans and Kits for Every Yard
Compare 10 garden arbor plans and kits for paths, vegetable beds, grapes, and patios. Check skill level, space, anchoring, and what each option builds.
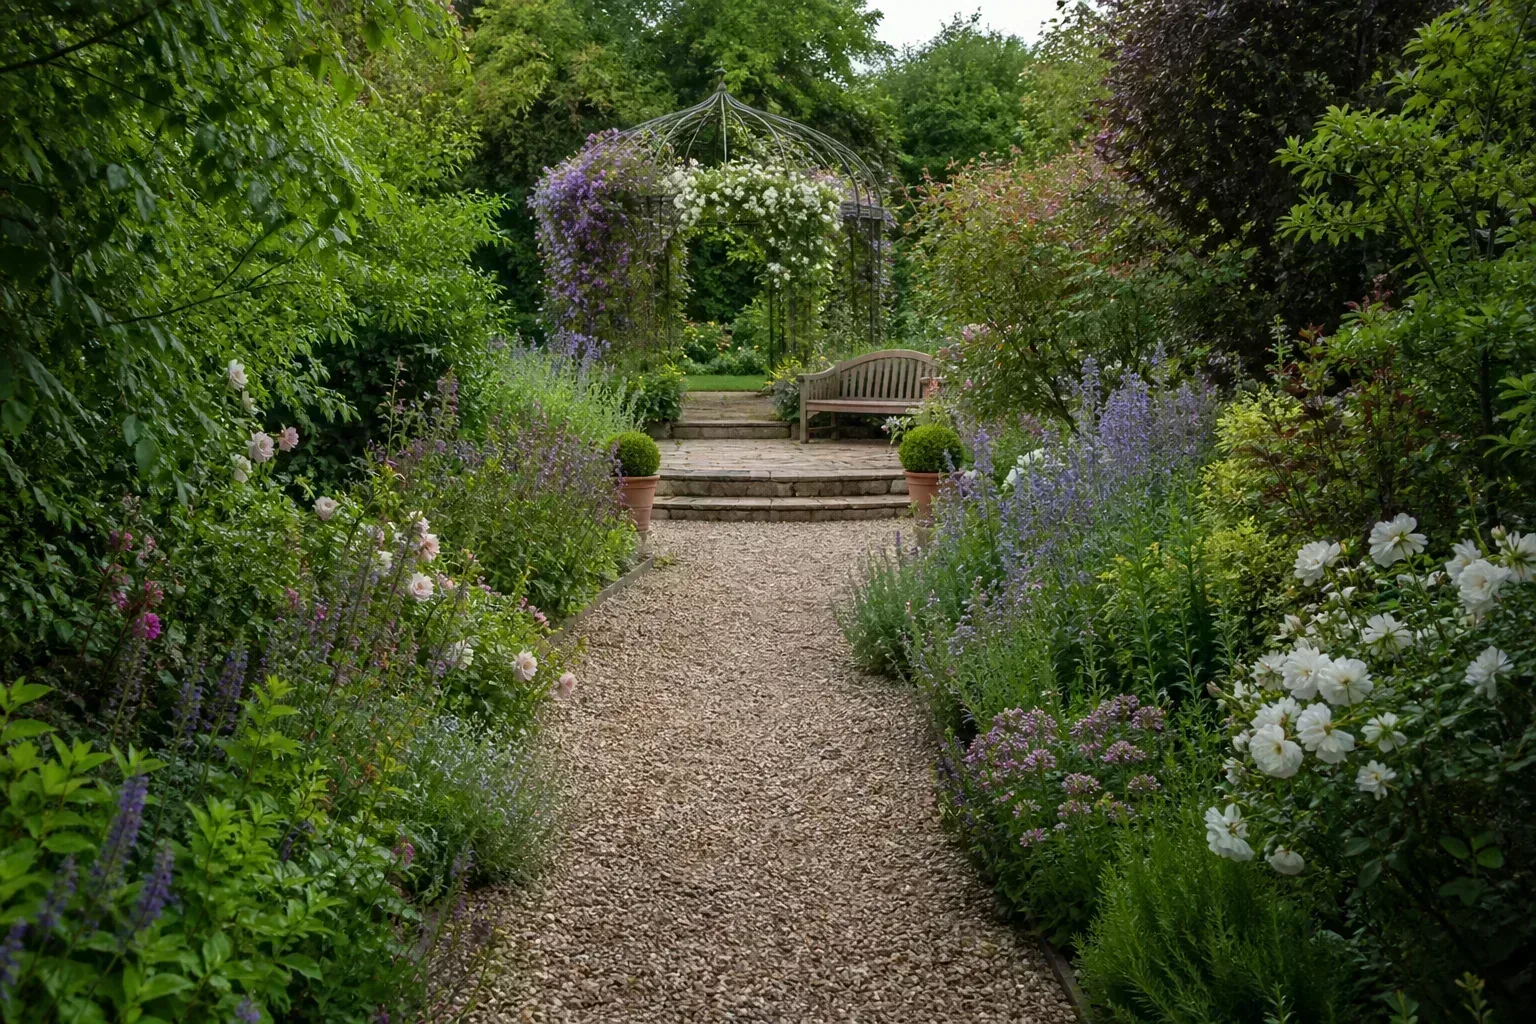
A garden arbor can frame a gate, turn a path into a destination, or give a climbing plant a place to grow. The right design depends on which job you want it to do: a narrow arch is an entry marker, a bench arbor is a place to stop, and a broad roof over a patio is closer to a pergola.
The options below include measured build tutorials, a paid printable plan, visual inspiration, and kit-style shortcuts. I’ve marked the difference so you don’t mistake a pretty photo for a cut list. Before choosing any plan, measure the opening, decide what will climb on it, and check how the finished structure will be anchored.
Quick picks: match the arbor to the job
| Your main goal | Best starting point | Main trade-off |
|---|---|---|
| A simple path entrance | Six-piece wood arch plan | Less room for dense vines or a gate |
| A more substantial garden focal point | Detailed arched arbor | More cuts, assembly, and anchoring decisions |
| Edible vines over a garden path | Gothic arch with wire trellis | Must leave enough room for harvest and passage |
| Fast-growing seasonal vegetables | Rebar arch | Lightweight plant support, not a seat or roof |
| A place to sit | X arbor with bench | Uses a corner or clearing rather than a walkway |
| Grapes or patio greenery | Large grape arbor plan | Larger footprint means more site and code checks |
| Minimal cutting | Prefabricated entry kit | Verify hardware, dimensions, and anchors |
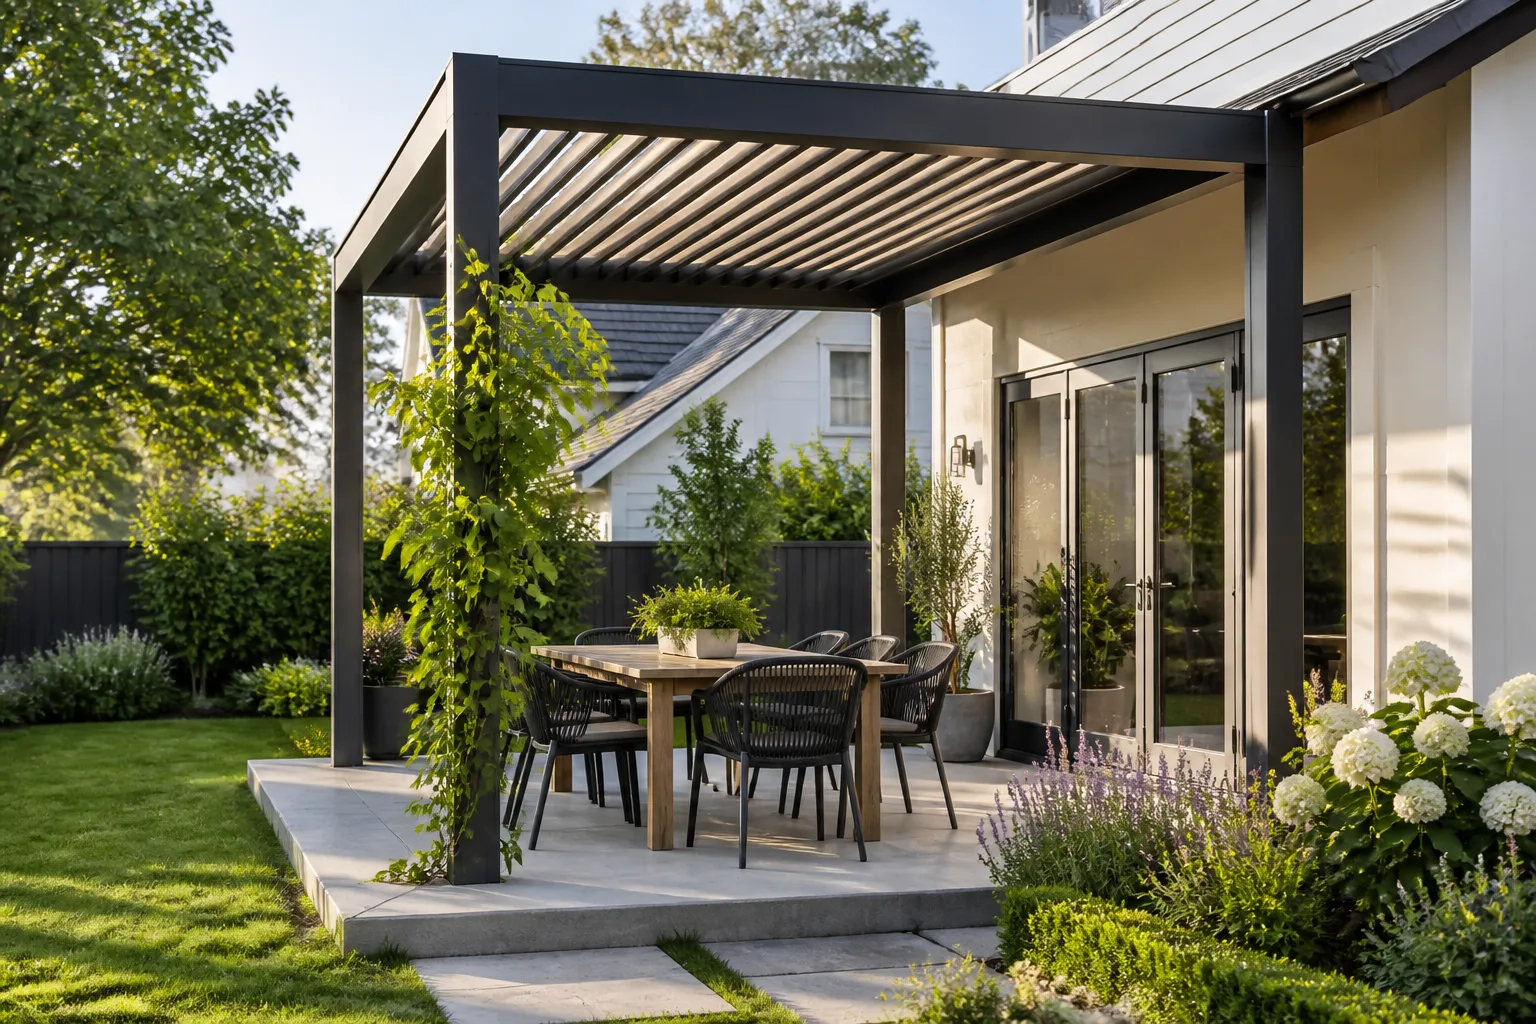
| Shade over dining space | Pergola kit | A pergola is larger and not a narrow arbor |
If you are still deciding between a walk-through arbor and a patio structure, compare the design and anchoring trade-offs in our pergola kit guide. A kit can save measuring and cutting time, but it does not remove the need to check the site or follow the manual.
Arbor vs. pergola vs. trellis
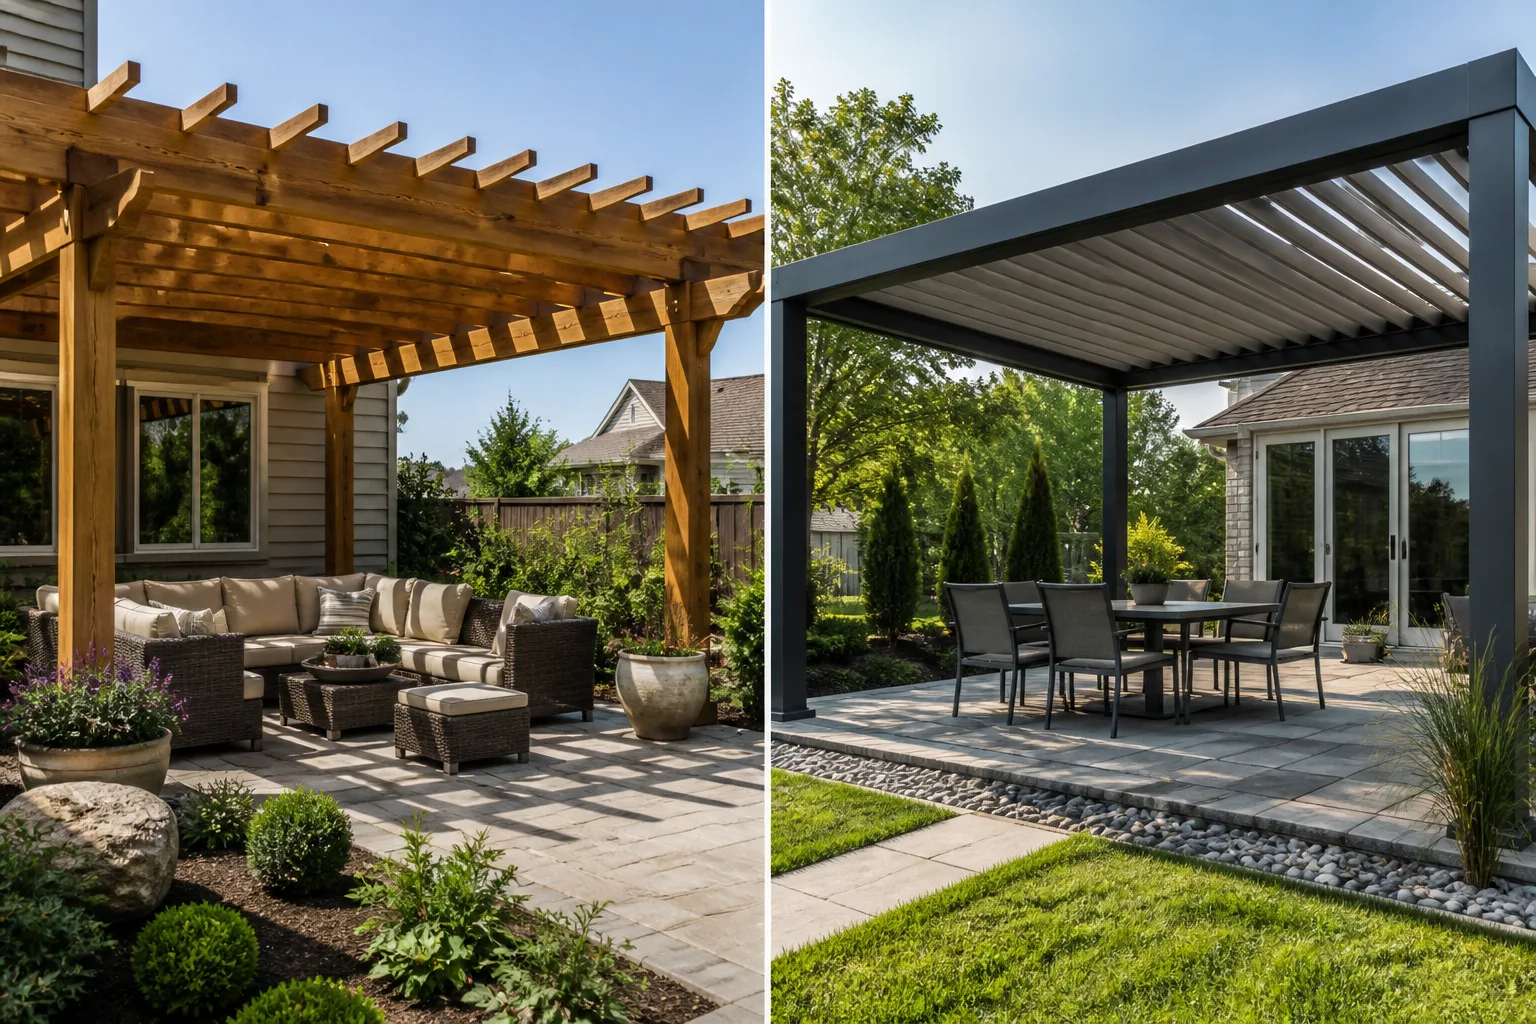
An arbor is usually a compact structure that marks a passage or small garden nook. It often has two sides, an open or arched top, and lattice that can support vines. A pergola is typically wider and longer, with a flat roof of open rafters over a patio, deck, or outdoor room; a trellis is the climbing support itself and may be a panel attached to a wall or built as part of either structure. Family Handyman’s arbor guide describes these differences by size and function.
The names are often used loosely in product listings, so shop by dimensions and intended use. If you need people to walk through, check the clear opening between posts and the headroom under the top. If you want shade for a table, measure the whole seating footprint and look at pergola plans or kits rather than expecting a small arch to cover it.
10 arbor plans and kit styles worth considering
The first seven options link to build tutorials or plan pages. The rustic design is visual inspiration, while the final two are kit approaches rather than one universal product recommendation. A plan is only a starting point: don’t extend its span, add a swing, or change the base without confirming that the revised structure is suitable for your location and loads.
1. A simple six-piece garden arch
Family Handyman’s six-part garden arch is the most approachable option for a beginner who wants a clean entrance without a complicated roof. Its plan uses a small number of main parts and describes a full-day project; the authors show cedar and note pressure-treated lumber as an alternative. It can stand alone as a path marker or become a support for lighter climbers.
Choose this style when you want a narrow, decorative arch and have basic saw-and-drill skills. Before copying its width, test the opening with a tape measure and make sure a wheelbarrow, gate, or garden cart can still pass through. The listed cost and build time are the publisher’s estimate, not a promise for your local lumber prices or skill level.
2. A detailed arched wood arbor
For a more substantial centerpiece, Family Handyman’s multi-day arched arbor tutorial includes a cutting list, construction sequence, and curved details. The published example is approximately 104 inches high, 107 inches wide, and 40 inches deep. Those dimensions describe that project, not a standard arbor size or a structural specification for other sites.
This is a better fit if you are comfortable repeating cuts and assembling a larger frame. The tutorial’s full layout helps you see how the parts relate before buying lumber. Still, measure your opening first, compare the clear passage with the outside width, and check your local rules before copying a freestanding structure of this scale.
3. A Gothic vegetable-garden trellis
Remodelaholic’s Gothic arch garden arbor plan pairs a pointed arch with mesh sides for climbing vegetables. The page gives a worked example of about 42 inches of clear width and 101.5 inches of total height, along with a printable woodworking plan. It is especially useful as a garden gate or as a tunnel-like transition between raised beds.
This design earns its place when you want a productive structure, not just an entrance. Beans and cucumbers can use the side mesh, while the open arch keeps the route visible. Read the source’s full plan and check the intended anchoring before changing the width; a wider arch changes more than appearance, and the original dimensions may not suit your path or local conditions.
4. A no-weld rebar arch
Family Handyman’s rebar archway tutorial offers a metal alternative for a lightweight plant tunnel. Its example is roughly 7 feet tall and 6 feet wide, using bent rebar joined with wire rather than welded joints. The author describes it as a plant trellis; treat it that way, not as an overhead roof, swing frame, or structure for people to lean on.
This option suits annual vines or a fast, inexpensive garden entry if you can bend and cut metal safely. The ends are driven into the ground, so the design depends on soil conditions and exact installation. Wear eye and hand protection, keep the metal ends controlled, and call 811 before placing stakes or digging any holes.
5. An X arbor with a built-in bench
My Love 2 Create’s X arbor with bench combines a lattice-like side pattern with a seat, making it a garden destination rather than a passageway. The author walks through the build with project photos and assembly notes. Because the bench occupies the space under the frame, place it in a quiet corner or beside a path instead of directly across a route.
Pick a bench arbor if you have room to sit back from the main traffic line and want a visual focal point. The seat changes how people use the structure, so do not assume a light decorative arch plan can safely be converted by adding a bench. Follow a plan designed for seating, use the specified connections, and have a qualified builder review any major change to the frame or base.
6. A large grape arbor or patio pergola
A Piece of Rainbow’s grape arbor plan shows a larger open-roof structure with four posts, beams, braces, and evenly spaced runners. Its example uses a 12-foot beam span and is explicitly presented as a visual design and building resource; the author directs readers to local professionals for footing requirements. It can serve as a grape arbor, a garden-room feature, or a partial shade frame over seating.
Choose this plan only if you have room for the footprint and are prepared to resolve the foundation, code, and load questions locally. The source’s cut list and post-base method are specific to its example. A local contractor or building official should guide footing depth, anchoring, and any changes for your soil, climate, vines, or intended use.
7. An arched arbor with side lattice
Charleston Crafted’s garden arbor arch is a good reference for an arched entrance with vertical lattice panels. The tutorial shows how the side panels can support climbing roses and gives a sequence for building the arch sides, braces, and lattice. Compared with a bare arch, the lattice gives young stems more places to attach and creates a fuller green doorway over time.
This style works when you want the plant to become part of the structure’s look rather than cover only the top. Check the lattice spacing and final height against your chosen plant, and leave enough clearance to prune and tie stems without standing in the path. If you prefer an open sightline, use narrower trellis panels or place the climbing support only on the sides that need screening.
8. A rustic branch arbor for a light-duty focal point
Better Homes & Gardens’ rustic arbor ideas include branch-built arches and simple structures made from natural materials. These are inspiration rather than measured plans, so use them to choose a look—not to guess the dimensions, fasteners, or footing design. A twig or branch arbor can suit a quiet corner or seasonal display where its informal form is the point.
Before using salvaged wood, reject pieces that are soft, cracked through, or already decaying. Branches vary in shape and strength, and a photo cannot tell you whether an individual structure is stable. Keep this approach decorative and light-duty unless a qualified builder designs the connections and base for a more demanding use.
9. A ready-made entry arbor kit
A prefabricated wood, metal, or vinyl kit can be the simplest route when you want an entrance marker and do not want to cut curves or assemble a full frame from raw lumber. Kits usually narrow your choices to set widths, heights, and finishes; the key is verifying what arrives in the box. Family Handyman’s buying guide notes that kits can be quicker to install than a custom build, but the installation still depends on the site.
Before purchasing, look for the assembled outside dimensions and the inside opening, a parts list, an installation manual, the material and finish, replacement-part availability, and whether anchors are included. Ask the seller how the kit attaches to your actual surface. A product photo is not proof that it can be secured to loose pavers, a raised bed, or an exposed corner of your yard.
10. A patio pergola kit when shade matters most
If your main goal is to cover a dining set or seating area, a pergola kit may solve the problem better than an arbor. Pergola kits span a patio and provide open rafters, a canopy, or adjustable roof elements; that footprint is useful for an outdoor room but too large for many paths and small gardens. Start with our pergola kit comparison to compare roof types and anchoring considerations.
This is the right alternative when shade over furniture matters more than a narrow garden gateway. Check the kit’s dimensions, anchor details, wind and snow guidance, and any local permit requirements before ordering. If you only need a small climbing support, a pergola kit adds cost and bulk without improving the plant’s support.
What to check before downloading a plan or buying a kit
First, decide what must fit under or beside the arbor. Measure the clear opening, overall footprint, and headroom at the tightest point; note sloping ground, nearby gates, steps, irrigation, and the path a mower or cart must take. If you are replacing an existing feature, measure the old one rather than relying on memory or the product photo.
Next, inspect what the plan actually contains. A useful build plan should show overall dimensions, a cut list, joinery or connection details, the intended base, and a sequence you can follow. A photo roundup may still help with style, but label it as inspiration; don’t buy lumber from an image that has no measurements. For kits, download the current manual before checkout and confirm parts, fasteners, anchors, and the support contact.
Finally, price the whole project, not only the frame. Add the base and anchors, exterior finish if specified, delivery of long stock, fasteners, trellis mesh, tools you do not own, and disposal of old materials. Check with your local building department or homeowners’ association about setbacks, height, permits, and restrictions—rules vary by location and by whether the structure is attached, roofed, or wired for lights.
Size, placement, footings, and anchoring
Set the arbor where it has a job: over a gate, at the turn in a path, at the entrance to an edible bed, or beside a bench. A structure centered in a route should leave a usable opening after adding posts, lattice, and mature stems. If you plan to train vines, allow room to reach both sides for pruning and harvesting; dense foliage can make a too-tight path feel even narrower.
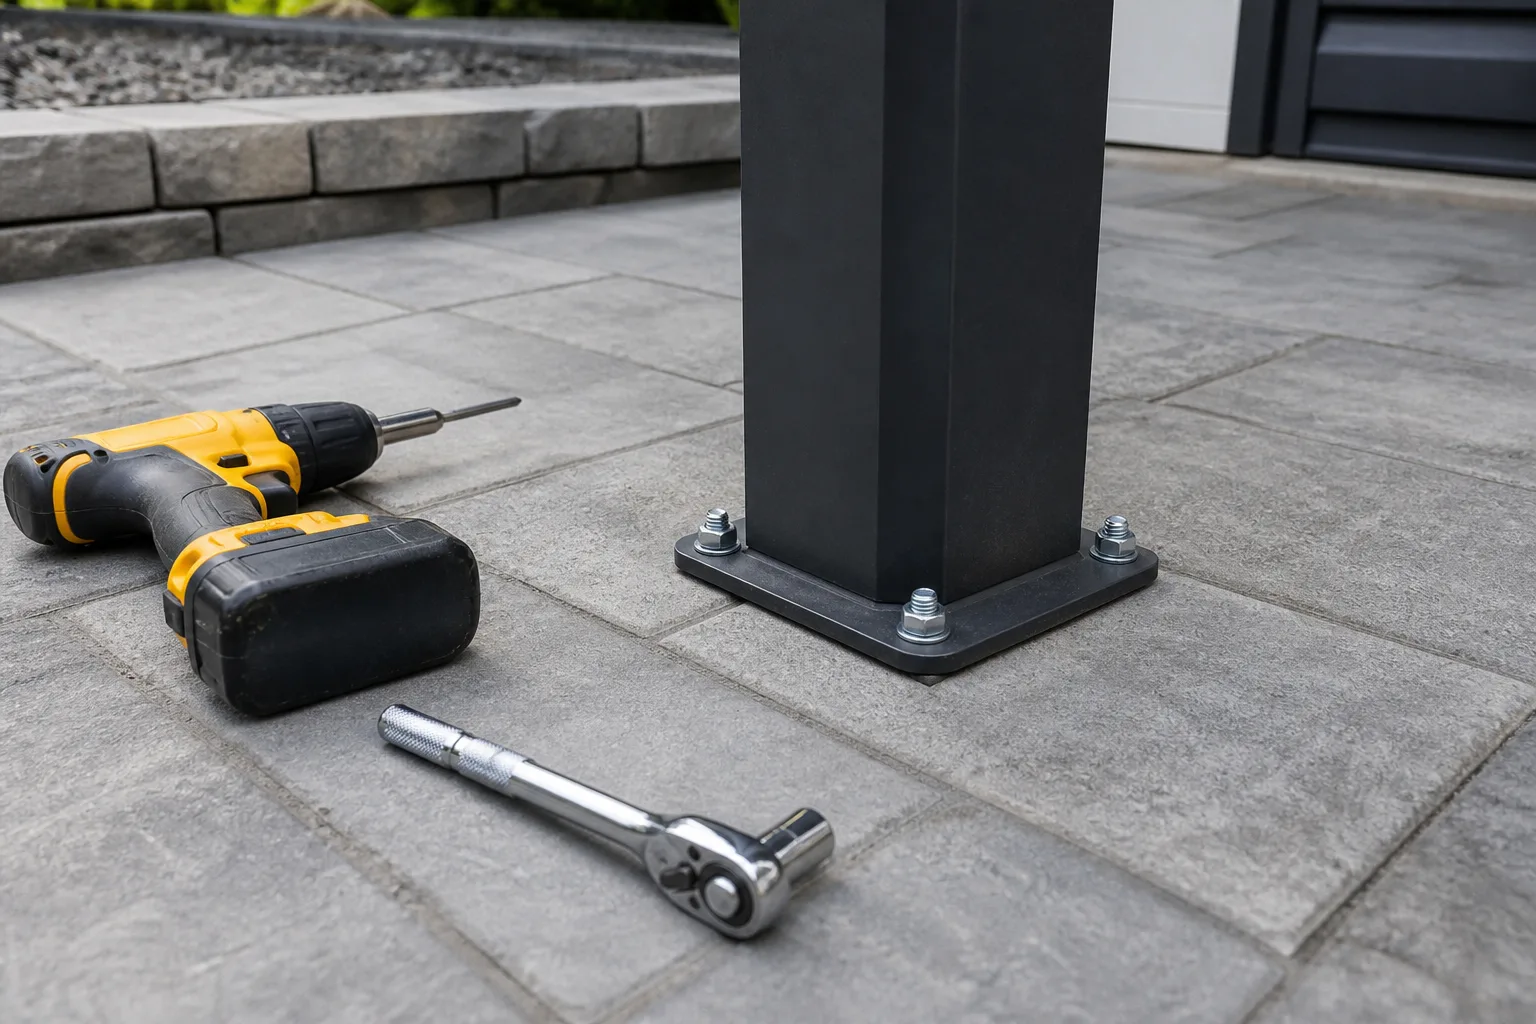
The base must match the structure and the surface. A small kit’s instructions may call for ground stakes, a post base, or anchors into a concrete slab; those choices are not interchangeable. Pavers over loose bedding are not the same as a reinforced slab, and the edge of a raised bed is not automatically a footing. Use the manufacturer’s specified anchors and ask the local building official or a qualified builder when the span, wind exposure, roof, or use exceeds a light garden arch.
In the United States, request utility marking through 811 before digging—including for simple garden projects. The 811 guidance says buried lines can be close to the surface and recommends contacting the local center before putting a shovel in the ground. Make the request early enough for your state’s response period, mark the intended digging area, and follow the locator’s instructions before excavation.
Do not add a swing, hammock, shade sail, solid roof, or heavy evergreen vine to a decorative arbor unless its plan and anchoring system are designed for that use. Those changes can create forces and loads the original tutorial never addressed. When in doubt, use a plan made for the intended use or get a qualified person to assess it rather than reinforcing by guesswork.
Materials and a sensible build sequence
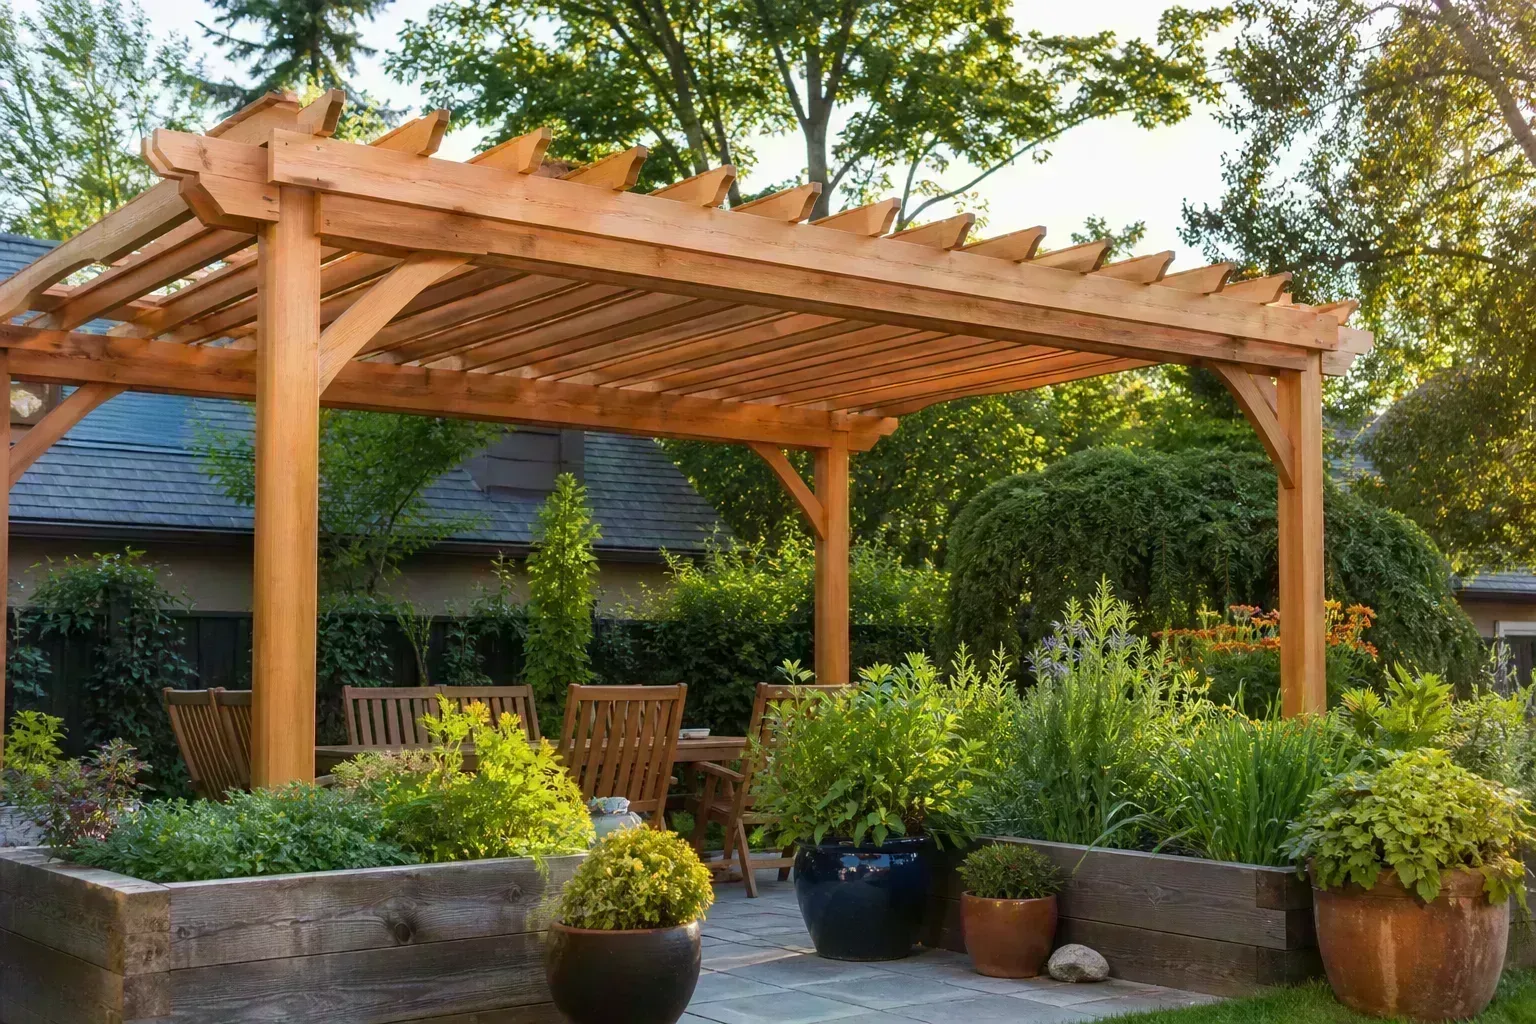
Choose outdoor-appropriate material and connectors for the exposure. Many tutorials use cedar, redwood, or pressure-treated lumber; follow the plan’s specified grade and the lumber label, especially for pieces intended to contact soil. Use exterior-rated fasteners and connectors compatible with the chosen material, and follow their maker’s installation directions. A coating can help the finish look consistent, but it does not make an unsuitable post or connection structurally adequate.
Before cutting, lay out the full footprint with stakes or painter’s tape and confirm the entrance is square to the path. Read the whole plan and verify the cut list against the drawing, then label repeated pieces. For arched sides, make one template and test the curve on scrap before cutting the rest; a small mismatch is easy to repeat and difficult to disguise after assembly.
Build on a level work surface where possible, dry-fit pairs of sides, and check them for square before joining the top. Brace the frame temporarily while it is positioned, use a level to align the posts, and install the specified anchors before adding heavy trellis panels or planting. Follow the plan’s step order; do not change fastener sizes or skip a brace because another project photo appears to do so.
If the project involves deep footings, a patio slab, a large span, nearby utilities, or an attached structure, treat that as a site-specific construction decision. The sources linked here show design ideas and example builds, but they do not substitute for your local code, site conditions, or the engineering details needed for a permanent structure.
Match the support to the climbing plant
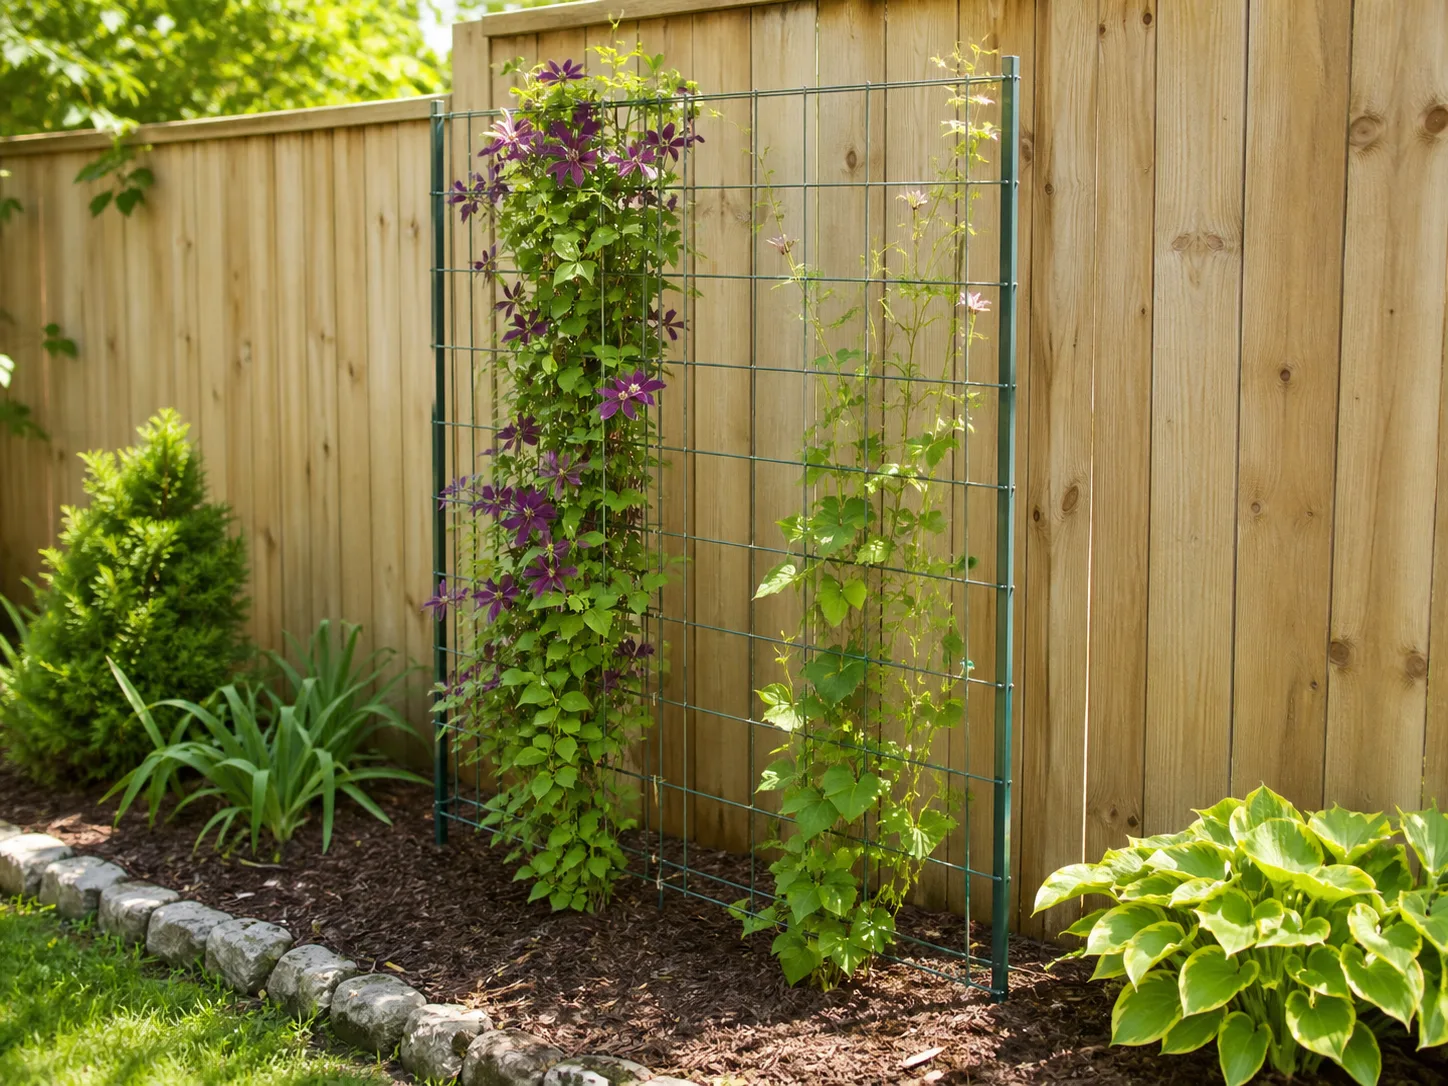
Choose the vine before settling the lattice, wire, or roof spacing. The RHS climbing-plant guide explains that climbers attach in different ways: grapevines use tendrils, while climbing roses generally need tying in, and many plants require a sturdy support installed before planting. A smooth post may frame a rose beautifully but offer little grip by itself; a wire or lattice panel gives you places to guide and secure stems.
Check the plant’s mature height and spread on its label or in a reliable regional guide. Annual beans and cucumbers can cover a vegetable arch during one growing season, while long-lived woody climbers may keep adding growth year after year. Match the plant’s vigor to the structure and the amount of pruning you can manage; a small decorative kit is not automatically a good host for a vigorous, permanent vine.
Keep access in mind. For a grape arbor, place posts so harvest and pruning remain possible from both sides; for a rose arch, leave room to tie in stems without brushing thorns along the walkway. In hot or windy sites, favor climbers suited to the exposure and allow airflow through the support rather than packing a narrow panel with several mature plants.
Common mistakes that make arbors disappointing
- Buying by the photo instead of the measurements. Check the inside opening, total width, and headroom, then compare them with the route, gate, and intended plant.
- Treating a pergola as an arbor. A pergola is often much wider and is designed for patio-scale shade; a small entrance arch will not cover a dining area.
- Assuming every “plan” includes a cut list. Some pages are inspiration galleries. Confirm that the linked source provides dimensions and instructions before buying materials.
- Skipping the anchor check. Confirm whether the structure will sit in soil, connect to a footing, or bolt to a suitable slab; loose pavers alone may not provide the anchor the kit requires.
- Digging before utility marking. Contact 811 in the United States before digging post holes or setting stakes, and follow the local waiting period.
- Planting first and adding support later. Put trellis panels or wires in place before planting so you do not have to work around roots or damage stems.
- Overloading a decorative frame. A bench, swing, canopy, or vigorous mature vine can change how the structure is used. Choose a plan designed for that purpose.
- Ignoring maintenance access. Leave room to prune, tie, repaint, replace a damaged board, and walk under the structure when the plants are full.
If a plan seems too narrow, too low, or under-anchored, pause before changing its dimensions. Ask the publisher for clarification, compare another plan, or seek local help for any change that affects the posts, span, roof, or base.
Conclusion
The best garden arbor plan is the one that fits the route or destination you measured and the plant you intend to grow. Start with a simple arch for an entrance, a trellis arch for vegetables, a bench design for a quiet corner, or a pergola kit for patio shade; then compare the actual cut list, opening, materials, and anchor requirements.
Before you dig, request utility marking and check local rules. Before you plant, install the support and confirm the vine can use it. Those two checks help turn a good-looking arbor idea into a feature that works for your garden year after year.