How to Use Azaleas in Landscaping for a Better Garden
Use azaleas in landscaping as foundation shrubs, borders, focal points, containers, or mixed beds. Match mature size, light, soil, and bloom time before planting.
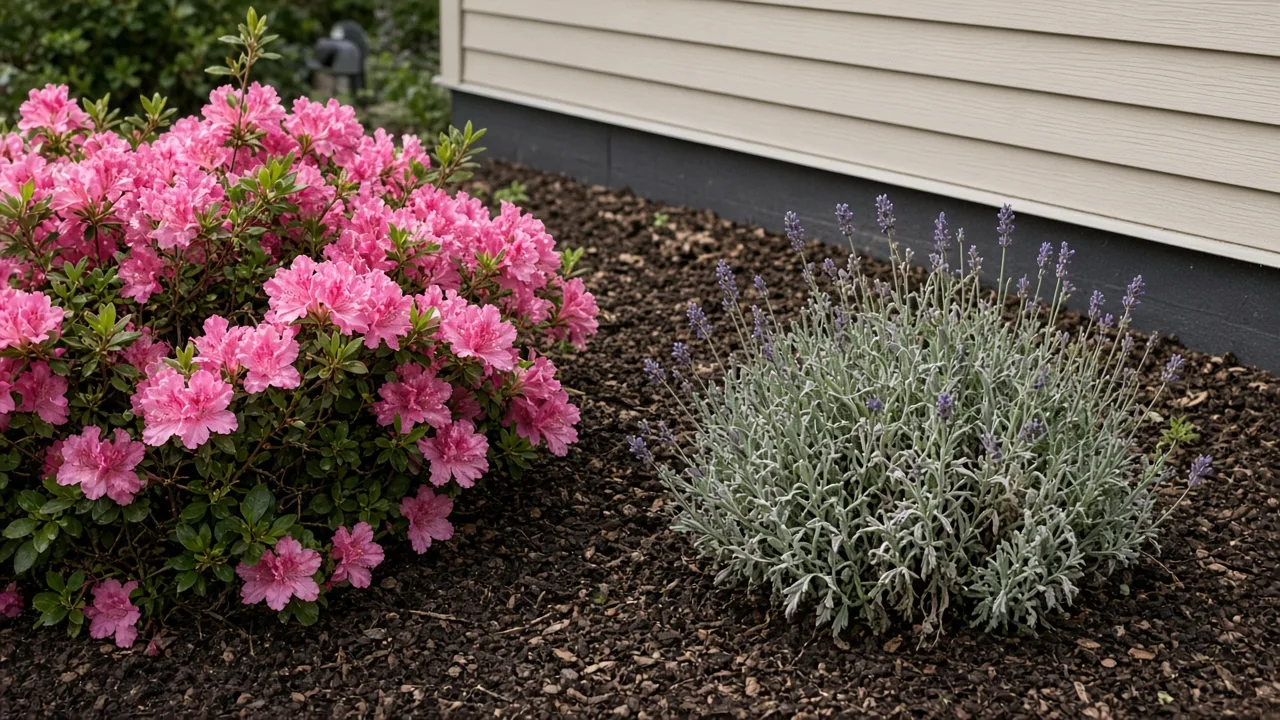
Azaleas can anchor a foundation bed, mark a garden path, soften a woodland edge, or make a patio feel planted rather than paved. The best use depends less on flower color than on four facts about the plant and place: the azalea’s mature size, whether it keeps its leaves, when it flowers, and whether the site has the light, drainage, and soil it needs.
Start by reading the site, then choose the landscape role. A compact evergreen cultivar may suit a low border; a taller deciduous native may be better as a loose focal point. When you plan around the mature shrub and the months when it is not flowering, azaleas become part of the garden’s structure instead of a brief spring display.
Begin with the site, not the flower
Walk the planting area before you shop. Note where morning sun reaches, where afternoon heat reflects off pavement or a wall, how water moves after rain, and whether tree roots fill the soil. These observations narrow the choices more usefully than starting with a color chart or a photo of a fully grown shrub.
Many garden azaleas do best in bright filtered shade or morning sun with protection from hot afternoon sun. They also need acidic soil that stays evenly moist without becoming waterlogged. The University of Georgia Extension gives a pH range of about 4.5 to 6.0 for azaleas and emphasizes drainage and site selection; local climate and cultivar still matter, so use a soil test and the plant label before making a permanent plan (University of Georgia Extension).
Read the light and heat
Azaleas need enough light to set flower buds, but hard afternoon sun can scorch foliage and dry their shallow root zone. In many gardens, a spot with morning sun and afternoon shade is a practical compromise. Dappled light beneath an open canopy can work, while deep shade may produce a leafy shrub with sparse bloom.
Look beyond the sky overhead. A west-facing wall, pale paving, and an unshaded driveway can bounce heat onto a shrub even if the bed looks partly shaded at noon. In a hot climate, protect the planting from that reflected heat; in a cooler region, a cultivar suited to more sun may flower well with less shade. Do not assume every azalea tolerates the same exposure.
Check the spot at more than one time of day, especially if the garden is new to you. A bed under bare deciduous branches may be bright in early spring and shaded after the canopy fills, while a patio can become much hotter once afternoon sun reaches the paving. Choose a plant for the conditions it will experience during the growing season, not only the view from the window today.
Check drainage, acidity, and root competition
Azaleas dislike soil that remains saturated after rain, and they are not drought-proof simply because they are established shrubs. Avoid low pockets, leaking downspouts, and narrow strips where roof runoff swings the soil between flooding and dryness. If water stands or the soil stays sticky for hours, choose a different site or prepare a broad raised bed rather than burying the roots in a rich pocket surrounded by dense clay.
Test the soil before applying sulfur, fertilizer, or other amendments. The target is an acidic, organic-rich root zone, not the lowest pH you can create; excessive or poorly chosen amendments can injure roots or disrupt nearby plants. Also consider what is already using the soil. A large tree may provide welcome shade but compete strongly for water and nutrients, so an azalea beneath it may need more irrigation and still struggle to establish (NC State Extension).
If the bed has a history of standing water, solve that problem before choosing plants. A raised bed can improve the root environment, but it should be broad enough for the shallow roots to spread into the prepared soil rather than acting as a small mound over compacted ground. If improving drainage would require ongoing excavation or repeated soil treatment, a container or a different shrub may be the simpler long-term choice.
Match the azalea’s habit to the job
Azaleas vary from low, spreading plants to upright shrubs several feet tall, and they may be evergreen, semi-evergreen, or deciduous depending on the group and climate. Use the tag’s mature height and width to decide where a plant belongs; the same azalea can be a tidy edge in one bed and an oversized obstruction in another. The New York Botanical Garden’s azalea design notes distinguish specimen planting, groups, borders, seasonal screening, and evergreen structure as different design uses (New York Botanical Garden).
Use foundation plantings with room to mature
An azalea can soften a blank wall, frame an entry, or add a spring focal point beneath a window. The common mistake is placing a nursery-sized shrub tight against the house and planning to shear it into a smaller shape. That can hide windows, rub siding, restrict airflow, and remove the natural outline that made the plant appealing.
Measure from the wall to the plant’s center using its expected mature width. As a starting point, allow at least half that width between the stem and the wall, then add clearance for access, windows, vents, and roof overhangs. A 4-foot-wide plant therefore needs more than a narrow 2-foot strip to look natural and remain reachable. Choose a compact cultivar if the available bed is small rather than promising yourself years of corrective pruning.
Trace paths and soften bed edges
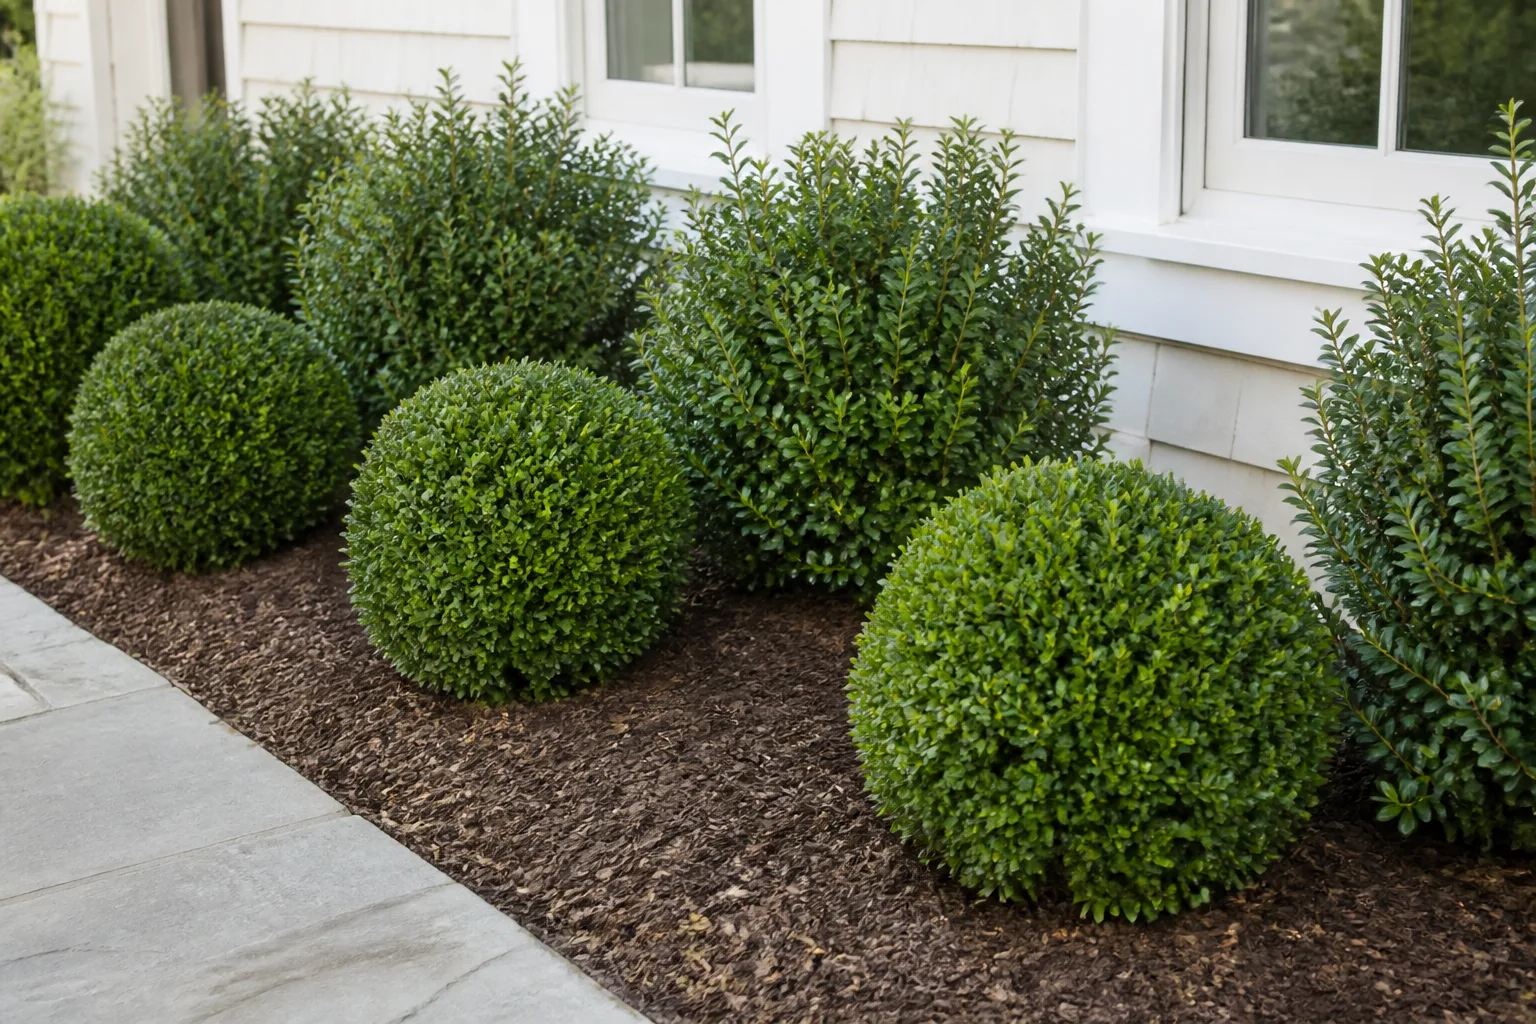
Low, spreading azaleas can make a path or curved bed edge feel connected to the planting beyond it. Use them as repeated accents at bends, steps, or bed corners, or make a loose low ribbon along a path where their mature branches will not narrow the walking space. The effect is strongest when the shrubs repeat at a deliberate interval instead of forming a continuous wall of foliage.
Keep the finished width in mind at the edge. Set each plant back far enough that its mature canopy stays clear of the path, then use mulch or a low groundcover to bridge the gap while the shrubs fill in. A clipped line may look formal, but repeated shearing can reduce flowering and turn a naturally mounded plant into a dense shell. Select a naturally compact variety if you want a crisp edge with little pruning.
For a border viewed from the front, put the lowest forms nearest the path and place taller shrubs farther back, but leave enough space for mature branches to be seen rather than hidden behind one another. Along a curved edge, repeat the same cultivar at the turns and let the gaps vary slightly; that gives the eye a rhythm without making the planting look like a row of identical balls. At a narrow walk, a few spaced accents are often more comfortable than a continuous hedge.
Build a mass, focal point, or seasonal screen
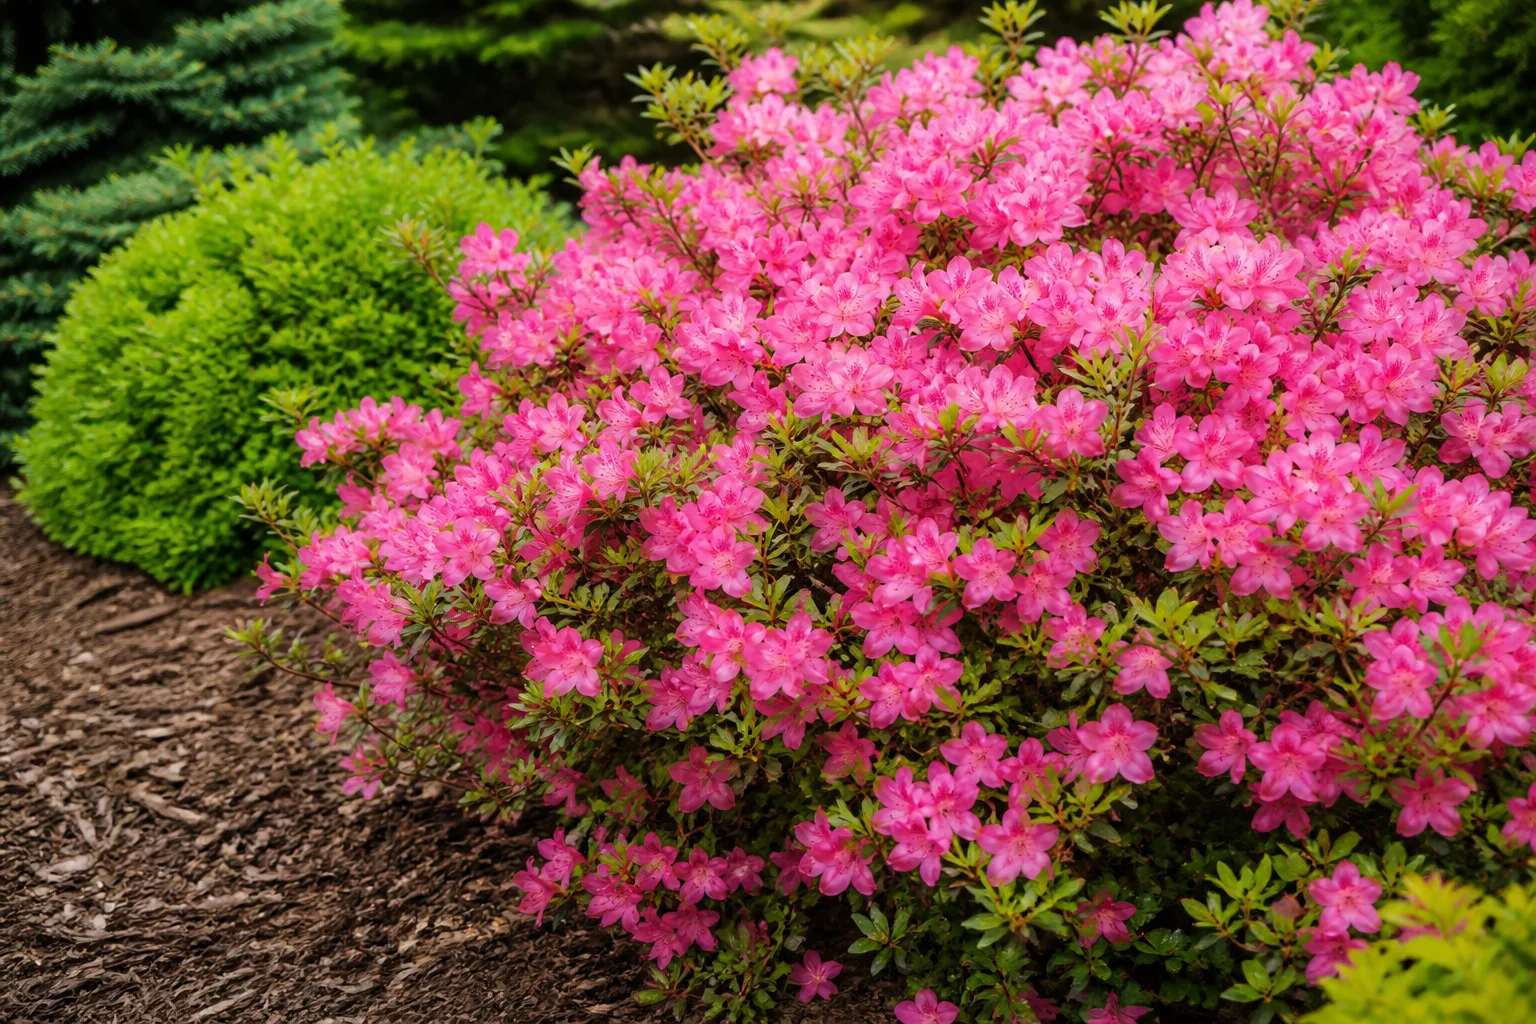
For a strong spring display, group several azaleas in a broad, irregular drift rather than spacing identical plants like fence posts. Repeating one variety gives a calmer sweep; combining two compatible bloom colors can add depth without making a small bed feel busy. A single larger specimen can draw attention to a bend in a walk or the end of a view, especially where its outline and flowers can be seen from more than one angle.
Azaleas can also form a loose shrub screen, but the foliage type changes what the screen does. Evergreen cultivars keep some structure through winter, while deciduous azaleas lose their leaves and provide only seasonal screening. Neither description guarantees a dense, tall privacy hedge: check the mature size and branching habit, and use a different evergreen shrub behind the azaleas if winter privacy is essential. The BHG landscape guide similarly treats azaleas as accents, group plantings, and dividers, while emphasizing variety and placement rather than one universal hedge form (BHG).
A mass planting is also a good way to make a difficult corner feel intentional. Repeat plants in clusters that follow the curve of the bed or the edge of a path, and leave a clear foreground so the flowers can be seen. If the planting includes deciduous and evergreen types, arrange them in blocks or alternating groups rather than mixing single shrubs at random; each foliage habit then reads as a planned layer when bloom is over.
Use containers where the ground is a poor fit
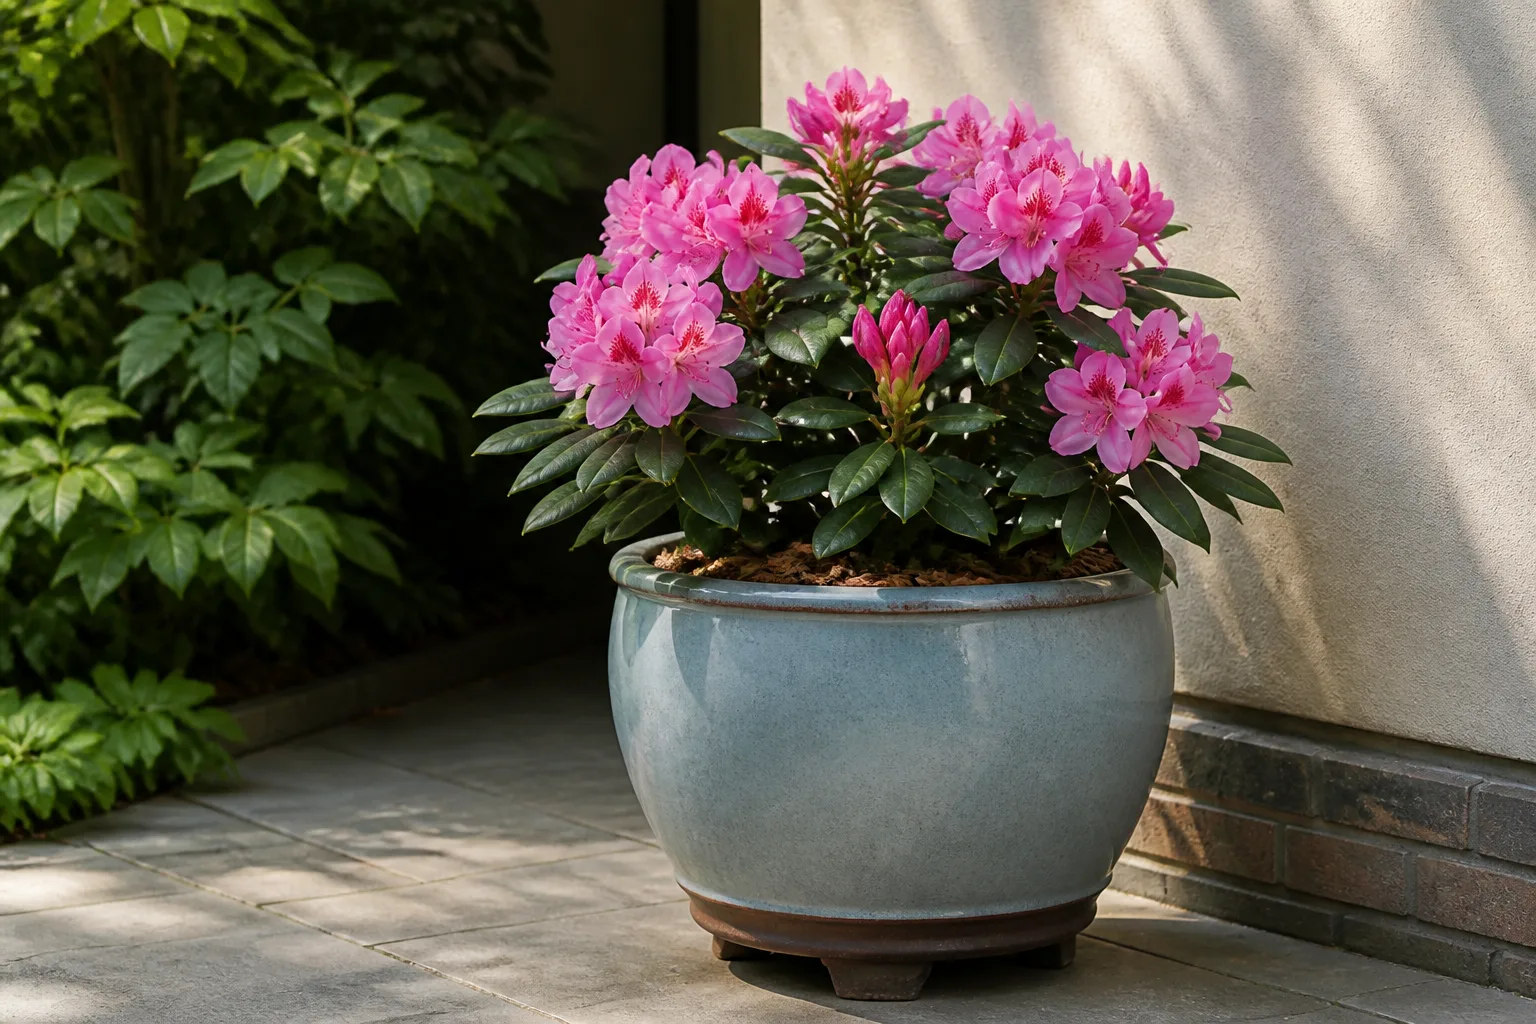
A pot lets you bring azalea flowers to a shaded porch, balcony, or paved courtyard, and it can provide a manageable acidic growing medium where the garden soil is unsuitable. Choose a compact cultivar and a stable container with generous drainage holes. Use a potting mix formulated for acid-loving plants, and leave enough room around the root ball for several seasons of growth rather than squeezing a large landscape shrub into a decorative pot.
Containers dry and freeze faster than garden soil. Check moisture during warm or windy weather, water when the mix begins to dry, and make sure excess water can escape instead of collecting in a saucer. In cold regions, use a container and winter position appropriate for the cultivar; a shrub hardy in the ground may need extra root protection when its roots are exposed above ground.
Layer azaleas into a mixed woodland bed
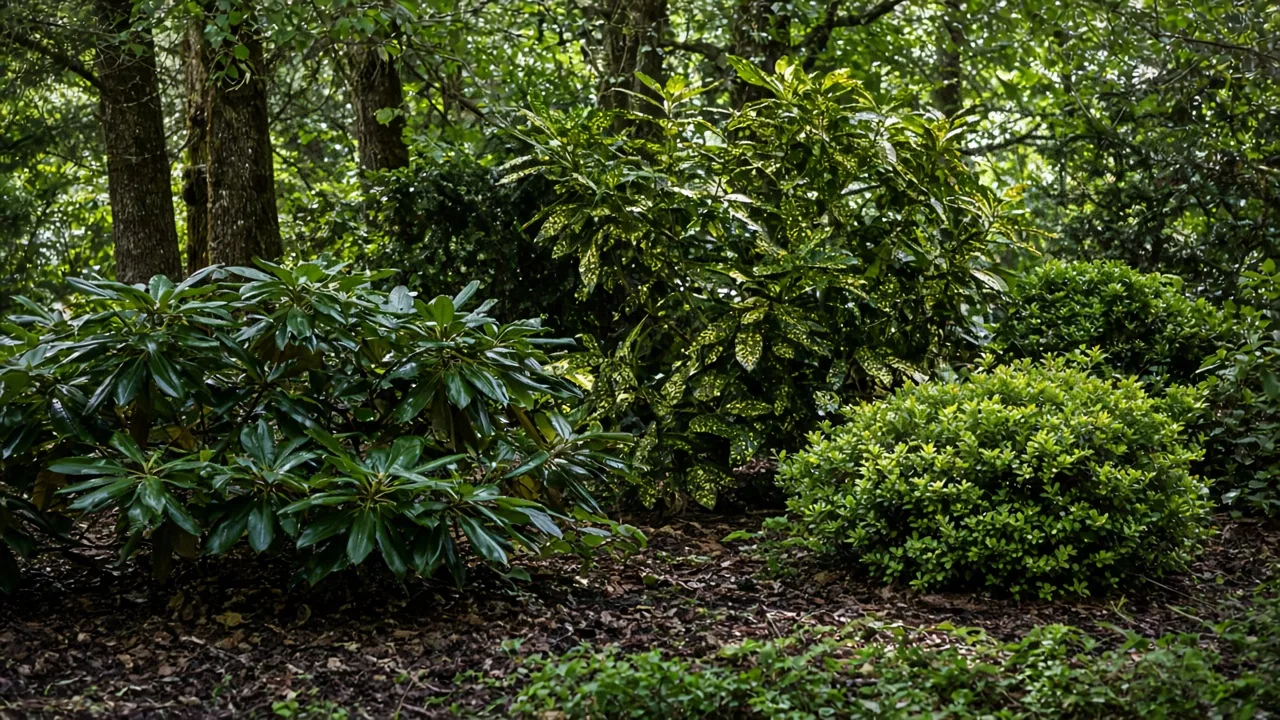
Azaleas work well as the middle layer in a partly shaded bed: a taller shrub or small tree behind, the azalea as the flowering mass, and ferns or other low perennials near the front. This arrangement gives the garden a shape before the azalea blooms and makes the flowers feel integrated rather than pasted onto a lawn. For a natural look, group plants in uneven numbers and leave small openings where the ground layer can show through.
An open woodland edge can offer useful dappled light, but do not mistake a dense, dry tree-root zone for an easy azalea site. Use compatible companions, keep the shrubs’ mature canopies from colliding, and leave room to water and prune each plant. In a formal bed, repeat shapes and color; in a naturalistic bed, stagger the shrubs and let the outline wander. Gardenista’s azalea field guide illustrates how azaleas can edge a gravel feature and sit within a designed landscape, rather than being limited to a foundation row (Gardenista).
In a small garden, make one azalea the main flowering shrub and use foliage plants to frame it instead of adding several more shrubs. In a larger bed, repeat an azalea group at two or three points to connect separate areas of the yard. Repeating the same plant is often more visually convincing than collecting many varieties, and it makes later pruning and watering easier because the group shares a similar growth habit.
Design color and bloom as a sequence
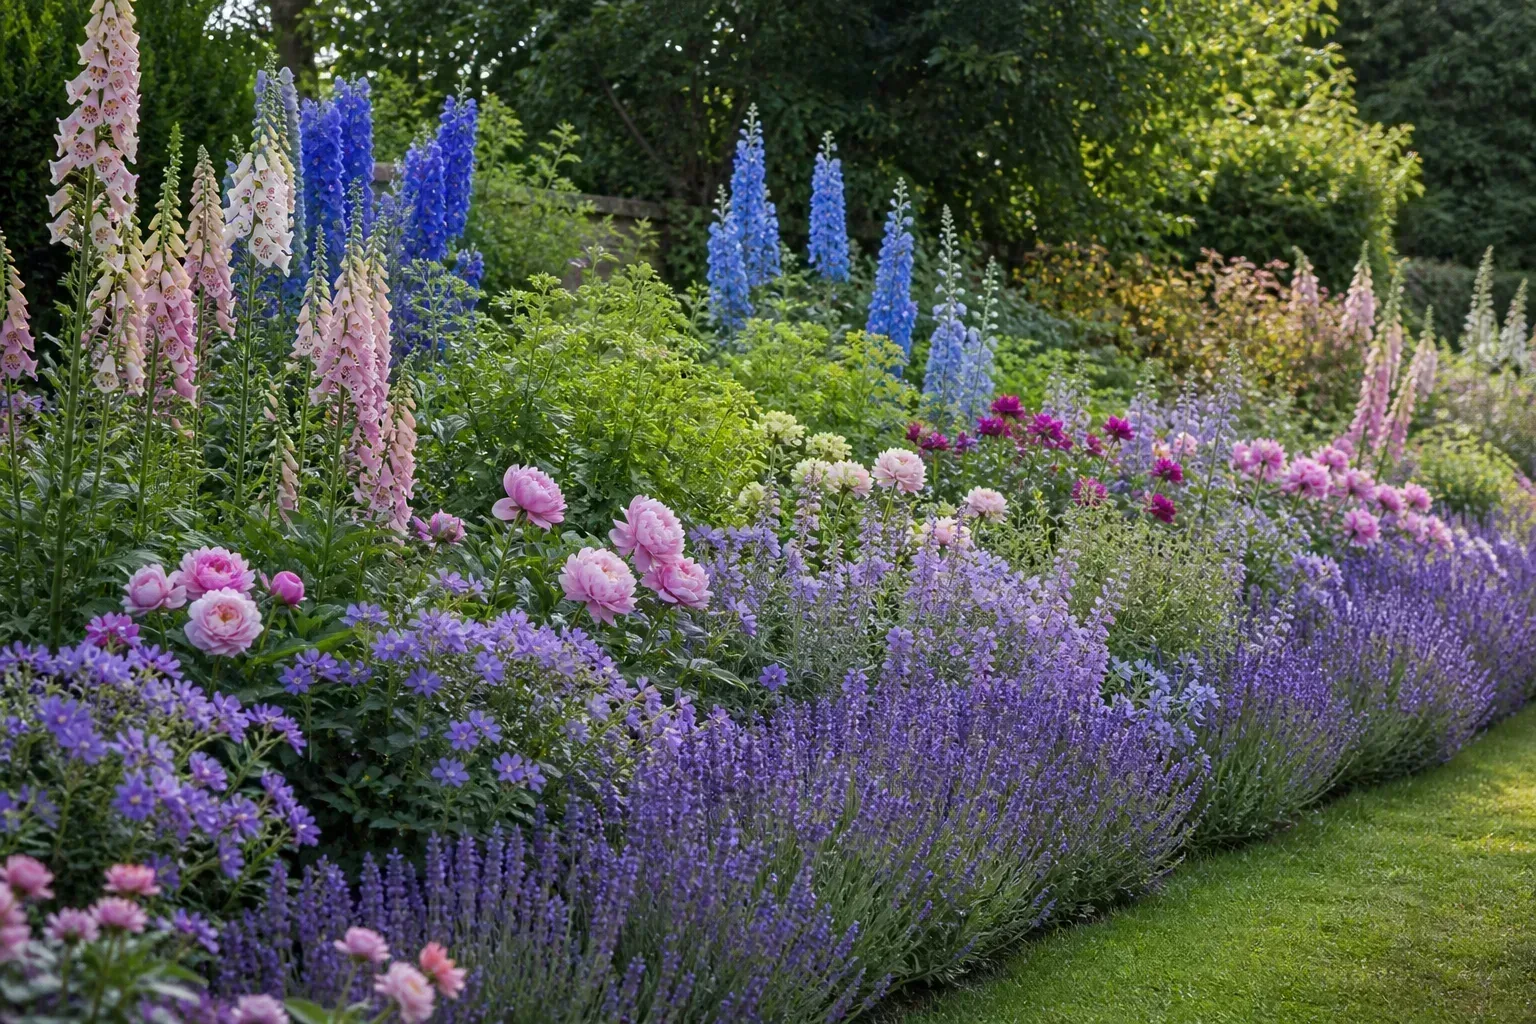
Azalea flowers are vivid enough to act as the bed’s main color event. Decide whether you want a single-color drift, a gradual transition from pale to saturated shades, or one accent color repeated at several points. You do not need every shrub to match exactly, but a limited palette helps the blooms read as a composition instead of a collection of unrelated nursery finds.
Limit and repeat the flower palette
Start with the view from the house or path where you will see the flowers most often. Choose one dominant color family and, if desired, one supporting color such as white or a softer pink. Repeat the dominant color elsewhere in the bed with foliage, bulbs, or later perennials so the design still feels connected after the azaleas fade. The New York Botanical Garden recommends balancing bright azalea colors with paler tones and using both groups and individual specimens to guide the eye through a garden.
Foliage can do as much design work as flowers. Evergreen azaleas contribute a low mass of leaves after bloom; deciduous types may have a more open shape and can add autumn color. Contrasting leaf size with ferns, hostas, or fine-textured grasses makes a bed legible even when no flowers are open. If the garden is small, restraint with flower colors usually creates more impact than adding another bright variety.
Think about the viewing distance as well. A bold red or magenta group can hold attention from across a lawn, while a pale or smaller-flowered selection may be easier to appreciate beside a narrow path or seating area. If several azalea colors are already established, bring them together with repeated foliage tones and a simple edging material rather than trying to add a new flower color to every gap.
Stretch the display without expecting nonstop bloom
Azalea flowering time varies by species, cultivar, region, and weather. Early-, mid-, and late-season types can overlap to lengthen the show, and some reblooming cultivars may flower again under suitable conditions. Do not plan around a calendar date from a catalog alone: compare local nursery timing, extension advice, and what is already flowering in your neighborhood.
Use other plants to bridge the gaps. Spring bulbs can share the early display, while woodland perennials or later-flowering shrubs carry color forward after azaleas finish. Keep at least one element of foliage or structure in every season: evergreen leaves, deciduous branching, bark, seed heads, or a neighboring shrub’s flowers. That sequence is more dependable than expecting one azalea to stay in bloom for months.
When choosing cultivars for a staggered display, ask a local nursery which ones flower early, midseason, and late in your area. A warm wall or unusually mild spring can shift bloom, and a late frost can shorten the show, so treat the sequence as a design window rather than a fixed schedule. Two compatible flowering windows with a strong foliage layer between them are more reliable than buying several labels that promise continuous color.
Choose companions that share the site
The best companion is not simply another acid-loving plant; it must also suit the same light, drainage, moisture, mature spacing, and regional climate. Rhododendrons, mountain laurel, pieris, ferns, and some woodland perennials can work in a suitable partly shaded bed. Oakleaf hydrangea, hosta, and spring bulbs may also fit, but cultivar size and local moisture needs still determine whether they belong close together.
Fill the layers before adding another shrub
Try a simple composition first: one taller background plant, a repeating group of azaleas, and a lower layer of fern, hosta, or spring bulbs. Leave some open mulch around the azalea stems and do not crowd every gap with a new shrub. Extra plants compete for water, make pruning awkward, and can hide the azalea’s shape once the bed fills in.
Match the root zone before planting neighbors together. Lavender, for example, usually wants more sun and drier, sharply drained soil than azaleas, so it is better in another bed or a container with separate watering. The RHS guidance for lavender and the University of Georgia’s azalea recommendations show why two attractive plants can be poor partners when their light and moisture needs diverge (RHS lavender growing guide). For a broader list of compatible and poor-fit neighbors, see our companion plants for azaleas guide.
Ferns, hostas, and spring bulbs are useful because they can add leaf texture or a second seasonal moment without competing for the same visual role as the azalea. Even these choices need spacing: a large hosta can hide a small azalea, and a groundcover planted tightly against the stems makes watering and inspection harder. Keep companions in loose patches at the outer root zone, where they soften bare soil without turning the bed into a tangle.
Sketch spacing before you shop
Draw the bed to scale, mark paths, walls, windows, downspouts, and existing trees, then add each azalea at its mature width. For a loose group, let the shapes overlap visually on paper without assuming every branch should touch in the garden. For a hedge-like row, use the mature spread as the starting center-to-center spacing; planting closer may fill the gap sooner but can create crowding, shade, and pruning work later.
Leave room to walk behind or between shrubs if you will need to clean windows, reach a faucet, or prune neighboring plants. Keep canopies out of paths and away from vents, and avoid blocking sightlines at driveways or steps. A small open gap at planting time is usually cheaper to solve than digging out a mature azalea after it has become too large for the bed.
For a row intended to meet at maturity, use the listed mature spread as a practical starting distance between plant centers. If you want an airy specimen group, increase that distance so the individual outlines remain visible; if you want a close mass, reduce it modestly and accept that the plants may need thinning or selective pruning as they grow. Nursery tags describe typical dimensions, not a guaranteed maximum, so leave extra room when the cultivar or growing conditions are uncertain.
Plant for shallow roots and long-term health
Prepare the planting area broadly rather than making a tiny pocket of amended soil. Azaleas have shallow roots, so set the root ball no deeper than it grew in its pot; in heavy or poorly drained soil, planting slightly high in a broad raised bed can help keep the root zone aerated. Water the root ball before planting, loosen tightly circling roots, and water slowly after backfilling so the soil settles without leaving the shrub submerged.
Apply an organic mulch over the root area to moderate moisture and temperature, but keep it pulled back from the stems. Water new plants consistently as they establish, then adjust to rainfall and soil moisture instead of following a rigid daily schedule. The University of Georgia Extension’s planting guidance also cautions against fertilizing at planting, when sensitive new roots can be injured; correct soil conditions first and fertilize later only when a soil test or plant symptoms justify it.
When planting several azaleas, prepare the whole bed to a consistent depth and check that every root ball sits at the same finished grade. This avoids one shrub settling below the rest or collecting water in a shallow bowl. Finish by watering each root ball slowly and checking again after the soil settles; mulch can conceal a plant set too deep, so keep the crown visible.
Keep the landscape balanced after flowering
The azalea’s outline, leaves, and neighbors take over once the flowers drop. Remove spent flowers only if appearance or plant health calls for it, and prune for shape soon after bloom when pruning is needed. Many azaleas set next season’s flower buds during summer, so late pruning can cut off the display you were trying to improve. Check the specific cultivar’s habit before shaping it.
Keep water and mulch decisions consistent with the planting design. A newly planted border may need regular attention, while established shrubs in suitable soil need less frequent irrigation; neither should sit in saturated ground. Inspect the bed after heavy rain and during dry spells, since those are the moments when drainage and moisture problems become visible before the shrub declines.
Avoid these design mistakes
The most common mistake is buying by flower color and discovering later that the shrub is too large, too exposed, or too tender for the site. Another is treating “evergreen” as a promise of solid winter privacy or assuming a reblooming label guarantees flowers from spring through fall in every region. Verify local hardiness, mature dimensions, foliage habit, bloom window, and sun tolerance before choosing a spot.
Avoid planting azaleas in a low, wet pocket; amending only the planting hole in dense clay; setting them beneath a thirsty tree without a water plan; or spacing them by the size of the nursery pot. Do not acidify soil by guesswork or fertilize to compensate for a poorly matched site. If the bed is alkaline, waterlogged, or exposed to reflected afternoon heat, change the bed or choose another plant rather than forcing an azalea to tolerate conditions it dislikes.
Finally, do not fill every square foot on planting day. Give shrubs room to reach their listed width, use lower layers to cover temporary gaps, and repeat a few companions instead of adding many unrelated species. A landscape that looks slightly open at first often becomes more polished and easier to care for as the azaleas mature.
Conclusion
Use azaleas where their mature shape, foliage, and bloom time solve a real design need: a foundation accent, a soft border, a focal group, a container, or a seasonal screen. Start with light, drainage, soil acidity, and root competition, then plan color, companions, and spacing around the conditions you actually have.
Choose plants by their mature dimensions and local performance, not by the flowers on a nursery bench. That simple order makes azaleas easier to place, easier to maintain, and more rewarding long after the spring display ends.



