Can You Reuse Mulch Every Year? A Practical Guide
Can you reuse mulch every year? Learn when to top up old mulch, when to remove it, and how to check depth, drainage, disease, and tree safety.
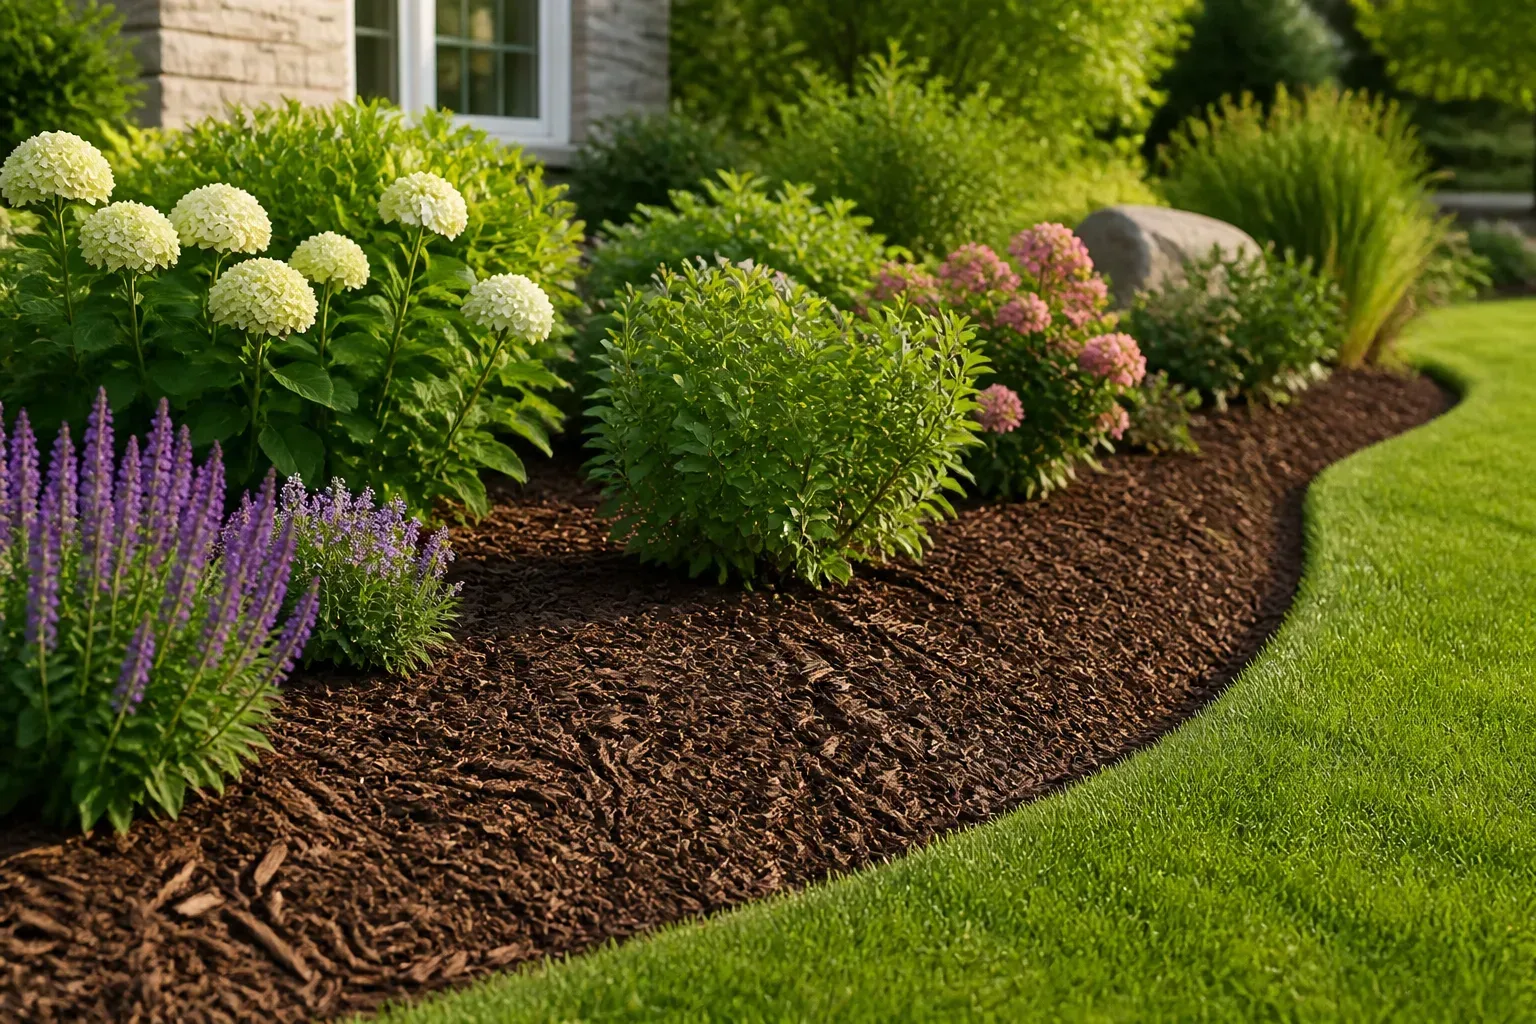
Yes, you can usually reuse mulch every year. In most established beds, the better practice is to leave clean mulch in place, loosen it if needed, and add only enough new material to restore the working depth. Removing every flake of last year’s bark or wood chips wastes organic matter and disturbs the soil surface for little benefit.
That answer has an important qualifier: reuse is an inspection decision, not an annual rule. Mulch that is clean, porous, correctly placed, and still doing its job can stay. Mulch that is sour-smelling, contaminated, waterlogged, badly compacted, too deep, or hiding a plant-health problem may need to be moved or removed. The five-minute check below is more reliable than a calendar reminder.
The short answer: inspect before you remove
Think of mulch as a protective layer that gradually changes, not as a disposable decoration. Organic materials such as wood chips, bark, shredded leaves, and compost slowly settle and decompose. The older lower layer becomes part of the soil ecosystem while the upper surface continues to reduce evaporation, buffer temperature swings, and block light from many weed seeds. Oregon State Extension’s depth guidance and Penn State’s tree-mulching guidance support the same practical test: keep the layer porous, shallow enough for air and water movement, and clear of trunks and crowns.
Before you buy a new load, push a ruler or your finger through the layer in three or four places. Look for the actual depth near the plant, halfway across the bed, and at the edge. Then lift a handful. Good mulch should be damp or dry but not slimy, should have some air spaces, and should not have a sour anaerobic smell. If it has simply darkened and settled, that is normal aging rather than failure.
Use this decision rule:
| What you find | Best next move |
|---|---|
| Clean, loose mulch at the recommended depth | Leave it alone; rake lightly if it has matted |
| Clean mulch that has settled below about 2 inches | Add a thin layer of compatible material |
| Deep mulch, especially against trunks or stems | Pull it back and redistribute before adding anything |
| Persistent wet, sour, or compacted layer | Remove or thin the problem area and correct drainage |
| Diseased plant debris or unknown treated material | Bag or dispose of it according to local guidance; do not spread it |
The goal is not to make the bed look newly installed. The goal is a surface that lets rain and irrigation enter, limits weed competition, and leaves the plant’s crown or trunk dry and visible.
When old mulch is worth keeping
Organic mulch improves as it breaks down
Wood chips and bark are useful even after they lose their original color. Soil organisms colonize the underside, gradually breaking carbon-rich material into smaller particles and organic matter. That process can improve aggregation over time, especially when the mulch stays on the surface and is not tilled into the root zone.
The Oregon State University Extension guidance on woody ornamentals specifically advises checking the existing depth before reapplying bark or wood chips. It gives general maximums of about 3 inches for bark and 4 inches for wood chips, because a deeper layer can hold too much water and restrict healthy root-zone conditions.
Compost and leaf mulch usually disappear faster. That does not mean they must be scraped away; it means they may need more frequent, modest replenishment. The Royal Horticultural Society’s advice on reusing spent compost is specifically about old compost, not a blanket endorsement of every unknown or diseased mulch. In a bed with established perennials, a broken-down layer is often doing more for soil structure than a pile of fresh, decorative material would.
Aged mulch is different from fresh chips
One of the most persistent mulch warnings is that wood chips “steal nitrogen.” The more accurate version is about where decomposition happens. Fresh, fine, carbon-rich chips mixed into the topsoil can temporarily tie up some nitrogen near the soil surface while microbes break them down. Fresh chips left as a surface layer generally have far less impact on the nitrogen available to established plants’ roots, especially when roots are below the mulch and the material is coarse.
That distinction matters when reusing mulch. Do not dig a thick layer of undecomposed chips into a vegetable bed immediately before sowing. If you are renovating soil, composting the chips first or placing them on paths is safer. If you are maintaining a shrub border, leaving clean chips on the surface and topping them up is usually the sensible use.
Aged mulch also has a different texture. It may resemble dark soil at the bottom and retain larger bark pieces at the top. Rake those layers together lightly rather than burying the coarse material. You are redistributing the layer, not trying to turn a surface mulch into a potting mix.
When you should remove or replace mulch
Disease, contamination, and unknown materials
Remove mulch when it contains a concentrated mass of diseased leaves, rotten fruit, invasive weed crowns, or plant debris that you do not want redistributed around healthy plants. Surface mulch is not a universal sterilizer. If a plant suffered a disease that produces persistent spores or if the material is visibly moldy and foul, move the affected mulch out of the bed and follow local composting or disposal guidance.
Do not automatically panic over white fungal threads or mushrooms. Decomposer fungi commonly appear in moist organic mulch and can be part of normal breakdown. The useful distinction is between ordinary fungal activity and mulch that is persistently saturated, smells rotten, or is associated with declining roots, crowns, or stems. If the plant is sick, diagnose the plant and drainage rather than assuming every fungus is harmful—or assuming every fungus is harmless.
Source matters too. Do not reuse mulch if you cannot identify it and suspect it came from treated lumber, demolition waste, a herbicide-sprayed area, a diseased tree, or a load contaminated with plastic or trash. Dyed mulch is not automatically unsafe, but color tells you little about the source material. If a supplier cannot explain what was chipped or composted, use the material for a non-edible landscape area at most, or do not use it.
Vegetable and herb beds deserve extra caution because edible crops sit close to the material. Use known, clean compost, leaves, straw, or properly sourced wood chips. Keep fresh woody mulch off the stems and avoid mixing it into the planting soil during the active crop cycle.
Compaction, flooding, erosion, and bad placement
A layer can be chemically fine and still need correction. Heavy rain, foot traffic, snow, repeated leaf blowing, and fine particles can knit mulch into a dense mat. Water may then run across the surface instead of soaking in, while the layer below remains wet. Rake a small test area: if the mulch lifts as a heavy felt-like sheet or the soil underneath is gray, slimy, or persistently saturated, thin it rather than adding more.
Floodwater is another reason to be conservative. If a bed was inundated by dirty runoff, sewage, fuel, or an unknown spill, do not simply mix the old mulch back in. Contact the relevant local health or environmental authority for guidance, particularly where food crops are involved.
Erosion does not always mean you need a full replacement. First identify the cause: a downspout, slope, bare pathway, or blower may be moving mulch away. Redirect water, add a shallow edge, use a coarser material, or spread the remaining mulch evenly. Replacing the top layer without fixing the flow will repeat the same loss.
Bad placement is the most common reason to “replace” mulch. If it has been piled against a tree trunk, shrub base, perennial crown, or tender stem, pull it back immediately. The Penn State Extension guidance on landscape trees recommends spreading excess mulch evenly and avoiding volcano-shaped piles; the trunk flare should remain visible. Wet mulch against bark can keep tissues damp, invite decay, and conceal damage from rodents or mower strikes.
What to do with each common mulch type
Wood chips and bark
Arborist chips are a mixed, coarse product made from branches and sometimes leaves. They often last longer than fine mulch and are excellent for paths, shrub borders, and around established trees when the source is known. Because particle sizes vary, they settle unevenly; check depth in more than one location before topping up.
Bark mulch is usually more uniform and decorative. Medium bark can remain for multiple seasons, while fine bark breaks down faster and may crust if applied too thickly. Rake a compacted surface open, check the soil, and add only enough to restore a porous layer. Oregon State notes that bark generally should not exceed about 3 inches.
Fresh wood chips are best treated as a surface material, not a soil amendment. Spread them on top, keep them away from crowns and trunks, and give the soil time to adjust. If you need to plant annual vegetables into the bed immediately, move fresh chips aside into paths or age them before incorporating any organic material.
Compost, leaves, and straw
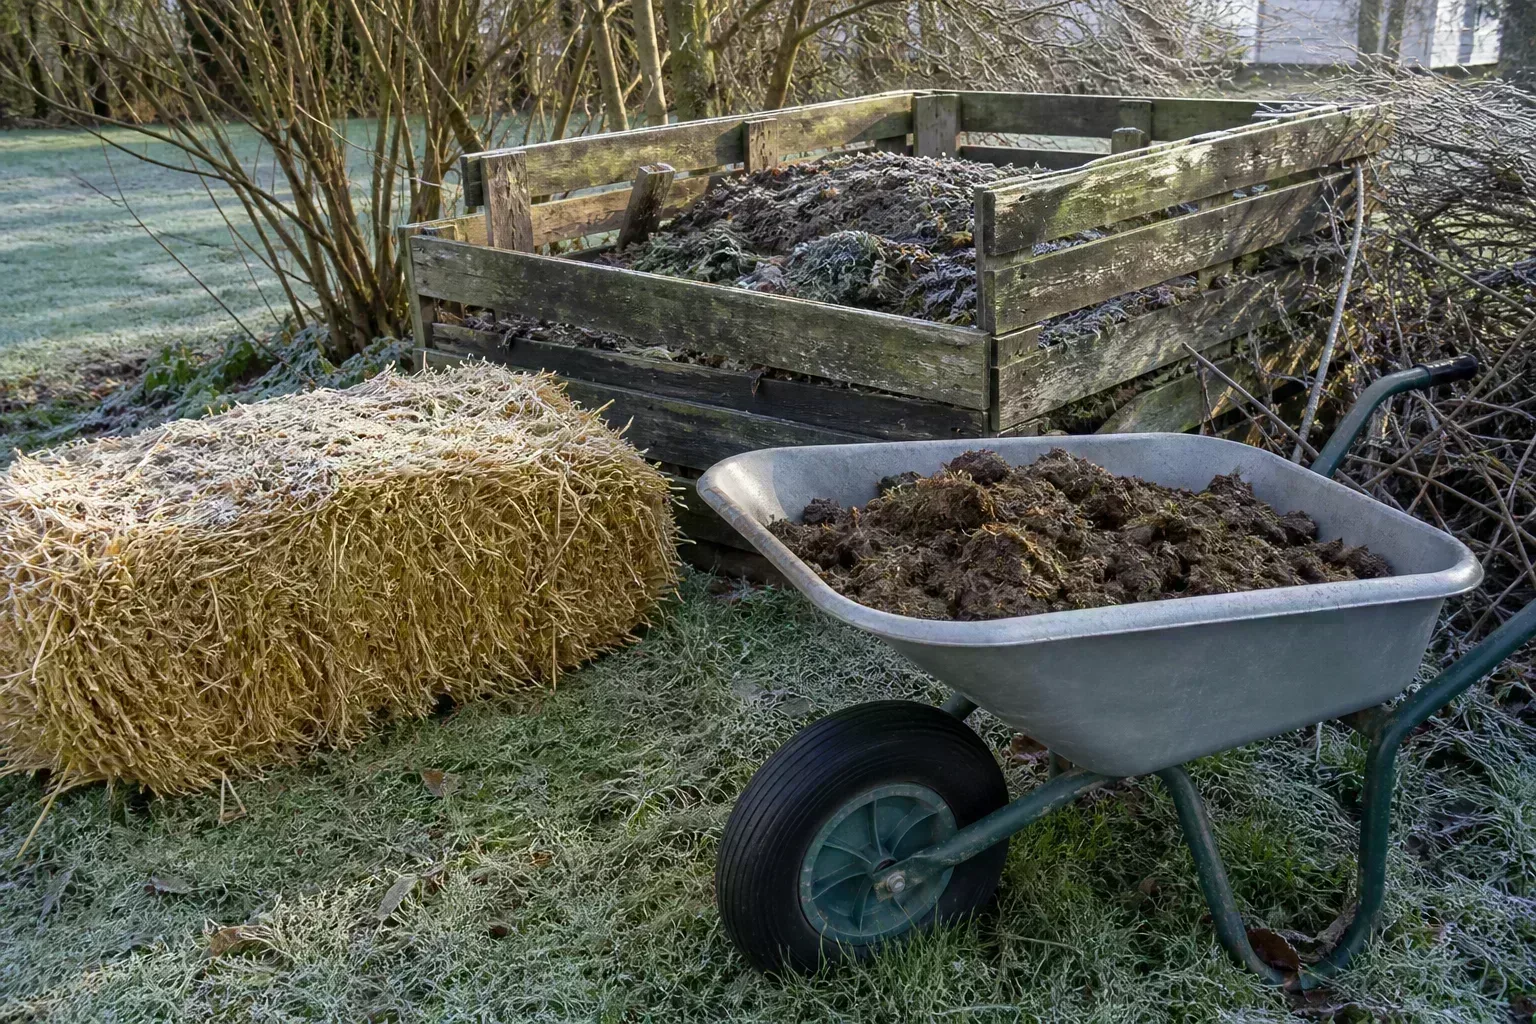
Finished compost is nutrient-rich compared with woody mulch and can be used as a thin top dressing or surface mulch. It is also easy to overapply. A thick annual blanket can raise the bed level, bury crowns, and create a fine layer that seals when wet. Treat compost as a soil-building input with a measured purpose, not as a cosmetic filler.
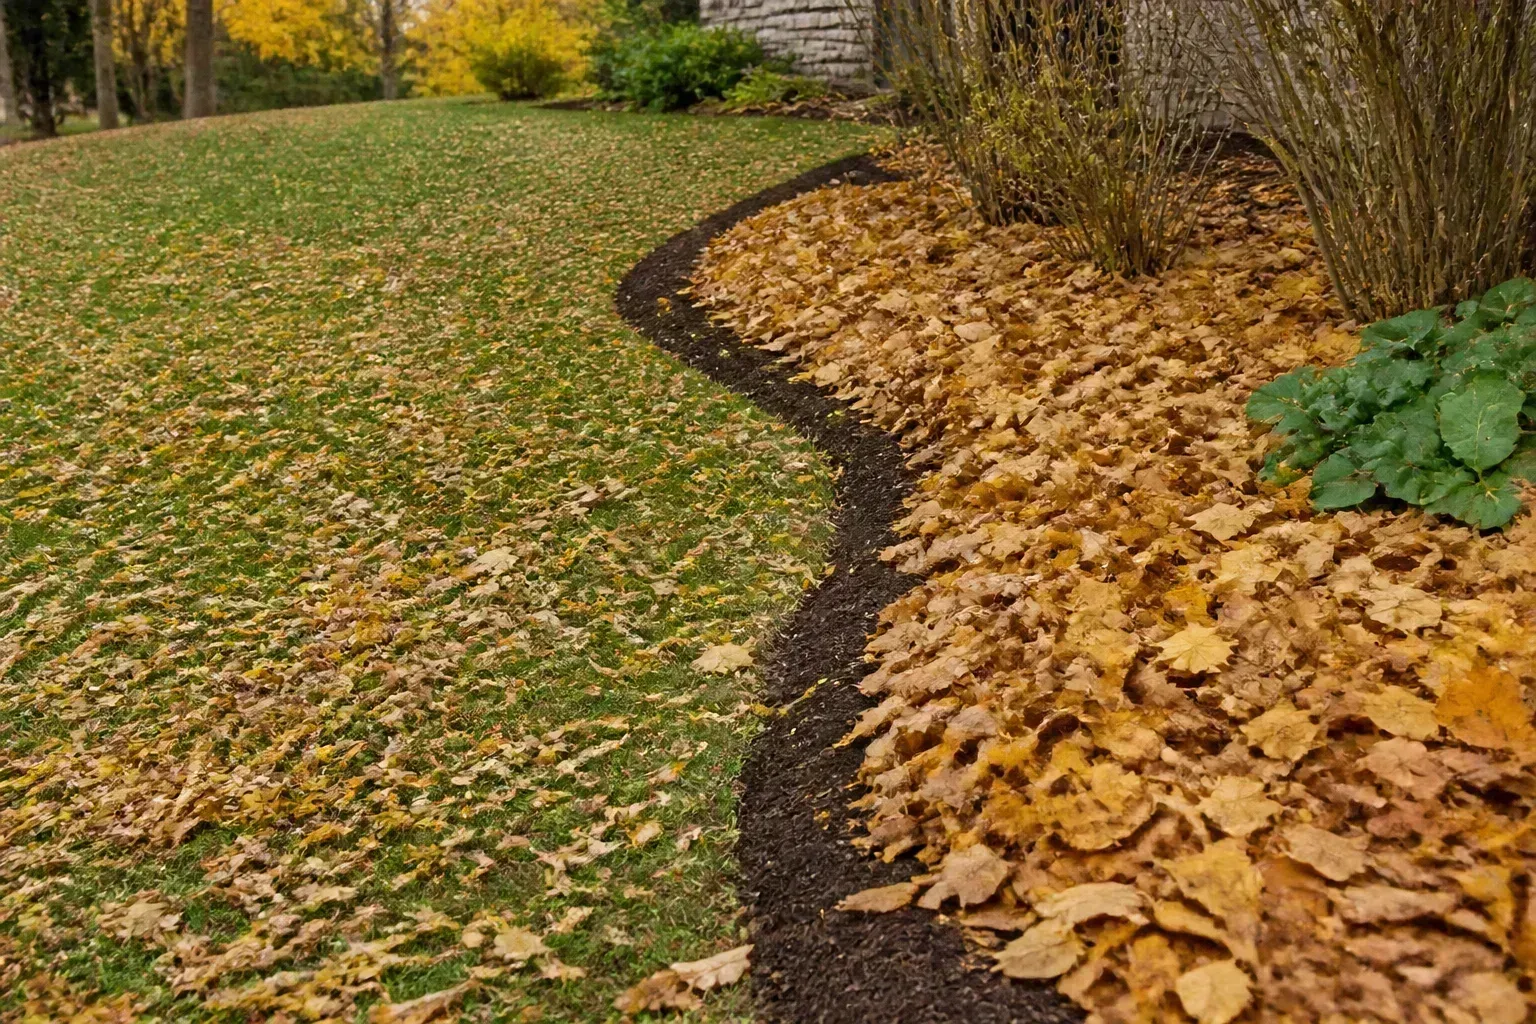
Shredded leaves are usually easy to reuse. If they have formed a dense, wet mat, fluff them with a rake or remove enough to expose the soil. Whole leaves can be excellent in shrub borders but may smother low perennials or winter vegetables. Chopping them helps them settle without forming such a continuous sheet.
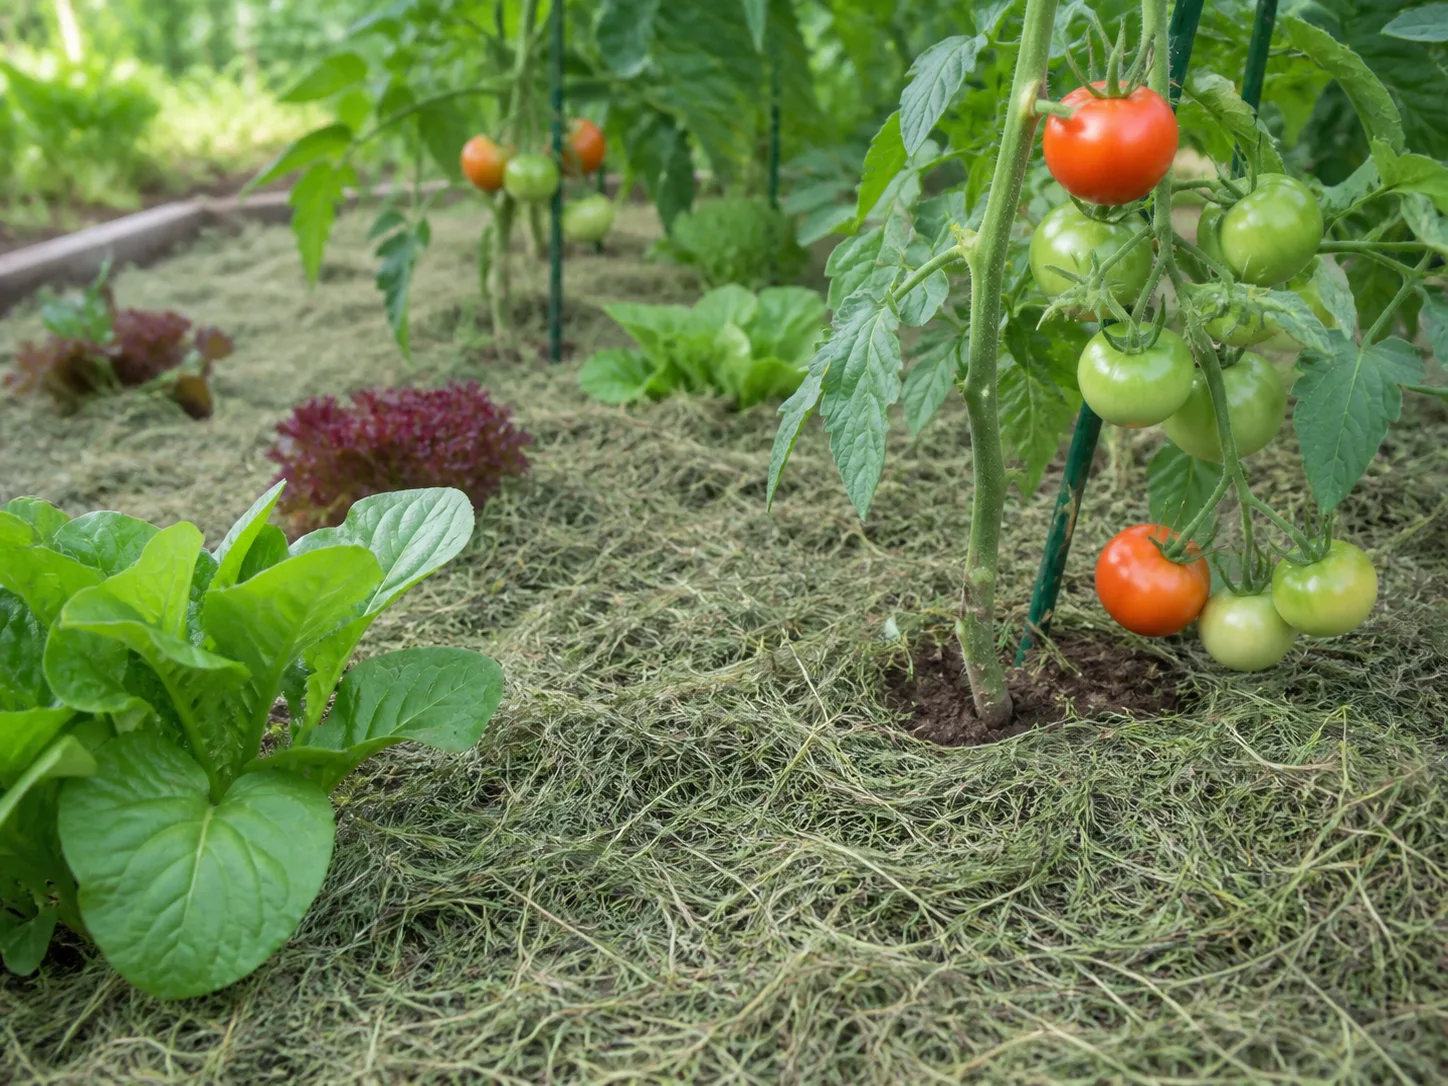
Straw is useful around vegetables and soft-fruit plants, but it decomposes quickly and can carry weed seeds if poorly sourced. Replace it when it is slimy, packed down, or full of viable weeds. Do not confuse straw with hay: hay contains more seed heads and can turn a carefully mulched bed into a grass patch.
Gravel, rubber, and other long-lasting mulches
Stone and gravel can remain in place for years, but “long-lasting” does not mean maintenance-free. Leaves and soil accumulate between stones, weeds take root in the fines, and the material can migrate onto lawns or into drains. Remove only the contaminated or overgrown section when practical, screen or wash it away from waterways, and regrade before returning it.
Rock also changes the bed’s thermal behavior. Dark stone can heat a sunny planting area more than an organic mulch would, while pale stone can reflect light into foliage. In hot, dry, or fire-prone locations, local firewise rules may favor nonflammable mineral mulch near structures. In other gardens, organic mulch may better protect soil from temperature swings and add organic matter. The right choice depends on the site, not on the claim that one material is universally best.
Rubber and plastic-based products do not break down into soil-building organic matter. If they are clean, stable, and permitted for the intended use, they may not need annual replacement, but they can be difficult to remove once mixed with soil. Check local guidance and the product’s material disclosure before reusing an unknown layer around edible crops.
Measure mulch depth before adding more
Depth is the control that turns “top up” into responsible maintenance. Measure at least three spots in a bed because wind and rain create thin edges and deep pockets. A ruler is better than judging by eye, especially when dark mulch visually appears thinner than it is.
For many general beds, a final layer in the neighborhood of 2 to 3 inches works well. Coarse wood chips can sometimes be used a little deeper, but the root zone, drainage, climate, and plant type matter. Around trees, keep the trunk flare visible and taper the mulch so it is shallow near the trunk rather than making a volcano; Princeton’s tree-mulching guidance illustrates why clearance at the trunk matters.
Do not use the new bag’s recommended volume as proof that you need all of it. Calculate the bed’s surface area, compare it with the current depth, and buy for the gap. One cubic yard covers about 324 square feet at 1 inch, but irregular beds, settling, and delivery volume make this an estimate. It is better to be short a little material than to create a six-inch layer because the truck delivered more than expected.
Depth also interacts with texture. Fine compost and shredded leaves pack more readily than coarse chips. In a wet climate or poorly drained bed, use a thinner layer and improve drainage instead of compensating with more mulch. In a hot, dry site, a stable surface layer can reduce evaporation, but it still must allow irrigation to reach the soil.
A safe spring or fall mulch refresh
Rake, inspect, and expose the soil surface
Choose a period when the bed is workable and the soil is not waterlogged. Spring is convenient for seeing winter washout and preparing active growth; fall can protect bare soil and reduce erosion. Either season works if the ground is not frozen, saturated, or under severe heat stress.
Start by moving mulch away from trunks, stems, and perennial crowns with a rake or gloved hand. Check irrigation lines, edging, emerging bulbs, and low-growing plants that may have been covered. Inspect the soil surface for standing water, vole tunnels, exposed roots, and weeds that have rooted into the mulch rather than merely germinated below it.
If the layer is loose and healthy, do not strip it. Rake out mats, pull weeds while they are small, and redistribute high spots into thin areas. If a small section smells sour or is saturated, remove that section rather than disturbing the whole bed.
Top up in thin layers
Use a compatible material. Wood chips over wood chips is straightforward; compost over compost is predictable; a thin compost top dressing under a coarser organic mulch can work when you intentionally want both soil improvement and a longer-lasting surface. Avoid burying a fine, wet layer under a thick coarse one without checking that water can still enter.
Spread the new mulch with a shovel, then pull it into place with a rake. Add less than you think you need, measure again, and make a second pass. The finished layer should look even but not sculpted. Rain and irrigation should be able to penetrate without pooling on top.
Keep trunks, stems, and crowns clear
Leave a visible gap around woody stems and tree trunks. For a young tree, the root flare should remain easy to see; mulch should form a broad, shallow doughnut, not a cone. Around herbaceous perennials, keep the crown—the point where stems emerge from the roots—free of wet material. A few inches of clearance is a practical starting point, widened for soft or rot-prone stems.
Do not use mulch to correct a plant that was planted too deeply. Pulling mulch back can reveal the problem, but raising a buried tree or shrub is a separate planting correction. Likewise, do not cover exposed drip emitters to hide them. Reposition or secure irrigation so the water reaches the root zone without forcing the mulch into a crust.
Timing and climate change the maintenance schedule
There is no honest universal “replace mulch every year” schedule. Fine compost, leaf mold, and straw may need attention every season because they decompose or mat quickly. Coarse bark and arborist chips may remain effective for several seasons, although the visible color fades sooner. Gravel can last much longer but may need cleaning, edging, and weed control.
Rainfall, irrigation, slope, wind, and temperature often matter more than the calendar. A windy slope can lose a fresh layer in weeks. A cool, wet bed may still have deep mulch after two years, but adding more could worsen drainage. A hot, exposed bed may need a stable layer even when the mulch looks old.
Use plant growth as a cross-check. If plants are thriving, water enters the soil, weeds are manageable, and the layer is within depth, leave it. If roots are staying too wet, crowns are buried, soil is washing away, or the surface has become a mat, change the maintenance—not simply the mulch brand.
Common mistakes that make old mulch a problem
The first mistake is removing mulch because it looks faded. Color is an aesthetic signal, not a plant-health diagnosis. A faded, porous layer can be more useful than a fresh layer that is too deep.
The second is adding new mulch without measuring. This is how garden beds become progressively higher, tree flares disappear, and perennials are smothered. Check depth first, especially in the places where mulch has collected against edging or trunks.
The third is digging fresh chips into soil and then blaming the material for weak growth. Keep coarse wood products on the surface or compost them before mixing. If you need immediate soil improvement, use finished compost appropriate for the crop and add it according to a soil test or planting plan.
The fourth is treating all mold as a reason to sterilize the garden. Decomposer fungi are common in organic material. Focus on the combination of symptoms: persistent saturation, foul odor, declining plants, contaminated source, or a known disease problem. Remove what is risky and leave what is simply decomposing.
The fifth is using mulch to hide a drainage problem. Mulch can slow evaporation, but it cannot make compacted clay drain or stop a downspout from eroding a bed. Correct the water source, soil compaction, grade, or irrigation pattern first.
The sixth is using one depth everywhere. A tree bed, perennial border, vegetable row, and firewise zone may need different materials and clearances. Follow crop-specific and local guidance where it differs from the general ranges here.
Conclusion: let the bed tell you whether mulch needs to stay
You can reuse mulch every year when it is clean, porous, correctly sourced, and still within a useful depth. In that situation, leave it in place, loosen compacted areas, pull it away from trunks and crowns, and add a measured layer only where decomposition or erosion has lowered coverage.
Remove or replace mulch when it is contaminated, persistently waterlogged, badly matted, carrying a meaningful disease risk, or so deep that it blocks air and water. The most sustainable routine is also the most practical: inspect first, correct the cause, reuse what is healthy, and top up only what the bed actually needs.



