How to Grow Roses From Cuttings
Learn how to grow roses from cuttings with the right stem, season, rooting mix, humidity, aftercare, and troubleshooting for stronger new plants.
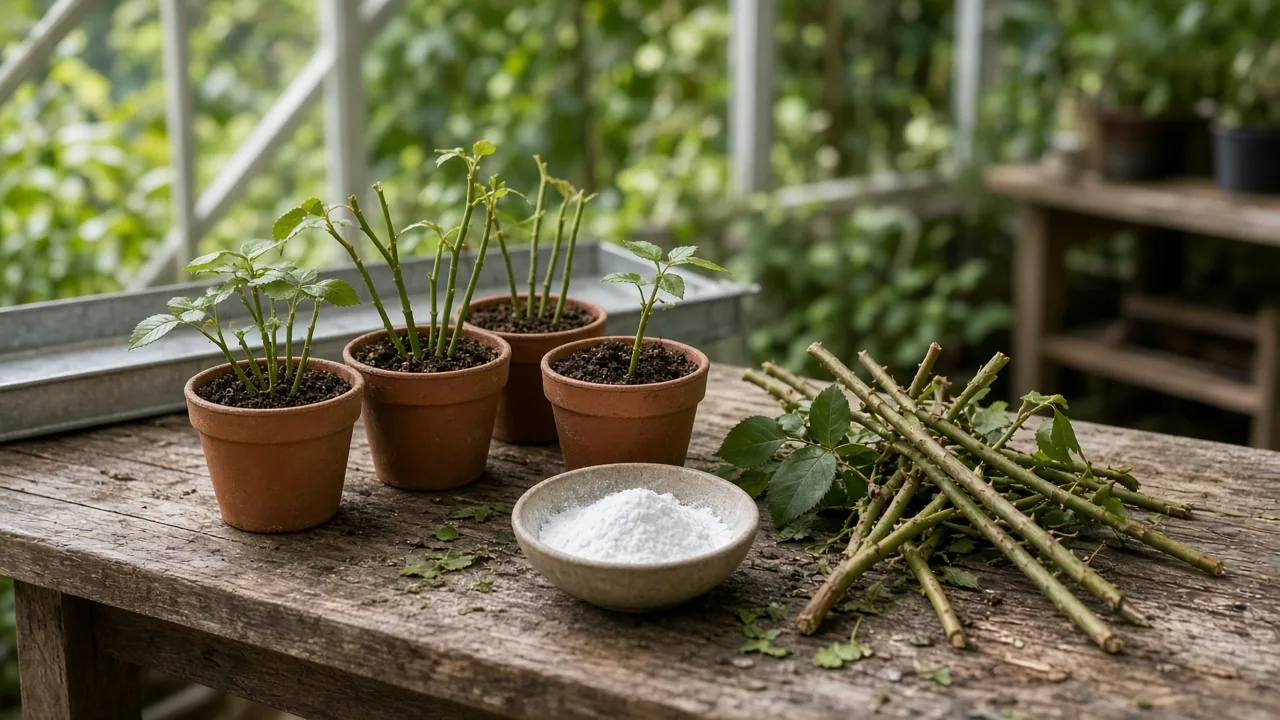
You can grow roses from stem cuttings, but the cutting has to stay alive long enough to make roots. The practical formula is simple: take a healthy piece of current-season growth, keep it hydrated, place at least one node in an airy medium, and hold the balance between humidity and fresh air.
The most reliable approach for a home gardener is to root several cuttings in a container of fresh, well-drained mix. The exact timing changes with climate and stem maturity. The Royal Horticultural Society says softwood stem-tip cuttings taken in early to mid-spring can root in about two months and be ready for the garden after a year; hardwood cuttings taken from mid-autumn through late winter are slower but useful when the rose is dormant. (RHS rose-growing guide)
Can You Grow Roses From Cuttings?
Yes. A rooted rose cutting is a vegetative clone of the stem you took, so it keeps that parent’s cultivar identity rather than producing a genetically different seedling. That makes cuttings useful for multiplying a rose you already know performs well, preserving a family rose, or making a few plants for your own garden.
The catch is that roses do not all root with the same ease, and no method turns every stem into a plant. A cutting has no roots while it is trying to form roots, so it can dehydrate, rot, or push new leaves using stored energy before it has a functioning root system. Start with several cuttings and treat the first attempt as a small propagation trial, not a guarantee.
Choose the Cutting Type for the Season
Think about stem maturity, not just the month on the calendar. Weather can move the ideal window forward or backward, especially in hot climates where a rose hardens quickly or in cool climates where new growth stays soft longer.
| Cutting type | What it looks and feels like | Usual window | Main trade-off |
|---|---|---|---|
| Softwood | Green, flexible new growth that is beginning to firm | Spring to early summer | Roots fastest but loses water quickly |
| Semi-hardwood | Firm base with a softer tip; current-season growth | Late summer to early fall | Good balance of firmness and vigor |
| Hardwood | Fully mature, firm wood taken after dormancy begins | Late fall through winter | Stores well but roots more slowly |
Softwood Cuttings for Quickest Rooting
Softwood is usually the best starting point if you are new to rose propagation. Look for a pencil-thick shoot below a fading bloom or a flower that has just dropped its petals. The stem should bend slightly without snapping and should not feel limp or watery.
Softwood cuttings can root quickly because the tissue is young, but their leaves and tender stem can wilt within hours in hot, dry air. Take them early in the morning, work in the shade, and put each piece in clean water as soon as you cut it. GardenTech describes softwood as the fastest and easiest stage for roses, while also advising gardeners to read the plant rather than follow a calendar rigidly. (GardenTech’s rose-cutting guide)
Semi-Hardwood Cuttings for Late Summer
Semi-hardwood is the middle stage: the base has started to harden, but the tip is still flexible. It is often a useful option when spring softwood has passed, particularly from late summer into early fall when the plant has made a strong flush of growth.
Choose a shoot with short spaces between leaves and no disease or insect damage. The firmer base is less prone to collapsing than very soft tissue, while the living tip can still support root initiation. If your weather is still hot, provide shade and humidity; if cool weather is arriving, a protected container or gentle bottom heat can help keep rooting conditions steady.
Hardwood Cuttings for Dormant-Season Patience
Hardwood cuttings come from mature stems after the plant has entered dormancy. They are firm, leafless, and slower to root because the cutting is relying on stored reserves rather than actively growing leaves.
This method can be convenient in late fall or winter, when you can prepare a batch and leave it in a sheltered pot or propagation trench until spring. The RHS notes that hardwood rose cuttings may spend winter callusing at the cut surface before roots begin developing in spring. Keep the mix from becoming waterlogged, protect the pots from severe freezing and drying winds, and expect progress to be measured in months rather than days.
Check the Parent Rose Before You Cut
Only take cuttings from a rose that is actively healthy. Skip stems with black lesions, powdery growth, insect clusters, weak or shaded growth, or foliage that is already collapsing. A cutting cannot outgrow a serious disease problem simply because it has been moved to a new pot; it may carry the problem into your propagation area.
Water the parent rose thoroughly the day before cutting if the soil is dry. Hydrated stems are less likely to wilt during the short period between cutting and planting. Have the pot, mix, labels, and cover ready before you reach for the pruners, because a fresh cutting should not sit in the sun while you assemble supplies.
Choose shoots with several healthy nodes and avoid the oldest, most heavily woody base of a branch. Research on leafy single-node cuttings of Rosa hybrida found that cuttings from higher positions on the donor shoot produced more and longer adventitious roots than lower-position cuttings under the study conditions. That does not mean every topmost tip is ideal, but it supports a useful rule: choose vigorous, moderately young growth rather than a tired basal section. (Peer-reviewed rose-cutting study in PubMed Central)
Gather Supplies and Prepare the Rooting Medium
You need less equipment than most propagation kits suggest. Gather:
- Sharp bypass pruners or a clean, sharp knife
- A clean container of water for holding fresh cuttings
- A small pot with drainage holes, or a deep propagation tray
- Fresh, low-nutrient rooting mix
- A pencil or dibber for making planting holes
- A clear bag, bottle, cloche, or propagator cover
- A stake or a few clean sticks to hold plastic above the leaves
- Labels if you are taking more than one cultivar
- Rooting hormone, optional
The best rooting medium is moist but airy. A practical homemade mix is equal parts perlite and quality potting mix, or equal parts coarse sand and a peat-free cutting compost. The RHS specifically recommends free-draining materials such as bark, sand, coir, and perlite because they leave air spaces around new roots and reduce the risk of rot in a humid setup. (RHS propagation techniques)
Do not use heavy garden soil straight from a bed. It compacts around the stem, drains unevenly in a small pot, and can bring weed seeds or organisms into a warm, humid propagation environment. Fill a pot that is deep enough for several inches of stem to sit securely, wet the mix thoroughly, and let excess water drain before planting.
Take and Prepare the Cutting
Work in the cool part of the morning and keep cut stems shaded. A 4- to 8-inch cutting with three to five nodes gives you enough stem to bury one or two nodes while leaving a small leafy top. Longer is not automatically better: excess stem and foliage increase water loss without guaranteeing more roots.
- Select the stem. Choose a healthy shoot below a fading flower, or use a strong current-season shoot appropriate to the cutting type. Avoid a flowering tip, a weak side shoot, or wood with visible damage.
- Make the first cut. Remove the shoot cleanly. Keep the cut end in water while you prepare the rest of the stem, especially if you are making several cuttings from one long piece.
- Set the length. Make the bottom cut about a quarter inch below a node and the top cut about a quarter inch above a node. The bottom node is important because roots commonly initiate around nodes, while the top cut helps you keep the cutting oriented correctly.
- Remove the flower and lower leaves. Strip off the bloom or bud and remove all leaves except the top one or two. If the remaining leaf is large, trim it modestly rather than removing it entirely; a small amount of healthy foliage can continue photosynthesis while the cutting roots.
- Remove low buds. If a side bud sits at the lowest buried node, rub or slice it away. You want that node focused on root formation, not on producing a shoot that consumes stored energy above the soil line.
- Wound lightly if needed. Make one or two shallow vertical scratches through the outer layer near the bottom inch of the stem. Do not strip a ring all the way around, split the stem deeply, or shave away a large section. The point is a modest increase in wounded surface, not major damage.
- Apply hormone only if you choose to. Moisten the bottom of the cutting, dip only the amount you need into a separate dish of rooting hormone, and tap off excess. Do not return used powder to the original container, and do not exceed the product label.
- Plant immediately. Use a pencil to make a hole so the medium does not scrape off the hormone. Insert the cutting with the correct end down, burying at least one node and firming the mix around the stem.
The top and bottom cuts need to stay distinguishable. If you are unsure, remember that the original shoot tip belongs above the mix and the cut made closest to the parent plant belongs below it. Label the cultivar before you move on; once several similar stems are potted, memory becomes unreliable.
Plant the Cutting and Build a Humid Setup
Water the newly planted cuttings once to settle the medium around the stem, then allow the pot to drain completely. Place a stake beside the cutting and cover the pot with a clear bag or an inverted bottle, leaving an air gap so the plastic does not touch leaves. A clear cover raises humidity around the foliage and slows water loss while roots are absent.
Set the pot in bright, indirect light. A bright window with no harsh midday sun, a sheltered porch, or a lightly shaded greenhouse is safer than a hot south-facing windowsill. Direct sun through clear plastic can raise the temperature quickly enough to wilt or cook the cutting even while the mix looks wet.
The cover should hold humid air, not trap stale condensation indefinitely. If droplets coat the inside all day or the stem base darkens, lift the cover briefly to exchange air. If the leaves wilt soon after planting, the air is too dry, the cutting was already dehydrated, or the light and temperature are too intense; correct those conditions before adding more water.
Care for Rose Cuttings While They Root
Check the medium with a fingertip rather than watering on a schedule. It should feel evenly damp, not muddy or saturated. If the surface is still moist and the cutting is upright, leave it alone; repeated watering fills the air spaces that new roots need and makes rot more likely.
Vent the cover daily when conditions are warm and humid, or at least several times a week when the setup is cooler. Remove fallen leaves promptly. If one cutting turns brown and mushy all the way to the base, remove it from the pot rather than letting decomposing tissue sit among healthy stems.
Temperature matters, but extra heat is not a substitute for a good cutting. A heat mat can help in a cool room if it is used according to its instructions and does not overheat the medium. The RHS recommends warm, light conditions out of direct sun and notes that autumn cuttings may root faster with a heated propagator; for most home setups, stable warmth and sensible humidity are more useful than chasing a specific number. (RHS guidance on cuttings)
Do not fertilize a newly planted cutting. It has few or no roots to use the nutrients, and concentrated fertilizer salts can stress the wounded base. Wait until you see established roots and strong new growth, then use a mild, label-directed feed while the plant is actively growing.
Check Whether a Cutting Is Rooting
Rose cuttings can show signs of progress in a couple of weeks, but timing varies widely. GardenTech reports that many softwood cuttings root in roughly 10 to 14 days under favorable conditions, while Better Homes & Gardens advises that many home cuttings take a month or two. Hardwood cuttings can take substantially longer, so a dormant stem that looks unchanged is not automatically dead. (GardenTech, Better Homes & Gardens)
Look for several signs together:
- The stem remains firm and green rather than shriveling or turning black.
- A bud swells and begins to push new growth without the base becoming soft.
- The cutting resists a very gentle tug after enough time has passed for roots to form.
- Pale roots appear at a drainage hole or along the inside edge of a transparent pot.
Do not tug every few days. A fragile new root can break away from the stem or lose its contact with the medium. If you need to test, wait at least three to four weeks for a softwood or semi-hardwood cutting, hold the stem close to the mix, and apply only a slight upward pressure. Resistance is a clue, not proof; confirm with new growth or visible roots before disturbing the plant.
Pot Up and Harden Off the New Rose
Once you see roots at the drainage holes or strong new growth that persists, begin removing the humidity cover gradually. Open the bag or lid for longer periods over about a week, watching for midday wilt. If the leaves collapse when the cover comes off, return it for more time and improve ventilation in smaller increments.
If multiple cuttings share one pot, separate them carefully once each has a useful root system. Lift the root ball from the damp mix, tease apart only where roots release easily, and move each plant into a small pot with drainage. Do not jump to a very large container; excess mix stays wet longer than a small root system can use.
Let the rose build roots and new shoots in a protected pot before planting it in the garden. Many homegrown cuttings benefit from several months of container growth, and Better Homes & Gardens suggests roughly 9 to 12 months in many cases before a cutting is ready for the ground. (Better Homes & Gardens rose-cutting guide)
Before outdoor planting, harden off the young rose over two to three weeks. Start in bright shade for a short period, then extend the time outside and add gentle morning sun. Bring it back under cover during severe heat, strong wind, or a sudden cold snap. Leaves grown under plastic are not prepared for full outdoor evaporation, so moving the plant directly from a humidity tent to an exposed bed is a common cause of collapse.
Troubleshoot Common Rose Cutting Failures
Most failures come from a mismatch between water loss and root development. Diagnose the stem and the medium together instead of adding water automatically.
| What you see | Likely cause | First correction |
|---|---|---|
| Leaves wilt within hours | Dehydrated cutting, too much sun, low humidity, or too much leaf area | Recut only if the base is sound, restore shade and humidity, and remove extra foliage |
| Stem base turns brown or mushy | Waterlogged medium, poor air movement, contaminated tools, or infected material | Remove the cutting, discard wet mix, clean the pot, and restart with airy medium |
| Leaves yellow but stem is firm | Stress from low light, cold, or an overly wet root zone | Improve diffuse light and drainage; do not fertilize a rootless cutting |
| Bud pushes leaves, then growth stalls | Stored energy was used before roots formed | Reduce leaf area, keep conditions steady, and wait; new leaves alone do not prove rooting |
| Cutting stays firm but unchanged | Dormant hardwood, cool conditions, or a slow cultivar | Keep it lightly moist and protected; give it more time rather than tugging |
| Mold appears on the cover or fallen leaves | Stagnant, overly wet air and decaying tissue | Vent, remove debris, and discard any cutting with a soft base |
| No resistance after several weeks | Stem type, node choice, season, or moisture balance was poor | Keep a few healthy candidates going, then retry with younger upper-shoot material |
If every cutting fails, inspect the process in order: Was the donor plant healthy? Did the stems dry out between cutting and planting? Was at least one node buried? Was the medium airy? Did the plastic create a hot, stagnant pocket? This checklist is more useful than switching immediately to a stronger hormone.
Water, Soil, Potato, or Direct Ground?
Soil propagation is the best baseline because the cutting begins in the same airy environment where its new roots will live. Water can be useful as a short-term holding container while you work, but a vase is not automatically a better rooting system.
| Method | Best use | Main advantage | Main risk |
|---|---|---|---|
| Airy potting mix | Default home method | Roots develop directly in a transplantable medium | Overwatering and poor drainage |
| Water | Holding fresh stems or a small experiment | Easy to observe and prevents immediate drying | Stalled roots, low oxygen, and transplant shock |
| Direct ground | Mild climates with a prepared shaded bed | No later pot-to-ground move | Harder to control moisture, pests, and winter exposure |
| Potato or other food tuber | Not recommended as a baseline | Novelty only | Rot, mold, inconsistent moisture, and no control over the rooting zone |
If you try water rooting, use an extra cutting, keep only the base near water, change the water when it becomes cloudy, and pot it as soon as roots are short and well formed. Expect the transfer to be less forgiving than roots formed in a cutting mix.
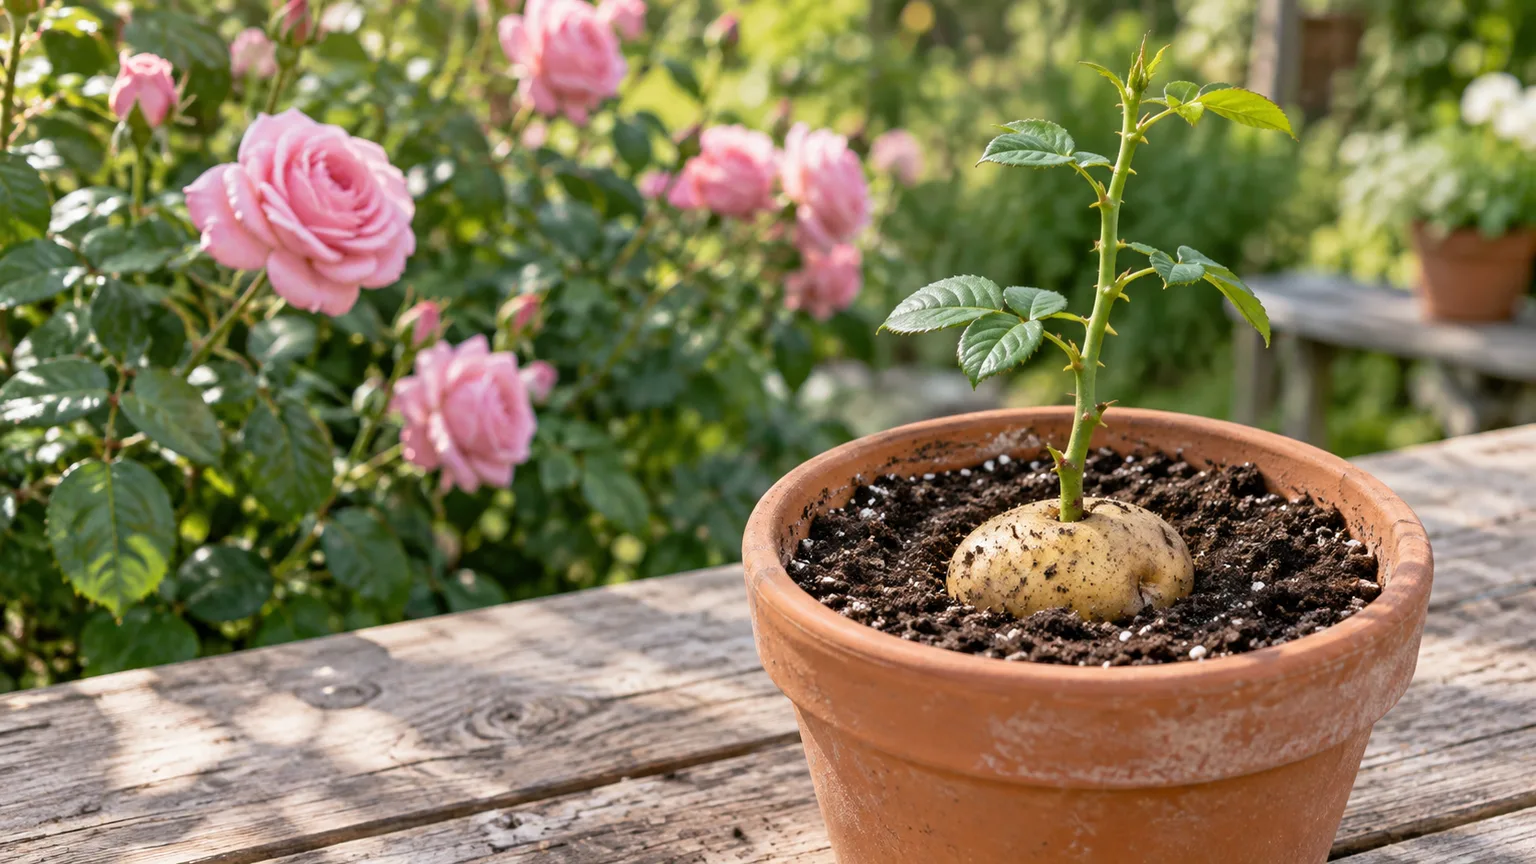
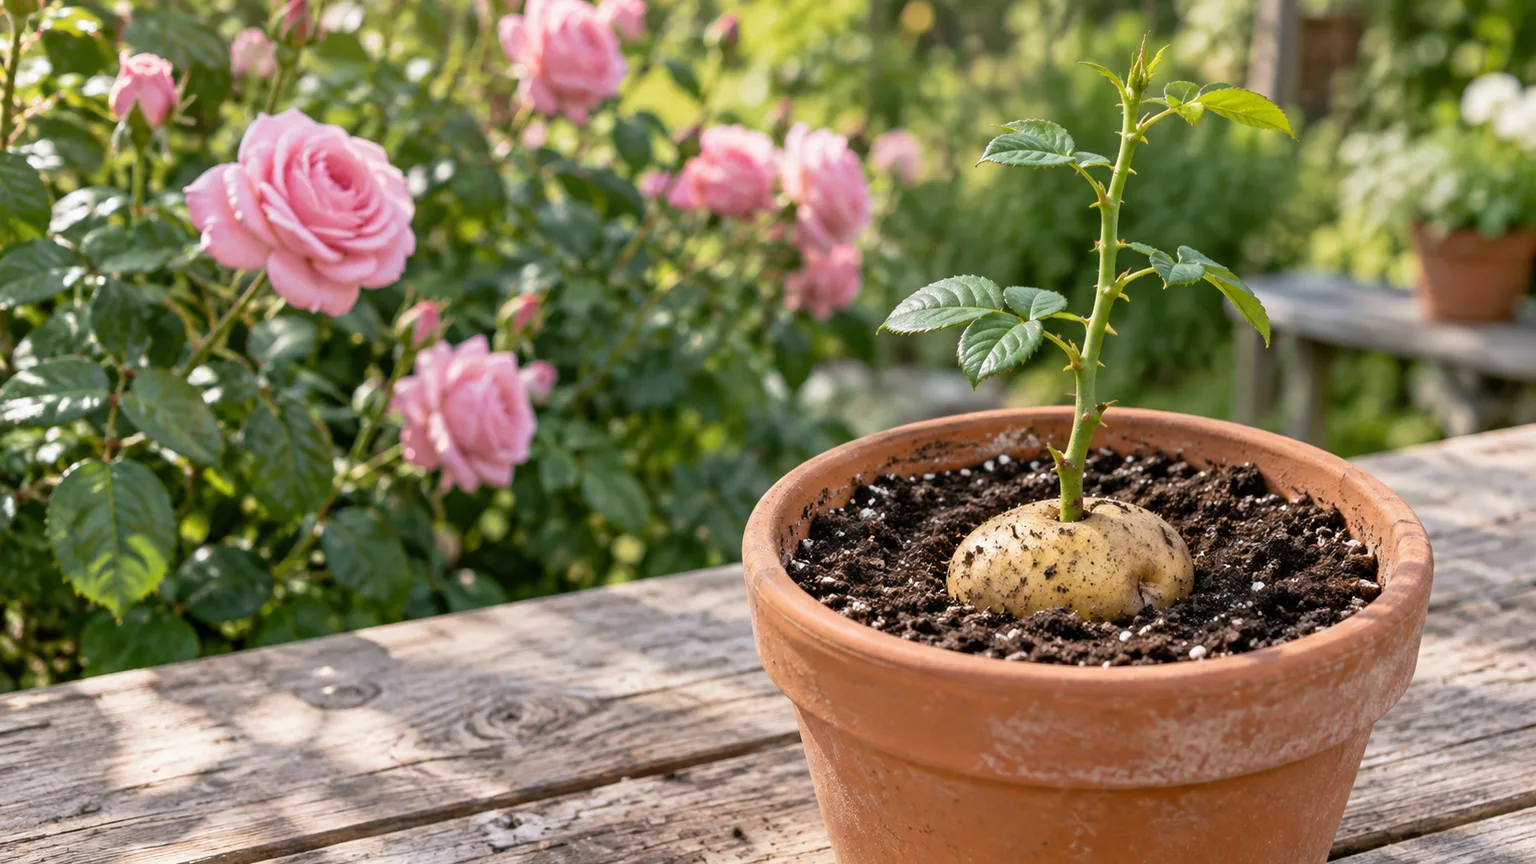
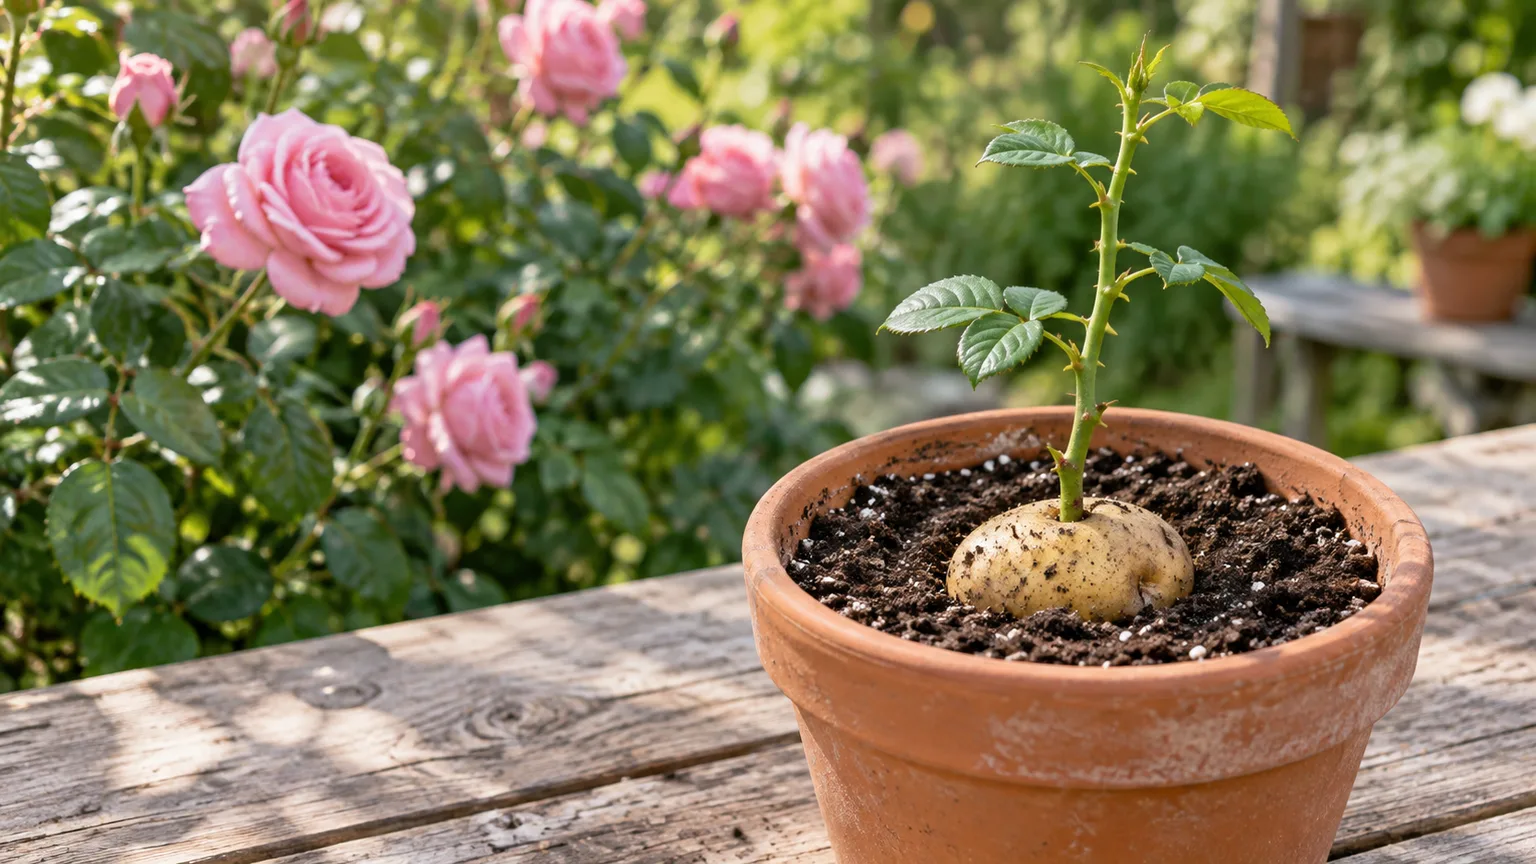
The potato method is not a shortcut around the basics. A potato can soften or rot in the same warm, wet conditions intended to keep the stem alive, and it does not provide the oxygen balance or control of a clean propagation medium. If the goal is a dependable new rose, spend the effort on a healthy node, clean tools, drainage, and humidity instead.
Commercial bouquet roses are also a weak starting point. They may have been stored, treated for vase life, or grown for the cut-flower trade rather than for vigorous growth on their own roots. A fresh stem from a healthy garden rose is a much better experiment.
What an Own-Root Rose Will Be Like
The plant that grows from the cutting is an own-root rose. It carries the genetics of the stem above the graft union, so the flower form and color should be consistent with that cultivar if the cutting roots successfully. It may still vary in vigor because light, soil, climate, pruning, and disease pressure change how any rose grows.
This is different from buying a grafted rose. Many nursery roses combine a flowering cultivar with a separate rootstock chosen for vigor, size control, adaptation, or production efficiency. A cutting taken from the flowering top does not bring that rootstock with it. The result may eventually be more compact, more vigorous, less vigorous, or less adapted to your site than the grafted plant, even though the blooms look familiar.
The difference is not automatically good or bad. Own-root roses avoid a graft union and can be useful for preserving a favorite cultivar, but they may take longer to reach display size. Give a new cutting time to build a substantial root system before judging its final performance.
Grafted, Patented, and Protected Roses
You can root a cutting from a grafted rose’s flowering stems, but the new plant will be own-root rather than grafted. If you are unsure where the graft union is, take only healthy shoots clearly belonging to the desired flowering cultivar and label the plant so you know what you propagated.
Propagation rights are a separate question from horticultural success. Some newer roses are protected by plant patents or Plant Breeders’ Rights, and the rules vary by country. Better Homes & Gardens notes that U.S. plant patents generally last 20 years; the RHS warns that protected cultivars may not be propagated for sale. Check the plant tag or official cultivar listing before selling, swapping widely, or commercially multiplying a rose. (Better Homes & Gardens on plant patents, RHS rose-growing guide)
For a home garden, the safest approach is to propagate an older, unprotected rose for your own use and keep a record of its name and source. Do not assume that a familiar trade name means the cultivar is free to sell.
Conclusion
The best way to grow roses from cuttings is to match the stem to the season, keep the cutting hydrated from the moment you cut it, and give the buried node a moist but oxygen-rich rooting medium. Softwood offers the quickest feedback; semi-hardwood provides a useful late-season middle ground; hardwood rewards patience through winter.
Take several healthy cuttings, keep them in bright indirect light under a ventilated humidity cover, and judge progress by firm stems, swelling buds, visible roots, and sustained new growth. Once a cutting is rooted, remove the cover gradually, pot it on without overwatering, and harden it off before it faces the garden. That sequence does more for success than a stronger dose of hormone or a viral kitchen shortcut.



