How to Save a Garden After Vacation: A Fast Plan
Save a garden after vacation with a calm recovery order: check hazards, water by root depth, prune carefully, control weeds, inspect pests, and reset the lawn.
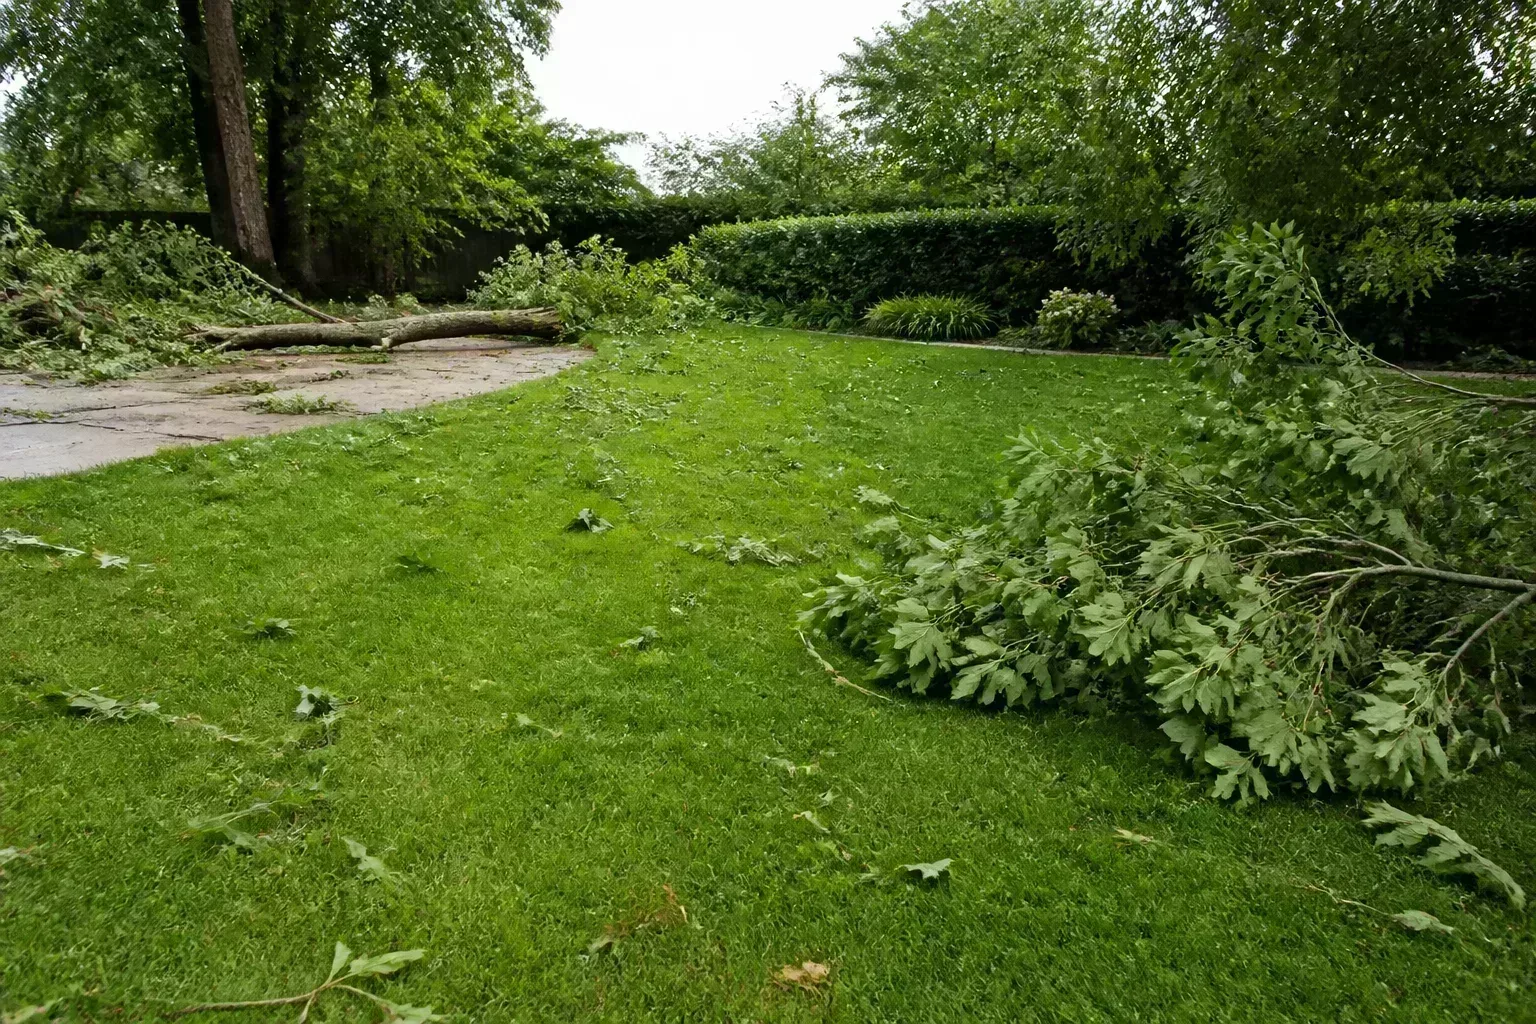
Coming home to a dry lawn, floppy stems, waist-high weeds, and flower heads that have collapsed can make the garden feel like an emergency. It usually is not. Most post-vacation gardens are a mix of different problems—some urgent, some cosmetic, and some that will resolve after a normal return to watering and weather.
The fastest recovery is not one giant cleanup session. It is a sequence: make the yard safe, restore moisture where roots still have a chance, remove material that is truly dead or diseased, then handle weeds, supports, lawn edges, and furniture. That order prevents a common mistake—spending an hour making the garden look tidy while thirsty plants continue losing water.
Start With a 15-Minute Damage Survey
Walk the entire property once before you start cutting or pulling. Take a phone photo of each bed, note which areas receive sun, and mark anything that needs a second look; the photos give you a useful before-and-after record and stop you from repeatedly revisiting the same patch.
The first pass should answer three questions: What could hurt someone or damage the house? Which plants are losing water today? Which problems are spreading? A fallen branch over a path, a broken irrigation line, a tree limb on a power wire, and a plant collapsing in a container all outrank a messy border or an uneven lawn edge.
Triage Water, Structural Damage, and Hazards
Use this order for the first walk:
- Check people and property. Look for downed limbs, loose trellis parts, exposed nails, broken glass, storm-damaged fences, and standing water near electrical equipment. Do not climb a tree or cut a limb touching a utility line; keep people away and call the appropriate professional.
- Check the water system. Turn on each irrigation zone briefly while you watch. Look for tilted or clogged sprinkler heads, broken tubing, puddles, dry strips, a timer that lost power, and water spraying the pavement instead of the root zone. Fixing distribution can save more plants than adding more minutes to the timer.
- Check containers and new plantings. Pots, hanging baskets, seedlings, recent transplants, and shallow-rooted annuals can reach critical dryness sooner than established shrubs or trees. Move a heat-stressed container out of harsh afternoon sun only if the plant’s light needs allow it, then check the potting mix before watering.
- Check the soil, not only the leaves. Push a finger, wooden skewer, or long screwdriver into several spots. Dry soil under a wilted plant supports a water-first response; wet soil with wilted leaves suggests that adding water may worsen root problems.
- Check for fast-moving damage. Photograph unfamiliar insects, chewed leaves, collapsing stems, and expanding lawn patches. A problem that spreads between the first walk and the next morning deserves earlier diagnosis than a static brown leaf.
Do not judge the whole garden by the worst-looking plant. A thirsty annual may look finished while a shrub nearby is only shedding older leaves, and a lawn may be dormant while the flower beds are still alive. Treat each planting zone according to its moisture, age, species, and symptoms.
Separate Stress From True Death
Wilted leaves are a water-loss signal, not a death certificate. Scratch a tiny area of a woody stem with a clean fingernail or pruner: green, moist tissue beneath the outer layer suggests the stem is alive, while brittle brown tissue from the tip down is more concerning. On soft-stemmed plants, look for flexible green tissue at the base and living buds before removing the whole plant.
Give a borderline plant time after you correct the cause. Leaves that have crisped completely will not become green again, but the stem or crown may still produce new growth. Mark the plant with a small tag or photo, remove only clearly dead material, and reassess after several days of appropriate moisture rather than pulling it out on the first afternoon home.
Rehydrate Without Shocking the Garden
If the root zone is dry, water it thoroughly and slowly. A short sprinkle wets the surface, encourages shallow roots, and may evaporate before the plant can use it; a slow soak gives water time to move into the soil profile where roots are actually growing.
The University of Nevada, Reno Extension recommends early watering, mulch, and deep, less-frequent irrigation for established landscape plants. UF/IFAS Extension likewise advises wetting the root zone rather than foliage and adjusting the frequency of watering when plants need more water, while following local restrictions.
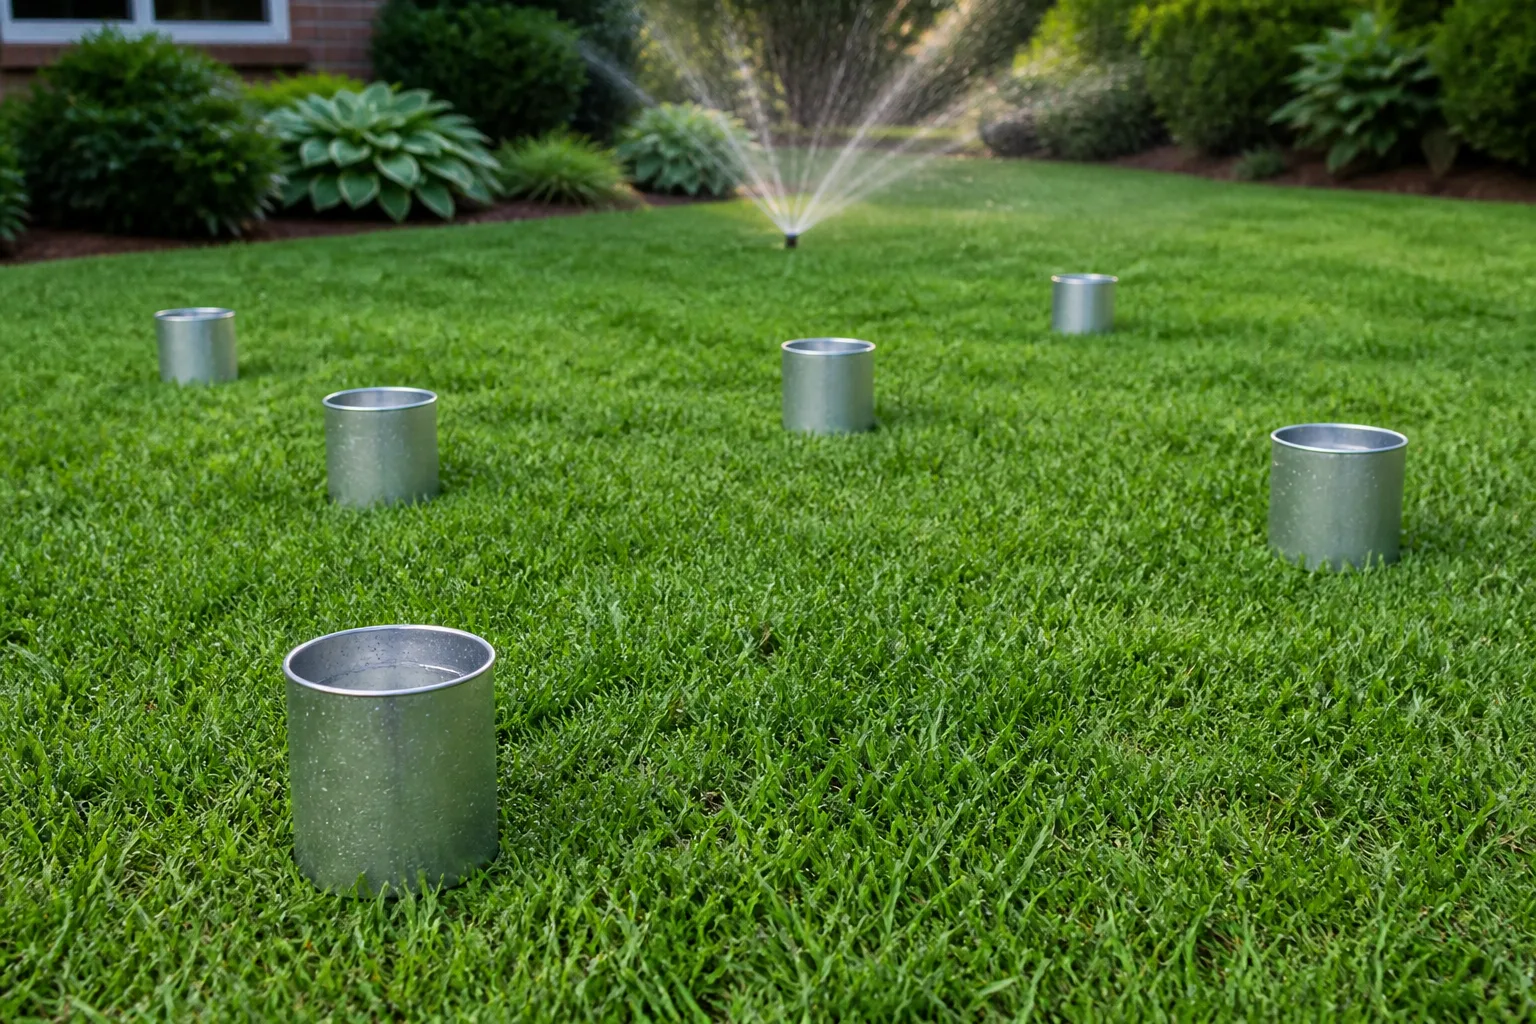
Water by Root-Zone Depth and Plant Priority
Start with the plants most likely to be lost, not the biggest plants. A newly planted perennial, shallow-rooted annual, vegetable bed, hanging basket, or container generally needs attention before a mature tree that has access to a larger soil volume. If water is limited, prioritize plants you are trying to save and let an established lawn move toward dormancy rather than distributing too little water everywhere.
Use a soil probe or screwdriver to check how far moisture has moved after the first slow cycle. The UNR guidance gives these approximate depths for established plants in drought conditions:
| Planting | Approximate moisture depth to check | Practical note |
|---|---|---|
| Lawn | 6–8 inches | Split a long cycle if water runs off compacted soil. |
| Annuals and perennials | 8–12 inches | Water at the base and protect shallow new roots. |
| Shrubs | 12–18 inches | Place water over the root spread, not against the trunk. |
| Trees | 18–24 inches | Soak the broad root zone and never rely on a trunk-side puddle. |
These are depth targets, not a universal timer schedule. Sandy soil, clay, slopes, mulch, rainfall, plant age, and local climate all change how long it takes to reach them. If water beads and runs off, pause, let it infiltrate, and repeat; flooding a dry, compacted bed in one burst wastes water and can erode soil.
Water early in the day when possible so the root zone can absorb moisture before the hottest period. Avoid routine overhead watering of stressed foliage, especially where leaves will stay wet overnight. Late-day watering is better than leaving a visibly wilted plant dry through another hot afternoon, but direct the water to the soil and improve timing on the next cycle.
Do not immediately double the normal amount for every plant. A severely dry container may need a slow rewetting and a second check because water can run down the gap between the root ball and the pot; an outdoor bed may need several shorter passes. If a plant remains limp while its soil is wet, stop watering and inspect roots, stems, pests, and light exposure instead of assuming it needs more.
Restore Soil Cover and Skip Fertilizer for Now
Once the bed is safely watered, cover exposed soil with a suitable mulch layer. Mulch reduces evaporation, moderates root-zone temperature, and suppresses some new weeds; both UNR Extension and Gardening Know How describe it as a way to retain moisture and reduce routine watering and weeding.
Spread mulch over the soil surface while keeping it away from plant crowns and woody trunks. A volcano-shaped pile against a stem holds moisture where bark should dry, creates a hiding place for pests, and can encourage rot. If old mulch is matted or sour-smelling, loosen or remove the bad layer before adding a thin, even top-up.
This is usually not the moment to fertilize a wilted garden. Fertilizer salts can add stress when roots are dehydrated, and pushing soft new growth can make a struggling plant harder to manage. UF/IFAS Extension advises holding fertilizer during drought or dormancy; wait until plants show stable recovery, soil moisture is consistent, and a soil test or the plant’s normal feeding schedule supports the decision.
Soil testing is useful when the garden repeatedly struggles, growth has been poor for months, or you are considering lime, sulfur, or a major nutrient amendment. It is not a substitute for water today, and a handful of dry soil that forms a loose ball tells you more about moisture and texture than it does about fertility.
Prune Strategically: Dead Material First, Shape Later
Pruning is tempting because it produces an immediate visual improvement, but a stressed plant has fewer resources to seal cuts and replace leaves. During heat or drought, remove only material that is clearly dead, broken, diseased, or creating a safety problem; UF/IFAS Extension specifically recommends avoiding pruning healthy stems and branches during drought.
Use sharp, clean pruners and make a cut just outside a healthy bud, branch collar, or living junction. Do not shear every plant to the same height because one hedge looks untidy. Different shrubs flower on different ages of wood, and an indiscriminate late-summer cut can remove next season’s buds even if the plant survives.
Start with three passes: remove hanging or broken branches, remove tissue with a clear disease or rot problem, and then remove the worst dead stems. Stop when the plant has a stable outline. You can return for shaping after recovery, when you know which stems are genuinely alive and which leaves are simply sunburned or old.
Deadhead Spent Flowers Without Cutting Next Year’s Buds
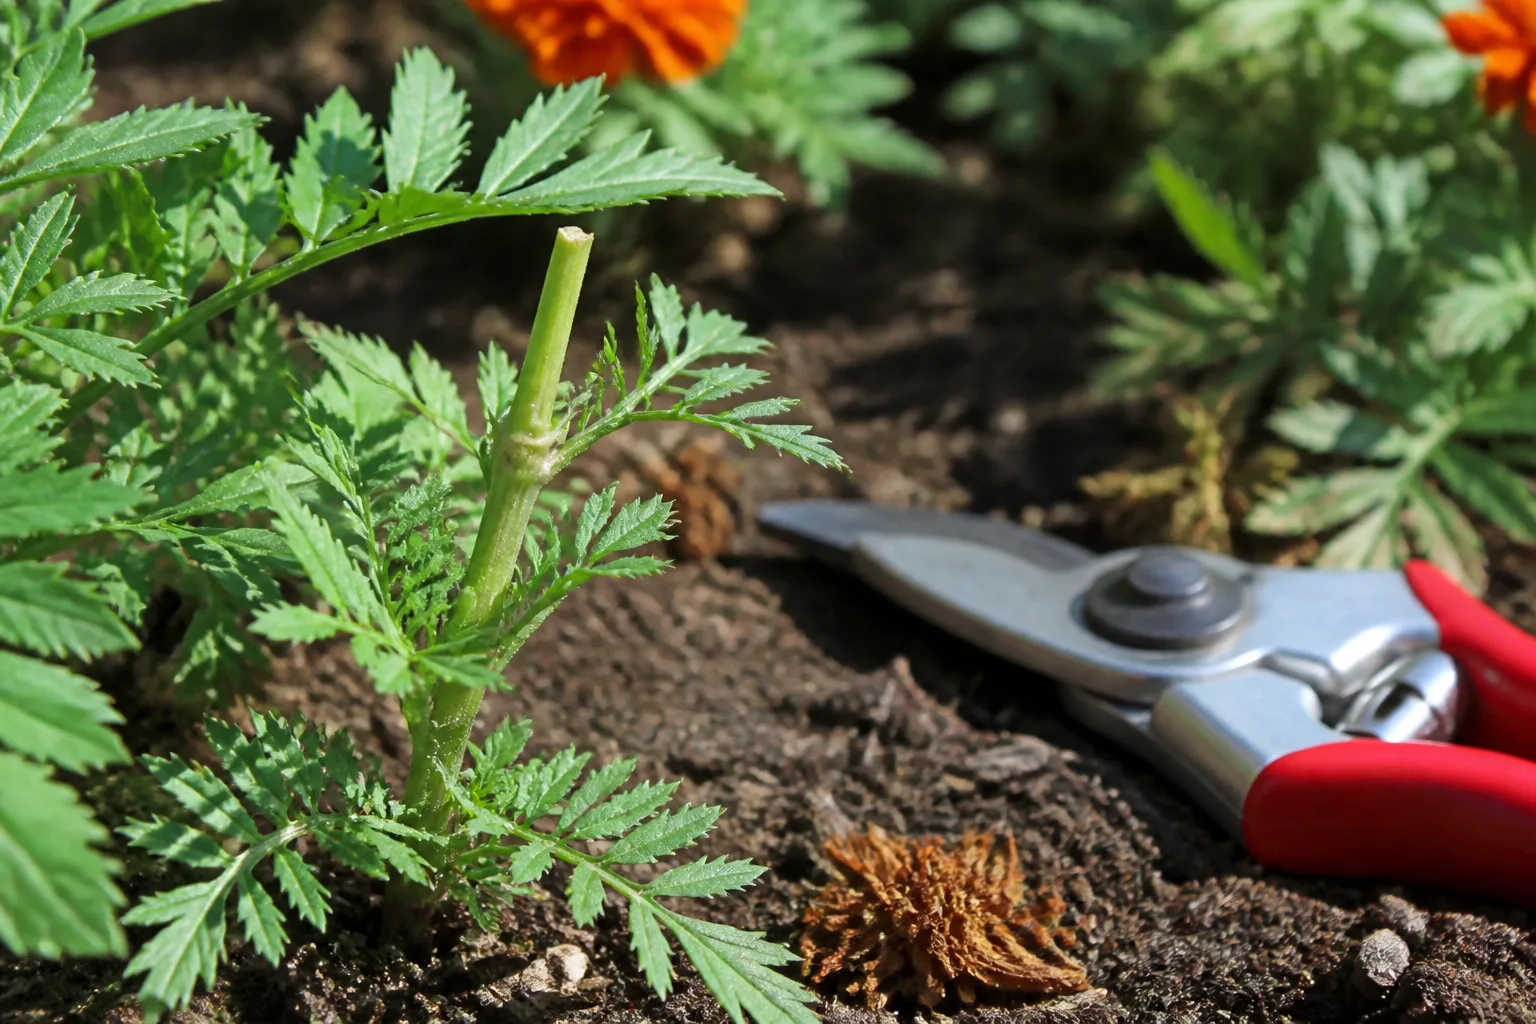
Deadheading is narrower than pruning: it removes finished flowers so the plant can maintain its appearance and, for some plants, continue flowering instead of putting energy into seed. Garden Design recommends removing the entire spent flower, not only loose petals, while checking the plant’s branching pattern so nearby buds stay intact.
For soft-stemmed annuals, pinch or snip just above a healthy leaf joint. For woody-stemmed plants, use clean pruners and follow the stem back to a strong set of leaves. Do not assume every faded flower should disappear: one-season bloomers will not rebloom simply because you cut them, and seed heads on coneflower, bee balm, sedum, and other plants can provide winter structure or wildlife food.
If you cannot identify the plant, remove only the visibly spent flower head and leave the leafy stem. That small improvement is safer than a hard cut made from a guess. Put diseased flowers in the appropriate waste stream rather than spreading them through a home compost pile.
Weed and Remove Debris Without Spreading Problems
Work through weeds while the soil is slightly moist, not when it is powder-dry or waterlogged. Pull slowly from the base and try to remove the crown and major roots, then leave desirable plants undisturbed. A rushed hoe or cultivator can slice perennial weeds into pieces and bury fresh fragments among recovering plants.
The BHG weed guide distinguishes pre-emergent products, which act before weed seeds sprout, from post-emergent products, which target weeds that are already growing. That distinction matters after a vacation: a product intended to prevent future seedlings is not a quick fix for tall weeds already shading your flowers.
Pull Weeds Before They Seed; Quarantine Suspect Material
Prioritize weeds that are flowering, carrying seed heads, climbing onto desirable plants, or spreading beyond the bed. Bag seed-filled or unfamiliar invasive material according to local disposal guidance, and do not toss it casually into a compost pile where it may survive and return. Keep a bucket for weeds and a separate bucket for ordinary green trimmings.
Spot herbicide is a later option, not the default first pass. Never spray a thirsty bed in high heat, windy weather, or when desirable leaves are close to the target. Read the product label, confirm that the product is legal and appropriate for the site, protect pollinators and pets as directed, and remember that a nonselective herbicide can injure any green tissue it touches.
Collect fallen leaves, sticks, fruit, and broken stems from paths and plant crowns. A thin layer of clean, disease-free leaves can be shredded and used as mulch, but heavy wet mats should be removed from turf and low plants so they do not block light or air. If debris came from a storm, separate sound woody material from anything contaminated, sharp, chemically treated, or too large to handle safely.
Inspect for Pests, Disease, and Hidden Root Damage
Look under leaves, along new growth, at stem joints, and at the soil line. Check for clusters of insects, sticky residue, chewed edges, webbing, holes that repeat across a plant, fungal-looking spots, and stems that are soft where they meet the soil. Take a close photo and identify the plant and problem before reaching for an insecticide or fungicide.
Heat, dry soil, and a missed watering window can make normal damage look dramatic. A few old leaves or nibbled leaves may not justify treatment, while a rapidly expanding pattern, distorted new growth, or a plant that is collapsing from the crown deserves a more careful diagnosis. Separate an affected plant from healthy containers when practical, and disinfect pruners between plants if you are removing suspicious tissue.
Use Pattern and Water Response as Your Field Test
For a lawn, compare the pattern before treating the color. A large, fairly uniform brown area in the sun that improves after deep watering points toward drought stress; an irregular patch that worsens quickly, grass that pulls up easily, or repeated bird activity can point toward root-feeding pests. Rings, defined edges, or symptoms that persist or worsen after more water suggest that disease or another site problem deserves attention.
These clues are a screening method, not a diagnosis. The practical Lawn Love comparison of pest damage, disease, and drought stress recommends combining the footprint test, a screwdriver test, and a gentle tug test: lingering footprints suggest low turgor, hard soil suggests dryness or compaction, and turf that lifts with little root resistance points to possible root damage.
Do not apply fertilizer as a universal “green-up” treatment. Fertilizer will not repair missing roots, and feeding a drought-stressed or diseased lawn can increase stress. If a problem is spreading, affects a valuable tree or shrub, involves a pesticide decision you are unsure about, or has not improved after a reasonable correction period, contact a local extension service, certified arborist, or qualified turf professional with photos and a simple timeline.
Re-Stake, Tie, and Redirect Flopped Growth
Once plants have water and you can see their structure, restore support before stems are permanently bent. Re-stake tomatoes, tall perennials, young trees, and climbers with a support sized for the mature plant, then attach stems with soft, flexible ties. Make a loose figure eight so the stem does not rub constantly against a rigid stake.
Place the support close enough to guide the plant but not so close that it crushes the crown or blocks air movement. A plant that flopped because it was top-heavy may need several supports around the perimeter rather than one tight tie in the center. Remove temporary stakes when the plant can stand on its own, unless the species or site truly requires permanent support.
Reset the Lawn Without Scalping It
Treat the lawn as a separate recovery project. First remove branches, toys, furniture, and thick leaf mats; then check the irrigation pattern and soil moisture. If grass is tall, mow in stages rather than removing a large percentage of the blade in one pass, and use a sharp blade so the cut is clean.
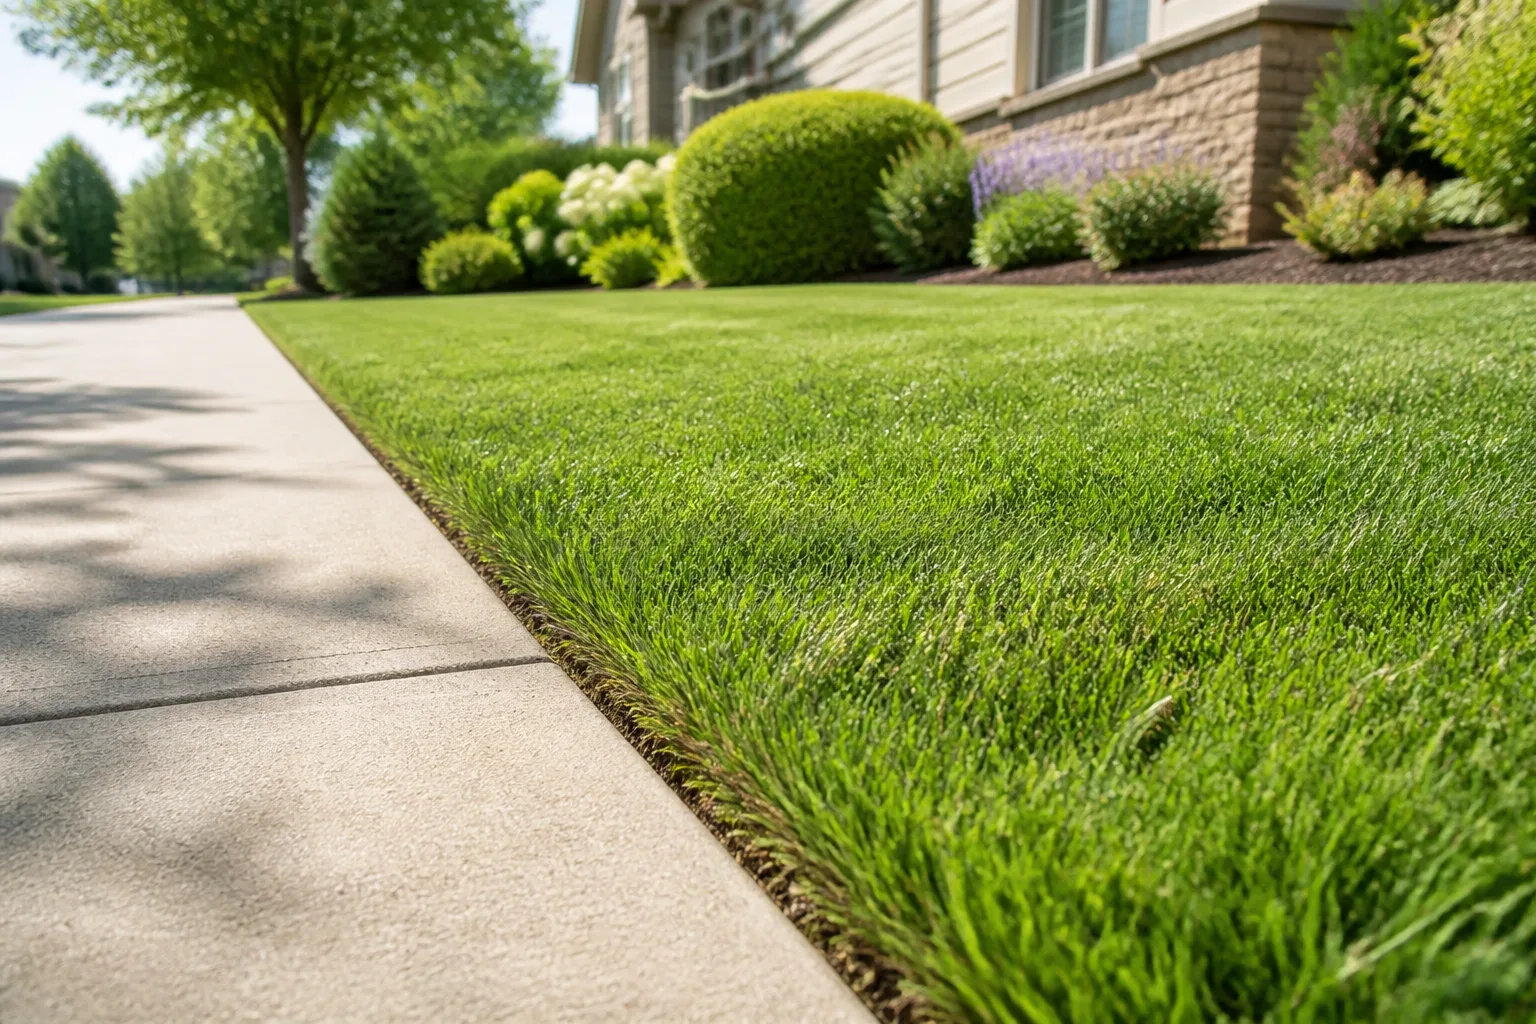
Edging the border can make a yard look restored quickly, but it should come after safety, watering, and mowing decisions. Cut a clean line where turf meets a path or bed, then sweep clippings back onto the lawn or collect them if they are thick and clumping. A tidy edge helps you see whether weeds are crossing from the lawn, but it does not compensate for a dry root zone.
Drought-Dormant Grass Needs a Different Response
Brown grass is not automatically dead. Established turf can enter dormancy during heat and water shortage, while its crowns remain alive; UNR Extension notes that many lawns can survive roughly two to three weeks of dormancy, although grass type, soil, heat, and the severity of the drought change that outlook.
Check before reseeding or tearing out a large area. Look for living crowns at the soil surface, compare shaded and sunny sections, and test the soil instead of relying only on color. A lawn that greens gradually after a proper soak is different from one with bare soil, loose roots, expanding pest patches, or compacted areas where water cannot penetrate.
During ongoing heat, raise the mowing height within the range appropriate for your grass rather than scalping the lawn for a fast green look. Keep foot traffic light on brittle turf, postpone fertilizer until the grass is actively growing again, and follow local watering limits. If only small areas are dead after recovery, repair them in the season recommended for your grass type rather than reseeding during the hottest, driest week.
Use a 48-Hour and Two-Week Recovery Plan
Break the work into short passes so you can observe what responds. This schedule is a starting framework; a cool rainy climate may move faster, while a heat wave, water restriction, clay soil, or new planting may require more time.
In the first two hours: make the property safe, identify broken irrigation, water the highest-priority dry plants, and photograph symptoms. Remove only hazards, fallen branches blocking access, and material that is clearly dead or diseased. Do not begin ornamental pruning, fertilizing, or a full lawn renovation yet.
By the end of day one: check soil moisture again after irrigation, correct obvious sprinkler coverage problems, refresh or redistribute mulch, and give containers a second inspection. Pull seed-bearing weeds that are easy to remove, collect debris from crowns and paths, and isolate plants with suspicious pests when possible.
During days two through seven: reassess wilted plants, deadhead identifiable spent flowers, prune broken wood, re-stake leaning plants, and mow or edge only when turf conditions allow. Compare your photos rather than expecting every leaf to recover. New growth, firmer stems, and stable soil moisture are better signs than instant cosmetic perfection.
During week two and beyond: address recurring weeds, test soil if fertility or pH is genuinely in question, repair irrigation, and decide whether a shrub needs structural pruning in its correct season. Replace plants only after you have confirmed that the crown or roots are dead. For the next trip, group containers by water needs, add mulch where appropriate, test the irrigation timer, and arrange a human check for anything newly planted or unusually valuable.
The easiest long-term prevention is to design the garden around the attention you can actually give it. Mulch, appropriately sized plants, reliable irrigation, and fewer high-maintenance annuals reduce the chance that one missed week becomes a crisis. As Gardening Know How notes in its low-maintenance landscaping guidance, choosing plants that suit the site and do not require constant staking, pruning, or deadheading can reduce the workload before the next trip begins.
Conclusion: Recover the Garden in the Right Order
A post-vacation garden does not need punishment; it needs diagnosis and a sensible order of operations. Make it safe, restore root-zone moisture, protect the soil, remove only truly dead or hazardous material, then move through weeds, pests, supports, lawn, and appearance as the plants stabilize.
Some leaves will remain brown and some flowers will be finished for the season. That is not the same as losing the garden. Give living roots consistent conditions, avoid stress-amplifying shortcuts, and let new growth—not the first ugly afternoon—tell you what can be saved.



