40 Coffee Bar Ideas for Every Room and Budget
Plan a coffee bar that works every morning: choose the right footprint, organize mugs and beans, hide clutter, and avoid common power and cleanup mistakes.
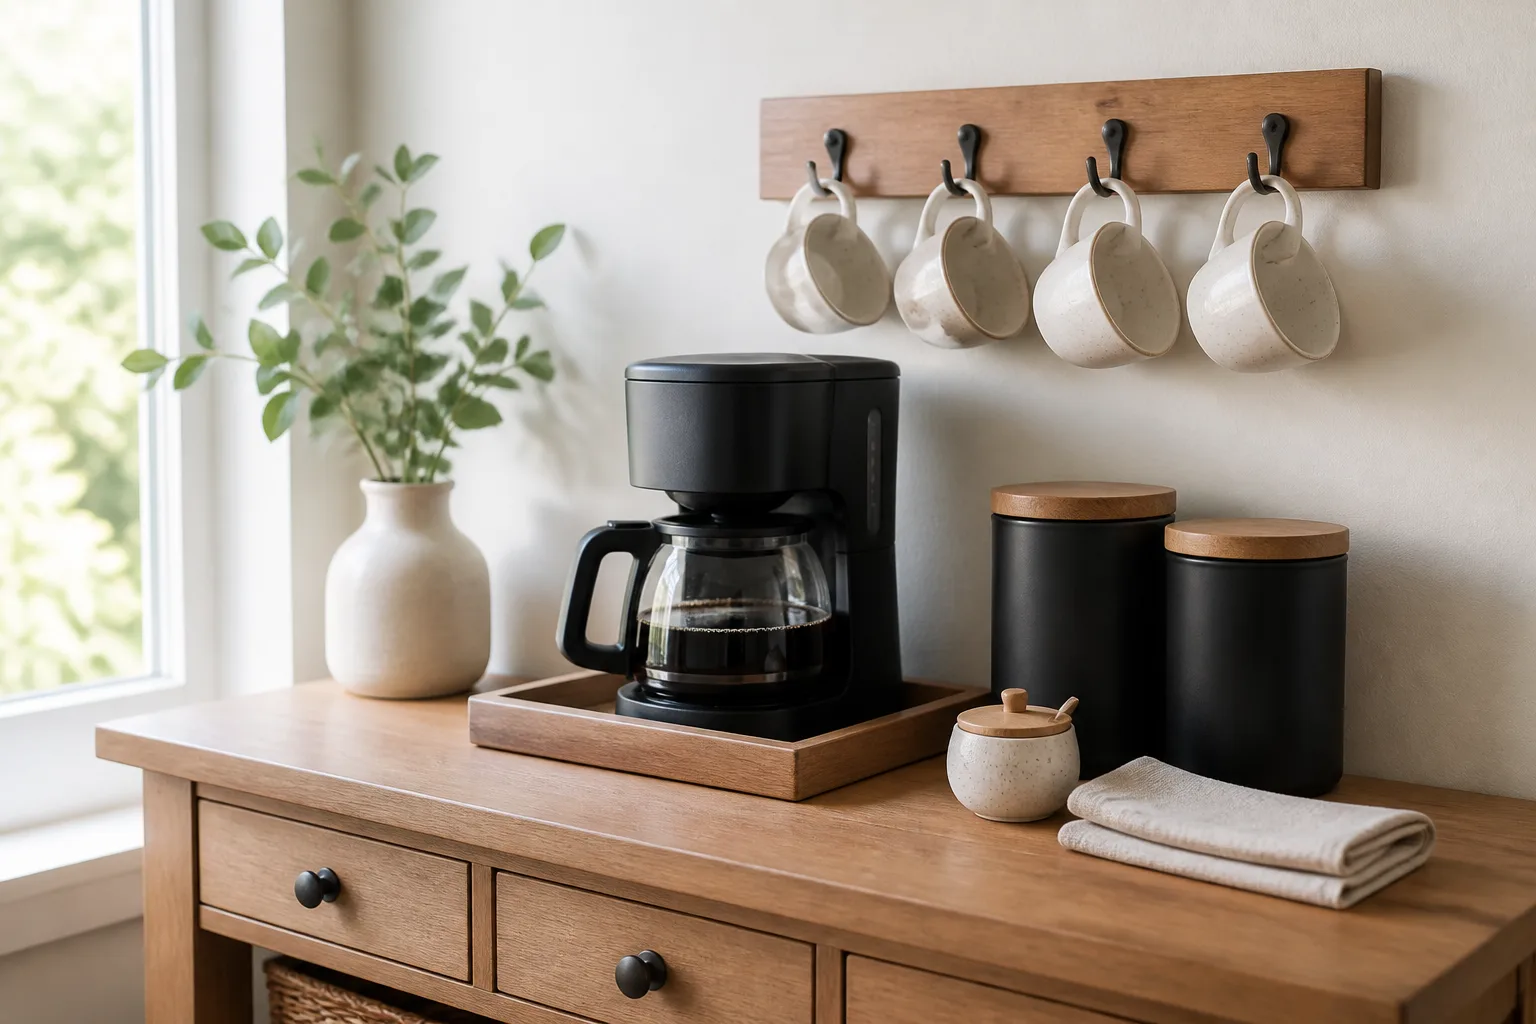
A good home coffee bar does more than gather a coffee maker and a few pretty mugs. It creates a short, obvious route from coffee storage to brewing to cleanup, then gives that route a visual boundary so the rest of the room can stay calm.
The best setup for you might be a two-foot stretch of counter, a narrow console, a pantry shelf, or a rolling cart. Start with how you actually drink coffee—pods or beans, one cup or a full pot, morning-only or after-dinner service—and let the furniture follow that routine.
Start with the coffee ritual, not the furniture
Before shopping for shelves or canisters, write down the first five actions in your normal brew. You might fill a reservoir, choose a pod, grind beans, place a mug, add milk, and carry the drink away. A coffee bar is working when those actions happen without opening four cabinets or moving a vase.
There is no prize for displaying every coffee accessory you own. Keep the items used every day close to the machine, store backups where they can be reached without dismantling the display, and leave enough empty surface for a hot mug and an unexpected spill. That bit of negative space is functional equipment.
Think about who shares the station, too. A household with one capsule drinker needs a different layout from a household that switches between espresso, French press, pour-over, tea, and a large drip pot. If two people brew at once, put the supplies where both can reach them instead of creating a single narrow queue in front of the machine.
Choose the right footprint for your room
Measure the real working footprint before deciding on a style. Record the appliance width and depth, the space needed above it for a lid or water reservoir, the room in front for a mug, and the side or rear access needed for a cord, filter, grounds bin, or cleaning part. A machine that fits on paper can still be impossible to use.
Your room usually points toward one of three formats: a compact counter corner, a freestanding piece of furniture, or a dedicated cabinet or pantry niche. Use the smallest format that supports the full ritual. A larger bar becomes a clutter magnet when it is only holding a single-serve machine and two mugs.
The one-cup counter corner
A countertop corner is the easiest starting point for renters and small kitchens. Put the brewer at the least-used end of the counter, keep a shallow tray beside it for pods or grounds, and use the wall above for one shelf or a mug rail. This turns dead space into a complete station without changing cabinetry.
The corner should not be the spot where chopping, dishwashing, or appliance traffic already happens. If the machine shares the only clear prep area, shift it to the end of the run or place it on a slim riser that defines its territory. The goal is a station that stays put instead of being moved every morning.
The console, cart, or hutch
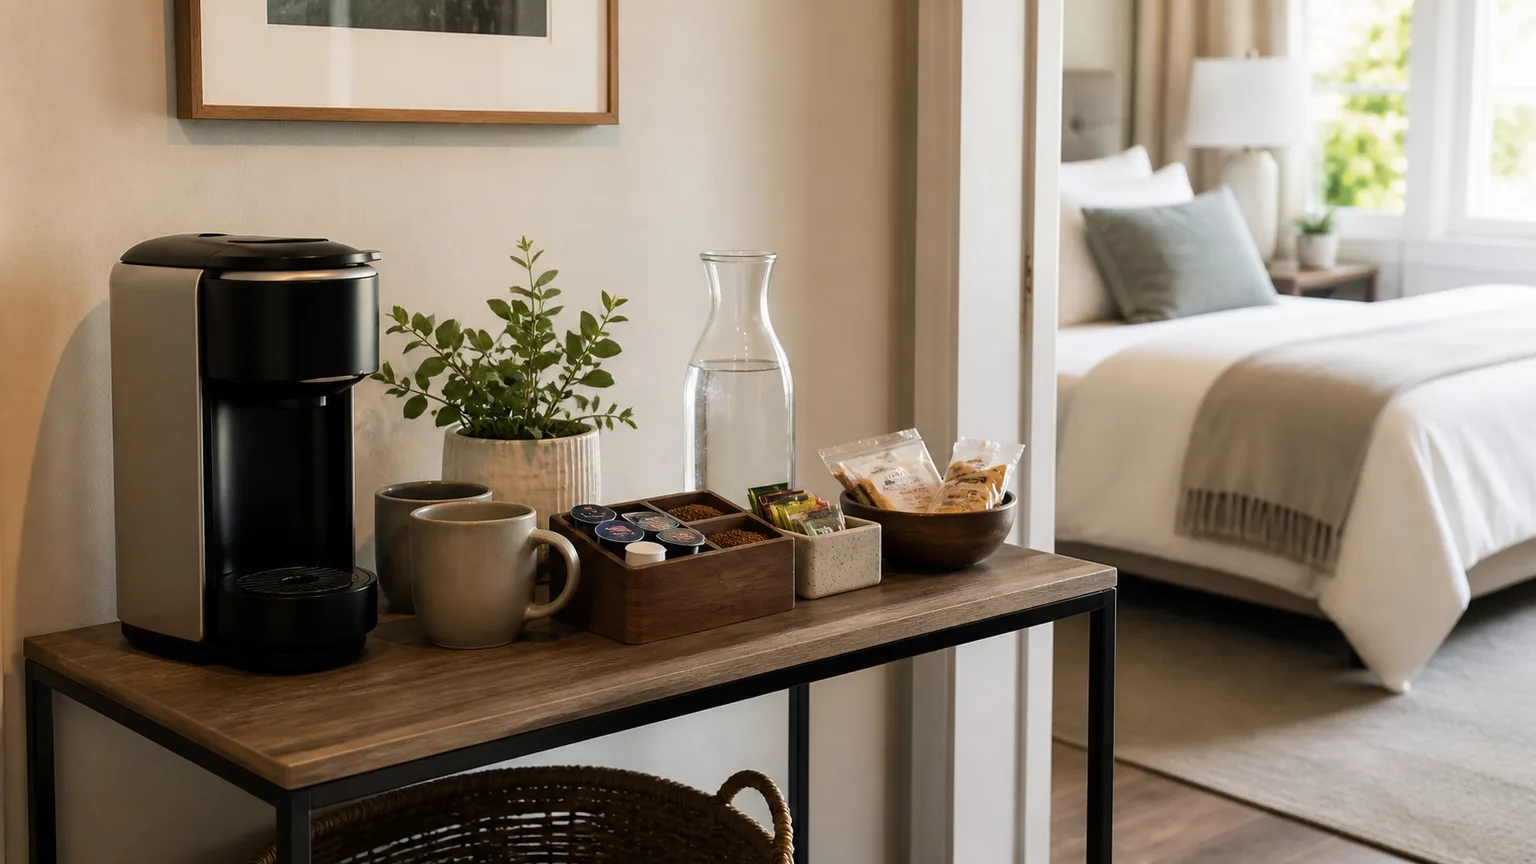
A console, bar cart, sideboard, or hutch makes sense when you have no spare kitchen counter or want a station between the kitchen and dining room. Choose a surface that does not wobble, can bear the wet weight of the machine and reservoir, and leaves a safe landing area beside the brew spout.
Furniture also gives you storage below. Use drawers for filters, spoons, and napkins; a basket for backups; or closed doors for equipment you use only on weekends. A cart is useful when you entertain, but lock its casters before brewing and keep the heaviest equipment on the lowest stable shelf.
The cabinet or pantry niche
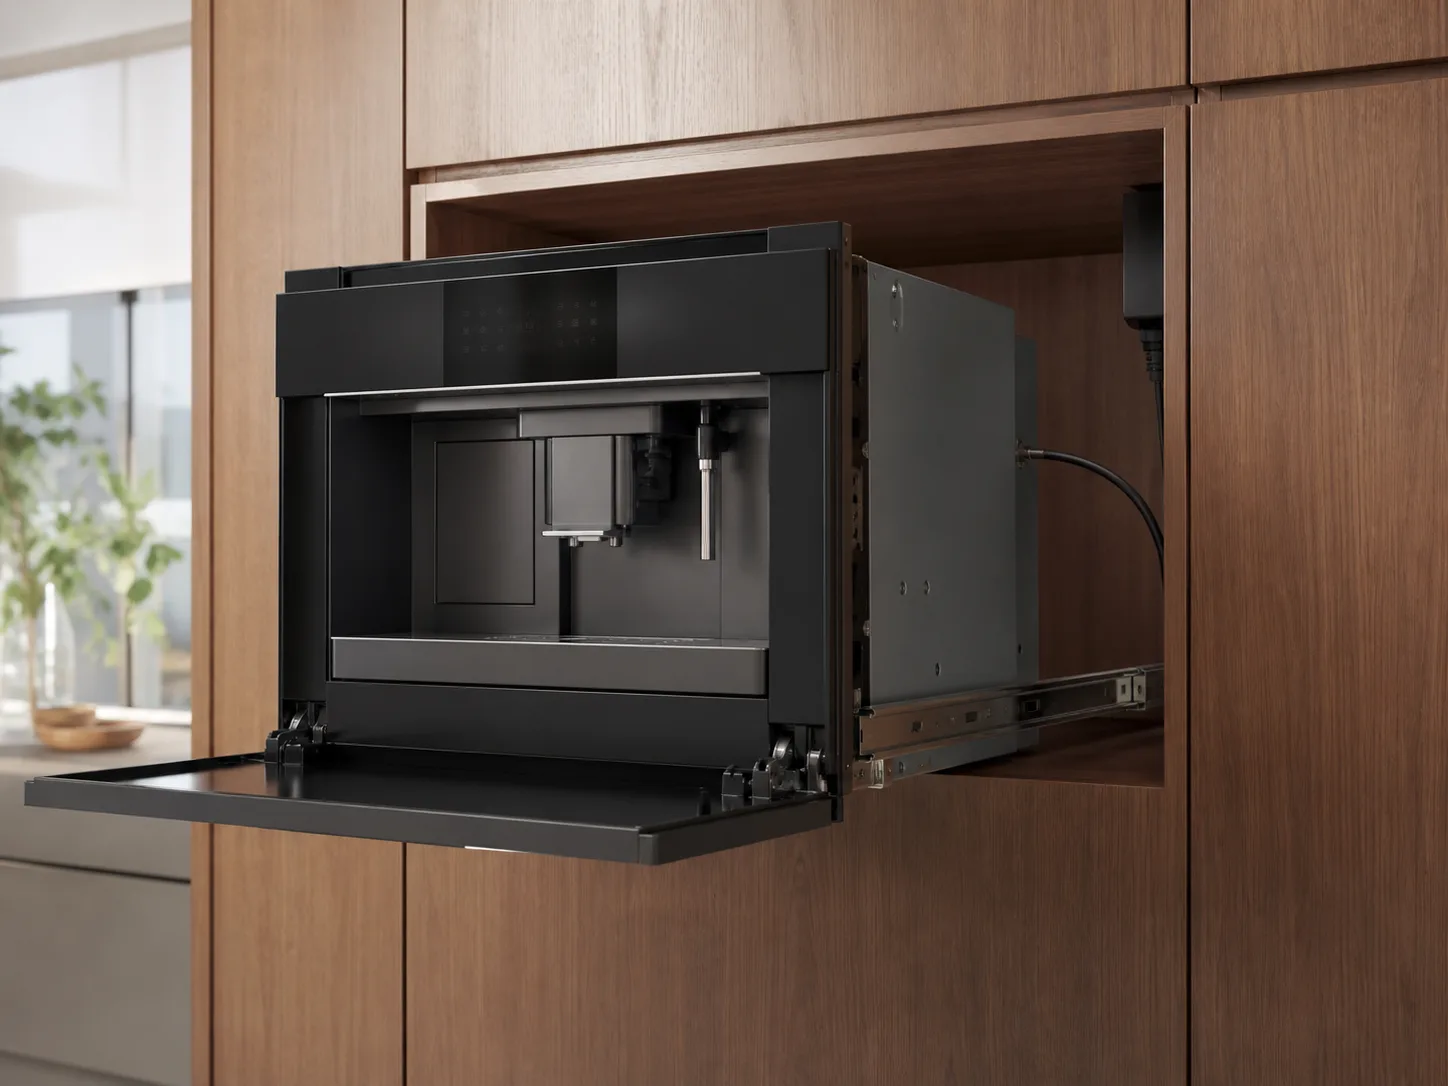
A cabinet niche is the cleanest-looking option and the one most likely to be planned poorly. You need a suitable outlet, clearance for doors and reservoirs, a surface that tolerates drips, and a way to reach the machine for cleaning or service. If the appliance is designed to slide forward, the rails and open position belong in the plan.
Use a cabinet to hide visual clutter, not to trap heat or force you to brew with the doors closed. For a full appliance plan, see the existing built-in coffee machine guide and verify the exact installation documents for your model before cutting or modifying cabinetry.
Build the station around a simple work triangle
The most useful coffee bar has three zones: make, finish, and reset. The make zone holds the brewer, grinder, kettle, or press. The finish zone holds mugs, milk or sweetener, and a small surface for stirring. The reset zone gives used pods, grounds, wet spoons, and drips somewhere to go.
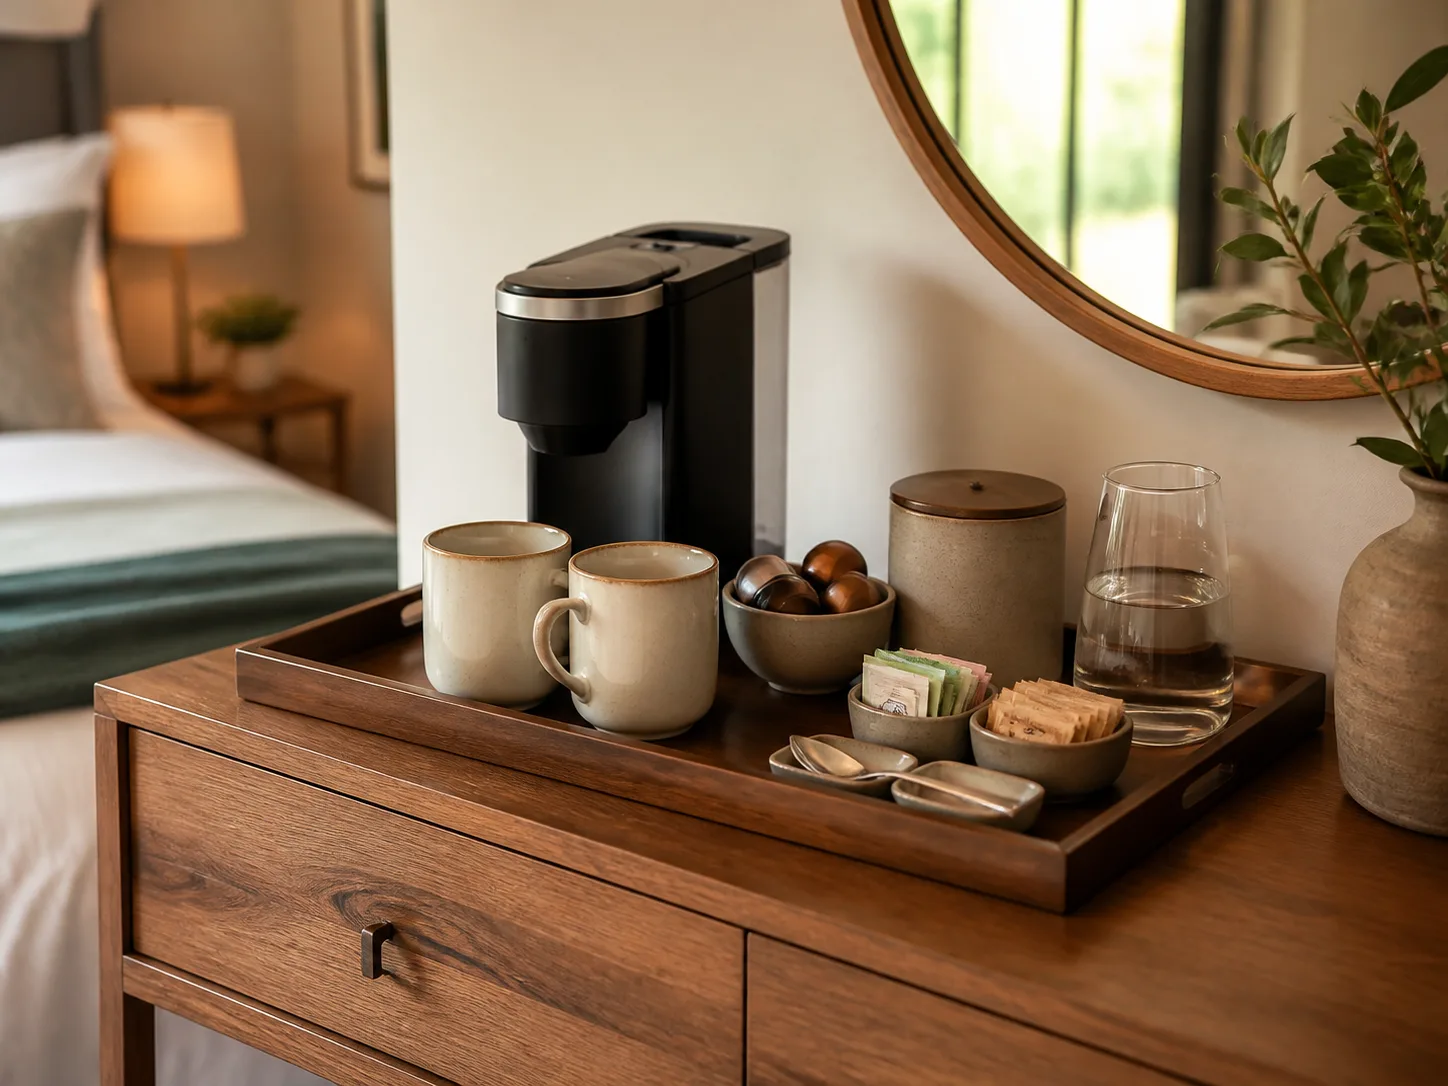
Arrange those zones in the order your household moves. A tray with mugs, coffee, and add-ins can sit beside the brewer, while a small lidded container or drawer handles waste. If the reservoir must be filled before brewing, place the water source or a covered refill carafe where it can be lifted out without knocking into the machine.
Test the layout with one real cup. Put down the mug, open the lid, add the coffee, brew, stir, and wipe the counter. If your elbow hits a shelf or the used pod has nowhere to go, fix the sequence before adding decor. The small friction points are more important than whether the canisters match.
40 coffee bar ideas, organized by the problem they solve
The ideas below are meant to be adapted, not copied as complete room sets. Choose one footprint, one storage move, and one styling cue. That combination is usually enough to make a coffee bar feel intentional without turning it into a second kitchen.
Small-space coffee bar ideas
1. Counter-corner capsule station. Give a pod brewer the least-used corner of the kitchen counter, then corral pods in one small caddy. Keep only the current choices visible so the station stays useful instead of looking like a retail display.
2. Angled end-of-counter setup. Turn a compact espresso maker slightly toward the room rather than pointing it straight at a wall. The angle can make a narrow counter easier to use, provided the machine remains stable and the controls stay reachable.
3. Under-cabinet mug rail. Hang a slim rail with hooks beneath an upper cabinet for the mugs used every day. Keep the rail short enough that handles do not collide with the brewer, and leave taller cups on a shelf or in a drawer.
4. One shelf above the machine. A single wall shelf can hold filters, a sugar bowl, and two or three mugs without consuming more counter space. Use a shallow shelf and place breakable pieces away from the edge where a passing sleeve could catch them.
5. Tiered counter riser. Elevate canisters or cups on a sturdy riser behind the brewer to use vertical space. Choose a washable surface and avoid raising a hot appliance if the added height makes the machine unstable or puts its steam and heat too close to a cabinet.
6. Turntable supply corner. Put small add-ins on a kitchen turntable so the back of the corner is reachable. This is especially effective for tea bags, sweeteners, and a small creamer bottle; it is less useful when the turntable becomes a place to store every flavor.
7. Cake-stand supply lift. Use a low cake stand to create a second level for napkins, wrapped treats, or a sugar bowl. Keep the stand outside the direct splash zone and use it for light items rather than a heavy grinder or full water carafe.
8. Fold-away tray station. Assemble the daily kit on a tray that can move to a pantry shelf or dining table when the counter is needed. The tray should carry accessories, not an appliance that is too heavy or hot to lift safely.
Hidden and built-in coffee bar ideas
9. Pocket-door appliance garage. Place the brewer inside a cabinet with doors that slide or fold away when the station is in use. Confirm that the doors do not block the work area, and close them only after the machine has cooled and the counter is dry.
10. Pull-out brewing shelf. A heavy-duty pull-out shelf can bring a machine forward from a deep niche. The shelf must be rated for the loaded machine and locked or supported during brewing; a decorative drawer that flexes is not a safe substitute.
11. Pantry corner coffee bar. Give one pantry corner to the brewer, mugs, beans, and tea so the kitchen counter stays open. Use a wipeable liner under the machine, keep dry goods sealed, and place backups lower than the everyday items so restocking does not disturb the setup.
12. Converted hutch station. Repaint a vintage hutch or freestanding cupboard and use its lower doors for filters, towels, and serving pieces. Leave the working surface clear enough for the appliance and make sure old finishes are sound before exposing them to regular drips.
13. Appliance-column coffee niche. If you are renovating, frame the station beside other tall appliances for a deliberate built-in look. Plan the niche around the exact appliance dimensions, door swing, outlet, ventilation, and service path rather than assuming every machine labeled the same size has the same requirements.
14. Cabinet-within-a-cabinet. A small internal shelf or pull-out drawer can separate coffee supplies from the rest of a drinks cabinet. This keeps beans, filters, and spoons together while leaving room for a kettle or glassware above.
15. Breakfast-pantry hybrid. Combine the coffee maker with a toaster, cereal, bread, jam, or fruit so the station supports the whole first meal. Create separate zones for hot appliances and food, and do not let breakfast storage crowd the mug landing area.
Storage-first coffee bar ideas
16. Opaque bean canisters. Store beans or grounds in labelled, airtight containers that fit the amount you use regularly. An opaque container reduces visual noise and makes it easier to tell regular coffee from decaf than a row of identical unlabeled jars.
17. Tray-as-boundary. Set the machine accessories on a tray with a small rim to define the station and catch minor drips. The tray is a visual and cleaning aid, not permission to balance the brewer at the counter edge or let standing water collect.
18. Drawer for the small pieces. Give filters, scoops, clips, stirrers, and cleaning brushes one shallow drawer. Dividers stop the drawer from becoming a junk drawer, and labels are worthwhile when more than one person restocks it.
19. Mug pegboard. A small pegboard can hold mugs, a scoop, and a towel on an otherwise empty wall. Keep the pegs away from the machine’s steam path and anchor the board securely; a falling ceramic mug is a poor trade for a little vertical storage.
20. Split coffee-and-tea drawer. Divide one drawer into coffee on one side and tea on the other. This keeps noncoffee drinkers from needing to search the kitchen and prevents the counter from filling with duplicate boxes.
21. Backup basket below. Put unopened pods, filters, napkins, and extra sweeteners in a single basket under the station. A basket makes shortages visible without forcing you to display the entire inventory.
22. Mug display with a limit. Show a small, rotating collection of favorite mugs on an open shelf while storing the rest elsewhere. Set a capacity limit before the shelf becomes a precarious stack and choose a shelf depth that supports the mug bases fully.
Coffee bar ideas for dining, living, and guest spaces
23. Dining-room sideboard bar. A sideboard is a natural after-dinner coffee station because it sits near the table and can hide serving pieces below. Keep the machine on a heat- and spill-tolerant surface, and leave the walkway clear when people are carrying plates.
24. Rolling espresso cart. Use a sturdy cart for espresso service during a gathering, then roll it back to a wall. Lock the wheels on level flooring, keep glassware low, and do not brew while the cart is moving or parked where a guest could bump it.
25. Living-room after-dinner station. A compact rolling island or console can make serving coffee easier without sending everyone back to the kitchen. Choose a quieter machine if the room is used for conversation, and keep hot drinks away from low tables where children or pets can pull them down.
26. Guest-room dresser tray. For an overnight guest space, place a small brewer, two mugs, water, and clearly labeled coffee choices on a stable dresser or console. A concise guest room coffee station setup guide covers the extra considerations around instructions, restocking, and privacy.
27. Hallway landing station. A wide hallway console can serve as a coffee stop between the kitchen and dining room. Measure the furniture against the walking path, protect the top from drips, and use closed storage so the station does not narrow the route through the house.
28. Home-office coffee corner. Give a desk-adjacent corner a kettle or single-serve brewer, a mug, and a small waste container. Keep water away from electronics, do not let the coffee area share a crowded power strip, and make the cleanup trip short enough that used cups do not pile up.
Style-led coffee bar ideas
29. White-and-wood palette. Match a white appliance with pale cabinetry and warm wood accessories for a light, quiet station. Repeat one wood tone in the tray or shelf so the setup looks connected rather than like a collection of unrelated objects.
30. Black-and-white contrast. Use a black machine, white mugs, and one dark tray for a crisp, low-maintenance look. The limited palette makes clutter obvious, which is helpful if it encourages you to put away the extras.
31. Colorful mug collection. Let a row of colorful mugs provide the visual interest while keeping the equipment neutral. Rotate the collection seasonally or by color instead of adding bright canisters, signs, and textiles all at once.
32. Vintage china cabinet. Display a few antique cups behind glass and keep the daily coffee equipment on the counter below. This arrangement turns special pieces into usable objects, but check that shelves and hinges are sound before loading them with ceramics.
33. Farmhouse basket layer. Pair a simple brewer with a woven basket for napkins or backup supplies and one labeled ceramic canister. Natural textures soften a modern appliance without sacrificing an obvious place for everything.
34. Industrial pipe shelf. A wall shelf with dark brackets or pipe details can add an industrial note above a plain counter. Secure it to the wall structure, keep the load light, and avoid placing glass or heavy mugs where the shelf is hard to reach.
35. Backsplash accent. Use tile, beadboard, washable paint, or a small wallpaper panel behind the station to mark it as a zone. Pick a finish that can handle splashes and that will not make future outlet or cabinet repairs unnecessarily difficult.
36. Seasonal styling tray. Change one contained detail—flowers, a small sign, a holiday mug, or a bowl of wrapped treats—rather than redecorating the entire bar. Seasonal decor should leave the machine controls, mug landing area, and wipeable surface accessible.
Mobile and DIY coffee bar ideas
37. Repurposed entertainment unit. An old built-in media unit can become a coffee station when its openings are suitable for the equipment. Remove or secure obsolete hardware, check the finish for water resistance, and never assume an existing cable hole is the right electrical solution.
38. IKEA-style cube console. Add legs or a top to a modular cube unit to create a compact freestanding bar. Keep heavy items low, anchor a tall unit, and cover open cubbies with baskets if you want the storage to look calm.
39. Fold-down wall surface. A properly mounted fold-down shelf can create a temporary prep surface in a tiny apartment or office. It needs robust hardware and a clear load rating; the brewer should sit on a fixed, stable surface unless the shelf is specifically designed for that weight and movement.
40. Modular service tray. Build the station from a tray, a lidded canister set, and one small shelf so each piece can move with you. This is the most flexible option for renters and changing routines because you can upgrade the brewer without rebuilding the room.
Plan power, water, heat, and cleanup before styling
Treat the coffee bar as a small appliance zone, not just a decorating vignette. Use a permanent wall outlet when possible, keep cords away from water and walkways, and avoid cramming several heating appliances into one questionable extension-cord arrangement. The U.S. Fire Administration’s cooking-fire guidance is written for cooking appliances, but its basic caution about unattended heat and electrical setup applies proportionately here.
Water access changes the best location. A machine with a removable reservoir can live farther from a sink if you can lift the tank out without twisting or spilling; a plumbed machine requires a properly planned connection and future service access. A sink is convenient, not mandatory, but carrying a full reservoir across a busy room every morning is a sign that the layout is working against you.
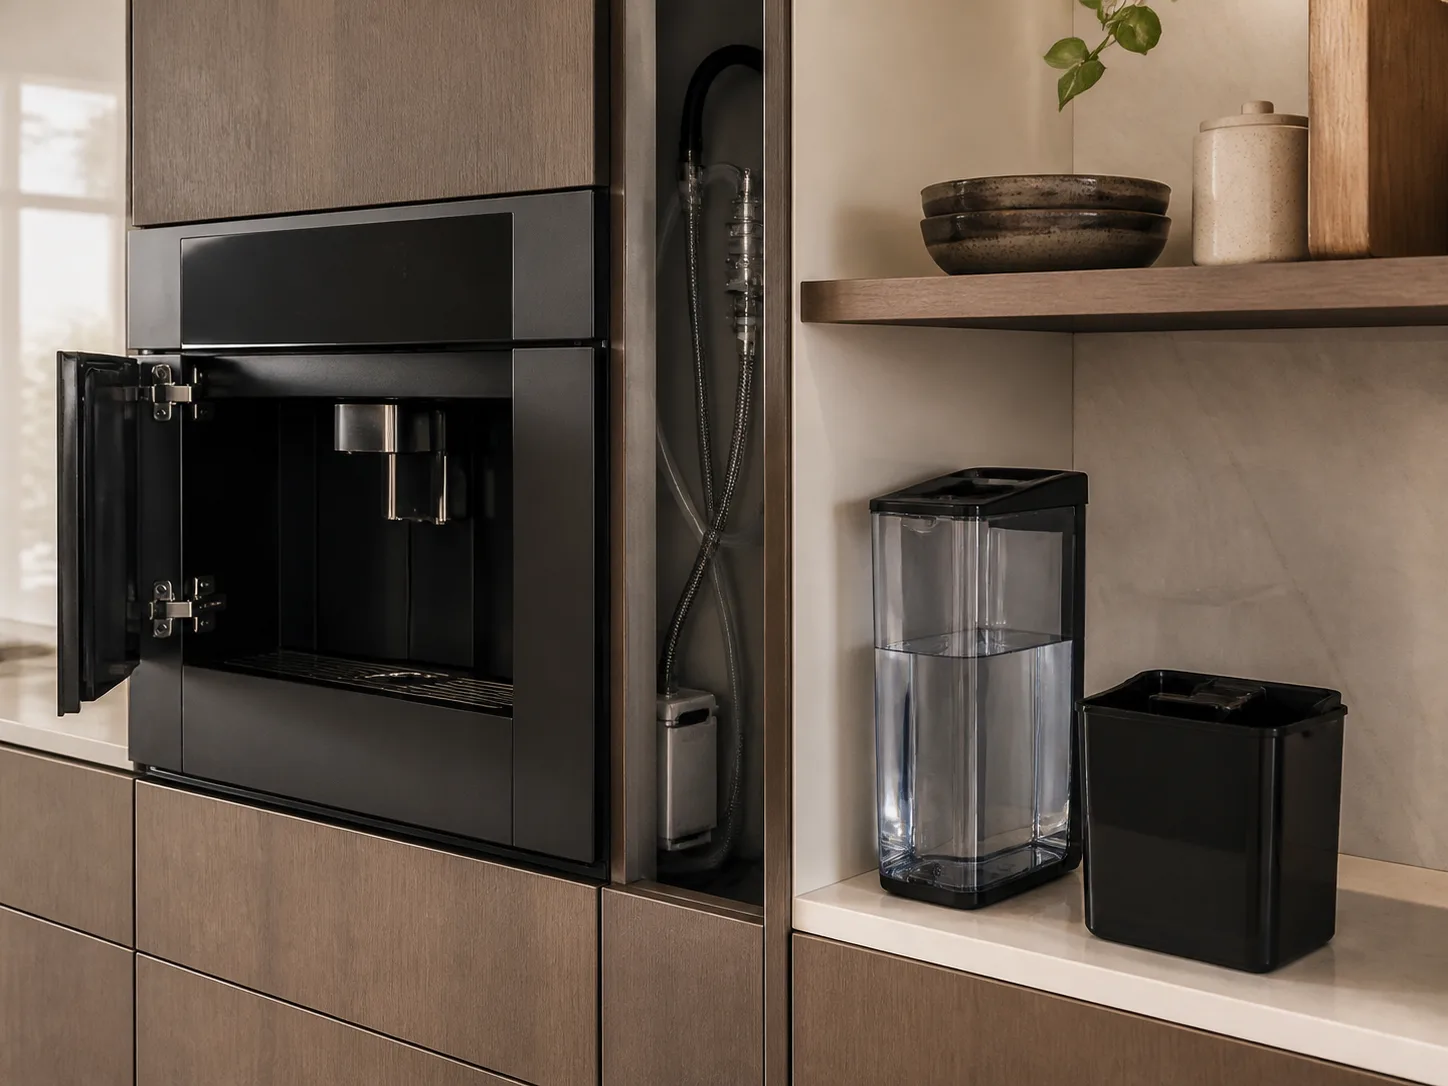
Leave clearance above a machine for its lid, hopper, steam wand, or reservoir. Do not brew inside a closed cabinet unless the appliance and installation are explicitly designed for that use. Keep paper goods, loose fabric, and decorative greenery out of the hot and splash zones, and choose a mat or tray that can be removed and cleaned rather than a permanently damp liner.
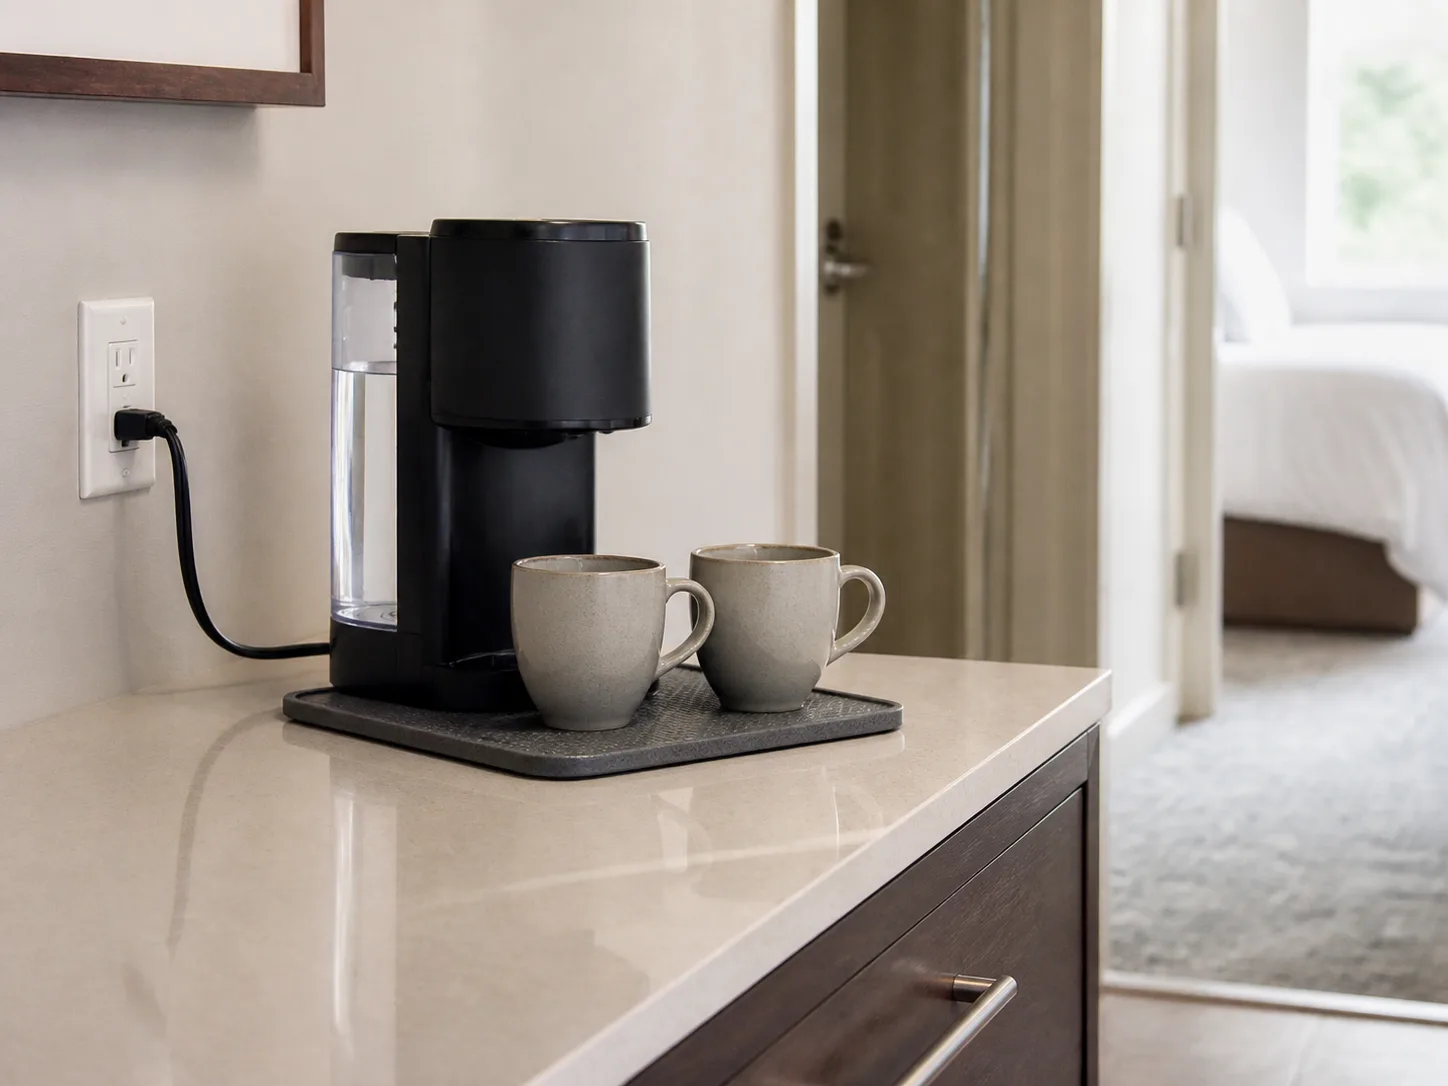
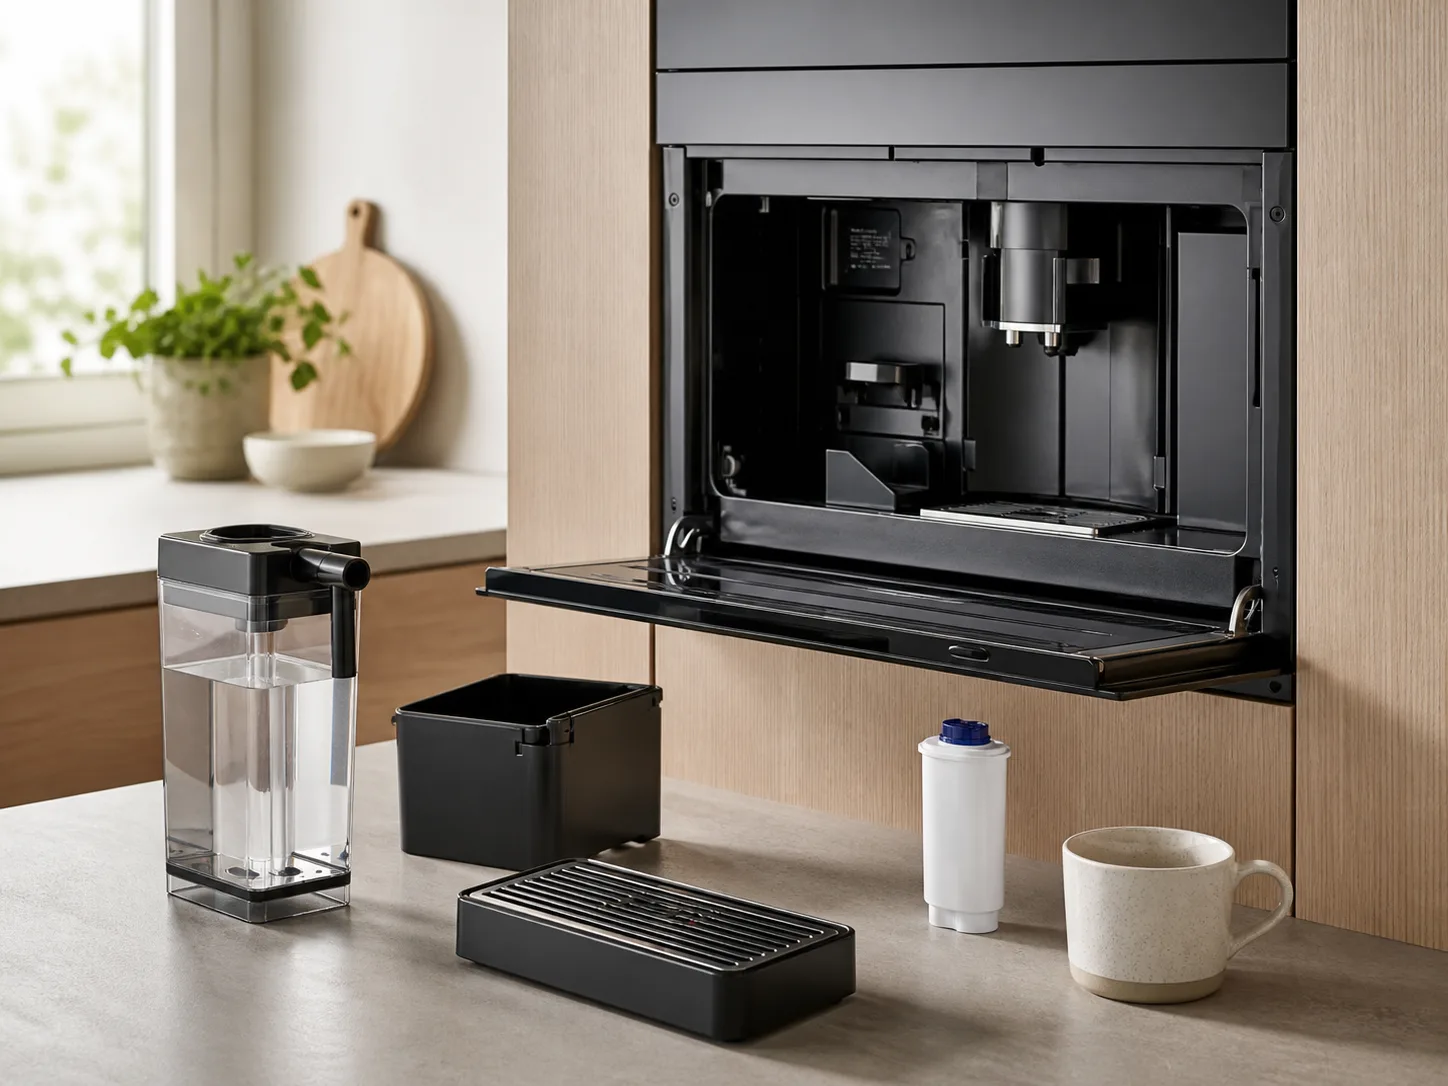
Cleaning needs a place in the design. The drip tray, grounds bin, used pods, milk parts, filters, and wipe cloth should not require a scavenger hunt. If the station is hidden, the doors should open wide enough for maintenance; if it is open, the counter should be simple enough to wipe in one pass.
What to put on a coffee bar (and what to skip)
Start with the minimum set that lets someone make the drinks your household actually chooses:
- the coffee maker, espresso machine, press, or kettle;
- coffee beans, grounds, or pods in a clearly identified container;
- mugs that fit beneath the brew spout;
- the grinder, scoop, filter, or other tool your method requires;
- one or two add-ins, such as sugar, honey, or a preferred creamer;
- a tray, small waste plan, and clean cloth for drips.
Add tea when noncoffee drinkers use the space, and add a toaster or breakfast supplies only when the counter and outlet plan can support them. A cake stand, plant, lamp, framed print, or seasonal accent can make the area feel personal, but none should block a control, steal the only mug landing zone, or create a difficult-to-clean corner.
Skip duplicate containers that hide what is inside, open bowls of perishable dairy, heavy decor on a high shelf, and equipment that you use once a month but leave out every day. For dry coffee, choose storage that protects it from moisture and makes the contents easy to identify. For milk or other perishables, use the refrigerator or a clearly managed chilled setup rather than treating the coffee bar as a pantry.
Common coffee bar mistakes that look good online
The first mistake is planning around the photograph instead of the appliance. A narrow machine may need a tall lid clearance, a removable tank may pull out from the side, and an espresso setup may need a grinder, tamping space, and a knock box. Measure the open position and maintenance path, not only the closed silhouette.
The second is overloading open storage. Twenty identical jars can look orderly for a day and become a frustrating inventory system by the end of the week. Keep the daily selection visible, label anything that could be confused with decaf or a different sweetener, and place backups in one location.
The third is treating a cart, shelf, or fold-down surface as automatically sturdy. Test the loaded furniture before adding hot water, lock casters, anchor tall pieces, and keep heavy items low. If the surface moves when you press the brew button, it is not ready for the machine.
The fourth is ignoring the reset. Coffee grounds, splashes, used pods, and damp cloths quickly make a pretty station look neglected. At the end of the day—or after guests leave—empty the waste, rinse the parts required by the machine’s instructions, wipe the work surface, and restock only after everything is dry.
Finally, do not let the coffee bar interrupt the room it is meant to improve. A station that blocks a prep zone, narrows a hallway, competes with the dining table, or puts a hot mug within easy reach of a child needs a new location or a smaller footprint. Good design is the route that works when nobody is taking a photo.
Conclusion: make the morning route effortless
The strongest coffee bar idea is the one that removes a repeated nuisance. Choose the smallest footprint that supports your brew method, place daily supplies in a readable sequence, give water and waste a real destination, and use decor to reinforce the zone instead of crowding it.
From a tray in a kitchen corner to a built-in pantry cabinet, the same rule holds: measure the working space, plan the cleanup, and test one real cup before you commit to the styling. When the station is easy to use at 6 a.m. and easy to reset afterward, it will feel good long after the novelty of the matching canisters wears off.



