20 DIY Indoor Greenhouse Ideas for Any Space
Explore 20 DIY indoor greenhouse ideas, from clear bins and terrariums to grow-light cabinets, with practical tips for light, airflow, humidity, and safety.
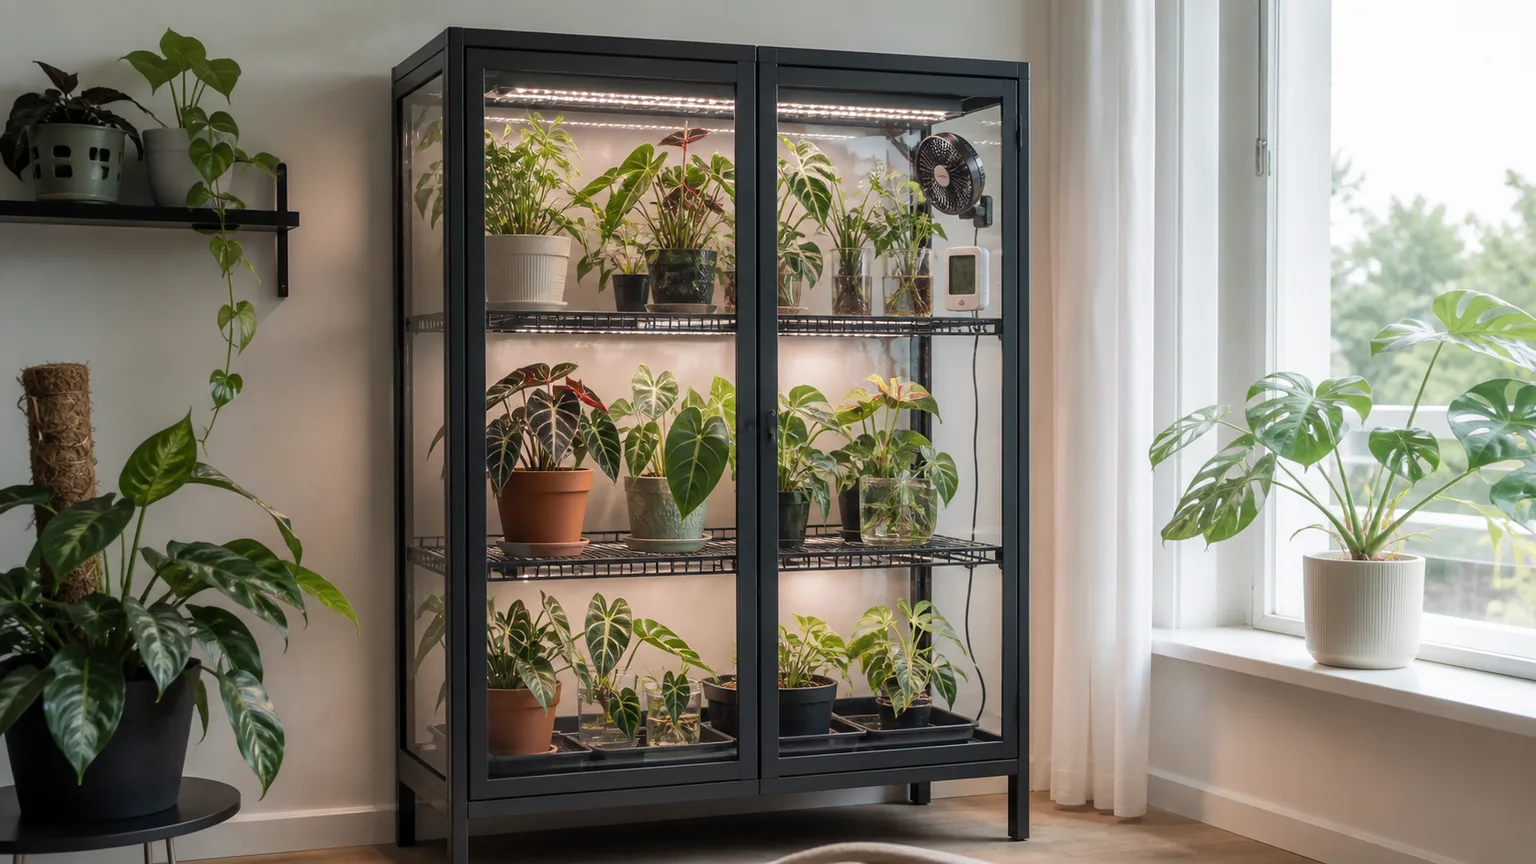
The right DIY indoor greenhouse is not the one with the most shelves or the highest humidity. It is the smallest enclosure or plant shelf that gives your particular plants enough usable light, steady moisture, a safe temperature, and a way for stale air to escape.
That distinction matters because “indoor greenhouse” can mean three very different things: a clear cover for germinating seeds, a humid enclosure for cuttings and tropical plants, or a lit cabinet that holds established houseplants. A sealed jar is excellent at conserving moisture but poor at handling a large, thirsty plant; a bright wire rack may start seedlings beautifully but do almost nothing for humidity.
Use the ideas below as a menu, then build around the job. Seeds need a clean, evenly moist environment and crop-specific warmth. Young plants need stronger, closer light than a room can usually provide. Tropical foliage may benefit from a more humid pocket, but it still needs ventilation and drainage. Utah State University Extension identifies temperature, moisture, humidity, and light as separate parts of a successful seed-starting environment; a clear cover helps with moisture, but it does not replace the other three.
What an indoor greenhouse can—and cannot—do
An indoor greenhouse changes the air immediately around a plant. Clear plastic or glass can slow moisture loss, a cabinet can block drafts, and a shelf can make it easier to position lights. None of those materials creates sunlight, supplies oxygen to roots, or guarantees a warm temperature. You still have to provide the missing inputs.
Think of the enclosure as a control layer, not a magic growing machine. Before choosing a design, ask four questions:
- Am I germinating seeds, rooting cuttings, growing herbs, or displaying mature houseplants?
- Where will the light come from in winter or on cloudy days?
- How will excess water leave the pots, and how will moist air leave the enclosure?
- Can I inspect every plant, wipe the surfaces, and reach the plug or timer without moving the whole setup?
The most reliable builds are adjustable. A lid that can be cracked open, a cabinet door that can stay ajar, a shelf light that can be raised, and a fan that can be switched off are more useful than a perfectly sealed box with no controls.
Pick a format by your growing job
Seed-starting rack
Choose an open wire rack or a simple shelf with a clear dome over each tray when your main goal is raising vegetable, flower, or herb seedlings. This format makes light coverage and tray access straightforward, and you can remove the domes as seedlings emerge instead of trying to manage one humid room for every plant.
Add a thermostat-controlled heat mat only for crops that need warmer media than the room provides. Do not use a clear lid as a reason to place a tray in direct sun: the air inside can heat quickly even when the room feels comfortable.
Humidity enclosure for cuttings
Use a tote, aquarium, cake dome, or small cabinet when you are rooting cuttings or helping a few humidity-loving plants recover. The enclosure should keep the rooting medium from drying too fast while still allowing you to open it daily and check for rot, condensation, and pests.
This is a temporary nursery, not a permanent home for every houseplant. Once a cutting has roots and new growth, gradually increase ventilation so it can function in ordinary room air. A cutting that only looks healthy under a sealed lid is not yet acclimated.
Display cabinet for established plants
Choose a glass-front cabinet or ventilated shelf when you want a year-round plant display. Here, the hard problems are not germination but light distribution, shelf spacing, heat from fixtures, airflow, drainage, and access. A small fan and a thermometer or hygrometer are more useful than adding a humidifier on day one.
Keep plants with similar needs together. A fern, fittonia, and small tropical cutting may tolerate the same humid cabinet; a cactus, a dormant bulb, and a moisture-loving fern should not be forced into one sealed climate.
20 DIY indoor greenhouse ideas
These ideas are grouped by scale and purpose. Each one can work, but not every one is equally good for seeds, cuttings, and mature plants.
Tabletop and repurposed-container ideas
1. Picture-frame cloche — Join four or six inexpensive glass picture frames around a shallow, waterproof base to make a small display box. It suits one or two cuttings or a miniature humidity-loving plant; use mechanical corner brackets or a stable frame and leave a removable top so you can ventilate it.
2. Clear storage-bin nursery — A transparent tote with a loose or vented lid is the lowest-cost option for seed trays and cuttings. Drill or cut a few vents high on the sides, keep the tray in a separate spill-catching base, and never place the closed bin in direct sun.
3. Produce-container propagator — Reuse a clear bakery, salad, or clamshell container for a handful of seeds or stem cuttings. It is light, easy to clean, and short-lived, so treat it as a propagation cover rather than a permanent greenhouse; prop the lid open when condensation coats the sides all day.
4. Glass cake-dome greenhouse — A cake dome over a saucer creates a polished tabletop enclosure with easy visibility. It works best for a small plant or a few cuttings in individual pots; the dome itself is not a drainage system, so water outside the pot must be emptied promptly.
5. Aquarium propagation box — An old fish tank can become a roomy humidity chamber for cuttings, moss, or seed trays. Place it away from hot glass and direct afternoon sun, keep the bottom dry except for contained trays, and use a small clip-on fan if the air remains still.
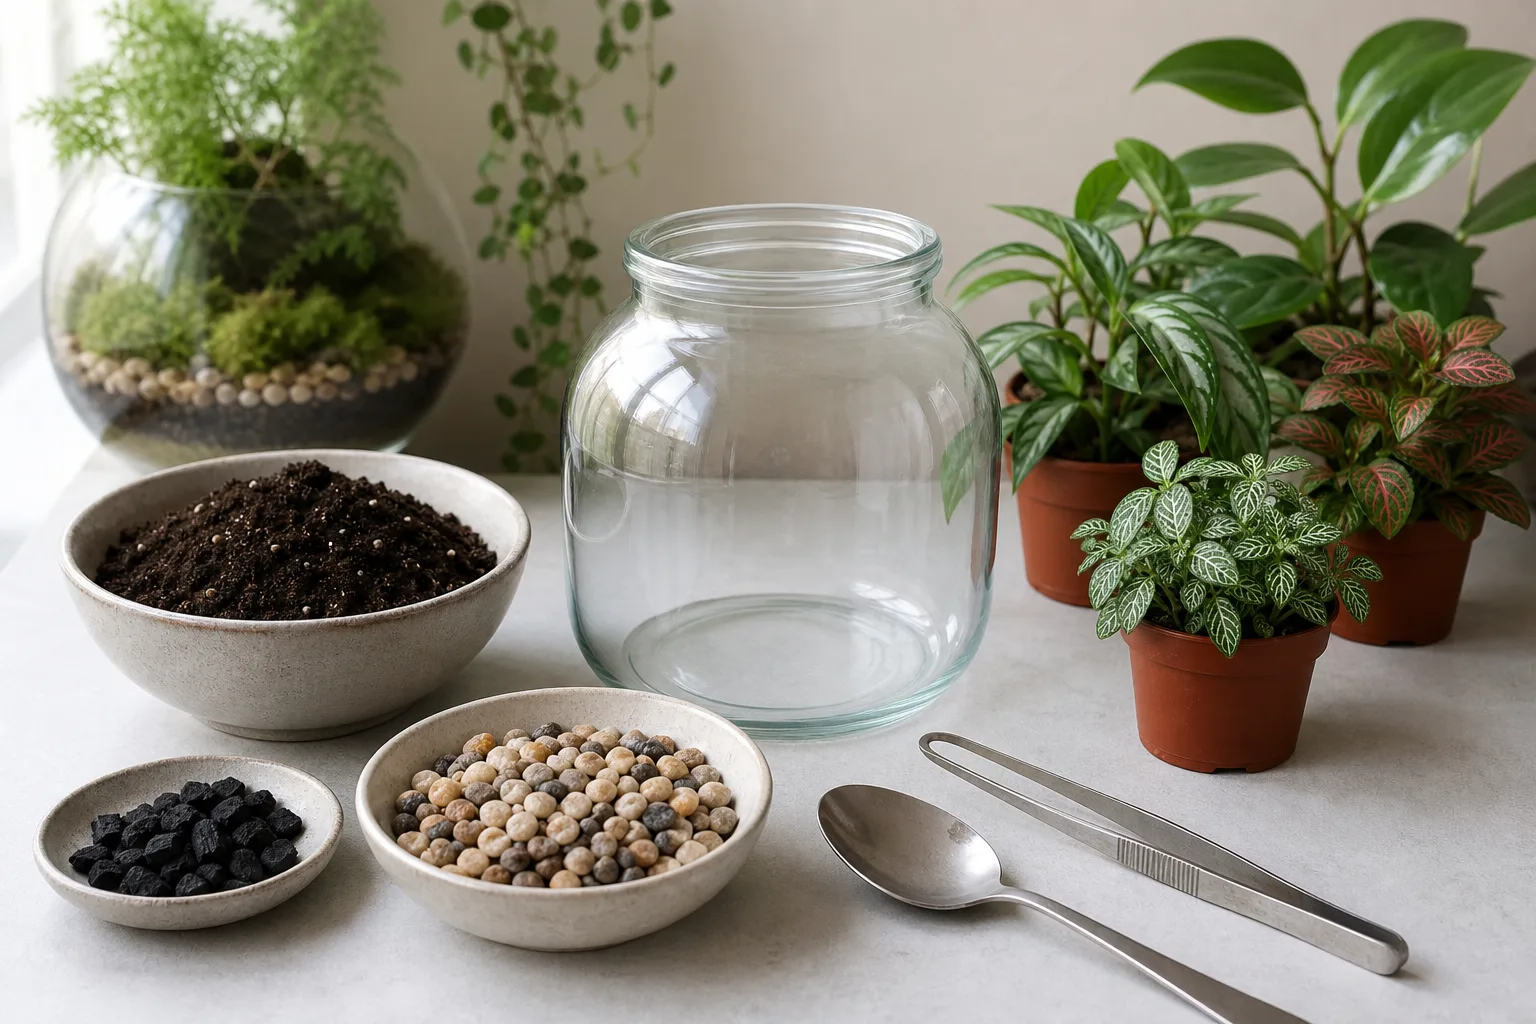
6. Jar or bowl terrarium — A wide glass jar is a good choice for mosses, small ferns, and other plants that like moist, indirect-light conditions. It is closer to a terrarium than a greenhouse: choose plants with compatible needs, water sparingly, and open the container when persistent condensation or algae appears. Horticulture’s guidance on open and closed terrariums is useful here because the plant choice must match the enclosure’s humidity.
Shelf and rack ideas
7. Wire-rack grow shelf — A metal utility rack gives you adjustable levels and excellent air movement. Hang one LED fixture under each shelf, line the levels with waterproof trays, and use clear plastic only as a removable curtain around the seed-starting tier.
8. Rolling cart greenhouse — A narrow rolling cart can hold a propagation tray, light, and a clear cover without taking over a room. Mobility is the advantage: roll it away from a sunny window when the enclosure heats up and toward a work surface when it is time to water or pot up.
9. Under-shelf light garden — Turn an existing bookshelf or sturdy counter into an open greenhouse by mounting a slim light beneath each shelf. This is better for herbs, leafy greens, and seedlings than for humidity-loving plants, but it is easy to clean and rarely develops the stagnant air of a tightly covered cabinet.
10. Ladder-shelf greenhouse — A leaning ladder shelf can become a decorative plant station with lights attached underneath and clear acrylic or a shower-curtain-style cover on the sides. Anchor the shelf so it cannot tip, keep the heaviest pots low, and do not let a plastic cover touch a hot fixture.
11. Curtain-wrapped plant rack — Enclose a wire rack with clear greenhouse film, a clean shower curtain, or removable acrylic panels. Leave a deliberate opening at the bottom or side for intake air and a higher opening for warm air to escape; a wrapped rack should be vented, not shrink-wrapped.
12. Seed-starting bench with reflective side panels — A small table or rack with white foam board or reflective panels behind the trays can improve light distribution without turning the entire setup into a closed box. Keep the panels a few inches from fixtures, leave the front open, and use a timer so the plants receive a repeatable day-night cycle.
Cabinet and furniture conversions
13. Glass-front plant cabinet — A ready-made display cabinet is the classic grow cabinet because it already provides doors, shelves, and visibility. Add low-heat LED bars, cable management, and gentle circulation; if the cabinet has no vent path, leave a door gap rather than relying on a humidifier to solve stagnant air.
14. Thrifted china cabinet — An old china or curio cabinet can hold more plants than a narrow commercial greenhouse. Remove shelves that block light, seal or protect the wood from drips, check that the glass and hinges are sound, and build a waterproof base inside before moving in plants.
15. Tall bookcase with acrylic doors — A bookcase is easier to customize than a glass cabinet. Add clear acrylic doors or panels, mount lights to the underside of shelves, and make at least one panel removable for cleaning. This format gives you room to raise fixtures as plants grow.
16. Wardrobe or linen-cabinet conversion — A deep cabinet can hide a surprisingly capable propagation station. Line the interior with a washable, light-colored surface, install lights and a small fan, and avoid fabric or untreated wood where wet trays can leak. This is a good fit for a dedicated room, not a cramped corner beside a bed or heater.
17. Cabinet-top greenhouse — Put a compact acrylic or glass enclosure on top of a sturdy cabinet to create a raised display. The elevated view is attractive, but it makes watering and spill control harder; use lightweight pots, a tray that can be removed in one piece, and a step-free reach test before committing.
Built-in and space-saving ideas
18. Window-bench mini greenhouse — Build a shallow, covered planting bay on a wide window bench for seedlings or small herbs. Use the window as supplemental light, not the only source, and add a thermometer because direct sun through a clear cover can create a hot pocket even on a cold day.
19. Greenhouse coffee table — A table with a recessed, clear-covered center can hold a small collection of plants without consuming another piece of floor space. Keep the growing compartment shallow and removable so you can clean it; do not use it for plants that need frequent messy watering or large root balls.
20. Corner plant alcove — A narrow corner between two shelves can become an open indoor greenhouse with a light canopy, waterproof floor tray, and clear side panel on the draft-facing edge. It is the most adaptable option for a small apartment because you can change the coverage as the season and plant collection change.
How to build a reliable version
Light is the engine
A clear lid makes a space look bright but does not make the light intense enough for healthy growth. A sunny window may work for a short period, yet seedlings can still stretch when the tray is several feet from the glass or the light arrives from one side. Savvy Gardening describes the practical failure clearly in its comparison of grow lights and sunny windowsills: germination can succeed while the new seedlings stretch toward inadequate light.
For most DIY builds, start with a white full-spectrum LED fixture sized to cover the tray or shelf, not merely the center of it. Put the fixture on an outlet timer. Oklahoma State University Extension recommends roughly 14 to 16 hours of light per day for seedlings and notes that fixtures should be kept close enough to prevent weak, stretched growth; its guidance also warns that incandescent bulbs can provide too much heat and the wrong balance of light for young plants.
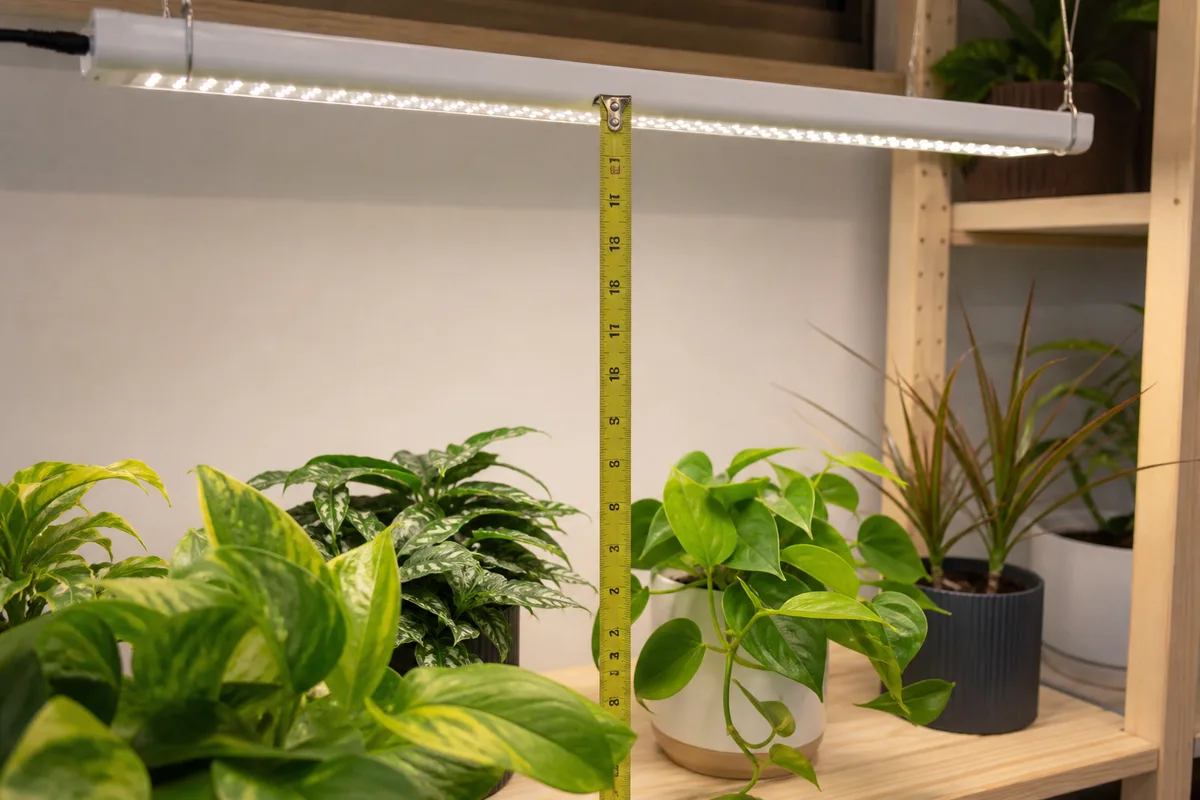
As a starting distance, place an LED about 4 to 8 inches above seedling foliage, then use the plant as feedback rather than treating the number as universal. Epic Gardening’s seed-starting guide recommends this range and emphasizes that the light must be raised as the canopy grows. A strong fixture, a weak fixture, seedlings, and mature foliage all have different limits; if leaves bleach, curl, or feel hot, move the light up and measure the temperature.
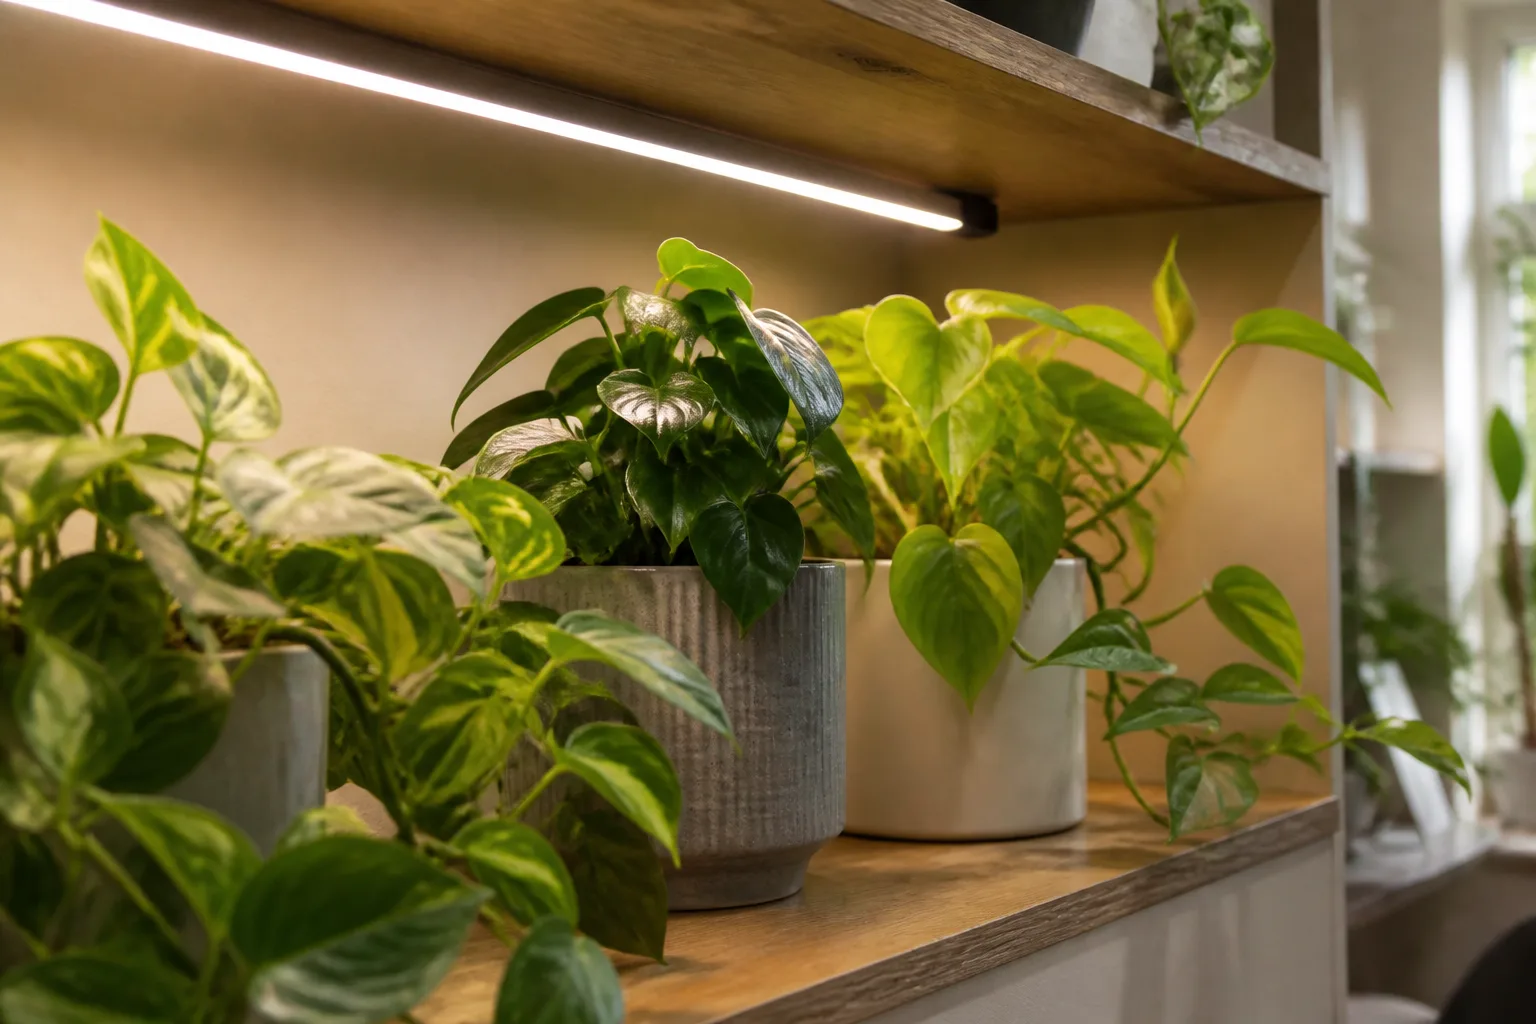
For an open rack, cover the whole tray with overlapping light footprints. For a cabinet, mount bars under each shelf instead of putting one powerful light at the top and expecting the lower shelves to receive enough energy. Keep the fixture dry, leave space for heat to escape, and make the light height adjustable whenever possible.
Airflow and humidity must work together
Humidity slows water loss; airflow refreshes the air around leaves and helps surfaces dry. They are not competing goals. The failure pattern to avoid is a warm, sealed, constantly wet enclosure where the plants look lush for a few days and then develop soft stems, mold, or a sour-smelling pot.
For a seed dome, keep the lid on while seeds need a consistently moist surface, then open the vents or remove the cover as seedlings emerge. For a cabinet, leave a planned air path and use a small fan on low if the air is still. The fan should move air around the enclosure, not blast a seed tray dry or point directly at tender leaves.
Do not add a humidifier because a hygrometer shows one low reading. First check whether the plant truly needs higher humidity, whether the potting mix is being kept too wet, and whether the enclosure is already warmer than the room. A cabinet with healthy airflow and manageable moisture is safer than a sealed cabinet with a high number on the display.
Moisture, drainage, and temperature control
Every potted plant needs a container with a drainage path and a saucer or tray that catches water. Pebbles at the bottom of a pot do not replace a drainage hole; in a sealed greenhouse, they can simply leave the root zone wet for longer. Water individual pots, empty catch trays, and wipe spills before they reach cords or wood.
For seeds, pre-moisten a clean, fine-textured seed-starting mix so it is evenly damp rather than saturated. Bottom watering is useful once the container has drainage holes, but never leave trays sitting in water indefinitely. Check them daily during germination because a failed heat mat, drying surface, or overfilled tray can change the conditions faster than the enclosure suggests.
Utah State University Extension gives a general germination range of about 65 to 75°F for many plants, while some cool-season crops prefer a cooler medium. It also recommends a thermostat with a heat mat for crops that need more warmth and warns that a covered tray in direct sun can overheat. Use those values as a starting point, then follow the seed packet or crop-specific guidance rather than trying to make every seed share one temperature.
Terrariums need an even narrower water margin. Horticulture’s terrarium-care guidance notes that enclosed containers can recycle moisture and need very little additional water; if water pools on the sides or bottom, open the container and let excess moisture dissipate. That rule is the opposite of what you might do in a seed tray, which is why a terrarium and a greenhouse cabinet should not be treated as interchangeable.
Set up safely and run it as a system
An indoor greenhouse combines water, glass, heat, shelves, and electricity. Put the power strip outside the splash zone, keep plugs and connections above the level where a tray could overflow, and route cords so water cannot run along them toward an outlet. Use stable shelving, protect floors and wood from leaks, and do not improvise a heating element with an unshielded bulb.
Before adding a collection, run the empty enclosure for a full day. Watch the warmest and coolest points, check whether the light covers the whole tray, open and close the doors or vents, and make sure the fan does not dry one corner while the opposite corner stays wet. This short test is more valuable than buying another accessory.
The first-week setup checklist
- Measure the footprint. Include door swing, plug access, walking clearance, and room to raise the lights.
- Choose one plant job. Start with seeds, cuttings, herbs, or humidity-loving foliage instead of mixing incompatible needs.
- Install the light before the plants. Set the timer and confirm that the outer edges of the tray are illuminated.
- Add drainage protection. Use a waterproof tray under every group of pots and check that it can be removed without dismantling the setup.
- Measure before modifying. Use a thermometer and, if humidity is important for the plants, a hygrometer at canopy height.
- Vent deliberately. Leave a door gap, open a vent, or run a gentle fan; do not wait for mold before allowing air exchange.
- Inspect daily at first. Look at the soil surface, leaf posture, condensation, cord placement, and the temperature during the lights-on period.
- Acclimate gradually. Remove covers in stages and increase ordinary room-air exposure once roots or seedlings are established.
The first week should be treated as a calibration period. If the design needs a fan, light, or vent to work, discover that before the cabinet is crowded and hard to reach.
Troubleshoot the first warning signs
Seedlings are long, thin, or leaning. Fix light before humidity. Lower or strengthen the fixture within its safe range, make sure the light covers the edges, and rotate trays only if the light is coming from one direction. A clear lid will not correct insufficient light.
The lid is dripping constantly. Reduce watering, open the vents, and check the enclosure temperature. A little condensation can be normal during germination; water running down the sides every day means the system is holding more moisture than the plants and medium can use.
Fuzzy growth or a sour-smelling tray appears. Remove the affected debris, improve air exchange, and let the surface approach the moisture level appropriate for the crop. Do not keep adding heat or humidity to a problem caused by wet media and stagnant air. If multiple seedlings collapse at the soil line, discard badly affected material, clean the tray, and restart with fresh medium and better ventilation.
Leaves wilt near the light. Measure temperature at leaf height rather than guessing from the room thermostat. Raise the light, open the cabinet, move a clear enclosure out of direct sun, or reduce the lighting intensity if the foliage is hot. A plant can wilt from heat even when the potting mix is wet.
One shelf thrives while another stalls. Compare the light footprint, distance, temperature, and airflow at each level. A single top-mounted fixture often creates a bright upper shelf and a dim lower shelf; add shelf-level bars or move plants according to their light needs.
Pests multiply inside the cabinet. Isolate new plants before placing them with established ones, inspect leaf undersides and pot rims, and avoid packing foliage so tightly that you cannot see the soil. An enclosure makes inspection easier only when you leave room to inspect.
Conclusion
Start with the format that solves your actual constraint: a vented clear tote for a few trays, an open light rack for seedlings and herbs, a terrarium for compatible small plants, or a glass cabinet for a curated tropical collection. Build in adjustability from the beginning—closeable vents, raisable lights, removable trays, a reachable plug, and enough empty space to see what is happening.
The best DIY indoor greenhouse is not the most elaborate one. It is the one you can light, ventilate, water, clean, and troubleshoot every week without turning plant care into a fragile science project.



