Do Coffee Grounds Repel Slugs? How to Test Them Safely
Learn whether used coffee grounds repel slugs, how to apply a cautious ring, avoid plant damage, and switch to more reliable garden controls.
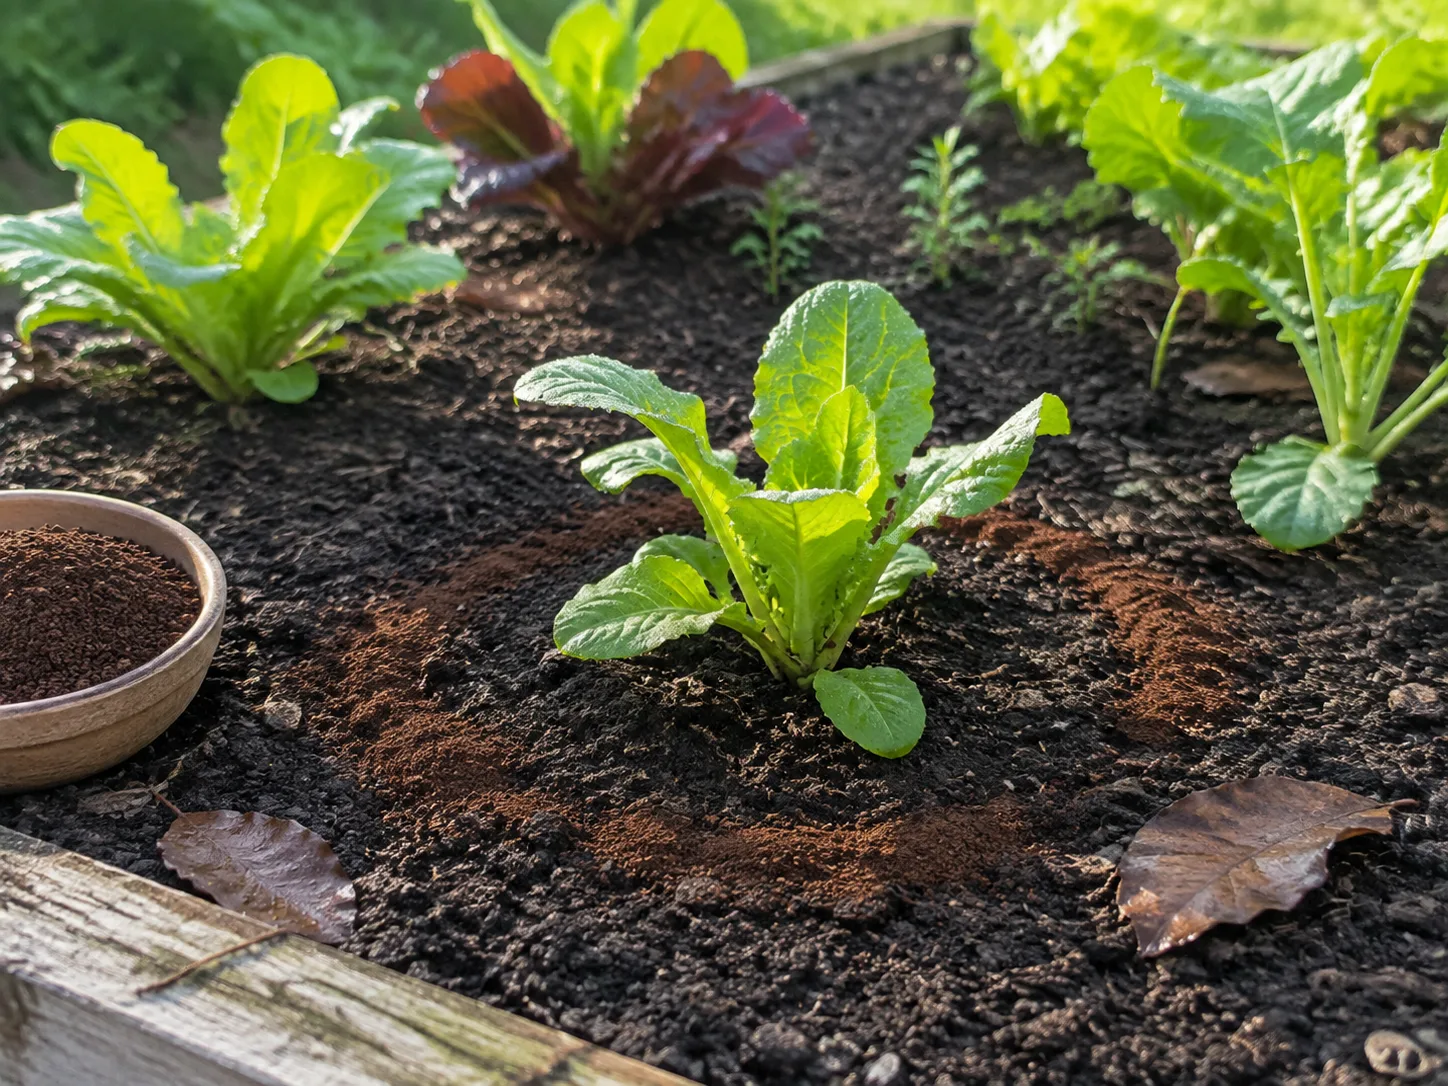
If slugs are chewing holes in lettuce, hostas, basil, or young seedlings, used coffee grounds are an appealing first response: they are free, already in your kitchen, and easy to scatter. The honest answer is that coffee grounds may make a plant less inviting for a short time, but they are not a dependable slug killer or a complete barrier.
The useful way to try them is as a small, reversible experiment. Use cooled, used grounds in a thin surface ring, keep the material away from stems and seed rows, inspect the bed after rain, and judge the result by fresh damage over several nights. If the slug pressure continues, move quickly to methods that target the pests rather than piling more organic matter around the plant.
The short answer: do coffee grounds repel slugs?
Sometimes, but not reliably enough to make coffee grounds your only slug control. The evidence that caffeine affects slugs comes from experiments using caffeine solutions at concentrations that can repel or kill slugs and snails; that is not the same thing as sprinkling a thin layer of spent grounds around a plant. The original Nature study on caffeine and slugs describes caffeine solutions applied to foliage or growing media, not an ordinary ring of post-brew grounds.
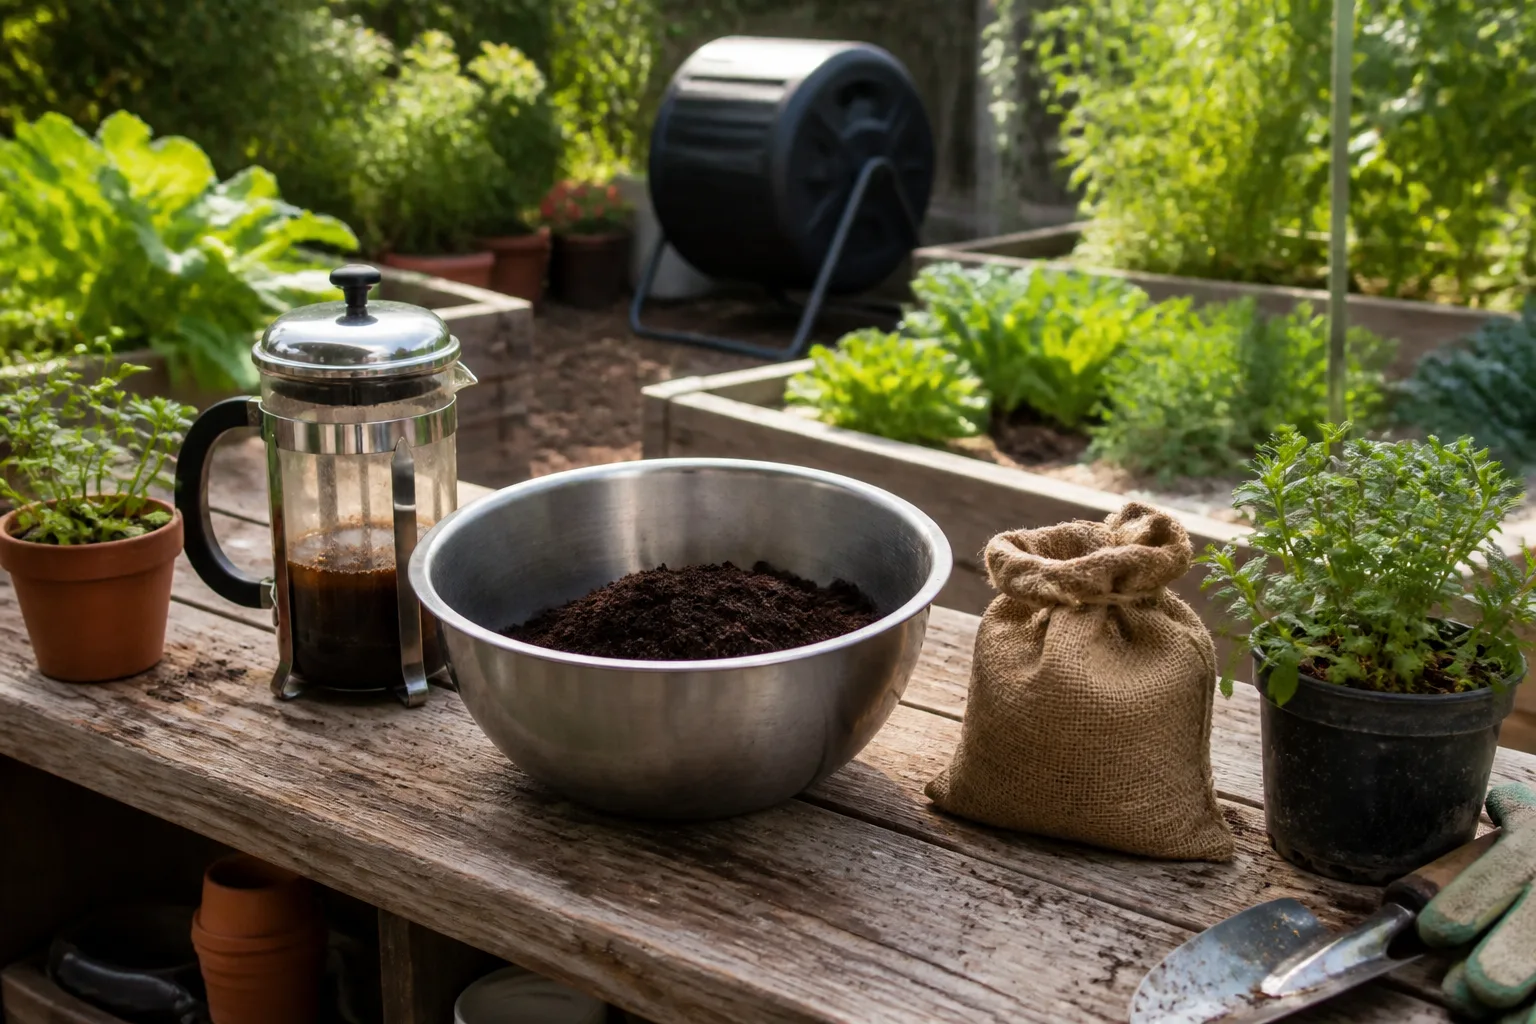
Spent grounds still contain organic particles and some chemical residue, so a dry, gritty surface may discourage a few slugs from crossing it. But the texture is inconsistent, the grounds become less useful when wet, and a slug can often go around the ring through mulch, a leaf, a gap, or a plant touching the soil. Treat the method as a low-cost test that might reduce access to one plant—not as proof that the garden is protected.
What coffee grounds actually do in a slug-prone bed
Coffee grounds are often discussed as if they work through one clear mechanism. In reality, three different ideas get mixed together: caffeine toxicity, a rough surface, and a strong-smelling organic amendment. Keeping those ideas separate makes it easier to use the material safely and to recognize when the method is failing.
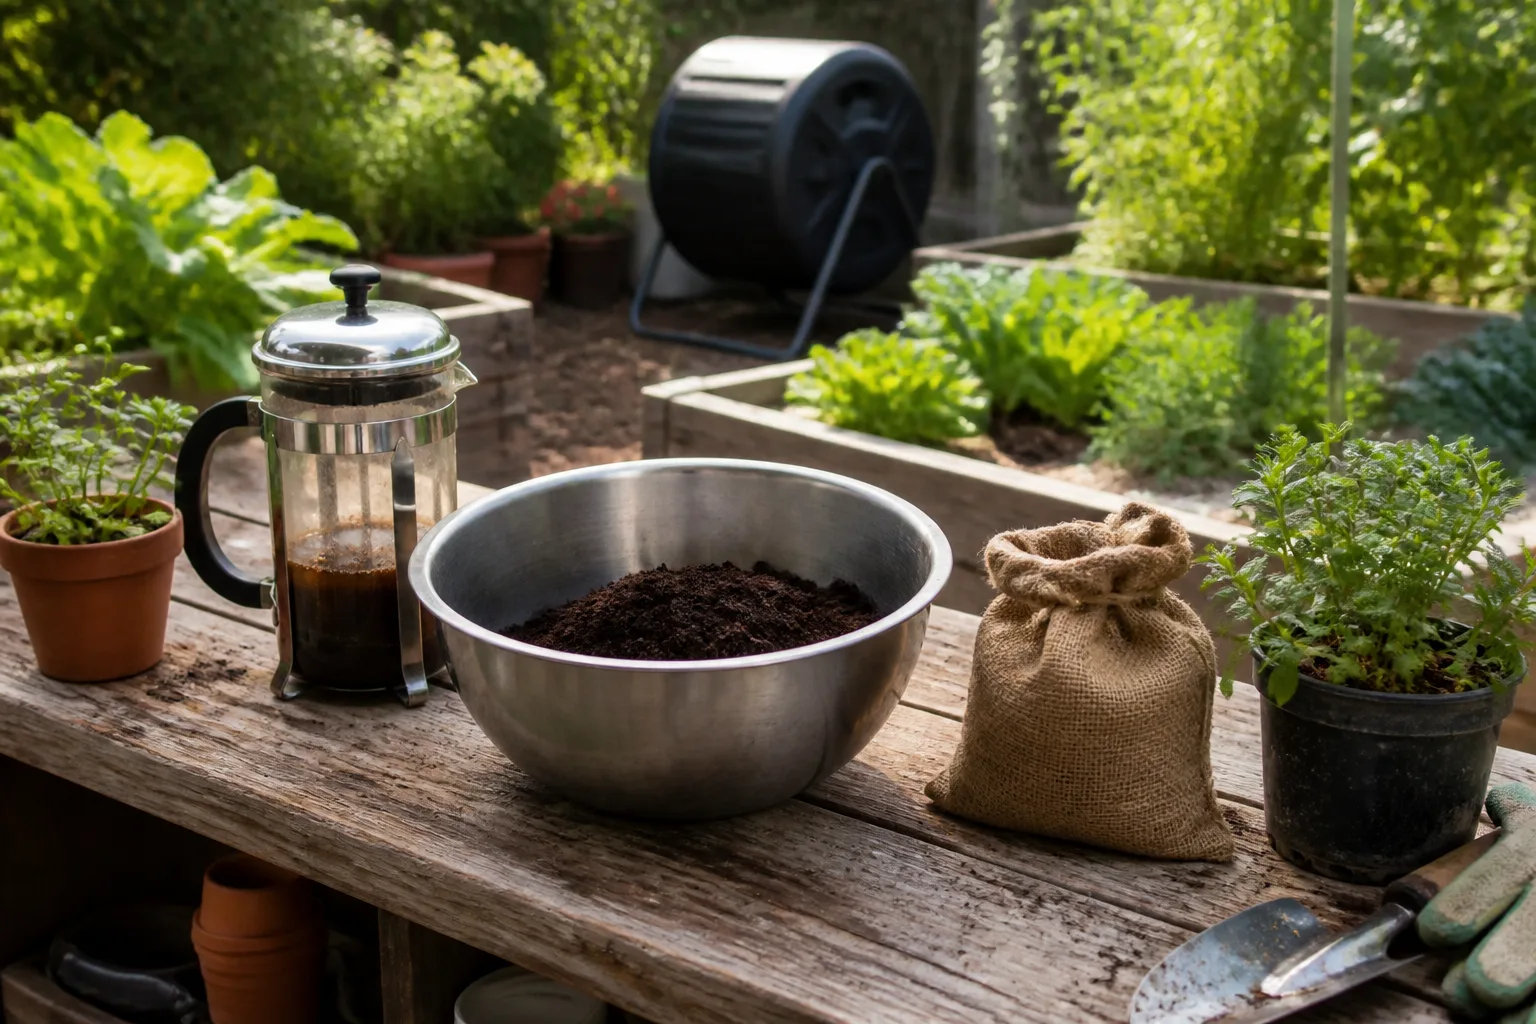
The RHS guidance on using coffee grounds in the garden is a useful reality check. It describes spent grounds as a material that is best incorporated into compost, notes that their pH effect is minor and temporary, and warns that thick layers can interfere with water and air reaching roots. It also notes that residual caffeine can affect plant growth, which is a good reason not to treat grounds as harmless mulch.
Caffeine is the active idea—not the grounds
The strongest slug-control claim attached to coffee is really a caffeine claim. Caffeine can affect soft-bodied mollusks when the dose is high enough, which is why a concentrated solution can behave very differently from a handful of grounds that has already been rinsed by brewing. A result from one form cannot automatically be transferred to the other.
This distinction matters because a gardener can easily respond to a weak result by adding more grounds. That increases the amount of organic material touching the soil without giving you a known caffeine dose. It may also create a compacted, slow-drying layer or put more residue around tender roots. More is not a logical upgrade when the active concentration is unknown.
Do not make a homemade “caffeine pesticide” by guessing at a coffee concentration and spraying it over edible leaves. The study result is not a recipe for household coffee, and brewed coffee varies by bean, grind, brew method, strength, and dilution. A liquid that is strong enough to affect slugs may also stress plants, stain foliage, or harm non-target organisms.
Why spent grounds are a different material
Used grounds are mostly a damp organic byproduct, not a measured pesticide. They can be useful in compost, where they are mixed with other ingredients and allowed to break down, but they are less predictable when left as a thick cap on bare soil. A thin surface dusting is easier to remove; a wet mat is harder to manage and more likely to mold or repel water from the root zone.
Grounds also do not create a perfect perimeter. Slugs move at night when the surface is damp, and a plant bed often contains bridges that are invisible from above: fallen leaves, grass stems, wooden edging, weeds, mulch, and neighboring foliage. The Penn State Extension guide to slugs and their control explains why warm, damp conditions and protected hiding places make slug activity difficult to solve with a single surface treatment.
A slime trail and fresh ragged holes are better evidence of slug activity than assuming every missing leaf was caused by slugs.
Confirm you have slugs before treating
Look for fresh damage and the pest itself before you spend time spreading coffee. Slugs are usually most active after dusk, overnight, or on a cloudy, wet day. Use a flashlight and inspect the underside of leaves, the soil line, the shaded side of boards, and the damp space beneath dense foliage.
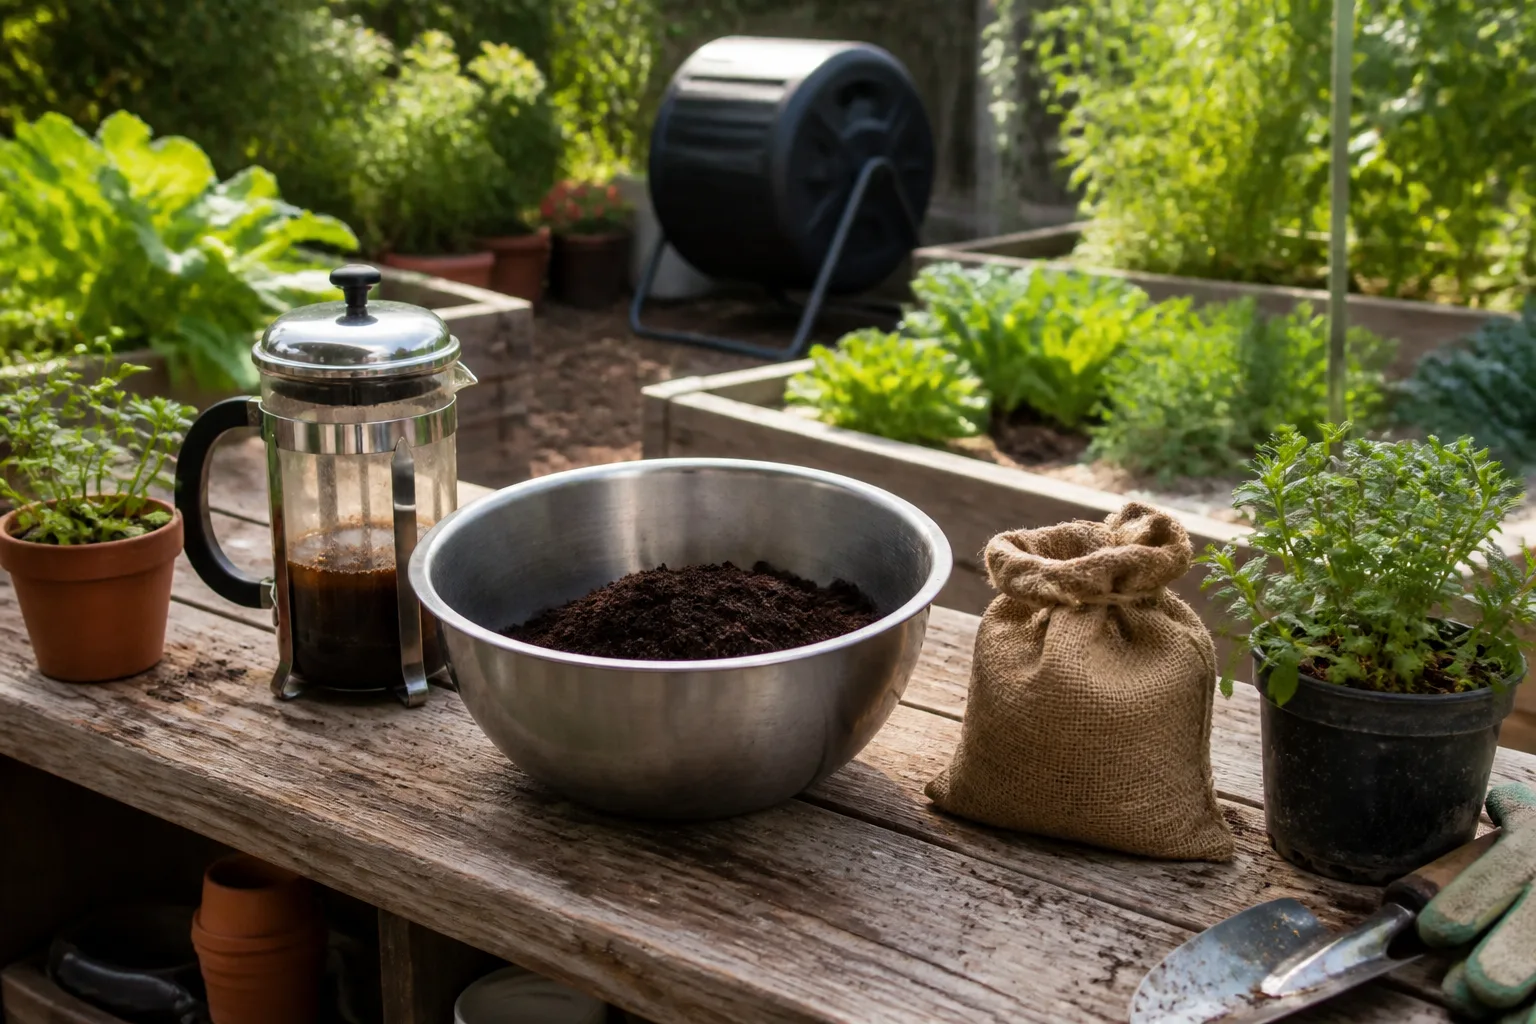
Slug damage usually appears as irregular holes or missing sections in soft leaves, often with a shiny trail nearby. Caterpillars can create similar holes, and earwigs may also chew foliage, so a daytime glance at the plant is not enough to identify the culprit. If you see no slime and no slug after two or three targeted checks, inspect for caterpillars, beetles, rabbits, or mechanical damage before changing the soil.
Pay special attention to seedlings and low-growing leafy crops. A mature plant can tolerate a few bites while it grows new leaves; a seedling has very little spare tissue, and a single night of feeding can remove its growing point. This is one reason coffee grounds alone are a poor plan for a bed already showing heavy damage.
How to use coffee grounds as a cautious trial
Choose one or two plants, not the entire garden, for the first test. A small trial lets you see whether the grounds change fresh damage in your conditions without committing every bed to a material that may later need to be raked away.
Dry and prepare the grounds
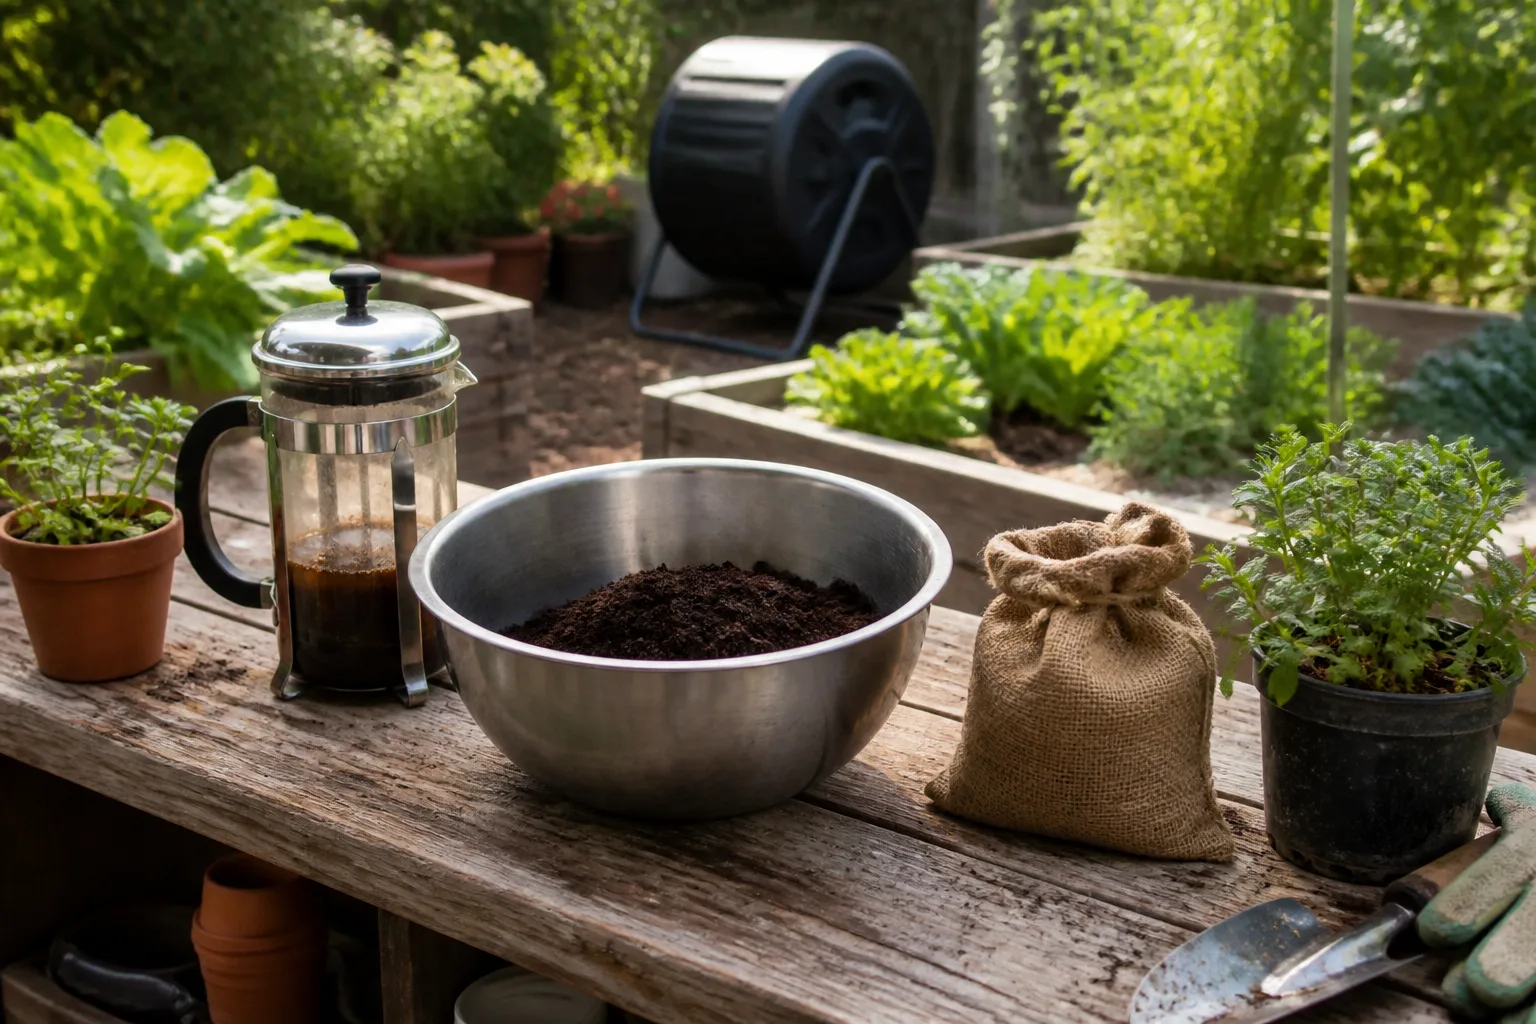
Use spent grounds that have cooled completely. Spread them in a shallow layer on a tray or plate until the surface is no longer wet and clumped, then break apart obvious cakes with a fork. Drying improves handling and reduces the chance of creating a slimy mat; it does not magically increase the caffeine or turn grounds into a proven pesticide.
Keep the grounds plain. Do not add sugar, milk, creamer, flavored syrups, or oily coffee sludge to the bed. Those additions can attract other pests, create odors, and make the material harder to compost cleanly. If you use a pod or capsule, remove the filter, foil, and plastic before saving the grounds.
Apply a thin, visible ring
Clear away fallen leaves and weeds that could form a bridge to the plant. Sprinkle a light ring about 1 to 2 inches wide on the soil surface, several inches away from the stem or crown. The goal is a visible band of dry particles, not a deep mound and not a sealed circle that covers the root zone.
Use the narrowest band that lets you see whether slugs are crossing it. Do not pile grounds against stems, bury the plant’s growing point, or push the material into the soil around shallow roots. Leave a clear opening for watering and make sure the ring does not touch edible leaves that you plan to harvest.
If the plant is in a container, a ring around the rim is not a complete defense. Slugs may climb the outside, hide under the pot, or use a leaf that touches a wall, shelf, or neighboring container. Check the whole route rather than assuming the top of the pot is the only entry point.
Used grounds are safest as a compost ingredient; if you test them for slugs, keep the application thin and easy to remove.
Recheck after rain and at dusk
Inspect the ring the next evening, especially after rain or overhead watering. If it has turned into a dark crust, clump, or muddy smear, rake it away rather than adding another layer. Wet grounds are no longer the same surface you tested, and thickening the ring can create a root-zone problem without improving slug control.
At dusk, look for slugs approaching from outside the ring. If you see a slug bypassing the grounds through mulch or a leaf, close that route by pruning the bridge or moving the mulch back from the plant. If you see slugs crossing the ring and fresh holes continue, end the coffee trial and switch methods.
Measure success the following morning by counting new holes and checking the growing tips, not by counting slugs that happen to be missing. Compare a treated plant with a nearby untreated plant when possible. That simple comparison is more useful than relying on a one-night impression.
Protect seedlings without building a soil crust
Seedlings need a different level of caution. Avoid putting coffee grounds in the seed furrow, over newly sown seed, or directly around a plant whose stem is still delicate. A surface layer can interfere with emergence, hold moisture unevenly, and make it harder to see whether the seedbed is drying correctly.
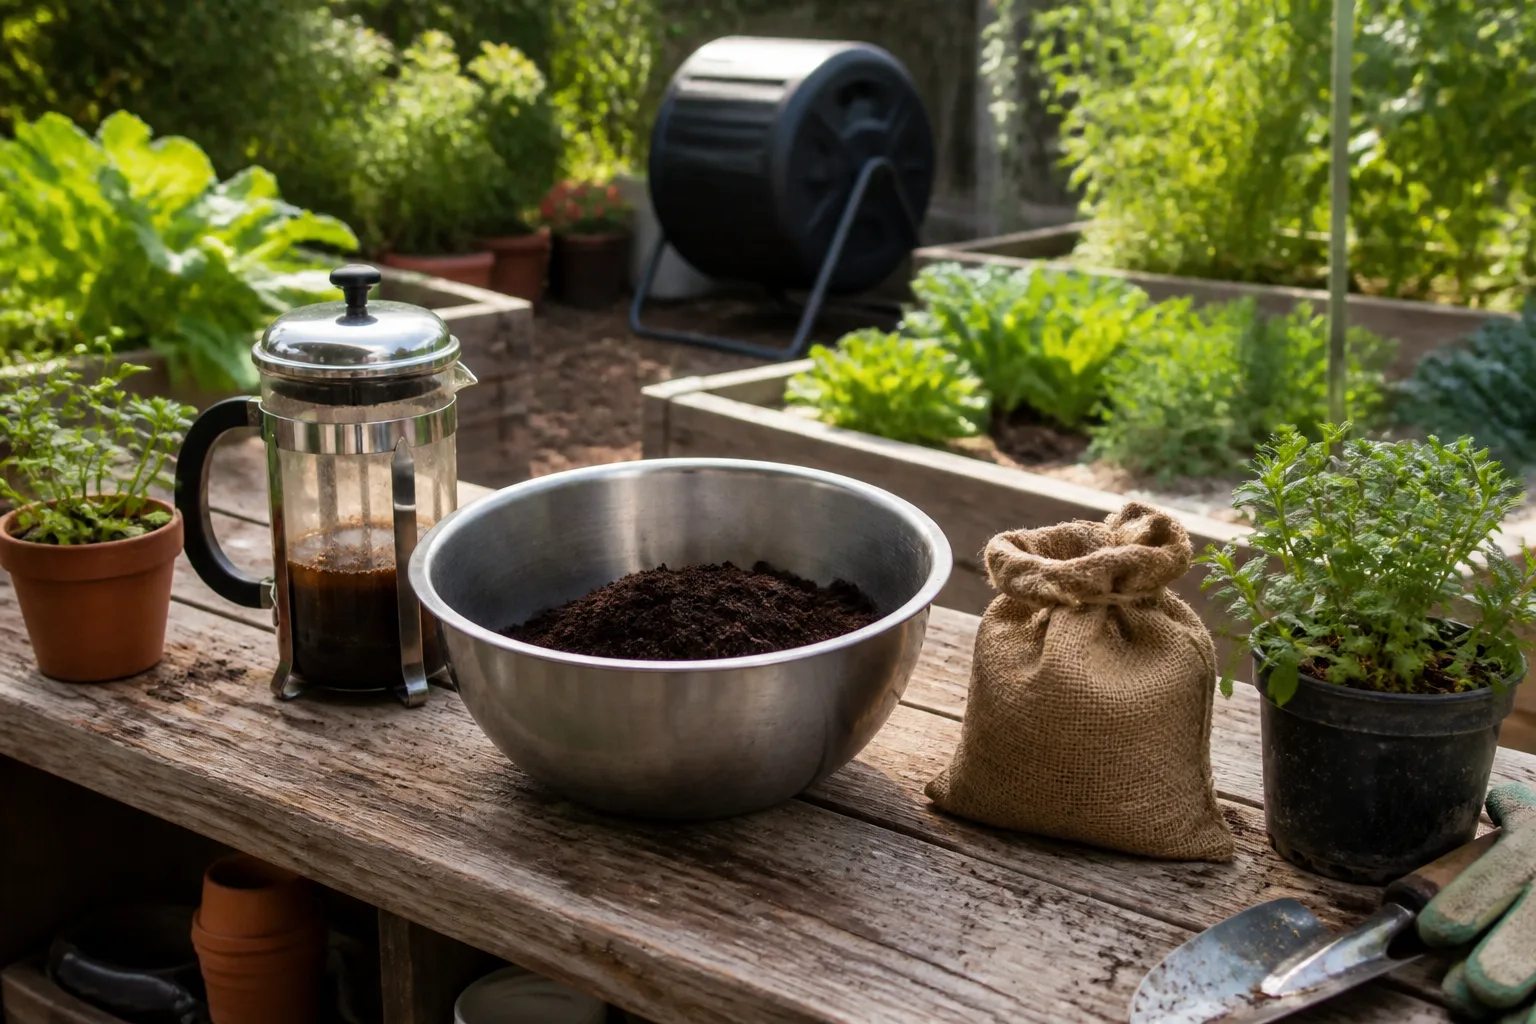
For vulnerable seedlings, use a physical protection strategy first. A fine mesh cover supported above the foliage, a clean collar that does not trap water, or a temporary container barrier can be more dependable than a ring of grounds. Keep the cover high enough for air movement and remove it when pollination or heat management requires access.
If you still want to test coffee around a seedling, wait until it has several true leaves and test the soil beside—not on—the plant. Use a very light band, inspect after watering, and remove it at the first sign of crusting, mold, wilting, or slowed growth. The cost of losing a seedling is usually greater than the value of using one kitchen byproduct immediately.
When coffee grounds are the wrong tool
Skip the coffee-ground experiment when the bed is already saturated, when the plant is newly transplanted, or when the soil surface is crusted and slow to drain. Adding a wet organic layer in those conditions can make the root zone less breathable and may hide the early signs of overwatering.
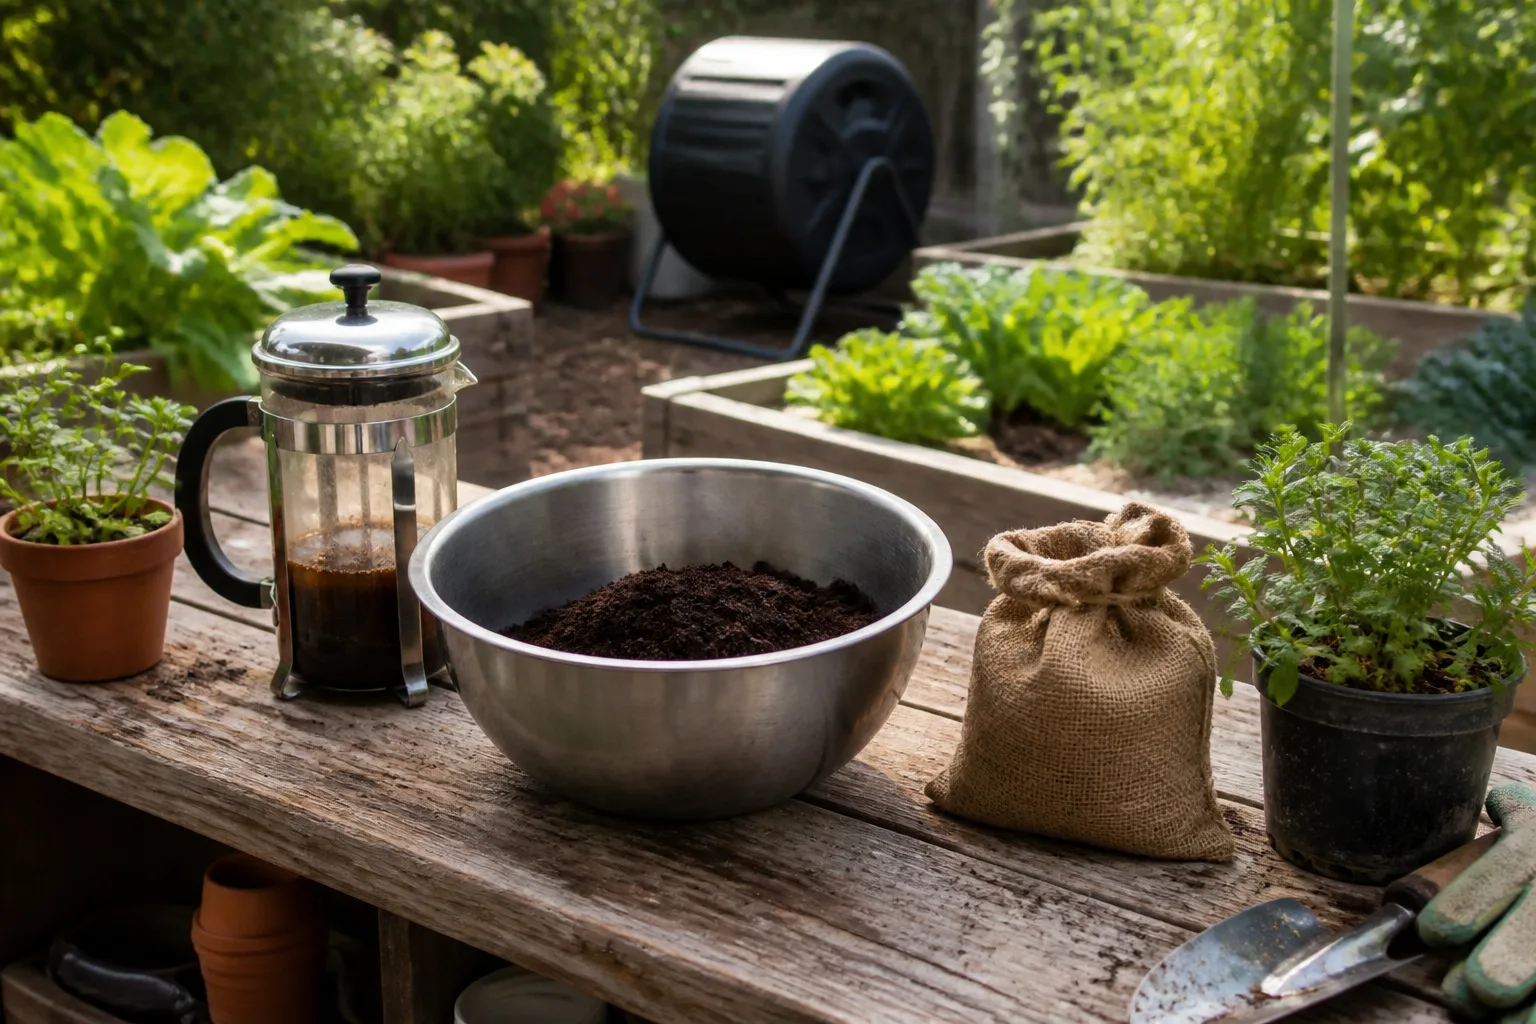
Skip it when you need reliable protection for a high-value crop tonight. A new vegetable bed, a tray of seedlings, or a small hosta collection may need a method that can be checked and repeated with clearer results. Grounds are inexpensive, but the time lost to a failed experiment can be expensive during a short planting window.
Do not use grounds as an excuse to spray coffee, vinegar, or salt across the foliage. Salt can injure plants and accumulate in soil. Vinegar can scorch leaves and damage nearby soil life. Coffee liquid is not a standardized slug product, and a stronger mixture does not become safer simply because it came from the kitchen.
Better slug control for serious damage
Coffee grounds can be one small part of an integrated plan, but slug pressure usually responds better when you remove shelter, intercept the pests at night, and protect the plant’s most vulnerable route. The Gardeningetc discussion of coffee and slugs also makes the important distinction between concentrated caffeine research and ordinary grounds: they should not be treated as interchangeable.
Hand-pick and use daytime shelters
Go out with a flashlight one to two hours after sunset, when the soil and foliage are damp. Pick off slugs and place them in a covered container of soapy water if that is the disposal method you use. Avoid scattering salt in the bed; it may kill a slug, but it also risks the soil and any plant tissue it touches.
For a less unpleasant search, lay a short board, a folded piece of damp cardboard, or an upside-down pot on small spacers near the damaged plants. Slugs often use dark, moist shelters during the day. Lift the shelter in the morning, remove what you find, and reset it until the number of slugs drops.
The Birds & Blooms guide to slugs and snails describes this trap-and-check approach alongside beer traps, copper bands, and labeled bait. It is especially useful in a small bed, where a few evenings of consistent removal can make a visible difference without treating the whole garden.
Use traps where they make sense
A shallow beer trap can reduce local slug numbers, but it is not a wall around the garden. Bury the container so the rim is level with the soil, place it near—not in the middle of—the most valuable planting, and keep it stable so wildlife and pets cannot easily tip into it. Empty and replace it as needed, and do not rely on it during a heavy, widespread infestation.
Shelter traps made from boards, cardboard, grapefruit halves, or an inverted pot are often easier to inspect and do not introduce a sugary or fermented attractant into the bed. They also help you learn where slugs spend the day, which can reveal a damp edge, compost pile, dense mulch pocket, or leaking hose that is sustaining the problem.
A simple shaded shelter concentrates slugs where you can check and remove them instead of searching every plant.
Choose barriers and products carefully
Copper bands can be worth testing around one prized container or raised bed, but they must form a continuous, clean boundary. Leaves, weeds, stakes, damp mulch, and overhanging soil can bridge the band. Results also vary with the product, so treat copper as a targeted barrier rather than a guarantee for an entire garden.
For persistent damage, use a slug product only if it is labeled for slugs, approved for your location, and appropriate for the crop. Follow the label for placement, reapplication, harvest intervals, children, pets, and wildlife. Never assume that “natural,” “organic,” or “pet-friendly” means risk-free, and never mix a bait with kitchen remedies to make it stronger.
The most durable plan combines sanitation with targeted control: remove boards, dense weeds, and excess debris near the plants; keep compost and damp refuges from touching the crop row; water early enough for the surface to dry before night when your plants allow it; and preserve predators rather than applying broad, indiscriminate treatments.
A practical seven-day slug plan
Day 1: identify and measure. Photograph the damage, inspect after dusk, and mark two or three plants to monitor. If you test grounds, apply a thin ring to only half of the affected plants so you have a comparison.
Day 2: remove bridges. Clear leaves, weeds, and low stems that connect the soil to the crop. Look under boards, pots, edging, and dense mulch. Do not strip the whole bed bare; remove the specific shelters that sit beside the plants being eaten.
Day 3: inspect at dawn. Check for new holes, slime, wet clumps, or slugs beyond the ring. If the grounds are crusted or the untreated plants look no worse, you may leave the trial in place for another night. If damage is equal or worse, move on.
Day 4: add a shelter trap. Place a board or inverted pot in the shaded problem area and check it in the morning. This gives you a removal point and tells you whether the population is concentrated in one damp pocket.
Day 5: protect the most vulnerable plants. Use mesh, a clean collar, or a properly fitted barrier around seedlings and leafy greens. Keep leaves from resting on the soil and remove any coffee ring that has become wet, thick, or moldy.
Day 6: choose escalation. If fresh damage is falling, keep the sanitation and monitoring routine. If it is not falling, use a labeled slug control product according to its directions or contact a local extension service for species-specific advice.
Day 7: decide what earns a place in the garden. Keep coffee grounds only if the treated plants show a clear, repeatable reduction in fresh damage and the soil remains open and healthy. Otherwise, compost the grounds and keep the parts of the plan that actually reduced slug activity.
Common coffee-ground mistakes
Building a thick wall. A wide, deep mound uses more grounds without creating a measured dose. It can crust over, mold, and interfere with air and water movement. Use a thin band that you can remove.
Putting grounds against the stem. The plant crown is a poor place for any damp organic material. Leave a gap, keep the stem dry, and do not cover low leaves.
Treating every hole as slug damage. Confirm the pest at night. Caterpillars, beetles, rabbits, and hail can produce different control problems, and coffee will not solve a misdiagnosis.
Reapplying automatically after rain. Rain is a reason to inspect, not a command to add more. If the ring has become a crust, remove it. If slugs are still active, choose a method that tolerates wet weather better.
Using coffee liquid as a stronger version. A caffeine experiment is not a safe kitchen recipe. Avoid spraying coffee over leaves or edible crops unless a product is specifically labeled for that use.
Ignoring the habitat. If a slug can live under a board, pot, dense weed, or wet mulch beside the plant, a coffee ring only treats the last few inches of the journey. Remove the nearby shelter and monitor the bed after dusk.
Assuming natural means harmless. Grounds, vinegar, salt, ash, diatomaceous earth, and commercial baits all have different risks. Read the label where there is one, keep materials away from children and pets, and protect soil structure and beneficial organisms.
Conclusion
Used coffee grounds can be worth a small, cautious slug-repellent trial, but they are not the reliable part of the solution. The most defensible use is a thin, dry, removable surface ring around a few established plants—not a thick mulch layer, a caffeine spray, or a substitute for slug monitoring.
Start by confirming the pest, clear the routes that let it bypass the ring, and inspect after rain and at dusk. If fresh damage continues, stop adding grounds and use hand-picking, shelter traps, a fitted barrier, or a properly labeled slug control product. Compost the grounds when the experiment ends; that is the garden use with the clearest upside and the fewest surprises.



