How to Grow and Care for Emerald Green Arborvitae
Get a complete Emerald Green arborvitae care plan, from choosing a site and planting depth to watering, pruning, deer protection, and troubleshooting.
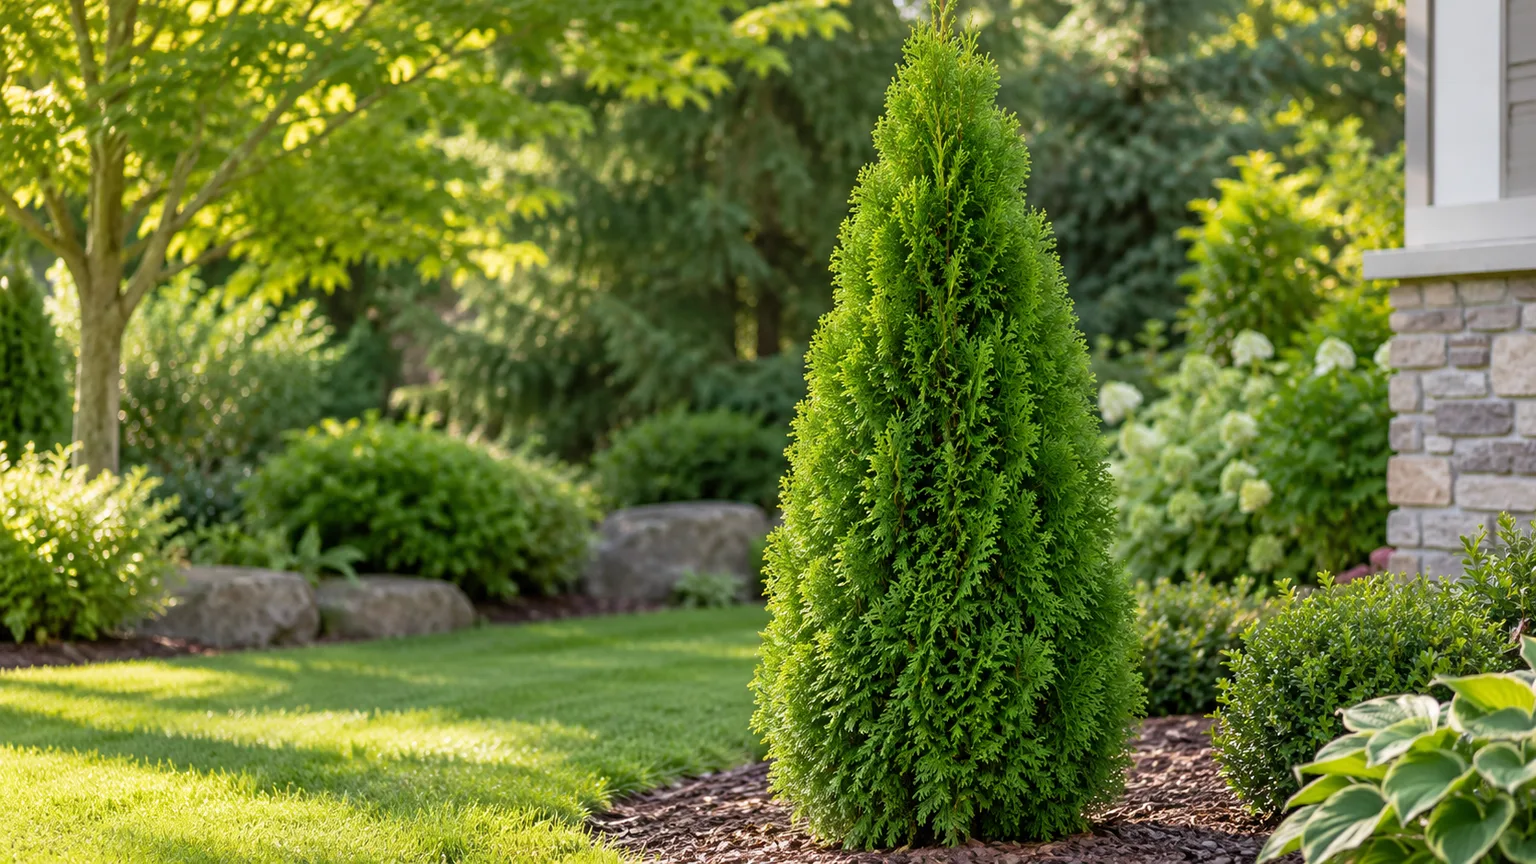
An Emerald Green arborvitae is a narrow evergreen often chosen for a property-line screen, but planting a row is a long-term layout decision. The trees can stay slim compared with many hedge plants, yet their mature width, soil drainage, deer exposure, and access for maintenance all matter more than a quick watering calendar.
The cultivar is sold as Thuja occidentalis ‘Smaragd’. It tends to keep a neat, upright shape, so it usually needs less shaping than a formal hedge. The best results come from choosing a site that suits the tree before planting, giving each root ball a careful start, and avoiding severe pruning once the foliage fills in.
What Makes Emerald Green Arborvitae Different?
‘Emerald Green’ is a cultivar of eastern arborvitae, an evergreen conifer in the cypress family. It grows in a narrow, broadly conical form with flat sprays of scale-like foliage. The upright habit makes it useful where a wider hedge would take too much room, but it still needs enough space for roots, mature branches, airflow, and access.
Published dimensions vary by region and source. The Royal Horticultural Society’s profile for ‘Smaragd’ lists a height and spread of about 1.5–2.5 meters and a 10–20-year time to maturity. U.S. horticulture guides commonly describe plants reaching roughly 10–15 feet tall and 3–4 feet wide. That difference is a reason to treat catalog dimensions as estimates: climate, nursery stock, soil, water, and how the plant is grown affect the eventual outline.
This is not a fast privacy wall the day it comes home. Young plants can put on noticeable growth in favorable conditions, but establishment comes first, and the rate slows as a tree matures. If you need screening immediately, combine the row with a temporary fence or another short-term screen rather than crowding the trees closer than their long-term spacing allows.
Is This Arborvitae Right for Your Yard?
Choose this cultivar when you want a year-round green screen with a relatively narrow silhouette and are prepared to wait for plants to fill the sightline. It can work as a specimen, a repeated vertical accent, or a living boundary. A row of the same cultivar also gives a cleaner, more uniform look than mixing several evergreen forms.
The trade-off is that a narrow evergreen has limits. It will not create a broad, dense hedge by itself, and a single row may have gaps until neighboring crowns grow together. It is also not a dependable deer-proof plant. NC State Extension notes that deer browsing can be a serious problem for Thuja occidentalis, and hungry deer may browse plants they would normally leave alone.
Think about the job before buying: measure the length to screen, identify the view that matters, and check whether you can reach the planting strip for pruning and inspection. A full privacy hedge beside a fence may need more room than the narrow mature crown suggests. If you cannot give the trees room or protect them from repeated deer browsing, a different screen may be easier to maintain.
Where It Struggles
The species grows best in moist, well-drained soil and can tolerate some clay and wet-site conditions, but a spot where water stands for days after rain is still a poor bet for a newly planted hedge. Dry, exposed, windy locations can cause foliage to yellow or brown, while deep shade produces thinner growth. The NC State Extension plant profile notes both the need for moisture and the risk of winter burn on dry or exposed sites.
Avoid planting in a narrow strip boxed in by pavement, a building, and an existing fence if heat and drought are common there. Roots need a soil area that can hold moisture without staying saturated. Check local deer pressure as well: a newly planted row with easy browsing access may lose foliage faster than it can establish.
Choose a Site Before You Buy
Start with sunlight. Full sun encourages dense growth, while partial shade is generally workable if the trees still receive several hours of direct light. In deep shade, the row can become open and uneven, especially on the side facing away from light. If the hedge will sit beside a building or fence, look at the light at different times of day rather than guessing from one midday visit.
Drainage and soil moisture are the next checks. After a soaking rain, observe where water moves and how long it lingers. If the intended row stays soggy, fix the drainage or choose another site instead of trying to solve the problem with gravel in the bottom of each planting hole. If soil dries quickly and the site is windy, plan to water through establishment and mulch the root zone.
Mark the likely mature width on the ground before placing a single plant. Include room between the row and a fence, walk, foundation, or utility access. The tree should not need to be repeatedly cut back from a structure; hard cuts into old wood can leave permanent brown gaps. For a property-line planting, check local rules and locate underground utilities before digging.
Plant Emerald Green Arborvitae Step by Step
Plant in spring or early fall when temperatures are moderate and the tree can establish roots before intense summer heat or frozen ground. Avoid planting a stressed, dry root ball on a hot day. Water the nursery container or root ball before planting so it does not start out dehydrated.
Dig a hole about two to three times wider than the root ball, but no deeper than the root ball is tall. The top of the root ball and the root flare should sit at or slightly above the surrounding grade. If you bury the flare, the trunk can stay wet and the roots may struggle for oxygen. In a compacted area, loosen soil across a wider planting zone instead of digging a deep pocket that can collect water.
Remove the pot and inspect the roots. If they circle densely around the root ball, gently tease or make a few shallow vertical cuts through the outer mat so new roots can grow outward. For balled-and-burlapped stock, remove any twine and wire around the trunk and cut away as much burlap as practical from the top and sides. Leave the root ball intact rather than breaking it apart.
Set the tree upright, backfill with the soil you removed, and firm it gently with your hands. Do not stamp the soil hard or pack compost into the hole as a separate rich layer. Water slowly to settle the soil around the roots, then apply a 2–3-inch mulch layer over the root zone, keeping mulch several inches away from the trunk. This keeps moisture more even while allowing air to reach the root flare.
After planting, check that the trunk is vertical and the root flare remains visible. Stake only if the root ball moves in wind or the site is unusually exposed, and remove supports once the tree can stand securely. A tightly tied stake left on for years can rub or girdle the trunk.
Space for Privacy and Mature Width
For a continuous screen, a common starting point is about 3–4 feet between trunk centers. Epic Gardening and This Old House both describe this range for a privacy row. Closer spacing can close gaps sooner, but plants then compete for light and water and are harder to inspect between branches. Wider spacing leaves individual columnar forms more distinct and improves access.
Measure from center to center, not from the outside of one root ball to the next. For example, a 20-foot row at 4-foot spacing usually needs about six plants if you place one near each end and distribute the rest evenly; the exact count depends on the margin you leave at the ends. Sketch the whole row with mature width and maintenance space marked before buying. Leave enough setback from a fence or property line to reach both sides if you expect to prune or inspect there.
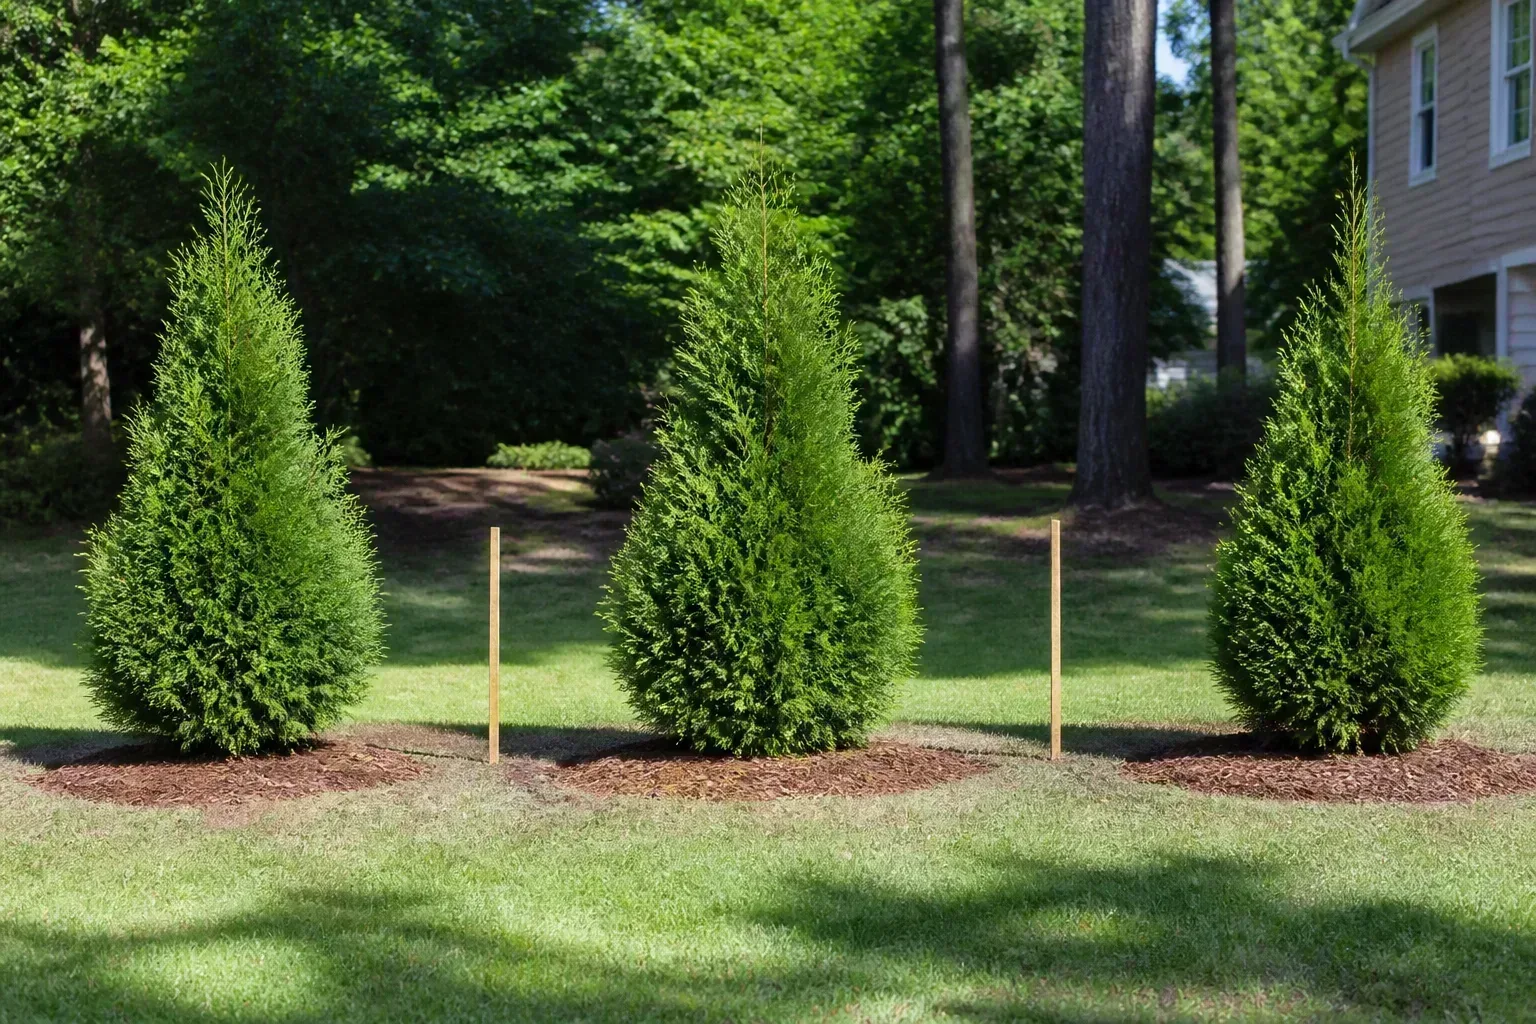
Avoid forcing an instant wall with very tight spacing. Crowded branches shade the lower foliage, restrict airflow, and make pest checks difficult. The exposed plant sides also matter: a hedge planted directly against a fence may be dense on the yard side but thin and inaccessible behind it.
Watering and Mulching After Planting
A newly planted arborvitae needs consistent moisture while roots extend beyond the original nursery ball. Water the root ball and surrounding backfill slowly, then check the soil rather than watering automatically every day or every week. A small root ball can dry while the surrounding garden soil still feels damp, so push a finger or trowel into the root-ball zone a few inches down.
If that soil is dry, water deeply enough to moisten the full root ball. If it is cool and damp, wait and check again. During warm, windy weather or a dry spell, checks may need to be frequent; after rain or in heavy soil, they can be less frequent. The goal is evenly moist soil, not a permanently saturated planting hole.
As roots establish, widen the area you check and water. Established trees tolerate short dry periods better than newly planted ones, but prolonged drought can still cause browning, especially on exposed sites. Rainfall and irrigation together count. A rain gauge can help estimate what the row receives, but do not treat a single weekly number as a fixed requirement for every soil type or weather pattern.
Maintain a mulch ring that extends beyond the trunk, ideally over the root zone, and keep it off the bark. A 2–3-inch layer of shredded bark or wood chips slows evaporation and reduces competition from turf. Replenish it as it decomposes without layering new mulch into a high mound. Keep grass and weeds from growing right up to the trunk while plants establish.
Tell Dry Roots From Waterlogged Soil
Before adding more water to a brown tree, feel the soil several inches down. Dry, dusty soil and a shrinking root ball suggest drought stress. Soil that stays wet, smells sour, or pools after irrigation points to poor drainage or excess watering. In both cases, foliage can brown, so the symptom alone does not tell you which correction to make.
If the ground is wet, pause irrigation and address runoff or compaction; do not add fertilizer to “green it up.” If it is dry, water slowly and broadly over the root zone, then use mulch to reduce future swings. A moisture meter can add context, but it cannot replace checking multiple locations because the original root ball and surrounding soil may dry at different rates.
Light, Soil, Fertilizer, and Climate
Full sun usually gives the densest screen, but partial shade can work. Deep shade is a poor compromise: plants may survive but grow more slowly and lose density. In hot regions, light afternoon shade can reduce heat stress, but airflow and well-drained soil remain important. Watch the whole site over a summer rather than relying only on the planting label.
The broader species, Thuja occidentalis, tolerates several soil types, including clay, but does best where moisture is available and excess water drains away. That does not mean every heavy clay site is suitable. Compacted soil, roof runoff, a low spot, or a downspout can leave the root zone saturated. Improve the planting area broadly or choose another location; a small pocket of amended soil will not fix a wet site.
Do not fertilize automatically every spring. First check whether the tree is getting enough light and water, whether its roots are healthy, and whether the soil drains. Sparse growth can result from shade, drought, root stress, or crowded spacing, none of which a fertilizer application will correct. If a soil test or local extension recommendation indicates a nutrient need, use a product labeled for landscape trees and follow its rate. Excess fertilizer can push tender growth or injure roots.
Climate affects the work more than the calendar. In a hot, dry summer, newly planted rows need more frequent checks; in a mild, rainy season, the same schedule can waterlog roots. In windy or exposed locations, foliage can lose moisture in winter when frozen ground prevents the roots from replacing it. Treat local weather and the tree’s soil as the guide.
Prune Without Creating Bare Patches
The natural shape is already a slim cone, so routine hard shearing is usually unnecessary. Remove dead, broken, or crossing branches when you notice them. For a light tidy-up, trim only the green outer growth during the growing season, ideally before late-summer growth must harden for winter. Use sharp, clean pruners for small branches and loppers for larger ones.
The key limit is that arborvitae do not reliably refill old bare wood. If you cut deep into a brown interior branch or remove the green outer layer, you may leave a hole that stays visible for years. Before making a cut, trace the branch back and confirm that living green growth remains beyond the cut. The RHS cultivar profile describes ‘Smaragd’ as needing no pruning, which is a good reminder that shaping should be light and intentional.
If you want a more formal screen, make small, regular trims rather than allowing the hedge to become oversized and trying to reduce it all at once. Keep the top a little narrower than the base so sunlight reaches lower branches. Do not top the trees to hold them at a height they have outgrown; this can destroy the natural outline and expose interior brown foliage. Choose a cultivar with a suitable mature height if you need a lower screen.
Winter Care and Snow Protection
Evergreens continue losing moisture through their foliage during winter. If wind or bright sun draws water from the leaves while the ground is frozen or dry, the exposed side can turn bronze or brown. The NC State Extension profile specifically warns about winter-burn risk on dry, exposed sites.
Before the ground freezes, water during a dry autumn so roots enter winter with adequate moisture. Keep mulch in place, but do not pile it against the trunk. In a very windy location, a burlap screen on the windward side can reduce exposure; it should not be wrapped tightly around foliage or left to trap moisture through mild weather. Young plants and newly planted rows may benefit most from temporary protection.
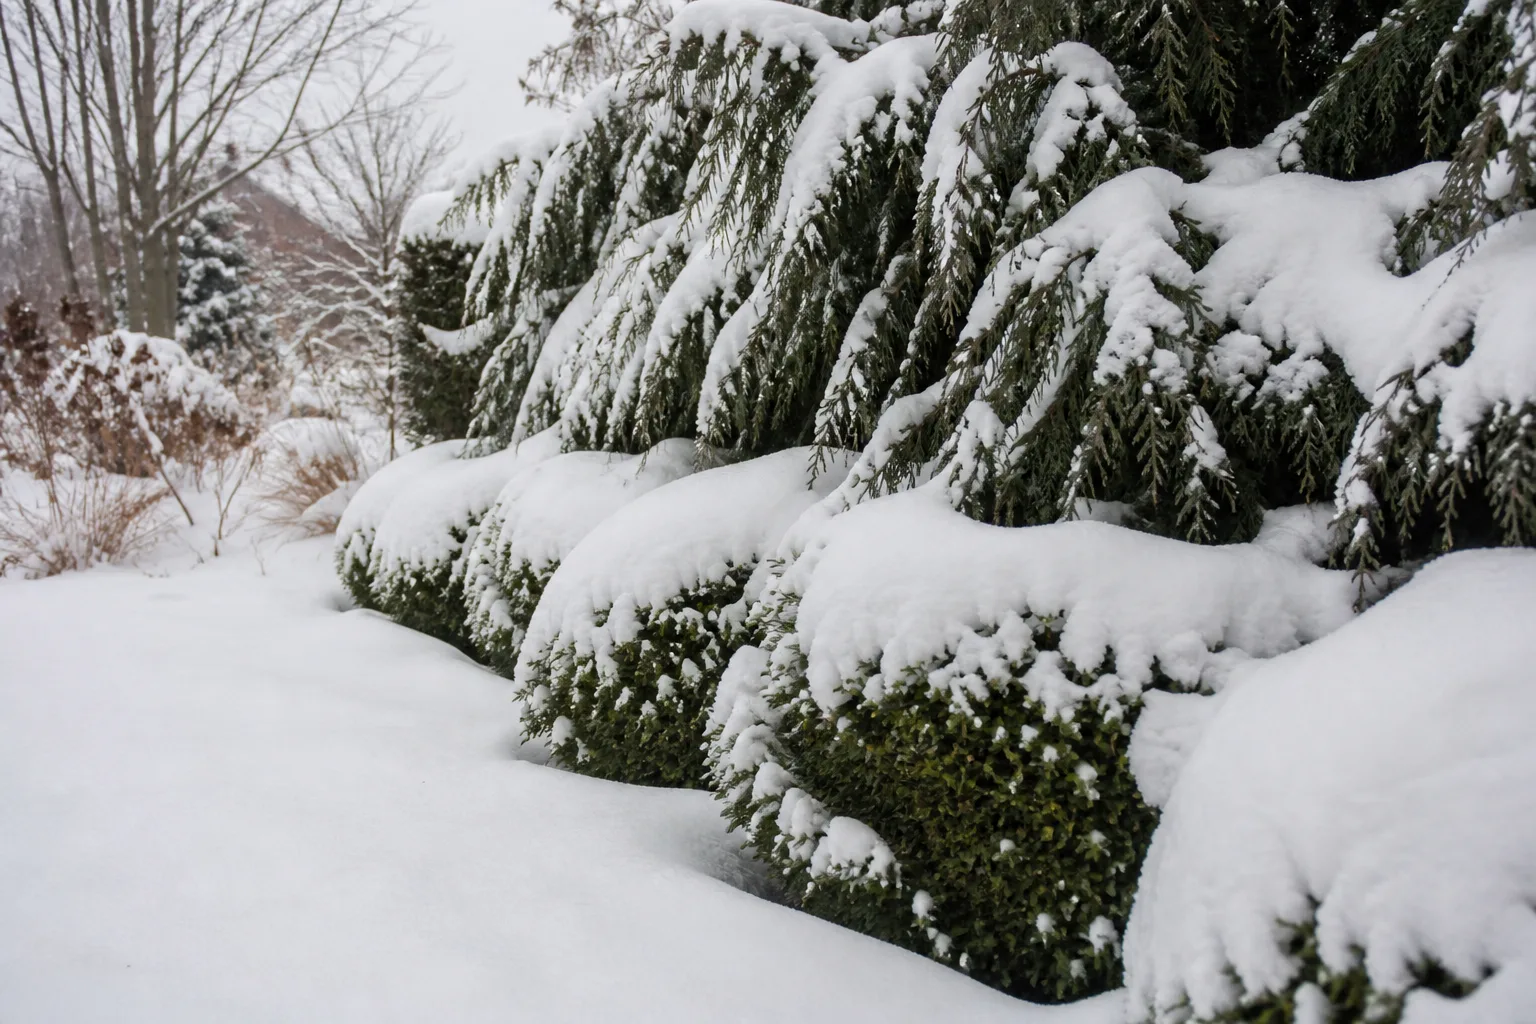
Heavy, wet snow can bend or split branches. If a storm leaves a load on the tree, gently lift or brush snow away from the branches without striking frozen limbs. Do not pull branches sharply back into position while they are stiff. If a branch has split, prune it back to a healthy lateral or branch junction rather than leaving a ragged tear. Preventive tying with soft twine can help a narrow young plant, but loosen or remove it as conditions change so it does not constrict growth.
Diagnose Browning and Other Common Problems
Start with the pattern, timing, and soil. Brown foliage on the side facing winter wind after a cold, dry spell suggests winter burn. Browning after a dry summer can point to drought, while soft foliage and soil that stays wet raise concern about root stress. A few dry sprays inside an otherwise healthy tree may simply be old foliage being shed.
Look for a repeating pattern across the row. If every plant is brown on the same exposed side, weather or site conditions are more likely than a pest. If one plant declines while its neighbors stay green, inspect its root zone, planting depth, trunk, and branches closely. A new tree that has browned severely may have had transplant damage, been planted too deep, or dried out before roots established.
Do not spray a pesticide or fungicide just because the foliage changed color. First inspect the branches and needles for insects, webs, bags, cankers, or a clear boundary between live and dead tissue. Correcting water or drainage problems and removing a confirmed damaged branch is often more useful than treating an unidentified symptom.
Normal Interior Needle Drop
A mature evergreen can shed older inner foliage while keeping its outer growth green. The interior sprays may turn brown and collect near the trunk, especially during seasonal turnover. If the browning is mostly inside and the branch tips remain green and flexible, remove loose dead material and monitor the tree rather than cutting healthy outer growth.
Interior browning is less reassuring when it spreads outward, affects one whole side, follows a drought, or occurs with dead branch tips. Compare the tree after a few weeks of normal moisture. If new browning continues or the trunk and branches show lesions, consult a local extension office or certified arborist with clear photos and details about irrigation, soil, and timing.
Deer, Bagworms, and Other Pests
Deer can browse the outer foliage and leave ragged ends or a sharply defined browse line. A physical fence is often more reliable than assuming the cultivar will be ignored; repellents may need repeat applications and work unevenly. Protect young trees while they establish, and consider another species if deer repeatedly remove new growth from the entire row.
Bagworms make small spindle-shaped cases that hang from branches and may look like cones or bits of debris. Inspect the canopy from spring onward, especially where trees are crowded. Remove accessible cases and dispose of them rather than leaving them beneath the plant. For a severe infestation, identify the pest and ask a local extension service about timing and labeled controls before treating a tall hedge.
Scale insects, mites, leafminers, and fungal diseases can also affect Thuja. Look for symptoms on the branch itself—stippling, webbing, unusual bumps, dead tips, or cankers—before deciding what action to take. The NC State species profile lists deer damage, leafminers, bagworms, scales, mites, and canker among potential problems. Healthy spacing, appropriate watering, and early inspection make it easier to spot a change while it is limited.
Propagating or Replacing a Failed Plant
The RHS lists semi-hardwood cuttings as a propagation method, but rooting and growing a uniform screen from cuttings takes patience. A seedling may not keep the narrow habit and color of the named cultivar. If your goal is a consistent hedge, buying correctly labeled nursery stock is usually more predictable than starting a row from seed.
If one tree fails, identify why before replacing it. A new plant installed in the same saturated hole, deep shade, or deer corridor is likely to fail for the same reason. Check that the replacement’s root flare will sit above grade, improve drainage across the planting area if possible, and protect the young tree from browsing. Replace an individual plant in the same season as its neighbors only if you can provide establishment water; otherwise, wait for a moderate planting window.
A brown tree is not automatically dead, but dead branches do not become green again. Scratch a very small section of twig bark to see whether living tissue is still present, then look for green foliage farther back on the branch. If all growth is brown and brittle, the trunk is damaged, or the roots have rotted, replacing the tree may be more practical than repeated pruning or feeding.
Conclusion
Emerald Green arborvitae can make an attractive, narrow privacy screen when the site gives it enough sun, moisture, drainage, and room to mature. Plant at the right depth, space the row around expected size rather than the fastest possible screen, and water based on the root-zone soil instead of a fixed weekly promise.
Keep pruning light, protect young trees from deer and winter exposure, and diagnose browning by checking where it starts and what the soil is doing. The most important decision happens before planting: choose a location and spacing that will still work when the trees are mature.



