22 Garden Edging Ideas for Lawns, Beds, and Paths
Compare 22 garden edging ideas—from a spade-cut trench to brick, stone, steel, plants, and gravel—and choose the right edge for your lawn, bed, or path.
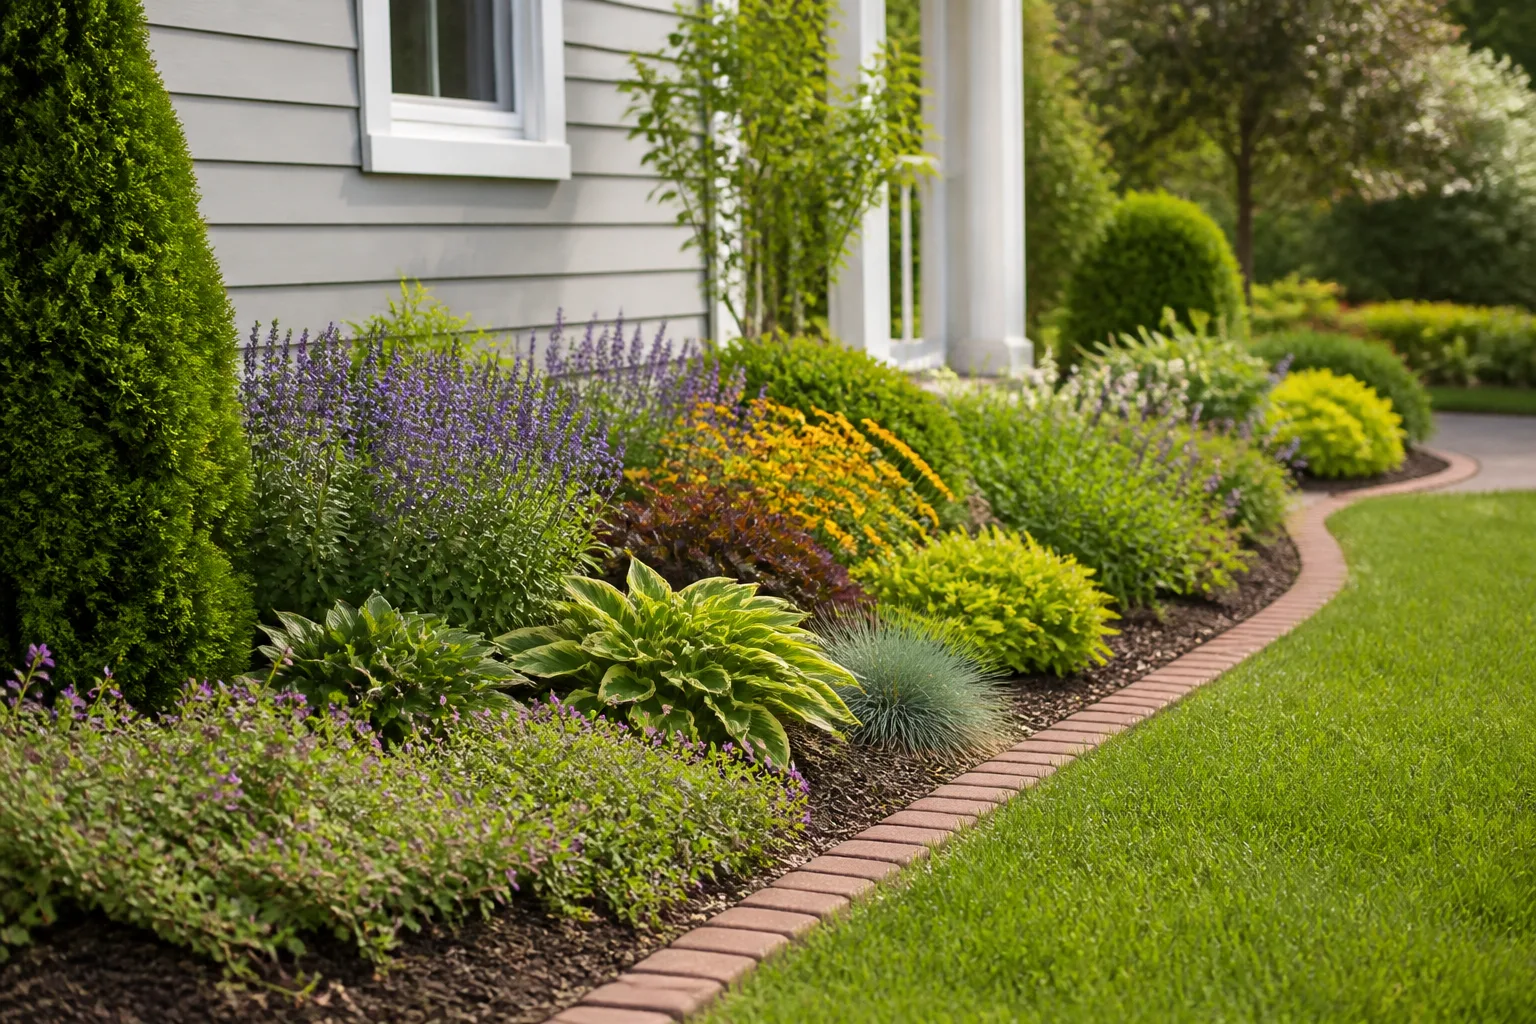
Garden edging is easiest to choose when you decide what it must do before you decide what it should look like. A spade-cut trench can separate lawn from flowers without buying material; a flush brick strip can give mower wheels a firm track; a low wall may hold a slight change in grade. Those are different jobs, even when the finished border looks equally tidy.
Think of an edge as both a line and a working detail. It can frame plants, keep loose mulch from wandering, make a path easier to sweep, or reduce how often grass creeps into a bed. It rarely solves every problem at once, and no border stops weeds that arrive from seed.
Start with the job your edge needs to do
Before shopping, walk the boundary and note what touches it: turf, a path, gravel, a driveway, a fence, or a slope. Then decide whether you want a crisp formal line, a soft planted transition, or a barrier that keeps loose material in place. If you choose a decorative edge for a job it cannot perform, you may spend more time re-cutting, sweeping, or resetting it than you expected.
For a clean mowing line, the top of a hard edge should meet the lawn at a height the mower can pass without catching a blade or bouncing a wheel. To contain mulch, pay attention to soil grade and the drop from lawn to bed; a tall border is not always necessary. If the edge must hold back soil, treat it as a small retaining structure and think about drainage, the weight of wet soil, and the consequence of failure before choosing stones or timber.
Shape affects labor, too. Straight lines emphasize a formal layout and are straightforward to mark with string. Broad curves make a bed feel more relaxed and are easier to cut and maintain than a string of tight scallops; the Royal Horticultural Society’s lawn-edge guide recommends viewing a marked curve from several angles before cutting it. A garden hose laid on the grass is a simple way to test the line, then leave it overnight and look again before you dig.
22 garden edging ideas, grouped by look and material
The ideas below range from edges made with a spade to long-lasting hardscape. Match the option to the pressure it will face: a border beside a hand-tended flower bed has different demands from a driveway edge that gets walked on, mowed, and driven across.
Living edges
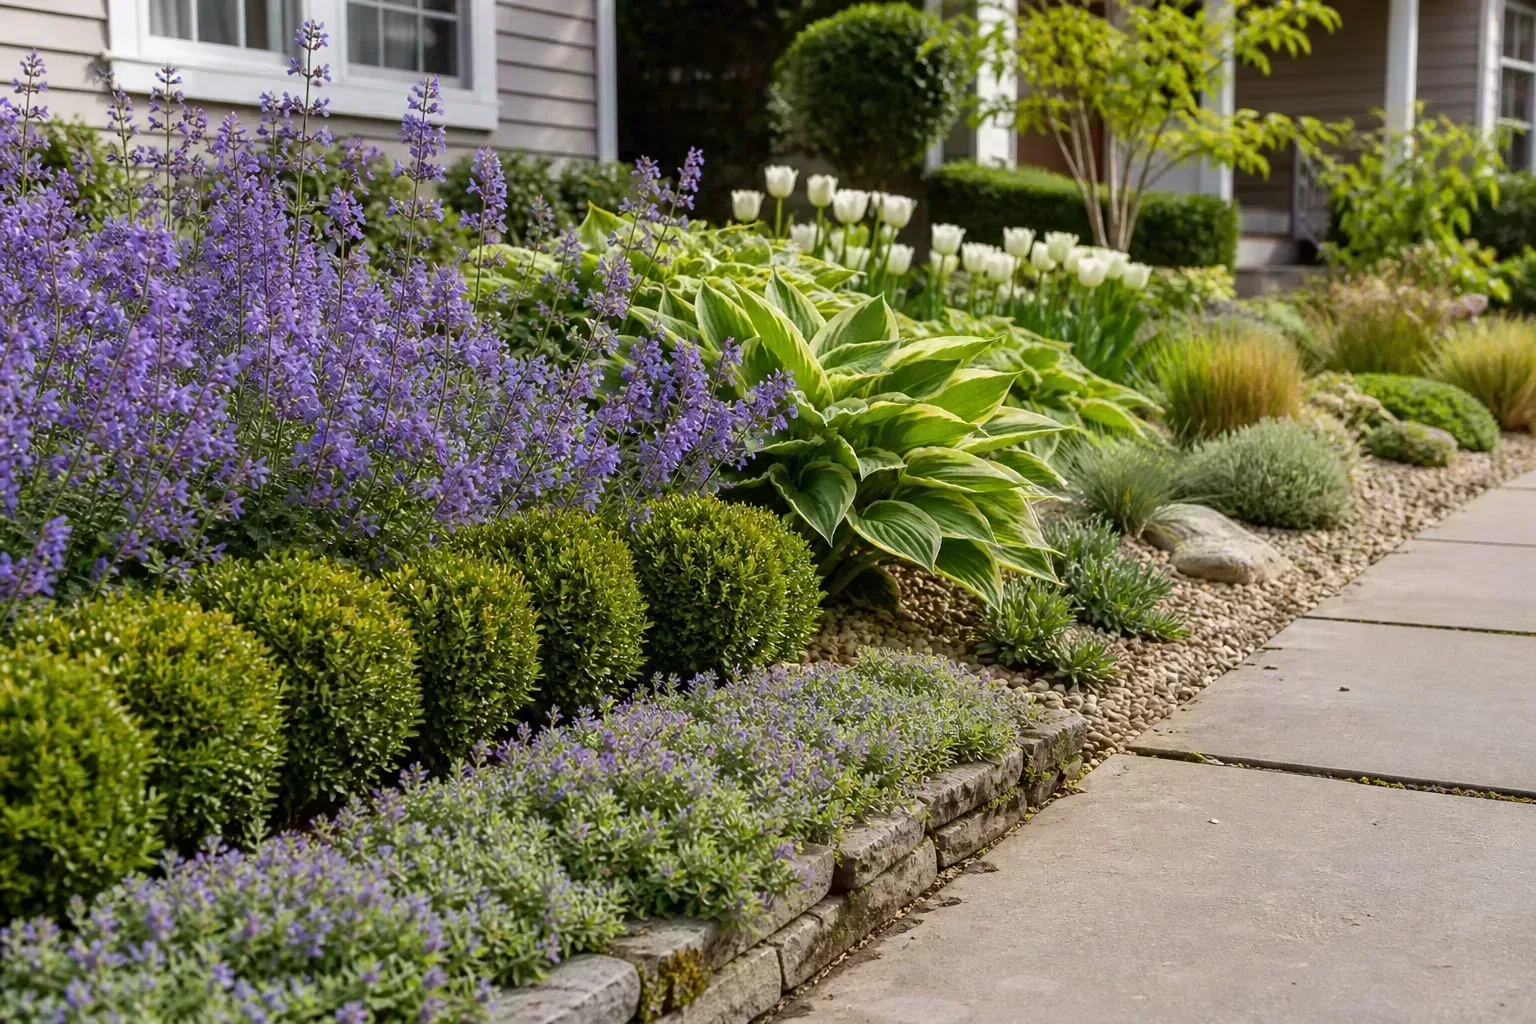
1. A crisp, spade-cut trench. Cut a clean vertical line where lawn meets soil, then lift a narrow strip of turf to leave a shallow channel. It is the least expensive and most flexible approach, and it makes a flower bed look finished without adding another material. Grass will eventually creep back, so plan to touch up the trench during the growing season; a cut edge is a maintenance routine, not a permanent root barrier.
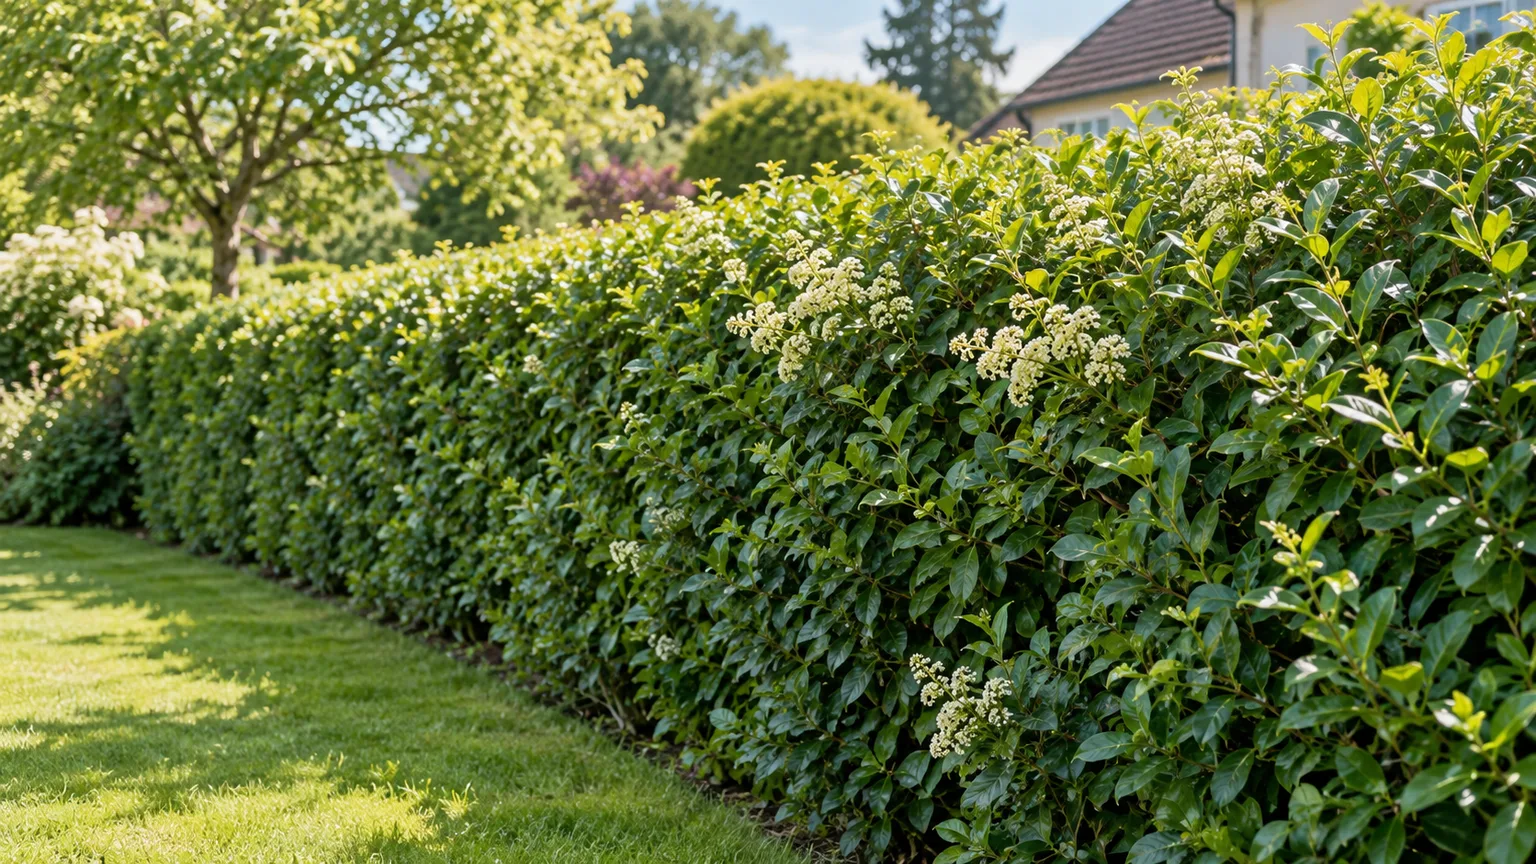
2. A low clipped hedge. A short line of compact shrubs gives a border structure through winter as well as summer. Boxwood is a familiar formal choice, while locally suitable alternatives such as inkberry holly or dwarf yaupon holly can fit some regions; select by mature size, climate, and disease pressure rather than by a nursery label alone. Hedge edging needs shearing and enough width for the plants to mature, so leave room for airflow and access instead of planting right against a path.
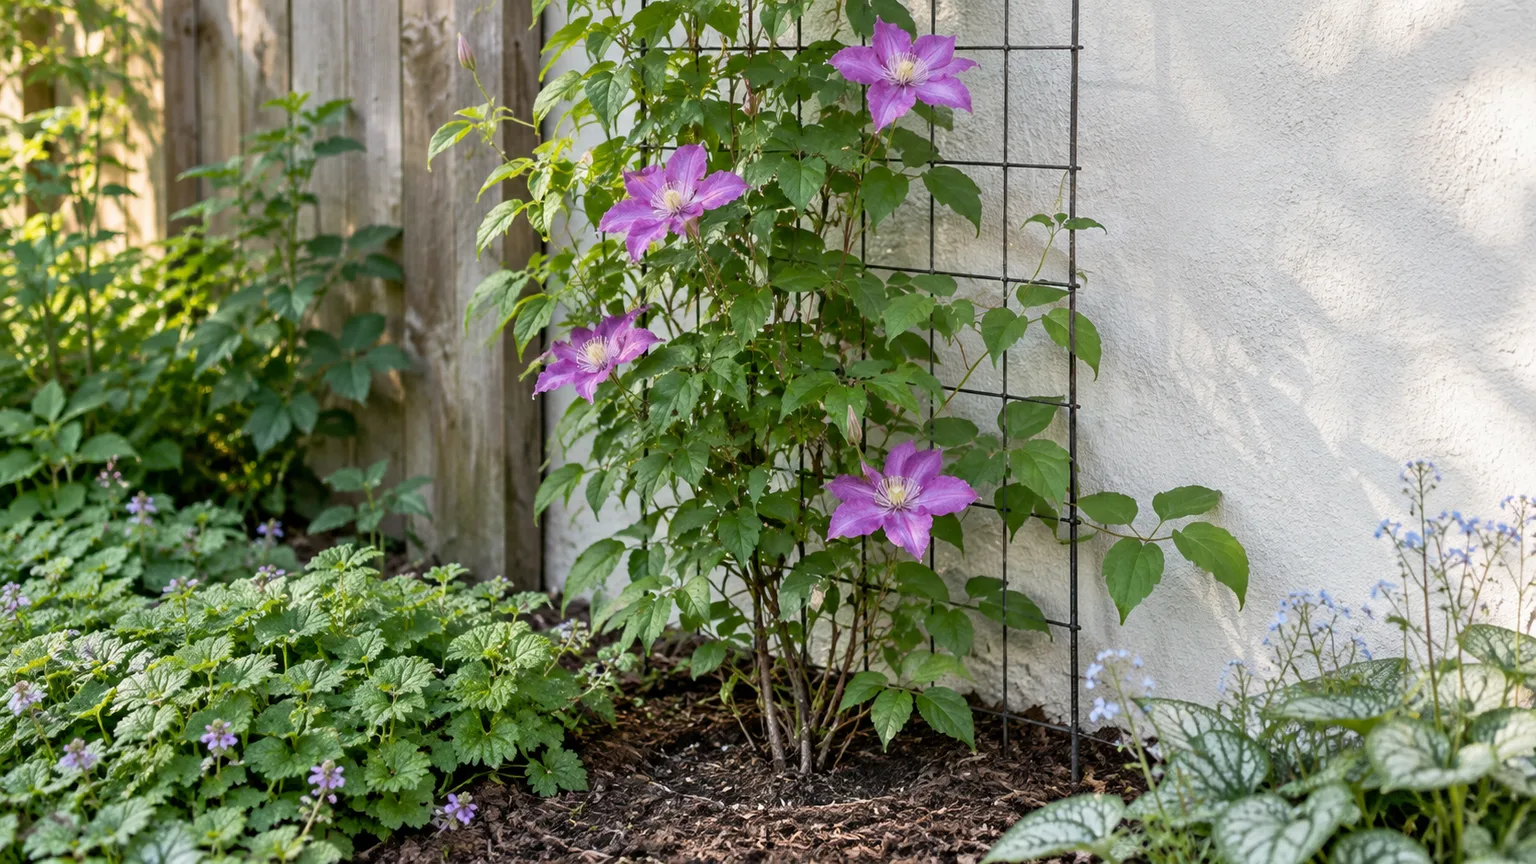
3. A ribbon of flowering perennials. Repeating a few low-growing perennials along the front of a mixed border creates a deliberate transition from lawn to taller flowers. Hardy geraniums, catmint, salvia, or other regionally appropriate perennials can provide color and nectar, but the right choice depends on sun, moisture, and soil. The RHS notes that matching a border to site conditions is central to reliable planting; use its border-planning advice to narrow choices before you buy.
4. A fragrant herb edge. Lavender, thyme, or another compact herb can make a sunny path smell inviting when brushed and can soften a hard line with foliage. Lavender is a poor fit for damp, heavy soil or persistently humid shade, while creeping thyme will not tolerate every foot-traffic pattern. Use this idea where the plant’s needs match the site, and keep enough clearance that foliage does not spill onto a path and become slippery or trampled.
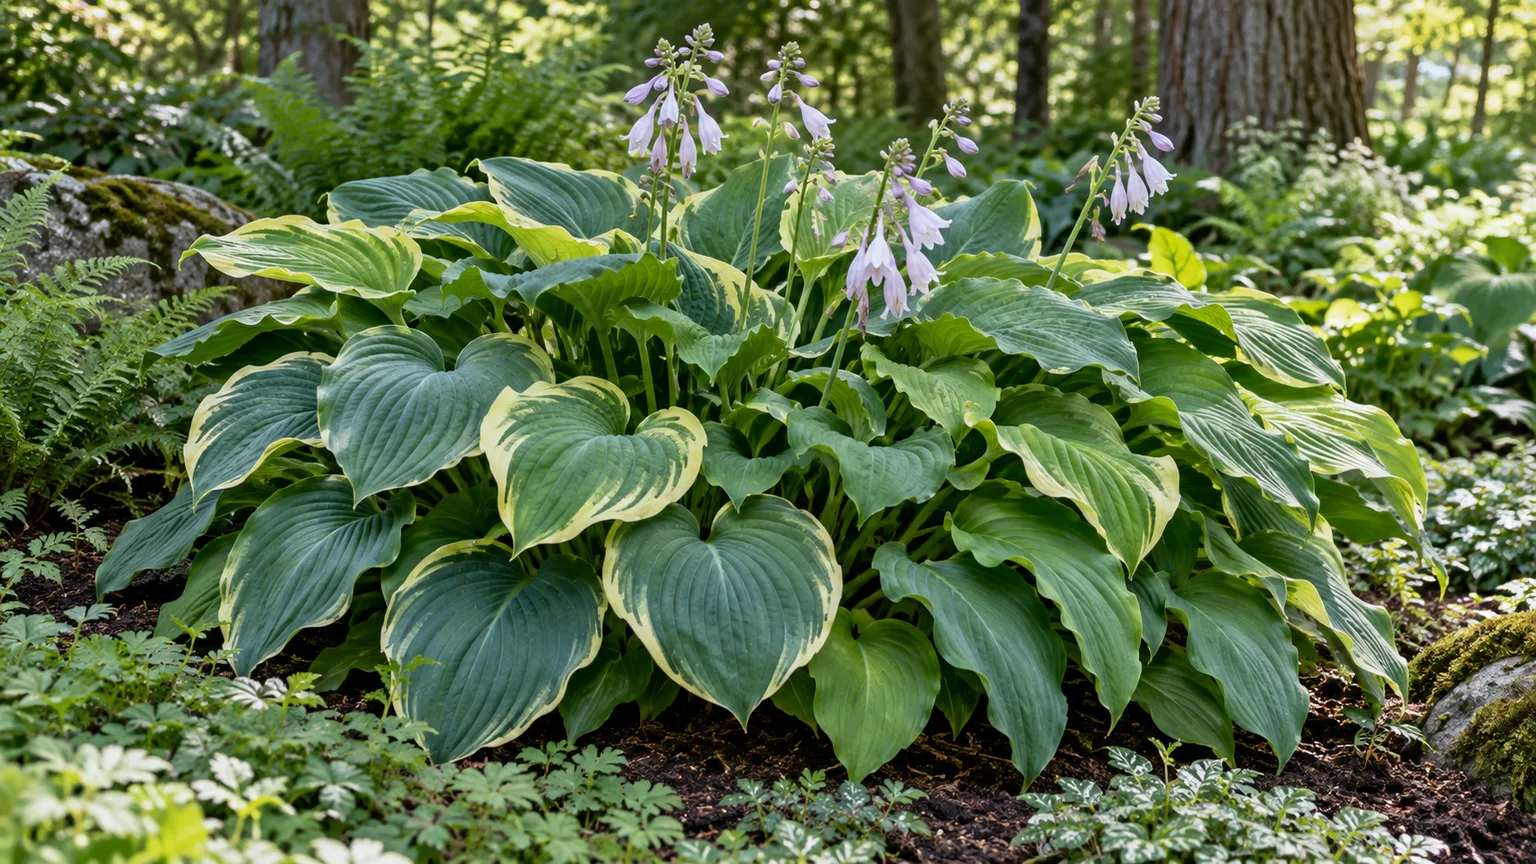
5. A groundcover seam. A low groundcover can stitch the space between a stone path and the bed into one planted composition. Look for a plant that stays low, tolerates the site, and does not aggressively invade lawn or neighboring beds. Groundcover is a visual soft edge, not a substitute for a physical barrier: choose a different option if containing soil, gravel, or a vigorous turfgrass is the main goal.
Brick and paver edges
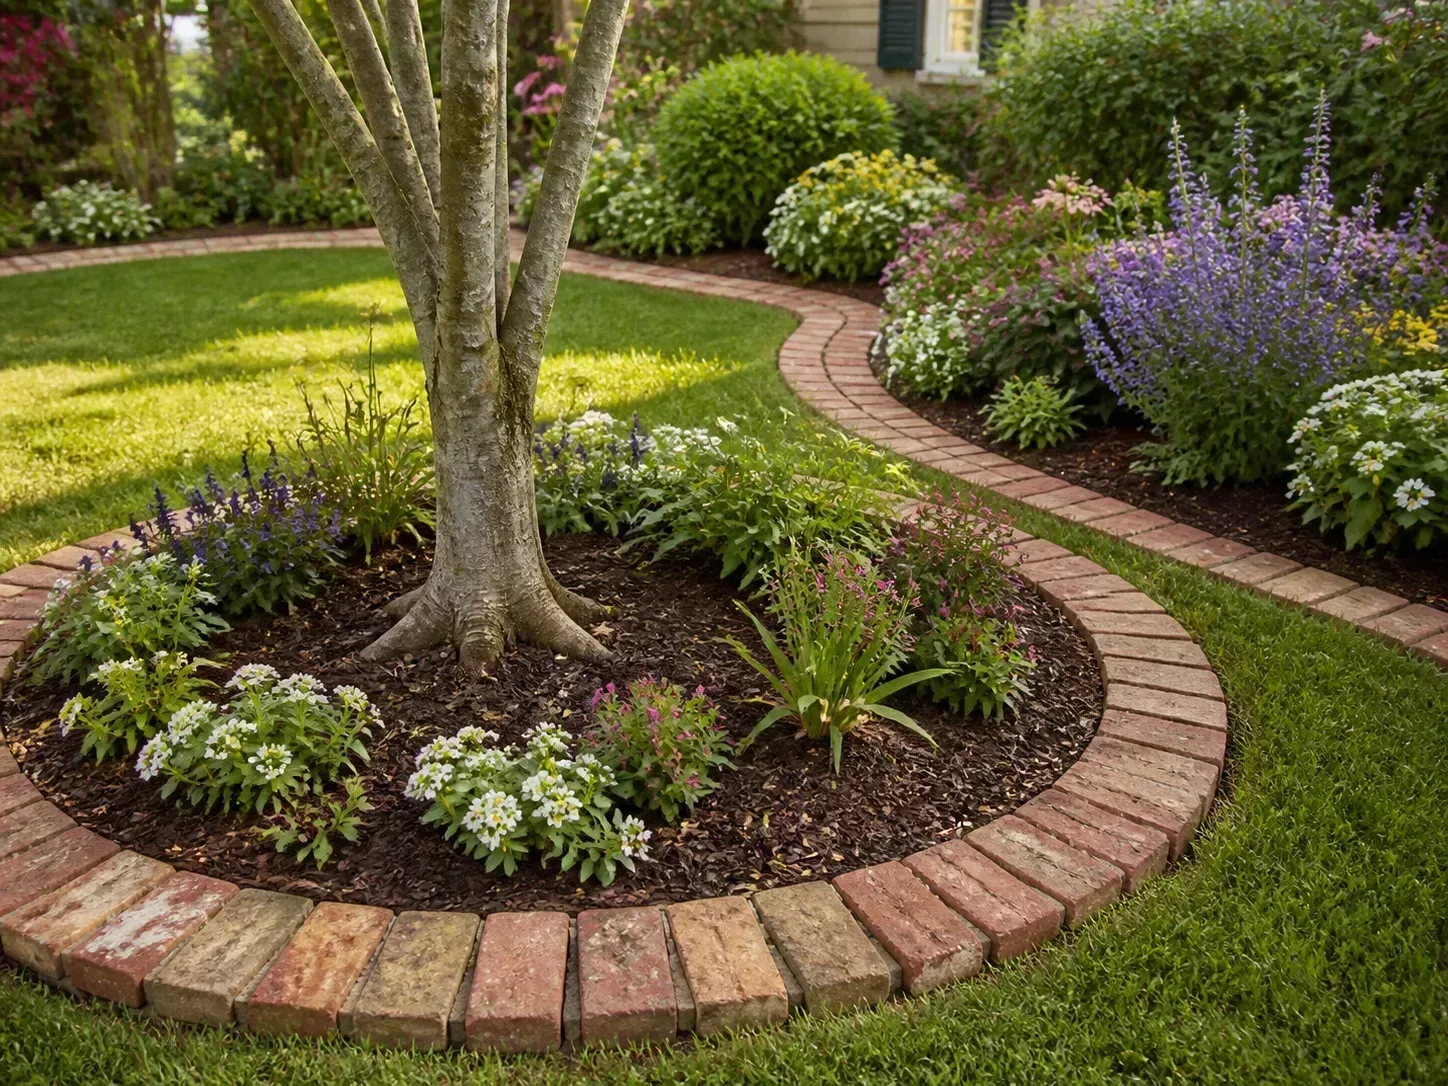
6. A vertical brick soldier course. Set bricks on edge in a continuous line for a traditional, high-contrast border. It reads clearly from a distance and can follow a moderate curve if the units are small enough to turn gradually. The taller profile can be harder to mow beside and may create a trip point, so avoid placing it where people step across the boundary or where a mower wheel needs to roll over it.
7. A flush brick mowing strip. Lay bricks or pavers flat with their tops close to the lawn’s finished grade. The mower wheel can travel along the strip, leaving a narrow zone that is easier to trim than grass meeting a bed directly. The benefit depends on a stable, even base: a brick that settles or tips becomes a snag, and joints can collect weeds or soil if they are left open.
8. Reclaimed brick mixed with stone. Use salvaged bricks as accents within a border of fieldstone or cobbles, or alternate colors in short runs. This makes salvaged material feel intentional rather than patchy, especially when the shapes repeat in a restrained pattern. Check reused bricks for crumbling faces, sharp edges, and inconsistent thickness; a mixed-height border is charming as a garden detail but a poor surface beside a path.
9. A broad concrete-paver edge. A wide paver band can visually connect a bed to a patio or front walk and gives you a place to stand while pruning. Choose a restrained color that repeats something already present in the house or hardscape. A broad paved strip can shed water and heat the nearby soil, so direct runoff away from foundations and plant roots rather than treating the paver as a neutral decoration.
Stone and mineral edges
10. Irregular fieldstone. Local stone gives an informal bed a natural edge and can echo nearby rock outcrops or a stone house. Fit pieces tightly enough that they do not wobble when touched, but avoid building a tall, unsupported stack just for visual effect. A low border is usually a definition detail; if it must resist soil pressure, design it as a retaining wall instead.
11. Upright cobbles or split stone. A row of stone set vertically creates a rhythm that looks more textured than a flat strip. Use a consistent height and spacing so the border reads as one line, and set each piece securely enough that frost, rain, or a mower bump will not loosen it. This is best for a bed that is mostly viewed rather than crossed; jagged or uneven tops can catch shoes.
12. A low dry-stacked stone wall. A short wall can define a raised bed or accommodate a gentle grade change without mortar. Place larger, flatter stones at the base, overlap joints, and give the wall a slight backward lean into the bed; water must still have a way to drain through or behind it. Do not scale this detail up until it becomes a substantial retaining wall without checking local requirements and getting qualified design help.
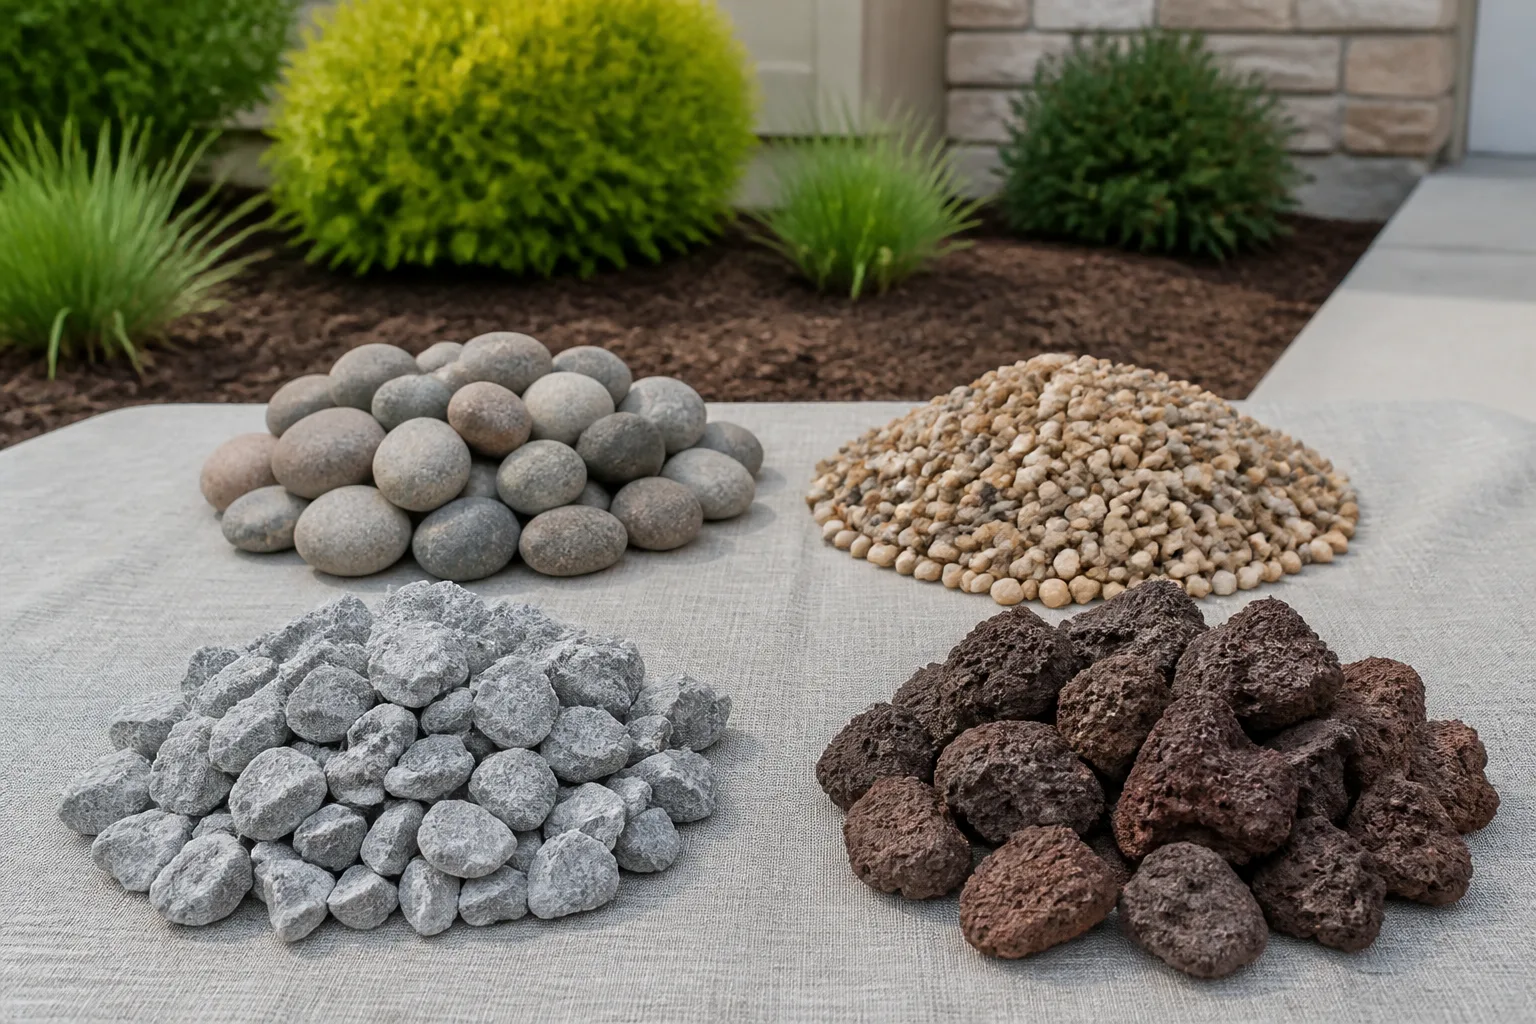
13. A gravel ribbon. A band of gravel between lawn and planting creates a clean, pale or dark outline and works well in dry, modern landscapes. Fine gravel is comfortable to rake but moves more easily; larger gravel stays put better under some conditions but can be awkward underfoot. Keep the band narrow and contained, and choose a distinct boundary because stones migrate into turf and are unpleasant projectiles if a mower hits them.
14. A paver path edged with gravel. Set stepping stones or broad pavers inside a gravel path, then use a firm edge to keep the loose aggregate in its lane. This combines a walking route and border instead of building two separate lines. It suits low-traffic garden paths better than a route used for wheeling heavy bins or a loaded wheelbarrow, unless you provide a compacted, stable base and a sufficiently wide surface.
15. A locally sourced shell or pebble border. Clean shells or rounded pebbles can create a bright, coastal-style edge around a small bed or container display. Use them as a surface accent, not as a barrier expected to hold soil. Shells can blow or scatter, and collecting them from natural shorelines may be restricted or damaging; buy a suitable landscape material or reuse shells you already have rather than removing them from a habitat.
Wood, metal, and flexible borders
16. Landscape timbers. A horizontal timber gives a long, simple line beside a vegetable bed or lawn. Use a grade and species suitable for outdoor ground contact, and follow the product’s directions; wood eventually softens and can shift as the soil freezes, thaws, or settles. Avoid relying on a single timber to hold back a deep bed, and do not put unknown treated or reclaimed lumber where food crops will grow.
17. Logs or branches. Short logs laid end to end suit woodland gardens and make good use of material already on the property. They will weather and decay, which is part of the look but also means they need replacement sooner than stone or metal. Keep the pieces low and stable, and do not use rotting wood as a dependable retaining edge or as a neat mowing strip.
18. Bamboo poles. Short bamboo canes placed side by side add a light, informal border around a small planting. They are easy to cut and arrange, but direct ground contact and wet conditions shorten their life; thin poles can also loosen or split. Use this as a temporary or decorative edge, not as a structure for holding soil or containing a spreading lawn.
19. Steel edging. Steel creates a narrow, nearly invisible line that suits contemporary beds, gravel paths, and broad curves. It is strong for its profile, but the exposed top can be sharp if it is not designed with a safe rolled edge or installed at the right height. Weathering steel develops a rust-colored surface that can stain adjacent paving while it weathers; check placement before using it next to pale stone.
20. Aluminum edging. Aluminum is lightweight and easier to bend around curves than rigid stone or timber. It can form a quiet separation between lawn and mulch, though thin products may dent from foot traffic or mower impacts. Choose a profile tall enough for the intended bed, stake it according to its instructions, and set the top where it will not become a hidden trip edge in long grass.
21. Recycled rubber or plastic edging. Flexible manufactured edging is a practical budget option for curves, small beds, and places where quick installation matters. Its advantages are low weight and easy shaping; its limitations are visibility, possible movement, and a shorter useful life when exposed above grade or hit by equipment. It can slow shallow grass creep when installed correctly, but it will not stop every rhizome or weed.
Reclaimed and decorative edges
22. Scalloped terracotta or ceramic edging. A low scalloped line brings a cottage or vintage look to a small flower bed, especially where brick or stone would feel too formal. It works best as a visible ornament, not as a restraint for a raised bed. Ceramic pieces can crack in hard freezes or if struck by tools, so place them away from regular foot traffic and keep a few matching spares if the exact pattern matters.
Choose an edge for your site
Match the edge to lawn, path, slope, and bed
For a lawn-to-flower-bed boundary, choose between a recut trench, a low plant line, or a flush mowing strip. The trench is inexpensive and easy to reshape; the planted edge softens the transition but needs pruning and weed control; the paver strip takes more installation but can make mowing less fiddly. If turfgrass spreads by runners, a shallow decorative border alone may not contain it—remove runners as they appear or use a suitable deeper barrier designed for the grass and site.
For a gravel path, use an edge that is tall and continuous enough to catch loose stone without creating a toe-stubbing lip. A low metal edge is visually quiet, while brick or stone makes the boundary part of the design. The path itself should be wide enough for the way you will use it; a narrow strip that cannot pass a wheelbarrow is attractive but frustrating if it is your only route. BBC Gardeners’ World’s garden path guide notes that edging can keep loose materials from moving into nearby beds and lawns, but the surface and material still need to fit the traffic.
For a sloping bed, separate a surface edge from a retaining wall. A row of stones can follow a gentle slope and define the planting area, but a substantial height difference adds lateral soil and water pressure. If soil is washing out, first check where runoff is coming from; a short raised border may simply redirect water toward a patio, walkway, or house. Use a properly designed retaining system when the wall must support soil or protect something below it.
For an informal wildlife-friendly border, plant the edge rather than sealing every gap with hard material. A varied sequence of locally appropriate flowers can support pollinators and still look orderly when repeated in groups. The RHS’s wildlife-border guidance demonstrates how a range of plants can extend interest and provide flowers for insects; a hard edge can define the bed while leaving the planting itself diverse.
Compare long-term upkeep and cost
The cheapest edge to buy is not always the least expensive to live with. A trench costs little but needs periodic recutting; shrubs have a higher planting and watering cost and require shaping; brick and stone may need a prepared base but can last for years if they stay level. Price the whole job, including the length of the boundary, tools, base material, delivery, waste removal, replacement, and the time needed to keep the edge tidy.
Ask these questions before purchasing:
- Will a mower wheel need to cross the top, or can it stop at the edge?
- Does the material need to contain mulch, gravel, soil, or only define a line?
- Can you repair or replace one piece without removing the whole border?
- Will the material cope with local freeze-thaw cycles, persistent wetness, intense sun, or foot traffic?
- Can a wheelbarrow, bin, or mobility aid pass the path without catching on it?
A simple material comparison can narrow the choice. Cut trench: lowest material cost, recurring labor. Plants: softest look, ongoing pruning and establishment. Brick or stone: strong visual definition, base preparation and occasional resetting. Metal or flexible edging: discreet curves, careful height and anchoring. Wood: warm and easy to shape, eventual decay. If your priorities conflict, use a hybrid: for example, a flush paver mowing strip with flowering plants behind it.
Install it so it stays level
Set the line and check underground routes
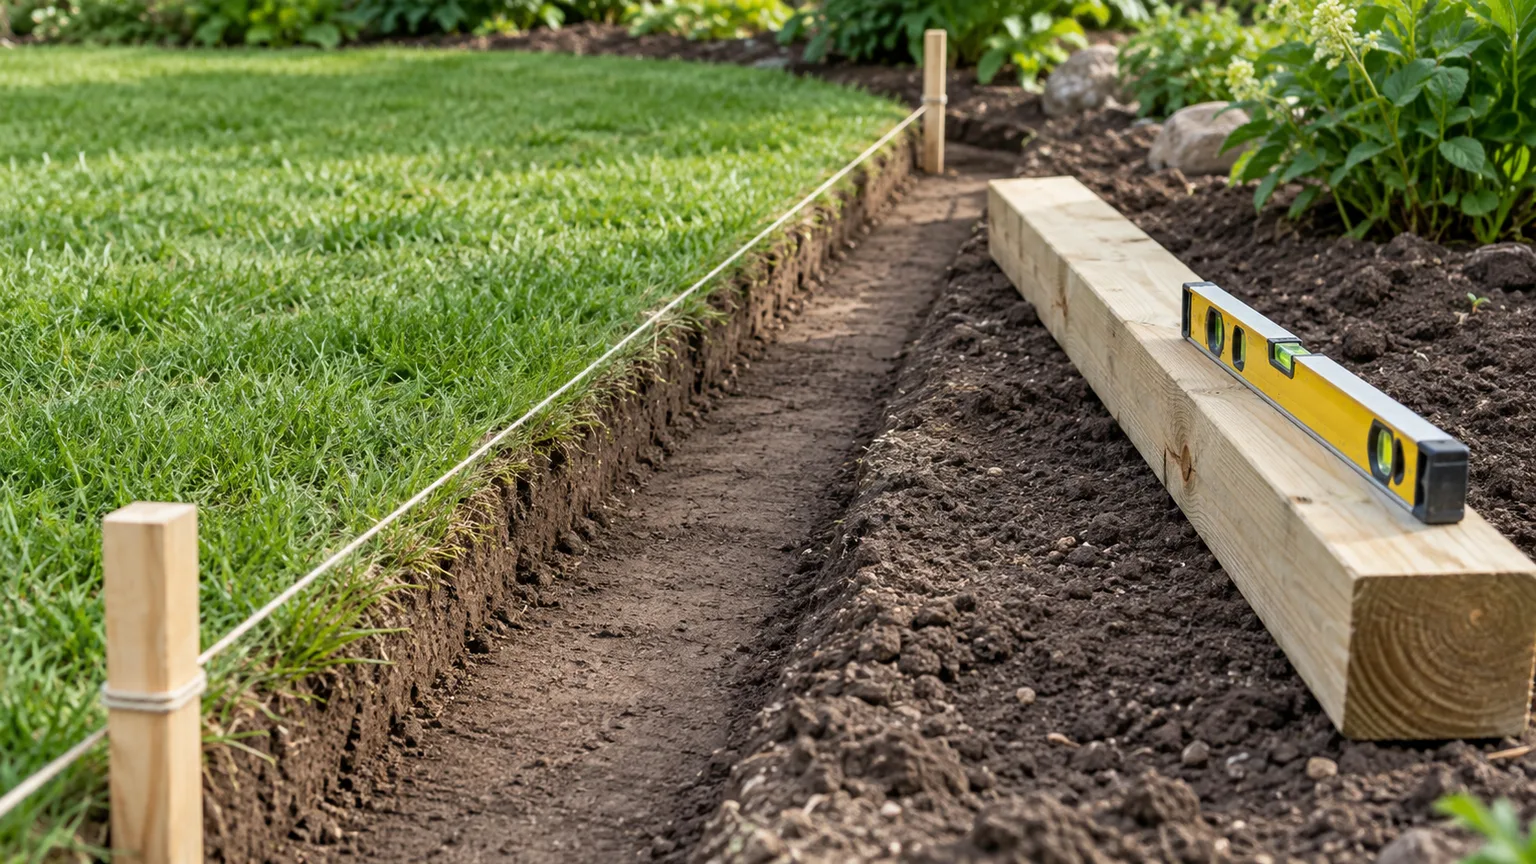
Start by laying the edge on the ground instead of digging immediately. Use a hose for curves and string for straight runs, then look at the shape from the main windows, path, patio, and street. Keep curves broad enough for a mower and garden cart to follow. If a curve repeatedly changes direction, simplify it; a smooth line is easier to cut, edge, and maintain.
Before you excavate for a trench, stakes, or a paver base, locate buried utilities. In the United States, 811’s before-you-dig guidance says to contact the local 811 center before putting a shovel in the ground; requirements and timing vary by state. Mark the project area, wait for utility marking, and hand-dig cautiously near marked lines as local instructions require. Outside the U.S., use the local service for locating buried utilities.
Choose a time when the soil is workable rather than frozen or saturated. Very wet soil smears and compacts underfoot; frozen ground is difficult to cut cleanly. Remove turf and perennial weed roots from the line you are changing, but avoid cutting major tree roots just to force an edge through. If the route crosses a large root, move or curve the border around it.
Prepare the base and set the height
For a simple cut edge, make one continuous cut, remove the unwanted turf, and refine the trench so its face is clean. Fine Gardening’s bed-edge method describes cutting the line, lifting turf, and keeping the edge vertical; its article also treats freshening a trench as seasonal care rather than a one-time cure. Save clean turf for another lawn repair or compost it if it is free of persistent weeds.
For brick, pavers, or stone that will be stepped on or crossed by mower wheels, remove loose soil and prepare a firm, even base appropriate to the material and local ground conditions. Set a few pieces first, check height and spacing, then continue while checking the line with a level or straight board. Follow the edging or paver manufacturer’s base and anchoring directions; there is no universal installation depth that works for every profile, soil, and climate.
Keep the top low enough to avoid a trip point, but high or deep enough to perform its job. A flush strip is useful if a mower must pass over it; a slightly raised vertical border may keep gravel contained but should not obstruct the route. If several sections will meet, overlap or join them as the product specifies so soil and turf cannot push through a gap.
Protect drainage and plant roots
Edging should shape the bed without damming water. Before you set a continuous solid border, watch the yard during rain and note where water flows. Leave a low route or use a design that allows drainage where runoff needs to pass; do not trap water against a foundation or create a basin around plants that prefer free-draining soil.
The relationship between bed soil and mulch matters as much as the material. Colorado State University Extension explains that mulch piled above grade can spill onto a lawn or sidewalk, while lowering the bed edge or tapering its soil grade can keep the finished mulch surface closer to the surrounding grade; it also cautions that a lower bed should not collect water from higher ground. Its mulching guidance is useful when the main reason for edging is to keep mulch in place.
Do not assume landscape fabric is required beneath every border. Fabric can make a gravel installation look tidy at first, but soil and debris accumulate on top, where weed seeds can still germinate; weeds may also root through or into the fabric. Colorado State University Extension notes that woven fabric can clog over time and interfere with water and air exchange beneath mulch in landscape beds. If you use a product under a particular path or decorative surface, choose it for that specific use and expect to maintain it.
Avoid these common edging mistakes
The first mistake is choosing by appearance alone. A narrow shell line will not hold a raised bed; a low plastic strip will not reliably stop every grass runner; a flower border will not stay neat if its plants need more sun or drier soil than the site provides. Write down the edge’s main job and choose one primary solution before layering on decorative details.
The second is installing a border without checking the final height. Pavers that sit too high become a mowing obstacle, while an edge buried below the lawn may disappear and lose its visual effect. Before anchoring or mortaring anything, set a short test section, mow or walk beside it, and adjust the grade until it feels comfortable.
The third is making a bed edge too complicated. Tight waves, mixed materials, and many small pieces can look busy and take longer to trim. A single material with a repeated curve often looks more deliberate than several unrelated borders. Use a second material only where it marks a real change in use, such as a transition from lawn to path.
The fourth is expecting edging to replace weeding. Edging can make a boundary easier to see and can slow grass crossing, but airborne seeds still land in mulch and cracks. Keep the bed covered, pull weeds while small, and check the joint where soil meets the border. If the same grass returns from underground, trace the runner or rhizome and address the plant rather than adding another surface layer.
Finally, do not turn a decorative line into an unsafe retaining wall. If the bed is high enough that soil pressure, vehicle weight, or drainage could push the wall outward, get a design suited to the site. Water behind a wall can add pressure, and a wall that leans toward a path or neighbor is more than a cosmetic problem.
Conclusion
The best garden edging is the one that fits the boundary you actually have: a cut trench for a flexible, low-cost lawn edge; plants for a soft living transition; brick or pavers for a mowable strip; stone for a natural bed; or metal and timber where a narrow, shaped line is useful. Start by deciding whether you need definition, containment, a mowing surface, or soil support, because each calls for a different construction detail.
Lay out the shape before buying materials, check the line from the places you use the garden, and consider how water, roots, and a mower will meet the edge. A simple border installed at the right height and revisited when it needs care will make the whole bed look more intentional than an elaborate edge that fights the site.