The 6 Garlic Growing Stages Explained
Learn the six garlic growing stages, what each one looks like, when to cut scapes, and how to time harvest and curing for sound bulbs.
Garlic looks quiet above ground, but a clove is doing a lot of work below the soil. It first builds roots, then leaves, then a swollen storage bulb made of new cloves. If you know which job the plant is doing, you can water, mulch, cut scapes, and harvest at the right time instead of treating every green shoot as proof that the bulb is ready.
The six stages below describe a typical outdoor crop, especially garlic planted in fall and harvested the following summer. Your exact calendar will shift with variety, latitude, planting date, spring temperatures, and soil drainage. Use the plant’s signals as the final authority.
The Garlic Timeline at a Glance
The practical sequence is root establishment, winter dormancy and sprouting, leaf growth, scape development, bulbing, and maturity. Some growers combine dormancy with sprouting, while others separate flowering or curing as additional stages. The important distinction is what the plant is prioritizing: roots, leaves, reproductive growth, or the storage bulb.
Fall-planted garlic may spend several weeks making roots before cold weather slows the top growth. In spring, it resumes leaf production. The plant needs enough healthy leaves before bulbing begins because each leaf contributes energy to a layer of the bulb’s wrapper and cloves. A small, stressed plant cannot usually catch up simply because the calendar says harvest season has arrived.
The University of Minnesota Extension garlic guide also emphasizes planting adapted seed garlic, choosing a sunny well-drained site, and using the local season rather than a universal date as the planning framework.
Stage 1: Root Establishment After Planting
Planting starts the garlic cycle, but the first visible success may be underground. A sound clove placed point-up in loose, well-drained soil begins producing roots from its basal plate. Those roots anchor the clove, absorb water and nutrients, and help the plant survive a cold pause.
The clove’s papery skin matters. Leave it intact, and avoid separating cloves until you are ready to plant so the exposed tissue does not dry out or become damaged. Set cloves with the pointed tip upward, generally a few inches deep and several inches apart; exact depth should be adjusted for soil type, climate, and the need to prevent frost heaving.
What to Do During Root Growth
Water the bed thoroughly after planting if the soil is dry, then aim for even moisture rather than repeated saturation. Garlic tolerates cold far better than it tolerates a waterlogged planting site. In heavy soil, a raised bed or amended planting row may help more than extra fertilizer.
Mulch can buffer temperature swings, reduce frost heave, and limit weeds. Use a loose organic mulch such as clean straw, but do not bury the bed in a dense, wet layer that stays matted against the neck. If rodents are a problem, check that the mulch is not creating a sheltered runway directly over the cloves.
Stage 2: Dormancy and Winter Sprouting
In cold-winter regions, garlic often grows roots in autumn, slows during winter, and resumes with green shoots when conditions moderate. A shoot that appears before winter is not automatically a failure. Some varieties sprout in a warm autumn, and the exposed leaf tips may suffer frost damage while the clove survives below ground.
The right response is usually restraint. Do not dig up a healthy clove just because a shoot emerged early, and do not pile on nitrogen to force more top growth. Keep the soil from drying completely, maintain sensible mulch, and wait for spring. If the bed remains saturated, the more urgent correction is drainage, not feeding.
Winter damage looks different from normal dormancy. A few browned leaf tips after a freeze can be cosmetic, while a soft clove, foul odor, or widespread collapse in wet soil points toward rot. Remove only clearly failed plants and keep diseased material out of the compost unless your composting system reliably reaches pathogen-killing temperatures.
Stage 3: Leaf Growth Builds the Future Bulb
Once temperatures rise, garlic enters its most important leaf-building period. Flat leaves emerge one at a time, and the plant uses them to capture light and replenish the clove’s stored energy. At this point, the garlic may look like a row of grass, but the number and health of its leaves affect the size and protection of the bulb later.
Why Leaf Count Matters
Think of each healthy leaf as a future wrapper layer. Broad, upright leaves usually indicate that the plant has enough light, moisture, and root function to support later bulbing. Severe weed competition, repeated drought, waterlogging, or nutrient deficiency during this phase can reduce the eventual head size even if the plants survive.
Keep the bed weed-free with shallow cultivation or hand pulling. Avoid cutting or folding green leaves, and water at the soil line when possible. Garlic wants consistent moisture during active spring growth, but the bed should drain between waterings. A thick nitrogen feed late in the season can encourage soft, leafy growth when the plant should be finishing, so use soil-test information rather than guessing.
This is also the stage when you can harvest a few plants as green garlic if you want a mild, fresh crop. Green garlic has not finished forming a dry storage bulb, so use it promptly and do not mistake its tender appearance for a mature head.
Stage 4: Scapes Reveal Hardneck Garlic
Hardneck garlic produces a stiff central stalk called a scape. The scape often emerges from the middle of the leaves and develops a curl or loop before straightening. Softneck garlic generally does not produce the same prominent scape, which is one of the easiest visual differences between the two groups.
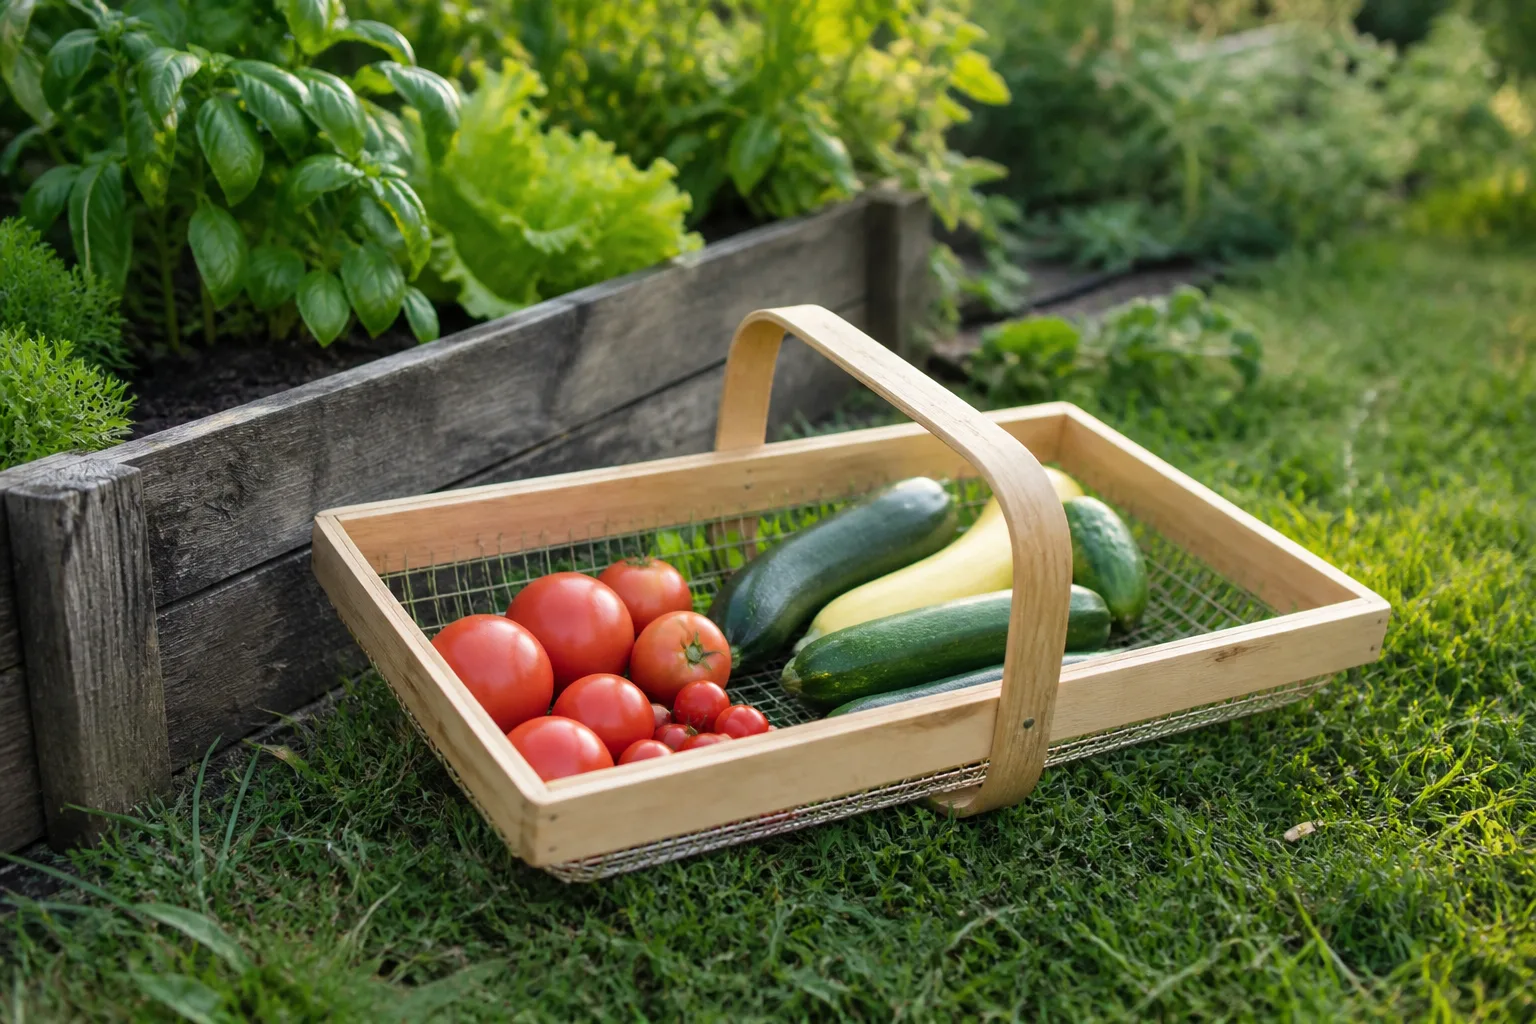
Scapes are edible and have a mild garlic flavor. Harvest them when they are still tender and have made roughly one or two curls, using clean snips rather than yanking the stalk. If you miss that window, the scape may become tougher but can still flavor stock, pesto, or a cooked dish.
Removing scapes is not a guarantee of a dramatic yield increase. It prevents the plant from directing as much energy toward the developing flower head and gives you an extra crop, but soil, variety, weather, and leaf health often matter more than the exact day of cutting. If you want bulbils for experimentation, leave some scapes to mature; if your goal is large, uniform bulbs, most growers cut them while tender.
Stage 5: Bulbing and Clove Formation
Bulbing is when the underground storage organ becomes the harvest you recognize. The plant shifts from primarily making leaves to enlarging the bulb and separating it into cloves. You may see the upper stem thicken, but the real change is underground and cannot be judged accurately by pulling plants every few days.
The Light and Temperature Shift
Garlic’s bulbing response depends on variety, day length, and temperature. In many regions, longer days and warmer spring conditions trigger rapid bulb enlargement. This is why a variety suited to a cold climate may make leaves in a warm region but fail to form a satisfying head, and why spring planting can produce smaller bulbs when the plant has too little time to build leaves before bulbing conditions arrive.
Keep irrigation steady while the bulbs are enlarging, but do not turn the bed into a mud patch. A mulch layer can reduce moisture swings and soil splash. Stop routine watering as harvest approaches, particularly if rain is expected, so the outer wrappers and neck can begin to dry. The exact cutoff depends on soil and forecast; the principle is to avoid sending mature bulbs into storage with wet tissue.
Do not peel back the wrappers to inspect developing cloves. Every wrapper you remove is protection lost. If you need a sample, lift one plant from the edge of the row and use it as a maturity check rather than disturbing the crop.
Stage 6: Maturity, Senescence, and Harvest
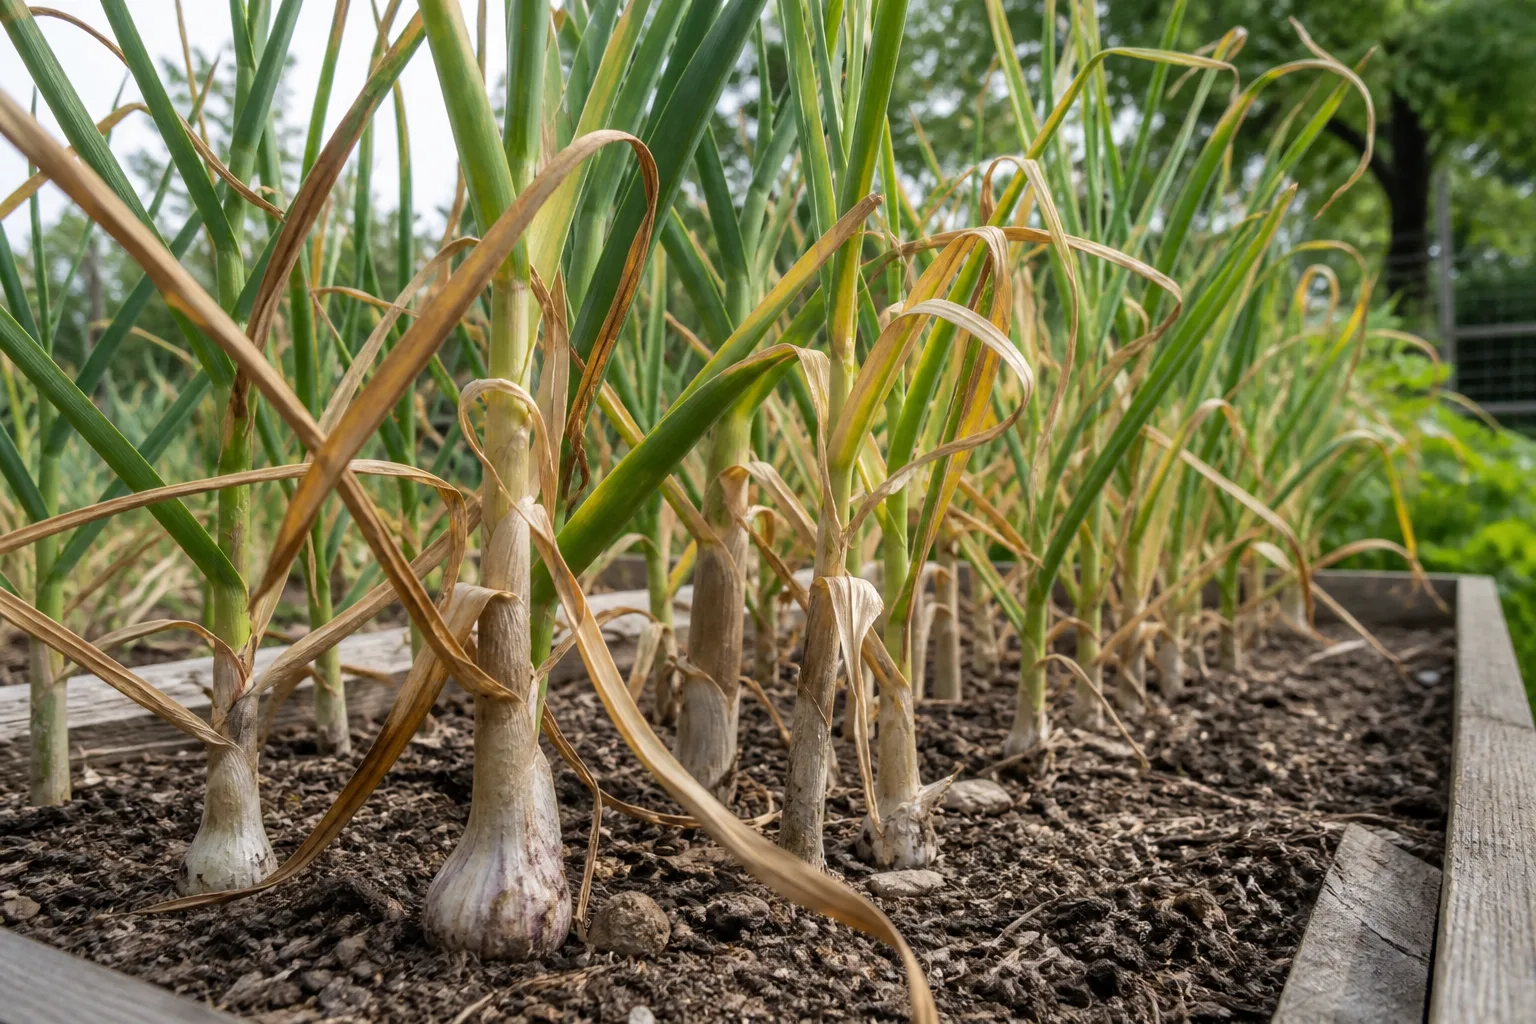
The final growing stage is not a sudden event. As the bulb finishes, the oldest leaves naturally yellow and dry from the bottom upward. A mature plant often has several lower leaves declining while the upper leaves remain green enough to protect the bulb. Harvest when that pattern is widespread across the row and the bulbs feel filled out, not when one stressed plant collapses.
Harvest timing is a balance. Pull too early and the cloves may be undersized, the wrappers thin, and storage poor. Wait too long in wet soil and the outer wrappers can split or rot, especially if the plants are already mature. Choose the first suitable dry window once the plant signals are strong enough.
Hardneck and Softneck Garlic Do Not Follow Identical Timelines
Hardneck garlic is generally favored where winters provide reliable cold. It makes a central scape, often has larger, more easily separated cloves, and brings strong flavor variation. Its storage life is often shorter than softneck garlic’s, so it rewards careful curing and regular inspection.
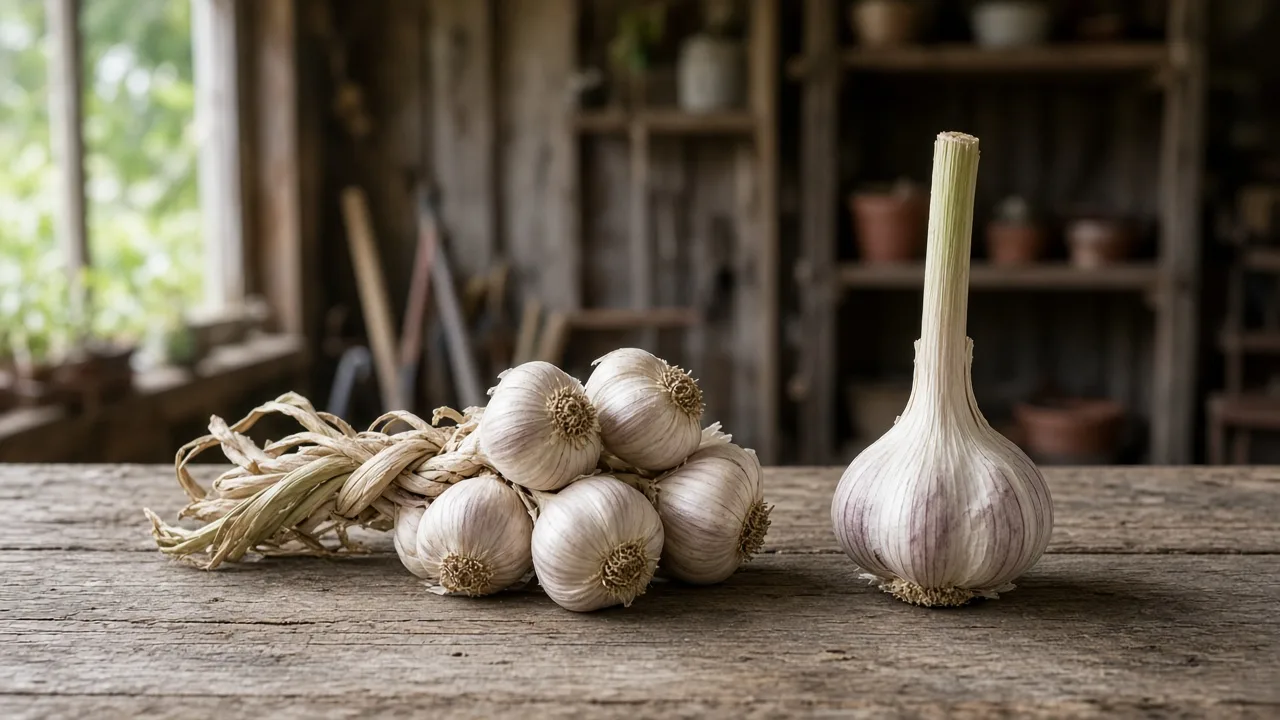
Softneck garlic is commonly chosen for milder climates and for long storage. It typically makes more cloves per head, lacks a prominent scape, and can be braided after curing because the neck remains flexible. “Better” depends on your winter, kitchen, and storage conditions; a hardneck that thrives in your soil is more useful than a softneck that never bulbs properly.
The Royal Horticultural Society’s garlic guidance treats hardneck and softneck as different growing choices rather than interchangeable labels, which is a useful reminder to buy planting stock suited to your conditions.
Seed garlic from a reputable grower is usually a better starting point than supermarket garlic. Store bulbs may be old, treated to suppress sprouting, or grown in a climate unlike yours. If you save your own planting stock, choose large, healthy heads and keep the biggest outer cloves for the next crop rather than planting every small clove indiscriminately.
Fall Planting, Spring Planting, and Climate Exceptions
Fall planting gives many garlic types time to establish roots before winter and build a strong plant before summer bulbing. In a cold region, plant early enough for roots but late enough to avoid a long flush of tender foliage; local extension calendars are more useful than copying a date from another climate.
Spring planting can work, especially with softneck types or in places where winter soil is too wet or mild to provide the needed cold period. The trade-off is time. A spring-planted clove may produce edible garlic but a smaller head because it has fewer cool weeks for root and leaf development before the plant receives a bulbing signal.
In warm climates, gardeners may need to choose varieties adapted to low-chill conditions or pre-chill planting stock according to reliable local guidance. Do not assume that placing cloves in a refrigerator is harmless; moisture and condensation can encourage mold, and the correct chilling method depends on the variety and planting schedule.
What to Do When Garlic Sprouts Too Early
Early top growth is most often a timing issue, not proof that the cloves are unusable. Check whether the shoots are vigorous, the soil drains freely, and the plant is otherwise firm. Add or adjust mulch after the soil has cooled, but leave enough air around the planting row to prevent a wet, compressed mat.
If frost burns the tips, let the plant recover rather than cutting everything back. New leaves can replace damaged tissue. The bigger concern is repeated freeze-thaw lifting, which exposes cloves and roots; press loose soil back around the plants and use mulch to reduce movement.
If early sprouting comes with soft cloves, gray or white growth, or a sour smell, do not treat it as normal. Pull a sample, inspect the basal plate and roots, and separate suspect material. A disease problem is managed through sanitation, drainage, rotation, and healthy planting stock—not by adding more water or fertilizer.
How to Read Garlic Leaves Before Harvest
Use three signals together: leaf decline, bulb fullness, and weather. Lower leaves should be naturally yellowing or brown, the remaining upper leaves should still provide several protective layers, and the bulbs should feel firm when you inspect one sample. A calendar estimate can tell you when to start checking, but it cannot replace those observations.
Sudden yellowing across the whole bed may mean drought, waterlogging, root damage, or nutrient trouble rather than maturity. Yellowing on one side of a row can point to uneven irrigation or drainage. If the leaves are still actively green and upright, the plant may not have finished bulbing even if the head looks large at the soil surface.
Harvest, Cure, and Store the Crop Without Losing Quality
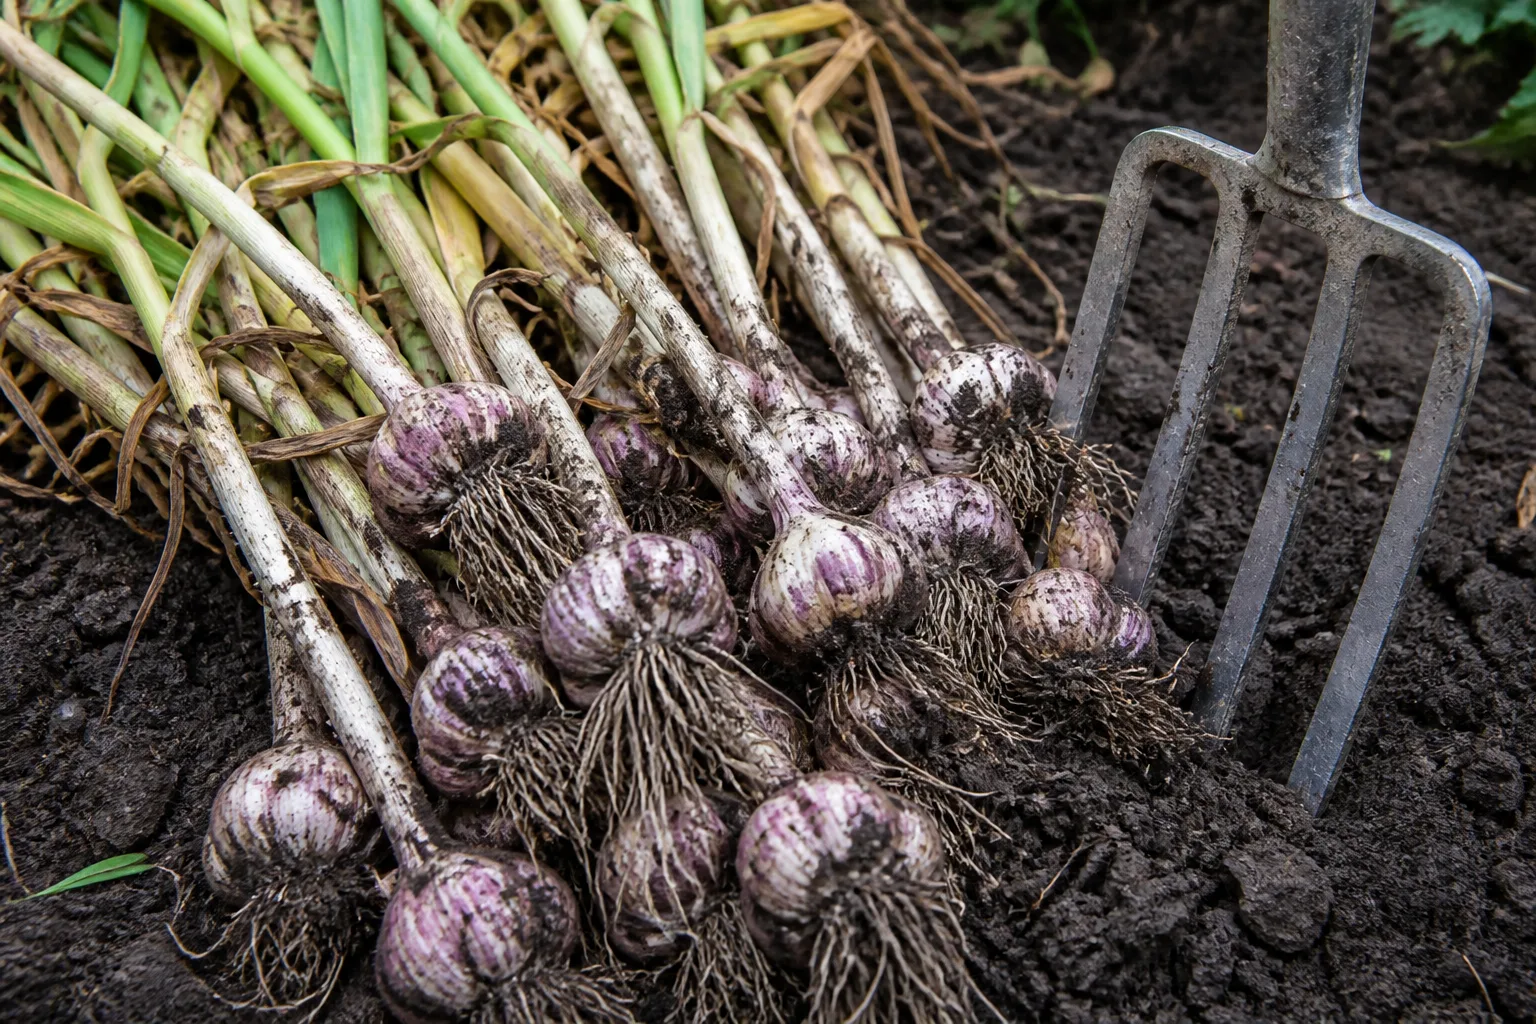
Harvest on a dry day when the soil is workable. Use a digging fork a few inches away from the row, loosen the soil, and lift the bulbs rather than pulling hard on the leaves. Brush off loose soil with your fingers; avoid washing storage garlic and avoid dropping bulbs onto a hard surface.
A Gentle Harvest Sequence
- Stop routine watering before harvest when weather and soil conditions allow.
- Lift a sample from the edge of the bed and inspect the wrappers and clove development.
- Loosen the soil under the bulb with a fork, keeping the tines away from the head.
- Lift the plant by the base and handle the neck gently; do not twist or yank the foliage.
- Move sound bulbs to a dry, shaded, well-ventilated curing area in a single layer or loose bundles.
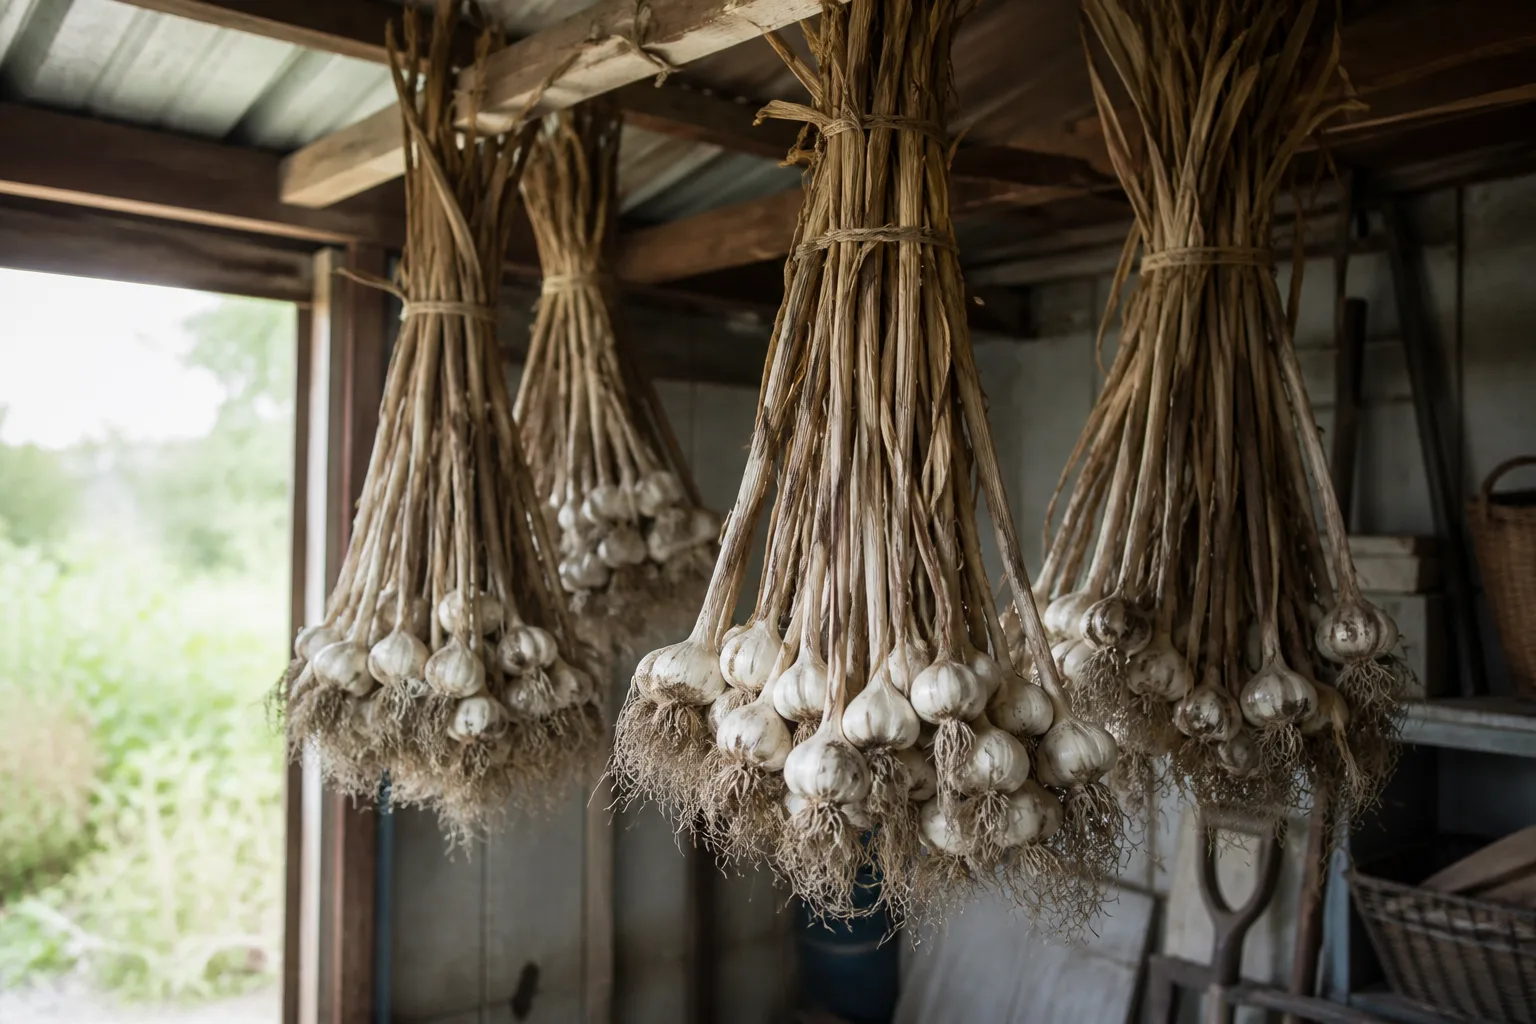
Leave the foliage attached while curing unless space or disease requires another approach. Dry airflow helps the neck close and the wrappers become papery. Direct, intense sun can overheat bulbs, while a damp shed with no airflow can prolong wetness and invite rot. A covered porch, airy shed, or ventilated room is usually more reliable than a sealed container.
The Cure-Complete Test
Curing often takes about two to four weeks, but time alone is not the test. The neck should feel dry and sealed rather than soft and moist, the roots should be dry, and the outer wrappers should rustle and cling closely to the bulb. A bulb that still has a green, flexible neck needs more time or should be used first.
Once cured, trim the roots and cut the stem if you are not braiding softneck garlic. Store sound bulbs in a mesh bag, net, or open slatted container in a cool, dry place with airflow. Do not store garlic in a sealed plastic bag. Check the crop periodically and remove any soft, sprouting, or foul-smelling bulb before it affects its neighbors.
For the post-harvest sequence and storage cautions, compare Virginia Cooperative Extension’s onions, garlic, and shallots publication with Iowa State University Extension’s garlic harvest guidance. Both are useful reminders that curing and ventilation protect quality, but cannot reverse rot or bruising that began before storage.
Common Garlic-Growing Mistakes and Their Fixes
Planting grocery-store cloves without checking variety. They may grow, but their treatment, age, and climate history are unknown. Start with labeled seed garlic when possible, and record which variety performs well in your bed.
Planting in wet soil. Garlic needs moisture, but saturated soil reduces oxygen around roots and increases rot risk. Improve drainage before planting rather than trying to correct a waterlogged crop with a later fertilizer application.
Harvesting by date alone. Planting month and harvest month vary with region. Begin checking when the variety’s expected window opens, then use leaf decline and a sample bulb to decide.
Pulling on the tops. A stuck bulb can snap at the neck or remain partly in the ground. Loosen the soil first, especially in clay.
Washing bulbs destined for storage. Water trapped around the neck or wrappers slows curing. Brush off dry soil and clean each bulb just before use.
Curing in a humid, closed space. Garlic cannot dry properly without moving air. Spread the bulbs out, keep them shaded, and use a fan for circulation if the room is damp without blasting hot air directly at the crop.
Keeping every bulb for storage. Bruised, split, soft, diseased, or thick-necked bulbs are use-first candidates or discards, not storage heroes. Sort before packing the crop away.
Conclusion: Follow the Plant, Not Just the Calendar
Garlic growing stages are a decision tool. Root growth tells you whether the clove is establishing; leaf growth builds the raw material for a large bulb; scapes announce hardneck reproductive growth; bulbing turns that stored energy into cloves; and natural leaf decline signals that harvest is approaching.
Give the crop well-drained soil, even moisture during active growth, protection from weeds and frost heave, and a dry curing period after lifting. When the calendar and the plant disagree, inspect a sample and trust the combination of mature leaves, a firm bulb, and a dry harvest window. That small pause is often the difference between garlic that looks good on harvest day and garlic that is still sound weeks later.



