36 Gorgeous Flower Bed Ideas Worth Recreating
Explore 36 flower bed ideas for sun, shade, slopes, walkways, and small yards, plus a practical plan for choosing plants, spacing, and maintenance.
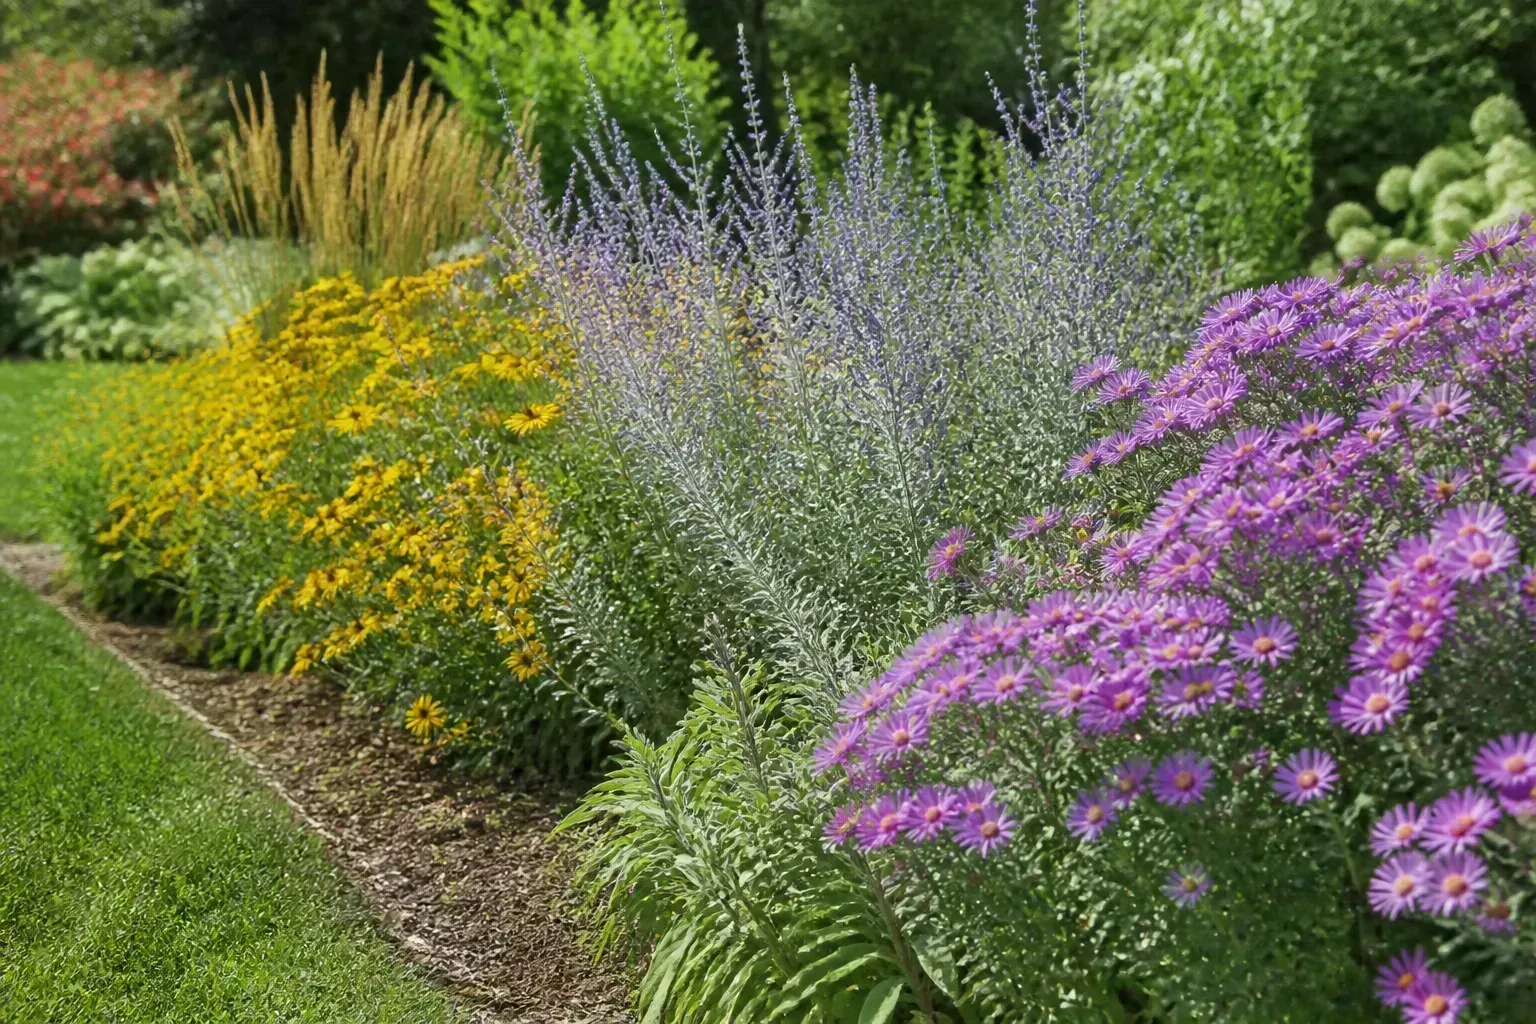
A flower bed looks beautiful when its plants fit the place, mature into the space, and change at a pace that feels intentional. That is why the best flower bed ideas are more than color palettes: they solve a problem, whether that means softening a foundation, guiding visitors, brightening shade, holding a slope, or keeping pollinators supplied from spring through fall.
Use the ideas below as a menu, not a shopping list. Start with the job you want the bed to do, then filter every plant through sunlight, soil moisture, mature size, hardiness, and the amount of maintenance you can honestly give it. A small bed planned around those constraints will look more finished than a larger bed filled with plants that merely looked good in a photograph.
Start with the job your flower bed needs to do
The shape of a bed should follow how people move through the yard and how the house or garden is seen. Before choosing flowers, stand at the places where you will view it: the front door, kitchen window, deck, sidewalk, or favorite chair. That simple step keeps a pretty planting from becoming an obstacle or a blank patch visible only from one angle.
1. Frame a walkway with a ribbon of flowers. A long, narrow border beside a path makes even a plain route feel purposeful. Keep the plants low near the walking edge, repeat a few anchor plants every several feet, and reserve taller flowers for the far side so stems do not flop into the passage.
2. Make a front-door crescent. A shallow curved bed can soften a straight foundation or draw the eye toward an entry without hiding the door. Use one rounded evergreen or small shrub as the anchor, then echo its shape with mounded perennials and a crisp edge that is easy to mow around.
3. Soften a foundation without trapping moisture. A foundation bed works best when it leaves breathing room around windows, siding, vents, and doors. Choose plants for their mature width, not their nursery size, and keep woody plants away from the wall far enough that pruning is possible without stepping into the bed.
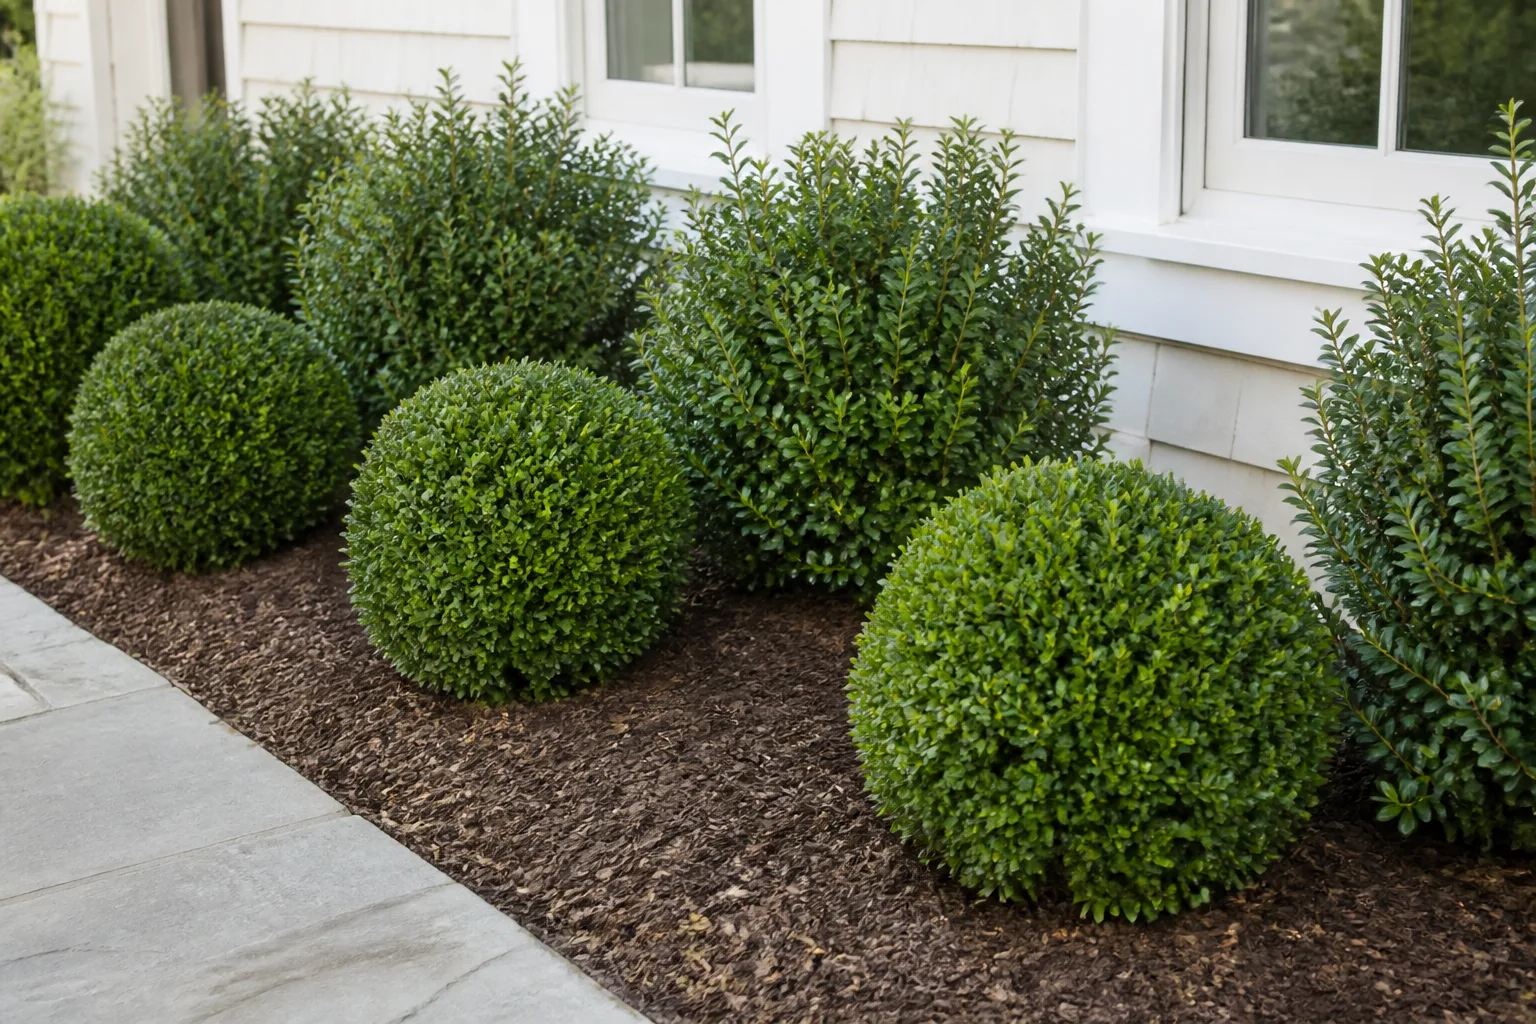
4. Wrap a deck in a living frame. A thick planting strip can separate a deck from the lawn while making the structure feel settled into the yard. Use repeatable foliage—grasses, heuchera, or compact shrubs—as the visual frame, then add annuals or long-blooming perennials for seasonal punctuation.
5. Turn an unused corner into a destination. A triangular or L-shaped corner bed is useful where the lawn mower already turns awkwardly. Give the corner a focal point such as a small tree, obelisk, boulder, or tall grass, and let lower plants widen toward the viewing side rather than filling the point with a crowded cluster.
6. Hold a slope with planting instead of a single wall. On a gentle slope, layered plants and short, stable edges can slow runoff while creating a terraced look. Use deep-rooted, locally suitable plants and place stepping stones or a path where you need access; a flower bed is not a substitute for professional drainage or retaining construction on an unstable slope.
Use layers to make the bed look full, not crowded
Layering is the difference between a bed that has many plants and one that has a readable composition. Think in three dimensions: a backbone that lasts, a middle layer that carries the season, and a low layer that hides bare soil without smothering crowns. In a Fine Gardening example, an 80-foot border gains its rhythm from a front-to-back height gradient, varied texture, and plants chosen for a continuous display; you can use the same logic at a much smaller scale. Fine Gardening’s border example shows how repetition and height can make a long planting feel connected rather than chaotic.
A practical three-layer recipe
7. Build a three-season perennial backbone. Pair early bulbs or spring perennials with summer bloomers and late-season plants such as asters, sedum, or ornamental grasses. The goal is not to have every plant flowering at once; it is to avoid a long period when the bed has nothing to look at.
8. Arrange plants by mature height, but break the grid. Put tall plants where they will not block the view, medium plants in the visual middle, and low plants along the edge. Then shift a few groups forward or back so the result feels like a designed drift rather than three rigid rows.
9. Use an evergreen skeleton for year-round order. Boxwood, inkberry, dwarf conifers, or another locally hardy evergreen can hold the bed together when perennials are cut back. Use fewer, better-placed anchors rather than a continuous hedge if you want a softer garden; leave enough space for their eventual width.
10. Go all-green and let texture carry the design. A foliage bed can be more restful than a rainbow border, especially beside a colorful house or busy patio. Combine broad leaves, narrow blades, rounded shrubs, and airy fronds, then add one or two restrained flower colors so the bed still changes through the season.
11. Contrast airy flowers with broad foliage. Plants such as yarrow, gaura, salvia, or ornamental grasses can make large leaves and dense shrubs feel lighter. Place the airy forms where backlighting will show their stems, but do not use delicate fillers to hide a plant that is simply too large for the bed.
12. Plant a close-set cottage drift—with a maintenance promise. Closely spaced plants create the generous, overflowing look associated with cottage gardens, but they also compete faster for water and can make weeding or disease checks harder. Choose plants with compatible moisture needs, mulch the open soil while they establish, and be ready to divide or edit the drift when it outgrows the design.
Choose a color language you can repeat
Color works best when it is repeated, separated by foliage, or tied to the architecture nearby. You do not need a strict theme, but you do need a reason for colors to appear together. Pick one dominant hue, one supporting hue, and a neutral such as green, silver, white, or dark foliage; then repeat the relationship in at least two parts of the bed.
Color combinations that hold together
13. Layer one color in several shades. Lavender, violet, blue, and mauve can read as one calm family while still giving the eye variation. Use flowers with different shapes—spikes, daisies, umbels, or rounded heads—so a monochrome bed does not become visually flat.
14. Pair opposing colors for a high-contrast border. Purple with yellow, blue with orange, or red with green creates energy from a distance. Let one color occupy more space than the other; equal amounts of two strong opposites can look noisy unless foliage or a neutral path gives the eye a rest.
15. Try a fire-toned bed for late-summer impact. Red, copper, orange, burgundy, and hot pink glow in evening light and stand out across a lawn. Ground the palette with deep green or bronze foliage, and repeat at least one warm color near the far end of the bed so the display does not look like a single isolated flare.
16. Make a white and pale garden for shade or dusk. White flowers, pale foliage, and soft pinks catch low light and can make a dark corner feel larger. This is especially effective near a seating area, but pale blooms show browning quickly, so leave room to deadhead and keep the bed from pressing against a wall where airflow is poor.
17. Use silvery foliage as a bridge. Lamb’s ear, artemisia, dusty miller, and some sages can connect yellow, pink, purple, and blue without adding another saturated flower color. Silver leaves usually perform best in bright light and lean soil; do not force them into damp shade because the color idea is attractive.
18. Color-block one section, then repeat it elsewhere. A band of yellow flowers, a block of blue, or a narrow border of white can make a large yard feel intentional. Repeat the block in a second bed or container so the color becomes a visual pathway instead of a one-time accent.
Design for sun, shade, soil, and water
The most expensive flower bed mistake is choosing plants before observing the site. Six hours of direct summer sun, reflected heat from a wall, dry shade under a tree, and wet soil beside a downspout are four different growing conditions even if they sit in the same yard. Match the design to the site first, then choose the most beautiful plants that can actually live there.
Dry-sun and shade-bed pairings
19. Brighten a shade bed with pale foliage. White flowers, silver leaves, cream-variegated hostas, brunnera, ferns, and pale caladiums can reflect what little light reaches the bed. Check whether the shade is dry or moist: tree roots can make shade surprisingly thirsty, while a north-facing bed may stay damp.
20. Make a hosta-and-fern carpet under a canopy. Large hostas give mass; ferns add movement; astilbe or heuchera can supply flower and foliage color. Keep the bed wide enough to see the layered leaves, and do not plant thirsty companions directly against a tree trunk where roots monopolize moisture.
21. Build a dry-sun bed around lavender and sedum. Lavender, sedum, yarrow, and drought-tolerant grasses create a silver-green bed with long-lasting structure. They need sharp drainage and should not be “helped” with frequent shallow watering once established; in heavy clay, solve drainage before relying on plants from dry habitats.
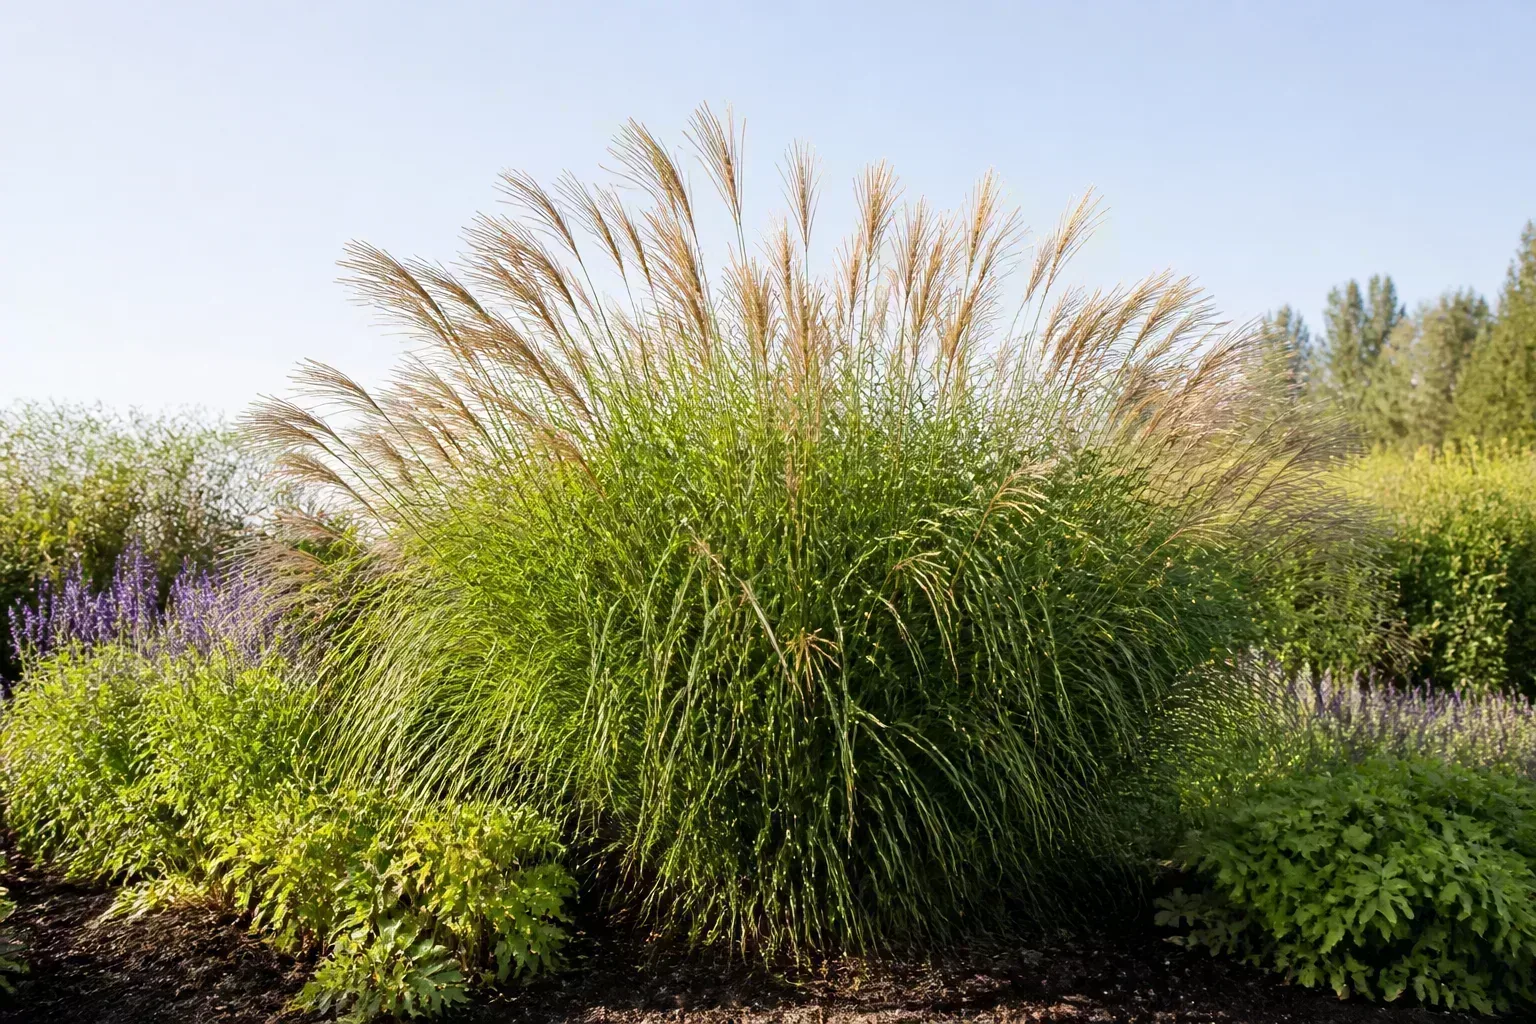
22. Use grasses to give a prairie border movement. Ornamental grasses can soften a straight edge and keep the bed interesting after flowers fade. Combine one dominant grass with flowering perennials such as coneflower, black-eyed Susan, or salvia, but check spread and mature height—some grasses are vigorous or too tall for a narrow front bed.
23. Plant spring bulbs under deciduous trees. Daffodils, crocuses, and other spring bulbs can use sunlight before a tree leafs out, then disappear into later perennials. BBC Gardeners’ World recommends planting bulbs in drifts and matching companions to the site; it also notes that bulbs and foliage need different timing, so let bulb leaves fade naturally rather than cutting them at their prettiest moment. See its bulb combination guide.
24. Turn a damp edge into a moisture-loving border. A low spot or downspout area can support plants that dislike dry soil, such as cardinal flower, swamp milkweed, certain sedges, or moisture-loving perennials suited to your region. Test how long the area stays wet before planting, and route roof water safely; standing water beside a foundation is a drainage problem, not a flower-bed opportunity.
Make the bed useful to wildlife and people
A beautiful flower bed can do several jobs at once: provide nectar, give birds seed heads, create a sensory experience, and remain easy to walk past. The U.S. National Park Service offers regional pollinator planting cards built around small gardens of about 3 by 6 feet, which is a useful reminder that habitat does not require a huge property. Use its regional cards to replace generic plant lists with species that fit your region.
Pollinator planning without losing polish
25. Plant pollinator flowers in clumps, not confetti. Repeated groups of coneflower, bee balm, mountain mint, salvia, or asters are easier for visitors to find and give the bed a stronger visual rhythm. Keep the exact species local to your region and site; “pollinator-friendly” on a label is not a substitute for regional fit.

26. Design a succession of early, middle, and late food. Add spring bulbs or early shrubs, summer perennials, and late bloomers so the bed does not help pollinators for only one month. A recent NC State report on experimental garden beds found that overall insect visitation stayed high across massed, drift, and random layouts, while the choice of plants mattered more than a perfect layout; that is good news if your planting style is informal. Read the NC State research summary.
27. Leave seed heads for winter structure and birds. Coneflower, rudbeckia, allium, grasses, and sedum can look sculptural after frost and offer food or cover. Resist the urge to cut every stem in fall; remove diseased material, but leave healthy stems where they will not block a path or create a safety issue.
28. Create a pet-aware front edge. If dogs or children run through the yard, keep thorny, irritating, or potentially toxic plants away from the most-used route and verify unfamiliar species before planting. A pet-aware bed does not have to be boring: use sturdy foliage, nonthorny edging plants, and a clear path that keeps paws out of freshly mulched soil.
29. Reserve one bed for cutting flowers. Zinnias, cosmos, marigolds, dahlias, snapdragons, and sturdy annuals can supply bouquets without stripping the ornamental border. Plant in rows or blocks where stems are easy to reach, then hide the practical cutting patch behind a more decorative front layer.
30. Add a scent or touch garden near a seat. Fragrant roses, lavender, thyme, lemon balm in a contained spot, lamb’s ear, and soft ornamental grasses make a bed interactive. Put strong fragrance where people pass slowly, and avoid placing plants that attract many stinging insects right beside a narrow doorway or dining chair.
Add structure without overbuilding the garden
Hardscape is most useful when it makes the plants easier to see, reach, or care for. A simple edging line, container, trellis, boulder, or water bowl can give a flower bed a focal point without turning it into a collection of objects. Choose one structural language—stone, brick, metal, wood, or ceramic—and repeat it lightly.
Edges, paths, containers, and vertical accents
31. Put geometric shrubs in front of looser flowers. Rounded boxwood, inkberry, or another locally suitable compact shrub can sharpen an informal perennial mix. Use geometry as punctuation rather than a wall, and account for disease, deer, and winter exposure before committing to a shrub that will be difficult to replace.
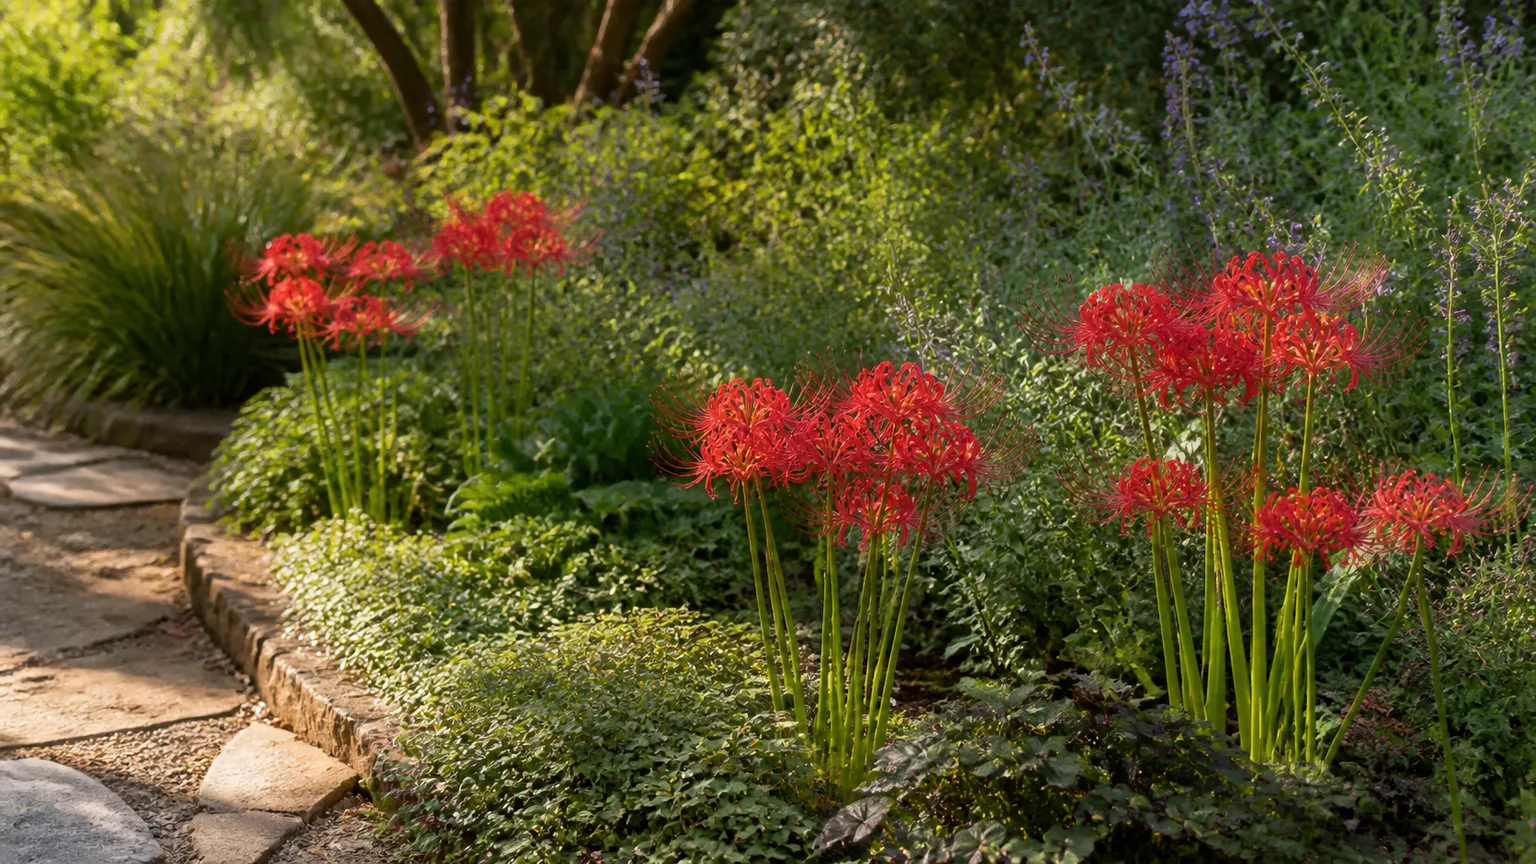
32. Use containers as movable color. A blue pot, glazed urn, or simple terracotta container can add a seasonal flower where the bed’s soil or light is wrong. Set it into the composition by repeating its color or shape elsewhere, and place it where watering and winter storage are realistic—not where a hose never reaches.
33. Add a small water feature as a pause. A shallow birdbath, bubbling bowl, or tiny pond can break up a large mass of foliage and create a place to watch wildlife. Keep the water clean, provide a shallow landing surface for insects, and do not place standing water where it becomes a child hazard or a mosquito problem.
34. Anchor a pergola or arbor with matching beds. Repeating the same foliage or flower color at both posts makes a structure feel planted into the garden. Keep the base open enough for inspection and painting, and use plants with predictable spread so the entry does not disappear under growth.
35. Build a raised edge that doubles as a seat. A low stone or timber edge can separate lawn from flowers and give you somewhere to sit while deadheading. Make the top stable, keep the bed accessible from at least one side, and never use a raised wall to hide unresolved water movement.
36. Use gravel or concrete dividers on a sloped bed. A narrow mineral strip can define planting zones, reduce soil splash, and give a contemporary look to a hillside. It works best when paired with plants that tolerate the slope’s exposure; the divider should organize water and access, not encourage you to plant thirsty flowers in a dry runoff channel.
Turn one idea into a planting plan
Once you have chosen an idea, stop browsing and map it. You only need a rough plan: draw the bed shape, mark the viewing points, record the light and moisture, and write each plant’s mature height, width, bloom window, and maintenance needs next to its name. The goal is to discover conflicts before the roots are in the ground.
The one-hour site audit
Walk the area at different times of day and answer these questions:
| Check | What to record | Why it changes the design |
|---|---|---|
| Light | Morning, midday, and late-afternoon sun; reflected heat | Determines whether sun or shade plants will thrive |
| Water | Where rain collects, runs off, or dries first | Prevents pairing sedum with a boggy spot or thirsty plants with dry tree roots |
| Soil | Texture, compaction, drainage, and a soil-test result if needed | Tells you whether to improve the bed or choose plants adapted to it |
| View and movement | Windows, paths, doors, mower turns, and hose reach | Keeps the bed attractive, accessible, and maintainable |
| Scale | Bed width, nearby windows, mature tree canopy, and plant spread | Stops a nursery-size plant from swallowing the design later |
Penn State Extension describes soil testing as a tool for understanding fertility and deciding on lime or fertilizer needs, while its raised-bed guidance emphasizes keeping soil covered, minimizing unnecessary disturbance, and using quality soil and compost. Review Penn State’s soil-management resources before adding amendments by guesswork. If the bed is new, improve the whole planting area modestly instead of digging a rich pocket around each plant; a pocket can create a sharp change in moisture and texture that roots eventually have to cross.
Spacing and bloom succession
Use the plant tag’s mature spread as your starting measurement. A plant with a 24-inch mature spread is usually happier with about 24 inches of center-to-center space than with six crowded inches, even if the first season looks sparse. You can fill the temporary gaps with annuals, bulbs, or mulch rather than buying twice as many perennials and planning to remove half later.
Plan the bed as a timeline. Mark one early-season anchor, two or three plants that carry summer, and at least one late-season group; then add foliage or seed heads for the weeks when flowers pause. For a massed look, repeat a species in groups of three, five, or more where the bed is large enough, but let the number follow the scale of the space rather than a rigid rule.
Plant and maintain without guesswork
The first season
Prepare the bed before the plants arrive. Remove perennial weeds, loosen compacted soil without pulverizing it, correct drainage or grading problems, and add finished compost only when the soil needs organic matter. Lay out the pots before digging so you can shift the composition while the plants are still movable.
Plant at the same depth as the container, water the root zone thoroughly, and keep checking the soil while roots move into the surrounding bed. New plants need consistent moisture, not an automatic daily sprinkle; deep watering followed by a check of the root zone is usually more useful than wetting only the surface. Mulch the open soil in a modest layer, keep it away from crowns and stems, and make sure mulch does not cover the bed’s edging or drainage path.
For the first few weeks, prioritize survival over bloom. Remove only damaged or spent growth that creates a problem, support tall plants before they flop, and postpone heavy feeding unless a soil test or plant-specific recommendation calls for it. The healthiest first-year flower bed often looks a little less full than the inspiration photo because it is leaving room for mature growth.
The seasonal reset
In spring, inspect winter damage before cutting everything down, divide or move plants that have outgrown their assigned space, and fill genuine gaps with repeat plants rather than adding a new color at random. In summer, water deeply during prolonged dry weather, deadhead when it extends bloom or improves sightlines, and remove weeds before they seed.
In fall, leave healthy seed heads and stems where they add structure or wildlife value, but clear diseased foliage and anything that blocks paths. Record what bloomed, what flopped, what needed more water than expected, and where the bed disappeared from view. That short note is more valuable than a dozen saved images when you revise the planting next year.
Common flower-bed mistakes to avoid
The first mistake is copying a plant list without copying the conditions. A sunny, well-drained border cannot be recreated in dry shade by watering harder, and a damp low spot will not become a lavender bed because gravel was sprinkled on top.
The second is planting for the nursery photo instead of mature size. Overcrowding creates weak airflow, more pruning, and an expensive editing job; temporary mulch or annuals can make a correctly spaced young bed look intentional while it fills in.
The third is using too many one-off plants. A garden can be eclectic without being random. Repeat two or three structural plants, echo a color, or reuse one foliage shape so the eye understands the bed.
The fourth is treating maintenance as an afterthought. If you cannot reach the center, water the far end, mow around the edge, or see the foundation behind a shrub, the bed is too deep or the access is wrong. Design the care route at the same time as the planting route.
The fifth is assuming “native,” “low maintenance,” or “pollinator-friendly” means “right for every yard.” Local climate, soil, mature spread, deer pressure, and winter hardiness still matter. A regional plant list and a small test area are safer than filling the entire bed with a plant you have never grown.
Conclusion
The most recreatable flower bed is not the one with the rarest plant or the most dramatic color. It is the one whose shape has a job, whose plants fit the light and soil, whose mature spread is respected, and whose bloom sequence still looks deliberate after the first flush fades.
Choose one of the 36 ideas as your starting structure, narrow it to a repeatable palette, and map the bed before buying. Give the soil and new roots a thoughtful first season, leave space for plants to grow, and keep notes as the design changes. A bed built around those decisions will look beautiful in photographs—and keep earning its place in the yard.



