How to Grow and Care for Hydrangeas
Learn how to grow and care for hydrangeas with practical guidance on light, soil, water, pruning, flower color, containers, winter, and problems.
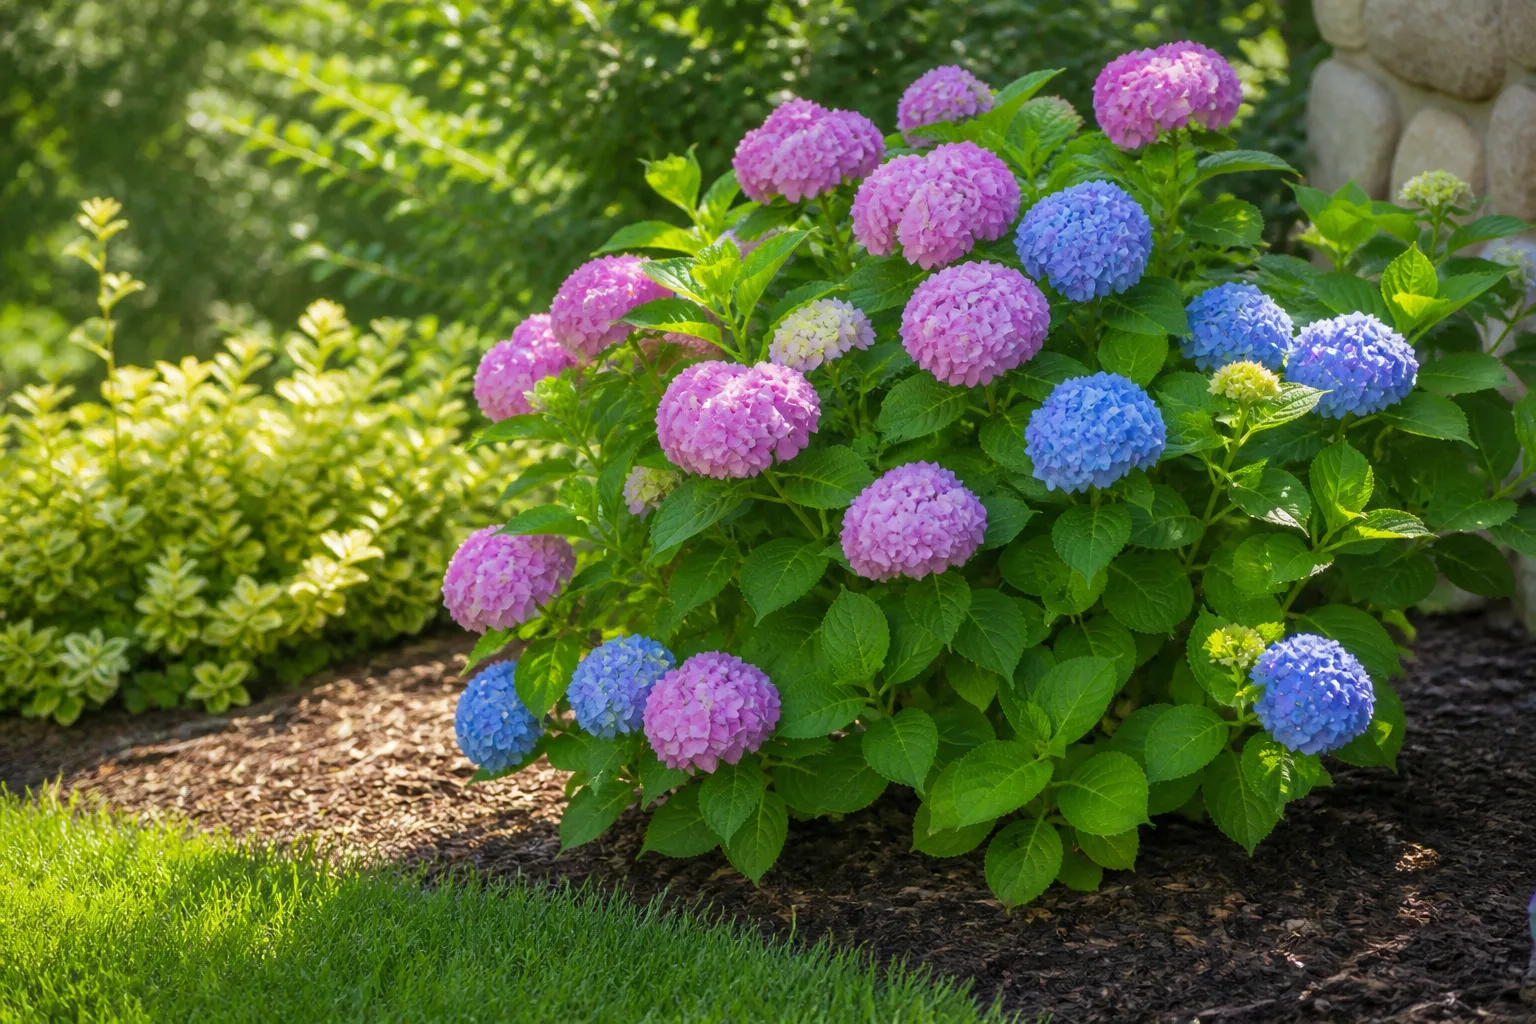
Hydrangeas are forgiving when their site matches their species, but they are not interchangeable shrubs. A mophead that makes next year’s buds on this year’s stems can lose its flowers after one badly timed haircut, while a panicle hydrangea is much more tolerant of early-spring pruning. The most reliable care plan starts by identifying the plant, then keeps its root zone evenly moist, its canopy out of the harshest exposure, and its buds intact.
Quick answer: hydrangea care at a glance
Plant hydrangeas in spring or fall, or at another mild time when the soil is workable and you can water consistently. Choose a location with morning sun or light shade, protection from intense afternoon heat and drying wind, and soil that holds moisture without staying waterlogged. Water new plants when the root ball begins to dry; established shrubs mainly need supplemental water during prolonged heat or drought.
Add compost or another mature organic soil improver when the ground is poor, mulch the root zone without piling it against the stems, and fertilize only when the soil or plant actually calls for it. Prune by species: bigleaf and lacecap hydrangeas generally flower on old wood, while panicle and smooth hydrangeas flower on new wood. The NC State Extension plant profile describes hydrangeas as multi-stemmed deciduous shrubs or climbers with substantial differences among common species, so the plant label matters more than a generic “hydrangea” calendar (NC State Extension).
Choose the right hydrangea for your site
The flower head is your first useful clue. Mopheads have rounded clusters of showy florets, and lacecaps have a flatter arrangement with small fertile flowers at the center. Bigleaf hydrangeas (Hydrangea macrophylla) and mountain hydrangeas (H. serrata) are the types most associated with pink, blue, or purple color shifts and old-wood pruning. Panicle hydrangeas (H. paniculata) have cone-shaped clusters and flower on new growth. Smooth hydrangeas (H. arborescens) also flower on new wood, while oakleaf hydrangeas (H. quercifolia) bring oak-shaped leaves and strong fall color.
Size is a practical care decision, not just a shopping detail. A compact cultivar can work in a container or narrow bed, but a vigorous plant forced into a small space will need repeated cutting and may lose its natural shape. Check mature height and spread, cold hardiness, bloom wood, and whether the named cultivar is a rebloomer before you decide where it belongs. A “blue hydrangea” on a nursery tag is not necessarily a plant that will stay blue in your garden soil.
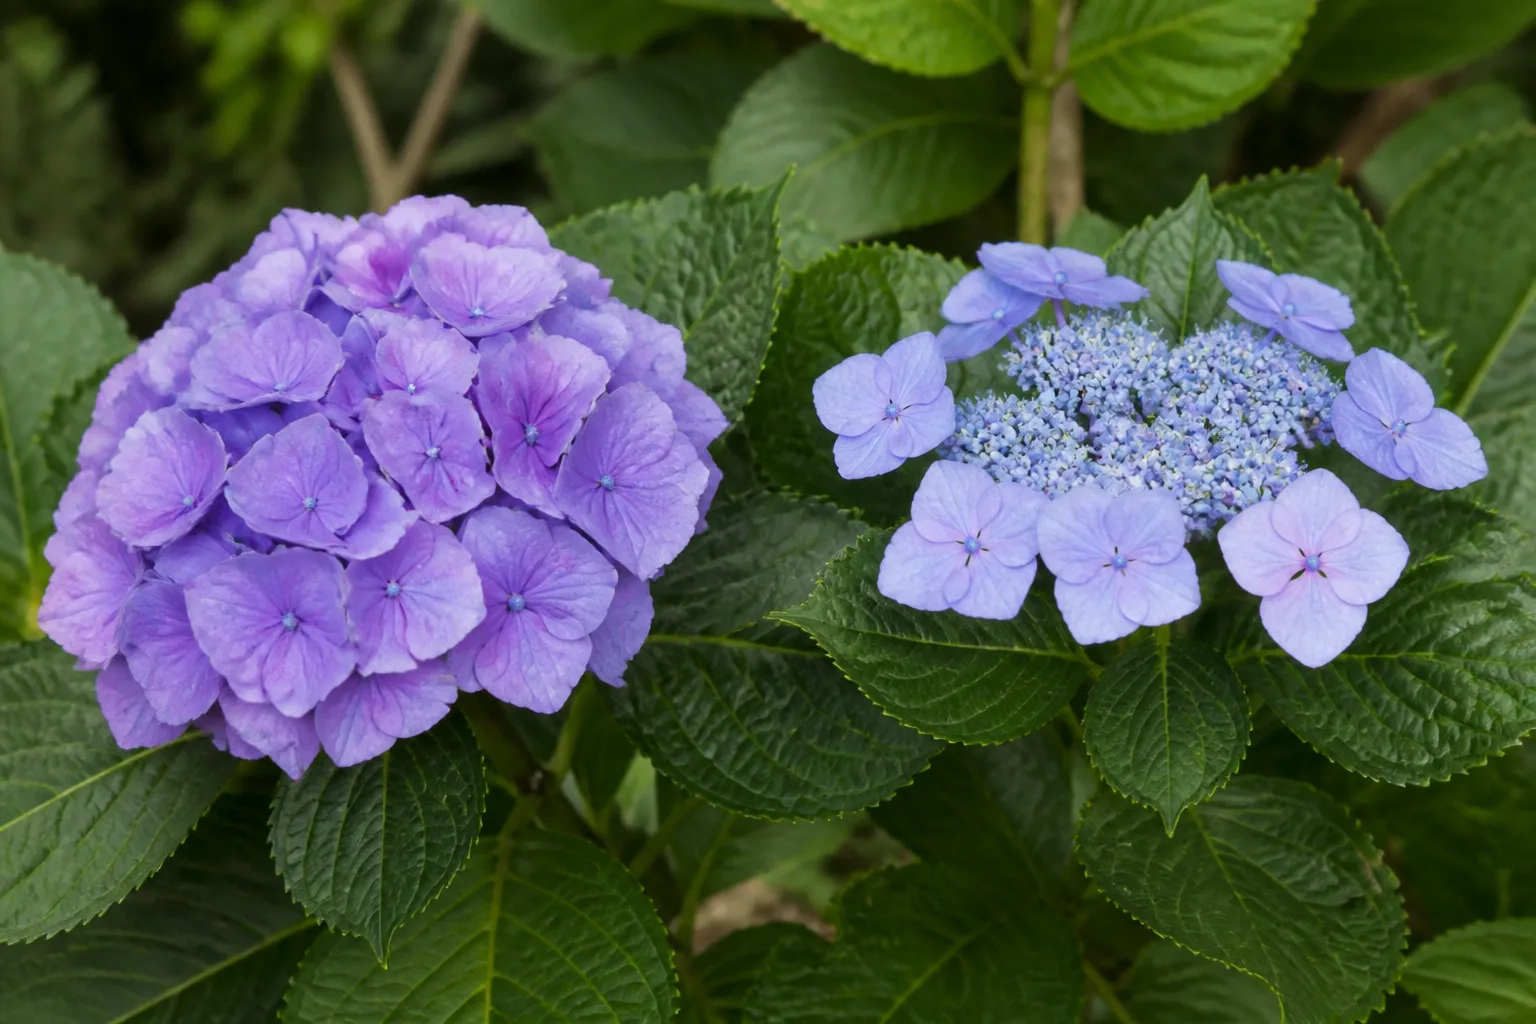
If the tag is missing, look at the leaves, flower shape, and the old stems rather than guessing from the color. When the identity is still uncertain, make only sanitation cuts and wait until the plant flowers again; preserving an unknown plant’s buds is safer than applying a hard prune based on appearance alone.
Find the right light and shelter
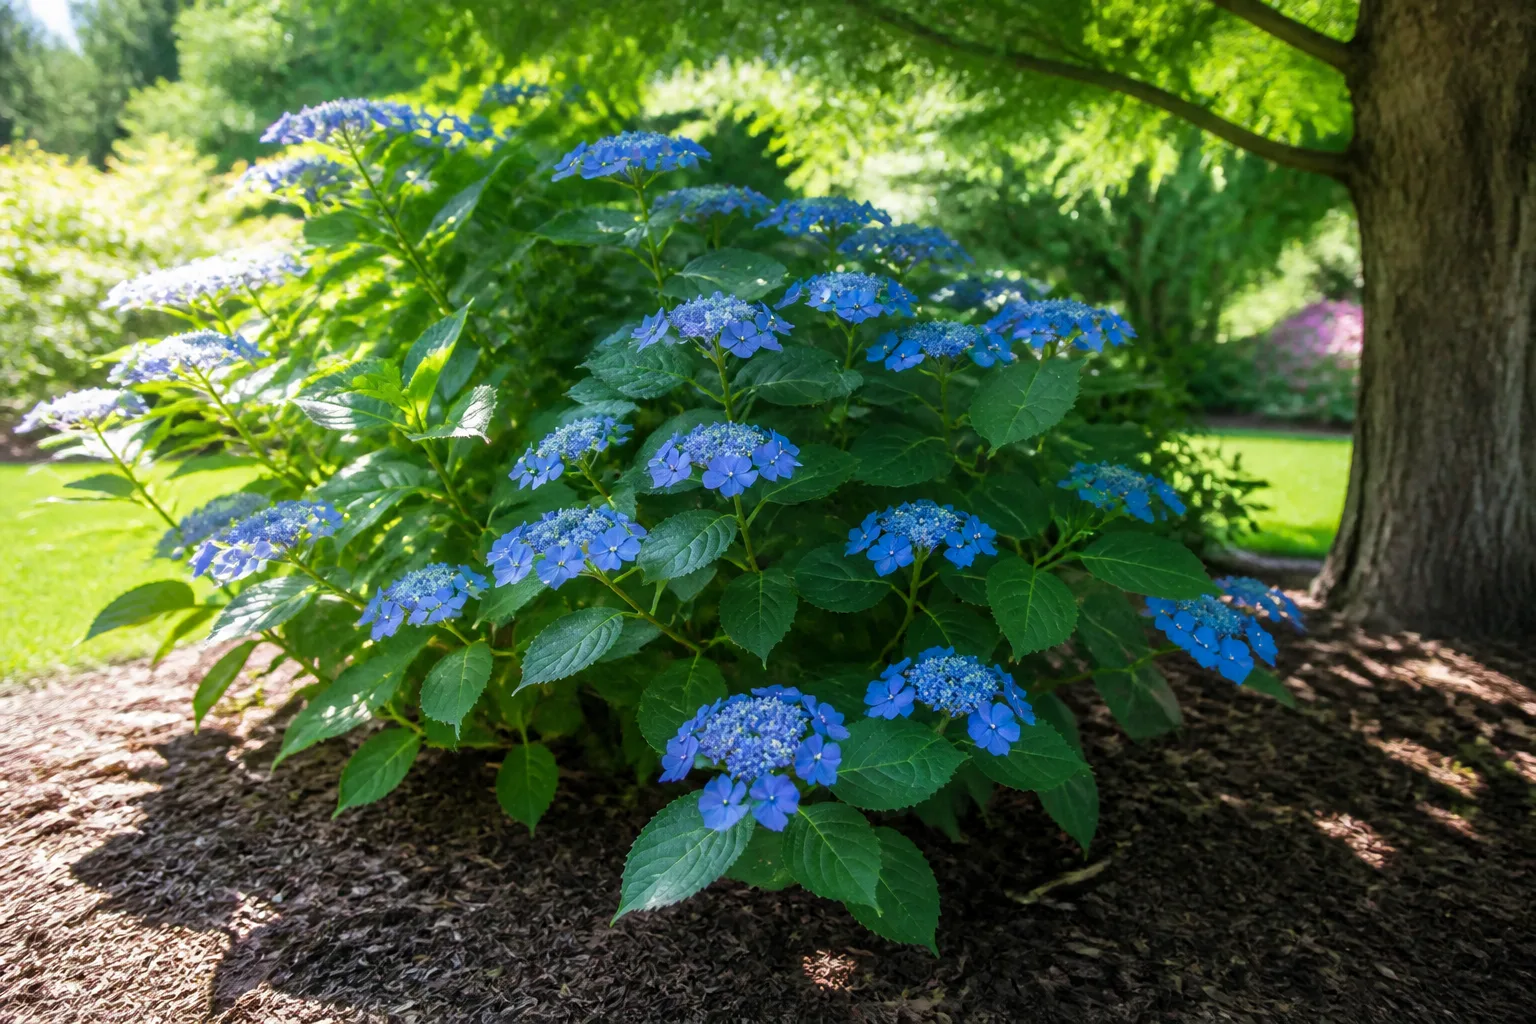
The best default is morning sun and afternoon shade, or bright dappled light beneath an open tree canopy. Sun supports flowering and helps stems stay sturdy, but large hydrangea leaves lose water quickly in hot afternoon exposure. In a cool, humid climate with dependable soil moisture, some cultivars can take more sun. In a hot, dry climate, the same plant may scorch, wilt each afternoon, or need irrigation so often that a shadier location is the better solution.
Avoid deep shade if flowers matter. A hydrangea can survive with little direct light, yet weak, elongated stems and sparse bloom clusters are common results. Also avoid a frost pocket, a wind tunnel, and a spot beneath a roof edge where concentrated runoff repeatedly floods the crown. The RHS recommends light shade, while noting that hydrangeas tolerate sunnier positions when the soil does not dry excessively (RHS shrubby hydrangea growing guide).
Think in terms of the whole day rather than a label such as “full sun.” A bed that receives four gentle hours before noon can be kinder than a bed with six hours of reflected heat beside paving. If a plant is already established, move it only when the site is clearly wrong; transplanting a large shrub during a heat wave creates a second stress problem.
Plant hydrangeas at the right depth
Spring and fall are the easiest planting seasons because the soil is usually workable and temperatures are less demanding. Container-grown hydrangeas can be planted outside the ideal windows if the ground is not frozen, saturated, or baking dry, but the watering burden rises sharply during summer. Water the nursery pot thoroughly before planting so the root ball is not dry when it enters the ground.
Dig a hole no deeper than the root ball and roughly twice as wide; some soils benefit from a wider hole still. Set the top of the root ball level with the surrounding soil, not below it. Deep planting can leave the crown too wet and reduces the amount of air reaching the roots. Backfill with the soil you removed, breaking up large clods but resisting the urge to create a small pocket of rich soil that is radically different from the native ground.
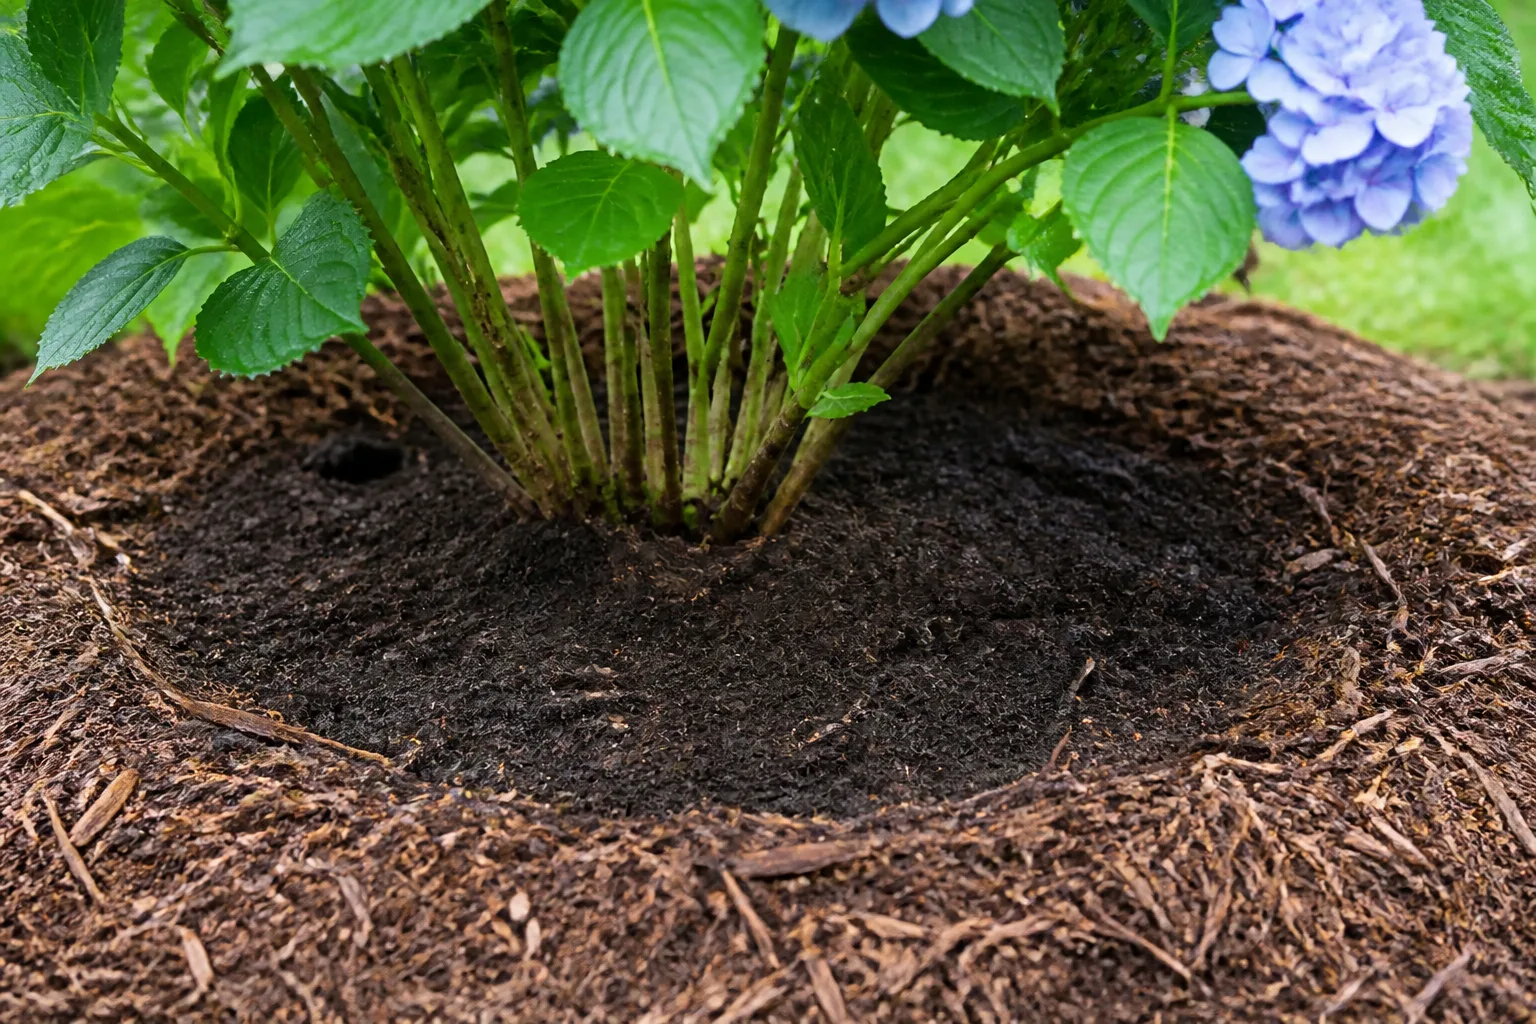
Water slowly after backfilling to settle air gaps, then apply a 2- to 3-inch layer of compost, leaf mold, or bark mulch across the root zone. Keep the mulch several inches away from the stems. Space plants according to their mature width, because tight spacing makes airflow, watering, and future pruning harder even when the bed looks sparse on planting day.
Build soil that stays moist but drains
Hydrangeas prefer soil that is moisture-retentive but free-draining. Clay, sand, and loam can all work when organic matter improves structure and roots are not trapped in a basin of standing water. The useful test is not whether the soil is dark or labeled “acidic”; it is whether a deep watering reaches the root zone and excess water can leave.
Before planting in a questionable spot, fill a test hole with water and watch how quickly it empties. If the hole stays full for most of a day, move the plant, improve the bed’s overall drainage, or plant on a raised area. A thin layer of gravel under the root ball does not repair a perched water table. In a wet garden, the right site change is more valuable than adding more fertilizer or trying to water more carefully.
Compost can help both heavy and light soil, but do not bury the stem base under amendments. Soil pH is a separate question. Most hydrangeas grow in a range of soils; pH chiefly affects the flower color of responsive bigleaf, mountain, and some lacecap or mophead cultivars. Test the soil before attempting to change it, especially if the bed is chalky or heavily limed.
Water by root-zone moisture
Do not choose a permanent watering schedule from a calendar. Check below the mulch and several inches into the soil in more than one place. The area beside a downspout, the sunny edge of a shrub, and the space beneath a tree can have different moisture levels on the same day. A new hydrangea needs the root ball and surrounding soil to stay evenly moist while roots move outward; an established plant usually needs extra water during a heat wave or a long dry spell.
When the root zone is beginning to dry, water slowly at the base until moisture reaches across the planting area. A brief sprinkle that wets only the top mulch or leaves is not a deep drink. Morning watering is a useful default because it gives foliage and soil surface time to dry, but a genuinely dry, wilting plant should be watered when you find it rather than left to worsen until morning.
Afternoon droop is not proof of drought. Hydrangeas can fold or hang their leaves temporarily during intense heat and recover after sunset. Check the soil first, then look again in the evening. If the leaves recover while the soil is damp, improve shade or mulch rather than adding water. If the plant stays limp, the soil is dry, or the container feels unusually light, water thoroughly and investigate why it dried so fast.
Feed lightly and mulch intelligently
Healthy hydrangeas often need less fertilizer than gardeners expect. A mature shrub in soil enriched with compost may flower well without routine feeding. Excess nitrogen can create soft, leafy growth while contributing little to flowering, and lush late growth may be more vulnerable to cold injury. The RHS likewise cautions that regular feeding is not generally needed for established plants and that overfeeding can favor leaves over flower buds (RHS shrubby hydrangea growing guide).
If a soil test or a clear nutrient deficiency points to feeding, use a product labeled for flowering shrubs and follow its rate and timing. Do not stack several products because a plant is not blooming; first check light, pruning, winter injury, and moisture. Fertilizer cannot replace flower buds that were removed or killed.
Refresh mulch in spring or when the root zone begins drying quickly. Organic mulch moderates soil temperature, slows evaporation, and gradually adds organic matter, but it should not touch the stems. A thick, wet mulch volcano can keep the crown damp and conceal a pest or rot problem, so spread mulch broadly and keep the base visible.
Understand hydrangea flower color
Only some hydrangeas change color in response to soil chemistry. On responsive pink or blue cultivars, acidity affects how available aluminum is to the plant; a more acidic root zone can support bluer flowers, while less acidic or alkaline conditions tend toward pink, mauve, or redder shades. White, green, and many red cultivars generally stay within their genetic color range. Flowers also age naturally, often shifting toward green, pink, red, or brown late in the season, so not every change indicates a soil problem.
If blue is the goal, start with a cultivar known to change color and a soil test. The RHS gives roughly pH 4.5 to 5 as an acidic range associated with reliable blue color, but very alkaline or chalky soil can resist rapid correction (RHS shrubby hydrangea growing guide). A container with acid-loving potting mix gives you more control than trying to overcome a strongly alkaline bed.
Do not pour kitchen acids, random coffee grounds, or concentrated amendments around the plant. They make the outcome unpredictable and can damage roots. If you use a labeled colorant or acidifying product, follow that product’s instructions, change the soil gradually, and accept that nearby soil, irrigation water, and the cultivar itself may limit the result. If drought is stressing the plant, restore moisture before chasing color; a thirsty hydrangea needs water more urgently than a different shade of bloom.
Prune according to species and bud timing
Pruning is the point where hydrangea identity becomes essential. Old wood means stems produced during the previous growing season; new wood means the current season’s growth. Cutting old wood before it flowers can remove the buds that would have opened that summer. Cutting new-wood hydrangeas in early spring is usually safer because they form flower buds on the shoots that follow.
| Hydrangea group | Typical flower wood | Safer pruning window | Practical approach |
|---|---|---|---|
| Bigleaf and mountain (H. macrophylla, H. serrata) | Mostly old wood; some rebloomers also use new wood | After flowering for light shaping, or mid-spring to remove winter damage | Remove dead wood and spent heads lightly; do not hard-cut an unknown plant |
| Panicle (H. paniculata) | New wood | Late winter or early spring | Shorten last year’s growth to a strong framework if size or stem strength requires it |
| Smooth (H. arborescens) | New wood | Late winter or early spring | Remove weak wood and reduce last year’s growth; a hard renovation is possible when necessary |
| Oakleaf and other less forgiving types | Mostly old wood | Spring, lightly | Remove dead, crossing, or overlong stems rather than shearing the shrub |
The table is a starting point, not permission to cut by species name alone. Cultivars differ, and a reblooming bigleaf can still lose its early flowers when old stems are removed. When you cannot identify the plant, remove only dead, broken, hazardous, or clearly diseased branches and wait for more information.
Use clean, sharp bypass pruners for small stems and a pruning saw for larger branches. Cut just outside the branch collar rather than leaving a long stub or cutting flush into the trunk. For an overgrown old-wood hydrangea, gradual renewal is usually less risky than removing every stem at once: take out one or two of the oldest stems at the base and reassess the shape. A drastic renovation may restore structure but can cost a full season of flowers.
Deadhead without losing next year’s flowers
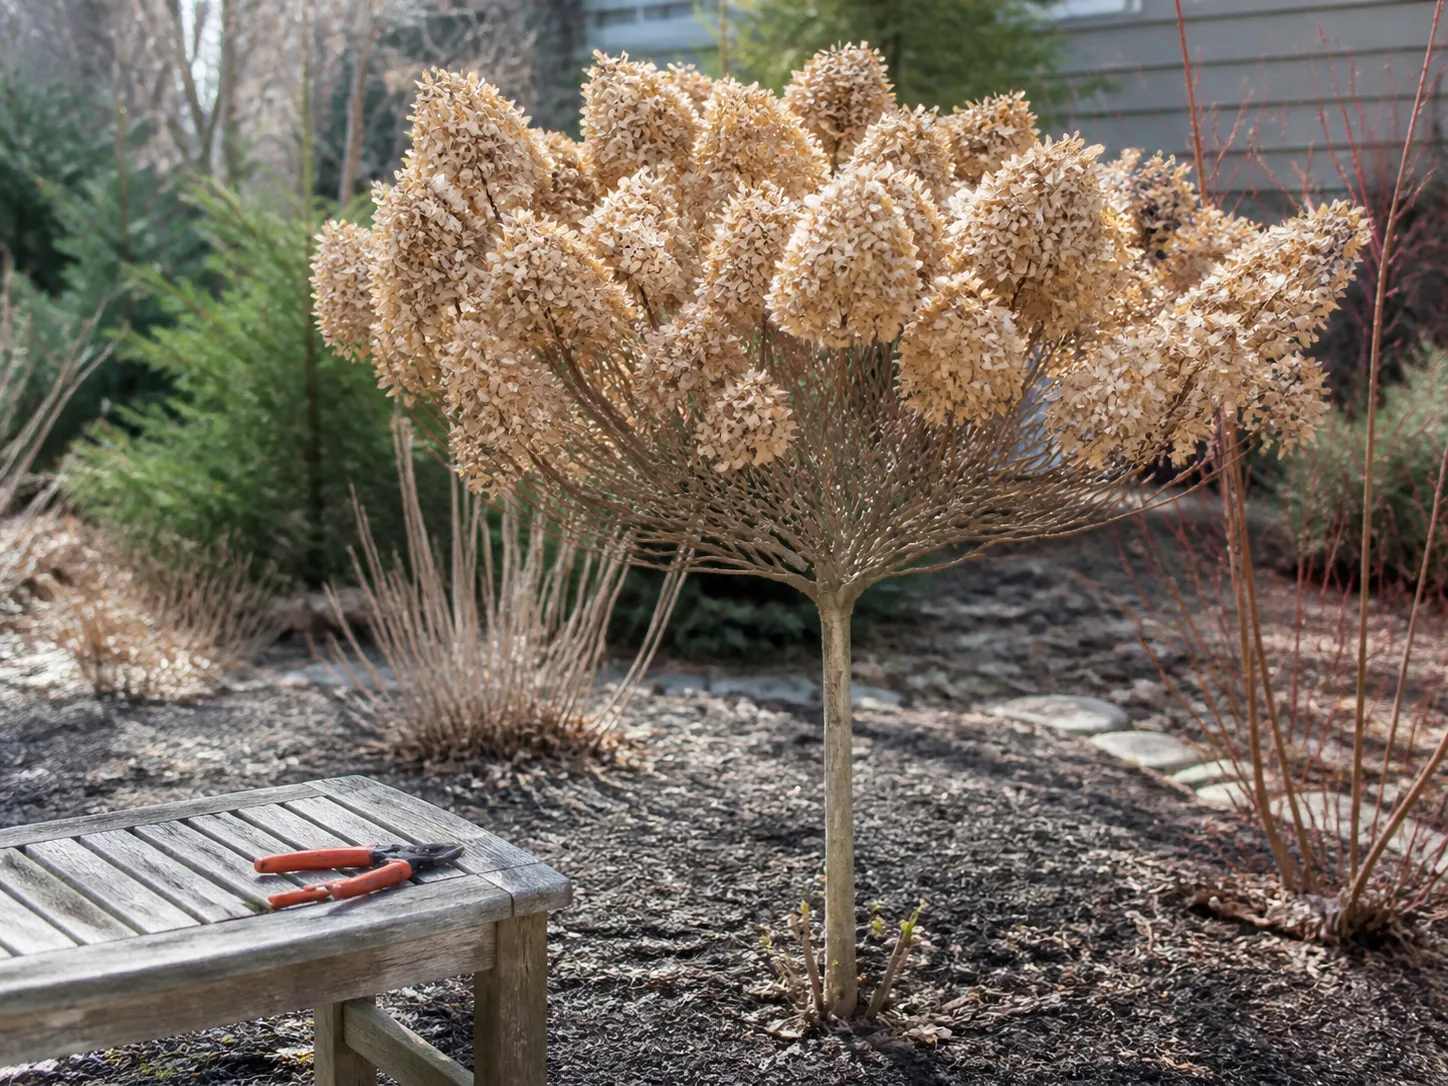
Deadheading is optional. Dried flower heads can add winter structure and may shelter tender buds beneath them, especially on old-wood bigleaf hydrangeas. If you want a tidier look, remove a faded head only when you can see the pair of plump buds below it and cut just above those buds. Leave the developing stems intact.
In a mild climate, you may deadhead some mopheads soon after flowering, but late-season cutting is a poor bargain when those stems carry next year’s buds. Panicle and smooth hydrangeas are more forgiving because their future flowers form on new growth, yet there is still no reason to shear a healthy plant simply because the old heads have turned brown. Cut flowers for arrangements on a long stem only when you are sure the remaining framework can support next year’s bloom.
Grow hydrangeas in containers
Containers solve two common problems: they let you control soil volume and make it easier to move a plant away from harsh sun or winter exposure. They do not make hydrangeas low-maintenance. A pot holds less water than the ground, heats quickly, and offers less insulation to roots, so container plants need more frequent moisture checks and a deliberate winter plan.
Choose a compact cultivar and a pot with multiple drainage holes. The container should be large enough for the root ball with room to grow, but an oversized pot full of wet mix can stay saturated around a small root system. Use a quality container mix with organic matter and enough air space; do not fill a pot with garden soil alone. Water until excess drains, then empty any saucer rather than allowing the pot to stand in water.
Move a potted hydrangea to morning sun or brighter shade during hot weather. If you want blue flowers but garden soil is alkaline, a container with acid-loving mix offers more control, but it still does not guarantee a permanent color. In winter, protect the root ball from repeated freeze-thaw exposure by moving the pot to a sheltered location, raising it for drainage, or using an appropriate unheated protected space for the cultivar and climate.
Protect hydrangeas through winter and late frost
Winter care depends on what you are protecting. The roots benefit from an even layer of mulch, while old-wood flower buds need shelter from severe cold, drying wind, and late spring freezes. A plant can look alive and leaf out after winter while producing few flowers because its buds were damaged before they opened.
Avoid fall hard pruning on old-wood hydrangeas. Leave dried flower heads through winter if they provide cover or structure, then wait until spring growth reveals which stems are alive. After a late frost, do not rush to cut every blackened tip. Give the plant time to show new growth, then prune damaged tissue back to live wood above a healthy pair of buds. BBC Gardeners’ World Magazine recommends a sheltered position and patience after frost because damage to new growth does not necessarily mean the whole shrub has died (BBC Gardeners’ World Magazine).
Protect a container differently from an in-ground shrub. The exposed root ball can freeze even when the top growth appears hardy. Move the pot against a sheltered wall, group containers, raise them off cold wet ground, and keep the mix from becoming bone dry during a winter thaw. Use burlap or a breathable cover for wind protection when appropriate, but do not wrap a plant so tightly that air cannot circulate or moisture remains trapped against the stems.
Propagate from softwood cuttings
Hydrangeas are commonly propagated from cuttings because named cultivars do not reliably come true from seed. Softwood cuttings are easiest in spring to early summer, when a young, flexible shoot is firm enough to stand upright but has not flowered. The timing differs by climate and species, so choose healthy, nonflowering growth rather than following a date blindly.
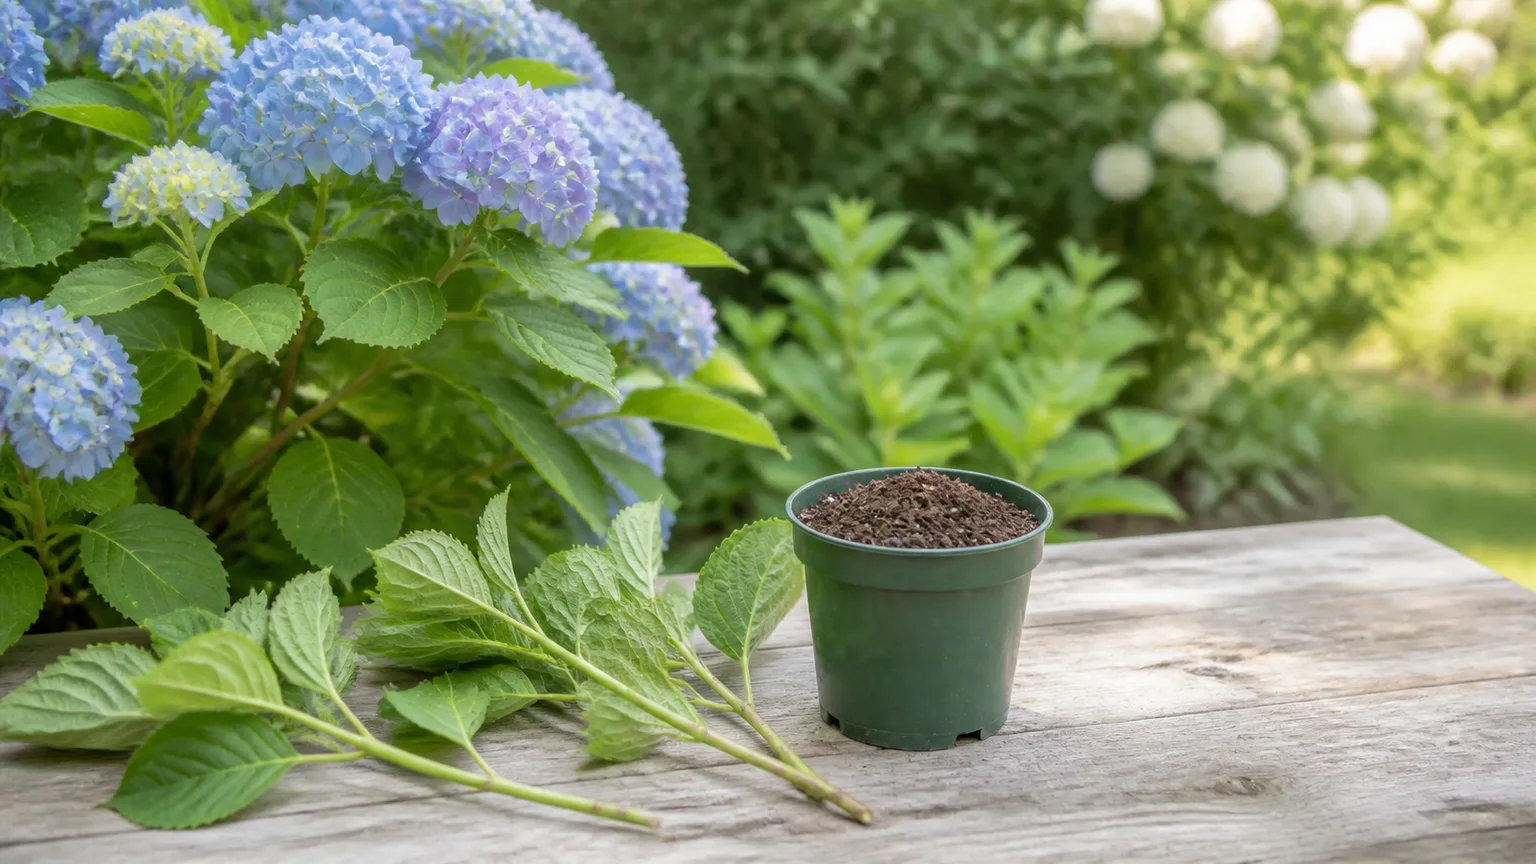
Prepare a clean pot with a moist, airy rooting mix such as potting compost amended with perlite or grit. Take a 4- to 6-inch cutting just below a leaf node, remove the lower leaves, and reduce the remaining large leaves if they wilt quickly. Insert the lower node into the mix, firm it gently, and cover the pot with a loose clear bag or propagator cover that does not press on the leaves.
Keep the cutting in bright indirect light, out of hot sun, and keep the mix evenly moist rather than saturated. Vent the cover periodically. New growth is encouraging but not absolute proof of roots; tug very gently after several weeks or wait until the cutting resists and has begun to grow before potting it on. Expect a young plant to need a season or two to develop a substantial root system. The RHS lists softwood, semi-ripe, and hardwood cuttings as propagation options, with softwood material taken from flexible new shoots (RHS propagation guidance).
Diagnose no flowers and drooping leaves
When a hydrangea has leaves but no flowers, check in this order: pruning timing, winter or late-frost damage, light, moisture, and fertilizer. An old-wood hydrangea cut down in fall may grow vigorously but have no flower buds left. A plant in deep shade may stay green without building enough energy for a strong display. A rebloomer may recover with later flowers after cold damage, but that does not mean the original buds survived.
If the plant is new, transplant shock, dry roots, or a root ball that was planted too deeply can delay flowering. If the plant is mature, compare this year’s weather with the previous season and inspect the stems before adding nutrients. More fertilizer cannot restore a bud killed by frost or removed by pruners. Correct the cause you can control and give the plant a full growing season to rebuild.
For drooping leaves, check the soil and the time of day. Dry soil plus leaves that remain limp in the evening points toward drought or root damage. Damp soil plus afternoon-only droop points more toward heat stress. In the second case, extra water can worsen poor drainage; use mulch, afternoon shade, and better site selection instead. A sudden, permanent collapse after repeated watering deserves a root and drainage check rather than another soaking.
Diagnose yellow, brown, spotted, or chewed leaves
Yellow leaves can follow drought, saturated roots, nutrient imbalance, or natural aging. Read the pattern: whole-plant yellowing in wet soil suggests root stress, while dry soil with crisp margins suggests water shortage. Yellowing between green veins may indicate a nutrient or pH-related issue, but do not diagnose from color alone; a soil test and a root-zone check are more useful than a general-purpose fertilizer.
Brown edges or tips often point to water stress, hot wind, root disturbance, or excess fertilizer salts. If fertilizer or a concentrated soil amendment was recently applied, stop feeding and water thoroughly only if the soil drains freely. Do not repeatedly flush a plant sitting in heavy, saturated soil. Damaged tissue will not turn green again; judge recovery by the condition of new leaves and stems.
Spots, mildew, or leaf drop become more likely when foliage stays wet, airflow is poor, or the plant is already stressed. Water at the base, remove badly affected leaves, clear fallen debris, and improve spacing. Chewed leaves or sticky residue may indicate insects such as beetles, aphids, or scale. Inspect leaf undersides and stems before choosing a treatment, and follow the label for any pesticide or soap product; a broad spray can damage leaves and beneficial insects when used in heat or bloom.
Hydrangeas are also a pet-safety consideration. ASPCA Animal Poison Control lists hydrangea as toxic to dogs, cats, and horses and identifies cyanogenic glycoside as the toxic principle; reported signs include vomiting, depression, and diarrhea (ASPCA Animal Poison Control). Keep prunings and fallen leaves away from animals that chew plants, and contact a veterinarian or animal poison service promptly if ingestion is suspected.
Follow a seasonal hydrangea care calendar
Spring: Check which stems survived winter before pruning. Remove dead wood, protect new shoots if a freeze is forecast, top up mulch, and plant new shrubs after the ground is workable. This is the main pruning window for panicle and smooth hydrangeas, but old-wood types usually need a lighter hand.
Summer: Monitor moisture at the root zone, especially on the sunny side of a plant and in containers. Provide afternoon relief during extreme heat, deadhead only when the buds below are easy to identify, and take softwood cuttings from healthy nonflowering shoots. Avoid hard pruning and heavy feeding when the plant is heat-stressed.
Fall: Let old-wood plants finish setting next year’s buds. Stop structural pruning on uncertain or old-wood hydrangeas, keep watering during dry weather until dormancy, and remove diseased debris. The fading flower heads can stay in place for winter interest and bud protection.
Winter: Use mulch to moderate root temperature, protect containers from repeated freezing and saturation, and leave healthy stems alone. Plan next season’s cuts from the plant’s flower wood rather than from a universal date. If you need to renovate an old shrub, identify its species and accept that a hard renovation may trade one year of flowers for a reset framework.
Common mistakes to avoid
The most expensive mistake is pruning before identifying the hydrangea. The next is treating afternoon wilt as an automatic request for water. Check the soil and the evening recovery pattern before irrigating, because roots in saturated ground cannot use more water effectively.
Avoid planting too deep, burying stems in mulch, or placing a shrub under a downspout. Do not create a gravel layer at the bottom of a planting hole and expect it to fix drainage. Do not change flower color with unmeasured kitchen ingredients, and do not keep applying fertilizer when shade, frost, or lost buds is the real cause of poor flowering.
Finally, do not judge a hydrangea by one difficult season. A late freeze, heat wave, transplant, or severe pruning event can affect flowers for months after the original stress has passed. Record the cultivar, planting date, pruning date, and unusual weather; that short history makes next year’s decision much clearer than guesswork.
Conclusion
Good hydrangea care is mostly about matching the plant to its site and protecting the timing of its growth. Give it light that is bright but not punishing, soil that holds moisture and drains, deep watering when the root zone needs it, and only as much fertilizer as the plant and soil justify. Then identify whether it flowers on old or new wood before you prune.
When something looks wrong, start with an observation: feel the soil, inspect the stems, check the light, look for pests, and consider the last frost or pruning date. That simple sequence prevents the common cycle of adding water, fertilizer, and more cuts to a plant whose real problem is a lost bud, poor drainage, or an unsuitable site.



