6 Household Items to Reuse in the Garden
Discover six household items to reuse in the garden, when each hack works, and how to avoid overheated seedlings, root damage, nutrient myths, and extra waste.
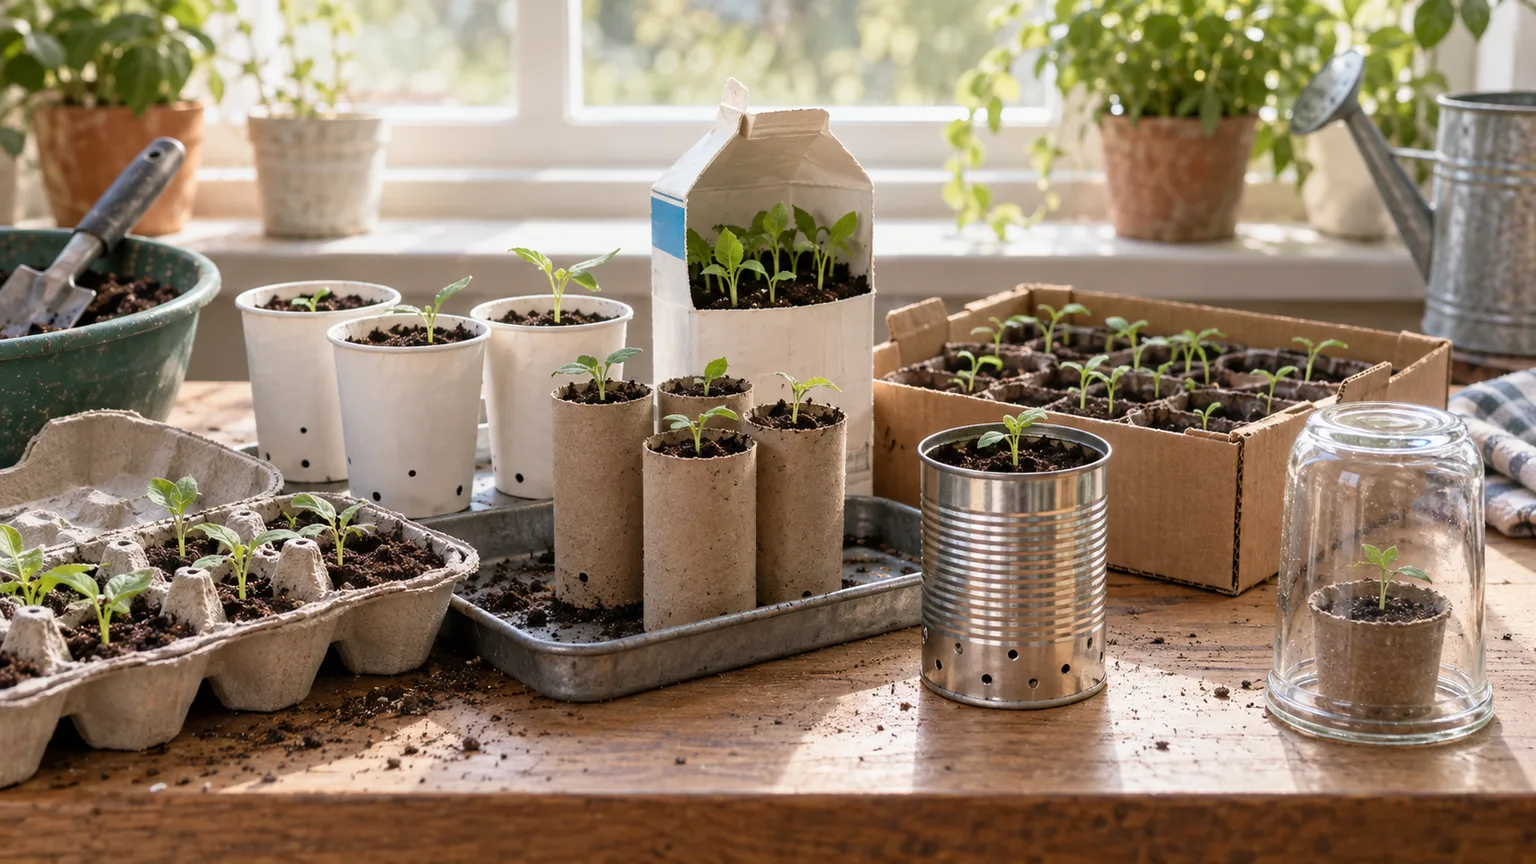
The best garden reuse is the one that solves a real problem, is easy to clean up, and does not create a new one for your plants. A milk jug can shelter a seedling, pantyhose can support a heavy stem, and newspaper can smother germinating weeds; coffee grounds and eggshells are useful too, but they work best with realistic expectations about what they add to soil.
These six ideas turn everyday leftovers into short-term garden tools. For each one, match the material to the job, use it in a way that allows air and water to move, and keep an eye on it as plants grow. If the item is brittle, contaminated, difficult to remove, or more trouble than a proper garden material, recycling or disposal may be the better choice.
Decide whether reuse makes the garden easier
Before saving anything for the garden, answer three questions: what job will it do, can you monitor and remove it, and is the material clean and appropriate for soil or plants? If the first two answers are unclear, the item is more likely to become clutter than a useful tool. Reusing a container for one season can be worthwhile, but it is not automatically more sustainable if it breaks down outdoors, sheds pieces, or cannot be recycled afterward.
Think of these materials as tools, not magic inputs. A plastic cover changes the temperature and airflow around a plant; paper blocks light at the soil surface; a tie distributes weight; food scraps become amendments only after they decompose. That distinction helps prevent common disappointments, such as expecting a few eggshells to cure a nutrient problem overnight or expecting a clear bin to protect plants safely through an unattended sunny day.
Wash containers that held food, remove labels and caps when they could block drainage or ventilation, and avoid anything that contained pesticides, solvents, motor oil, or unknown chemicals. Smooth sharp cut edges before handling.
Check reused plastic for cracks and brittleness, and do not leave it where it can blow into a neighboring yard or drainage area. If an item fails any of these checks, skip the hack.
Milk jugs: seed starters and temporary plant covers
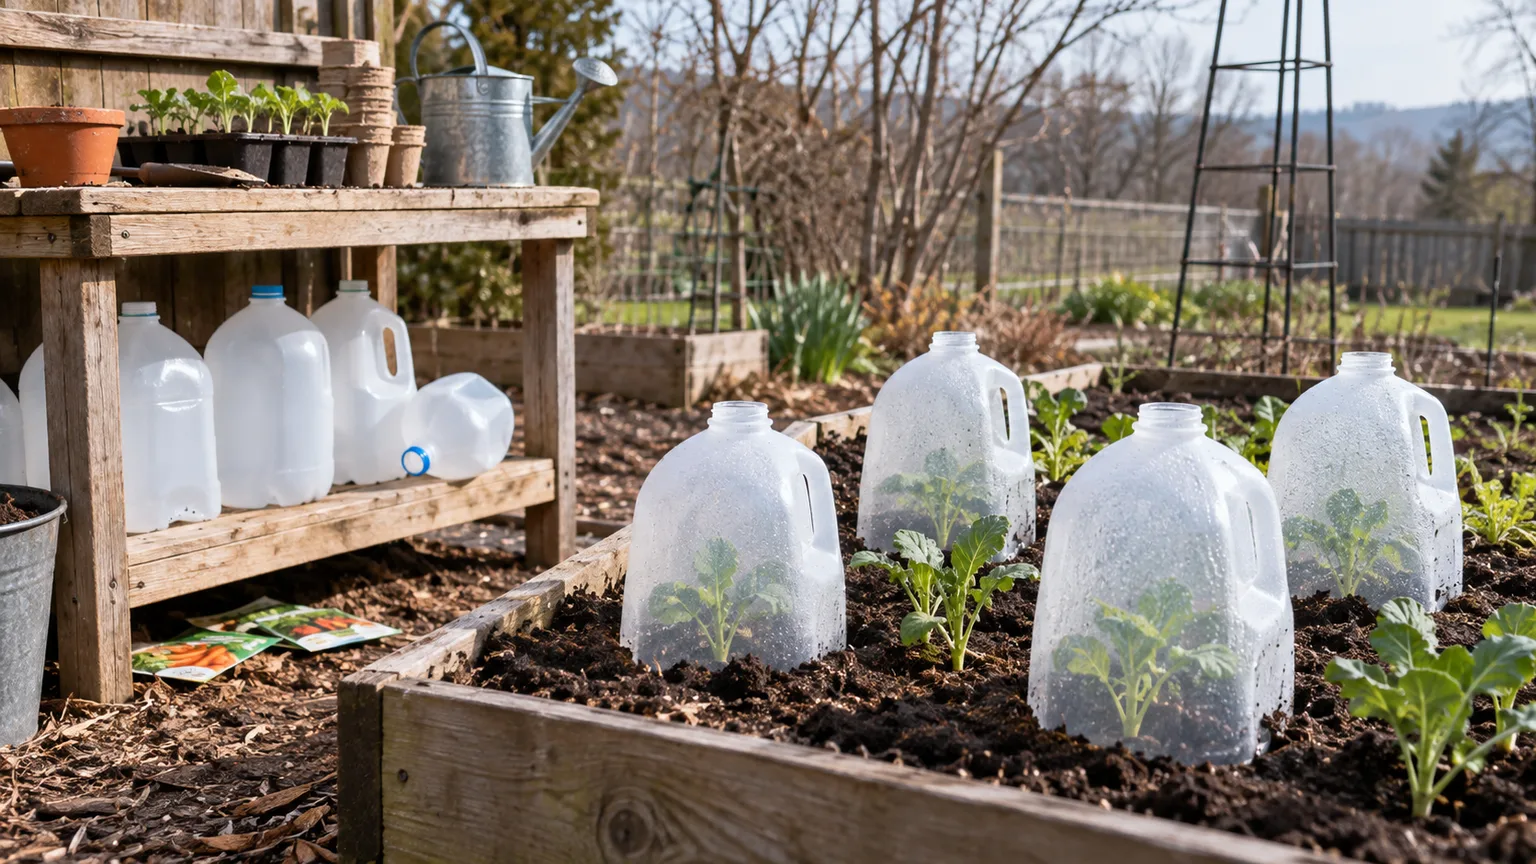
Clear or translucent milk jugs can serve two distinct jobs: a winter-sowing container that stays outdoors through cold weather, or a temporary cloche placed over an established seedling. The setup is different for each job.
Winter sowing uses a jug as a ventilated mini-greenhouse with soil and seeds inside; a cloche is an open-bottom cover placed over a plant already growing in the garden. Do not seal a cloche as though it were a winter-sowing container.
For either use, rinse the jug well and let it drain. Leave the cap off if rain must reach the soil or warm air needs to escape.
Use a utility knife only on a stable surface, cut away from your body, and smooth the rim so it cannot snag leaves or skin. If you are not comfortable cutting plastic, reuse a nursery pot or seed tray instead.
Winter-sow seeds in a ventilated mini-greenhouse
Winter sowing is a way to start suitable seeds outdoors in a clear container rather than occupying indoor shelf space under lights. North Carolina Cooperative Extension describes milk jugs as mini-greenhouses that protect seeds from harsh weather while exposing them to outdoor temperature cycles. The method suits cold-hardy perennials, native plants, and hardy annuals; it is not a shortcut for warm-season vegetables that need consistently warm germination conditions.
To make one, cut around the jug about two-thirds of the way up, leaving a small uncut hinge. Add drainage holes to the bottom and a few ventilation holes near the top, then add a few inches of moist seed-starting mix.
Sow seeds at the depth and spacing on the packet, label the jug with the plant and date, and tape the cut seam closed while leaving the cap off. Place it outdoors where it receives natural light and precipitation but will not tip over or collect standing water. North Carolina Cooperative Extension’s winter-sowing guidance gives a similar setup and recommends choosing seeds suited to the cold-season process.
Check the container occasionally rather than assuming that outdoor sowing requires no attention. During a long dry spell, feel the mix through the opening and water lightly if it has dried; after seedlings emerge, check that condensation is not turning the inside into a stagnant, saturated environment. When the seedlings are large enough to handle and outdoor conditions are suitable, open the jug, acclimate the plants if they have been protected, and transplant them without letting the root ball dry.
Make a removable cloche, not a sealed oven
For a short-lived cover, cut off the bottom of a jug and set it over a newly transplanted seedling on a cool night. The open base lets the cover sit around the plant, while the neck gives you a way to vent heat. Gardening Know How’s milk-jug reuse guide and Successful Farming both describe milk jugs as practical cloches and seed-starting containers.
Anchor the jug with a small stone or soil around the rim if wind could lift it, but keep the seedling from pressing against the plastic. Leave the cap off during mild weather and bright mornings; if you put it on for a cold night, remove it or open it early the next day.
Sunlight can warm a small enclosed space quickly, even when the outdoor air still feels cool. A jug can soften a brief chill, but it is not a reliable substitute for proper frost protection in a hard freeze or for a large plant that no longer fits beneath it.
Remove the cover as soon as the plant no longer needs it. Prolonged enclosure reduces airflow, traps moisture, and can leave tender growth poorly adapted to outdoor conditions. If you want a reusable cover, a vented cloche or row-cover frame is easier to manage over multiple plants; the jug is best for one small seedling and a short weather window.
Pantyhose: gentle ties and fruit slings
Old nylon pantyhose stretch and soften pressure, which makes them useful when a rigid twist tie or thin wire might cut into a growing stem. Cut a clean leg into strips and use each as a flexible tie for a young tree, climbing stem, or branch that needs temporary support.
Because the fabric stretches, it can accommodate growth better than a fixed-width tie, but it still needs inspection. A tie that begins loose can become constricting as a trunk or stem thickens.
For a young tree, set a stake outside the root ball and attach the trunk with a loose figure-eight: one loop around the stake, one around the trunk, and a crossing between them to keep bark from rubbing against wood. The tie should stabilize the tree while allowing slight movement, which helps the trunk strengthen. Do not pull it taut.
Check every few weeks during the growing season and after storms, and remove or reposition it if it presses into bark, traps moisture, or rubs a wound. A tree that can stand upright on its own no longer needs the tie; leaving supports indefinitely can damage the trunk.
Pantyhose also make a flexible sling for a heavy melon growing on a sturdy trellis. Cut a wide section, cradle the fruit underneath, and tie both ends to the trellis so the weight is distributed rather than concentrated on the stem. Leave room for the fruit to expand and inspect the sling as it grows.
This is most helpful for smaller melons or fruiting vines trained vertically; do not expect delicate nylon to carry a large watermelon unless the trellis and sling are designed for that load. If the vine is already carrying the fruit securely, avoid adding a sling that pinches or twists the stem.
Wash the material if it has been worn, cut away runs or hard seams, and retire it if it is fraying or shedding strands. Nylon does not disappear like a natural-fiber tie, so gather every strip at the end of the season rather than leaving it in the bed. A soft reusable garden tie is a better choice for permanent structures or anything that must hold heavy weight for months.
Support stems and trunks without girdling them
The simplest test for a tie is whether you can slip a finger between the material and the stem or trunk. If you cannot, loosen it.
Recheck after rain and rapid growth, because wet fabric can cling and a young plant may thicken faster than expected. Remove old ties with scissors rather than pulling them across the bark, especially if they have begun to embed.
For a climbing vine, tie the pantyhose around the support and loosely around a strong section of stem, not around a leaf stalk or flower cluster. The tie should guide direction, not hold the entire plant’s weight. If the plant keeps slipping, add a second loose tie or move it to a sturdier support instead of tightening the first one until it cuts into the stem.
Clear tote bags: short-lived cover for small plants
A clear plastic storage tote can shelter a tray of seedlings or a few low plants from a brief cool spell, wind, or driving rain. It works like a miniature cold frame because it limits direct exposure and holds some warmth and humidity.
Its largest risk is also its main feature: a closed transparent box can heat up quickly. Do not treat a tote as a set-and-forget greenhouse.
Use a clean tote that has never held chemicals, and test that it fits without crushing foliage. Set it over small plants only when the expected conditions call for temporary shelter, then prop one edge open or leave the lid ajar so air can move. Keep the plastic from resting on leaves, which can trap moisture and cause abrasion.
A thermometer under the cover is useful if you have one; otherwise, check it soon after sunrise and again when the sun reaches the plants. If the air inside feels much warmer than outdoors, open the tote fully or remove it.
This is a brief protective measure for cool nights or unsettled weather, not a season-long greenhouse or a promise of frost safety. Heat can build even on a chilly but sunny day, and trapped condensation can keep leaves wet.
A tote may also tip or blow away unless weighted without blocking the vents. If you need protection every night, a purpose-built cold frame, frost cloth, or low tunnel with accessible ventilation will be more predictable and easier to secure.
Do not use a dark or opaque tote and expect it to function like a clear cover. Do not place it over a plant that is already waterlogged, diseased, or wilted from dry soil; first correct the plant’s actual problem. Remove the tote when conditions moderate so plants continue receiving normal airflow and light, and clean it before storing it indoors.
Newspaper: a biodegradable weed-suppressing layer
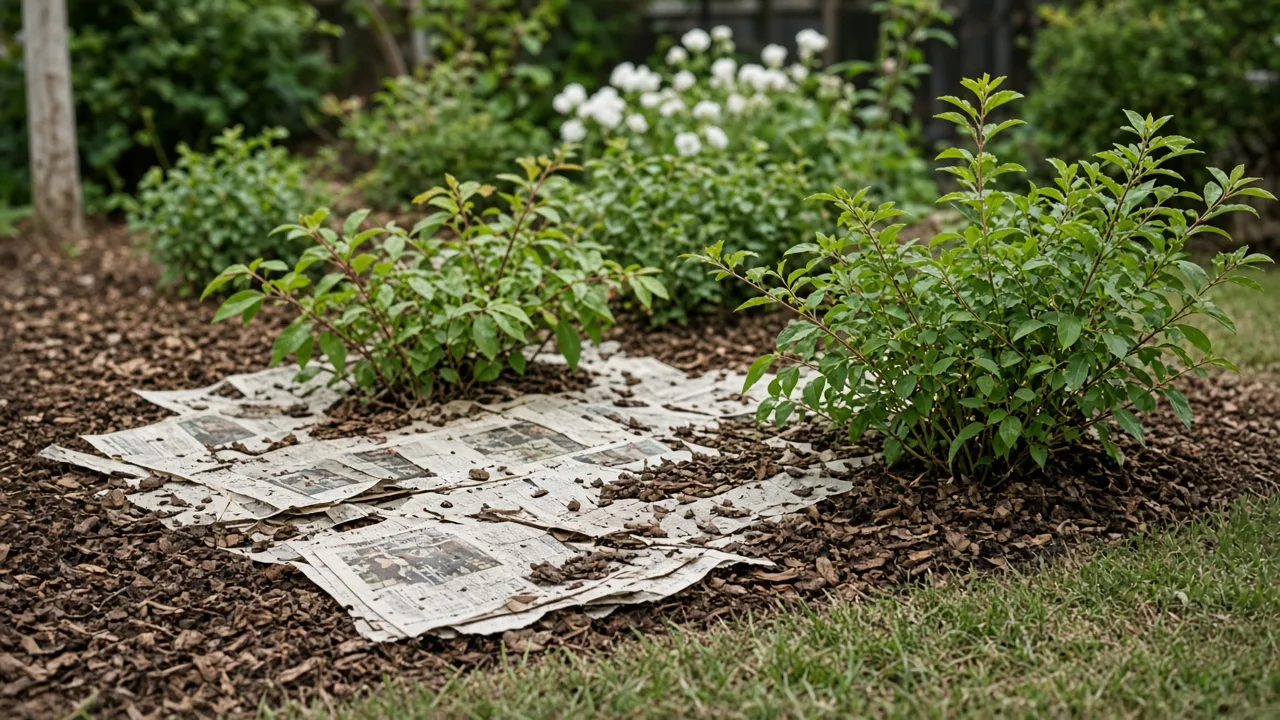
Plain newsprint can help suppress newly germinating weeds by blocking light at the soil surface. It is not a permanent weed-proof fabric: paper softens and decomposes, and perennial weeds with established roots can push through or reappear at the edges. Newspaper is most useful as a temporary layer under organic mulch in a bed you are preparing or maintaining, where it can reduce light exposure while the mulch protects it from drying and blowing away.
Choose uncoated newsprint, remove glossy inserts and plastic pieces, and avoid pages contaminated with grease or household chemicals. Lay sheets over damp, weeded soil with generous overlap so light cannot enter at the seams.
Wet the paper as you work to hold it in place, then cover it with a few inches of shredded leaves, compost, or another suitable mulch. Keep a clear ring around stems and woody trunks so the layer does not stay pressed against tender tissue.
Overlap sheets, cover them, and leave stems clear
Start by pulling or cutting back existing weeds, especially perennial weeds with thick crowns, rhizomes, or deep taproots. Newspaper will not erase those underground structures.
If you simply cover mature weeds, they may grow through a seam or return as soon as the paper decays. On a large new bed, cardboard can be easier to lay in broad sheets; on a narrow or established bed, newspaper is easier to fit around plants.
Use several overlapping sheets rather than one thin page. The exact number depends on paper thickness and how long you want the barrier to last, but the goal is an opaque layer without gaps, not a thick waterproof mat.
Saturate it lightly so it conforms to soil, then add a loose organic mulch above it. Check after heavy rain: if the paper has shifted or dried and lifted, tuck it back under the mulch and restore the overlap.
Do not build paper into a sealed collar around a plant. Leave several inches open around stems, keep the layer from piling against tree trunks, and make sure water can still enter the root zone. If the soil below is dry, pull the mulch aside and water the soil directly.
A newspaper layer can slow evaporation when covered and in contact with damp soil, but a loose dry sheet can shed water or blow away. If a bed needs fast replanting, repeated cultivation, or reliable control of aggressive perennial weeds, a short-lived paper barrier may not be worth the maintenance.
Coffee grounds: compost them instead of spreading them thickly
Spent coffee grounds are an organic compost ingredient, but that does not make them a complete fertilizer or a dependable way to acidify soil. Penn State Extension’s updated guidance explains that used grounds are close to neutral in pH and may raise soil pH when applied around acid-loving plants; it recommends adding them to compost instead (Penn State Extension’s review of coffee-ground and eggshell claims). The practical takeaway is simple: save the grounds if you compost, but do not use them as a shortcut for changing the soil or feeding a particular plant.
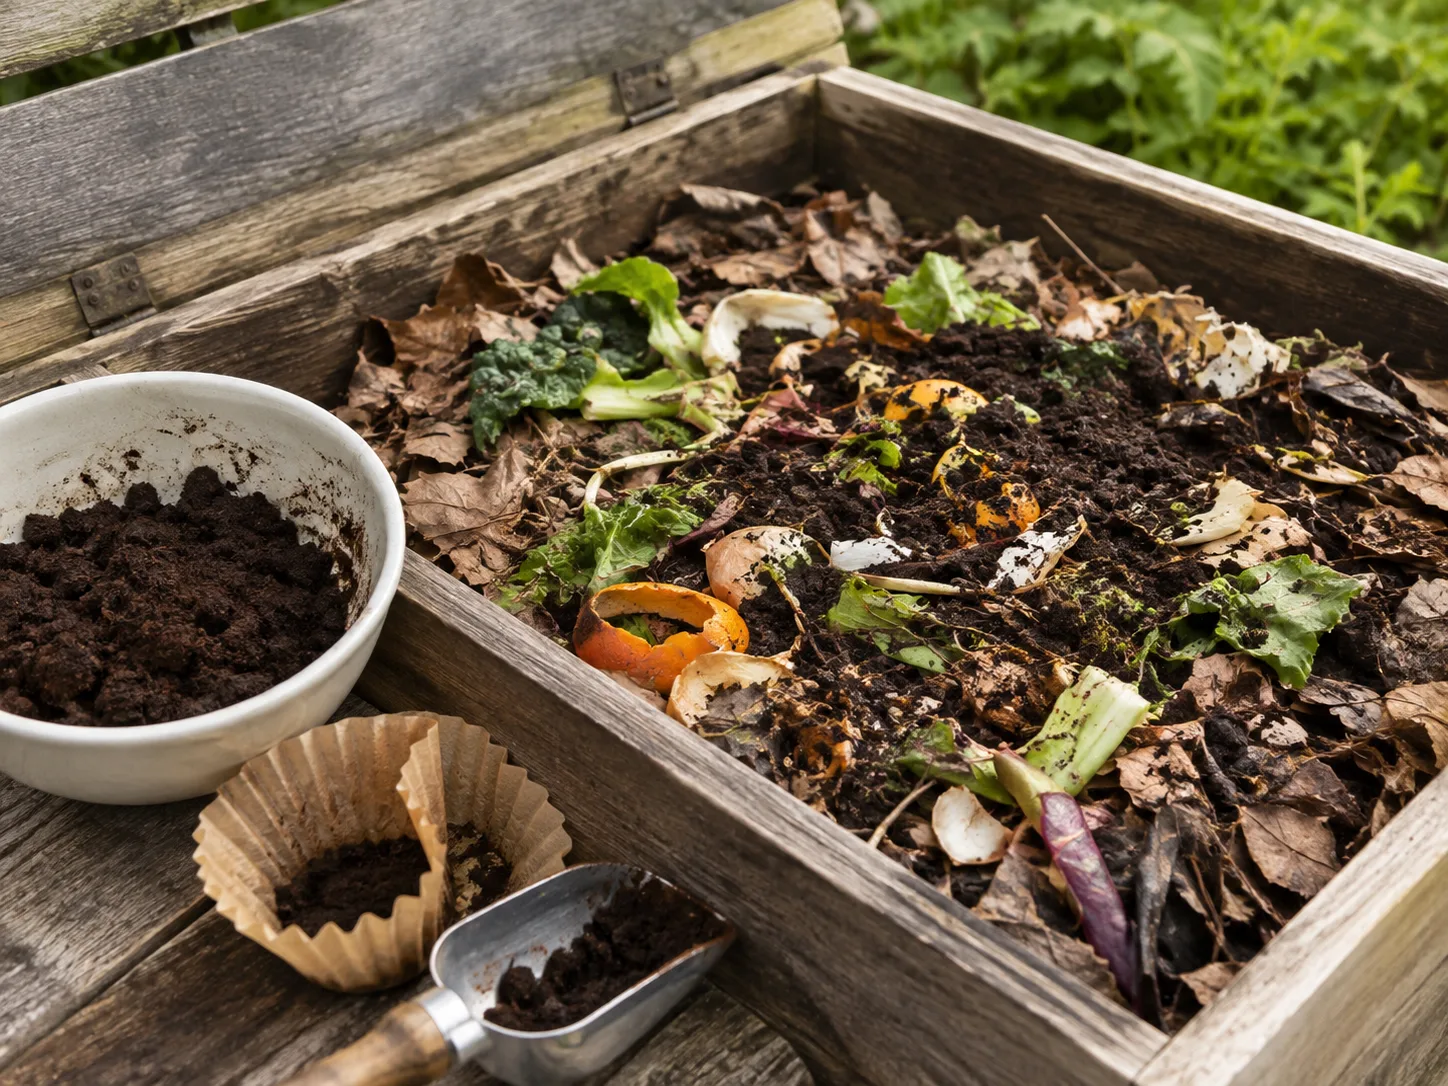
The safest, most useful destination for a steady supply of grounds is a compost pile or bin with a mix of materials. Add them in thin layers with dry, carbon-rich “browns” such as dry leaves, shredded uncoated paper, or straw, and mix rather than leaving a wet compacted pocket.
Grounds can clump when applied as a thick surface layer, making it harder for water and air to move through the material. A compost pile also gives the grounds time to break down before you use the finished amendment around plants.
Balance grounds with dry, carbon-rich material
A small amount of grounds can go into a home compost system along with fruit and vegetable scraps, but avoid adding a whole container at once if it will form a dense layer. Spread it out, turn or mix it with the surrounding material, and add dry browns when the pile is wet or smells sour. If you have a worm bin, follow the bin’s feeding guidance and add modest portions; too much wet food waste or coffee at once can create odor and imbalance.
If you do not compost, municipal food-scrap collection or a neighborhood compost program may be a better outlet than dumping grounds around plants. Do not pour coffee, sweetened drinks, cream, or flavored syrup into a garden bed.
Those liquids are not equivalent to spent grounds, can attract animals or insects, and do not provide a controlled soil amendment. For an actual nutrient or pH problem, use a soil test and make the specific correction it recommends instead of guessing from kitchen scraps.
Eggshells: recycle calcium without expecting a quick fix
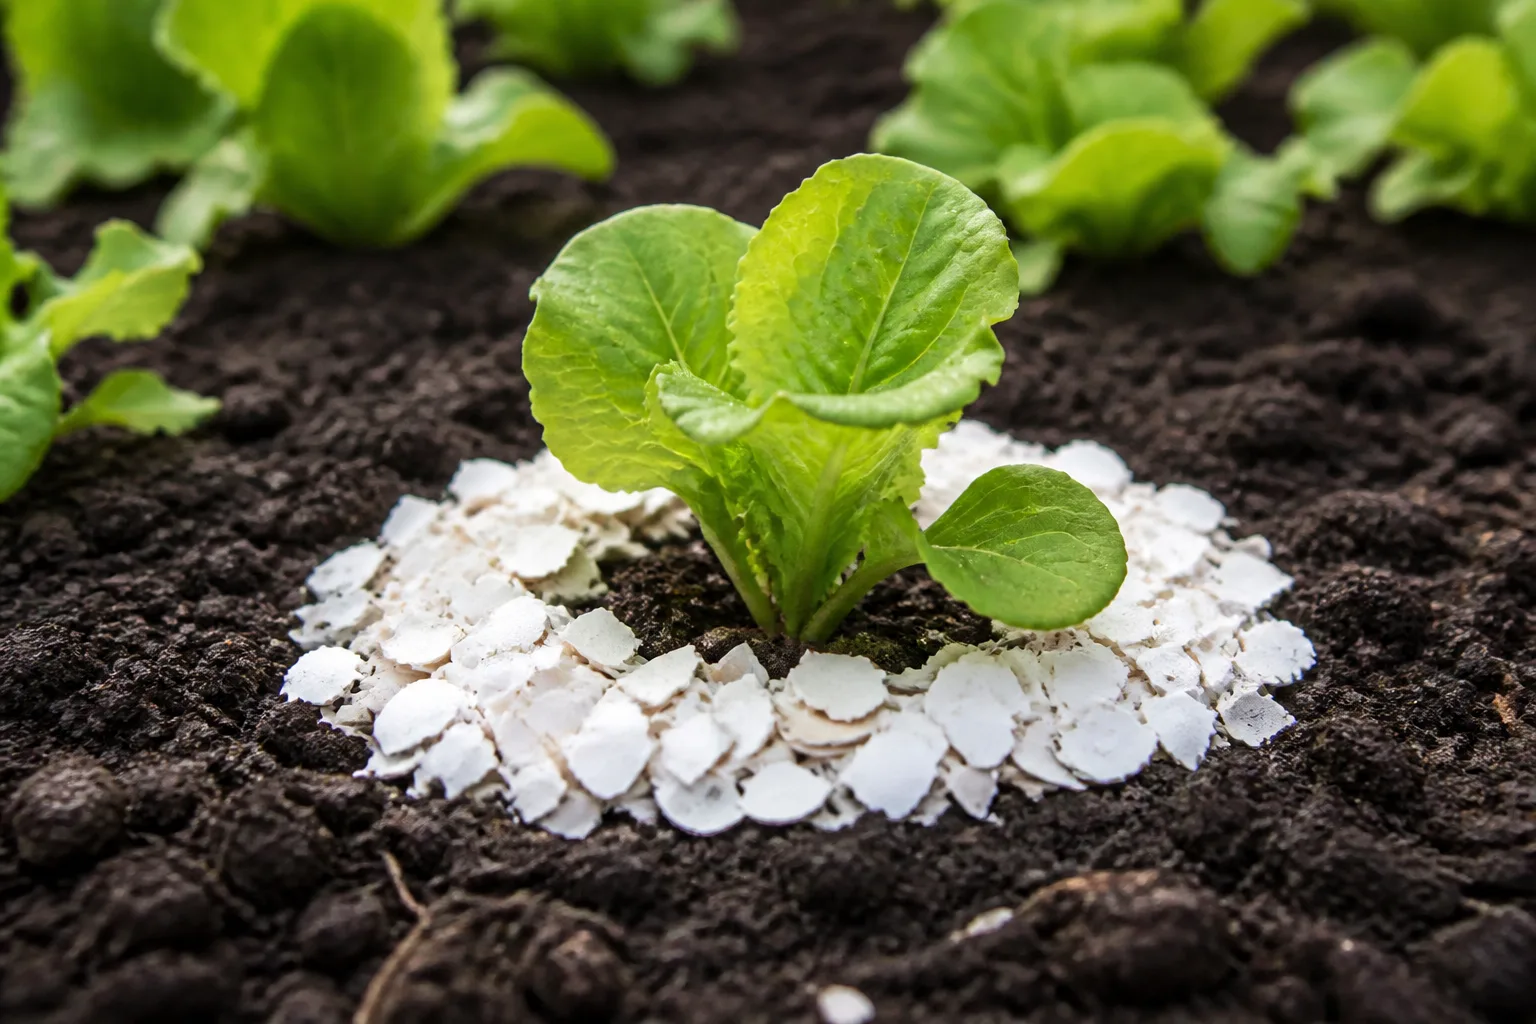
Eggshells contain calcium carbonate, but intact or roughly crushed shells break down slowly in garden soil. They are not a fast calcium supplement for a tomato that is already showing blossom-end rot, and scattering sharp-looking pieces around a seedling is not a dependable slug-control method. Penn State Extension notes that eggshells may take years to decompose and that blossom-end rot is often tied to inconsistent water movement through the plant rather than a simple lack of calcium in the soil.
That does not mean shells have no place in a garden system. They can be added to compost, where finer particles break down more readily, and the finished compost can return organic matter and nutrients to the bed.
If you save shells, rinse away egg residue, dry them, and crush them finely before composting. Penn State Extension also describes baking shells at a low oven temperature or pouring boiling water over them as ways to sanitize them before use, a sensible extra step when a home compost pile does not reliably reach high temperatures.
Crush shells for compost, not a same-season cure
A mortar and pestle, rolling pin, or dedicated grinder can turn dried shells into smaller pieces. The finer the pieces, the greater the exposed surface area for decomposition, although even finely pulverized shells are not an instant fix for a current fruit problem. Keep them in a sealed container only after they are fully dry; otherwise, they can smell or grow mold before you get them to the compost bin.
Blossom-end rot appears as a dark, sunken patch at the blossom end of a tomato, pepper, or other susceptible fruit. Before adding calcium, check whether the soil is drying sharply between waterings, whether containers drain too quickly, or whether roots have been disturbed. Aim for steady moisture rather than constant saturation, use mulch to slow evaporation, and avoid cultivating close to shallow roots.
If the problem repeats, a soil test can show whether calcium is actually low and whether pH needs adjustment. Eggshells should not replace that diagnosis.
The same skepticism applies to pest claims. A thin ring of shell fragments is not a reliable barrier against slugs; rain, gaps, and the slug’s route can defeat it. Use proven controls appropriate to the pest and local guidance, and treat eggshells primarily as a slow compost ingredient rather than a pesticide.
Check materials before taking them outside
Household reuse is easiest when the item is clean, stable, and easy to collect again. Rinse containers and let them dry before storage; use smooth-edged plastic; remove tape, labels, staples, and non-paper inserts from materials that will go into a bed or compost.
Do not use items that held herbicides, pesticides, paint, fuel, cleaners, or other substances that could leave residues. When a container becomes brittle or begins breaking into pieces, bring it back in and use the local recycling rules rather than leaving plastic fragments in soil.
Keep an eye on anything that changes the growing environment. Covers need ventilation and routine checks; plant ties need slack and seasonal removal; paper mulch needs water access and an organic cover; food scraps need a managed compost system. The garden is dynamic: a container that fits a seedling today may crowd it next week, and a tie that was loose in spring may be tight by summer.
There is also a difference between “reusable” and “worth reusing.” If an item is awkward to clean, breaks after one use, takes more labor than a simple garden product, or creates a safety problem, there is no virtue in forcing it into the garden. Use the household material when it does a job cleanly, and recycle it once it has reached the end of its useful life.
Six household reuses at a glance
| Household item | Best garden job | Main setup rule | Biggest limitation |
|---|---|---|---|
| Clear milk jug | Winter-sowing container or temporary cloche | Add drainage and ventilation; vent or remove the cap in daytime | Can overheat a seedling and does not replace hard-freeze protection |
| Pantyhose | Soft temporary plant tie or small-fruit sling | Tie loosely, distribute weight, and inspect as stems or fruit grow | Can constrict growth or leave nylon strands if forgotten |
| Clear tote | Brief shelter for a few low plants | Leave an air gap and check temperature and condensation | Enclosed plastic can heat up quickly in sun |
| Newspaper | Temporary weed-suppressing layer under mulch | Overlap, wet, cover, and leave stems clear | Breaks down; will not reliably stop established perennial weeds |
| Spent coffee grounds | Compost ingredient | Mix thin layers with dry browns | Not an acidifier or stand-alone fertilizer; thick mats can compact |
| Eggshells | Slow calcium source in compost | Rinse, dry, and crush finely | Decompose slowly and do not quickly cure blossom-end rot or stop slugs |
Conclusion: choose the reuse that solves a real garden problem
Start with the task, then choose the household material that fits it: a jug for a cold-season seed start, pantyhose for a temporary soft tie, a ventilated tote for a brief weather cover, newspaper for a mulched bed, and food scraps for a managed compost system. Use each item with a clear monitoring or cleanup plan, because a reuse project that traps heat, constricts a stem, or blocks water can do more harm than buying or borrowing the right tool.
The most important distinction is between a physical garden aid and a soil amendment. Covers, ties, and paper can work immediately when they are installed correctly; coffee grounds and eggshells need to decompose, and their effects are too slow or uncertain to fix a plant problem on demand. Keep the useful materials, skip the exaggerated claims, and let a soil test or a plant’s actual needs guide the next step.



