How to Dig and Store Dahlia Tubers for Winter
Store dahlia tubers for winter with a climate-based timing guide, careful digging steps, eye and neck checks, storage-medium options, and spring tips.
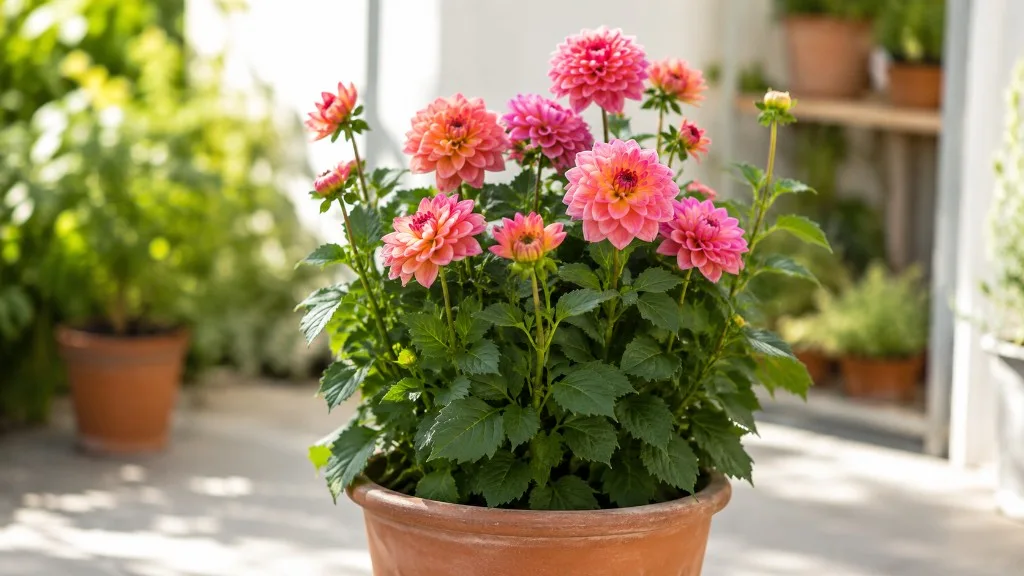
If winter brings hard freezes or persistently wet soil, the one task that protects your favorite dahlias is lifting their tubers before the ground becomes hostile. The job is simple in outline—let the tops die back, cut them down, dig gently, inspect the clump, cure it, and store it above freezing—but the details determine whether the tubers arrive in spring firm and ready to grow.
You do not need to follow a rigid calendar date. Use the first killing frost, the forecast for a hard freeze, the condition of your soil, and the drainage around the plant to decide when to act. This guide also explains the points that cause the most confusion: washing versus brushing, dividing in fall versus spring, finding a real eye, and keeping the storage medium moist without turning it into a rot chamber.
The real winter rule: frost, wet soil, and climate all matter
Dahlias are tender herbaceous perennials with underground tubers, not reliably hardy bulbs in every garden. NC State Extension’s dahlia profile notes that the tubers can be injured below about 25°F and describes fall lifting in colder conditions, while the American Dahlia Society’s growing guide points out that a heavy frost kills the top growth but leaves a choice: dig the tubers or lose the plant for the next season.
The important distinction is that frost kills foliage faster than it necessarily kills the underground storage organ. A light frost can finish flowers and leaves while the soil remains warm enough for the tubers to mature. A hard freeze, repeated freezing and thawing, or cold rain in poorly drained soil creates a more urgent risk. The American Dahlia Society’s digging guidance says mature roots generally store well, but it also notes that cultivar performance varies and that longer time curing in the ground can improve keeping quality.
When to lift dahlias in fall
In a freeze-prone garden, wait for the foliage to blacken after the first killing frost, then lift while the soil is workable and before a hard freeze reaches the root zone. If the weather stays mild and the soil drains quickly, leaving the tubers underground for roughly one to two weeks after a light frost can give them more time to mature; if a hard freeze or a long stretch of wet weather is approaching, lift sooner.
Penn State Extension’s winter-storage guide gives a useful maturity check: dahlias need roughly 120 days in the ground to produce mature tubers suitable for storage. That is a better reason to let a healthy plant finish than blindly digging on the first cool night. In short-season areas, however, the plant may not have had enough time to build large tubers, and a gardener may need to accept smaller divisions or save a clump intact for a better chance of survival.
Container-grown dahlias follow a different schedule. The pot has far less soil insulation than a garden bed, so move the container to a frost-free, cool place when a freeze threatens rather than waiting for a killing frost. You can cut the top back after the plant finishes and store the whole pot semi-dormant, or remove and process the tubers once the potting mix is manageable.
When leaving tubers in the ground can work
Leaving dahlias in the ground is a climate-and-drainage decision, not a badge of hardiness. The Royal Horticultural Society’s overwintering advice says dahlias can be lifted and stored, while in mild, sheltered, well-drained gardens a thick, dry mulch may be enough protection. Gardening Know How’s storage guide similarly describes reliable overwintering as more likely in mild zones with consistent drainage than in places where cold and wet combine.
You can consider in-ground overwintering when your winter is mild, the bed drains freely, the cultivar has survived locally, and you can cover the crown with a thick layer of dry mulch after cutting back. It is a poor gamble in heavy clay, low spots, exposed beds, gardens with repeated deep freezes, or any place where winter rain sits around the crown. Even in a favorable climate, keep a few insurance tubers in storage the first year you test the method.
What to prepare before the first frost
Winter storage starts with decisions made while the plant is still easy to identify. Mark the cultivar before the tops disappear, note which plants had strong growth and good blooms, and plan a clean place where clumps can be handled without being mixed together.
Tools, labels, and a plan for the best plants
Gather a digging fork, a sharp bypass pruner or loppers for thick stems, a sharp knife for division, durable labels, a pencil or marker, a hose or soft brush, shallow trays, and the storage medium you intend to use. A fork is usually safer than pushing a flat spade straight down beside the crown because its tines can be worked around the clump, but any tool can cut tubers if placed too close.
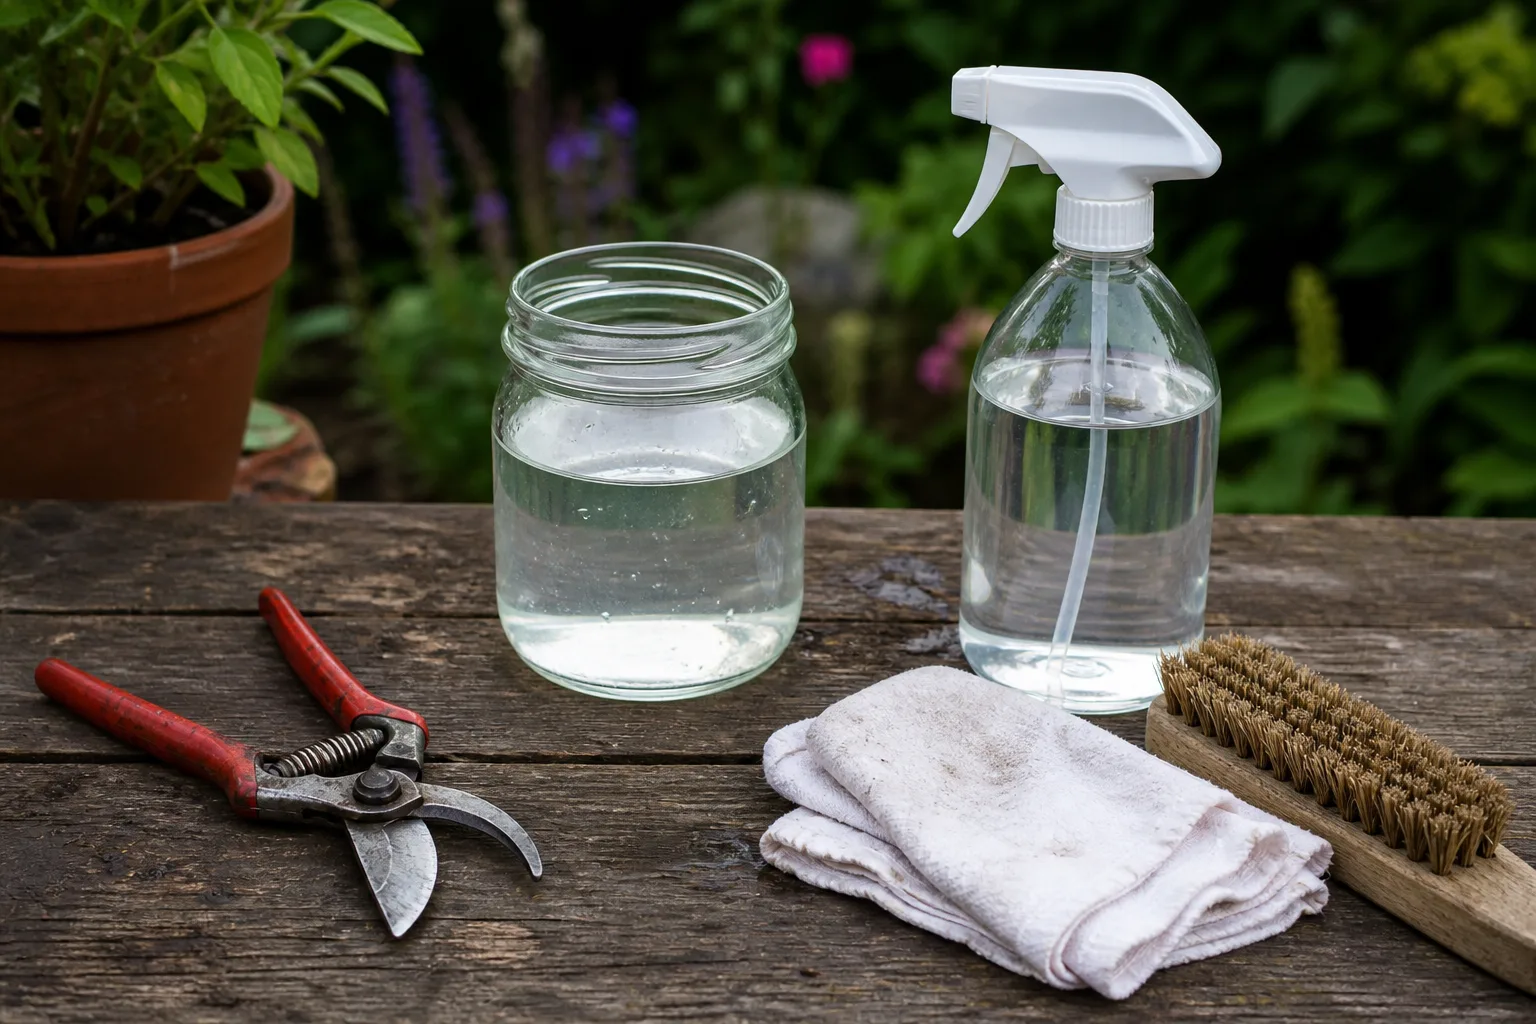
Clean soil from tools before you begin and disinfect cutting tools between clumps, especially if any plant showed unusual mottling, weak growth, or distorted blooms. The American Dahlia Society recommends a 1:10 bleach-to-water solution as a low-cost tool treatment; follow the product’s safety directions, keep the solution away from children and pets, and never mix bleach with other cleaners. Let blades dry before cutting so the disinfectant is not diluted by mud.
Keep each label with its clump from the moment the stem is cut until every division is marked. If a named variety produced the strongest plant or best blooms, mark that information too. This small bit of organization is more valuable than it sounds: once several brown clumps are on a bench, memory is not a reliable identification system.
Fall division or spring division?
Both seasons can work, and the better choice depends on how confidently you can identify eyes. Fall division is convenient because the clump is freshly lifted and usually easier to cut before it becomes very hard. It also reduces the space and storage medium needed for a large clump. The trade-off is that eyes may be small, dormant, or hidden under soil, so it is easy to make a clean-looking piece that cannot sprout.
Spring division makes the eyes easier to see because they may swell or begin to sprout during late winter. The disadvantage is that some clumps become tough to separate and spring is already a busy planting season. If this is your first year, store a healthy clump intact or divide it into large sections in fall, then make the final cuts after the eyes are obvious in spring.
Do not force a division merely to make every piece the same size. A smaller number of unmistakably viable divisions is more useful than a pile of thin tuber bodies with no crown tissue. For varieties known to make sparse or fragile roots, keeping two or three tubers attached to one crown section can be a sensible compromise.
A careful digging method that protects fragile necks
The narrow neck joining a tuber to the crown is the part most easily broken, especially immediately after lifting. Work slowly and treat the clump as a connected structure rather than a potato you can tug out by its stem.
Cut the tops and loosen the soil wide
After frost has blackened the foliage, cut the stems down to a manageable height, leaving several inches as a handle. A four- to six-inch stub is convenient for carrying the clump, though you can cut lower once the plant is on the bench. Remove soft foliage and compost only clean, healthy tops; discard diseased material according to local guidance rather than adding it to home compost.
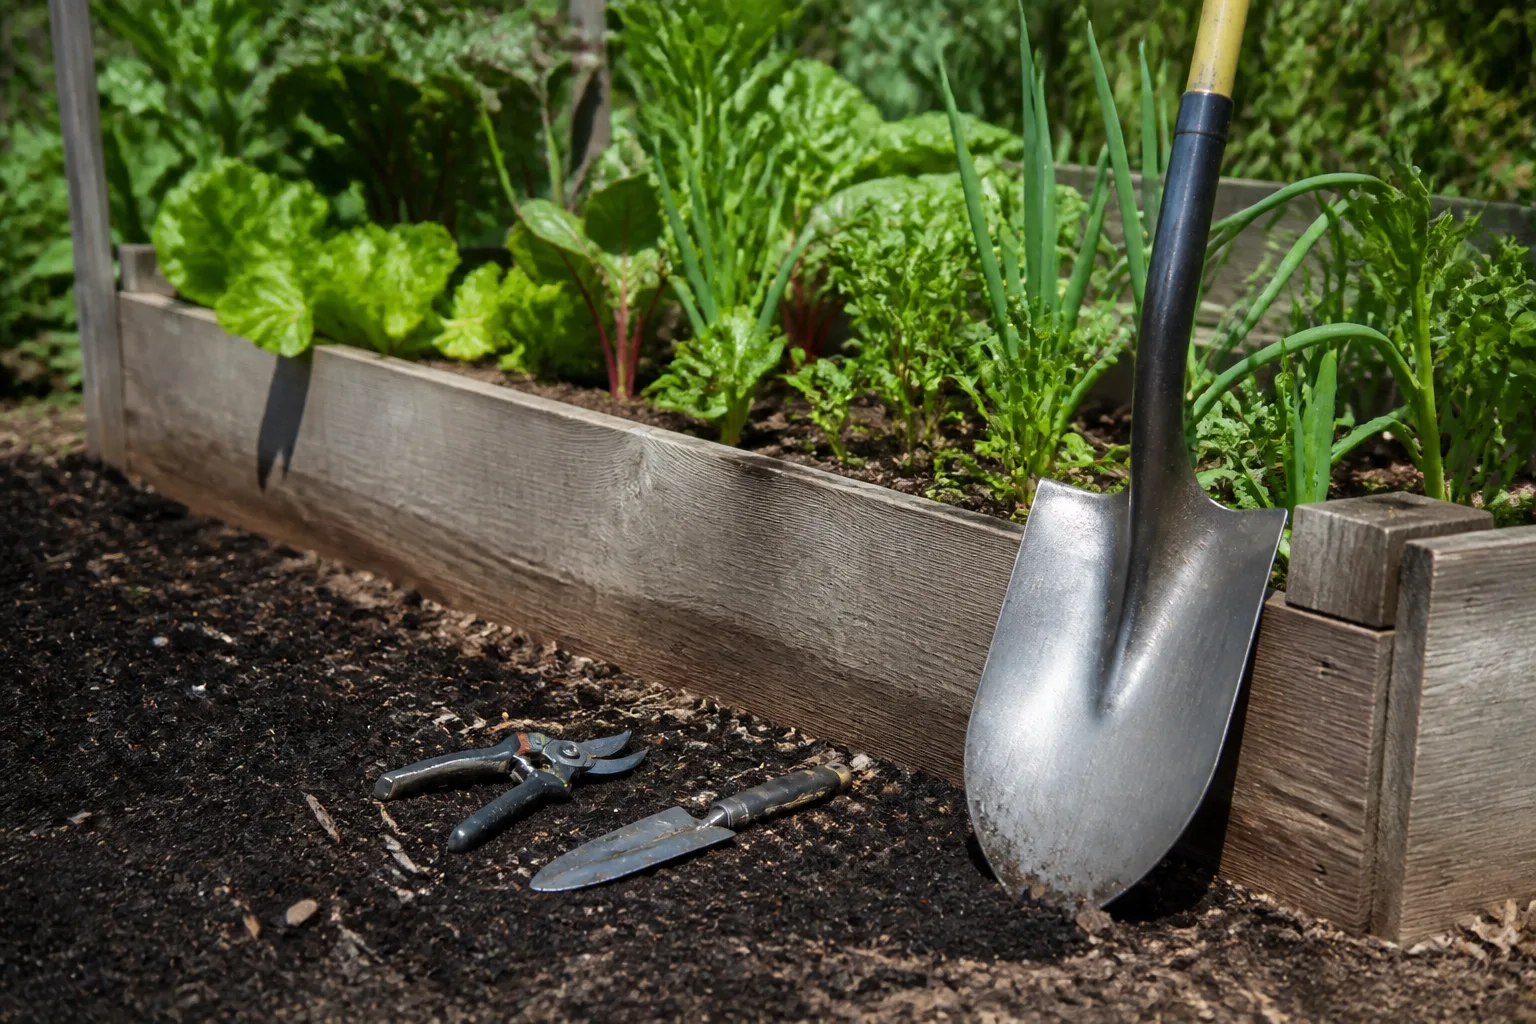
If you cut the stems before digging, protect the open stem from rain. Water that runs down a hollow stem can collect at the crown and encourage crown rot. Cutting after the foliage has been frosted is usually simpler because the stems are already declining, but the forecast matters more than a perfect ritual.
Start at least 10 to 12 inches from the main stem and loosen the soil on all four sides. Push the fork down, lever the soil gently, move around the plant, and only then slide the fork under the clump. The RHS method likewise emphasizes prising dahlias from the soil without cutting or bruising the tubers.
Lift, drain, and remove loose soil
Once the clump is loose, lift from underneath with one hand while steadying the stem or crown with the other. Never yank the stem straight up; it can break away from the crown while the tubers remain in compacted soil. If a few feeder roots resist, loosen more soil rather than twisting the clump.
Turn the clump upside down over a tray or piece of cardboard so water can drain from the cut stem. Let it sit for a few hours in a cool, shaded, airy place. That short rest makes the necks less brittle and allows large chunks of soil to fall away without scraping every tuber immediately.
At this stage, remove only loose soil by hand. Do not scrub the crown or break apart tubers while they are wet and fragile. If you lifted a clump from heavy clay, set aside enough time for a gentle cleanup before you start cutting; rushing from the garden to the knife is a common way to turn a good clump into damaged stock.
Clean, inspect, and divide for storage
There is no single correct answer to the washing question because the right choice depends on what you need to see and how wet your storage environment is. The American Dahlia Society and Penn State Extension describe gentle rinsing as useful for removing microorganisms and soil caught between divisions, while NC State Extension advises drying carefully and not washing. The RHS recommends removing soil by hand before drying.
For a divided clump that needs close inspection, a gentle hose rinse can be worthwhile. Use a soft stream, avoid blasting directly into the crown, and let the pieces drain completely. If you are storing a large intact clump, working in a humid climate, or cannot provide a long drying period, brush away dry soil and postpone any rinse until spring division.
How to recognize a viable division
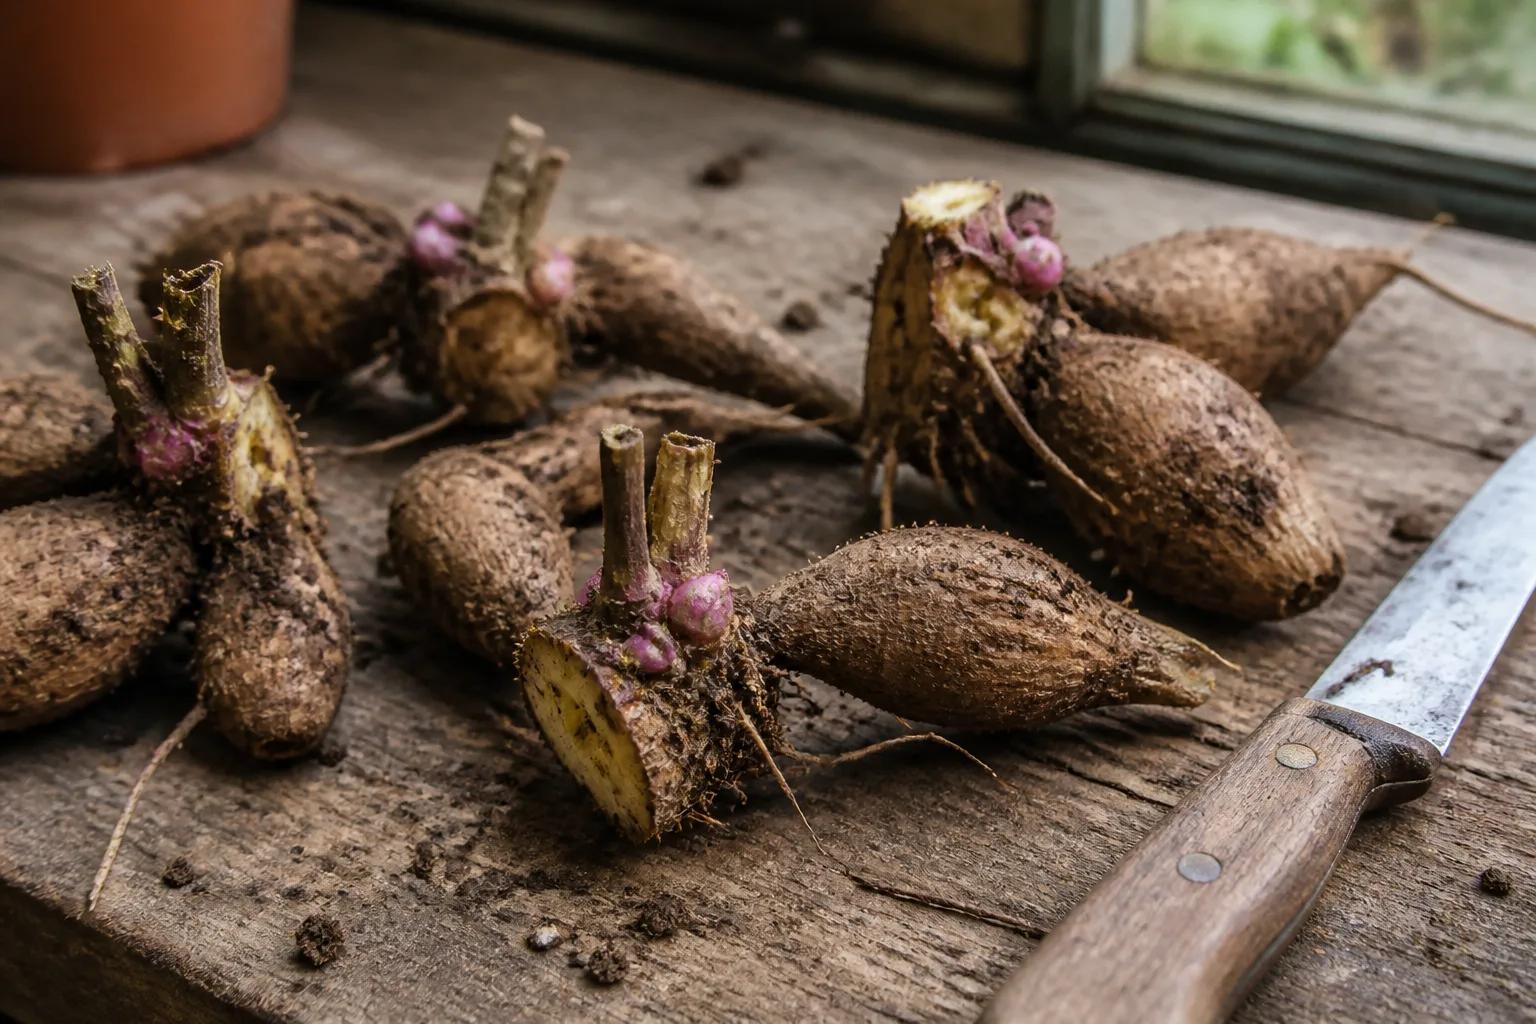
A viable dahlia division needs four connected parts: a piece of the crown, at least one visible or developing eye, a firm neck, and the fleshy tuber body. The eye is a small raised point on the crown, similar in principle to a potato eye; it is the place from which a new shoot can emerge. The tuber body stores energy, but a body detached from the crown is not a complete plant.
Look for eyes near the crown rather than along the middle of the tuber. Some eyes resemble tiny bumps, short ridges, or pale pink points; others are so dormant that they are difficult to see in fall. A neck about pencil thickness or greater is a useful practical minimum because very thin necks often dry out before spring, a point also highlighted in Penn State’s hands-on guidance.
If the eye is unclear, do not keep shaving the crown until you find one. Set that section aside, label it, and store it as a larger piece for spring. An uncertain eye is a reason to delay the final cut, not a reason to remove more tissue. When you can see two good eyes on a broad crown section, you can divide between them with a clean, decisive cut.
What to cut away and discard
Trim off hairlike feeder roots, remaining stem tissue, and loose or damaged skin. Stem stubs and wet root fibers hold moisture close to the crown, while a clean cut and a dry surface make inspection easier. Work from the crown outward and keep your knife sharp; sawing or crushing the neck causes more damage than a firm cut.
Inspect the outside for soft spots, sour odor, spreading mold, deep insect channels, or a hollow-feeling body. When a suspicious area is small, cut into it with a clean blade. Healthy tissue should be firm and pale to cream-colored for many cultivars; brown, rusty, gray, or water-soaked tissue that continues into the crown is a warning to discard the piece. If a clean section still contains crown and eye tissue, trim back to sound tissue and keep it separate for observation.
The old central “mother” tuber is often removed because it may produce weaker growth and fewer feeder roots than a new, mature tuber. The American Dahlia Society describes several approaches, including saving it for cuttings and then discarding it, but a beginner should prioritize firm, well-formed divisions from healthy stock. Throw away any clump that was weak, diseased, or produced poor growth rather than carrying that problem into next season.
Fungicide is optional, not a rescue step. Some growers dust or dip cut ends, while the American Dahlia Society notes that experienced growers have not always found a meaningful storage difference when sanitation and inspection were done well. If you choose a product, use only one labeled for the intended ornamental use, follow its label exactly, and provide the protective equipment and ventilation it specifies; never improvise a concentration.
Cure tubers without over-drying them
Curing means letting surface moisture leave before the tubers go into a storage medium. It is not the same as leaving them in a warm room until they become wrinkled. Small divisions may need about 24 hours and larger pieces 24 to 36 hours under cool, dry, airy conditions, while a freshly rinsed clump or a damp, cool room may require several days.
Place the tubers in a single layer with the crown or cut surfaces exposed to moving air. Keep them out of direct sun and away from heaters. The American Dahlia Society and Penn State both warn against drying directly on concrete or cement because those surfaces can draw moisture out too quickly and promote shriveling; use cardboard, wood, a mesh tray, or a clean towel instead.
The right endpoint is a dry surface and a cut end that no longer looks wet, not a tuber that feels hard and light. If the skin begins to wrinkle deeply while the inside remains firm, start packing rather than extending the cure. If a cut still shines with moisture or feels slimy, keep it out longer and improve airflow before it enters the storage container.
Store tubers cool, ventilated, and just moist
Think of storage as a balance between three problems: freezing, rot, and dehydration. A cool, dark location above freezing slows sprouting and fungal activity, but the medium and container must still retain enough moisture that the tubers do not turn into shriveled shells. The American Dahlia Society recommends a nearly constant cool range, commonly around 40–45°F, while NC State lists roughly 35–45°F for carefully dried tubers.
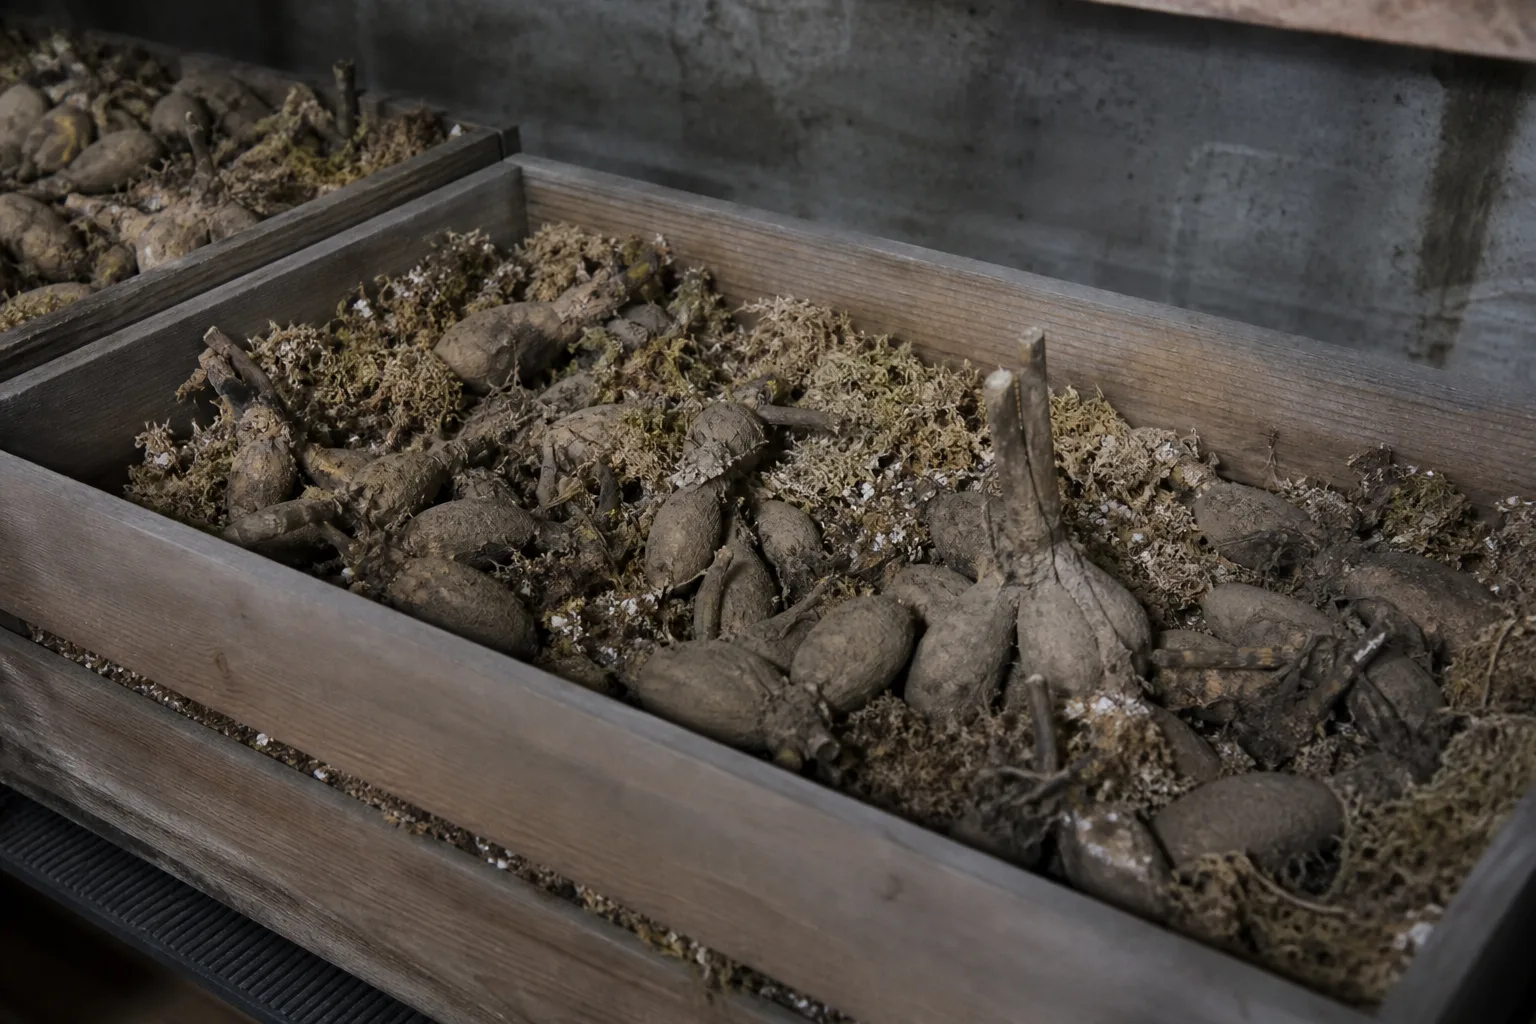
For most home setups, aim for about 40–50°F, never allowing the tubers to freeze. A basement or attached garage can work if its temperature is stable. An unheated shed that drops below freezing is not safe, and a warm utility room can push tubers into premature sprouting while also encouraging rot. Put a simple thermometer next to the container for the first few weeks instead of guessing from the room’s general feel.
Choose the medium and container for your room
No storage medium is automatically best because each one handles moisture differently. Start with one medium, keep varieties labeled, and adjust based on what you find at the first winter inspection.
| Medium | Strength | Main caution |
|---|---|---|
| Coarse vermiculite | Lightweight and good at separating tubers while buffering moisture | Fine dust is unpleasant to breathe and can hold moisture too close to the tuber; use coarse material and avoid creating dust. |
| Dry or barely moist sand | Heavy, stable, and useful for large clumps | It is difficult to move, can encourage earlier sprouting, and should not be wet enough to cling to cut surfaces. |
| Clean wood shavings | Light and easy to layer in a tote | Some shavings can pull moisture from tubers; choose clean, low-dust material and watch for shriveling. |
| Peat moss or coir | Commonly available and easy to pack around a clump | Dry peat can dehydrate tubers while wet peat can encourage rot; condition it lightly and monitor rather than trusting the label alone. |
The RHS lists sand, coir, and vermiculite as possible materials, while the American Dahlia Society reports that growers have had good results with coarse vermiculite and wood shavings but cautions about both peat and perlite. These differences are useful: they show that the goal is not to find a magic ingredient, but to match moisture retention and airflow to your storage room.
Use a ventilated plastic tote, a lidded box with controlled airflow, or a sturdy tray inside a protected cupboard. Place a layer of medium on the bottom, set tubers so they do not press against one another, and cover them fully enough to buffer drying. Separate layers with medium rather than piling a wet mass of tubers together. If you use cardboard, remember that it can wick moisture away; a liner or a more moisture-retentive medium may be needed in a dry basement, whereas extra ventilation may matter more in a humid garage.
Do not seal a damp clump in an airtight bag. Condensation trapped against a cut crown is a faster path to rot than a slightly dry storage medium. Conversely, a thin plastic bag with completely dry vermiculite in an arid room may lose moisture too quickly. The container should retain the medium’s moisture while allowing you to inspect and adjust the contents.
Inspect and adjust the setup through winter
Open the container every three to four weeks, or sooner during the first month when excess moisture is most likely to show up. Remove any tuber with soft rot, a spreading wet spot, or an odor that was not present at packing. Do not leave a rotten piece beside healthy divisions while waiting for a second opinion; isolation protects the rest of the clump.
Use the condition of the tubers to adjust the setup. Wet medium, condensation, or several soft pieces means you need drier packing material, more ventilation, or a cooler and steadier location. Deep wrinkles and light, rubbery tubers mean the room or medium is too dry; lightly moisten the medium away from the tubers, close the container, and recheck rather than spraying water directly onto the crown.
Early sprouts are not automatically a failure. Warm storage can wake eyes before spring, and some cultivars naturally break dormancy early. Move the container to a cooler spot if possible, avoid snapping the shoots, and plan to pot the tuber in bright light when the timing is right. The exception is a sprout emerging from tissue already soft or rotting; discard that piece instead of treating the shoot as proof of health.
Wake and plant the tubers in spring
About four to six weeks before your area’s last spring frost, bring stored tubers into a warmer, bright location and inspect them again. This is the easiest time to make final divisions because eyes are more visible. Keep the label with every piece, and discard anything that became soft, hollow, or badly moldy during storage.
For an early start, place viable divisions in pots or shallow trays of a well-drained growing mix with the eye facing up. Keep the mix only lightly moist at first; the tuber has stored energy, and cold wet media can rot it before a shoot emerges. Once new growth is established and the outdoor bed is warm, transition the plant gradually rather than taking a soft indoor shoot straight into cold wind and sun.
Direct plant after the danger of a hard frost has passed and the soil is warm enough for active growth. The Colorado State University Extension guide compares dahlia timing with warm-season crops and advises checking tubers for firmness and rot before planting. Set the tuber horizontally or with the eye up, cover it several inches deep according to your soil and cultivar instructions, and install the stake before the plant is large enough to make that job risky.
Watering is another place where restraint helps. A newly planted tuber in cold soil does not need to be kept saturated; increase water as shoots appear and temperatures rise. Once the plant is growing strongly, maintain consistent moisture without creating a waterlogged root zone, and give tall varieties support before summer stems become heavy.
Conclusion
To store dahlia tubers successfully, focus on sequence and conditions rather than a single “secret” material. Let healthy plants mature as long as your weather allows, lift before a hard freeze or wet winter, loosen the soil widely, handle the crown from underneath, and save only divisions that include crown, eye, neck, and firm body.
Cure the surface without baking the tubers dry, then store them above freezing in a cool, dark, monitored container with a medium that matches your room’s humidity. A monthly inspection catches rot before it spreads and tells you whether to add airflow or retain a little more moisture. By spring, the goal is not a perfect-looking clump—it is a clearly labeled set of firm, viable eyes ready to start another season of flowers.



