When and How to Harvest Sweet Potatoes Like a Pro
Learn when sweet potatoes are ready, how to dig them without cuts, and how to cure, sort, and store the roots for better flavor and longer keeping.
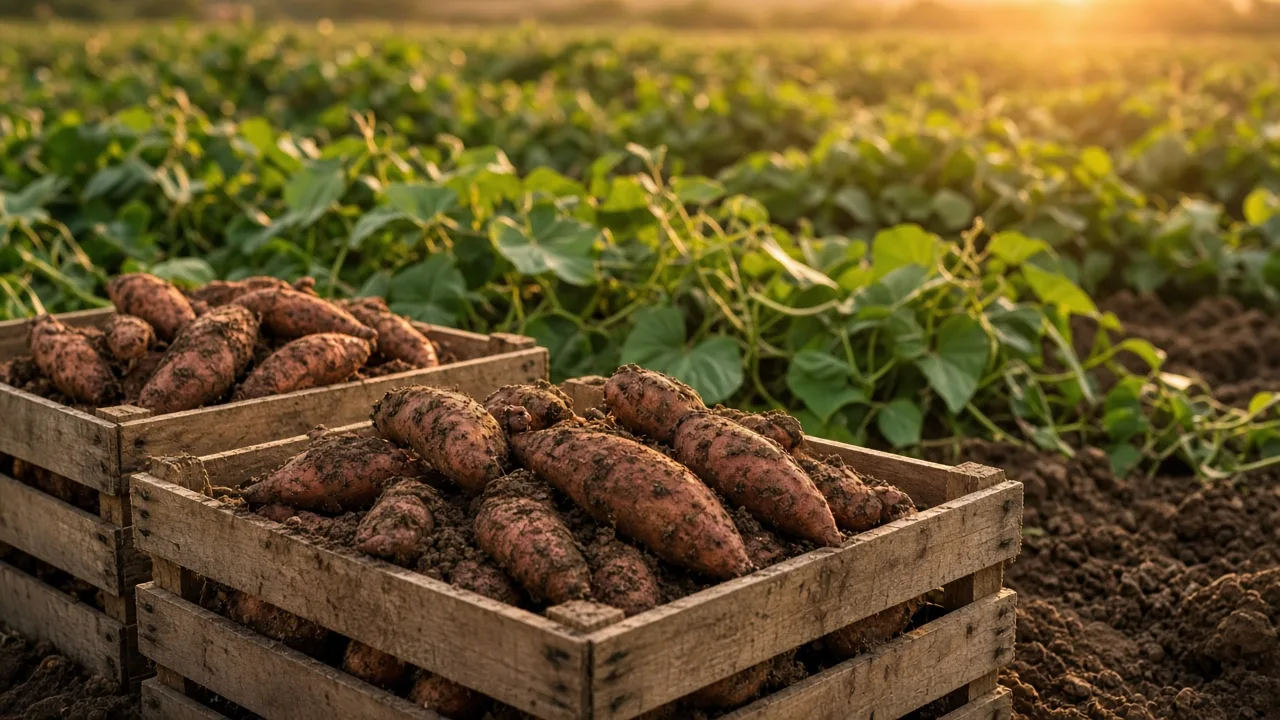
Harvest sweet potatoes when the roots have had enough warm growing time to size up, the vines are beginning to decline, and the weather still gives you a safe, dry window. In many gardens that means roughly 90 to 120 days after planting slips, but the right date depends on the cultivar, planting date, soil warmth, and your first hard-frost risk. A packet estimate tells you when to start checking; it does not prove that every root is ready.
The quality of the harvest is decided by what happens after you see the roots. Sweet potatoes have thin, easily damaged skins, so a fork puncture, a bruise, bright sun, a cold night, or a damp storage bin can turn a promising crop into a short-lived one. The professional-looking result comes from a simple sequence: read the crop, dig broadly, keep roots dry and warm, cure them, then store only the sound ones.
The Short Answer: Harvest by Plant Signals and Weather
Start looking when your variety’s expected maturity window arrives and the vines begin to slow down, yellow, bronze, or lose their fresh growth. If most of the bed still looks lush and actively expanding, a little more warm weather may add size. If the crop is mature and a hard frost or prolonged wet spell is approaching, waiting for perfectly yellow foliage is a poor trade.
For a first check, dig one plant rather than pulling the whole row. You are looking for roots that have reached a useful kitchen size, firm skin, and a cluster that is filling out—not a precise shape or a specific shade of orange. The practical timing guidance from Epic Gardening’s sweet-potato harvest guide likewise combines yellowing vines, a dry harvest day, and frost avoidance instead of treating the calendar as the only signal.
Sweet potatoes are storage roots, and they can be eaten at more than one stage. Young roots are fine for immediate cooking but have thinner skins and less developed sweetness; roots left to mature and cure are better candidates for winter storage.
Readiness Signs That Matter More Than a Calendar
Use several clues together. Mature vines may begin to yellow or bronze from the older leaves outward, growth slows, and the plant looks less eager to run. A few yellow leaves are not enough—especially after drought, disease, insect damage, or a sudden change in temperature. You want a broad pattern across the bed, supported by the size and firmness of one test root.
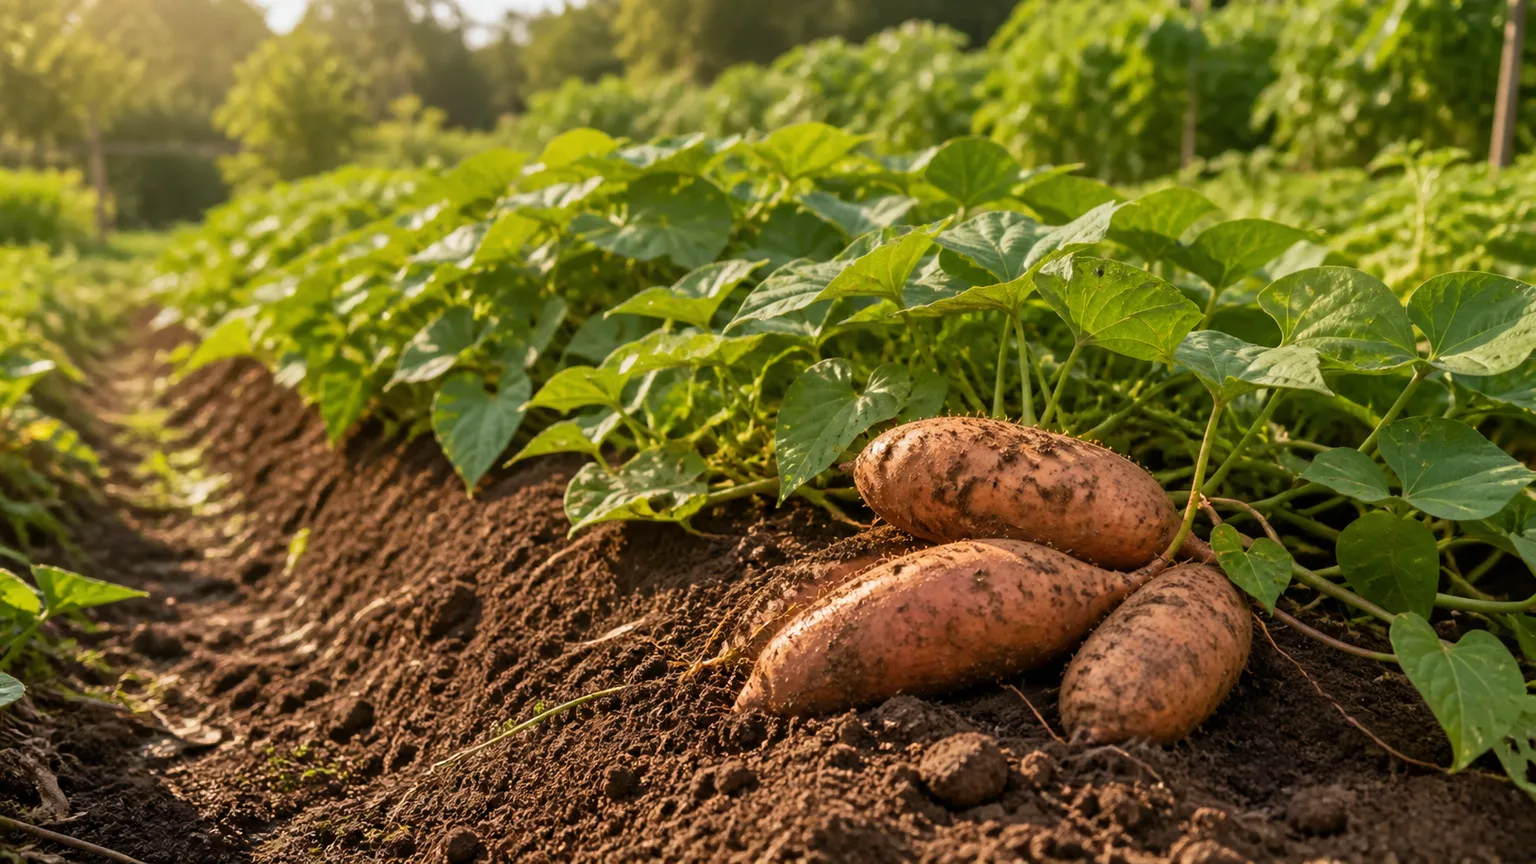
Do not wait for every leaf to become brown and brittle. In a long, warm season, sweet potatoes can keep sizing after the first signs of decline, but the value of that extra time falls quickly when cold soil, frost, or saturated ground is near. A good harvest window is the overlap between useful root size and safe postharvest weather.
Let Variety and Climate Set the Starting Window
Maturity varies widely. Some early cultivars may be ready in about 85 to 100 days, while mid- and late-season types can need 100 to 140 days. North Carolina State Extension’s production guidance groups early cultivars around 90–100 days after planting, mid-season cultivars around 101–115 days, and late cultivars beyond 115 days; Better Homes & Gardens’ timing guidance also notes that variety maturity can range from about 85 to 140 days.
Those figures begin when you plant slips, not when you order them or start a sweet potato indoors. A late planting in cool soil may need more calendar time than a crop planted into reliably warm soil. In a short-season garden, choose an earlier cultivar next year rather than repeatedly harvesting an unready late cultivar just before frost.
Treat Frost as a Deadline, Not a Flavor Test
Sweet potatoes like heat, and their roots are vulnerable to chilling. A light frost may kill the vines while the soil protects the roots briefly, but that is not an invitation to leave the crop outside indefinitely. NC State Extension’s postharvest guidance warns that harvested roots can be injured below 50°F and that freezing temperatures ruin them; it also advises bringing roots in promptly after frost kills the vines.
For home gardening, harvest before a forecast hard frost whenever possible. If a light frost has already blackened the foliage, lift the crop as soon as the soil is workable, keep the roots out of overnight cold, and do not confuse frost-killed tops with proof that every root has reached ideal size.
Test-Dig One Plant Before You Commit the Whole Bed
Choose a representative plant near the center of the bed, not the smallest plant at the edge or the one that received unusual water. Move the vines aside and loosen the soil in a wide circle. Lift one root carefully, brush away enough soil to see its size, and inspect the skin for firmness and maturity.
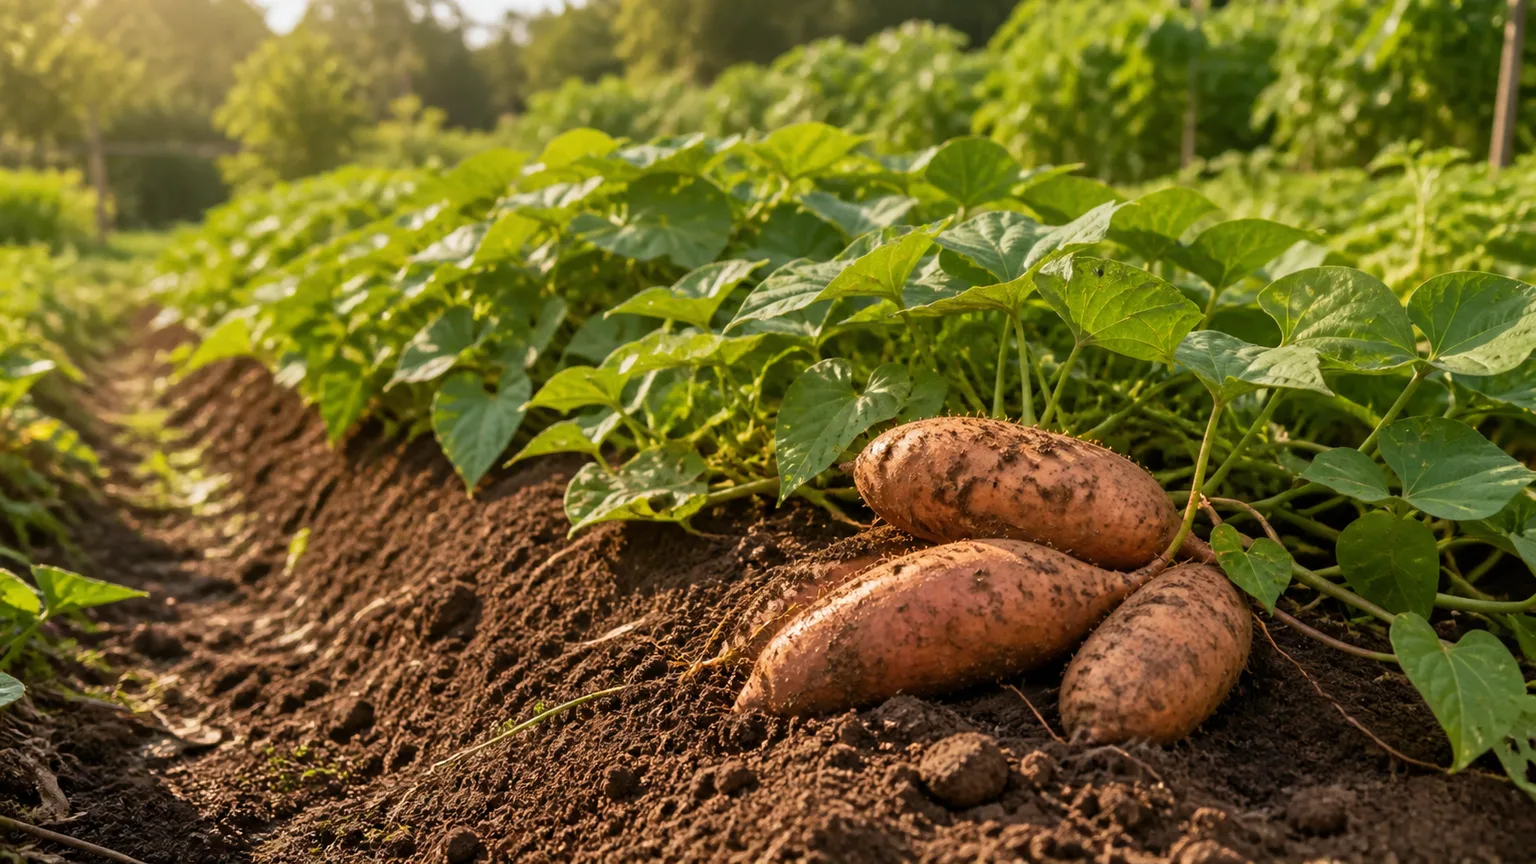
The test dig answers three questions. Are the roots large enough for how you plan to use them? Are they forming close to the crown or spreading farther than expected? And is the soil loose enough that the rest of the crop can be lifted without excessive force? If the roots are still pencil-thin, cover the opening and allow more warm growing time if the weather permits.
If the test plant has several useful roots but the forecast is turning cold or wet, harvest the bed rather than chasing maximum size. You can cook the smaller roots, and curing will improve flavor, but a root cut by a rushed fork or left in cold, saturated soil has much less value than a slightly undersized root brought in intact.
Prepare the Soil, Tools, and Curing Space
Harvest is easier when the soil is crumbly and lightly moist, not mud and not concrete. Several rain-free days help the surface shed excess water, but do not wait until a hard bed forces you to pry against the roots. If the soil is too dry to loosen, a light watering followed by a short wait is safer than driving a tool through baked ground.
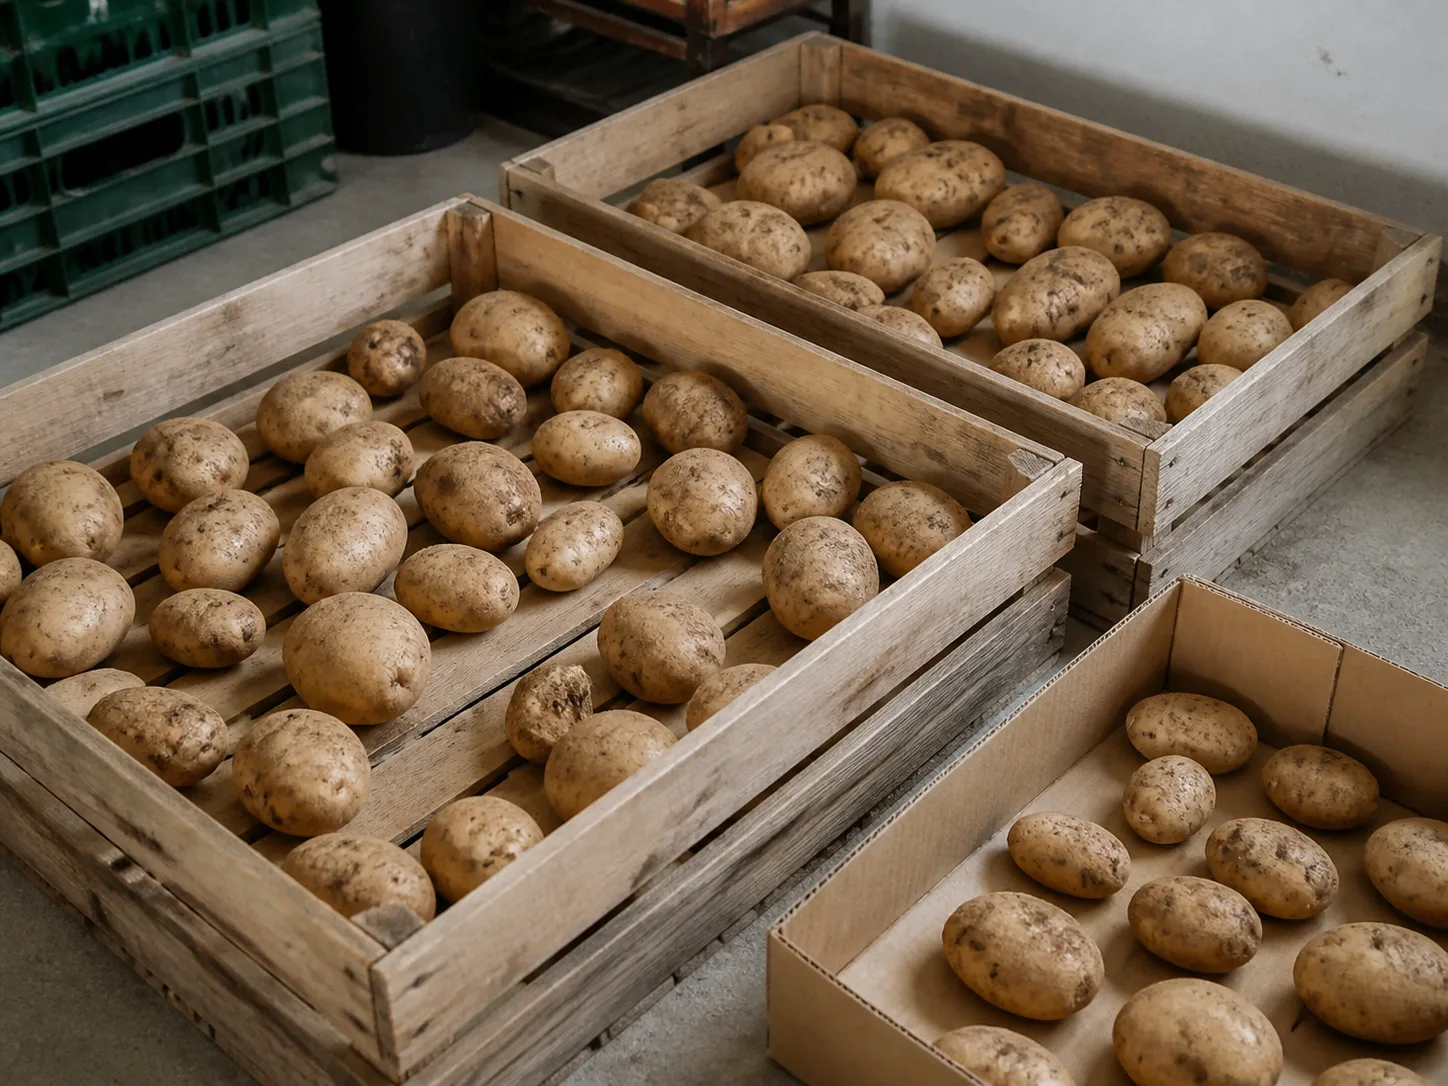
Use a digging fork, broad fork, or narrow shovel with a clean edge. A garden fork is often easier to place beside the plant and lift soil upward, while a shovel can work if you start well outside the crown and keep the blade angled away from the roots. Have shallow crates, cardboard lined with paper, or a slatted surface ready before you dig; dropping roots into a deep bucket creates bruises before curing even begins.
Plan the destination first. Freshly dug roots should be shaded from direct sun, protected from rain, and spread with enough air space that soil can dry without condensation forming. Better Homes & Gardens recommends a single layer with space between roots during home curing, which is a more useful starting point than piling the crop into any convenient container.
How to Harvest Sweet Potatoes Without Cutting Them
Do not begin by pulling the vines. Sweet potato vines can be long, tangled, and rooted at several points, but the edible roots are attached underground near the plant crown and can snap or remain buried when the tops are tugged. If the vines are in the way, cut them back with clean shears, leaving short stubs to mark each crown.
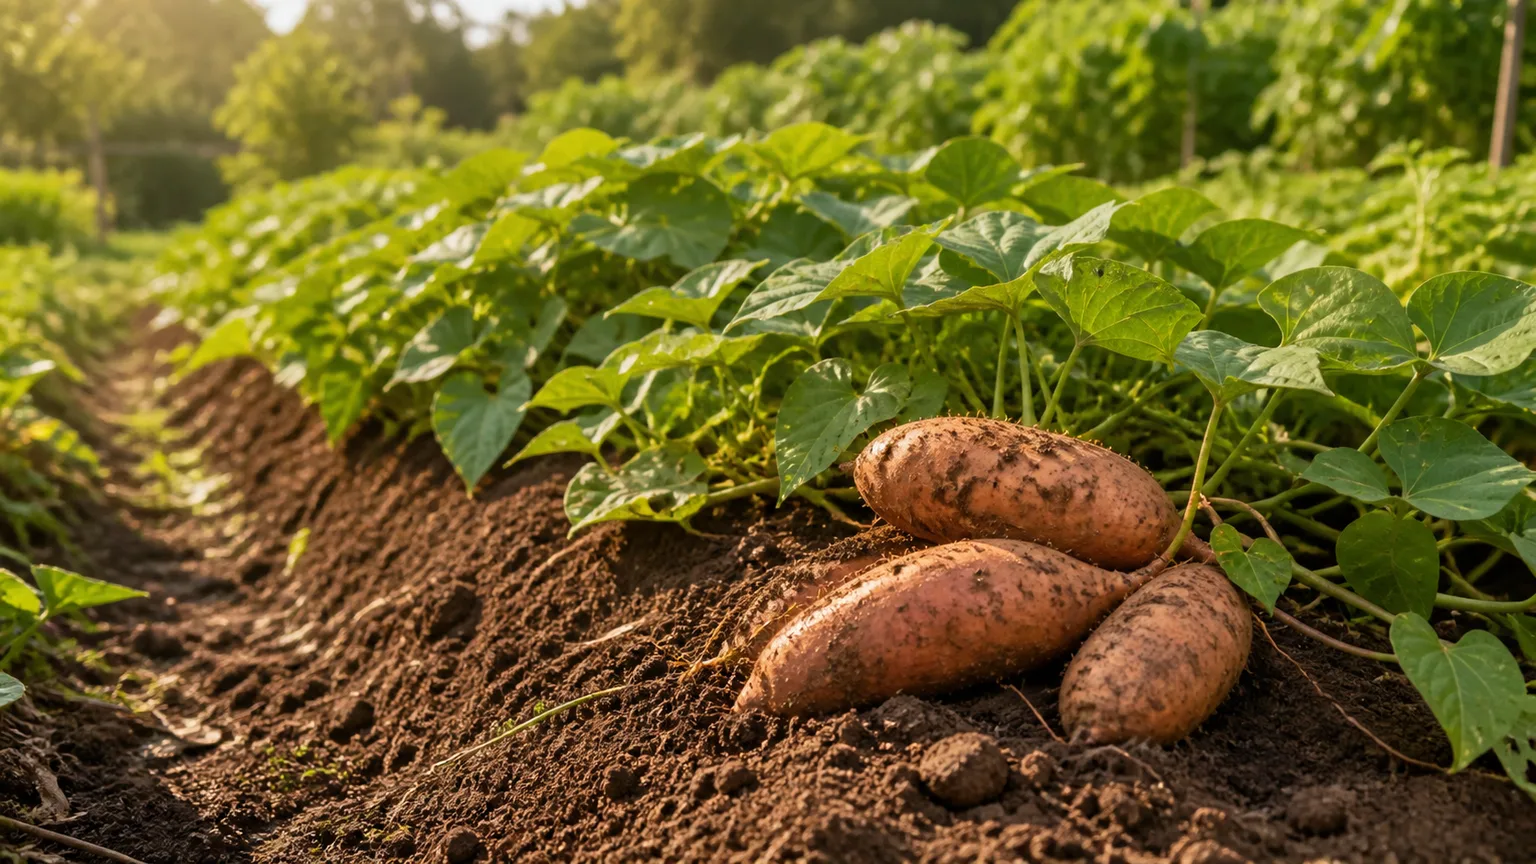
If you are cutting vines early to make a large bed manageable, give the roots a couple of days before digging when the weather is warm and dry. This is optional, not a maturity trick: cutting foliage does not make an immature root ready. BHG’s home-harvest guidance treats early vine cutting as a way to make the skin easier to handle, while the plant’s maturity and the weather still determine the actual harvest decision.
A broad, loose bed makes it easier to expose sweet potato roots without striking them with a tool.
Loosen the Soil Outside the Root Zone
Find the crown where the main stems enter the soil, then start at least 6 to 8 inches away. For a vigorous plant or heavy soil, begin farther out—around 12 to 18 inches—and work inward after the soil has lifted. The extra margin feels wasteful until a fork catches the largest root at the edge of the cluster.
Push the fork straight down, lift the soil, and move one section at a time. Do not stab repeatedly beside the stem or lever hard against a root. Once the first roots appear, stop using the tool in that pocket and switch to gloved hands or a hand trowel.
Lift, Finish by Hand, and Handle Gently
Raise the loosened soil from underneath and support the roots as the cluster comes up. Shake only enough to release loose soil; do not scrub, hose, or rub the skins while they are fresh. A light scrape is acceptable for a root you will cook soon, but a deep cut, crushed end, or peeled patch belongs in a separate use-first group.
Leave the roots unwashed. Let clinging soil dry and brush away large clumps gently after the first drying period. Washing adds moisture to the skin and neck just as the crop needs to begin healing. Keep the roots in shade as you work because bright sun can cause sunscald; NC State reports that fresh roots can be damaged after surprisingly short exposure to strong sunlight.
Move the harvest in a crate rather than throwing roots into a wheelbarrow. Do not step on them, drop them from height, or pack a deep bin so tightly that the lower roots bear the weight of the upper ones. Curing helps heal minor wounds, but it cannot restore the appearance or storage potential of a root that has been gouged or crushed.
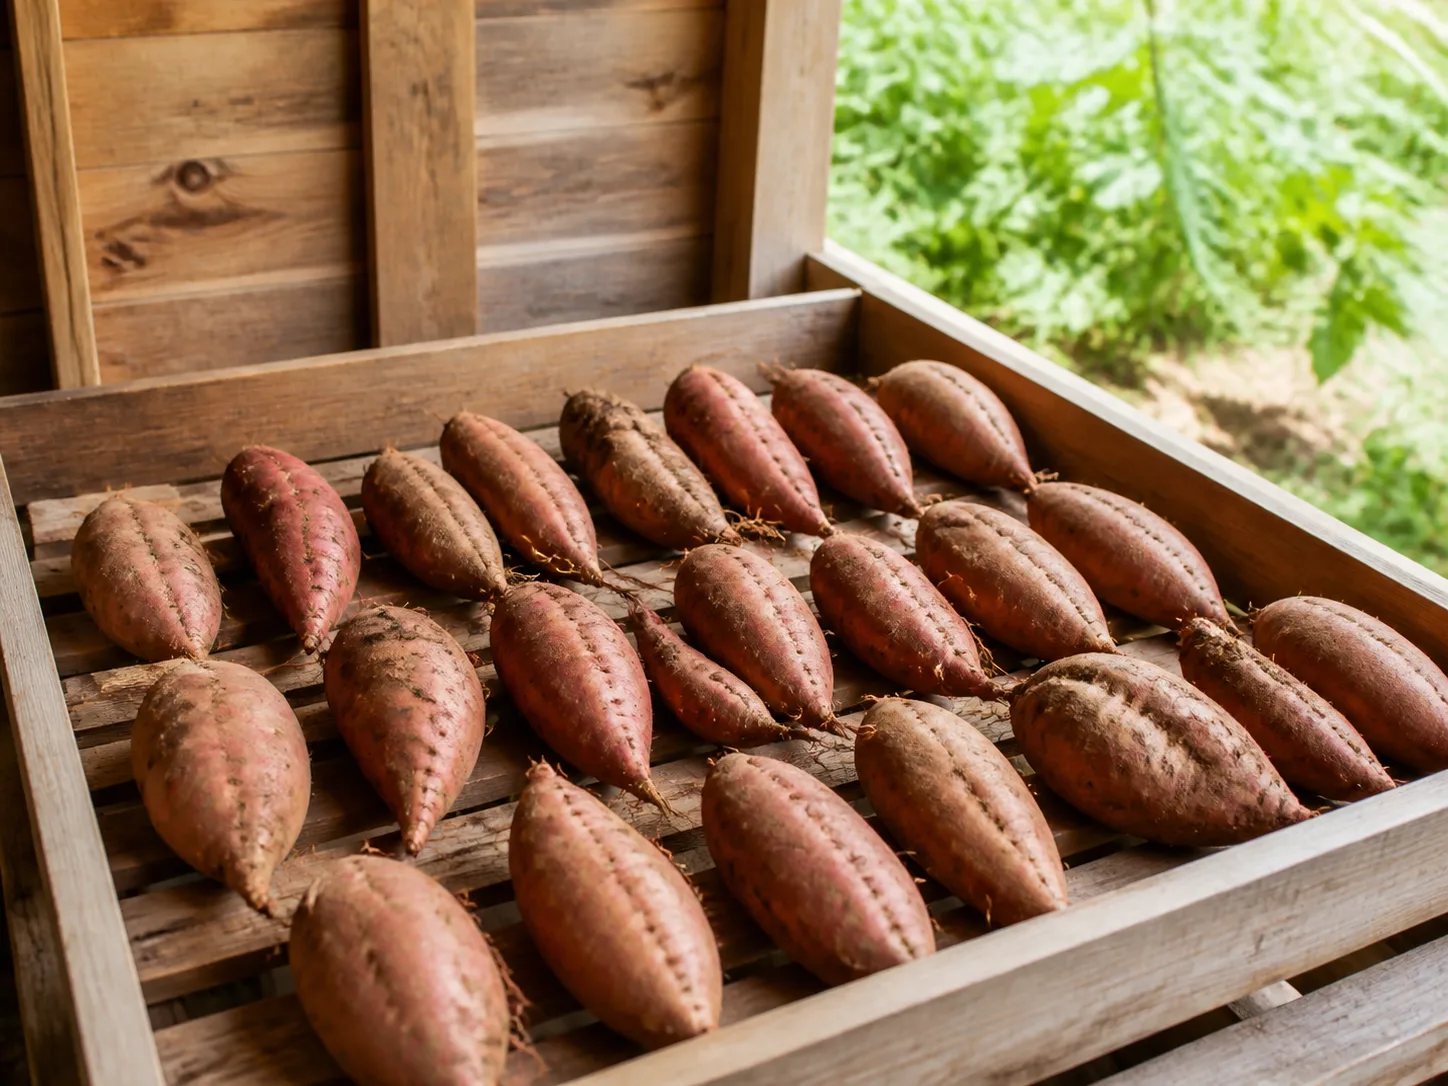
A slatted crate keeps freshly dug sweet potatoes separated and lets air reach the skins while soil dries.
What to Do With the Vines After Harvest
If the vines are green and disease-free, add them to the compost pile or chop them into a separate garden-compost batch. Remove vines that show suspicious spotting, rot, or heavy pest damage rather than spreading that material around beds. A clean harvest is easier to protect when the old foliage is not left in a wet heap beside the curing roots.
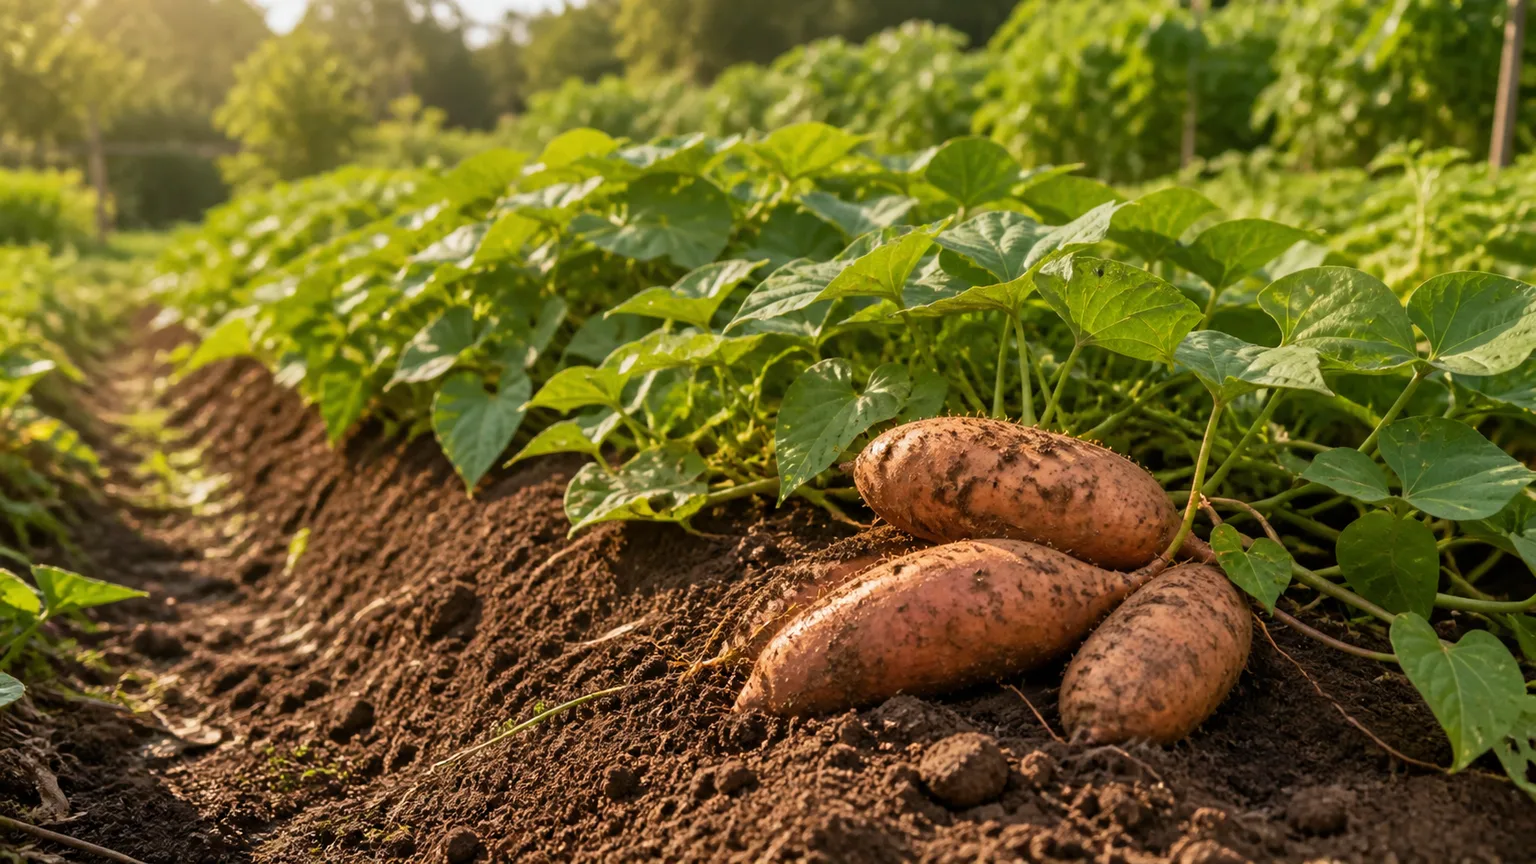
Some gardeners cook young sweet-potato leaves, but do not treat the foliage as a reason to delay root harvest or strip a still-bulking plant bare. If you want greens, take a modest amount earlier in the season and keep the plant’s remaining leaves working. At harvest, the priority is to clear the crown, protect the roots, and keep questionable plant material out of storage.
How to Cure Freshly Dug Sweet Potatoes
Curing is a warm, humid, ventilated healing period. It dries the outer surface without dehydrating the root, helps minor harvest wounds close, toughens the skin, and allows starches to develop into a sweeter, more characteristic flavor. It is not the same as leaving roots in a cool pantry for a few days.
Commercial operations aim for about 85°F and 85–90% relative humidity for three to five days, with controlled ventilation, according to NC State Extension. A home gardener usually cannot reproduce a commercial curing room precisely, and should not compensate by sealing wet roots in an airtight bag where condensation can start decay.
Build a Realistic Home Curing Setup
Choose the warmest practical space that stays shaded, clean, and ventilated: a greenhouse with airflow, a warm garage, a covered porch during a dry spell, or an airy spare room can work. Spread roots in one layer on crates, wire shelves, or cardboard lined with paper. Leave gaps around each root and keep the tray off a cold concrete floor.
Aim for roughly 80–85°F when you can maintain it safely. Epic Gardening’s home guidance describes a 7–14 day cure around 80°F, while BHG gives 7–10 days at 80–85°F and notes that a cooler 70–75°F space may need two to three weeks. Those ranges reflect a useful home principle: cooler conditions can work, but they require more time and careful airflow.
Keep humidity high enough that roots do not shrivel, but never allow water to bead on the skins, crate, wall, or floor. A small hygrometer helps you understand the room, but a dry surface, air movement, and the root’s condition matter more than chasing a number with a humidifier. If you use a fan, circulate the room air rather than blasting dust directly at the roots.
Turn or rearrange the roots once during curing so contact points get air. Keep damaged roots separate from the main batch from day one; curing may help a shallow scrape, but it will not rehabilitate a soft, leaking, or foul-smelling root.
Use the Root to Decide When Curing Is Complete
Do not end curing just because the outside looks dry after two sunny days. A cured sweet potato should feel firm, have a dry skin that is no longer easily rubbed away, and show a dry, tightened stem end. Minor scratches should look sealed rather than wet, and there should be no condensation in the crate.
If a root is soft, wet around the stem, sour-smelling, or developing fuzzy growth, remove it immediately. If several roots are soft, the room is too cool, too damp, too crowded, or the crop was damaged before curing began. Do not respond by sealing the batch tighter; increase spacing and airflow, and lower the risk of further condensation.
You can cook a sound root after its initial cure, but flavor often continues to improve during the following weeks. That does not mean every root needs a six-week special treatment. A complete first cure is the essential step; later storage at the right temperature is what lets the crop hold while you use it.
A breathable crate and paper dividers help keep cured roots from sitting in a damp, sealed pile during storage.
Sort the Crop Before You Store It
Sorting is part of curing, not a cosmetic extra. Put sound, firm, intact roots into the storage group and create a clearly labeled use first group for everything else. One damaged root can soften, leak, and spread decay while hidden under a pile of healthy ones.
Use soon any root that was cut by a fork, badly bruised, split, pierced, still wet at the neck, or noticeably undersized and thin-skinned. A shallow surface scrape may heal during curing, but inspect it again before storage. A root with spreading discoloration, watery tissue, a bad odor, fuzzy mold, or a collapsing end should be discarded rather than trimmed and returned to the bin.
Do not grade only by size. A small root can store better than a large one if its skin is intact and its stem end is dry. Likewise, a beautiful large root with a hidden puncture is a use-first root. Label varieties and harvest dates if you grew more than one; the notes will reveal which cultivar fits your climate and storage plans next year.
Store Cured Sweet Potatoes for the Longest Life
Once the roots pass the cure and sorting checks, move them to a cool, stable, dark or dim, well-ventilated place. A practical home target is about 55–60°F. BHG recommends 50–60°F and warns against refrigeration, while NC State gives 55°F with high relative humidity and adequate ventilation for commercial storage.
The goal is not simply “cool.” A refrigerator is usually too cold and can create chilling injury, woody texture, poor flavor, and decay that may appear later. A warm kitchen cabinet may keep roots edible for a while but encourages sprouting and shrinkage. The best home location is the one that stays within range, avoids freezing, and lets you inspect the crop.
Choose Breathable Containers and Stable Temperatures
Use a slatted crate, shallow cardboard box, paper-lined basket, or mesh bag. Keep roots in loose layers with air space between them rather than sealing them in plastic. Newspaper can block light and cushion individual roots, but it should not become a wet wrapper; replace damp paper and remove any root that begins to leak.
Keep the container off the floor and away from a radiator, furnace room, exterior wall that freezes, or a spot that receives afternoon sun. A basement can work if it is stable and not damp enough to create condensation. If the only available space is warmer than ideal, store a smaller quantity and plan to use it sooner rather than expecting a full winter’s life.
Inspect the Crop Instead of Trusting the Calendar
Check the crop after the first week, then every week or two. Feel for soft spots, look for leaks or mold, and remove roots that are sprouting heavily or developing a smell. Do not rinse the whole storage crop to clean one dirty root; take individual roots out and clean them immediately before cooking.
Under favorable conditions, a properly cured home crop can last several months and often through winter. NC State reports that high-quality roots under controlled commercial conditions can remain marketable much longer, but a home pantry has bigger temperature and humidity swings. Treat six months as an encouraging possibility rather than a promise, and eat the less reliable cultivars or use-first roots first.
Harvest Mistakes That Ruin Good Sweet Potatoes
The most expensive mistake is harvesting by date alone. Pulling a healthy, green, actively bulking crop too early sacrifices size and storage potential; leaving a mature crop in waterlogged ground while waiting for every vine to yellow invites rot. Use the weather and one test dig to choose the better compromise.
The next mistake is digging too close to the crown. A fork puncture may not look serious, but it opens a route for moisture loss and decay. Start wider than feels necessary, lift soil instead of stabbing into it, and finish by hand once you see roots.
Avoid washing storage roots, leaving them in direct sun, letting them cool overnight, piling them deeply, or trimming away every bit of top growth before the first cure. Do not put them straight into the refrigerator, and do not cure a questionable root in the middle of the sound batch. The sequence is slower than digging and dumping, but it protects the crop you already spent a season growing.
Conclusion: Harvest Gently, Cure Completely, and Keep Roots Warm
The best time to harvest sweet potatoes is when the cultivar has had enough warm days, most of the vines show natural decline, and the forecast still gives you a safe window before hard frost. Test-dig one plant, then harvest the bed if the roots are useful and the weather is turning against you.
Loosen soil well outside the crown, lift from underneath, keep roots unwashed and shaded, and separate every damaged or suspicious root. Cure the sound crop in warmth, humidity, and moving air until the skins and stem ends are dry and firm. Then store it in breathable containers around 55–60°F, inspect regularly, and use the roots that do not meet storage standards first. That combination—plant signals, a broad dig, a real cure, and honest sorting—is how a home harvest earns its “like a pro” finish.



