How to Keep Houseplants Alive in a Dark Apartment
Learn how to keep houseplants alive in a dark apartment with the right plants, a simple light check, grow-light setup, safer watering, and a weekly routine.
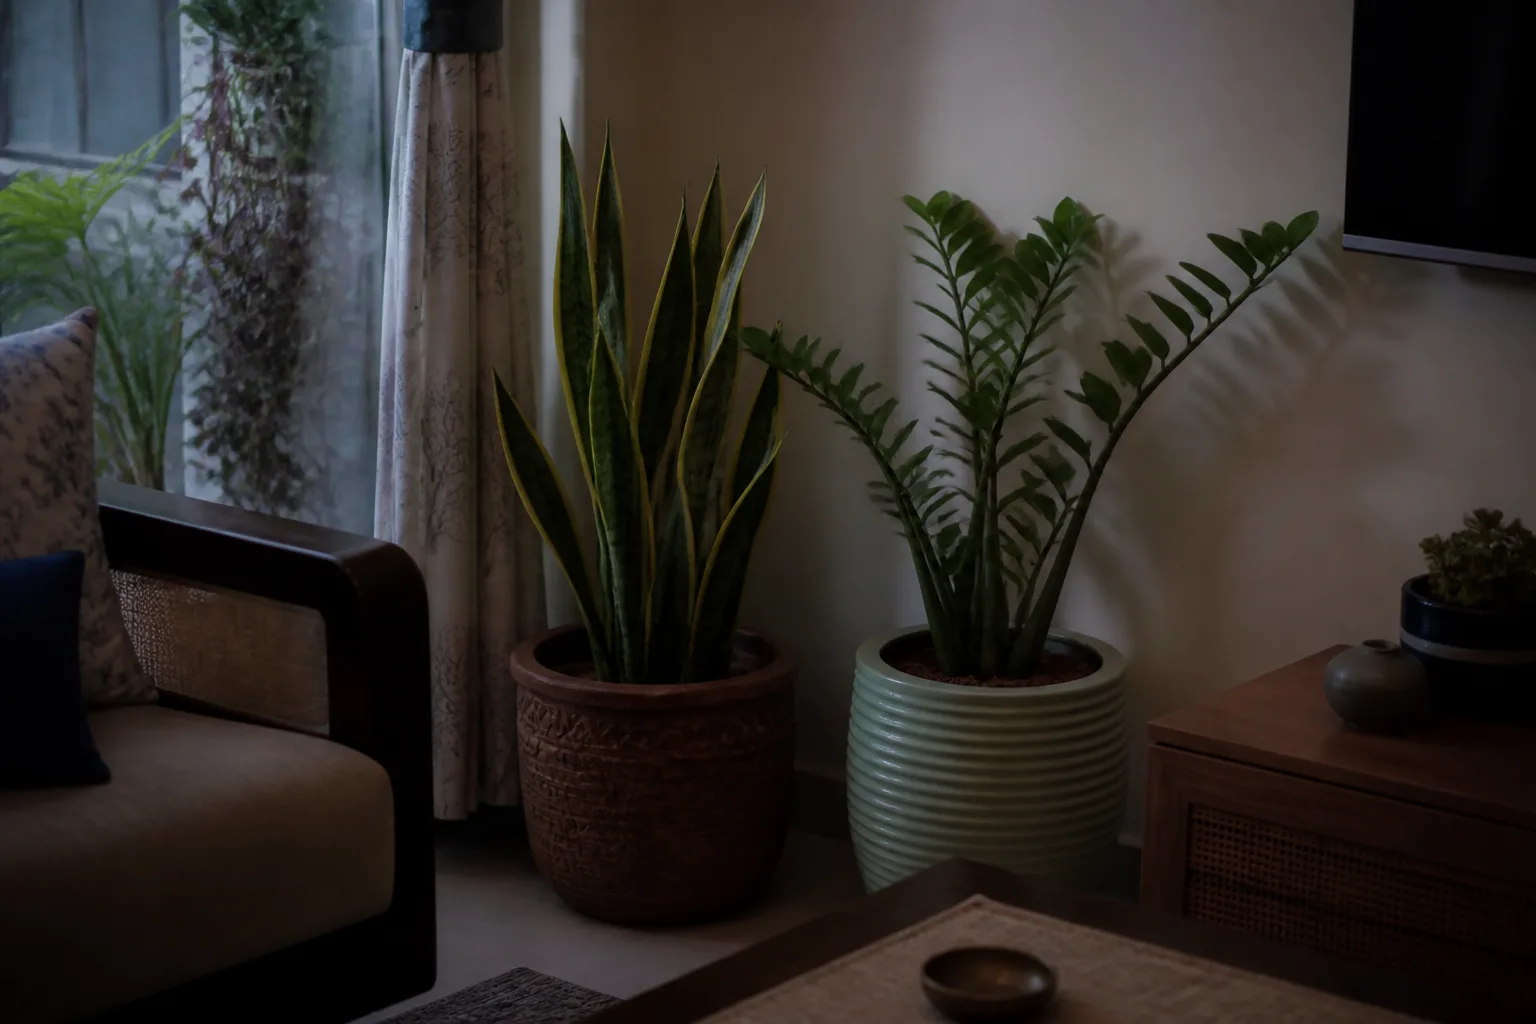
The secret to keeping houseplants alive in a dark apartment is not finding a perfect watering schedule. It is matching each plant’s light demand to the brightest place you can offer, then watering for the slower dry-down that follows. A dim room can support tough foliage plants for years, but a room with no usable light cannot support long-term growth without a grow light.
That distinction explains why a plant can look fine for a month and then decline: it is spending stored energy while the soil stays wet, or it is being watered on the same calendar as a plant in a bright window. Use the system below to decide what your apartment can support, where each pot belongs, and when supplemental light is the honest fix.
First, Separate Low Light From No Light
“Low light” does not mean a plant can live in darkness. It means the plant receives less light than a sun-loving species needs, often as diffuse light several feet from a window or through a north-facing window. The Royal Horticultural Society makes the same practical boundary: shade-tolerant plants can survive in shady areas as long as the room is not too dark, and a useful rule of thumb is whether there is enough natural light for you to read a book.
Light is plant energy. Photosynthesis still happens in a dim room, but it happens more slowly, so the plant makes less new growth and uses less water. That is why moving a pothos or monstera from a bright room into a dark corner changes its watering needs even if the pot and soil stay identical.
Three Quick Ways to Test a Room’s Light
Run these checks before you buy a plant or move one into a corner:
- Use the reading test. If you can read comfortably without turning on a lamp in the daytime, the space has some natural light. If the room is too dark for reading, expect to add a grow light rather than rely on a “low-light” label.
- Watch the shadow. A soft, indistinct shadow usually indicates weak or diffuse light; a crisp shadow indicates stronger light. This is not a laboratory measurement, but it is useful when comparing two locations in the same apartment.
- Read the plant’s growth. Thin stems, long gaps between leaves, leaning toward a window, smaller new leaves, and fading variegation can all mean the plant is receiving less light than it needs. The absence of immediate symptoms does not prove the location is adequate; slow decline is common.
For a more objective comparison, use a light meter or a phone-based meter as a rough guide, then observe the plant. Penn State Extension notes that light categories vary by source and that a plant’s response still matters. A meter is most useful for comparing your windowsill, bookshelf, and grow-light shelf—not for treating one number as a universal rule for every species.
Choose Plants for the Light You Actually Have
Start with the room, not the plant you saw in a bright greenhouse. A plant can be marketed as low light and still grow poorly in the darkest part of an apartment, especially if the plant was raised under high nursery light and moved suddenly into a dim corner.
The safest choices combine lower light tolerance with modest water use or naturally slow growth. The RHS recommends plants such as cast-iron plant, ivy, golden pothos, and several other foliage plants for shady rooms. Penn State Extension also describes snake plant, lucky bamboo, dumb cane, pothos, and Chinese evergreen as useful examples of plants that can adapt to lower light, while stressing that not every cultivar makes the transition equally well.
Reliable Choices for Dim Corners
Use this as a starting menu, then check the care needs of the exact cultivar:
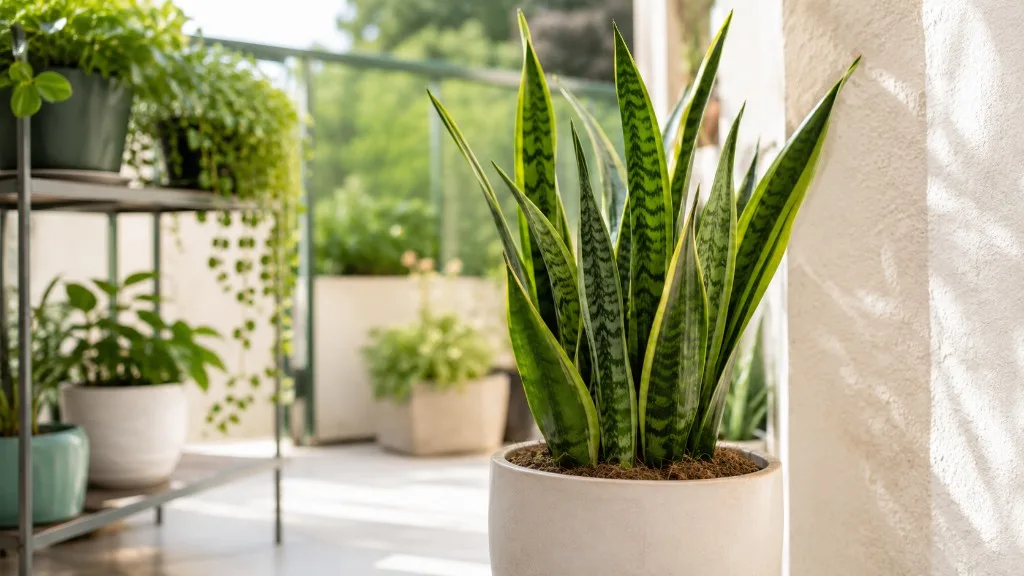
- Snake plant (Dracaena trifasciata): A strong choice for a dry apartment or an owner who forgets to water. It tolerates a wide range of light, but growth is faster and fuller in brighter indirect light.
- ZZ plant (Zamioculcas zamiifolia): Its thick underground rhizomes store water, so it is better suited to a dim room than a plant that must stay evenly moist. Let the mix dry substantially before watering.
- Cast-iron plant (Aspidistra elatior): A slow-growing foliage plant for genuinely shady rooms. It is a good fit when you want persistence more than rapid, dramatic growth.
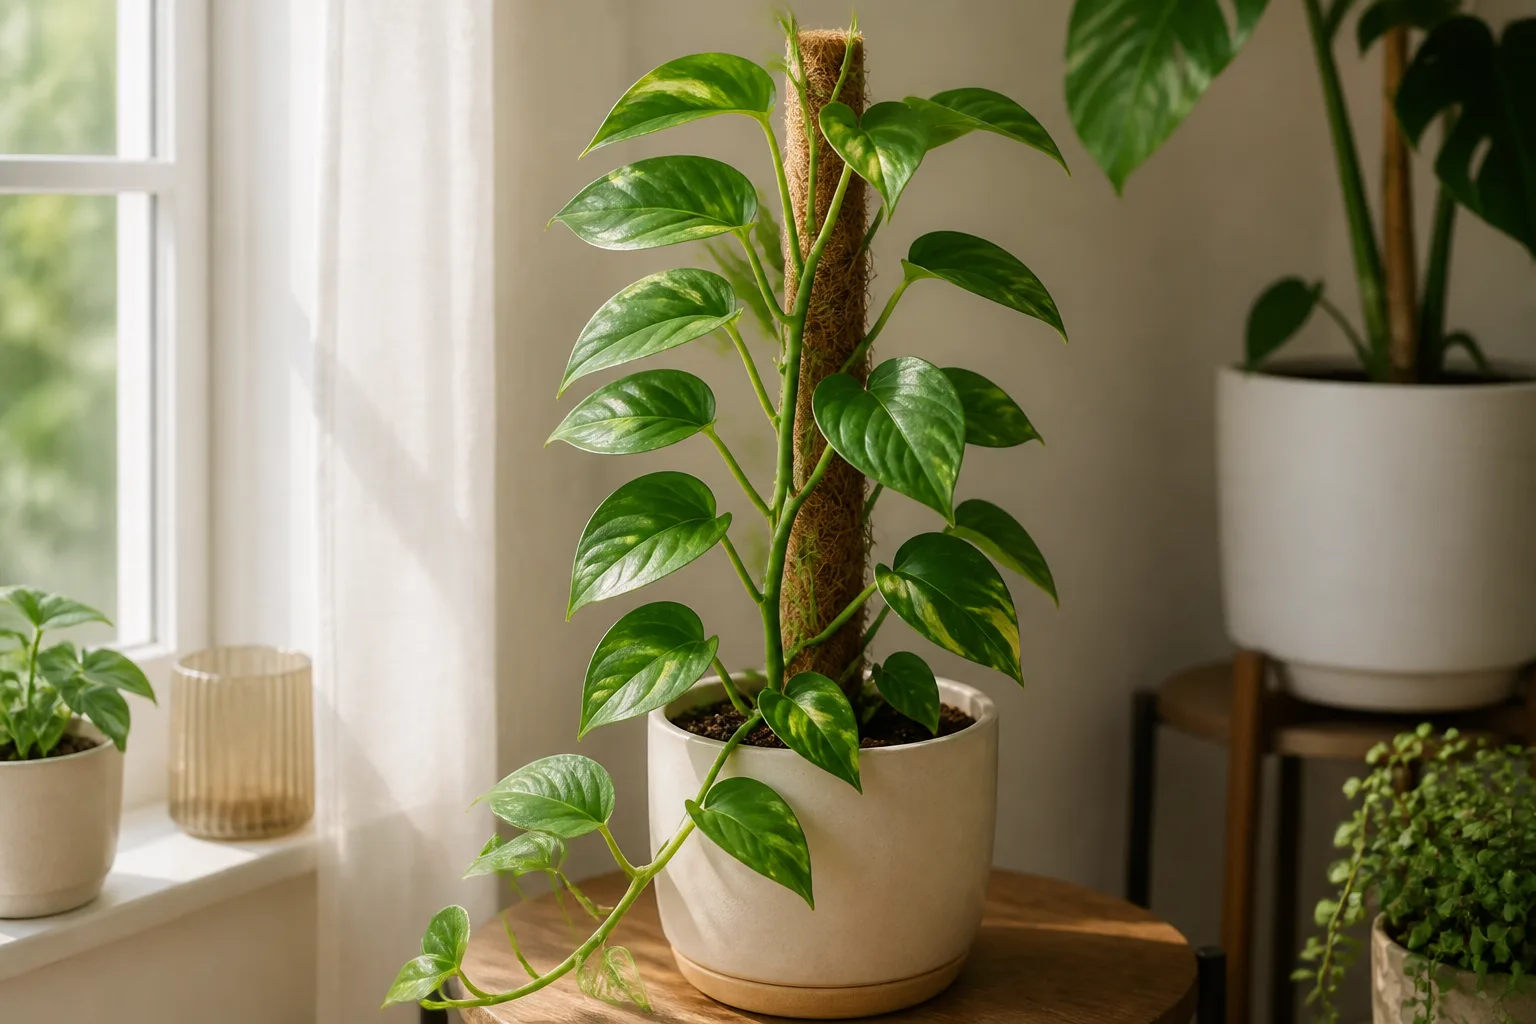
- Green pothos (Epipremnum aureum): A useful trailing plant for a shelf or cabinet near the best available window. Darker green forms generally hold their color better in dim conditions than highly variegated forms.
- Chinese evergreen (Aglaonema): Many types tolerate lower light, but a heavily patterned cultivar may lose contrast or produce greener new leaves when light is marginal.
- Heartleaf philodendron: A forgiving trailing option for moderate to low indirect light, provided the room is not stagnant and the pot can drain fully.
Boston fern, calathea, prayer plant, and other moisture-loving tropicals can work in a dim apartment, but they are not automatically easy choices. They need a more consistent moisture level and often respond poorly when a dark room, dry heating vent, and irregular watering are combined. Place them in the brighter, more humid zone or use supplemental light.
The Trade-Offs of Variegated and Flowering Plants
Low light usually changes a plant before it kills it. Variegated leaves may emerge with less cream or yellow, stems may stretch toward the window, and new leaves may be smaller. Penn State Extension describes this adjustment in Chinese evergreen and dumb cane: plants can produce greener foliage in lower light, while a specimen accustomed to bright indirect light may bleach or fade when conditions change abruptly.
Flowering plants have an even higher light demand if you want them to bloom reliably. A plant may survive in a dark room as foliage but stop flowering. Treat “alive” and “growing well” as different goals, and do not keep buying fertilizer to force flowers when light is the limiting resource.
Turn One Dark Apartment Into Several Light Zones
Most apartments are not uniformly dark. A window ledge, the floor beside that window, a bright kitchen, and the back of a living room can have very different light levels. Map those locations once, then assign plants by need instead of moving every pot at random.
Put the most light-hungry plants closest to the brightest window, while keeping leaves far enough from hot glass or cold drafts. Place medium-light plants a little farther back, and reserve the dimmest shelves for snake plants, ZZ plants, cast-iron plants, or other shade-tolerant foliage. If one plant repeatedly leans, loses leaves, or dries very slowly, change its zone before changing its fertilizer.
This approach also makes rotation practical. You can move a pot from the back of a shelf to the brighter zone for a few weeks, then replace it with another tolerant plant. Rotation spreads access to a scarce resource; it does not turn a dark corner into a bright one.
Add a Grow Light When the Room Cannot Supply Enough Light
Supplemental light is the most reliable solution when buildings block the sky, windows are tiny, or a plant sits in a room that is genuinely dark during the day. The RHS guide to artificial lighting notes that artificial lighting can support plants in dark corners and that specialized horticultural lighting is preferable to ordinary domestic bulbs, whose intensity is generally too low for growing plants.
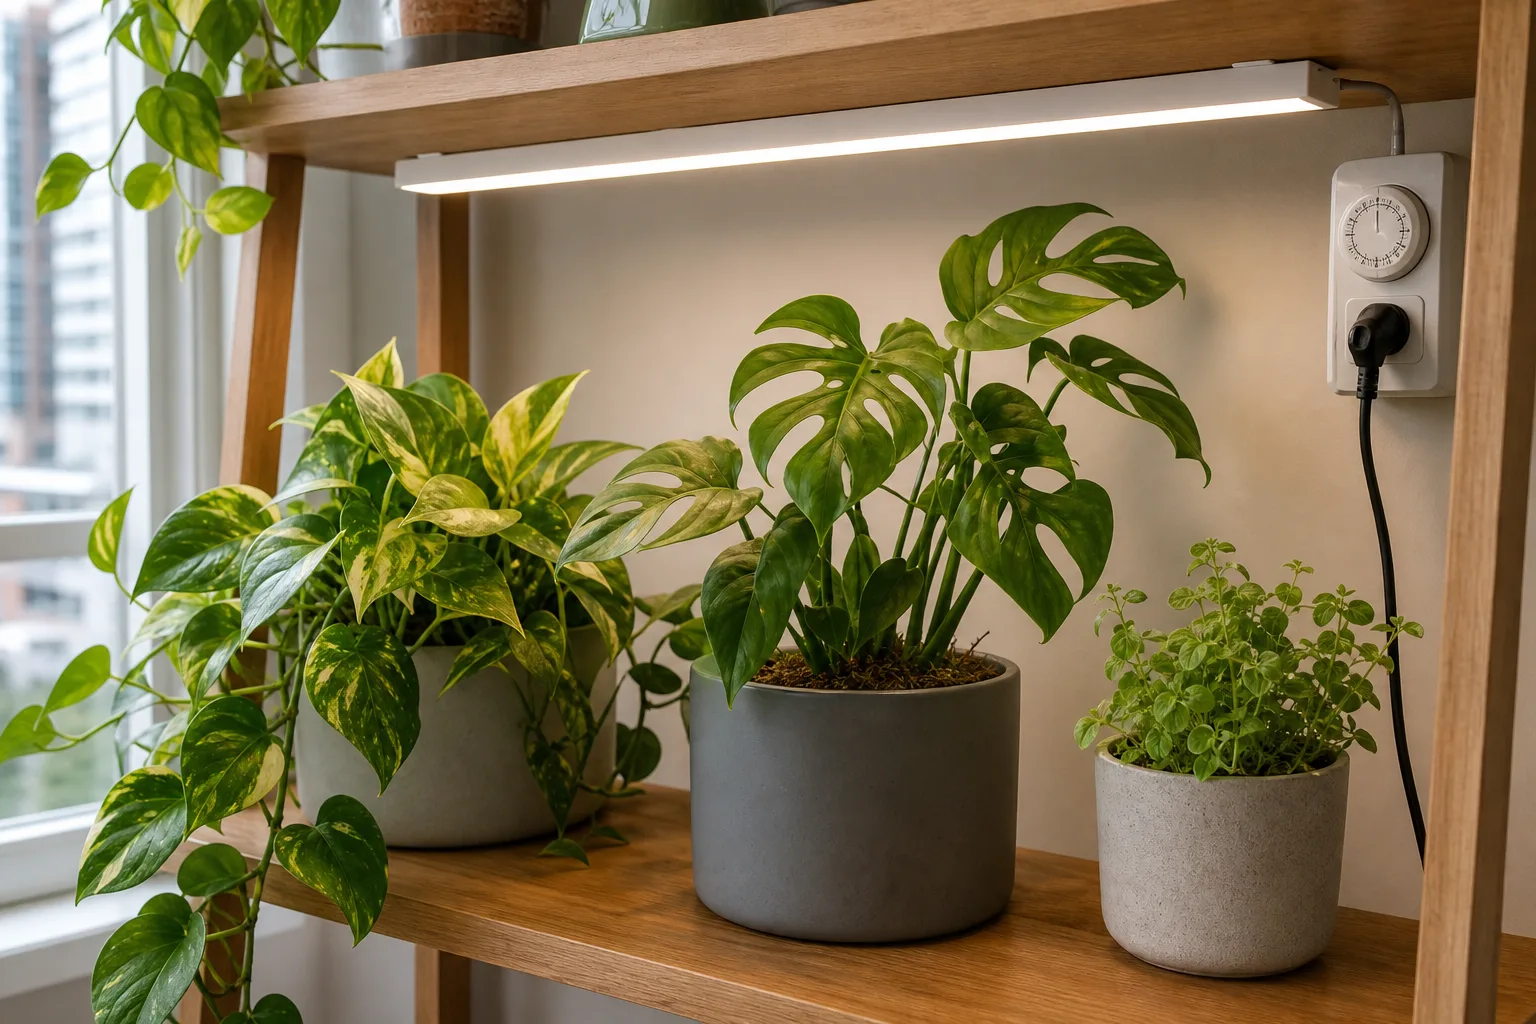
A simple LED grow-light bar or full-spectrum horticultural bulb is usually easier in an apartment than a hot, high-output fixture. Choose a fixture that covers the plant’s whole canopy, can be mounted or positioned safely, and includes a manufacturer’s distance recommendation. You do not need a purple glow or a complicated indoor farm for a shelf of foliage plants. For a closer look at fixture choices and placement, see our complete grow-light guide.
Pick the Fixture, Distance, and Daily Schedule
Start with a timer and a conservative schedule rather than leaving the light on all day. University of Illinois Extension’s indoor-growing guidance gives a practical baseline of roughly 14–16 hours with the light close to the plants, while the RHS describes around 16 hours for a simple artificial-light system. Treat those figures as starting points, not a universal prescription: a weak bulb close to leaves and a strong bar farther away do not deliver the same light.
Keep a dark period every night. Plants need a predictable day-and-night cycle, and your apartment does not need to glow after bedtime. Begin with the light at the fixture’s recommended distance, run it for about 12–14 hours, and adjust after two to three weeks of observing new growth. Move it closer or increase exposure if stems stretch and leaves remain dark but sparse; move it farther away or shorten the schedule if leaves bleach, yellow-green patches appear, or the nearest foliage looks stressed.
Do not use a grow light to justify more water. Supplemental light may increase growth and dry-down, but the pot still needs to pass a soil check. Keep cords away from saucers, do not cover ventilation openings, and leave enough air space that a warm fixture cannot heat the leaves or a wall.
Water by Dry-Down, Not by a Weekly Reminder
Low light usually means slower growth and slower evaporation. The same amount of water that disappears quickly from a sunny windowsill can remain in a dark room for many days, leaving roots with too little oxygen. Gardening Know How warns that waterlogged container soil can damage roots, encourage fungal growth and fungus gnats, and make yellow leaves or wilting easy to misread.
There is no honest “water every Sunday” rule for every low-light plant. Use Sunday, or any consistent day, as an inspection day. Water only when the plant’s soil and species-specific threshold say it is ready.
Check Soil Depth and Pot Weight Together
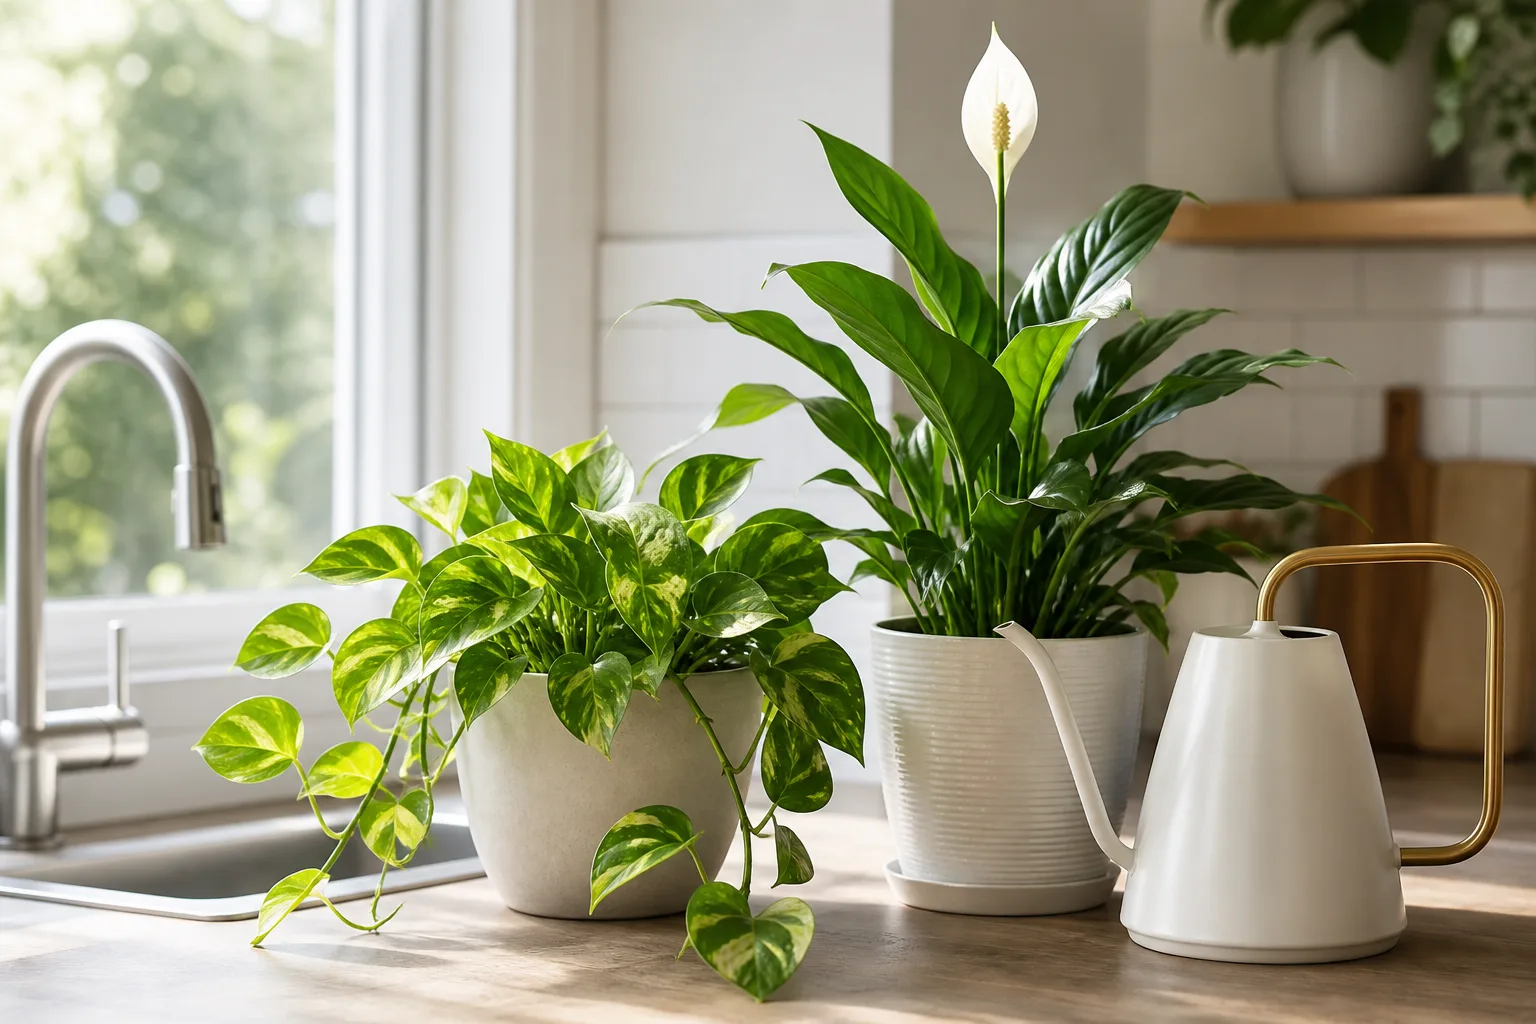
For most foliage plants, push a finger or wooden skewer about an inch into the mix, away from the stem. Missouri Botanical Garden guidance describes many common houseplants as ready when the top inch has dried, while moisture-loving plants need a more even level and succulents need a much deeper dry-down. The surface is only a starting point; a heavy pot with damp soil below the surface is not ready just because the top looks dusty.
Lift the pot before and after watering, even if it feels awkward at first. A very light nursery pot often signals that the mix is dry; a heavy pot in a dim room is a reason to wait. If leaves droop but the pot is heavy and the soil is wet, add light and air circulation rather than more water. Yellowing can follow both overwatering and underwatering, so pair the symptom with soil moisture, pot weight, and the plant’s watering category.
When the plant is newly moved, check more often for the first month. A new light zone, season, heating vent, or grow light changes the rate at which water leaves the pot.
Top-Water and Bottom-Water With an Exit Plan
For most houseplants, top-watering is the clearest method: slowly wet the root ball until water begins to drain, then empty the saucer or cachepot. That flushes the mix and shows you that water can travel through the entire pot. Missouri Botanical Garden specifically emphasizes a drainage hole, thorough watering, and disposing of excess water rather than letting the pot sit in it.
Bottom-watering can be useful for a small pot with compacted or very dry mix. Set the drainage pot in a shallow dish of water, let the mix draw up moisture, then lift it out before the soil becomes saturated and allow it to drain completely. It is a method, not a cure for overwatering: if the pot stays in water or you repeat the process before the mix has dried to the plant’s proper threshold, low light will magnify the problem.
Avoid tiny sips every few days. They wet only the top layer, encourage shallow roots, and make it difficult to know how much moisture the pot actually holds. Water according to the plant, soil, pot size, and room—not the notification on an app. An app can remind you to inspect; it cannot see the root ball.
Make Drainage Non-Negotiable
Every plant in a dark apartment should be in a pot with a real drainage hole unless it is being grown in a controlled water culture system. A decorative container without a hole can hide a reservoir of stagnant water, and foil or a tight cachepot can trap runoff even when the inner pot is suitable.
After watering, tilt or lift the inner pot and empty the outer container. Do not let the base sit in a saucer of water for hours. If water never emerges from the drainage hole, the mix may be hydrophobic, compacted, or blocked by roots; repotting into a suitable, airy mix may be safer than repeatedly adding more water.
The goal is not fast drainage that leaves the plant dry immediately. It is a mix that holds enough moisture for the plant while leaving air-filled spaces around roots. In a dark apartment, that balance matters more than a decorative top dressing, a moss pole, or a “moisture-loving” label.
Build a Ten-Minute Weekly Plant Check
A short inspection is more useful than a fixed care day that forces every plant into the same treatment. Work from the top of the plant to the bottom of the pot:
- Look for new growth, leaning, stretched stem sections, fading color, and leaf damage.
- Check the undersides of leaves for pests, fine webbing, or sticky residue before moving a new plant beside established ones.
- Feel the soil at the correct depth and lift the pot to compare its weight.
- Check that the drainage hole is open and that no saucer or cachepot contains standing water.
- Dust broad leaves gently with a clean, barely damp cloth if the plant tolerates it; a dusty leaf surface can reduce the light reaching the leaf.
- Rotate or relocate only the plants that need a different light zone.
- Record what you actually did: watered, waited, moved, pruned, or changed the grow-light timer.
The record should help you notice patterns, not create guilt. If a plant is still wet after two weeks, a reminder to water it again is a warning, not a task. If several pots dry at once after you add a grow light, review their soil thresholds and light exposure before watering them all automatically.
Rotate Plants for Even Growth, Not to Replace Light
Turn a plant a quarter-turn every week or two when it is near a window or grow light, especially if the canopy is leaning toward one direction. This helps distribute light across the plant and can reduce one-sided growth. Rotate gently; do not repeatedly carry a stressed plant from a dark corner into strong direct sun.
You can also rotate the collection through your brightest spot. Give a low-light-tolerant plant a few weeks near the window, then move it back while another plant takes its place. Acclimate plants gradually if the brighter location includes direct sun. A plant raised in diffuse light can scorch when moved suddenly against a hot south- or west-facing pane.
Rotation is not a substitute for sufficient light. If a plant stretches no matter which direction it faces, add a grow light or accept slower, less compact growth.
Handle Mold, Fungus Gnats, and Slow-Drying Soil
White or gray growth on the surface of potting soil is usually a sign that the surface is staying damp and rich in organic matter. It is a moisture-management clue, not proof that the plant needs a cinnamon coating. Remove the visible surface growth if you dislike its appearance, allow the appropriate layer of mix to dry, improve airflow, and check that the pot drains. If the soil remains wet for an unexpectedly long time, inspect the root ball and pot size rather than repeating a surface treatment. Our guide to mold on houseplant soil covers the same diagnosis in more detail.
Fungus gnats are another reason to take persistent dampness seriously. Gardening Know How connects excess moisture with fungus gnats and recommends reassessing how often and how heavily you water. Let the soil dry to the plant’s tolerance, remove fallen leaves from the surface, and isolate a troubled plant while you check neighboring pots. Do not let a sticky trap become an excuse to leave the soil waterlogged.
Bottom watering does not prevent mold or gnats if the whole pot remains wet. Cinnamon may change the appearance or smell of the soil for a while, but it does not replace light, dry-down, drainage, or pest identification. Fix the conditions that let the problem persist.
Clean Leaves, Prune Carefully, and Fertilize Lightly
Dust matters more in a dim apartment because every usable photon is valuable. Wipe smooth leaves with water on a soft cloth, support delicate foliage rather than rubbing it, and avoid oily “leaf-shine” products that can leave residue. Do not mist as a routine substitute for watering roots; wet foliage in stagnant air can stay damp without solving dry root conditions.
Prune dead leaves and badly damaged sections with clean scissors, but do not strip a stressed plant bare. Green leaves still make energy, and a plant with limited light needs every healthy leaf it can maintain. Remove yellow leaves only after you investigate whether the pot is too wet, too dry, too cold, or too dim.
Fertilize only when the plant is actively growing and receiving enough light to use the new growth. Weak light plus heavy feeding can create soft, stretched growth and leave unused salts in slow-drying soil. If you add a grow light and the plant begins steady new growth, resume a dilute, label-directed feed rather than applying extra fertilizer to compensate for darkness.
Diagnose Yellow Leaves, Leggy Growth, and Fading Color
Use symptoms as clues, not diagnoses. The same yellow leaf can result from old age, excess water, drought, cold stress, poor light, or a root problem.
| What you see | Check first | Likely next move |
|---|---|---|
| Long gaps between leaves and a leaning stem | Light direction and distance | Move to a brighter zone or add supplemental light; rotate after the change. |
| Yellow lower leaves with heavy, wet soil | Pot weight, drainage, and root smell | Stop watering, empty standing water, and inspect the roots if the mix stays wet. |
| Crispy edges with a very light pot | Soil moisture and heating or cooling vents | Water thoroughly if the plant’s threshold is met, then move it away from moving hot or cold air. |
| Pale or bleached leaves nearest a grow light | Fixture distance and photoperiod | Increase distance or shorten exposure; do not feed a bleached plant to restore color. |
| Variegated new leaves turning mostly green | Light level and cultivar behavior | Move it closer to useful light; accept that some cultivars need more light to hold contrast. |
| Persistent wilt in wet soil | Root condition and oxygen availability | Treat it as a root or drainage problem, not thirst. |
The fastest test is to change one variable at a time and observe new growth. A plant will not repair a damaged leaf because you moved it, but healthy new leaves can show whether the new location is working.
Adjust the Routine for Seasons and Apartment Microclimates
Your apartment’s light and dry-down rate change throughout the year. Winter days are shorter, a low sun may enter at a different angle, and radiators or forced-air vents can dry leaves while the pot stays wet. Missouri Botanical Garden advises considering light intensity, temperature, humidity, vents, and distance from windows when judging water needs, and recommends protecting plants from cold window panes in winter.
In summer, hot glass can scorch foliage even when the room is otherwise dim. Pull sensitive plants back from the pane during the brightest part of the day, but do not mistake heat stress for a reason to water a heavy pot. In winter, move plants away from cold drafts and check soil less by calendar than by the actual moisture in the pot. Missouri Botanical Garden likewise recommends accounting for temperature, vents, humidity, and distance from windows when judging indoor water needs.
When you install a grow light, expect the plant to change gradually. More light can increase growth and water use, but it can also expose a weak root system, reveal pests, or cause a sudden flush of soft growth if you fertilize too aggressively. Change the light, watering, and feeding in separate steps so you can tell what helped.
If a plant stays wet for weeks, loses leaves, or grows progressively leggier despite a sensible light setup, accept that the room may not be a fit. A smaller plant, a tougher species, or one shared grow-light shelf is a better apartment strategy than repeatedly rescuing a plant that needs conditions the space cannot provide.
Conclusion
Keeping houseplants alive in a dark apartment is a light-management problem first and a watering problem second. Choose plants that match the room, place them in light zones, use a grow light where “dark” really means dark, and let the soil—not a weekly reminder—tell you when water is due.
The routine that works is simple: observe new growth, check moisture at depth, drain every pot completely, rotate for even exposure, and change one variable at a time. Once you stop treating every drooping or yellow leaf as thirst, a dim apartment becomes much easier to manage—and the plants that truly belong there become obvious.



