7 Easy Ways to Keep Weeds Out of a Vegetable Garden
Keep weeds out of your vegetable garden with seven practical methods, from stale seedbeds and mulch to drip irrigation, shallow hoeing, and cover crops.
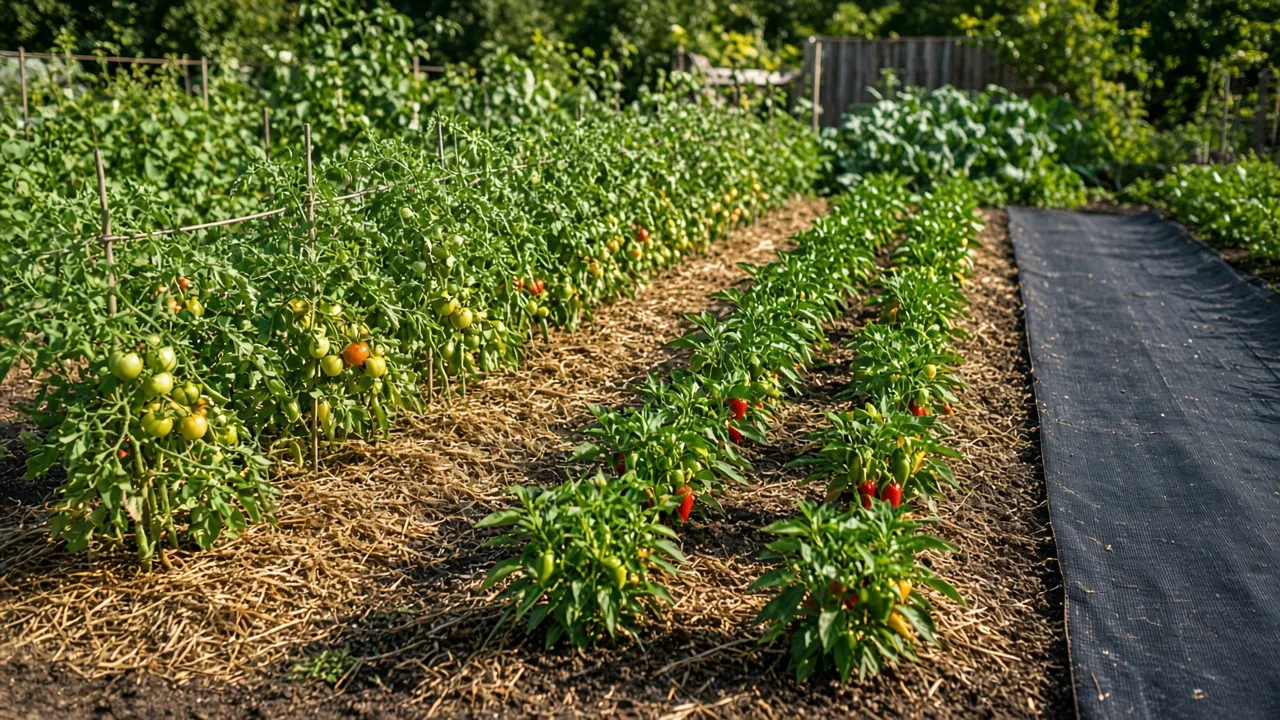
You cannot make a vegetable garden permanently weed-free, because wind, birds, compost, irrigation, and the soil seed bank keep supplying new opportunities. You can, however, make weeds small, sparse, and easy to remove by managing the moments when they are most vulnerable: before they emerge, while they are thread-sized, and before they produce seed.
The most reliable approach is a stack of modest decisions. Prepare the bed without turning up a fresh layer of buried seed, cover bare soil, keep water and fertilizer close to crop roots, and spend a few minutes each week removing the escapes. That system works in raised beds, in-ground rows, and small patio plots, and it is far more dependable than searching for one magic weed killer.
The Goal Is Fewer Weeds, Not Bare Soil
Bare soil is not neutral space. It is an invitation: sunlight reaches the surface, irrigation wets it, and every weed seed that lands there gets a chance to compete with your vegetables. Young crops are especially vulnerable because their roots and leaves have not yet filled the bed; a weed that seems tiny can still take water and nutrients from a seedling.
The useful target is low weed pressure, not a sterile bed. A few weeds that are pulled before flowering are a maintenance task. A mat of weeds that has set seed, tangled through crop roots, or spread by rhizomes is a renovation project. University of Vermont Extension describes effective organic weed control as an integrated system that combines prevention, cultural practices, cultivation, mulching, and timely removal rather than depending on one tactic (University of Vermont Extension).
Choose Your Control Stack Before You Pull Anything
Walk through the garden and sort the problem into three zones. Growing rows need crop-safe surface cover and careful hand work. Paths and bed edges can use heavier barriers because no vegetable roots need to breathe there. Empty beds between crops are the best place for tarps, stale-seedbed preparation, or a cover crop.
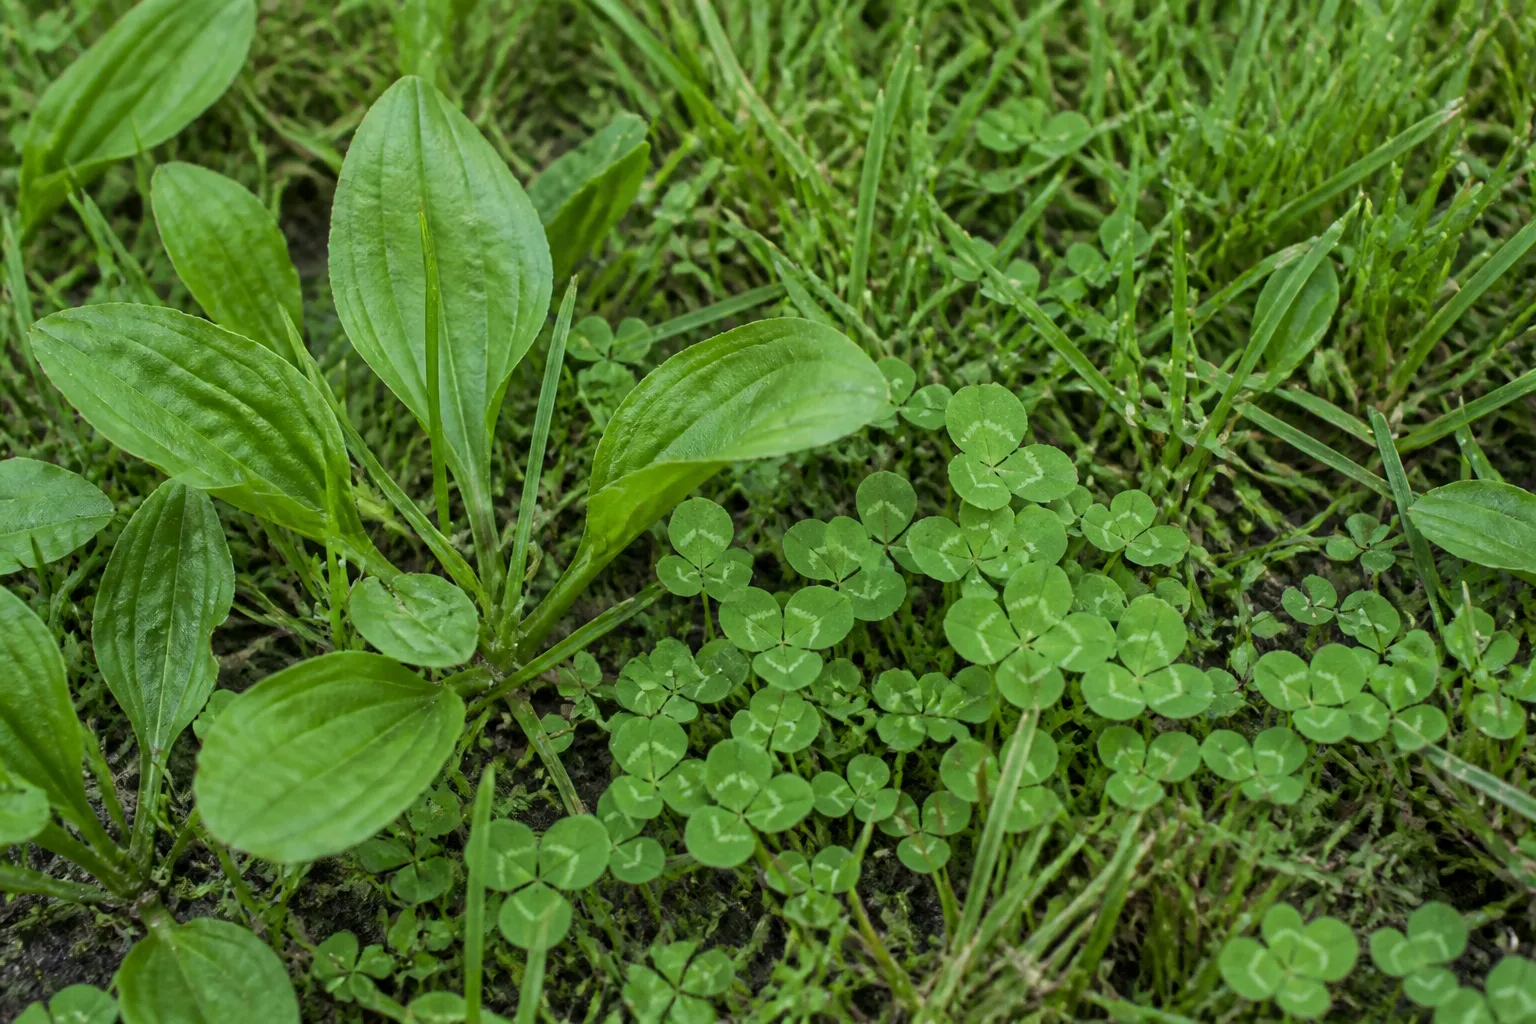
Then identify the weed type. Threadlike annuals such as chickweed, lambsquarters, and pigweed are easiest to kill with a shallow hoe or quick scrape. Taprooted weeds such as dandelion need a narrow tool that can reach below the crown. Creeping perennials such as bindweed, quackgrass, and some nutsedges need repeated removal or a dedicated smothering plan; simply snapping off their tops can leave the underground system ready to return.
Match the method to your time and crop stage. A gardener who can scout for ten minutes twice a week may need only mulch and a hoe. A gardener who is away for three weeks during summer should invest more effort before planting in a tarp or sheet barrier and choose transplants that get ahead of weeds. The best method is the one you can apply at the correct time without damaging the crop.
1. Start With a Clean, Stale Seedbed
A stale seedbed is a deliberate pause between soil preparation and planting. You prepare the bed, encourage the first flush of weed seeds to germinate, then kill those tiny weeds without digging deeply enough to bring a new batch to the surface. It is particularly useful for slow-starting direct-sown crops such as carrots, onions, beets, and salad greens.
How to make the pre-planting window work
Finish the bed as if you were going to plant it, including adding mature compost and smoothing the surface. Water lightly if the weather is dry, then wait about 10 to 21 days, depending on temperature and moisture. When a haze of small weeds appears, skim them off with a sharp hoe, rake, or very shallow scrape. The goal is to sever seedlings just below the surface, not to turn the bed over.
Plant immediately afterward with as little soil disturbance as possible. Opening a deep furrow or rototilling the whole bed can undo the work by exposing dormant seeds from lower layers. If the bed is cold or dry, the first flush may be delayed; stale-seedbed preparation is not a guarantee, and it is less useful when most weed pressure comes from perennial roots or windblown seed.
For tiny seedlings that must be distinguished from weeds, mark your crop row at sowing with string, a shallow line, or a narrow strip of contrasting compost. The distinction matters: a blanket hoe pass is appropriate in an empty pre-planting bed, but not when lettuce or carrot seedlings are just breaking the surface.
2. Keep the Soil Covered With the Right Mulch
Mulch is the everyday workhorse because it blocks light, slows weed emergence, reduces evaporation, and protects soil from raindrop impact. The layer must be deep enough to function after settling, and it must be placed after existing weeds are removed. Mulch spread over live bindweed or quackgrass simply gives those plants a shaded runway to push through.
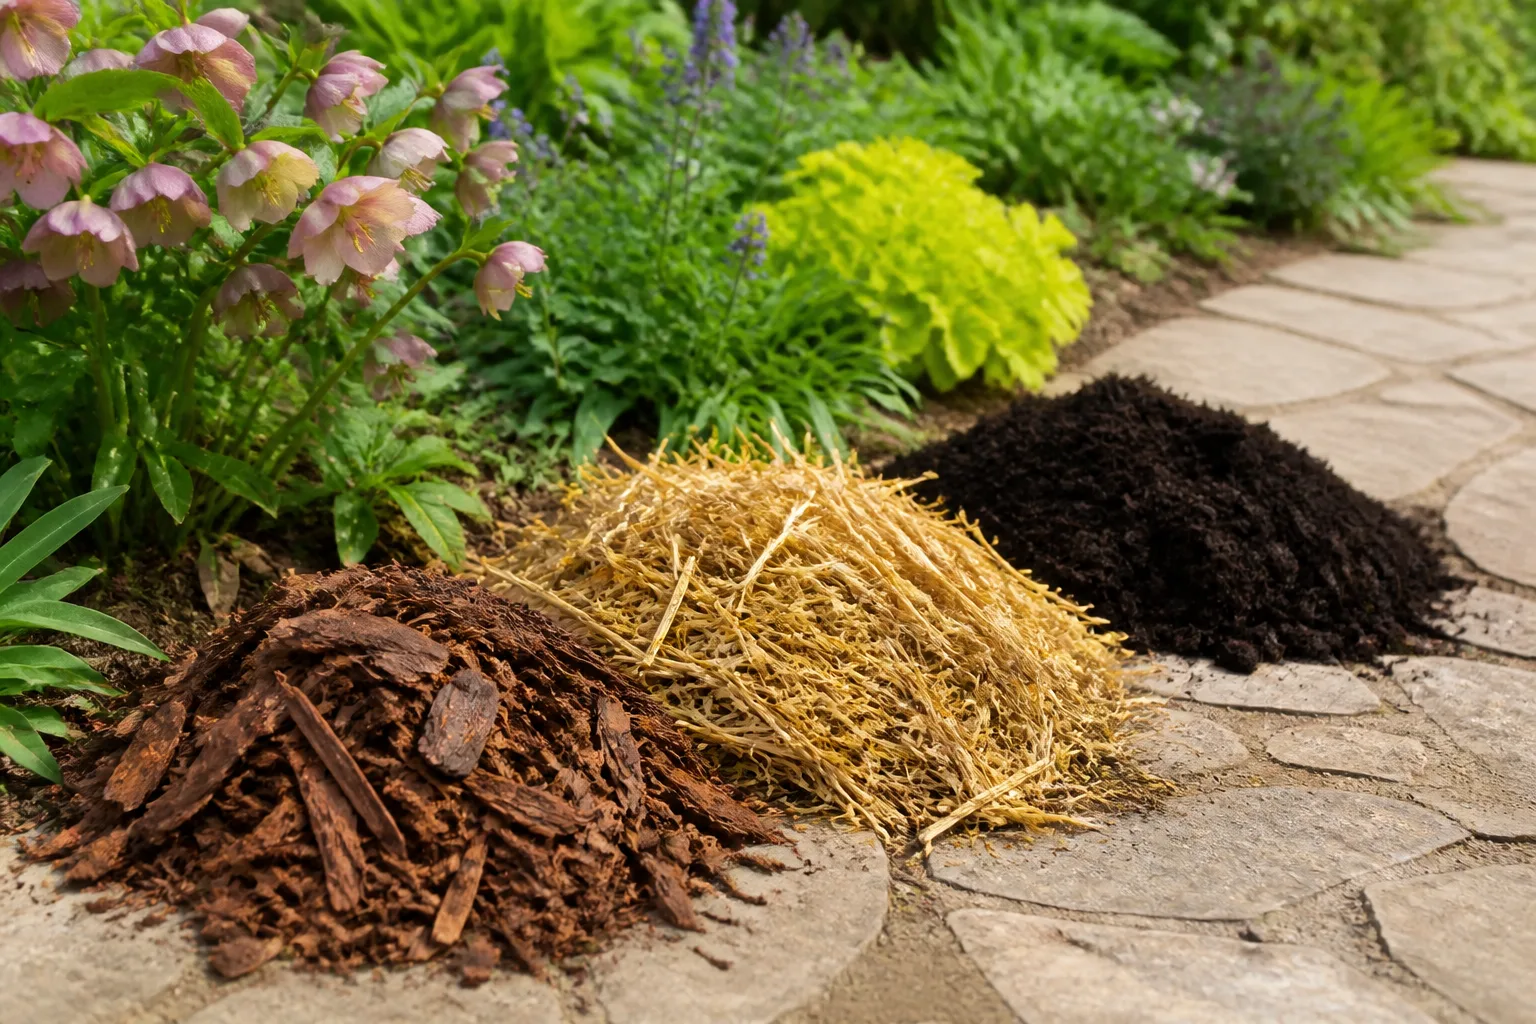
For most vegetable beds, use clean straw, shredded leaves, or a thin layer of finished compost. Straw is excellent between established tomatoes, peppers, beans, and larger plants, but buy weed-free material; a bale full of seed heads can create a second crop you never ordered. Shredded leaves are useful when chopped enough not to form a dense, water-shedding mat. Finished compost improves soil while suppressing small seedlings, but it decomposes faster than straw and needs refreshing.
Match mulch to the crop and the season
Mulch should not bury seedlings. Wait until transplants are established and direct-sown crops are large enough to be visible, then leave a small open ring around each stem so moisture and air do not stay trapped against tender tissue. The Royal Horticultural Society recommends at least 2 inches and ideally about 3 inches for an effective mulch layer, applied over moist, weeded soil (RHS guidance on mulches). In a vegetable row, start with enough loose material to still have a protective layer after it settles.
Use wood chips mainly in paths, where their slow breakdown is an advantage. Mixing fresh chips into a vegetable bed can temporarily increase competition for available nitrogen as microbes decompose the carbon-rich material. If you use black plastic mulch for heat-loving crops, install it with planned access to the root zone and remove it when the crop cycle ends; do not treat it as a permanent soil blanket.
Check mulch twice during the season. Wind exposes edges, rain settles fluffy material, and cultivation moves it away from the crop row. Top up thin spots rather than spreading a huge layer everywhere. A thick mulch over poorly prepared soil is less effective than a moderate layer on a clean bed that is checked regularly.
3. Smother New Beds and Paths With Sheet Barriers
Sheet barriers are most useful where you do not need to sow immediately. Cover an overgrown future bed with an opaque tarp, or lay plain brown cardboard in a path and cap it with leaves, straw, or wood chips. Blocking light for weeks weakens existing vegetation and prevents many surface seeds from getting the light they need to start.
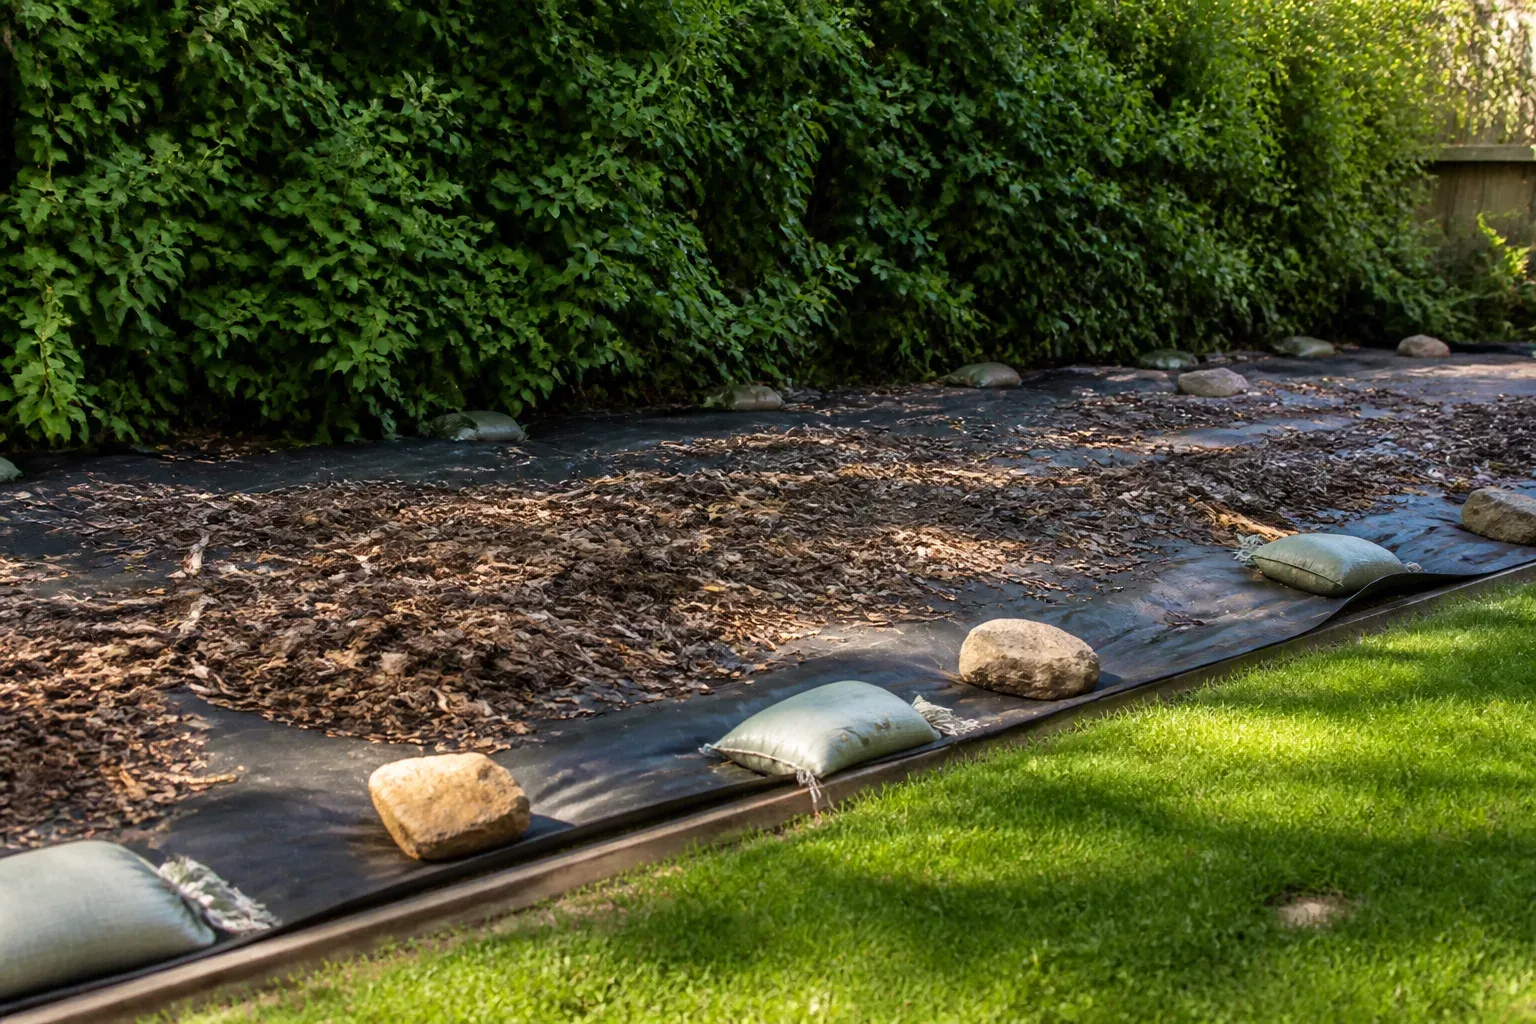
For cardboard, remove tape, plastic labels, staples, and glossy or waxed panels. Overlap sheets by several inches so runners cannot find a bright seam, wet the cardboard so it conforms to the ground, and weigh it down or cover it. In a path, this can be a durable short-term solution. In a new bed, leave enough time for the underlying vegetation to weaken and for the cardboard to soften before planting through it.
Cardboard and tarps solve different problems
An opaque tarp is the better choice when you want to uncover and plant into the same soil later. It does not add carbon to the bed and can be lifted, dried, and stored. Cardboard is better as a biodegradable layer beneath a path mulch or as part of a new-bed conversion, but it can slow water movement while it is intact and may become a hiding place for slugs in persistently wet climates.
Neither barrier is a license to ignore perennial weeds. A strong root system can survive a short covering period, especially if the barrier leaks light at the edges. Extend the sheet beyond the visible vegetation, seal seams, inspect the perimeter, and keep the cover in place long enough for the plant to spend stored energy. When the cover comes off, avoid deep digging that brings fresh seed to the surface.
Landscape fabric is a separate decision. It can help in a seasonal production bed with carefully cut planting holes, but in many home gardens weeds eventually germinate in the mulch on top and root through the fabric. Removal is then harder than hand-weeding the original bed. For most food gardens, a permeable organic layer and accessible paths are easier to maintain.
4. Hoe Tiny Weeds on a Dry Day
The best time to hoe is when weeds are small enough to die from a shallow cut and the soil surface is dry enough that severed roots will not re-establish. A stirrup or scuffle hoe is useful between rows because it cuts on the push and pull stroke while disturbing less soil than a digging fork. A sharp blade is more important than an expensive brand.
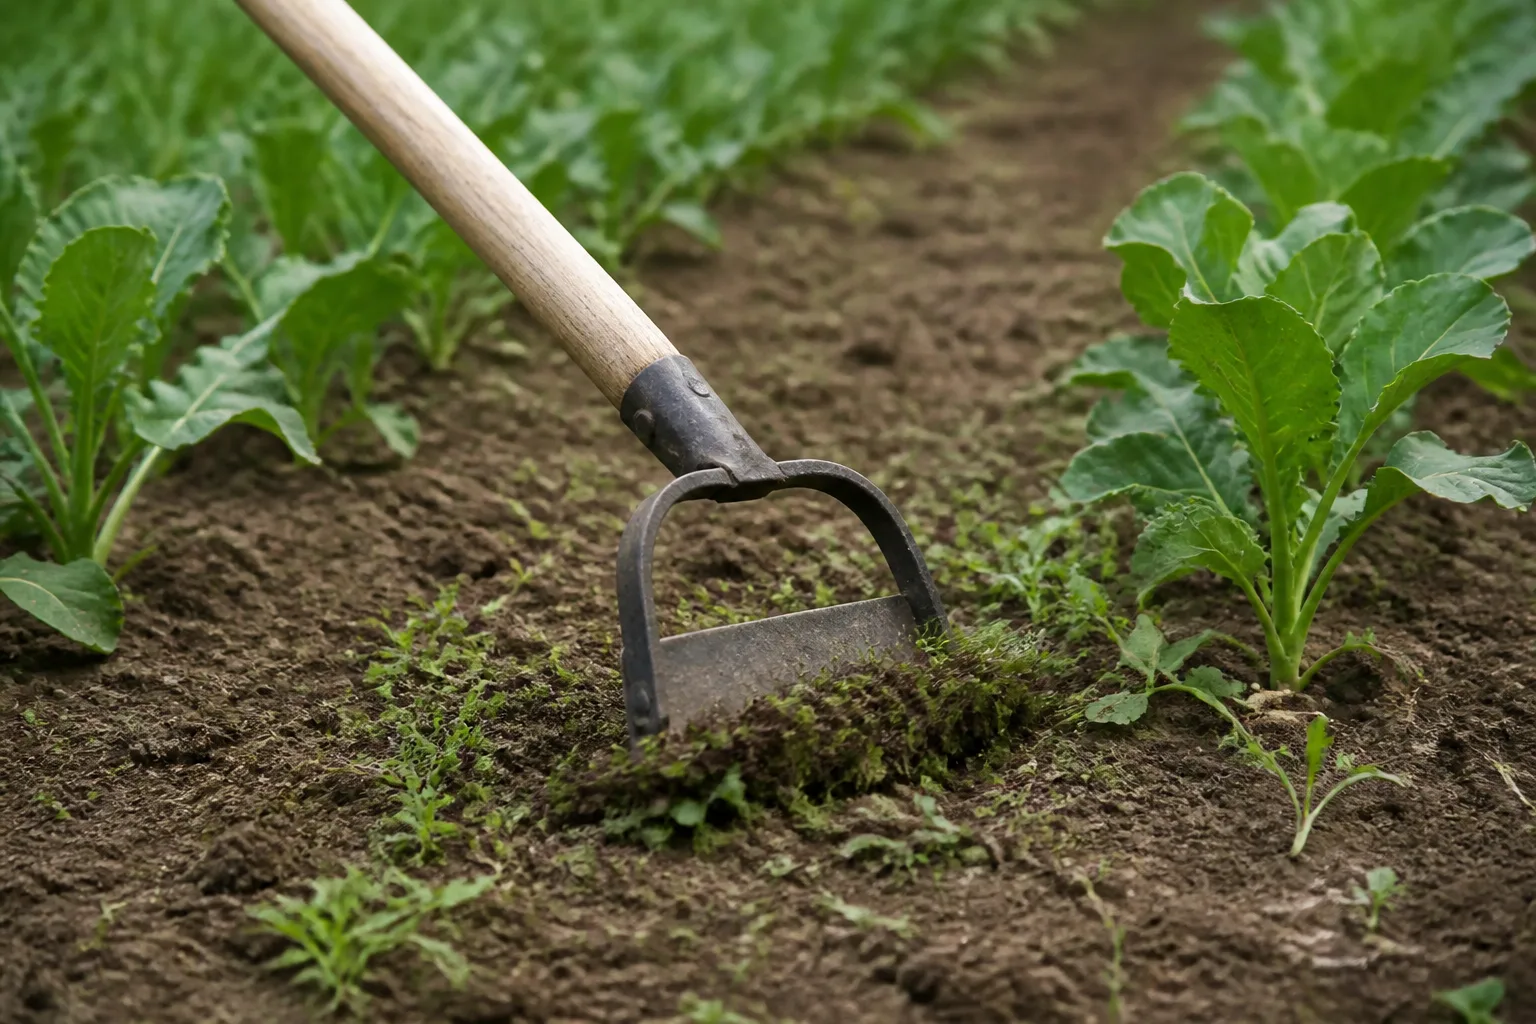
Keep the blade nearly parallel to the soil and work only the top fraction of an inch. Deep chopping is slower, risks crop roots, and exposes buried seeds. Hoe before weeds become large enough to shade seedlings, but leave a safe hand-worked margin around stems where a blade could nick the crop.
Timing beats force. A five-minute pass after a warm, dry spell can eliminate hundreds of seedlings. A dramatic weekend of deep cultivation may make the bed look clean while preparing the next flush of seeds. GrowVeg’s practical vegetable-garden guidance makes the same useful distinction: a hoe is a surface knife, not a tool for churning the soil, and the right moment is while weeds are still small (GrowVeg’s easy-weeding guide).
5. Hand-Pull Deep-Rooted Weeds Before They Seed
Hand removal is not a failure of garden design; it is the precise tool for weeds growing close to crops. Pull annuals while they are young and the soil is slightly moist, but do not yank through a row of delicate seedlings. If you are thinning a crop, cut unwanted seedlings at the soil line instead of pulling them up beside the plant you are keeping.
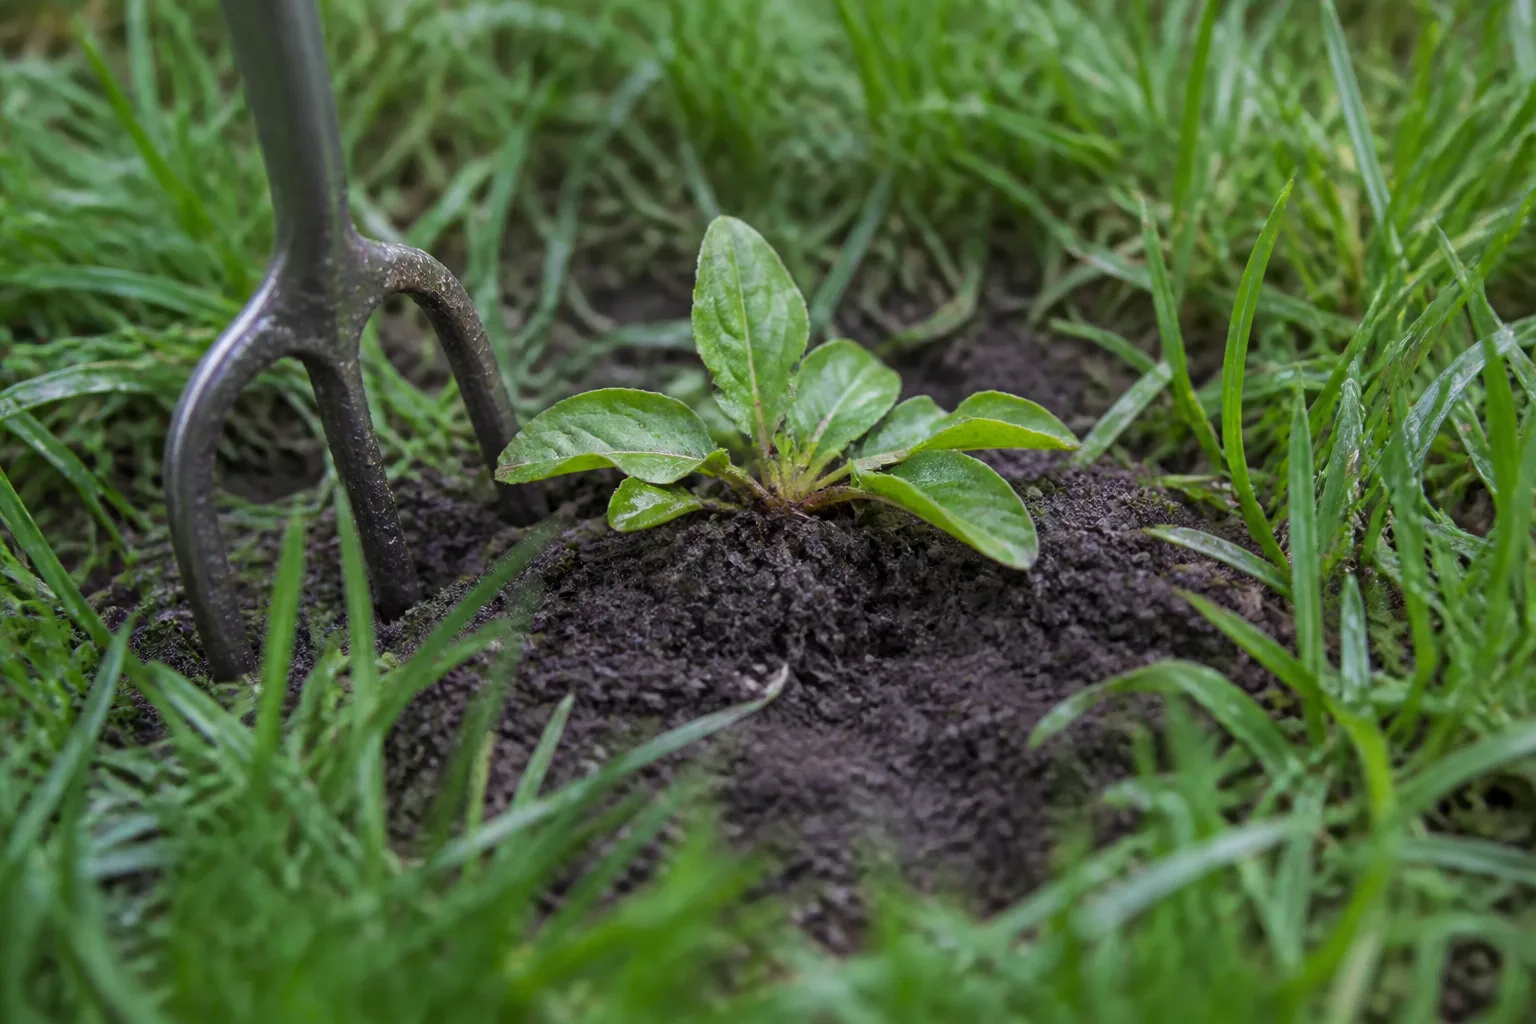
For a dandelion, dock, or other taproot, use a narrow weeder or hori hori to loosen the soil beside the crown. Pull steadily and follow the root as far as practical. If the root breaks, remove the crown and return to the spot when new leaves appear. The immediate objective is to keep that weed from flowering; complete root removal may take more than one attempt.
Treat spreading perennials as a separate problem
Bindweed, quackgrass, Bermuda grass, and nutsedge should not be treated like ordinary annual seedlings. Running a tiller through rhizomes can chop them into pieces and distribute the problem. Pull or dig when the soil is workable, remove every visible runner you can find, and use a tarp or a thick barrier on the remaining patch when the bed can be left fallow.
Do not put mature seed heads or diseased weeds into unfinished home compost. If a weed has already flowered, bag the seed head or remove it from the garden rather than shaking it over the bed. UVM Extension specifically places sanitation, composting practices, and preventing weeds from setting seed alongside cultivation and mulch because prevention reduces the amount of future labor.
6. Deliver Water and Fertilizer to Crops, Not Empty Soil
Vegetables and weeds share a basic advantage: both respond to water and nutrients. You can reduce the advantage weeds get by placing those resources where the crop roots are, rather than wetting and feeding every exposed inch of soil.
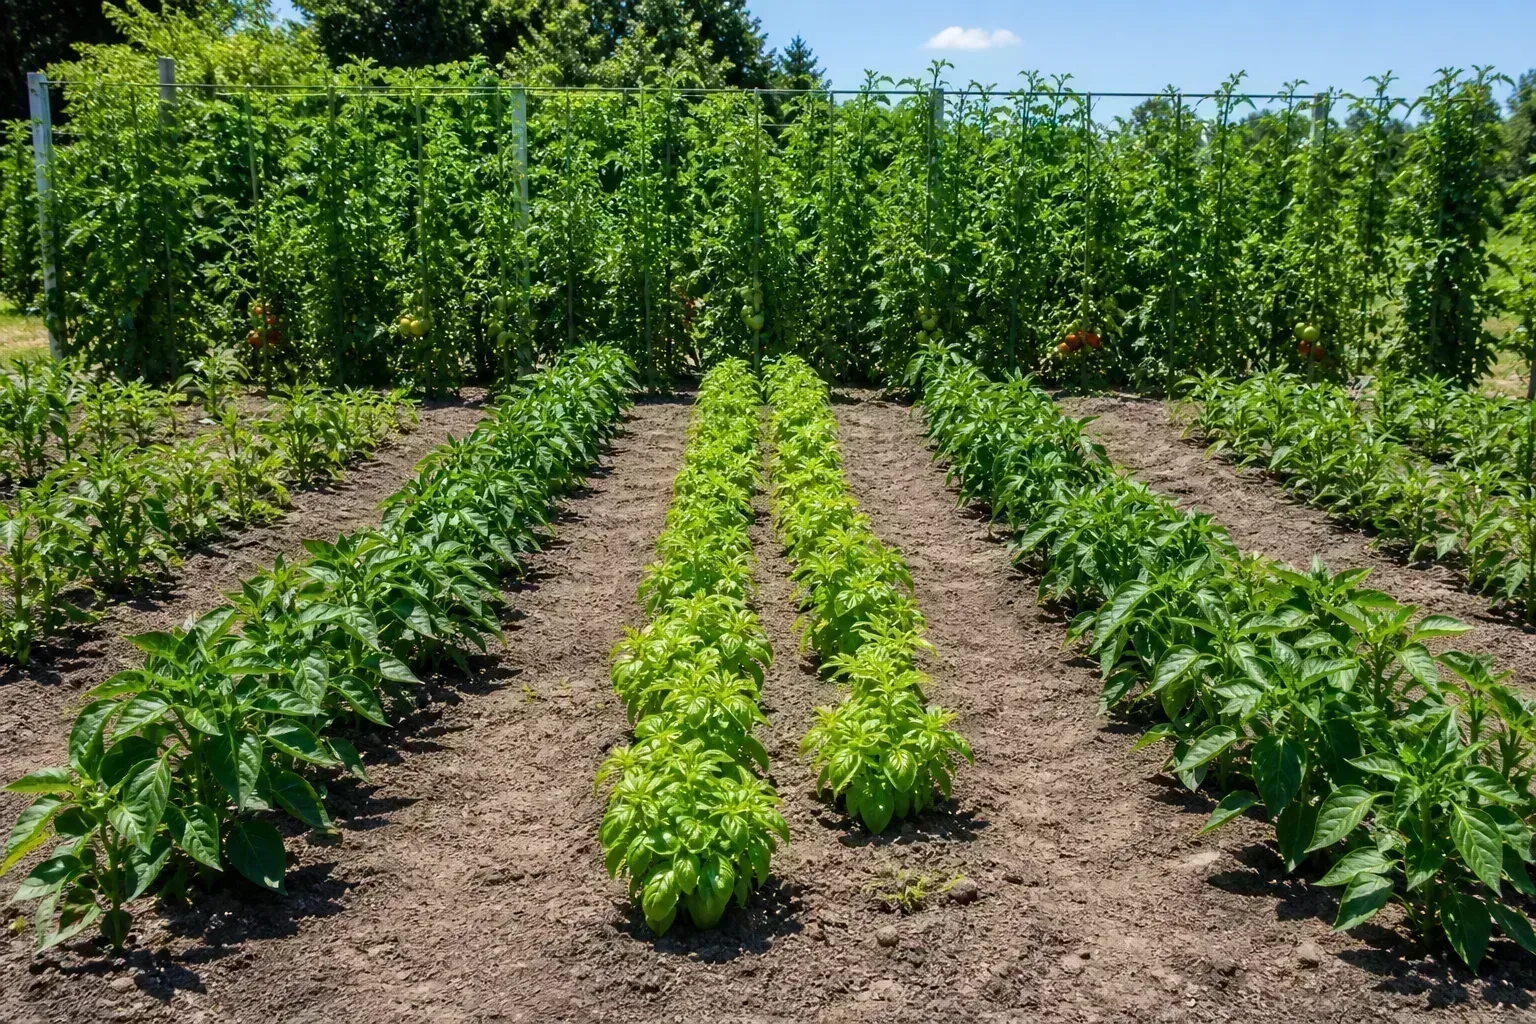
Drip irrigation or a well-placed soaker hose keeps the surface between rows drier than an overhead sprinkler. It will not eliminate weeds—the wetted strip can still produce them—but it reduces the amount of bare soil receiving regular moisture. Utah State University Extension lists less between-row weed growth as one advantage of drip irrigation, while also warning that drip systems require pressure, filtration, leak checks, and scheduling matched to the crop and soil (USU vegetable irrigation guidance).
Lay irrigation before you finish mulching so you do not repeatedly pull the surface layer apart. Water newly seeded rows gently and often enough for emergence, then shift to deeper, less frequent irrigation as roots develop and the crop can tolerate that rhythm. Use your finger or a moisture meter to check the root zone; a permanently wet top layer favors both weeds and disease.
Apply fertilizer in a band or at the root zone when the crop can use it. Avoid scattering excess fertilizer over bare paths. This is not “starving” the soil; it is reducing unnecessary inputs to places where no crop is growing. Also remember that roots spread beyond the stem, so targeted watering is a pressure-reduction tactic, not a perfect boundary.
7. Fill Empty Ground With Crops and Cover Crops
Every empty patch is a future weed patch, so plan the garden to close its canopy. Space vegetables according to their mature size, train vining crops vertically where practical, and use succession planting so a harvested row does not sit bare for weeks. Dense planting should still allow airflow and access; crowding vegetables until leaves stay wet can trade weeds for disease.
Low-growing edible plants can cover small gaps, but do not introduce an aggressive groundcover that will be harder to remove than the weeds. In a raised bed, lettuce, bush beans, or a properly spaced herb can shade soil. In wider beds, a planned living mulch can work only if the companion crop is less competitive than the vegetable and can be cut back easily.
Use living cover between growing seasons
Cover crops, also called green manures, protect empty soil from erosion and compete with cool-season weeds. Options depend on climate and planting date; oats, field peas, winter rye, crimson clover, buckwheat, and forage radish are common examples, but a cover crop must be chosen for the time available and the next crop’s needs.
Seed thickly enough to close the canopy, then terminate before the cover crop produces mature seed. Cut or mow it, allow it to wilt, and give the residue time to settle before planting. Rye and other vigorous covers can become difficult if allowed to head or if the bed is too wet to work. Legumes may contribute nitrogen, but the benefit depends on good growth and correct timing; do not assume any green plant automatically feeds the next vegetable.
Cover crops are best for ground that truly can rest. Do not sow them into a crowded vegetable row without a plan for competition, irrigation, and termination. BHG’s recent vegetable-garden guidance also emphasizes that cover crops act as a living mulch in empty periods, while intensive planting and minimal soil disturbance help keep exposed soil from reopening (BHG’s vegetable-garden weed tips).
A Simple Weekly Routine That Holds the Line
Consistency is what turns the seven methods into a low-weed garden. Once a week, walk every bed before harvesting. Start with the smallest weeds in the crop rows, then hoe the open paths, then inspect mulch edges and fence lines where windblown seed and creeping grass enter.
Use this order when time is short:
- Remove any weed with a flower, seed head, or visible runner.
- Hand-weed within a few inches of seedlings and stems.
- Shallow-hoe or scrape the open soil between rows on a dry day.
- Pull mulch back over thin patches and repair cardboard or tarp edges.
- Check drip lines for leaks and make sure water is reaching the crop root zone.
Ten focused minutes is enough to protect a small bed when weeds are thread-sized. If you miss a week, do not respond by turning the whole bed deeply. Work one section at a time, remove seed heads first, and cover the cleared section so it does not immediately refill.
Keep a small weeder, bucket, and gloves near the garden. The tool that is already beside the gate gets used sooner than the perfect tool stored in a shed. Mark unfamiliar volunteers before pulling if you intentionally grow self-seeding herbs or flowers, but do not let uncertainty become an excuse for mature weeds to set seed.
What Not to Use in a Food Garden
Vinegar is often described as a natural weed killer, but “natural” does not mean crop-safe. Acetic acid is a nonselective contact herbicide: spray drift or splash can injure any green tissue it touches, and the spray mainly burns exposed foliage rather than reliably removing a deep root system. It has no place as a casual broadcast spray over a planted vegetable bed.
If you use a registered herbicide anywhere near edible crops, read the current label for the specific product, crop, pre-harvest interval, protective equipment, and allowed site. Do not improvise stronger concentrations or add dish soap, salt, bleach, or other kitchen ingredients. Salt can accumulate in soil and damage future crops; boiling water can scald vegetable roots; flame weeding can start fires and is unsafe around dry mulch, plastic, or leaves.
Fresh manure and unfinished compost can also create a weed problem by carrying seed. Use mature compost from a process that reached and maintained appropriate heat, and inspect purchased soil and mulch before spreading it across every bed. If an input smells sour, contains visible seed heads, or comes from an unknown source, keep it out of the food garden until you understand what it contains.
Troubleshoot the Weed That Keeps Coming Back
When weeds return, diagnose the route instead of automatically adding more product. If the weed appears as a green haze across bare soil, the problem is probably exposed surface seed; improve mulch coverage, stale-seedbed timing, and shallow cultivation. If it appears only on top of mulch, pull it while the root is short and check whether wind or birds are depositing seed.
If shoots rise through the mulch in the same spots, look for a perennial root, rhizome, or stolon. Clear the area around the shoot and trace the underground part rather than repeatedly snapping the top. If the same grass enters from a lawn edge, repair the boundary and keep a narrow, inspectable path instead of allowing the bed to meet turf with no maintenance strip.
If seedlings are weak while weeds flourish, check more than the weed plan. Overwatering, compacted soil, poor light, or a nutrient imbalance can slow the crop and give weeds the competitive advantage. A vigorous vegetable canopy is itself a weed-control tool, so correct the crop’s growing conditions rather than piling on thicker mulch until the stems are buried.
Finally, notice where your labor is going. If the center of a bed stays clean but the paths are a mess, improve paths with cardboard and a durable top layer. If direct-sown carrots are the problem, use a stale seedbed and mark the row. If summer absences are the problem, prepare with a barrier and choose transplants. The right diagnosis makes weed control feel smaller because it prevents you from applying a bed-wide solution to a narrow failure.
Conclusion
The most effective way to keep weeds out of a vegetable garden is to make the soil difficult to colonize and the remaining weeds easy to catch. Start with a clean or stale seedbed, cover established rows with clean mulch, reserve cardboard and tarps for paths or fallow ground, hoe annual weeds while they are tiny, remove deep roots before they seed, direct water and fertilizer to crops, and keep empty soil occupied with vegetables or a well-timed cover crop.
You will still see a few weeds. That is normal. The win is seeing them early enough that a shallow scrape or a careful pull solves the problem in minutes, before the weed flowers, spreads, or competes with the harvest. A low-weed garden is built by small interventions repeated at the right stage—not by one harsh treatment after the garden has already been overtaken.



