How to Prune Russian Sage for More Blooms Next Year
Prune Russian sage at the right time with a simple 6–8 inch cut, live-bud check, and climate-aware advice for spring, fall, and summer care.
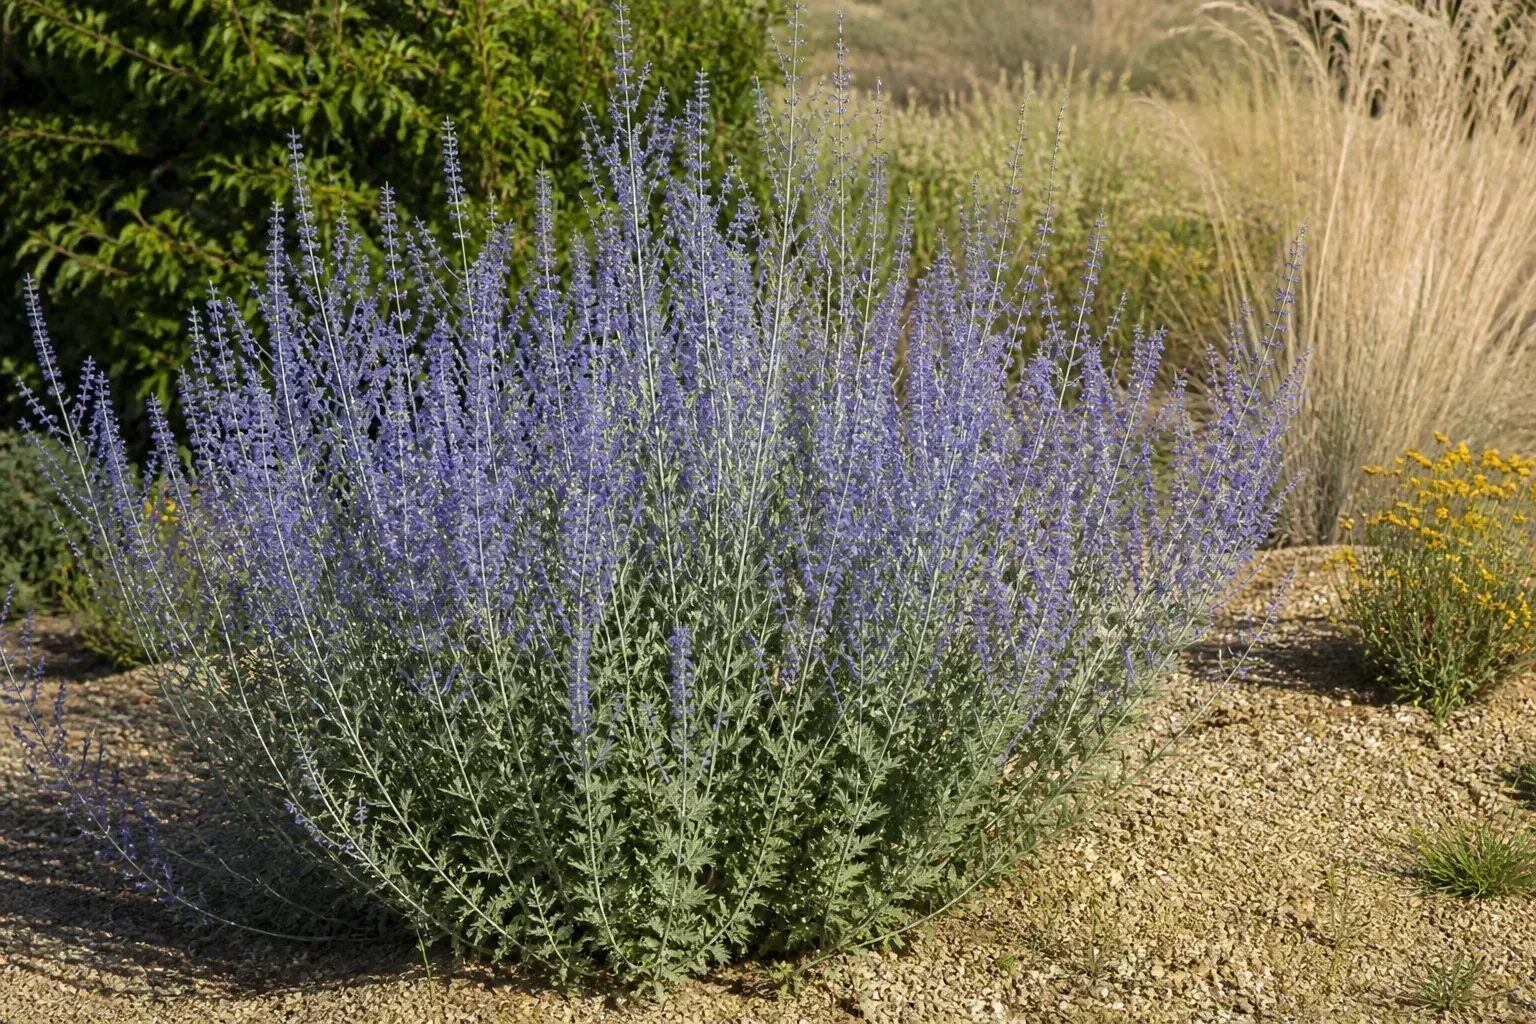
Russian sage is easiest to prune when you stop treating it like a fragile shrub. This semi-woody perennial looks like a bundle of gray sticks after winter, but a firm annual cutback helps it produce a fresh framework of stems that can carry its tall flower panicles.
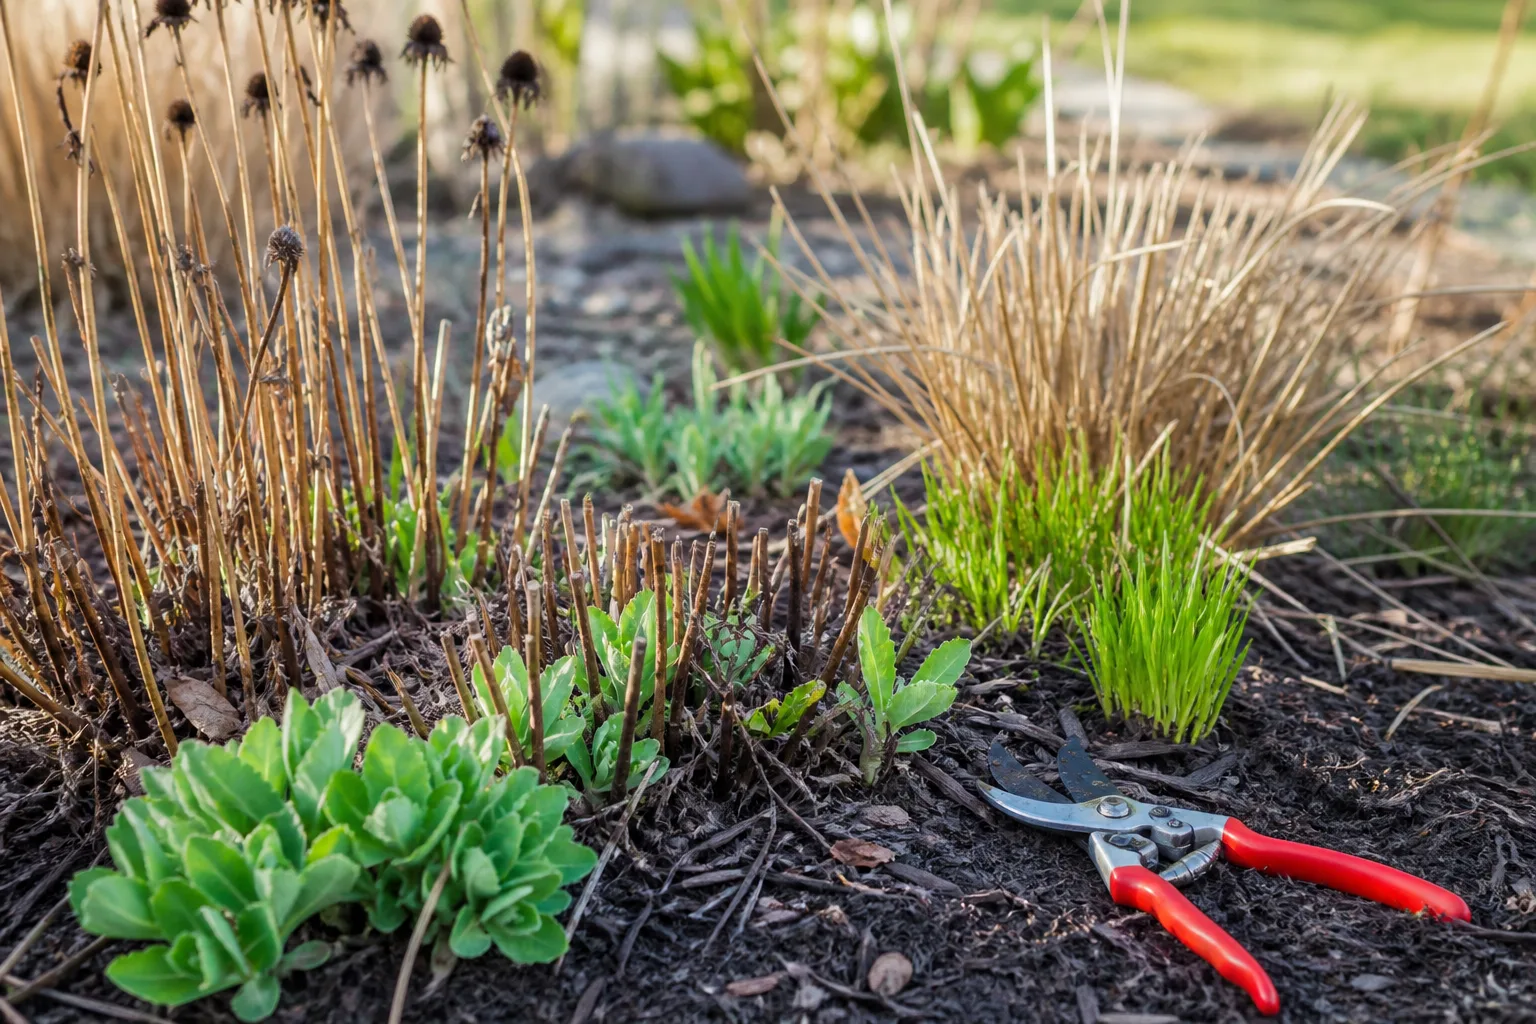
The reliable routine is simple: keep the old stems through winter if you want their structure, then prune in late winter or early spring when the plant is still mostly dormant and new growth is beginning at the base. For most established plants, cut the stems to 6–8 inches above the soil, just above a healthy pair of buds when you can see them. The exact date matters less than reading the plant and accounting for late frost.
Quick answer: prune Russian sage in spring to 6–8 inches
The best default for how to prune Russian sage is a single renewal cut in late winter or early spring. Wait until the plant’s crown is beginning to wake, then remove last year’s stems to about 6–8 inches. This leaves enough structure to mark the crown while directing new growth from low on the plant, where it is more likely to form a fuller, sturdier clump.
Use sharp bypass pruners for young stems or bypass loppers for thick, mature wood. Cut individual stems rather than automatically shearing the whole plant into a flat dome. Remove dead or broken stems at their base, and make living-stem cuts about a quarter inch above a visible pair of side buds. NC State Extension describes Russian sage as a woody-based perennial that benefits from early-spring cutback, full sun, and well-drained soil.
If your plant has already leafed out, do not panic and do not perform a second hard cut. Remove only dead, damaged, or obviously misplaced stems, then wait for the next dormant-season reset. A late hard cut can remove active growth and delay the flowering display you are trying to improve.
Know what you are pruning: Salvia yangii’s woody base
Russian sage is now generally listed as Salvia yangii; older labels and gardening references often call it Perovskia atriplicifolia. It belongs to the mint family, but it is not the culinary sage you grow for leaves. It forms a woody base and upright, square stems topped with airy blue-purple flower panicles.
That growth habit explains the pruning advice. The previous year’s stems can remain standing and look substantial, but they do not reliably create a fresh, compact canopy from their tips. The new season’s flowering framework comes from the growth that follows the spring cutback. Leaving a tall thicket of old stems in place can therefore give you flowers on increasingly high, weak branches while the lower portion becomes bare.
The plant is naturally open and can reach roughly 2–4 feet in many gardens, with some standards growing taller. That openness is not a problem by itself. The problem is a loose, outward-leaning plant with bare lower stems, thin shoots, and flower spikes that fall into neighboring plants. Colorado State University Extension notes that full sun and room to reach mature size help Russian sage hold its upright shape.
Choose spring or fall by your goal
For the best balance of new growth, winter interest, and bloom timing, make spring the main pruning season. Fall cutting is a reasonable maintenance choice in some gardens, but it is not the only correct answer. Your climate, snowfall, and preference for winter structure should decide whether you tidy early or wait.
| Timing | Best for | Trade-off |
|---|---|---|
| Late winter or early spring | Reliable annual renewal and easy bud inspection | The bed looks untidy longer, and cold regions may need patience before the plant wakes |
| After a hard fall frost | A neat border or a plant that is likely to be crushed by snow and ice | Removes winter structure and can expose the crown sooner |
| Summer | Removing damage, spent spikes, or a few wayward stems | Not the time for a full reset; heavy cutting can remove active growth |
Best spring timing: watch new growth and frost risk
Start when the harshest winter weather has passed and the plant is showing signs of life near the crown. In a mild garden, that may be late winter. In a cold garden, old stems can stay gray for weeks while the living buds remain low and protected. Do not use a fixed calendar date from a warmer region as proof that your plant is late.
A useful planning window is about 6–10 weeks before the expected last spring frost, a timing rule also used by Savvy Gardening. Treat that as a starting point, not a command. If a hard freeze is forecast immediately after you cut, waiting a little longer can preserve the protection offered by the old stems. If basal buds are swelling and the season is advancing, delaying until tall new shoots are established makes precise pruning harder.
In zones with severe winters, Russian sage may die back farther than usual, sometimes leaving new growth to emerge directly from the crown or just below the soil line. That plant can look dead when it is simply late. Scratch a thin stem near its base: living tissue is typically green or pale and moist beneath the surface, while dead wood is dry and brown. Check the crown before deciding that a slow plant has failed.
When fall cleanup makes sense
Leave the stems standing through fall and winter when they add structure, catch frost, or help you keep track of the crown. The Penn State Extension Master Gardener profile recommends leaving the stems for winter interest and cutting them to about 4–6 inches in spring. Old stems also provide a visible marker when the plant is slow to emerge.
Fall cutting can make sense after the plant is fully dormant if heavy snow, freezing rain, or a narrow path makes tall stems likely to break. Make a light cut to roughly 8–12 inches rather than scalping the crown, and save the main bud-by-bud cleanup for spring. Homes & Gardens likewise presents fall and spring as goal-dependent options, while warning that pruning before dormancy can stimulate tender growth just before frost.
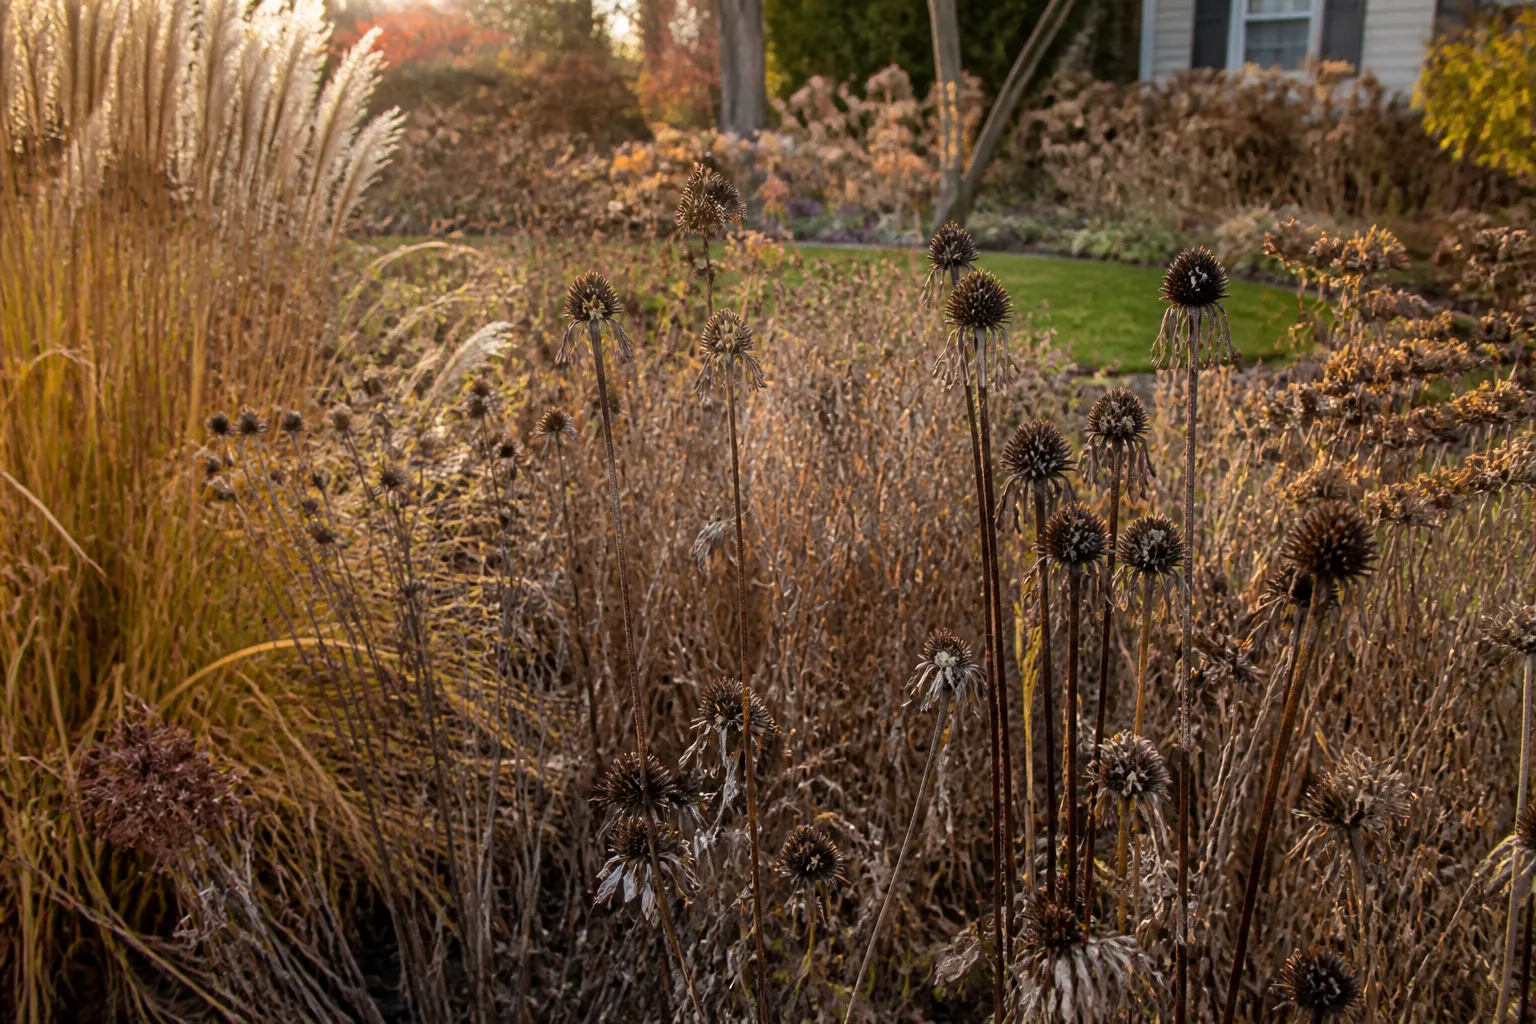
Do not confuse optional fall tidying with a need to remove every stem. If your plant is healthy and the winter display suits your garden, there is no horticultural prize for making it bare in October. Spring pruning gives you a better chance to see where live buds are and preserves the plant’s seasonal structure.
Prepare tools and inspect the plant
The job is easier when you make two decisions before the first cut: which tool matches the wood, and which stems are actually alive. Rushing straight to the shears is how gardeners cut off fresh basal shoots or leave rough, crushed stubs that collect moisture.
Choose pruners by stem thickness
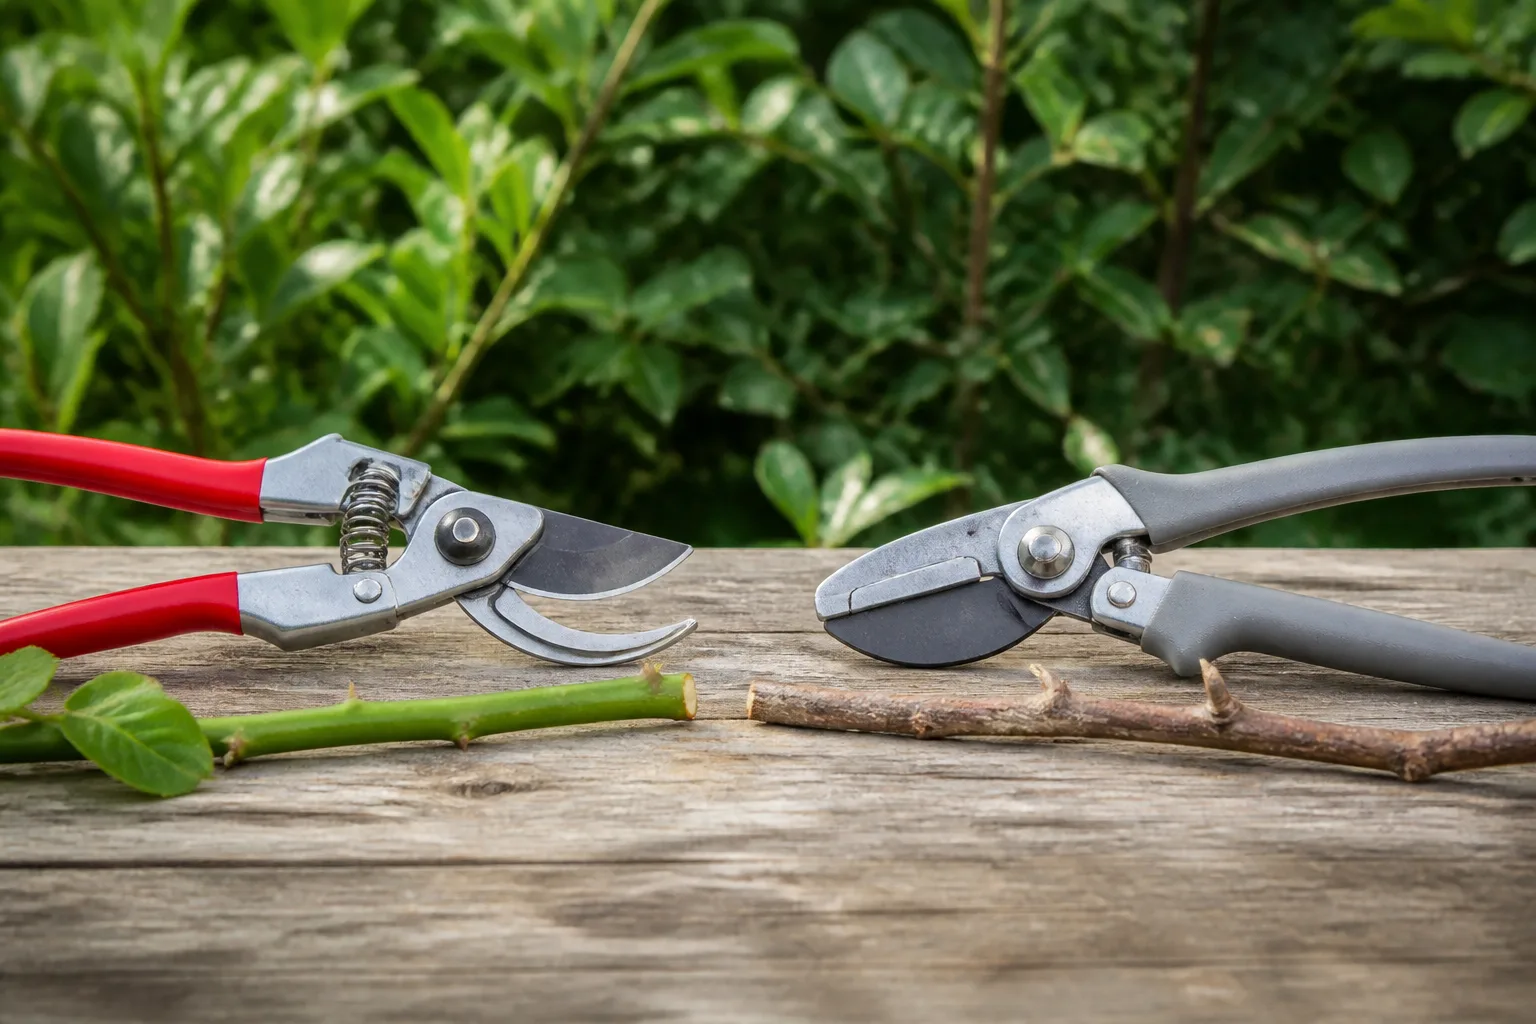
Use sharp bypass pruners for young, pencil-thick stems. Bypass blades pass one another like scissors and make a cleaner cut on living wood. For an older clump with many thick, woody stems, bypass loppers give you leverage without forcing a small hand pruner beyond its capacity.
Hedge shears can be useful for a large, neglected clump when the plant is fully dormant, but hand-selecting the stems is more precise. A rounded top is not the goal; low, even renewal and the removal of weak or crossing stems are. Get Busy Gardening also recommends matching the tool to the mature stem size and starting with clean, sharp blades.
Wipe the blades before you begin and between plants if you are moving through a bed with known disease problems. Wear gloves if the aromatic foliage irritates your skin, and keep dry clippings away from paths where they can become slippery.
Check for live wood and basal buds
Look at the lowest 6–10 inches of each stem. You may see small opposite buds at leaf joints, tiny green shoots emerging from the crown, or a slight swelling where a new branch will break. Those are the growth points you want to preserve. If the top of a stem is gray and brittle but the base carries a firm bud, cut above that bud rather than removing the whole stem.
Use a scratch test on questionable wood. Lightly scrape a small area of bark near the base with a clean blade or fingernail. Green or pale living tissue means the stem may still support a bud; dry brown tissue usually means the section is dead. The test is a guide, not a reason to carve into every stem.
If the crown is black, mushy, or sitting in wet soil, the bigger issue may be drainage or crown rot rather than missed pruning. Russian sage prefers full sun and well-drained, occasionally dry soil; Arkansas Extension specifically warns against poorly drained soil and recommends a 6–8 inch spring cutback.
The right cut: use a 6–8 inch reset
For a mature, normally sized Russian sage, measure roughly 6–8 inches from the soil surface and use that as your working height. The plant does not need a ruler-perfect haircut. The important part is to make a low, even cut that leaves live buds or a small amount of firm stem, without slicing into the crown.
Some gardeners prefer 4–6 inches; others leave closer to 8–12 inches on a large plant or where late frost is a concern. The range exists because cultivars, winter severity, and local practice differ. Think of 6–8 inches as the dependable middle, then adjust to the lowest healthy buds and the size of your plant.
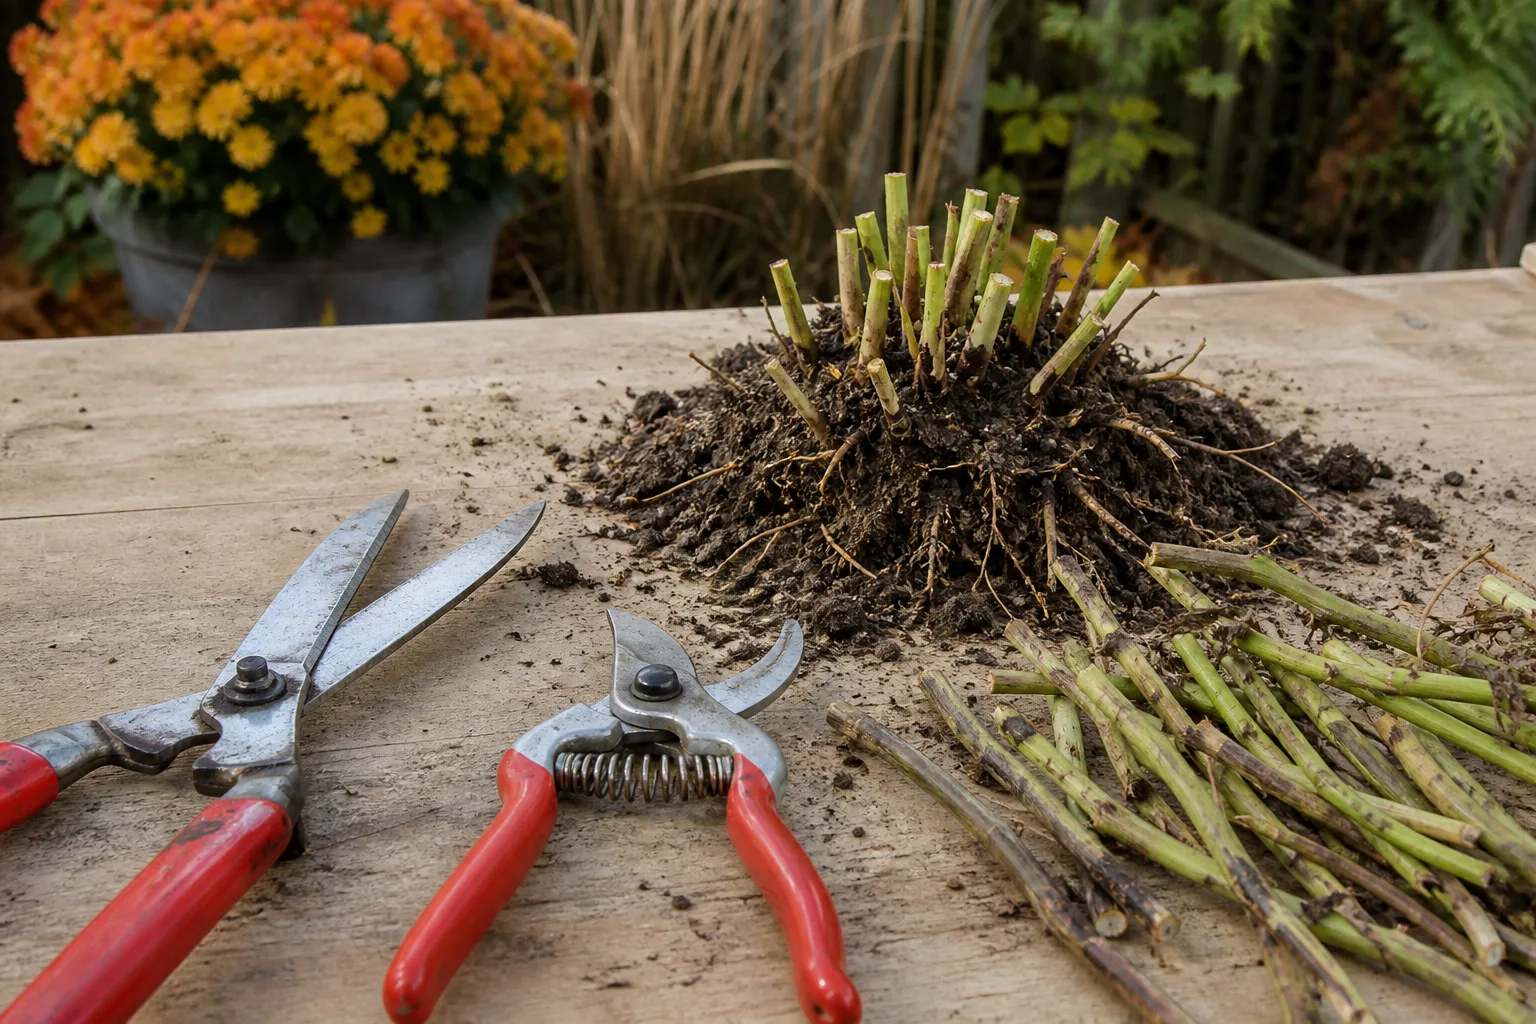
Step 1: remove dead, damaged, and crossing stems
Begin at the outside of the clump so you can see its shape. Cut clearly dead, snapped, diseased, or badly rubbing stems at their base. If two living stems cross and trap debris, keep the stronger, better-positioned stem and remove the other. This opens the center without thinning healthy growth just for appearance.
Do not yank resistant stems from the soil. Russian sage can spread into a wider clump over time, and pulling can disturb the crown. Cut stubborn stems cleanly, then rake away loose material once the main pruning is finished.
Step 2: cut living stems just above buds
Work stem by stem. Find the lowest healthy pair of side buds that still fits your target height, then angle the blade slightly and cut about a quarter inch above the buds. Avoid leaving a long dead wand above the bud; that stub will remain visible as new shoots grow around it.
If the lowest buds are at 6 inches, cut there. If a compact cultivar has its active growth lower, leave the shorter, stronger framework rather than forcing every plant to the same height. If a stem has no visible buds but the base is firm and alive, leave a short 6–8 inch stub and let the plant show you where it will break.
The cut should be clean, not crushed or ragged. A sharp bypass blade matters more than the brand of tool. If a stem is too thick for comfortable hand-pruner work, switch to loppers rather than twisting the stem until the bark tears.
Step 3: clear debris and check the crown
Gather the cut stems from the bed and remove any matted leaves or diseased debris touching the crown. Leave the crown uncovered enough for air movement, but do not excavate it or pile wet mulch against it. The goal is a clean start with good drainage, not a bare crater around the roots.
Stand back and check the result from several angles. The remaining stems should be short and reasonably even, with no tall dead spikes towering over the clump. Do not keep cutting simply because the plant looks severe after the reset. Russian sage often needs time to push new growth, especially after a cold winter.
What to do after pruning for sturdy flowering growth
Pruning works best when the plant’s growing conditions support short, strong stems. Give Russian sage full sun, ideally six or more hours of direct light, and keep it out of a low pocket where water sits after rain. Wet winter soil can damage roots and crowns even when summer conditions are dry.
Water a new transplant regularly while its roots establish, but let an established plant dry somewhat between deep waterings. Do not respond to a floppy plant by adding frequent irrigation or rich fertilizer. Excess nitrogen can push soft, leafy growth that is even less able to hold flower panicles upright. A light spring compost top-dressing is usually more sensible than a heavy feeding program; Savvy Gardening makes the same distinction between modest soil support and nitrogen-driven floppiness.
Give the plant room to reach its mature spread instead of crowding it against shrubs or other perennials. If it flops every year despite a correct spring cut, inspect the site before pruning harder: shade, saturated soil, overfertilization, and a naturally tall cultivar are more likely causes than a missing extra trim. This is also a good moment to review which perennials should wait for spring cleanup if you are pruning a mixed bed.
Optional summer pinching and light deadheading
Summer maintenance is a different job from the annual renewal cut. Once new stems are actively growing, remove only damaged or wayward growth. If a healthy plant has a long growing season and you want a later, more branching display, you can pinch a portion of the stems when they are about 12–18 inches tall and have not formed significant flower buds.
Pinching half the height from some stems delays those stems’ flowers by several weeks and encourages branching. Savvy Gardening recommends pinching only part of the plant so unpinched stems flower first and pinched stems extend the season. This is optional, and it is a poor trade in a short growing season where delaying bloom may push flowers toward the first frost.
Deadheading is optional as well. Remove spent flower spikes when you want a cleaner look or want to limit seed drop, but do not expect deadheading to replace the spring reset. The RHS notes that cutting back flower spikes can prolong flowering, while the plant’s main structural renewal still comes from seasonal new growth. A light trim is enough; do not cut the whole plant down during bloom season.
Fix common Russian sage pruning problems
Use the symptom and the site together. The same floppy shape can come from shallow pruning, shade, wet soil, excess nitrogen, or a cultivar that naturally grows tall, so repeating the same cut without checking the conditions rarely solves it.
| Problem | Likely cause | First action |
|---|---|---|
| Floppy stems by midsummer | Too little direct sun, rich feeding, wet soil, or years of shallow cuts | Improve the site if possible, avoid high-nitrogen fertilizer, and make the next dormant-season cut low and even. Stake temporarily if flowers are already leaning. |
| Bare lower stems with flowers only at the tips | Old framework was left too tall or the plant was repeatedly clipped at the top | In early spring, reset to 6–8 inches above the soil and cut above low buds. Expect the clump to need a season to rebuild. |
| No growth soon after pruning | The cut was too early, a late freeze damaged buds, or the plant is a naturally late emerger | Wait and inspect the crown before digging. Check for green tissue and avoid keeping the soil wet. |
| No growth by late spring | Crown damage, winterkill, poor drainage, or an over-eager cut into live basal growth | Scratch-test low stems, inspect the crown, and correct drainage. Replace the plant only after you are confident the crown is dead. |
| New growth is thin and weak | Shade, crowded planting, excess water, or excess nitrogen | Move or thin the planting if practical, let soil drain, and do not add more fertilizer to chase flowers. |
| The plant spreads into nearby space | Clump expansion or self-seeding, not necessarily a pruning failure | Remove unwanted outer shoots or divide the clump when dormant; do not keep shearing the top. |
One cold-season mistake deserves special attention: do not declare a plant dead just because its old stems are gray and its new shoots are late. Russian sage can wake slowly after a harsh winter. Conversely, do not use “it is probably dormant” to ignore a crown that is soft and wet. A dry, firm crown with late buds is a patience problem; a mushy crown in saturated soil is a drainage problem.
Should different cultivars be pruned differently?
Yes, but the difference is mainly about scale and habit, not a completely different pruning method. Standard cultivars such as ‘Blue Spire’ or ‘Longin’ can make a tall framework and benefit from a firm 6–8 inch reset. Compact types such as ‘Little Spire’ have less height to manage, so follow their lowest healthy buds and avoid leaving a proportionally long stub.
Read the plant tag and watch the clump for one full season before changing the method. A naturally compact cultivar may need only a close spring cleanup, while an older tall form can need more careful site correction if it leans. NC State Extension lists both standard and compact cultivars and describes mature size, full-sun preference, and the tendency to sprawl as the season progresses.
The same rule applies to newly planted Russian sage. Do not force a tiny first-year plant into a dramatic haircut just because an established clump is cut to 6 inches. Remove damaged growth, let the roots establish, and use the plant’s own buds and size to guide the first full renewal cut.
Conclusion
Prune Russian sage once a year, primarily in late winter or early spring, when you can see the plant beginning to wake but before a flush of tall new growth makes the framework difficult to read. Cut most established plants to about 6–8 inches, just above healthy side buds, and remove dead or crossing stems at their base.
Leave winter stems standing when they provide structure; tidy them after a hard frost only when snow, ice, or garden design gives you a reason. After pruning, fix the conditions that create weak growth—shade, wet soil, crowding, or excess nitrogen—because no cut can make an unsuitable site produce sturdy flowers. With that timing-and-site routine, Russian sage can rebuild a compact base and carry a much better bloom display next season.



