How to Reuse Plastic Planters at Home
Old plastic planters are waterproof, lightweight, and free. Learn six practical reuse ideas plus cleaning, safety limits, and when to recycle instead.
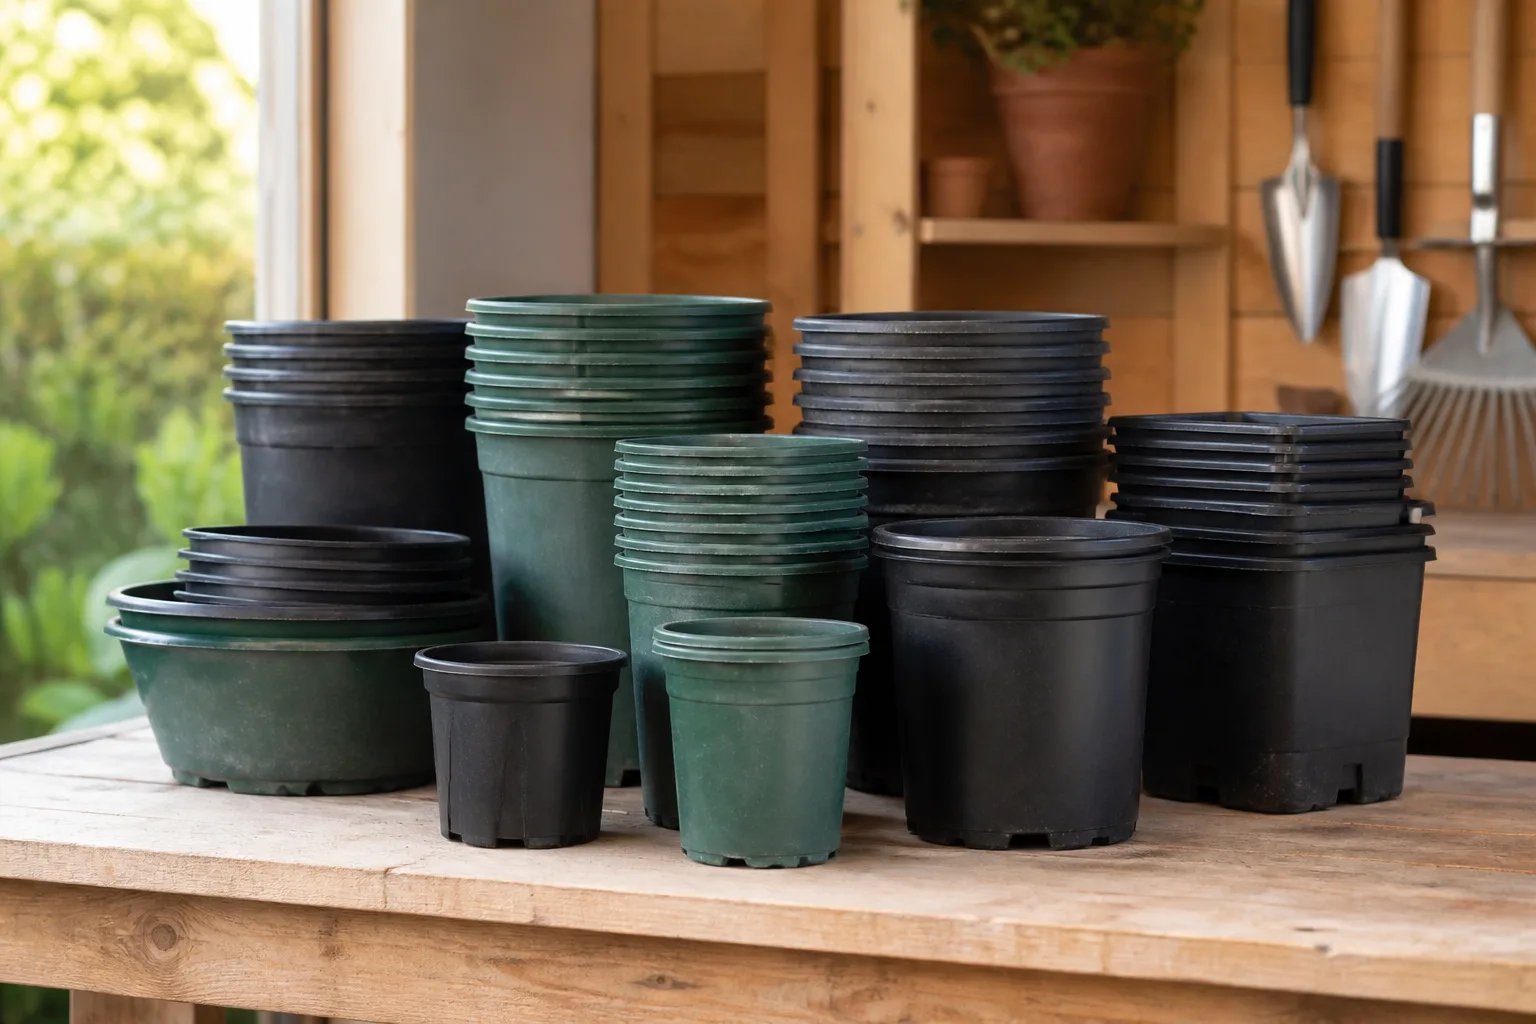
The stack appears overnight: six-inch nursery pots from the tomatoes, square cell packs from the marigolds, a gallon container the shrub came in, all nested in the garage like plastic turtles. Plastic planters are built to hold wet soil for months, survive rain, and stack when empty—exactly the traits you want for organizers, caddies, and outdoor storage if you treat them like gear instead of trash. The missing step on most reuse lists is prep. A rinsed pot that held a mildewy petunia is not the same as a washed-and-dried pot ready for kitchen herbs. Clean first, match pot size to the job, and know the hard limits on food contact and sun-baked brittle plastic.
The Quick Answer: Clean First, Then Match the Pot to the Job
Reuse plastic planters by emptying old soil, washing with warm soapy water, and sanitizing with a 10-minute soak in 1 part unscented bleach to 9 parts water only when the previous plant was diseased or the pot smells musty. Let pots dry fully before nesting. Then assign jobs by size: deep pots for laundry bottles and ice melt, wide shallow trays for herb groupings, sturdy small pots for desk supplies and sink caddies, medium pots with thick rims for hand tools and garage hardware. Skip any pot that is cracked, UV-chalky, or sticky with unknown chemical residue. When reuse is not safe, recycle clean #5 polypropylene pots where your program accepts them.
Why Plastic Nursery Pots Are Worth Keeping Out of the Landfill
Nursery pots are not glamorous, but they are engineered disposables—lightweight, waterproof, and cheap enough that every garden center passes them on for free. Keeping them in circulation for secondary jobs delays landfill trips and saves you from buying plastic bins that fail faster in damp garages. The environmental win is real but modest: one reused gallon pot replaces a purchased storage tub; fifty cell packs sorted in a drawer beat a run to the big-box store for craft organizers.
What Makes Plastic Planters Good for Second-Life Jobs
Plastic does not rust, unlike metal buckets left on a porch for rock salt. It wipes clean after detergent spills in the laundry room and tolerates freeze-thaw better than thin cardboard when you store ice melt on a covered stoop. Most nursery pots are polypropylene (#5)—stiff enough for tool handles, flexible enough to survive a drop from a potting bench. They are also light, which matters when you want a herb tray you can slide toward a sunny window or a tool caddy you carry bed to bed. Compare that to terracotta, which breathes beautifully for plants but cracks if you use it as a hammer-stressed hardware bin (LeafyPixels terracotta vs plastic pot guide).
Drainage holes—often mocked when you want a watertight bin—become assets for sink caddies and herb trays where standing water causes odor. For laundry or ice-melt duty, patch holes with silicone caulk or nest the holed pot inside a solid tray.
Pot Types You Will Actually Run Into (and Which Reuses Fit Each)
Not every pot earns every job. Match thickness and footprint:
| Pot type | Typical size | Best reuses | Skip for |
|---|---|---|---|
| Cell pack / 4-inch | Thin, flexible | Desk clips, seed sorting, small hardware | Heavy detergent bottles, ice melt load |
| Standard nursery | 6–8 inch | Herbs, sink caddy, tool caddy | Long-term UV exposure without inspection |
| Gallon / shrub pot | Thick walls | Laundry supplies, ice melt, large tool tote | Food storage |
| Flats without depth | Shallow | Drawer liners for gloves, seed packets | Liquids |
Rule of thumb: if the rim flexes when you squeeze it with one hand, restrict it to light desk or craft duty, not garage weight.
Prep Work: How to Clean Plastic Planters Before Any Reuse
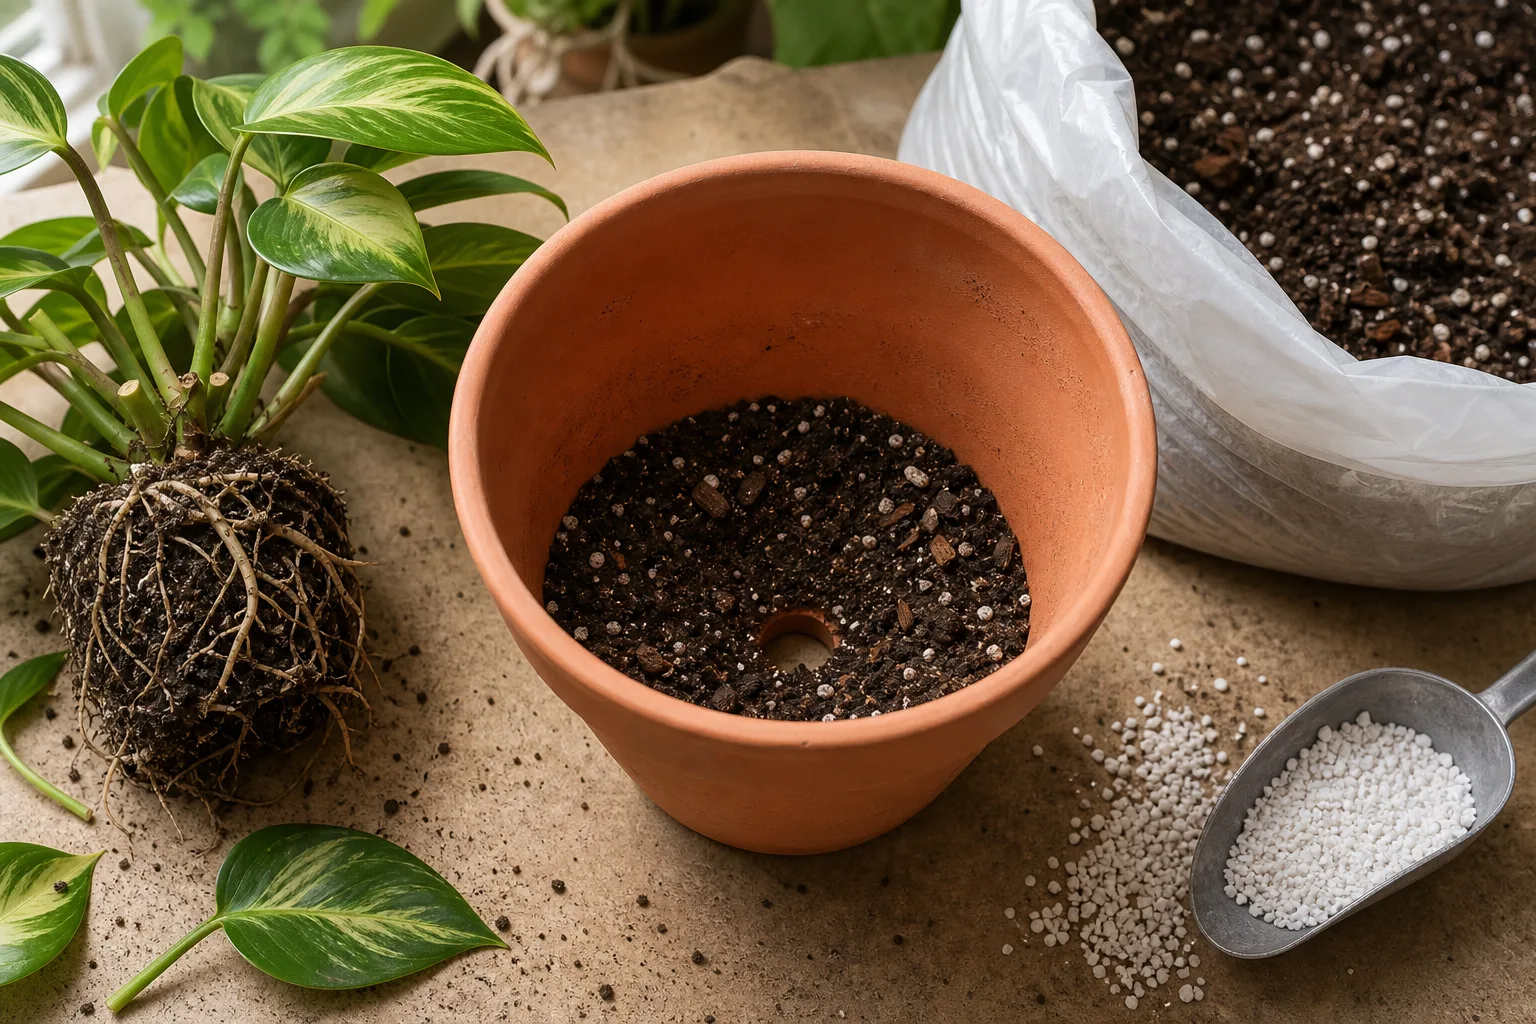
Reusing a pot for new plants always deserves a real wash. Reusing for non-plant storage still deserves a wash if the pot held soil, fertilizer salts, or pests—you do not want fungus gnat eggs in a desk organizer. Used potting mix can leave soluble salts on container walls that damage the next seedling, and disease spores can survive on dried crust (Gardening Know How).
Basic wash workflow:
- Empty all soil and root debris; scrape the bottom ridge with a butter knife or old chopstick.
- Scrub inside, rim, and outside with warm water, dish soap, and a stiff nylon brush—sponges miss textured grooves.
- Clear drainage holes with a skewer or narrow screwdriver; clogged holes turned a petunia pot into a swamp last year.
- Rinse until soap is gone; air-dry completely upside down in sun or on a rack. Stacking damp pots traps mildew (Nicolas Lawn).
White chalky rings are usually hard-water or fertilizer salt, not mold. A short vinegar soak (roughly one cup vinegar to three cups water) dissolves crust after your soap wash; rinse well afterward (The Gardening Cook). Reserve vinegar for mineral film, not as your only sanitizer.
Wash vs Sanitize — a Simple Decision Rule
Wash only when the previous plant was healthy, the pot sat empty less than a season, and there is no musty smell or insect webbing. Wash plus bleach sanitize when you saw powdery mildew, root rot, fungus gnats, or mystery dieback. Mix 1 part unscented household bleach to 9 parts water, submerge plastic pots 10 minutes, rinse thoroughly, and dry (Gardening Know How). Never mix bleach with vinegar or ammonia.
For non-plant reuse (desk, garage, laundry), a full bleach soak is optional unless you are squeamish about old soil contact or the pot smelled bad. A solid soap scrub plus dry time is enough for most household jobs.
Cleaning Mistakes That Waste Time or Create New Problems
Rinsing without scrubbing leaves root hair and salt in the bottom ledge—exactly where the next use traps moisture. Skipping hole cleaning turns a future sponge caddy into a stagnant puddle. Nesting while wet builds odor in a week. Using a metal wire brush gouges thin plastic and creates dirt traps. Reusing soil from a diseased plant in a newly washed pot defeats the whole exercise—discard that mix, do not recycle it into herbs.
Keep a “clean / needs sanitize / recycle” three-stack system while you work so questionable pots do not drift back into the keeper pile.
Use 1: Mobile Herb and Seedling Station
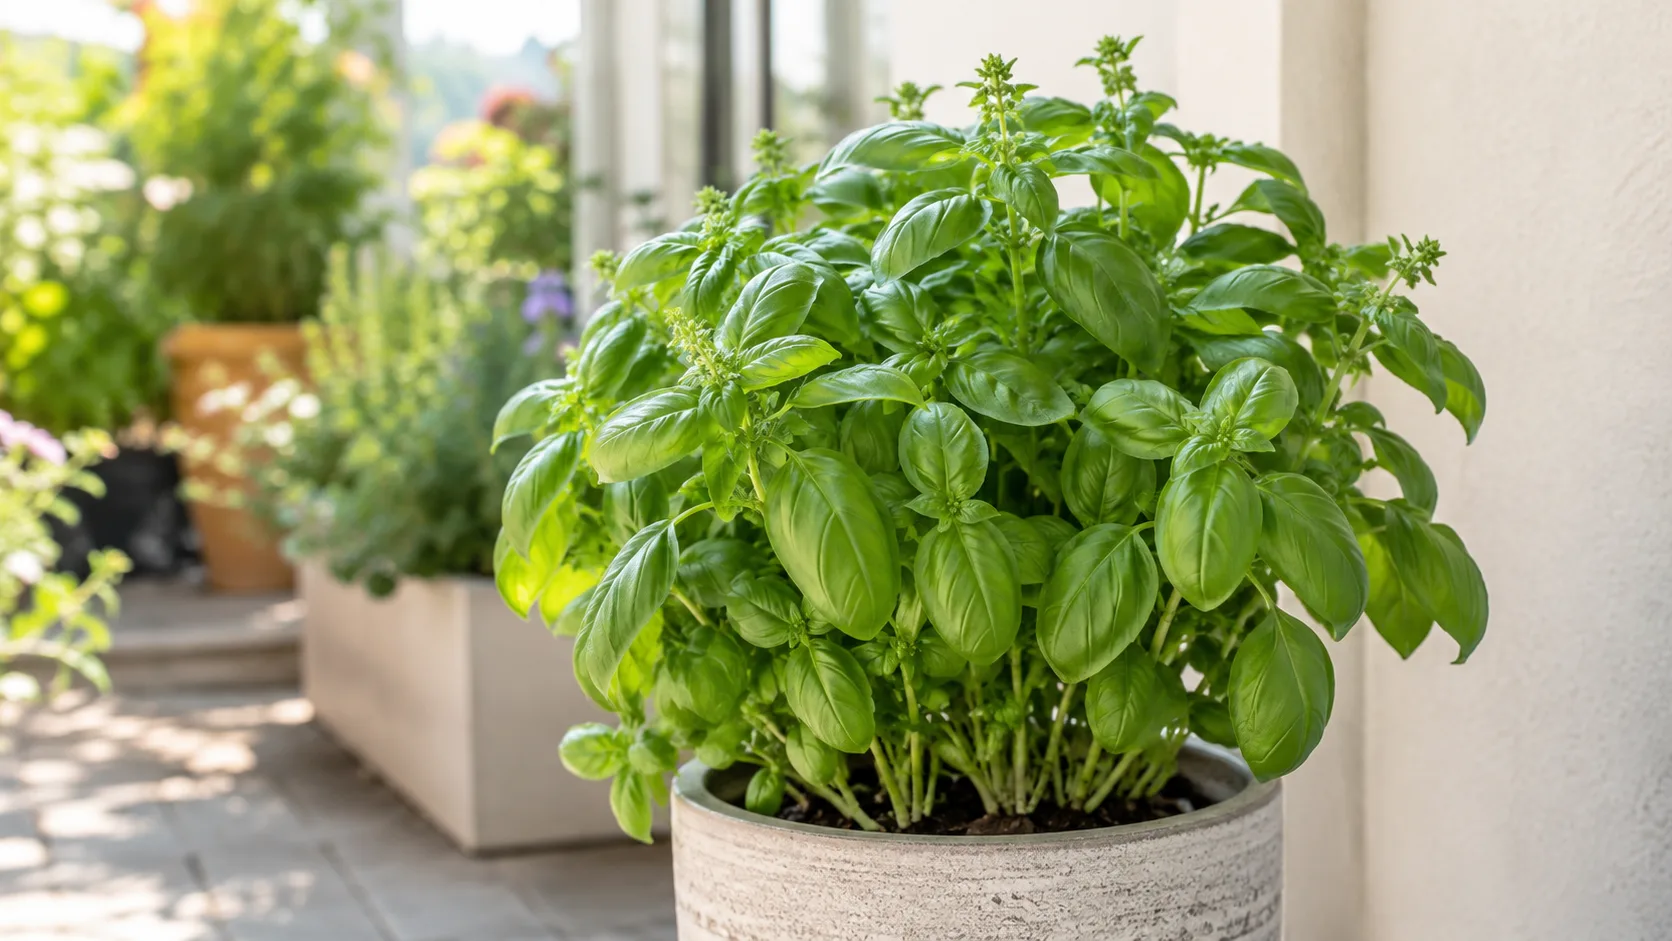
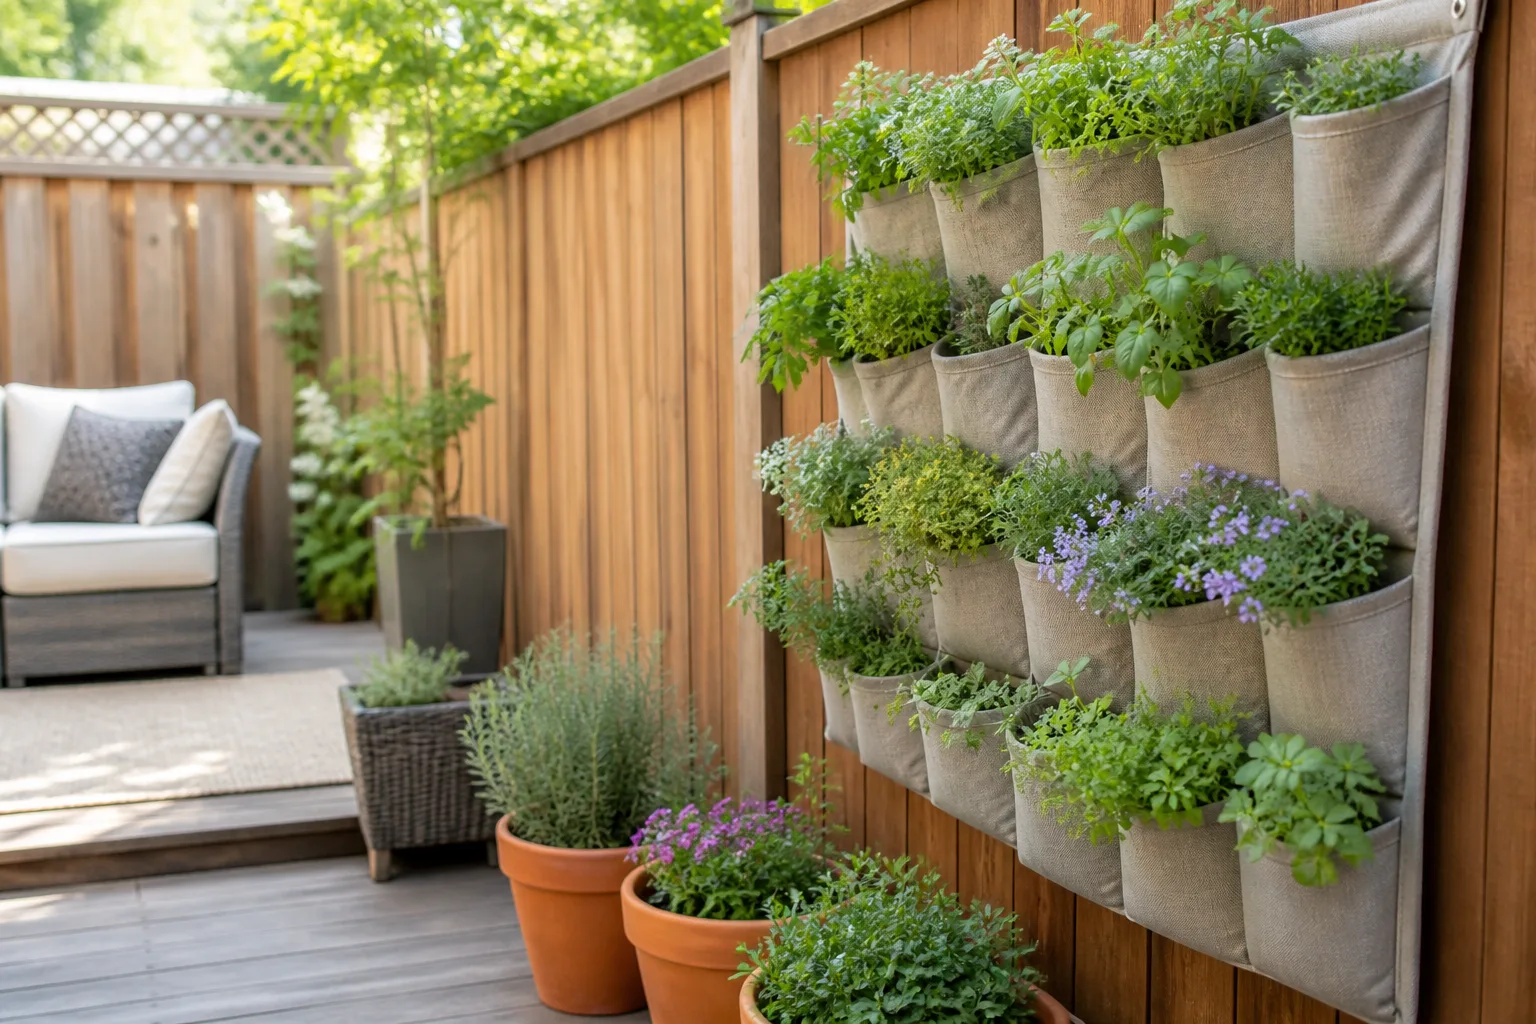
The most obvious reuse is still the best: turn clean pots into a movable herb garden. Plastic’s low weight lets you group basil, mint, and chives near the kitchen window, then shift the whole cluster when the sun angle changes. Drill extra drainage holes if water sits longer than a few hours after watering. Fill with fresh potting mix—not old garden soil—for indoor herbs (LeafyPixels best herbs indoors guide).
Group one species per pot so thirsty basil is not paired with drought-tolerant rosemary in the same container. A shallow nursery tray underneath catches runoff and protects the windowsill. For outdoor kitchen herbs, the same setup works on a patio table; frost-sensitive pots come indoors as one unit instead of six separate trips.
Pro move: label each pot with chalk marker on the rim until you learn the shapes by sight. Snip often to keep compact growth—herbs in small pots exhaust nutrients faster than bed plantings.
Use 2: Laundry Room Supply Holder That Handles Spills
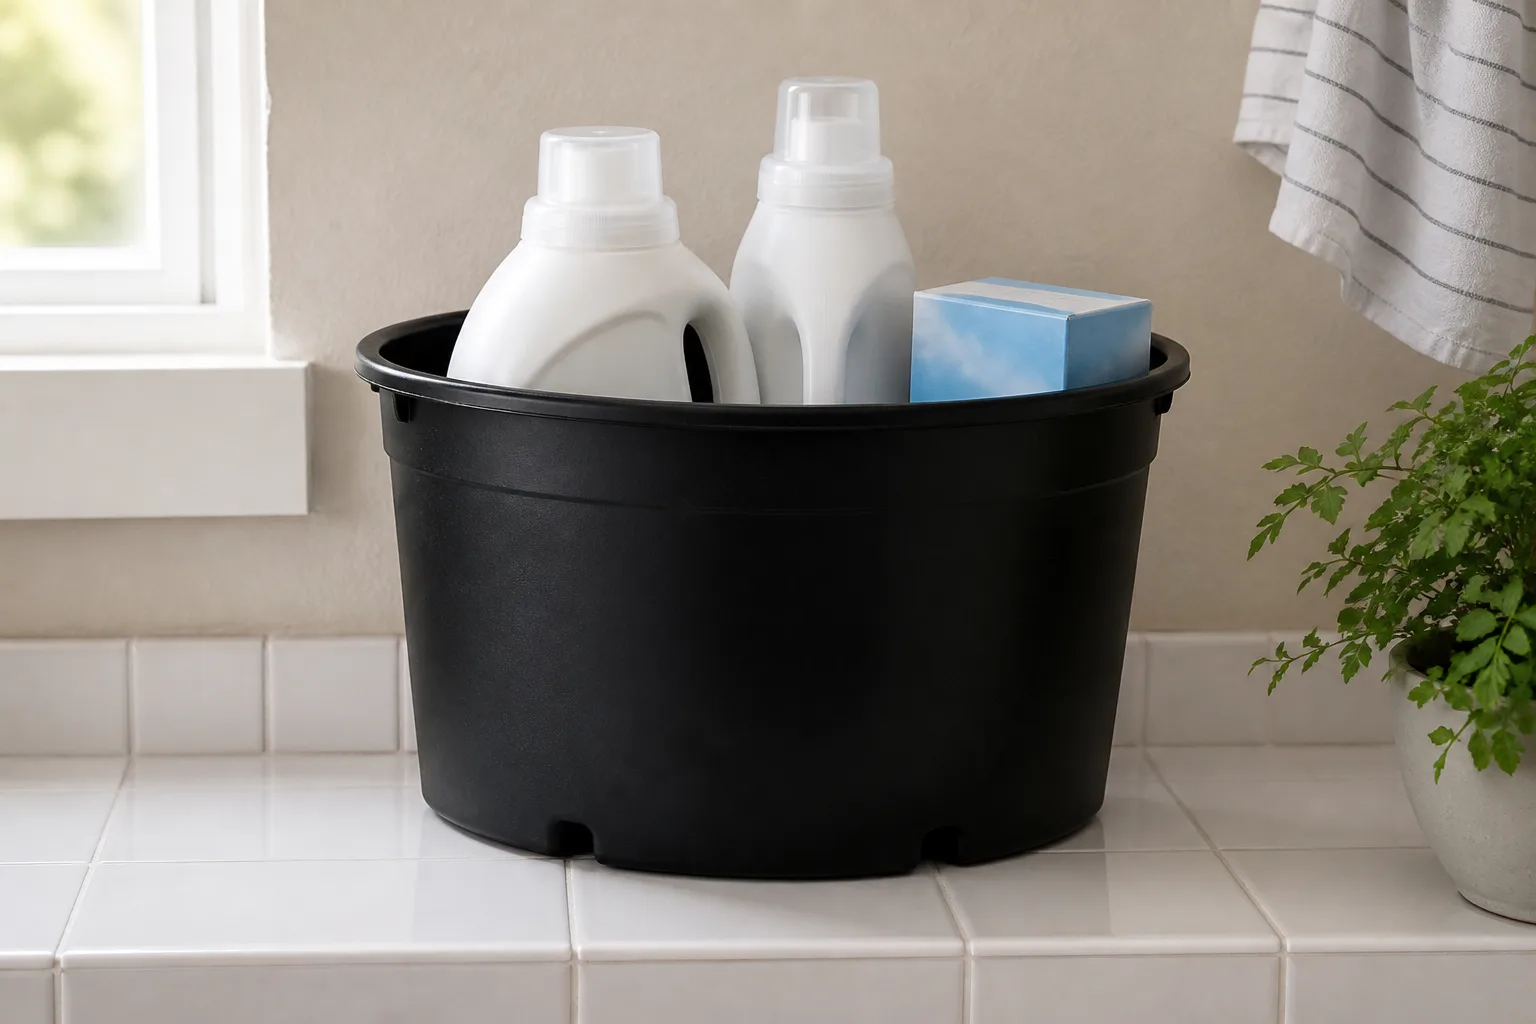
Laundry rooms combine detergent drips, humid air, and cardboard that collapses. A gallon plastic planter with thick walls makes a spill tray for detergent bottles, stain spray, and dryer sheet boxes. Wipe the inside monthly; plastic will not swell like particleboard shelving.
Choose a pot taller than your tallest bottle so caps stay below the rim edge—less drip on the floor. If the pot has drainage holes, nest it in a solid drip tray or caulk holes for this duty. Keep bleach and ammonia products in separate containers even inside a big pot; mixed fumes are a safety issue unrelated to the plastic itself.
This is not food-grade storage; reserve it for laundry chemistry only.
Use 3: Ice Melt and Rock Salt Bin by the Door
Metal buckets rust from rock salt and slush; plastic does not. Place a wide, stable gallon pot just inside the mudroom or on a covered porch, fill with ice melt, and store a scoop or small hand trowel inside the same pot. The weight of salt tests brittle pots—inspect for UV cracks before winter. A cracked pot weeps salt onto flooring and defeats the organizer.
If pets or toddlers visit, choose a taller pot without easy climb access, or store on a shelf with a lid (a square of plywood works). Salt is not edible, but it is attractive to curious mouths—treat placement like any household chemical.
In spring, rinse the pot outdoors so chloride does not migrate to garden beds when you repurpose the pot again. A quick hose-down on the driveway beats wiping salt dust inside the house. If the pot stored calcium chloride blends that feel damp even in cold weather, line the bottom with a plastic bag before refilling next winter so caked residue does not cement to the pot wall.
Scoop choice matters: a short-handled feed scoop fits wide gallon pots; a 1-cup kitchen scoop works for narrow six-inch pots by the apartment door. Leave the scoop handle-up so it dries between storms instead of sitting in wet granules.
Use 4: Garden Tool Caddy for the Bed or Shed
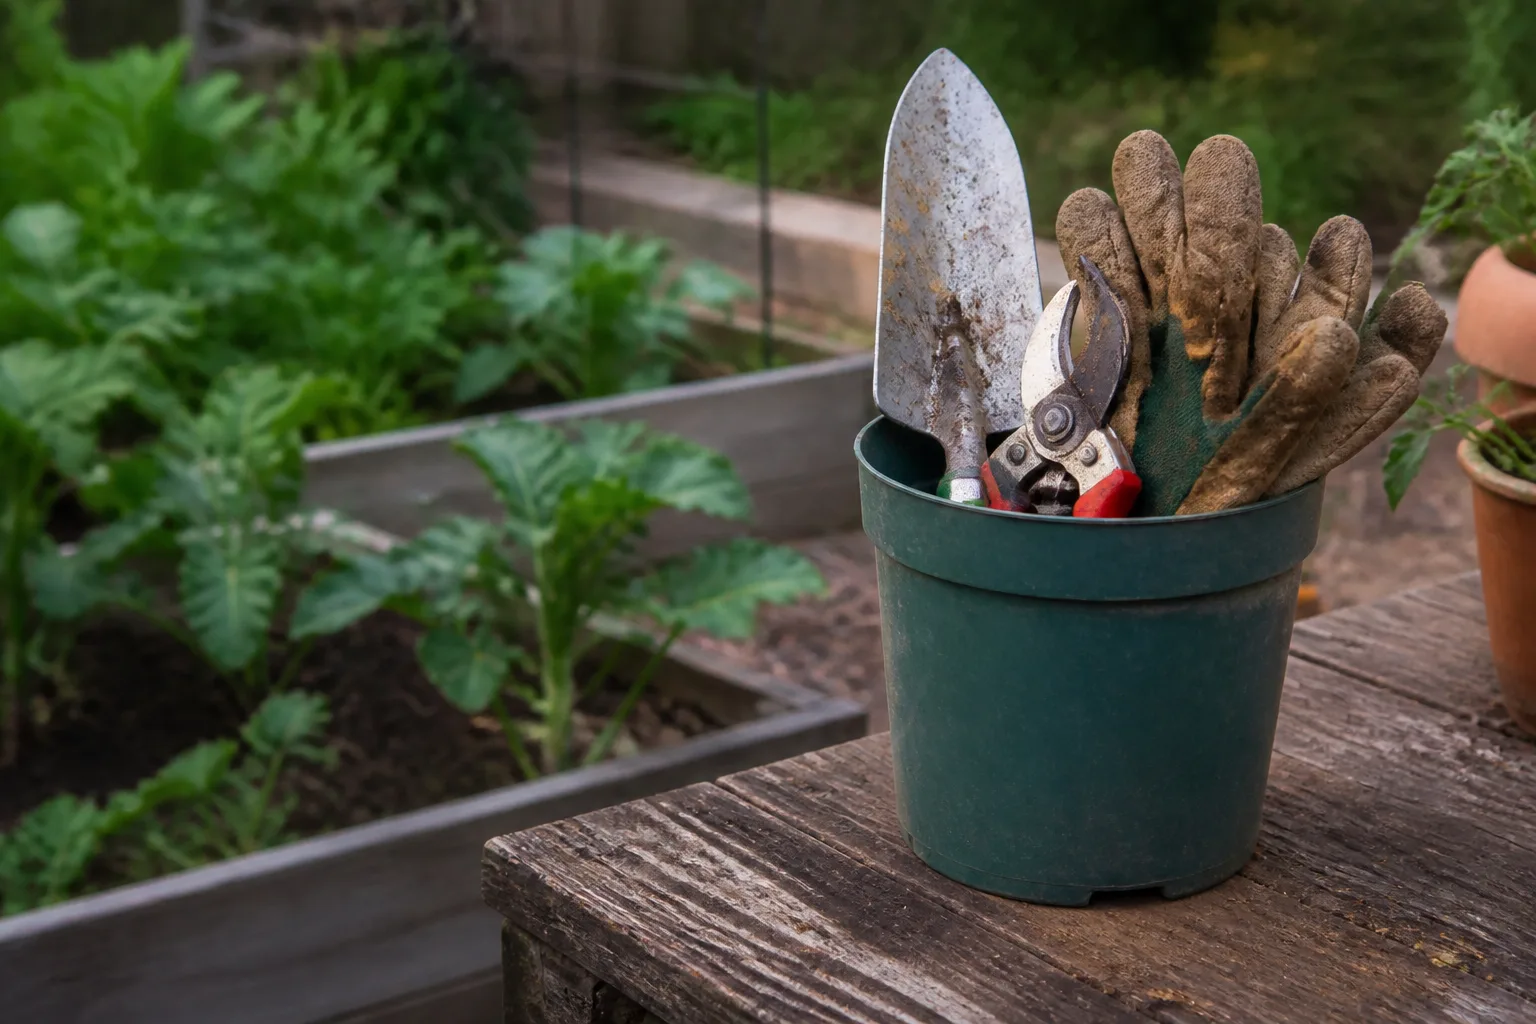
Medium nursery pots (6–8 inch) with stiff rims become hand-tool holsters: trowel, hand pruners, weeder, gloves rolled in the center. Leave the caddy at the end of a bed row or on a potting bench so you stop losing the pruners in the mulch.
Plastic tolerates mud and rain better than a fabric tote that never dries. Drill side drainage if you store wet tools—standing water rusts carbon steel even when the bucket does not. For long-handled tools, upgrade to a shrub-sized pot standing upright; weight the base with a brick if wind tips it on a patio.
Do not store gas-powered tool fuel or oily rags in plastic pots; heat and solvent degrade polypropylene over time. For vegetable beds, keep a dedicated food-garden caddy separate from pots that held ornamental pesticides—you do not need separate pots for trowel and pruners, but you do need clean handles before harvest days.
Rainy-day tip: empty the caddy and flip it upside down on the bench so it does not become a mosquito puddle; thirty seconds after each session prevents summer slug hotels.
Use 5: Desk, Craft, and Office Supply Corral
Small thick-walled pots (often the ones perennials arrive in) corral pens, scissors, sticky notes, and cable ties without buying a desk set. The slight weight of a wider base prevents tipping better than a yogurt cup.
This is the reuse most people picture when they say “repurpose planters,” and it works because vertical walls keep items visible. Avoid thin cell packs here—they flex when you grab a heavy tape dispenser. If the pot ever held slow-release fertilizer granules, wash twice before desk duty; gritty dust irritates hands.
For craft rooms, color-sort beads or screws into labeled pots on a lazy Susan—same garage logic, lighter contents. On a standing desk, a taller perennial pot holds rolled cable wraps and a USB hub without tipping when you raise the surface. If aesthetics matter, spray-paint the exterior matte after cleaning—only the outside, never where soil or sponges contact later uses, and never where food-adjacent items will sit.
Use 6: Garage Hardware and Fastener Sorter
Garage benches drown in loose screws, wall anchors, and zip ties. Sturdy plastic pots become open-top bins sorted by size or project: “deck rebuild,” “picture hanging,” “unknown metric.” Plastic survives sharp threads better than cardboard ice-cream pails that sag.
Labeling and Nesting Tricks for Small Parts
Painter’s tape labels on the outside beat permanent marker on textured plastic. Nest by size when empty to save shelf space, but store filled pots single-depth so you do not forget a layer. Clear lids are optional—a square of cardboard weighted with a washer keeps dust out without trapping humidity if the pot had holes.
Inspect rim cracks before storing weight; a pot that fails dumps nails across a concrete floor—a safety hazard, not just clutter.
Bonus Use: Kitchen Sink Caddy for Sponges and Brushes
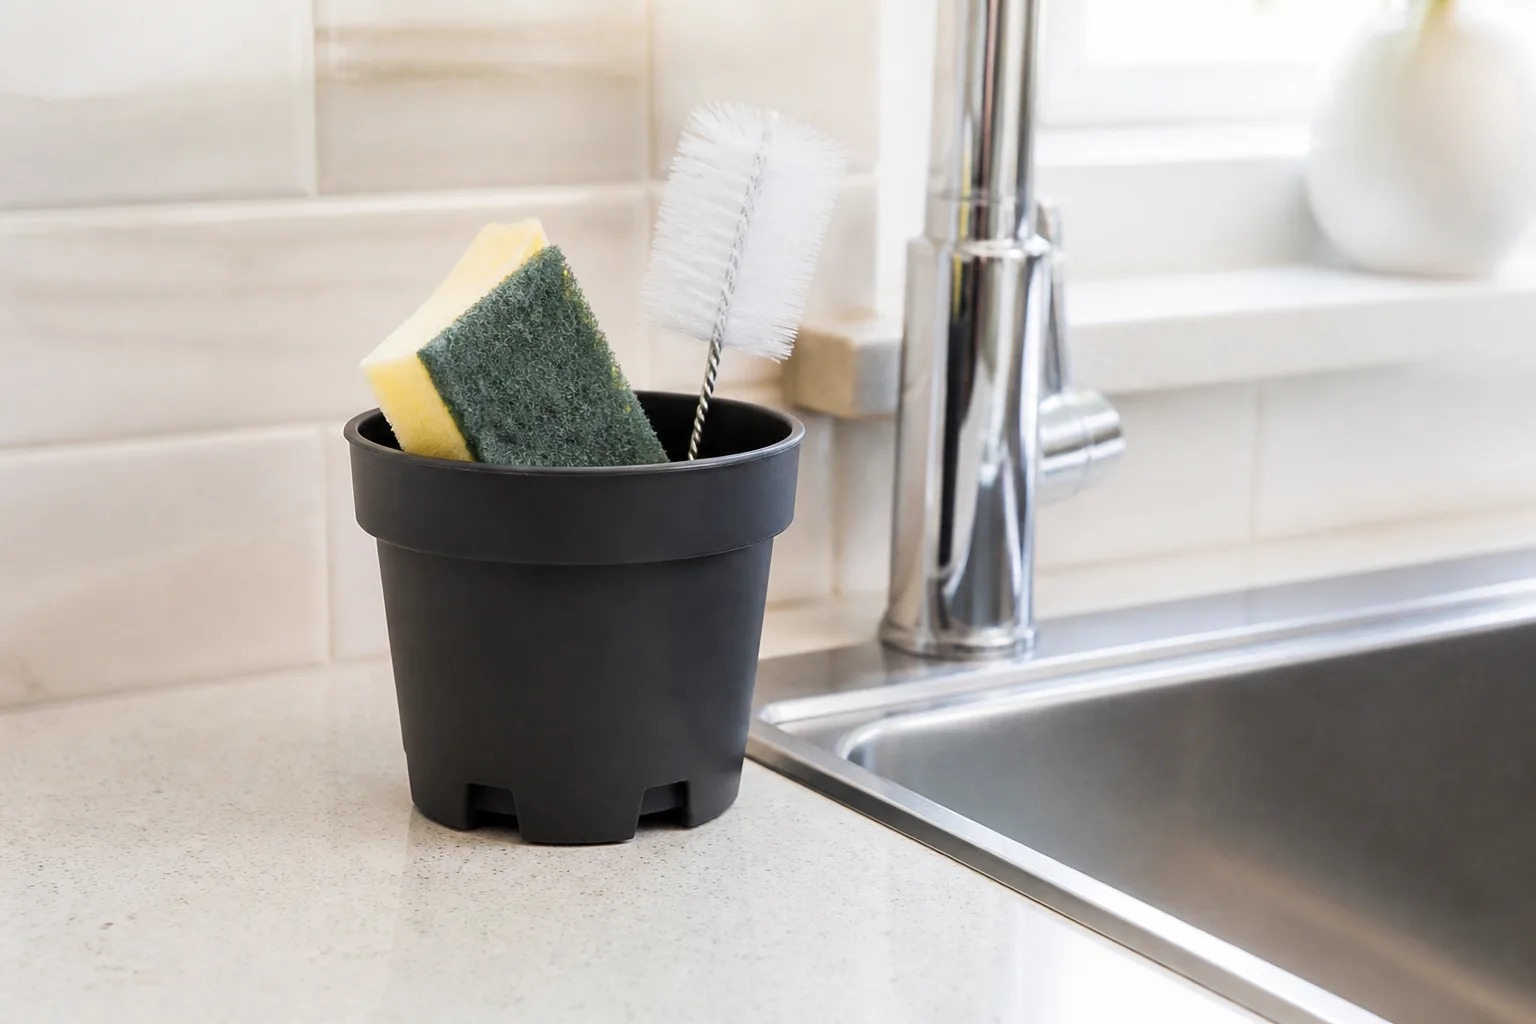
Many nursery pots already have bottom holes—ideal for a sink-side sponge station where airflow beats a sealed cup that grows slime. Use a 4–6 inch pot for one sponge and a dish brush; the hole lets water drain into the sink basin.
Keep separate pots for dish soap sponges versus counter cleaning rags if you cross-use chemicals. Run pots through the dishwasher top rack monthly or soak in hot soapy water; kitchen grease films attract grime faster than garage dust.
Why Existing Drainage Holes Help (and When to Add More)
For sponge duty, more holes can mean better drying. For laundry or salt, seal holes. Adding holes to thin pots: use a hot awl or drill bit slowly; rushing cracks polypropylene in cold garages. Deburr the inside so sponges do not snag.
If holes are too large for sponge size, line the bottom with a square of mesh from an old screen—water escapes, sponge stays put.
Hard Limits: Food Contact, Chemicals, and Sun-Baked Plastic
Do not use repurposed nursery pots for food storage, pet food, or children’s snack cups. Nursery containers are not food-grade; they may have held fungicides, slow-release fertilizer coatings, or soil pathogens. Desk and laundry uses are fine; pantry use is not.
Sun and age turn polypropylene chalky and brittle. A pot that snaps at the rim when flexed belongs in recycling, not an ice-melt load by the door where failure spills chloride indoors. Unknown chemical bottles (old pesticides, epoxy, motor additives) should never have lived in a pot you later bring indoors. Even diluted bleach residue from a sloppy rinse can irritate skin when the same pot later holds desk supplies—double-rinse sanitize pots that move from garden disease to indoor reuse.
When a pot cannot be fully deodorized after rot or mildew, downgrade to garage-only or recycle—do not fight musty plastic for kitchen-adjacent reuse.
When to Recycle Instead of Repurposing
Recycle when pots are shattered, UV-degraded, or numerically more than you can store. Many municipal programs accept clean #5 plastics if soil is removed; rinse to their standard—no dirt clumps. Look for the triangular #5 PP stamp on the bottom rim; absence of a stamp does not always mean non-recyclable, but mixed unknown plastics are more likely rejected. Remove sticky price labels—adhesive globs are a common sort-line rejection reason at MRFs.
Big-box garden centers sometimes run pot-recycling drives in spring; worth a search locally before trashing a trunkload. Some independent nurseries take back their own branded pots even when curbside will not, because they bulk-ship them to specialty recyclers. Call before loading the car.
If you have two keepers and forty singles, prioritize washing the best sizes and bundle the rest for recycling rather than guilt-storing indefinitely. Reuse should reduce waste, not create a new clutter category. Photograph your three-stack sorting system once if you share tools with a household—“clean / sanitize / recycle” labels prevent someone from nesting a mildew pot into the desk pile while you are at work.
Conclusion
Plastic planters earn a second life when you clean them deliberately, match pot thickness to the load, and respect limits on food contact and sun damage. Herbs and seedling stations, laundry spill trays, ice-melt bins, tool caddies, desk corrals, garage sorters, and sink sponge stations each use a different pot profile—assign intentionally instead of dumping everything in one corner. Sanitize after disease, dry before nesting, and recycle what is cracked or absurdly surplus. Done well, the stack in your garage becomes a toolkit, not a guilt pile waiting for trash day.