30 Budget-Saving Garden Edging Ideas
Try 30 budget garden edging ideas, from no-cost trenches and mulch to reclaimed brick, stone, timber, gravel, living borders, and safe DIY upgrades.
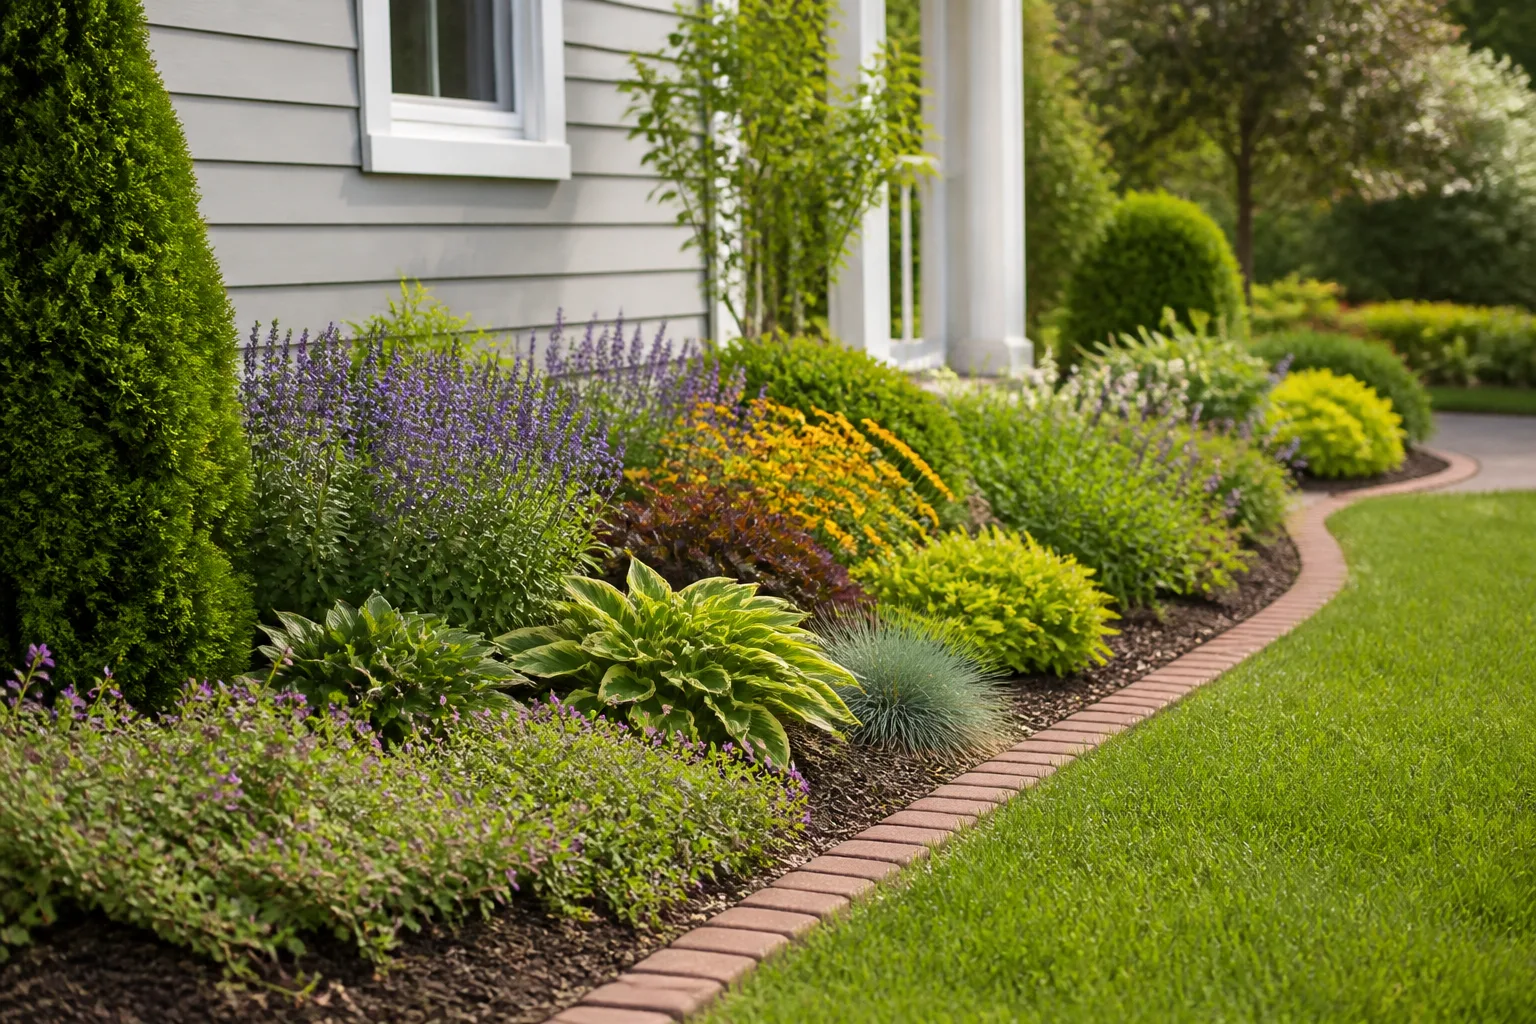
A garden edge has two jobs that are easy to confuse. It can make a bed look intentional, but it can also hold mulch, guide a mower, slow lawn grass, protect a path, or keep soil from washing downhill. The best inexpensive garden edging ideas start by choosing the job, then choosing a material that can actually do it.
Use the ideas below as a menu, not a shopping list. If you already have a spade, spare brick, storm-fallen branches, or a pile of divided plants, your lowest-cost answer may be labour rather than a product. If the bed is beside a lawn, receives mower traffic, or sits on a slope, spending a little more effort on depth and stability usually saves more money than replacing a failed edge later.
Start with the job your garden edge must do
For a purely visual boundary beside a path, a trench, mulch, or low plants may be enough. For a bed beside vigorous turf, choose a physical barrier or create a drop between lawn and soil. For mulch on a slope, prioritize a lip, tight-set stone, brick, timber, or pavers; a loose scatter of rounded pebbles will look good briefly and then migrate downhill.
Your shape matters just as much as your material. Broad sweeping curves are easier to mow and maintain than intricate wiggles, a point also emphasized in the Royal Horticultural Society’s advice on creating a lawn edge. A hose lets you test a curve at full scale before you dig, while string between stakes gives a straighter, more formal result.
Before choosing, score each option against five questions: can it follow the shape, can a mower wheel pass beside it, will it survive wet soil or frost, is it safe around children and pets, and how much maintenance will it need? The cheapest material that fails two of those tests is rarely the cheapest edge in practice.
Make a no-cost spade-cut trench
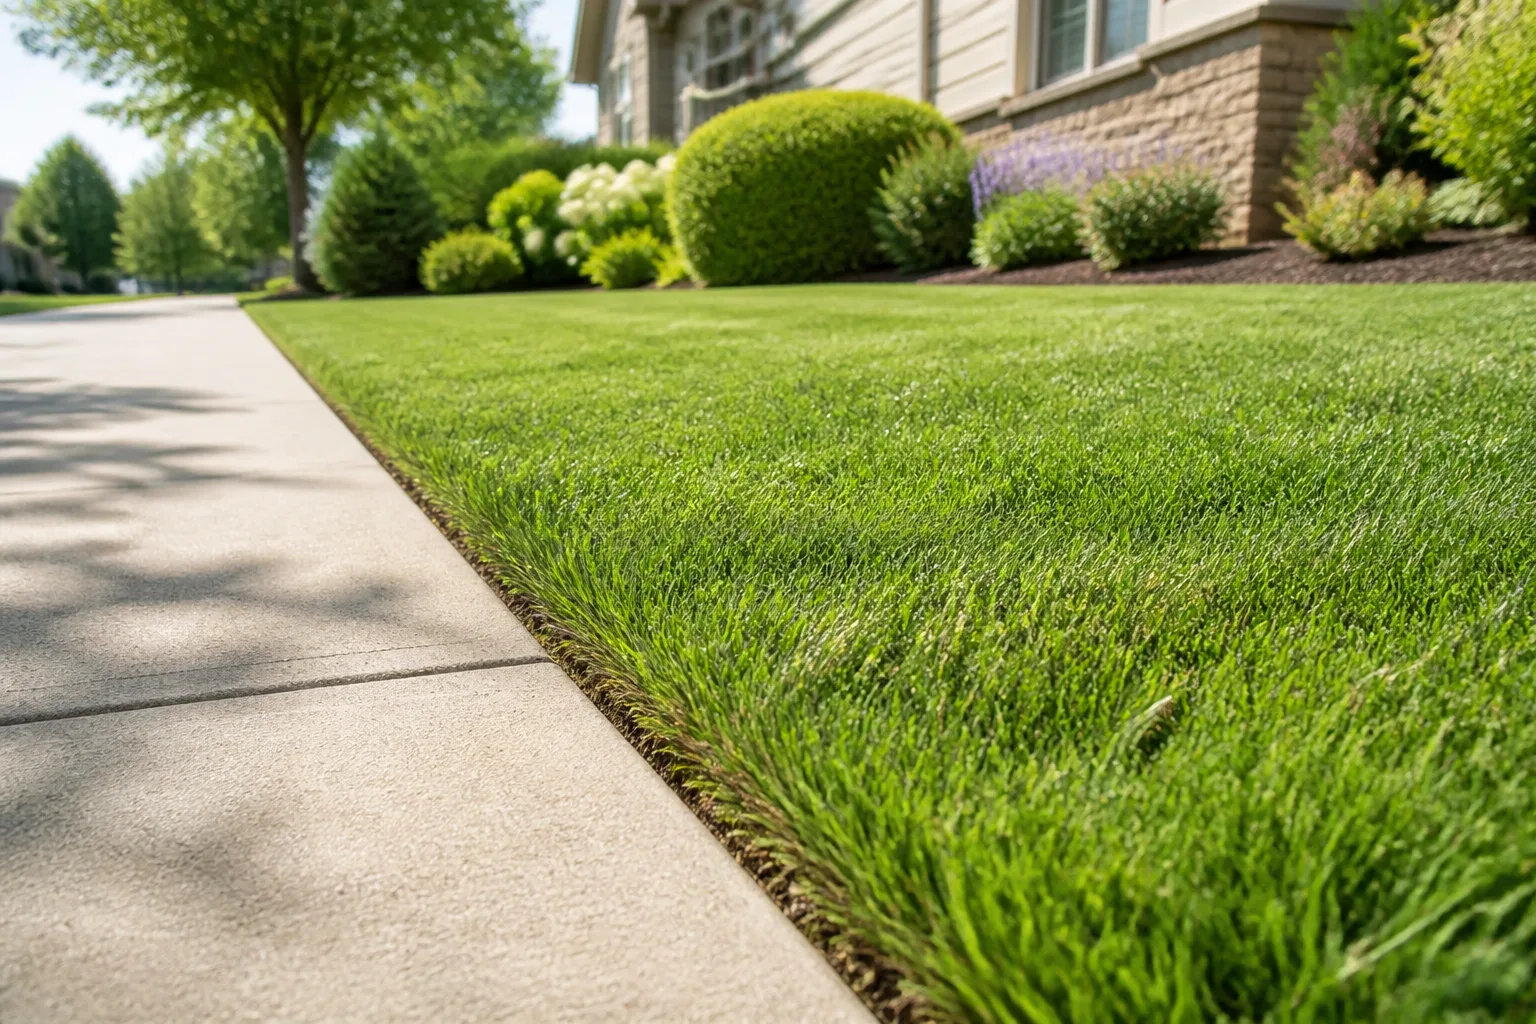
1. The V-shaped spade trench. Cut down along the lawn-to-bed line with a flat spade or half-moon edger, then angle the second cut toward the bed to remove a narrow wedge of turf. The resulting V creates shadow and separation without buying a single material. It is excellent for a new bed, a rental, or a long border where the budget is genuinely zero.
2. A widened soil channel. Make the trench broader and fill it with the soil you remove, compost, or a thin layer of existing mulch. This is softer than a hard edge and gives a bed a deliberate transition, but it will not stop grass roots by itself. Plan to recut it during the growing season whenever the lawn begins to bridge the channel.
The free trench is not a set-and-forget solution. Grass will eventually creep across the cut, and rain can collapse the wall in loose soil. Its advantage is that the repair takes minutes with tools you already own, and the fresh line can be reshaped each year as the bed evolves.
Use mulch and organic material as a soft border
3. An extended wood-chip border. Sweep the same wood chips used inside the bed into a low band at its edge. The continuous colour makes the bed look larger and costs nothing beyond the mulch you already planned to use. Keep the band away from trunks and crowns, and expect to refresh it as organic material settles and decomposes.
4. A leaf-mold or compost transition. A narrow strip of finished leaf mold or mature compost can soften the boundary around a woodland bed or informal pollinator planting. It is attractive and useful to soil, but it is a visual transition rather than a grass barrier. Pair it with a shallow trench if you want the natural finish without losing the line.
Mulch edges work best where the garden is relaxed and the mower does not need to run directly against the border. They are also forgiving around irregular curves. On exposed slopes, however, coarse mulch can float or wash into drains during heavy rain, so a small drop or a stone toe below the mulch is the more durable low-cost fix. For broader bed planning, the RHS also recommends planning the border around its conditions and eventual planting before investing in materials.
Reclaim brick in three useful layouts
5. Flat reclaimed brick. Lay salvaged bricks lengthwise in a shallow trench, with their top nearly level with the lawn. This creates a simple mowing strip: the wheel can run beside the firm surface, reducing the need for string trimming. Reclaimed brick often has colour variation that makes a new border feel established immediately.
6. Upright soldier-course brick. Turn bricks on edge for a taller, more visible line around a flower bed. It uses the same units but gives more containment and a stronger cottage-garden profile. Pack soil firmly on both sides and check the run from several angles before you finish, because small height differences are more noticeable when the bricks stand upright.
7. Diagonal or herringbone brick. Angle each brick in the trench or interlock short sections in a shallow herringbone pattern. This adds movement without buying decorative units. It is slower to set and less friendly to a mower wheel than a flush row, so reserve it for a bed viewed from a path or patio rather than the edge you mow every week.
Dry-laid brick needs a stable base. Remove soft soil, add a thin layer of sand or fine aggregate, tamp it, and level the units before backfilling. Mortar is unnecessary for most low borders and makes future repairs harder; a dry line lets you lift and reset one settled brick instead of demolishing the whole edge.
Build natural edges with stone and boulders
8. Flat fieldstone. Use broad, relatively thin stones collected from your property or purchased in bulk. Nestle each piece into the soil so its widest face is stable and the top edges form a readable line. Irregular stone follows gentle curves well and suits a naturalistic bed better than a perfectly straight manufactured strip.
9. Small boulders as a raised toe. A run of fist-sized to football-sized rocks can hold back mulch and give a bed weight without building a wall. Set the largest stones first, bury roughly a third of each where possible, and use smaller pieces to close gaps. Avoid placing loose rounded boulders where a mower wheel, child, or dog could push them into a walking route.
Stone is a durable choice, but free does not always mean easy. Hauling heavy rocks can damage a lawn, and a mixed pile may contain pieces that tip or create trip hazards. Choose fewer, flatter pieces for a walking edge and reserve larger irregular rocks for a border that will be seen but not crossed.
Turn gravel into a mowing strip
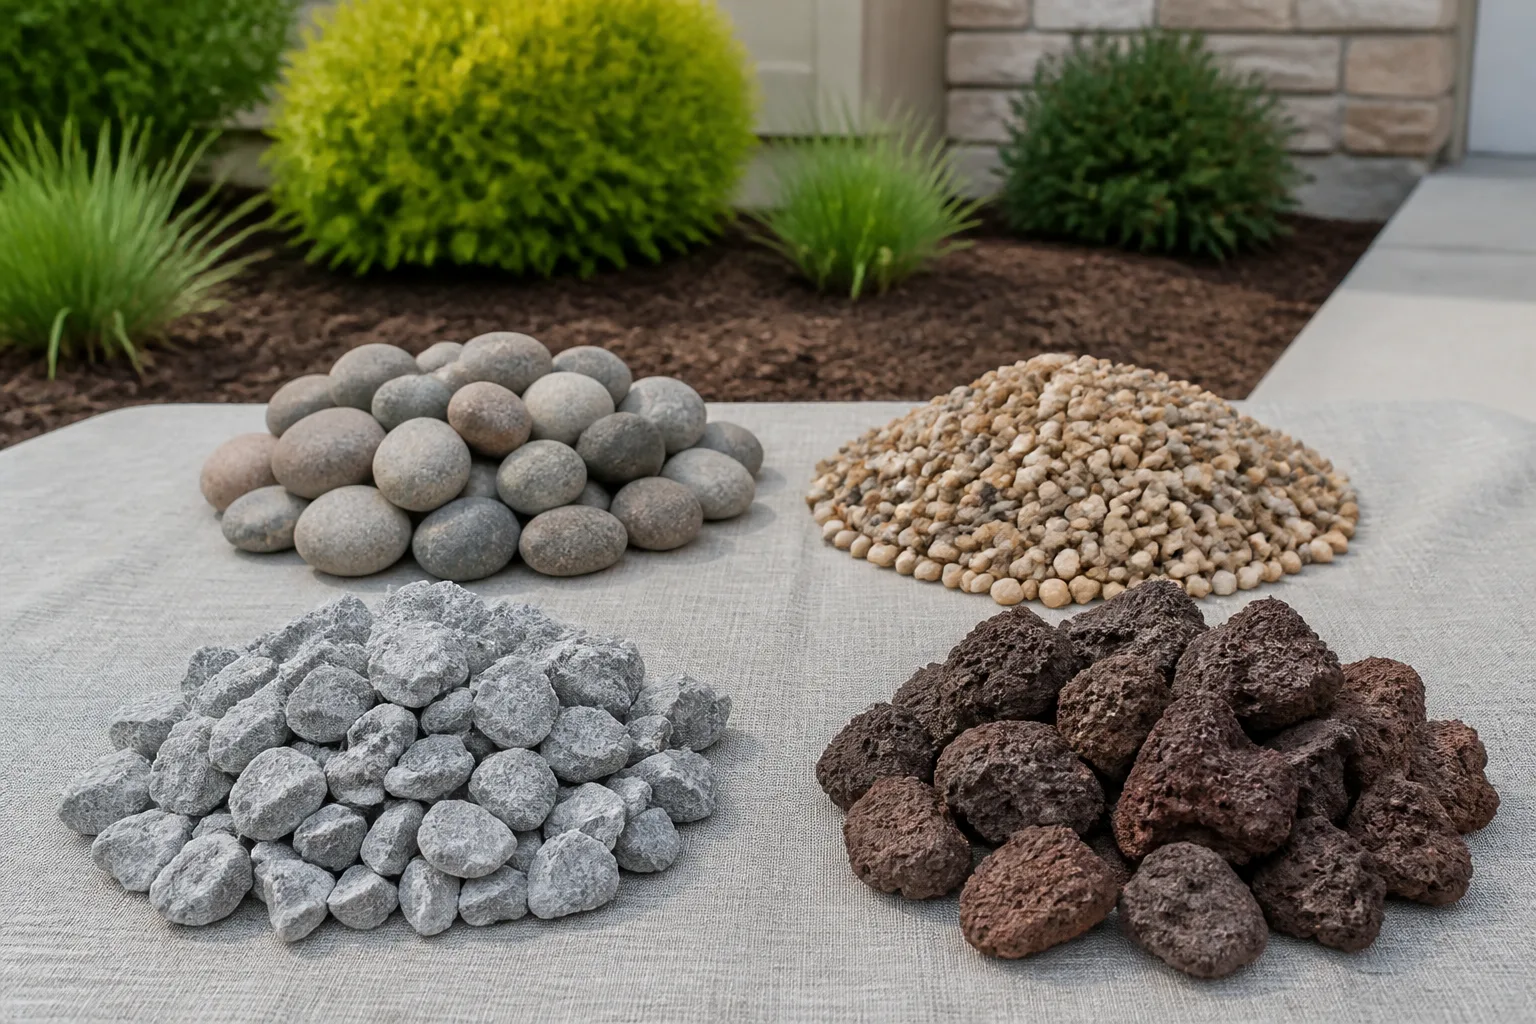
10. Pea-gravel ribbon. Dig a narrow, shallow channel between lawn and bed and fill it with pea gravel. The contrasting strip defines the border and can be swept clean after mowing. Rounded gravel is comfortable to look at but moves more readily, so contain it with a slight soil lip or choose a flatter crushed stone where the site slopes.
11. Crushed-stone mowing strip. Fine crushed stone locks together more tightly than rounded pebbles and makes a firmer surface for a mower wheel. It suits modern beds, gravel gardens, and narrow paths. Keep the strip wide enough for the wheel but not so wide that it becomes a second garden bed; a consistent width makes the inexpensive material look deliberate.
Gravel is not maintenance-free. Dust and leaves accumulate, weeds can root in the organic material that lands on top, and edging stones can slowly disappear into soil. A regular rake and a quick hand-weed are often easier and less disruptive than laying plastic or fabric beneath a narrow strip. If you do use a barrier product, choose it for a specific site problem rather than assuming any fabric eliminates future weeds. Epic Gardening’s practical edging overview likewise treats gravel as a mowing aid that still needs a defined trench and upkeep.
Use timber for straight, structured beds
12. Reused fence boards. Cut sound, clean boards to a consistent height and lay them along a straight vegetable or flower bed. Hold them with stakes or exterior-rated screws, keeping the fasteners below the top surface. This gives a raised visual line from leftover building material, but inspect every board for rot, splinters, paint flakes, and unknown treatment before bringing it near edible crops.
13. Two-level timber border. Stack two narrow boards or set one board slightly above a lower mowing strip. The lower element protects the grass line while the upper one contains mulch and gives a raised-bed appearance. Use this only where drainage remains open; a tall timber wall against compacted wet soil can trap water rather than solve an erosion problem.
Timber is fast to work with and easy to repair, but soil contact is its expiration date. Untreated softwood may last only a few seasons in a wet climate, while a denser or properly garden-rated material can last longer. Budget honestly for replacement, and do not burn or compost painted, stained, or treated scraps.
Make rustic edges from logs and branches
14. Upright log rounds. Cut fallen branches or a removed tree into rounds, then bury each round partway in a trench so the pieces touch. Varying diameters create a woodland look, and the material can be free if a neighbour has recently pruned a tree. The cut ends should be sound, and the line should sit low enough that it cannot catch a mower or become a tripping hazard.
15. Horizontal branch bundle. Lay straight branches end to end along a relaxed bed and secure them with short stakes. This is quick, biodegradable edging for a new woodland or wildlife garden, not a permanent retaining wall. Use several thin branches rather than one unstable round, and leave a gap where water needs to leave the bed after storms.
Logs and branches are attractive because they age naturally, but they are also habitats for fungi and insects as they decay. That is fine in an informal garden; it is a poor fit beside a sterile-looking patio where you need a perfectly stable, clean edge. Treat the planned lifespan as part of the design instead of being surprised when the material returns to the soil.
Weave willow or hazel into a living-looking fence
16. Low wattle edging. Push sturdy stakes at regular intervals, then weave flexible willow or hazel rods between them. The woven fence is inexpensive when prunings are available and looks especially good around herbs, cottage flowers, or a wildlife bed. Keep the height modest so it does not shade low plants, and check whether fresh willow stems might root where you do not want them.
Wattle is a decorative containment edge, not a substitute for a retaining wall. It will weather and loosen, often within a few years depending on climate and material thickness. Its short life can still be a benefit: it is compostable, easy to alter, and appropriate when you expect the garden layout to change.
Repurpose bottles and broken ceramics carefully
17. Neck-down glass bottles. Heavy, uncracked bottles can be buried neck-down in a tight row for a bright cottage-style edge. Use this only in a bed that is away from footballs, bare feet, pets, and mower wheels; frost or impact can turn thin glass into a sharp hazard. Keep all glass below the level that people or animals could brush against, and skip the idea entirely in a high-traffic front path.
18. Large, rounded pottery pieces. Broken terracotta pots can form a low mosaic-like line when their edges are buried and the visible pieces are stable. Select fragments with no sharp exposed points, and do not place them where children might sit or where a string trimmer can throw them. This is best as a small accent around a container bed, not as the only barrier around a large lawn.
Repurposing has a safety threshold. If you need to sand, cap, bury, or constantly inspect a material to make it safe, a free brick or trench is a better bargain. Salvage should reduce waste and cost without transferring the risk to the person who mows, weeds, or walks past the bed.
Build small fences from scrap and pallet boards
19. Mini picket border. Short pointed or square stakes connected by two rails make a charming low fence around a front flower bed. Paint is optional; an unpainted, weathered finish is often more forgiving. Keep the fence low enough to see over and anchor every section so it cannot fall into the lawn.
20. Pallet-board strip. Break down clean, sound pallet boards and use them as a rough horizontal border for a raised bed. Reject boards with chemical-treatment markings you cannot identify, oil contamination, mould, or broken fasteners. The result is useful where a rustic look is welcome, but the labour of dismantling and sorting pallets is part of the real cost. A trusted gardener’s DIY edging guide makes the same useful point about treating salvage labour and lifespan as part of the budget.
Fences define space without needing to hold much soil. If the ground is sloped, do not assume a taller fence makes it a retaining wall; step the sections with the slope or use a properly designed structure. Water must still be able to drain, and plant roots should not be pressed against damp timber.
Try recycled plastic or rubber strips
21. Flexible recycled-plastic edging. A low recycled-plastic strip can trace smooth curves and is easy to install with stakes. It works best when the top is flush or slightly below the lawn so a mower does not strike it. Check that the product is intended for outdoor ground contact, and avoid thin material that kinks, cracks, or lifts in your climate.
22. Recycled-rubber border. Rubber edging flexes around curves and contains loose wood chips well. It is comfortable around play areas because it has no sharp stone corners, but it can look more manufactured than natural materials and may shift in loose soil. Anchor it thoroughly and keep the surface free of exposed fasteners.
Plastic and rubber are often sold as “no maintenance,” but every flexible edge depends on good anchoring. Inspect after the first heavy rain and after winter movement. A small reset while the line is accessible is cheaper than mowing over a lifted strip until it tears.
Choose slim metal edging for long runs
23. Aluminum strip. Aluminum creates a thin, nearly invisible separation and bends around broad curves. It is light and resists rust, but that lightness means it may move in loose or sandy soil unless the stakes are secure. Use it where a clean line matters more than a visible decorative edge.
24. Steel strip with a natural patina. Steel is heavier and can hold a long run firmly when installed correctly. Its weathered colour suits grasses, stone, and naturalistic planting. Wear gloves while handling it, smooth or cap cut ends, and check every exposed top edge before the bed is opened to barefoot traffic.
25. Corrugated metal accent. Short sections of corrugated metal can edge a modern raised bed or define a small planting zone. Use only material without sharp corrosion, exposed nails, or unknown coatings, and bury or finish the top safely. It is an accent solution, not a reason to create a tall metal wall that overheats a narrow root zone.
Metal costs more than a trench but can repay that cost on a long, visible boundary because it is thin, repairable, and compatible with curves. The installation still matters: set it deep enough to resist movement, leave the top out of the mower’s path, and do not use it to hold back a bank of soil unless the product and structure are designed for that load.
Use pavers, scallops, and cinder blocks
26. Concrete paver mowing line. Reuse pavers from a removed path or buy mismatched units cheaply from a salvage yard. Set them flush beside the lawn on a level base so the mower wheel has a firm runway. Even imperfect pavers look cohesive when the trench width and joint spacing stay consistent.
27. Scalloped pavers around a small bed. Curved concrete edging units add shape with minimal digging and are especially effective around a tree ring or compact flower bed. Because the repeating pattern is the feature, keep the planting inside it simple. Use a continuous soil contact line behind the scallops if mulch tends to spill through the gaps.
28. Cinder-block pockets. Lay cinder blocks along the edge of a raised or gravel bed, with the holes facing up for small tough plants or simply left empty. The units give a strong geometric line and can be found cheaply or reused from a project. Their weight and hard corners make them unsuitable for a narrow walking route unless they are set securely and clearly visible.
Pavers and blocks are often the best compromise when you need a visible, durable edge but do not want mortar. Their weak point is settlement: a unit laid directly on soft soil will tip. A compacted base and a final check with a straight board prevent the “one proud brick” look that makes a budget job seem unfinished.
Plant a living border instead of a hard edge
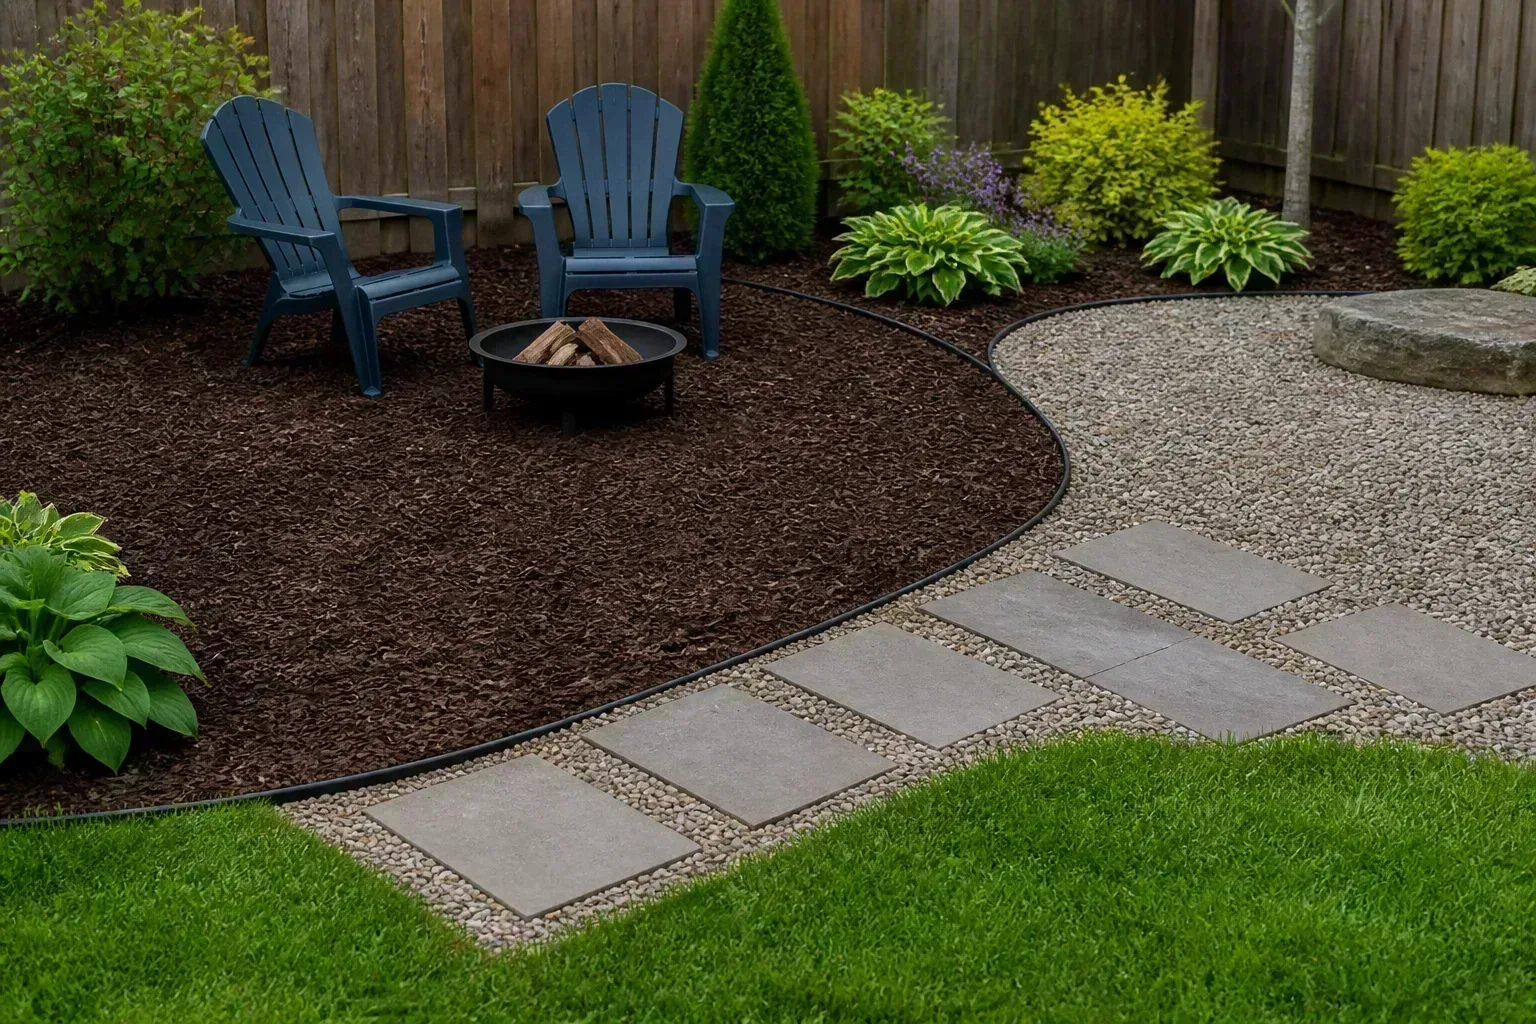
29. Divided low perennials. Use clumps you already own, or trade with a neighbour, to create a row of compact plants along the front of a bed. Chives, creeping thyme, lamb’s ear, and suitable local perennials can turn the border into colour, scent, and habitat. Space them for their mature spread rather than planting shoulder to shoulder, or you will create a crowded strip that needs constant trimming.
30. Native ground-cover ribbon. A low, non-invasive ground cover matched to your soil and light can soften the boundary of a pollinator bed or path. This is the most alive and changeable option: it takes time to fill, may need division, and can spread into the lawn if the species is aggressive. Choose plants with a known mature habit and keep a narrow mowing or trench line between the living edge and turf.
Living edges are beautiful but they do not perform the same job as a barrier. They can hide the line, reduce bare soil, and support insects, yet grass can still run through them and roots can compete with the bed behind. Treat them as the visible face of an edge and combine them with a trench or mowing strip when containment matters.
Install any budget edge in a reliable sequence
Start by walking the site at the time you use it most. Notice where the mower wheel travels, where water collects, where people step, and where a hose or wheelbarrow needs to pass. A beautiful border in the wrong traffic lane becomes an expensive nuisance.
Mark the line with a hose for curves or string for straight runs, then view it from the house, path, and any upper window. The RHS recommends avoiding frozen or very wet ground when creating a lawn edge; wet work can compact soil, while frozen ground resists a clean cut. Let the line dry enough to hold its shape before you install anything.
Cut and remove turf before placing the material. For a simple lawn edge, a cut around 7.5 cm (3 inches) deep creates a useful drop between grass and bed, according to the RHS’s lawn-maintenance guidance. That drop helps keep plants and mulch off the grass, but it is not a retaining wall; increase structural support rather than simply digging deeper if the bed is holding back soil.
Prepare the base according to the material. Brick, pavers, and flat stone need firm, level support; gravel needs a defined width and a plan for sweeping; timber, plastic, rubber, and metal need stakes or anchors that resist the site’s soil. Backfill both sides gradually, tamping as you go, and leave drainage routes open instead of sealing a wet bed behind an impermeable wall.
Finish by mowing or trimming, watering nearby plants, and checking the edge after the first rain. The RHS recommends regular trimming and annual redefinition for lawn edges. Put a recurring reminder on the calendar for a trench, living border, or loose-stone edge, because a five-minute seasonal reset is part of the design rather than evidence that it failed.
Match the material to soil, slope, mowing, and style
On a tight curve, choose a trench, gravel, small stone, wattle, rubber, or metal. Rigid timber and large rectangular pavers can work on a broad curve, but they require more cuts, joints, or compromises. On a straight vegetable bed, timber, brick, pavers, or a simple metal strip usually gives the cleanest result for the effort.
For heavy mulch or a slope, choose a slight drop plus a firm edge rather than relying on mulch alone. Flat stone, dry-laid brick, pavers, or timber can act as a low retaining lip when the ground is stable; for substantial grade changes, use a structure designed for soil pressure and drainage. Edging is not a replacement for a retaining wall.
For a frequently mowed lawn, flush brick, pavers, or crushed-stone mowing strips reduce awkward trimming. For a wildlife-friendly border, a simple trench and native planting may be more appropriate than a bright plastic line. For a front entrance, prioritize stable surfaces and rounded or buried materials; a clever salvage idea is not worth a trip hazard.
If the bed grows food, be conservative with unknown salvaged materials. Clean masonry, untreated natural stone, and clearly suitable garden products are easier to assess than painted boards, old railroad ties, mystery metal, or pallet wood with an unclear history. The cheapest trustworthy material is the one whose condition and intended use you can verify.
Avoid budget false economies
The first false economy is buying by the package instead of by the finished run. Measure the border, calculate the length, and price the base material, anchors, sand, delivery, and likely waste. A heavy material may be cheap at the salvage yard but expensive to transport; small bags of gravel may look affordable until you need dozens.
The second is skipping the base. Edging laid directly on loose soil tips, heaves, and creates gaps for grass. Even a free brick or stone line lasts longer when the trench is shaped, soft spots are removed, and the units are tamped into a firm layer.
The third is choosing the wrong maintenance promise. A trench needs recutting, mulch needs topping up, living plants need trimming, gravel needs raking, and untreated wood eventually rots. Those are not reasons to avoid inexpensive ideas; they are the labour costs you should compare before choosing.
Finally, reject anything that puts a sharp, unstable, contaminated, or mower-catching material in a high-traffic space. Glass, cut metal, splintered wood, unknown treated boards, and loose rocks can all be repurposed in the right place, but “free” does not cancel a safety problem. If a safer idea meets the same visual goal, use it.
Conclusion
The most successful budget garden edging is usually a small design decision repeated carefully: a clean trench, a level brick line, a narrow gravel strip, a few stable stones, or plants that are allowed to fill a border on their own schedule. You do not need one material around the entire property. Match the edge to the job, the soil, the mower, and the way people move through the garden.
Start with the material already available, test a short section, and watch what happens after rain and mowing. If the line stays stable and the maintenance fits your routine, extend it. If it shifts, sheds mulch, or creates a hazard, change the base or choose a different material before spending more on the same idea.