How to Prepare Your Garden for Spring in Seven Steps
Prepare your garden for spring with seven steps for frost timing, workable soil, lawn care, seedlings, containers, and mulch kept off stems and trunks.
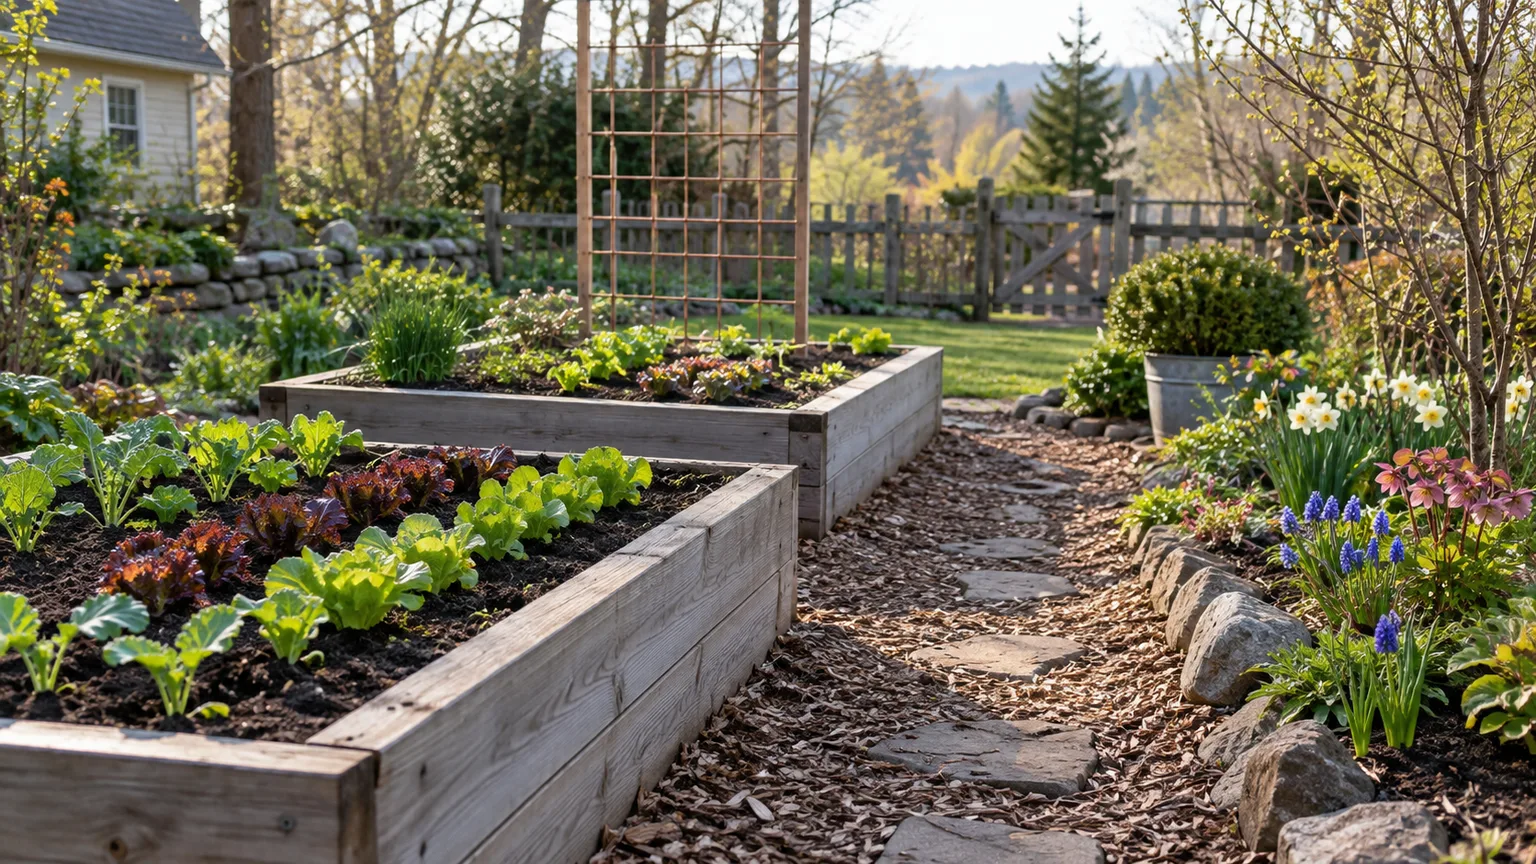
A spring garden is not ready just because the calendar says it is. A warm afternoon can arrive while the soil is still saturated, the nights still threaten frost, and tender plants are still living under indoor lights. The easiest way to avoid redoing work is to separate what you can do anytime—planning, checking tools, ordering seed—from jobs that need a dry bed, warmer soil, or a safe planting window.
This sequence is written for a temperate U.S. spring; subtropical and tropical climates should use local cool-season and warm-season calendars because their planting windows differ. Use these seven work sessions as a flexible checklist, not seven consecutive days. In a cold, rainy spring, the first three sessions may be useful while planting waits; in a mild climate, you may move through the sequence faster. The goal is a garden that is ready for the plants you actually intend to grow, without compacted soil, unnecessary fertilizer, premature mulch, or seedlings shocked by a sudden change outdoors.
Start With Weather, Not the Calendar
Hardiness Zone, Last Frost, and Soil Temperature Are Different Clues
Before buying flats of annuals or moving tomatoes outside, identify your local average last frost date and check the short-range forecast. An average date is a planning reference, not a promise: a cold pocket at the bottom of a slope, an exposed rooftop, or a sheltered urban courtyard can differ from the nearest weather station. Penn State Extension advises checking the forecast before planting tender annuals because frost, high winds, or heavy rain can still make a planned date a poor choice. Penn State Extension’s annual-plant guide
A USDA hardiness zone answers a different question. It describes the average annual extreme minimum winter temperature for a location, which helps you assess whether a perennial can survive winter; it does not tell you when to sow a spring crop or set out a frost-sensitive annual. Penn State Extension’s explanation of the USDA map Use plant labels and local extension planting calendars for crop timing, then use the forecast to decide whether this week is safe.
Soil temperature and moisture add two more gates. Peas, spinach, and other cool-season crops can tolerate conditions that would stall or injure heat-loving plants such as basil, peppers, and tomatoes, but each crop has its own germination or transplant needs. Follow the seed packet or a local vegetable-growing guide, and wait to dig or rake until a handful of soil crumbles instead of staying as a sticky, compressed lump.
Seven Work Sessions That Get a Garden Ready
1. Walk the Yard and Map Sun, Water, and Space
Start with a slow lap around the property before you move a single plant. Notice where puddles remain after rain, where last year’s plants were crowded, which beds receive the most direct light, and whether a fence, new tree, or building now shades a spot that used to grow well. A quick sketch with rough dimensions is more useful than a cart full of plants chosen at the nursery.
Record sunlight in the actual growing area rather than assuming that “full sun” means the same thing all season. Watch a vegetable bed at several times of day, note the location of water access, and leave reachable paths for a hose, harvest basket, or wheelbarrow. For flowers or vegetables that you plan to pair, prioritize compatible light, water, height, and spacing first; a companion-planting chart cannot compensate for a plant placed in the wrong conditions.
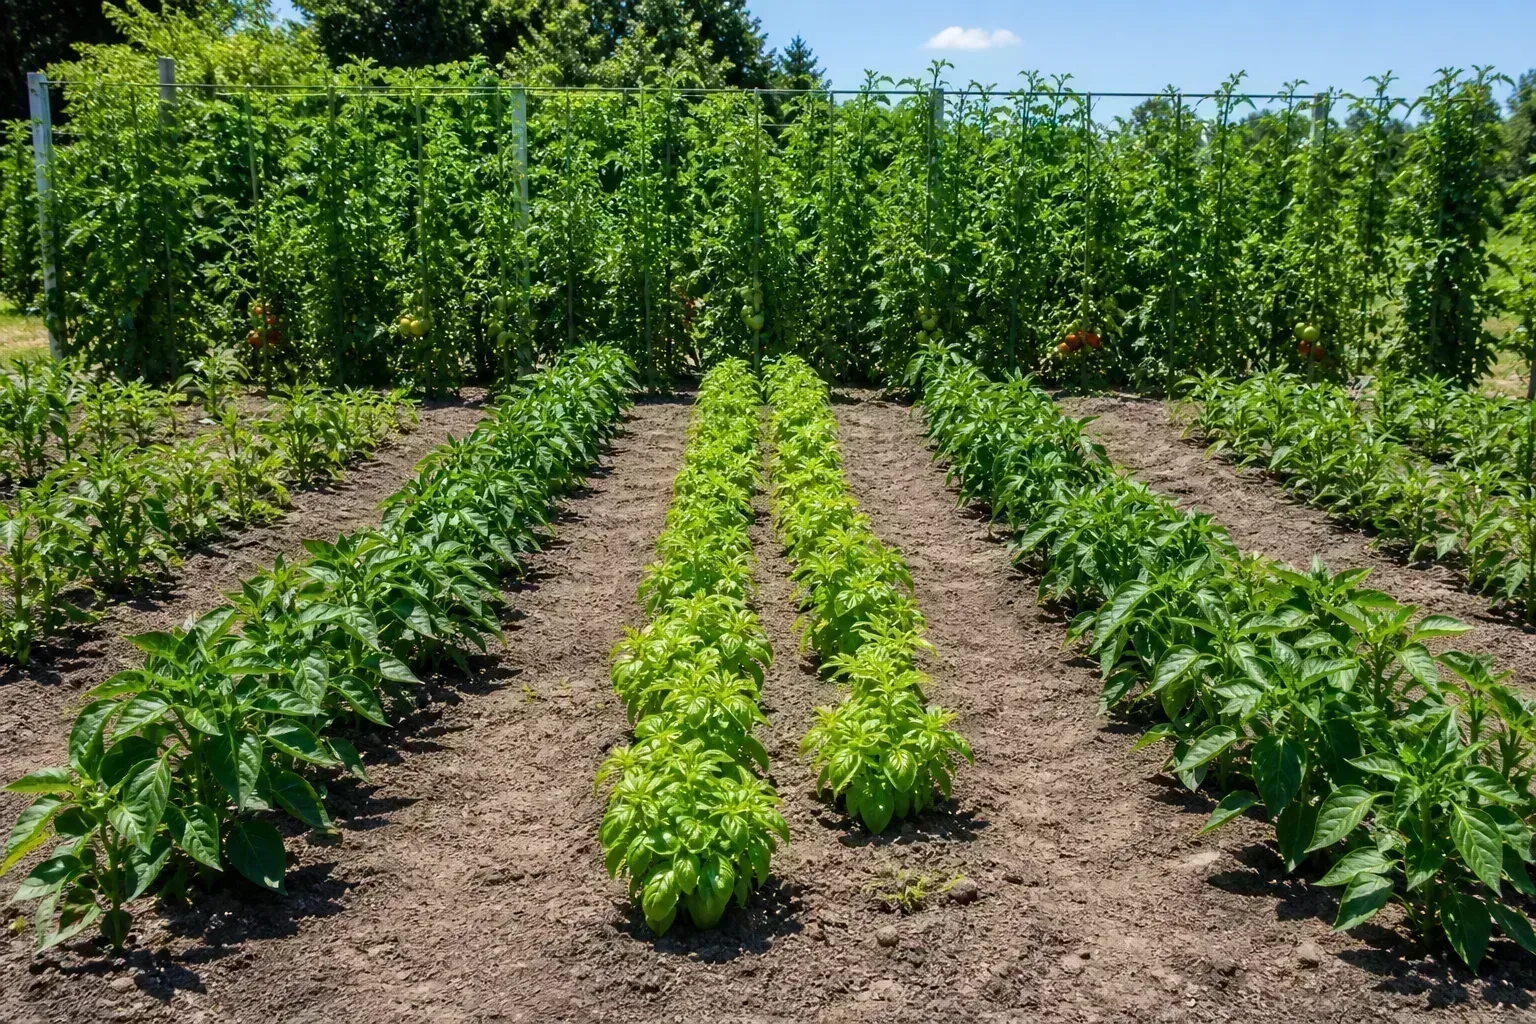
Use this walk to make a short shopping list: seed or transplants, compost if the soil needs it, mulch after the bed is ready, and any repair parts for irrigation or containers. A measured list makes it easier to skip decorative extras and avoid buying plants before you have a place to put them.
2. Clear Selectively and Protect the Soil
Pick up storm-broken branches, remove dead or diseased material, and pull weeds before they flower or set seed. If a plant was diseased, do not automatically chop it into a home compost pile; follow your local extension guidance for disposal, especially when the cause is unknown. Healthy leaves and stems can be sorted separately for compost or left in a designated corner if you want a less manicured, habitat-friendly area.
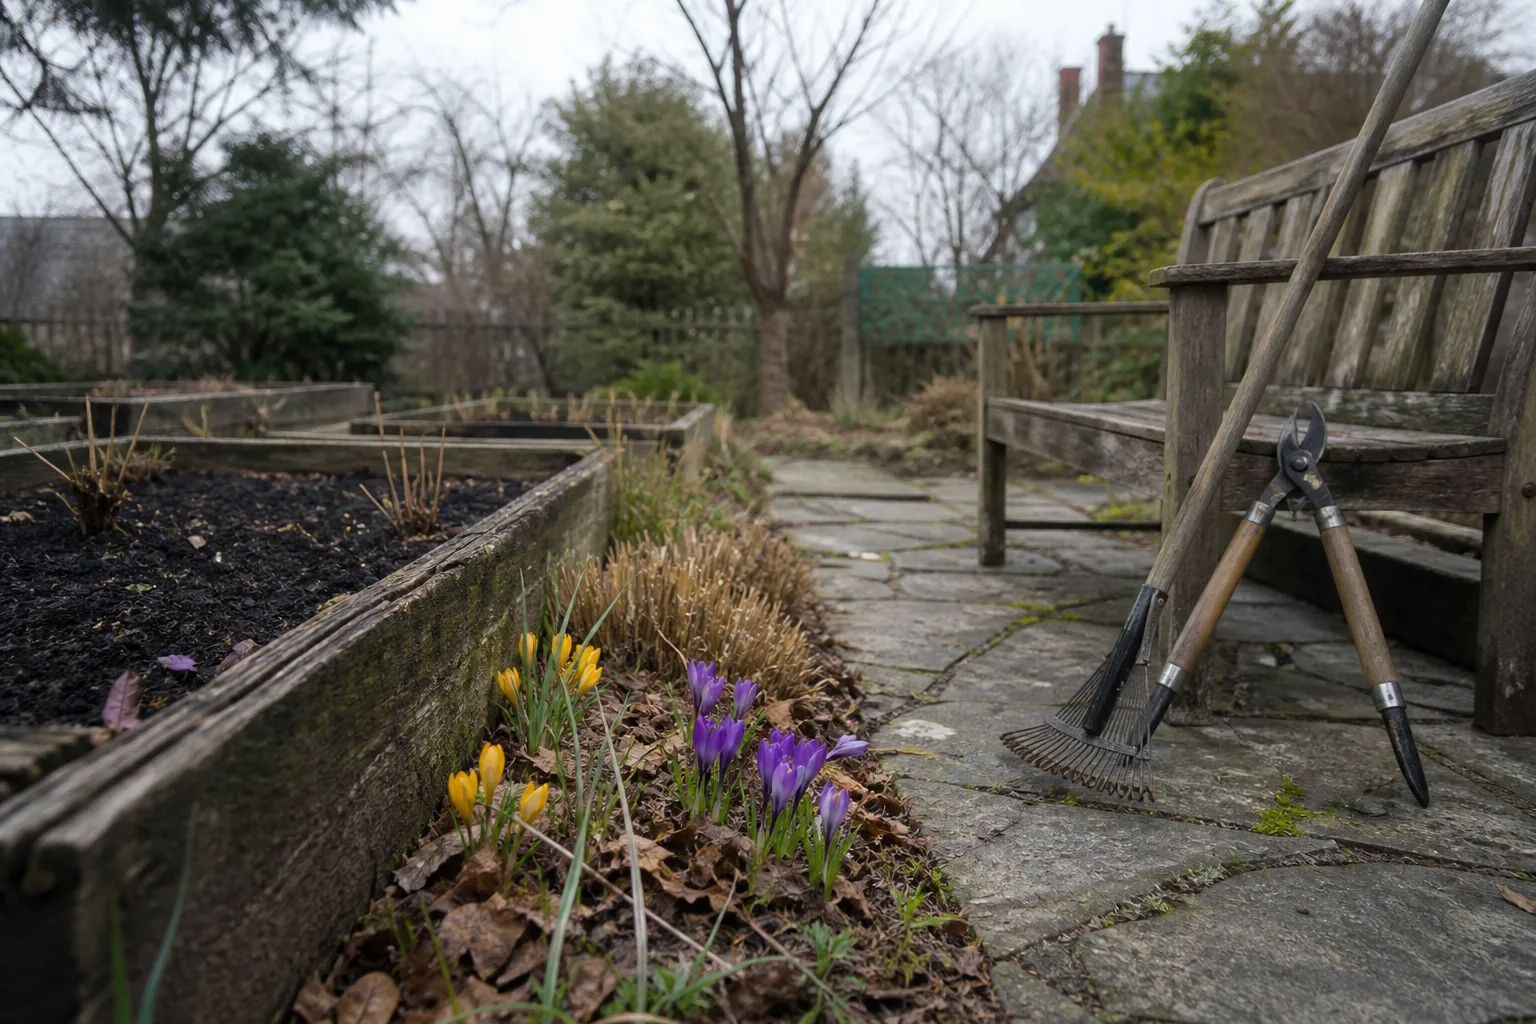
A whole-bed cleanup is rarely necessary on the first warm weekend. Old perennial stems can mark plant locations and protect crowns until new growth is easy to see, while leaf litter can insulate soil and shelter small organisms. Clear a walking lane and the areas where you plan to sow first, then remove the rest gradually when you can see what is waking up; use care around emerging bulbs and perennial shoots.
Lightly rake leaves off turf only when the ground is dry enough not to rut underfoot. Thick, matted leaf cover on a lawn can be moved to a compost pile or shredded for use elsewhere, but avoid dragging a heavy rake over wet grass or scraping bare soil around plants. Clean and sharpen hand tools now, and wipe off soil between jobs so you do not carry trouble from one bed to the next.
3. Test Soil Before You Feed It
A bag of fertilizer is not a soil plan. A soil test can show pH and nutrient levels and give crop-specific recommendations, helping you avoid adding lime or nutrients that the bed does not need. If the garden is new, has a history of weak growth, or has not been tested in several years, arrange the test before you buy amendments; Penn State Extension notes that sampling in early spring or late fall gives time to get results before applying lime or fertilizer. Penn State Extension’s soil-testing guide
For a representative garden sample, Penn State recommends collecting soil from 8 to 10 random spots in the garden at a depth of 6 to 8 inches, mixing those cores together in a clean container, and submitting the combined sample according to the lab’s directions. Sample lawns separately, since they have different depth and nutrient recommendations. Keep unusual zones—such as a bed that received lots of manure, a new raised bed, or an area with a distinct problem—separate rather than averaging it into the rest of the yard.
Once the report arrives, follow the recommendation for the crop or planting area listed on the form. More fertilizer is not a shortcut to faster growth: excess nutrients can harm plants, waste money, and move into waterways. Soil pH also changes nutrient availability, so resist adding lime, sulfur, coffee grounds, or other “quick fixes” just because a plant looks pale; first check the plant’s watering, light, roots, and soil-test results.
Compost is useful when the soil needs organic matter or structure, but it is not a universal substitute for a test. Penn State Extension warns that compost and manures vary in nutrient content and recommends basing fertilizer additions on test results. Its practical guide to healthy garden soil explains why soil structure, organic matter, water, air, and nutrients need to work together instead of being treated as a single “rich soil” goal.
4. Prepare Beds Only When the Soil Is Workable
Spring beds often tempt gardeners into digging too early. To check, take a handful of soil from several inches below the surface and squeeze it; workable soil should break apart readily when you open your hand. If it stays in a dense ball, feels slick, or smears against your glove, wait for it to dry. Working wet clay or silt squeezes out pore space and can leave hard clods that resist roots and water long after the surface looks dry.
Protect the bed while you wait by staying on paths and keeping carts, feet, and heavy equipment off saturated soil. When conditions are right, loosen only the area that needs planting rather than rototilling the whole garden every spring. Repeated tillage can break down soil aggregates, and freshly loosened soil can compact again if you walk or drive on it while it is wet.
For an established bed, remove weeds, inspect last year’s mulch, and add a thin layer of finished compost only if the soil or test results call for it. In a new bed, use a soil test and plant needs to decide whether to blend organic matter into the upper rooting zone or use another preparation method; do not bury plants in fresh, uncomposted wood chips. Penn State Extension notes that fresh wood chips mixed into soil can tie up nitrogen during decomposition, so keep coarse chips for paths or let them age before working them into a bed. Its healthy-soil guide
Raised beds warm and drain differently from in-ground beds, but they still need a moisture check. Top them up only after estimating how much mix settled and checking drainage; a deep refill with an unsuitable mix can bury crowns or leave a perched wet layer. If the bed has settled only slightly, level the surface and wait to see how it drains before buying more soil.
5. Tune the Lawn and Paths Without Overdoing Them
A lawn does not need an aggressive reset just because the beds are waking up. Once the surface is dry and firm, remove branches and thick mats of leaves, check the edges where grass is creeping into beds, and look for compacted or bare areas. If you see a few weeds, identify what they are before treating the whole lawn; a low, durable groundcover or a slightly wider planting bed may solve a recurring edge problem with less effort than fighting it every month.
Avoid mowing or driving a mower over saturated ground, and do not scalp grass to make it look “clean.” The right first mowing height and any fertilizer or reseeding plan depend on whether you have cool-season or warm-season turf and what your local extension recommends. If the lawn is thin across a large area, take a soil sample and identify the grass type before choosing a seed mix or applying a lawn product.
Use a clear edge between lawn and garden so mowing does not clip new plants or throw clippings over vegetable beds. Repair broken irrigation lines and hose connections before you plant around them. A modest cleanup, a sharpened mower blade, and a defined path are useful spring jobs; blanket fertilizer or weed-control applications are not automatic spring necessities.
6. Plant by Crop Type and Harden Off Seedlings
Divide your planting list into hardy cool-season crops, frost-tolerant ornamentals, and tender warm-season plants. Cool-season vegetables such as peas and leafy greens can often go out earlier than tomatoes, peppers, basil, and frost-sensitive bedding annuals, but the seed packet and regional planting guide should set the exact window. Penn State Extension distinguishes hardy annuals from tender ones and cautions that a frost can still damage tender plants even after a mild spell. How hardy are your annuals?
If you started seedlings indoors, acclimate them gradually instead of moving a tray directly into full sun and wind. Begin with sheltered outdoor time on mild days, increase light and exposure over about a week or two, and bring tender plants in when nights are cold or the forecast turns rough. Penn State Extension recommends a gradual 10- to 14-day process; the practical schedule at Growing in the Garden uses 7 to 10 days, so let plant response and weather—not the shorter number—set your pace. Penn State on transplanting annuals and Growing in the Garden’s hardening-off guide
A simple sequence is to start seedlings in bright shade or dappled light, add a little morning sun over several days, increase outdoor hours, and then leave them out longer as nights become suitable for that crop. Check moisture more often because wind and sun dry small cells quickly, but do not leave trays waterlogged in a cold spot. If leaves bleach, curl, or wilt while the mix is still moist, reduce exposure and give the plants time to recover before the next step.
On planting day, choose a calm, cloudy period or late afternoon, water the root balls, and set plants at the depth and spacing on the label. Firm the soil gently and water the bed so roots make contact with moist soil. Better Homes & Gardens’ flower-planting guide also emphasizes preparing the root area and adding mulch to slow evaporation and suppress weeds, rather than piling material against the plant. How to plant flowers
7. Mulch, Check Watering, and Ready Containers
Mulch belongs after you have weeded, planted, and decided where seedlings need open soil. Organic mulch can shade soil, conserve moisture, moderate temperature swings, and reduce weeds, but it also changes how quickly soil warms. UMN Extension notes that straw can suppress weeds and retain moisture while keeping soil cooler—useful for some cool-season crops, but a reason to delay mulching a bed that still needs to warm for heat-loving transplants. UMN Extension on mulch options
For many established landscape beds, a uniform 2- to 4-inch layer of suitable organic mulch is enough; use less where soil drains poorly, and count what remains from last year before adding more. Keep mulch several inches away from shrub and tree stems, and leave a tree’s root flare visible instead of building a “volcano” around the trunk. Penn State Extension’s mulching guidance describes both the spring timing and the problems that can follow from mulch that is too deep or pressed against bark.
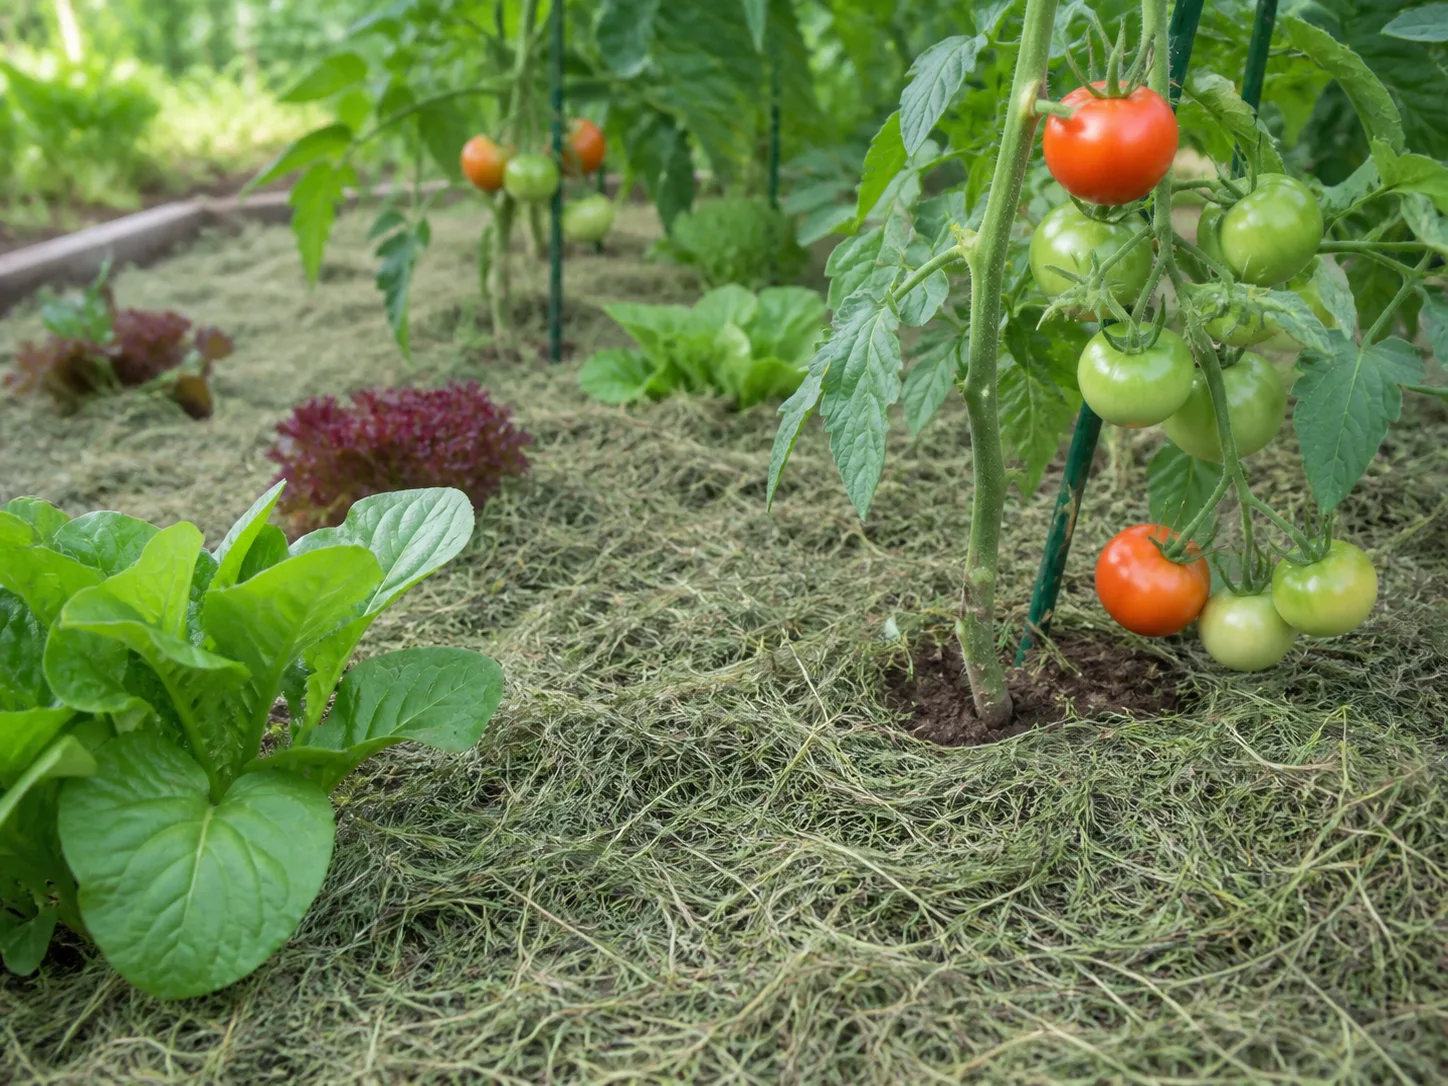
Choose the material for the job. Shredded leaves, clean straw, or fine bark can cover bed soil; straw can contain viable grain seeds, so know its source and inspect it as it breaks down. Use coarse wood chips mainly on paths or around established landscape plantings rather than incorporating fresh chips into the vegetable root zone. Keep seed rows exposed until seedlings emerge and the soil has warmed enough for the crop, then tuck mulch between plants without covering stems.
Before setting out pots, check every drainage hole and remove any compacted, crusted mix that no longer wets evenly. Empty old saucers, clean containers that held diseased plants, and replace potting mix when it is badly depleted or has a history of root problems. A container can dry faster and warm sooner than a garden bed, so put the pot where its plants receive suitable light and where you can check moisture without relying on a calendar.
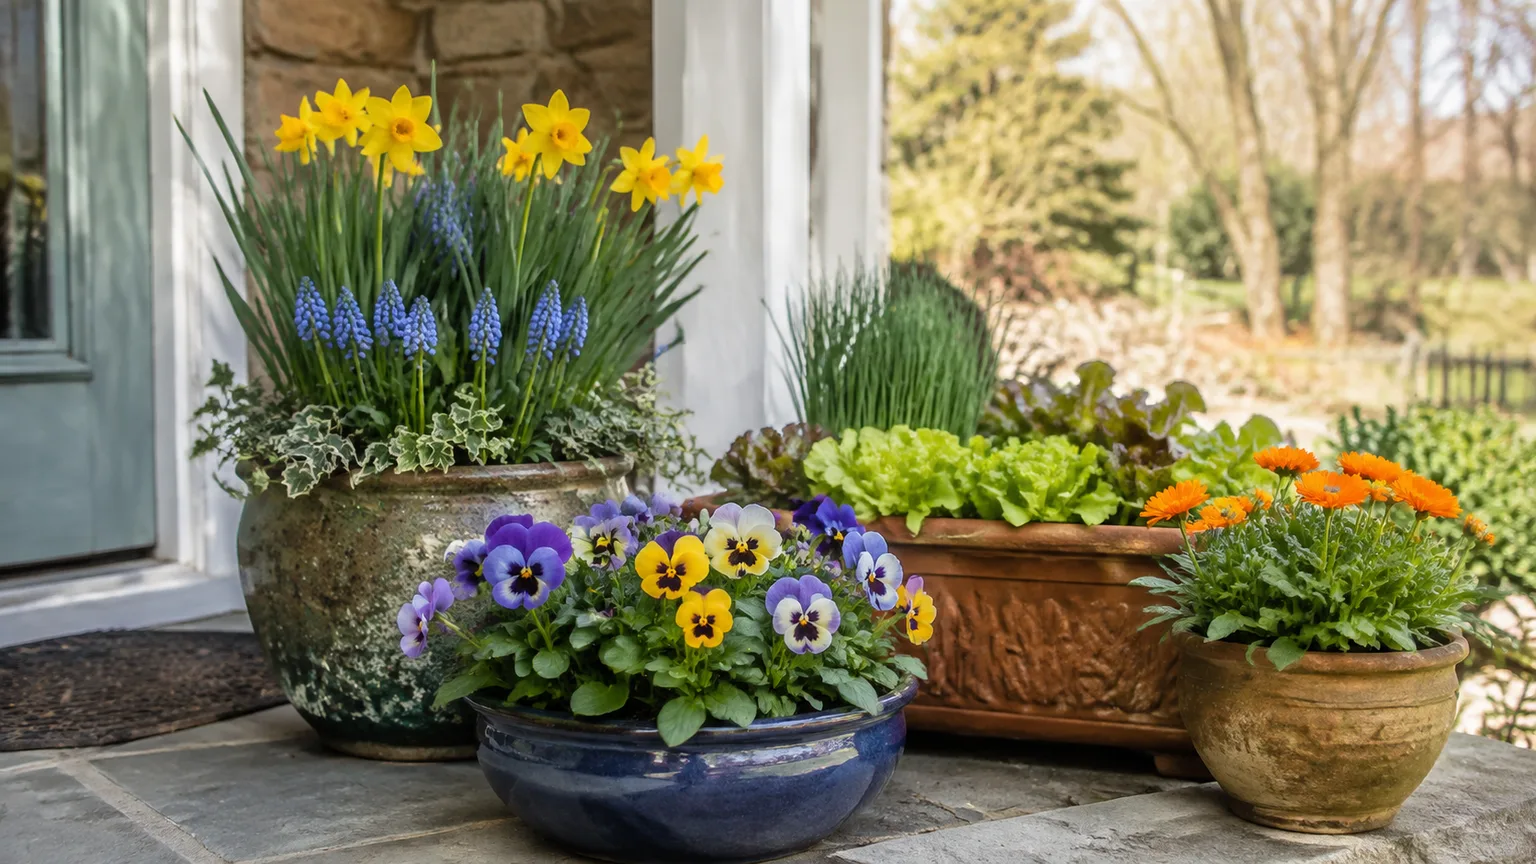
A small patio garden can be as productive as a bed if you match pot size to mature plant size, group plants with similar water needs, and plan where runoff will go. Fill containers with a suitable potting mix rather than heavy garden soil, which may compact in a pot. Hold tender annuals under cover when frost is forecast; a container’s roots and foliage are exposed to more air than those of a plant in the ground.
Adjust the Plan to Your Garden Type
In-Ground Beds and Raised Beds
In-ground beds benefit most from patience and a soil test. Check drainage after rain, avoid digging when wet, and put paths where you naturally walk so planting space does not become compacted. If the soil drains poorly every spring, consider a permanent path, a wider raised bed, or a different crop layout rather than adding sand or compost without checking what the soil needs.
Raised beds can make early-season work easier because the soil is accessible from paths and often drains sooner, but they still depend on the mix and the site below them. If water runs out quickly, check whether the bed mix is too coarse or organic matter has decomposed; if water sits at the bottom, clear blocked drainage and avoid adding more fine material. Keep the top surface level, leave room for mulch, and do not place new mix over emerging crowns or seedlings.
For either type, plan a simple rotation for vegetables if you have enough beds. Moving related crops to a different area can help you avoid repeating the same plant family in the same soil year after year; if you have only one small raised bed, focus on healthy transplants, spacing, sanitation, and soil-test-based inputs rather than forcing a complicated rotation you cannot maintain.
Patio Pots and Small Spaces
A balcony, front step, or sunny patio can support herbs, salad greens, compact vegetables, and seasonal flowers. First check load limits, drainage, wind exposure, and how many hours of sun the location receives; high balconies can dry pots more quickly than sheltered ground-level patios. Choose fewer, larger containers with drainage rather than crowding many tiny pots together.
Wash used pots, remove salt crust from the rim, and refresh the upper mix or repot if roots have filled the container. Do not reuse mix from a diseased plant, and do not assume that extra fertilizer fixes a root-bound plant or poor drainage. Set a hose or watering can nearby before the hottest days arrive, and group pots with similar moisture needs so it is easier to notice when one container dries much faster than the others.
When Spring Weather, Weeds, or Transplants Go Sideways
A cold snap appears after planting. Cover vulnerable plants with appropriate frost protection or move containers to a sheltered place, following local guidance for the material and temperatures involved. Do not treat the average last-frost date as a guarantee; check the forecast again before each tender planting.
The soil stays wet. Pause digging, bed preparation, and heavy lawn traffic. Use the wait to clean tools, sort seed packets, map the garden, repair irrigation, or test soil; none of those jobs require trampling a saturated bed.
Seedlings wilt outdoors. Check the growing mix before watering again. If it is damp, intense sun or wind may be the problem; return the plants to shelter and resume hardening off more slowly instead of adding fertilizer or soaking them repeatedly.
Weeds appear under old mulch. Pull small weeds while the roots are manageable, then check whether the mulch is still thick enough to cover the soil evenly. If you need a new layer, remove matted material and add only what is missing; covering a thick old layer with more mulch can create the very depth and moisture problems you were trying to prevent.
A plant looks weak after planting. Check its planting depth, root-ball moisture, drainage, and light before reaching for a pesticide or fertilizer. Penn State Extension recommends addressing growing conditions and identifying a pest before using a pesticide; seeing an insect or a damaged leaf alone does not establish that spraying is necessary. Penn State’s healthy-soil and garden-management guide
Conclusion
Spring preparation works best as a sequence of decisions: observe the site, clean only what needs clearing, test before feeding, wait for soil that crumbles, plant according to crop and frost tolerance, and mulch once the bed is ready. You can do much of that work while the weather is still unsettled, but soil work and tender planting deserve a pause when conditions are wrong.
If you do only three things this week, make them a garden walk, a soil test, and a realistic planting list tied to your local forecast. Once the bed is dry and the crop is ready, a modest amount of finished compost or mulch can support the soil; a last-minute pile of products usually cannot.



