Overplanting Landscaping Mistake: Fix Plant Spacing
Avoid the overplanting landscaping mistake with practical spacing rules, warning signs, a bed-audit checklist, and a step-by-step rescue plan.
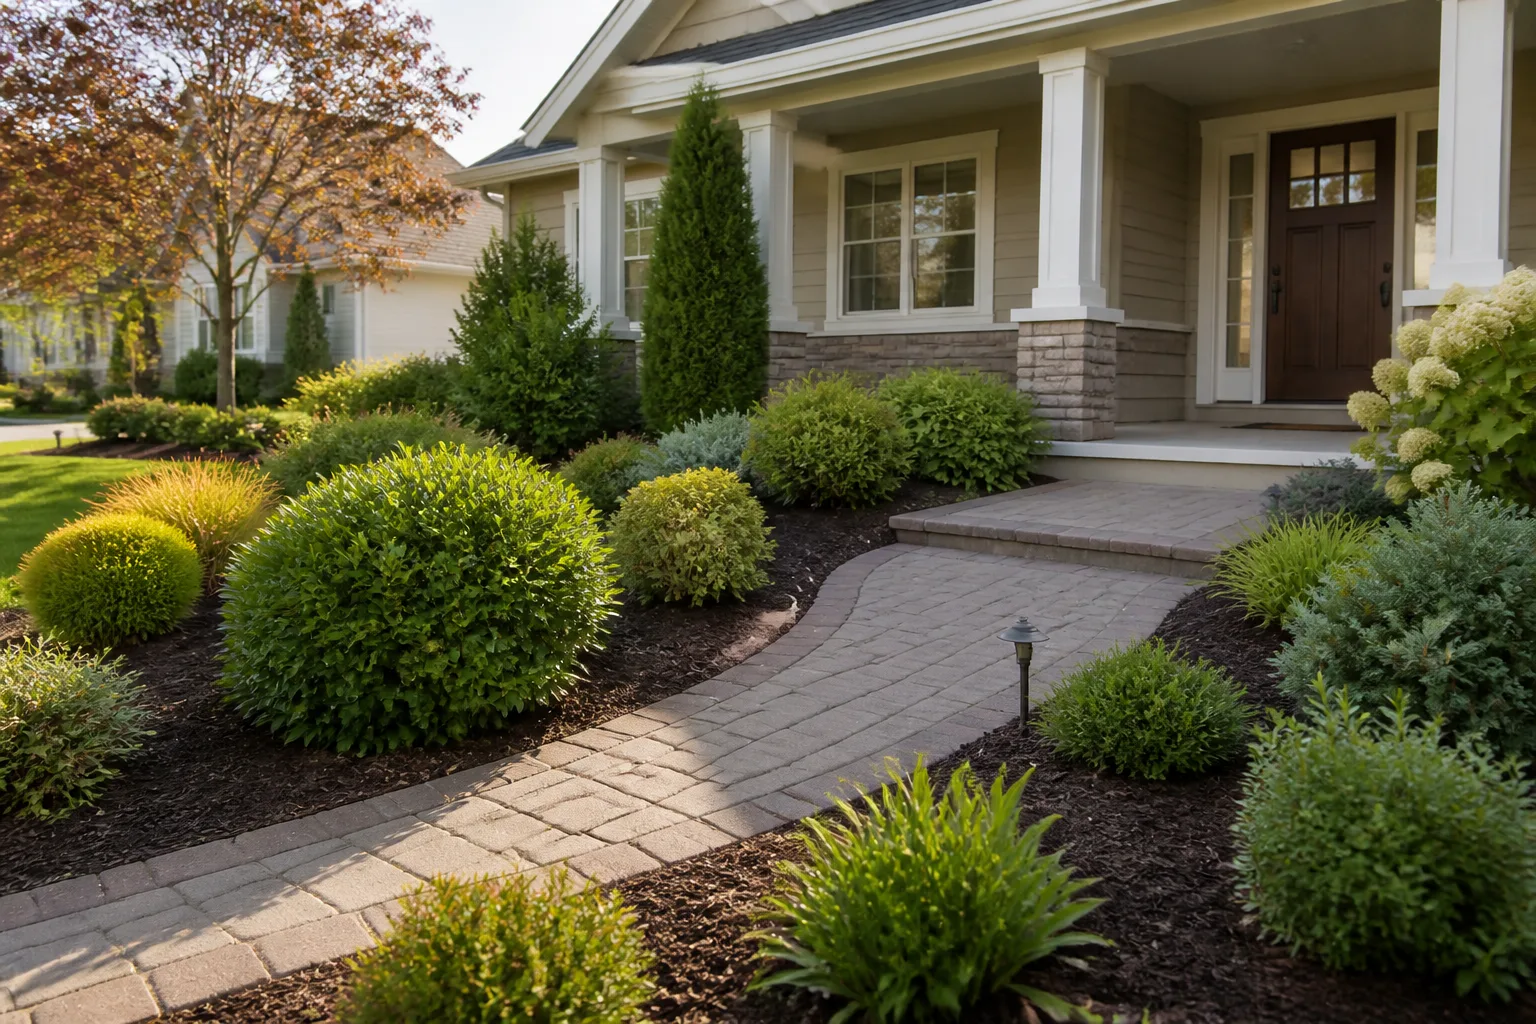
A new garden bed often looks too empty on planting day. That visual gap is where many landscaping mistakes begin: one more perennial, another shrub, a few extra seed packets, and suddenly every plant is competing for the same light, water, root room, and maintenance access. The bed may look lush for a few weeks, but the plants are being judged against the small containers they came in rather than the mature space they need.
Overplanting is not simply putting plants close together. It is placing more living material in a space than the site, soil, light, water supply, and gardener can support over time. A dense annual display can be intentional and temporary. A foundation bed filled with shrubs that will double in width is a long-term design error.
What overplanting actually means
Overplanting happens when mature canopies or root systems overlap so heavily that plants cannot perform normally, or when the bed becomes difficult to inspect, water, prune, weed, and reach. It can also happen underground before the bed looks crowded: shallow-rooted plants may be competing for the same thin layer of moisture while taller plants intercept rain and shade everything below.
The most useful test is not “Does this look full today?” It is “Can each plant reach its expected size and still have enough light, air, water, and access?” If the answer is no, the bed is overplanted even if no leaves are touching yet.
The difference between a full bed and a crowded bed
A well-designed full bed has layers. A tree or shrub provides structure, medium perennials fill the middle, and lower plants or mulch protect the soil. The layers occupy different vertical and seasonal niches. A crowded bed has several plants trying to occupy the same niche at once—three shrubs with the same mature width, or sun-loving flowers planted beneath a canopy that will soon shade them.
This distinction matters because “less is more” is not a rule against lush gardens. It is a reminder to choose fewer plants with enough room to become the plants you bought them to be.
Why plants fail when they are packed together
Competition for light, water, nutrients, and root room
Plants do not share a fixed supply of resources equally just because their leaves are different colors. A large shrub can intercept rainfall and cast shade over a perennial. A fast-spreading groundcover can occupy the upper soil layer before slower plants establish. Closely planted seedlings can become tall and weak as they reach for light rather than developing sturdy, balanced growth.
Crowding does not automatically cause yellow leaves or poor flowering; those symptoms can also come from drought, poor drainage, pests, nutrient problems, or unsuitable light. But dense planting makes each diagnosis harder because roots are tangled, soil dries unevenly, and you cannot easily inspect the base of a plant. The practical result is less growth for more watering, feeding, and troubleshooting.
Humidity, disease, and difficult maintenance
Leaves that stay wet, dense foliage with little breeze, and soil that cannot be reached easily create a more disease-prone microclimate. The exact risk depends on the plant, weather, irrigation method, and pathogen, so spacing is not a guarantee against fungal disease. It is a risk-reduction tool that improves drying and lets you remove affected leaves early.
Crowding also changes the economics of a landscape. You may spend more on replacement plants after weak ones decline, more on pruning when shrubs grow into paths and windows, and more on irrigation when roots occupy the wrong places. A bed with fewer, healthier plants often costs less over several seasons than a bed planted for instant fullness.
The mature-size rule that prevents most spacing mistakes
Use the plant’s mature width, not the pot width, as the starting point for spacing. A plant tag may list height and width, or it may use terms such as spread, clump width, or ultimate size. Those numbers are estimates, not a promise: climate, fertility, pruning, cultivar, and water can all change the result. They are still much better than guessing from a one-gallon container.
If a shrub is expected to reach 4 feet wide, placing two shrubs 2 feet apart may create a continuous mass eventually—but it may also make the center impossible to prune or inspect. For a formal hedge, closer spacing may be intentional and maintained with regular shearing. For informal shrubs, leave enough room for their natural habit and for a person to work around them.
Read width, height, and spread on the plant tag
Check four details before buying:
- Mature width: the horizontal space the plant is likely to occupy.
- Mature height: whether it will shade plants behind or beneath it.
- Growth habit: upright, mounding, spreading, suckering, clumping, or vining.
- Site match: sun, drainage, soil, hardiness, and water needs.
Do not treat a dwarf cultivar and its full-size species as interchangeable. Also investigate plants described as vigorous, aggressive, naturalizing, or spreading. “Fast coverage” can be useful on a bank and a liability beside a narrow path.
How to calculate practical plant spacing
For a simple informal bed, start with the mature width of neighboring plants. Measure from the center of one planting spot to the center of the next, then adjust for the desired visual effect and maintenance access. A good first-season layout may look sparse because the plants are young. That is normal.
For example, two perennials expected to reach 24 inches wide can be planted about 24 inches apart center to center if you want them to meet at maturity. Use more space when you need airflow, want individual plants to remain distinct, or garden in a humid climate. Use less only when the species tolerates mass planting and you accept more division or thinning later.
When the tag spacing is a range
A spacing range reflects a design choice, not a contradiction. The closer end creates a quicker, more continuous display but increases the cost of plants and the need for division. The wider end saves money and improves access but leaves more visible soil while plants establish.
Choose the closer end for short-lived annuals, a deliberately massed meadow effect, or a bed you will thin on schedule. Choose the wider end for shrubs, long-lived perennials, drought-prone sites, and beds where you want to minimize pruning and irrigation.
Temporary gaps versus permanent structure
A new bed has a temporary phase. The gap between plants is not automatically a problem to solve. Cover bare soil with an appropriate mulch layer, use a temporary annual only if its water needs match the bed, or accept the gap while the permanent plants root in.
Avoid filling every opening with a permanent plant. That decision converts a temporary visual issue into a future removal job. Mulch should not be piled against stems, and it should not be used to hide drainage failure, but it is often a better short-term answer than adding a plant that will later be in the way.
Warning signs that a bed is overplanted
Look for patterns rather than one symptom. A crowded bed may show:
- plants leaning outward because the center is shaded;
- fewer flowers or smaller leaves despite adequate care;
- yellowing or declining foliage in the middle of a planting mass;
- leaves staying wet long after irrigation or rain;
- stems and roots that are impossible to inspect without moving neighbors;
- paths, windows, vents, or utility boxes disappearing behind growth;
- irrigation spray blocked by foliage or water pooling in one section;
- shrubs needing repeated hard pruning to stay in bounds;
- rapid spread into adjacent beds, lawn, or wild areas;
- a gardener avoiding weeding because there is no safe place to step.
One crowded season does not mean every plant must be removed. Start by identifying whether the problem is spacing, light, drainage, watering, or a plant that is simply in the wrong location.

How to plan a flower bed before buying plants
Map light, drainage, access, and views
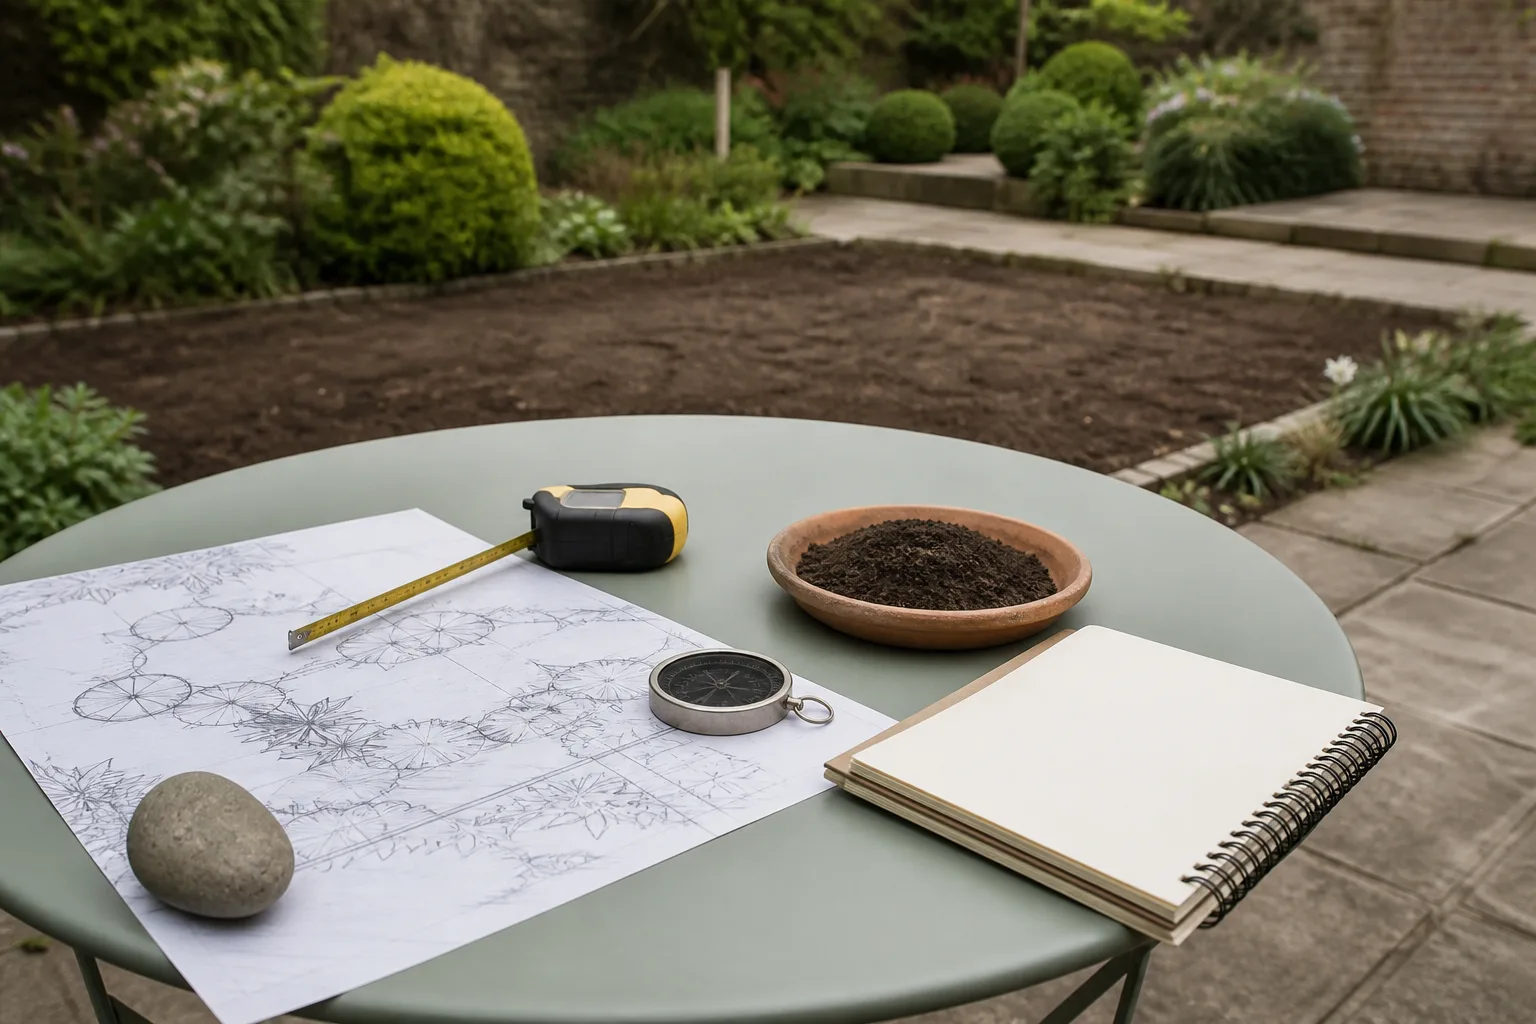
Spend a day observing the site before visiting the nursery. Note direct sun in the morning and afternoon, where roof runoff lands, where water stands after rain, and which views you want to frame or screen. Measure the bed’s length and depth, mark paths and hardscape, and leave access to hose bibs, meters, cleanouts, and air-conditioning equipment.
The RHS guidance on planning a border emphasizes understanding the site and designing the border as a composition rather than placing isolated plants. Penn State Extension’s principles of garden design is useful for balancing repetition, proportion, scale, and unity. Those principles help prevent a shopping-cart garden in which every plant is attractive but nothing relates to its neighbors.
Group plants by water and growth habit
Make three lists: permanent structure, seasonal color, and fillers. Put shrubs and large perennials on the plan first. Then place shorter plants where their mature height will not be swallowed by the plants behind them. Group plants with similar sun and water needs so you are not irrigating a drought-tolerant corner to satisfy a thirsty neighbor.
For a small bed, repeat a few plants instead of buying one of everything. Repetition creates rhythm and makes spacing easier to judge. The University of Minnesota Extension flower-garden design guidance also supports planning around mature size, color, texture, and season rather than treating a bed as a collection of unrelated specimens.
How to fix an overcrowded garden bed
Triage what to keep, move, divide, prune, or remove
Do not begin by cutting everything back. Label the plants or take photos, then decide in this order:
- Keep the best-positioned, healthiest structural plants.
- Move plants that are healthy but clearly in the wrong light, drainage, or mature-size zone.
- Divide clumping perennials if the species and season allow it.
- Prune only where pruning is appropriate for the plant and season; do not use repeated shearing to disguise a fundamentally wrong location.
- Remove invasive, diseased, severely declining, or structurally incompatible plants.
This sequence protects the plants with the greatest long-term value and avoids creating a bed of small, recently disturbed plants. If two shrubs are both healthy but one blocks a path, moving the smaller or more adaptable one may be easier than repeatedly cutting the larger one.
Replanting without creating a second problem
Transplant on a mild, less stressful day when the soil is workable, and water the root zone before and after the move. Keep the root ball intact as much as practical, replant at the original depth, and do not amend a small planting hole into a pocket of dramatically different soil. The best timing varies by plant and climate; a local extension service can be more precise for tender species or extreme weather.
After moving plants, expect a pause in growth. Transplant shock is not proof that the plant needed more fertilizer. Prioritize consistent moisture without creating waterlogging, protect the plant from avoidable heat or wind, and wait for recovery before making another major change.
When dense planting is useful—and when it is not
Dense planting is sometimes the right design. Annual bedding displays are often planted for a single season. A pollinator patch may intentionally combine species that fill in over time. Groundcovers can suppress weeds once established, and a hedge is supposed to form a continuous screen.
The difference is that these systems have a purpose, a compatible plant palette, and a maintenance plan. Density is risky when it is accidental, when plants have conflicting water needs, when a fast spreader can escape, or when you cannot reach the soil and plant bases. A dense planting that is inspected and thinned is not the same as a neglected planting that became dense by default.
Better ways to fill empty soil while plants establish
Start with mulch suited to the site and keep it away from stems and trunks. A temporary layer of finished organic mulch can reduce evaporation, moderate soil temperature, and make a new bed look intentional while permanent plants grow. It will not correct compacted soil or poor grading, so fix those underlying problems rather than adding more plants to hide them.
You can also use a temporary annual, but match its light and water needs to the permanent planting. Avoid reseeding plants or aggressive groundcovers unless you understand how they spread in your region. The USDA Plant Hardiness Zone Map helps with winter survival, but hardiness is only one filter; summer heat, rainfall, soil, and site exposure still matter.
Common spacing mistakes that cost money
The first is buying by container size. Small pots are easy to carry, but they are not a forecast of mature width. The second is using a “full sun” label without observing whether a shrub or tree will change that light in three years. The third is ignoring the width of paths and maintenance zones; a plant can be correctly spaced from another plant and still be badly placed beside a walkway.
Another mistake is treating pruning as a substitute for location. Pruning can shape a suitable plant, remove damaged growth, and preserve access. It cannot permanently turn a large shrub into a small one without repeated stress, flowering trade-offs, and labor. Finally, do not assume native or pollinator-friendly means small, tidy, or non-spreading. Check the mature habit and local behavior of every species.
A simple seasonal maintenance routine
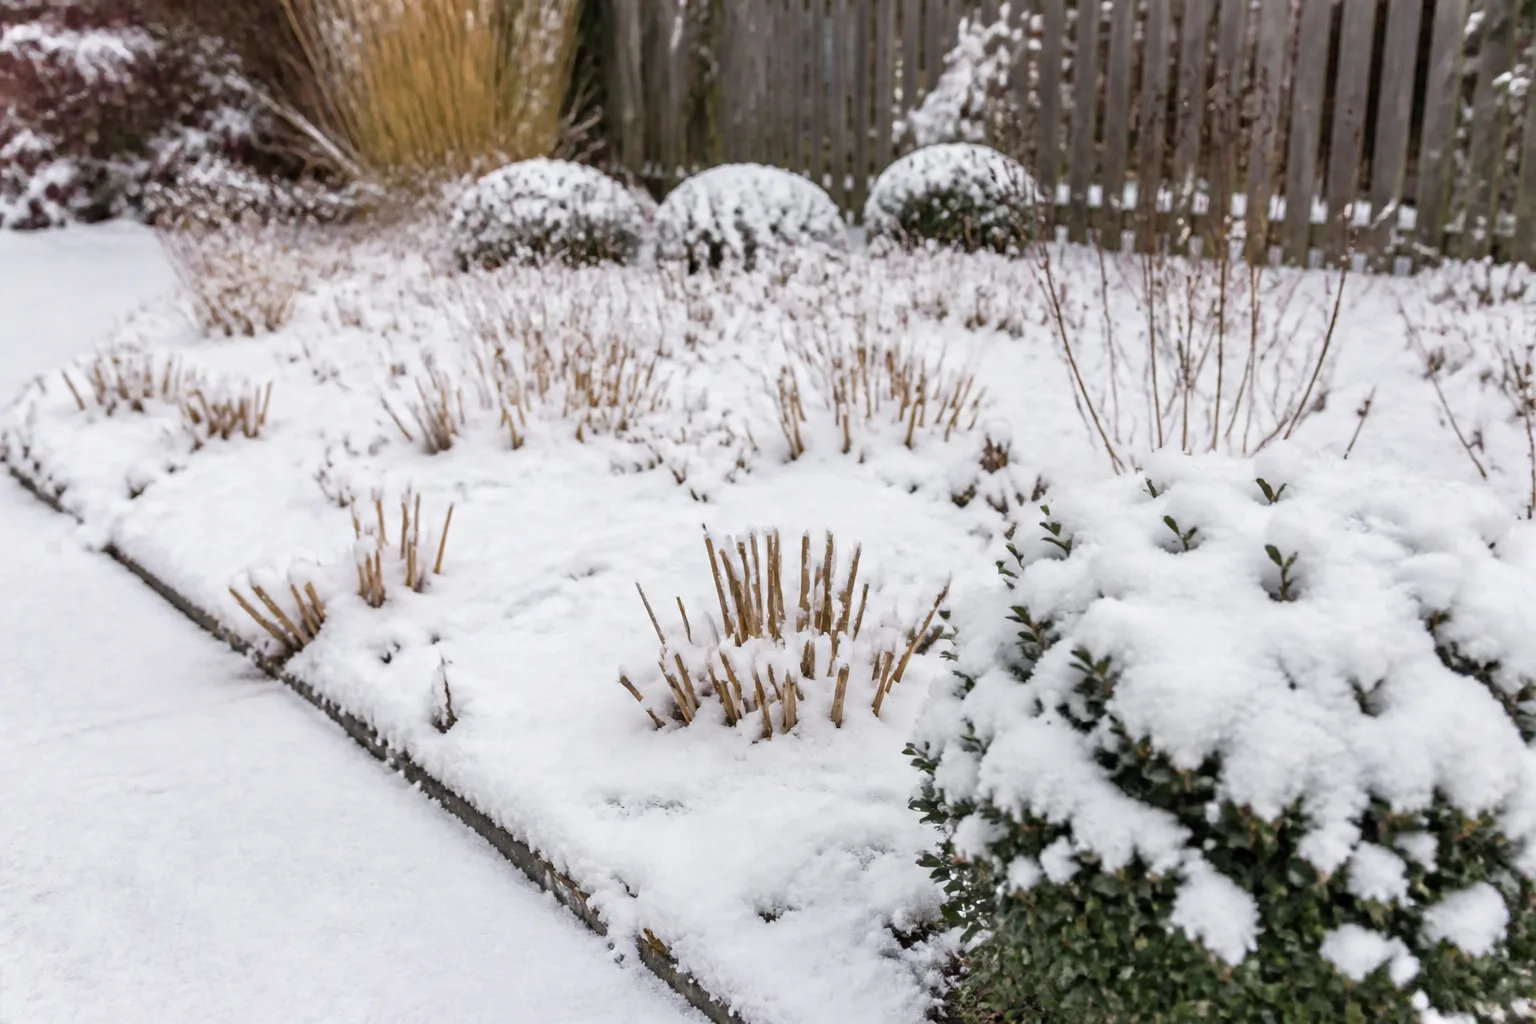
In spring, walk the bed before growth becomes dense. Look for winter damage, dead stems, emerging volunteers, and plants that have expanded beyond their intended footprint. Mark candidates for division after flowering or during the recommended dormant period rather than digging impulsively.
In summer, check the center of the bed, not just the front edge. Lift foliage gently and look for dry soil, persistent wetness, pests, and blocked irrigation. In autumn, photograph the structure and note which plants disappeared, leaned, or outgrew their neighbors. Those notes are more reliable than memory when you plan next year’s purchases.
The best landscape is not the one with the most plants. It is the one where the plants have room to develop, the gardener can reach the soil, water reaches the roots, and the composition still works as the seasons change.
Conclusion: design for the garden you will have
Overplanting is the biggest landscaping mistake because it disguises a planning problem as a quick path to beauty. A packed bed can be expensive, thirsty, disease-prone, and hard to maintain even when every individual plant was a good choice.
Before buying another plant, measure the bed, read mature widths, observe light and drainage, and decide which spaces are meant to stay open. Leave temporary gaps, use mulch thoughtfully, and choose density only when it is intentional and maintainable. The quiet space between plants is not wasted landscape—it is the room that lets the garden become healthy.



