6 Pruning Rules for Bigger Blooms Next Season
Prune flowering shrubs and perennials with confidence: choose the right season, cut to the right bud, and avoid common bloom-killing mistakes.
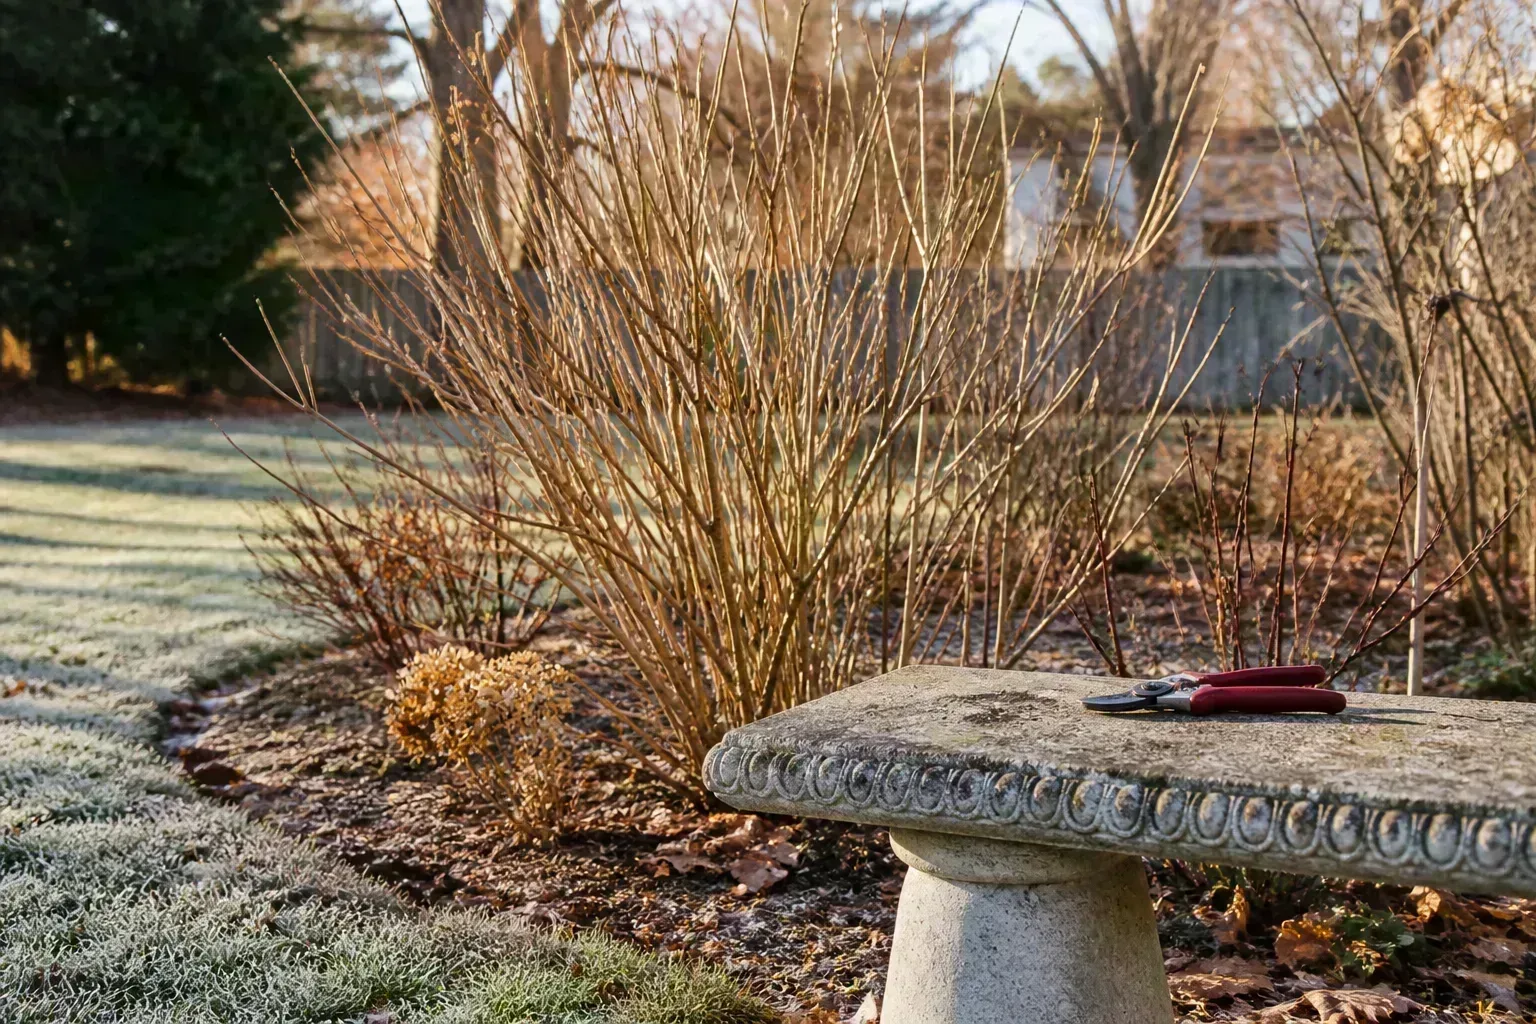
Pruning can make a flowering plant look tidier immediately, but the real payoff comes later. A well-timed cut preserves the buds that are already waiting, directs new shoots toward light, and replaces weak, crowded wood with growth that can carry flowers.
The most useful pruning habit is to pause before you cut and answer two questions: When does this plant bloom, and where are its flower buds formed? Once you know whether it flowers on old wood or new wood, the calendar becomes much easier. The six rules below then help you decide what to remove, where to place each cut, and when the job is finished.
First Decide When the Plant Makes Its Flower Buds
The phrase “prune for more blooms” is incomplete without a timing rule. Many spring-flowering shrubs make next year’s buds on this year’s stems. Many summer-flowering shrubs make buds on shoots that grow during the current season. Cutting both groups at the same time guarantees that one of them will be pruned at the wrong moment.
Think of a flower bud as a future appointment already written on a branch. Your job is to remove the branch only after that appointment has happened, or before the plant has written the next one. The RHS guide to pruning shrubs uses this same practical distinction while also allowing for evergreen and renovation exceptions.
Spring bloomers flower on old wood
Lilac, forsythia, azalea, rhododendron, many viburnums, and some hydrangeas typically flower on stems that grew the previous year. Their showy buds are often visible before spring arrives, even if you cannot identify every bud. The safe general window is immediately after flowering, while there is still plenty of warm growing season for replacement shoots to mature.
If you cut these shrubs in fall, winter, or very early spring, you may remove the flower buds that were formed months earlier. The plant can remain healthy, green, and vigorous while giving you almost no flowers. Virginia Tech’s flowering-shrub guidance explains why the bloom period, not simply the month on the calendar, controls the pruning decision.
Summer and fall bloomers flower on new wood
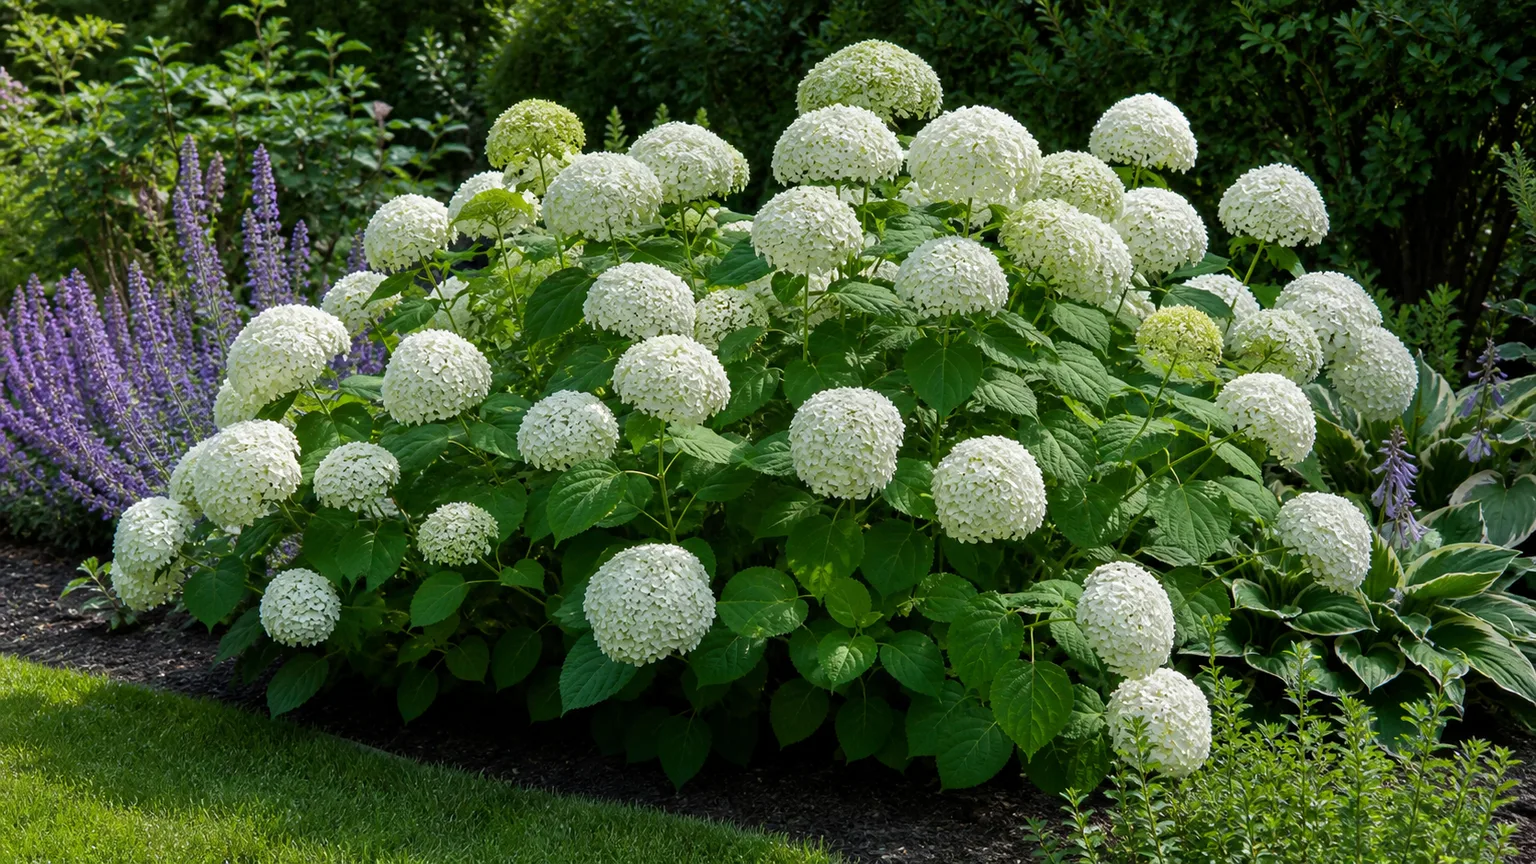
Butterfly bush, many shrub spireas, smooth hydrangea, panicle hydrangea, and crapemyrtle generally produce flowers on new shoots. These are usually pruned in late winter or early spring, just before active growth begins, so the plant has a full season to produce flowering stems. A light cleanup after flowering can sometimes encourage another flush, but it should not replace the plant’s main structural pruning plan.
The rule is not “always cut summer bloomers to the ground.” Cultivar size, stem strength, climate, and the desired shape still matter. The RHS guide to summer- and autumn-flowering shrubs recommends cutting last year’s flowering stems back to a low, sturdy framework while removing thin, weak, or dead growth.
Rule 1: Remove Dead, Diseased, and Damaged Growth First
Start with the three Ds: dead, diseased, and damaged. This is the one pruning pass that does not depend on whether a shrub flowers on old wood or new wood. A dead branch cannot make a flower, a diseased branch can spread trouble, and a broken branch is an invitation for decay and dieback.
Trace each suspect stem back to living wood before you cut. Dead wood is brittle and gray or brown beneath the bark; a living stem may show green tissue under a very light scratch, though do not keep scraping healthy branches just to test them. For diseased growth, cut well below the visibly affected section into sound wood, and keep the infected pieces out of the compost pile unless your local composting system reliably reaches temperatures that destroy the pathogen.
Make the cleanup pass before shaping
Remove branches that rub together, cross through the center, or grow toward a walkway or structure only after the three Ds are handled. Crossing stems can damage one another as they move in wind, while crowded growth dries slowly after rain and makes the interior harder to inspect. These are structure decisions, not excuses to thin every branch you can reach.
For vegetables and sprawling flowers, you can add a fourth D: dragging. Leaves or stems that rest on wet soil are more likely to stay damp and collect splash-borne disease. Lift, tie, or remove them according to the plant’s normal growth habit rather than stripping away healthy foliage that is still feeding the roots.
Do the first pass slowly. A shrub often looks dramatically different once dead twigs and one or two badly placed branches are gone, and that change may be enough. Colorado State University Extension places damaged and infected growth ahead of cosmetic pruning and cautions gardeners against removing too much live material at once.
Rule 2: Prune at the Safe Window for Your Plant
Use the plant’s bloom time as your first clue, then verify the species or cultivar if the flowers matter. As a broad rule, spring bloomers are pruned right after flowering; summer and fall bloomers are pruned in late winter or early spring before bud break. This simple split protects the largest number of common landscape shrubs.
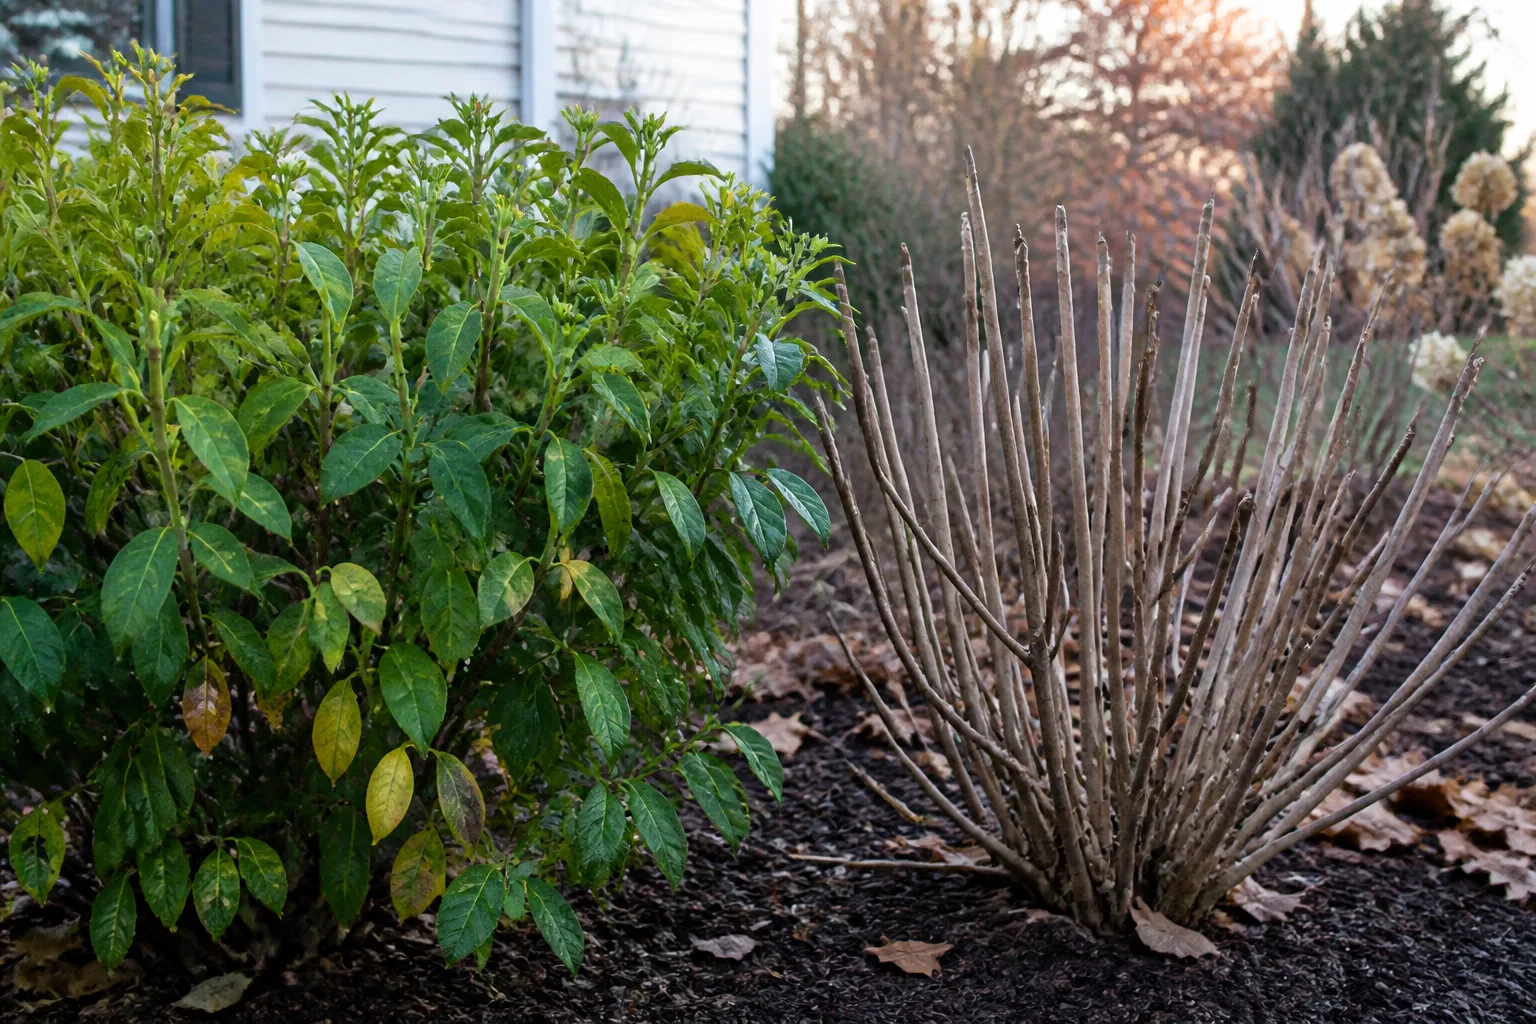
Climate shifts the exact date. A forsythia that flowers in March in one garden may flower weeks later at higher elevation or in a colder region. Watch the plant rather than relying on a universal calendar, and avoid pruning just before a forecast freeze if the cut is likely to trigger tender new growth.
Your garden’s weather history matters as much as the printed calendar. In a mild winter, buds may swell early and become vulnerable to a sudden cold snap; in a cool spring, the same shrub may remain dormant for weeks longer. If you are deciding between two possible pruning days, choose a dry day after the harshest freeze risk has passed and before the plant has invested heavily in fresh leaves. This timing reduces stress, keeps the cut surface drier, and gives you a clearer view of the branch framework.
Evergreens deserve a separate pause. They keep foliage and do not follow the same dormant-season rhythm as deciduous shrubs, and a severe winter cut can leave them poorly balanced when recovery is slow. Light shaping is often best after flowering or during the active growing season; renovation should be more conservative and tied to the specific plant.
Newly planted shrubs usually need only light shaping for their first few years. Their root systems are still establishing, so heavy pruning and heavy fertilizing at the same time can create a burst of top growth that the roots cannot support well. Remove defects, preserve a balanced framework, and let the plant establish before trying to force a particular size.
Hydrangeas are the classic reason not to guess. Bigleaf and mophead hydrangeas can flower on old wood, while panicle and smooth hydrangeas flower on new wood; reblooming cultivars may use both. If the label is missing and the plant’s type is uncertain, remove only dead wood and spent flowers for one season, then use the observed bloom timing to choose a stronger pruning plan.
Rule 3: Put Every Cut in the Right Place
A cut is not just a shortening operation. It changes which buds wake up, the direction of the new shoot, the size of the wound, and the way water moves across the cut surface. A clean, intentional cut is a small architectural decision for the plant.
Choose a bud, leaf pair, or branch collar
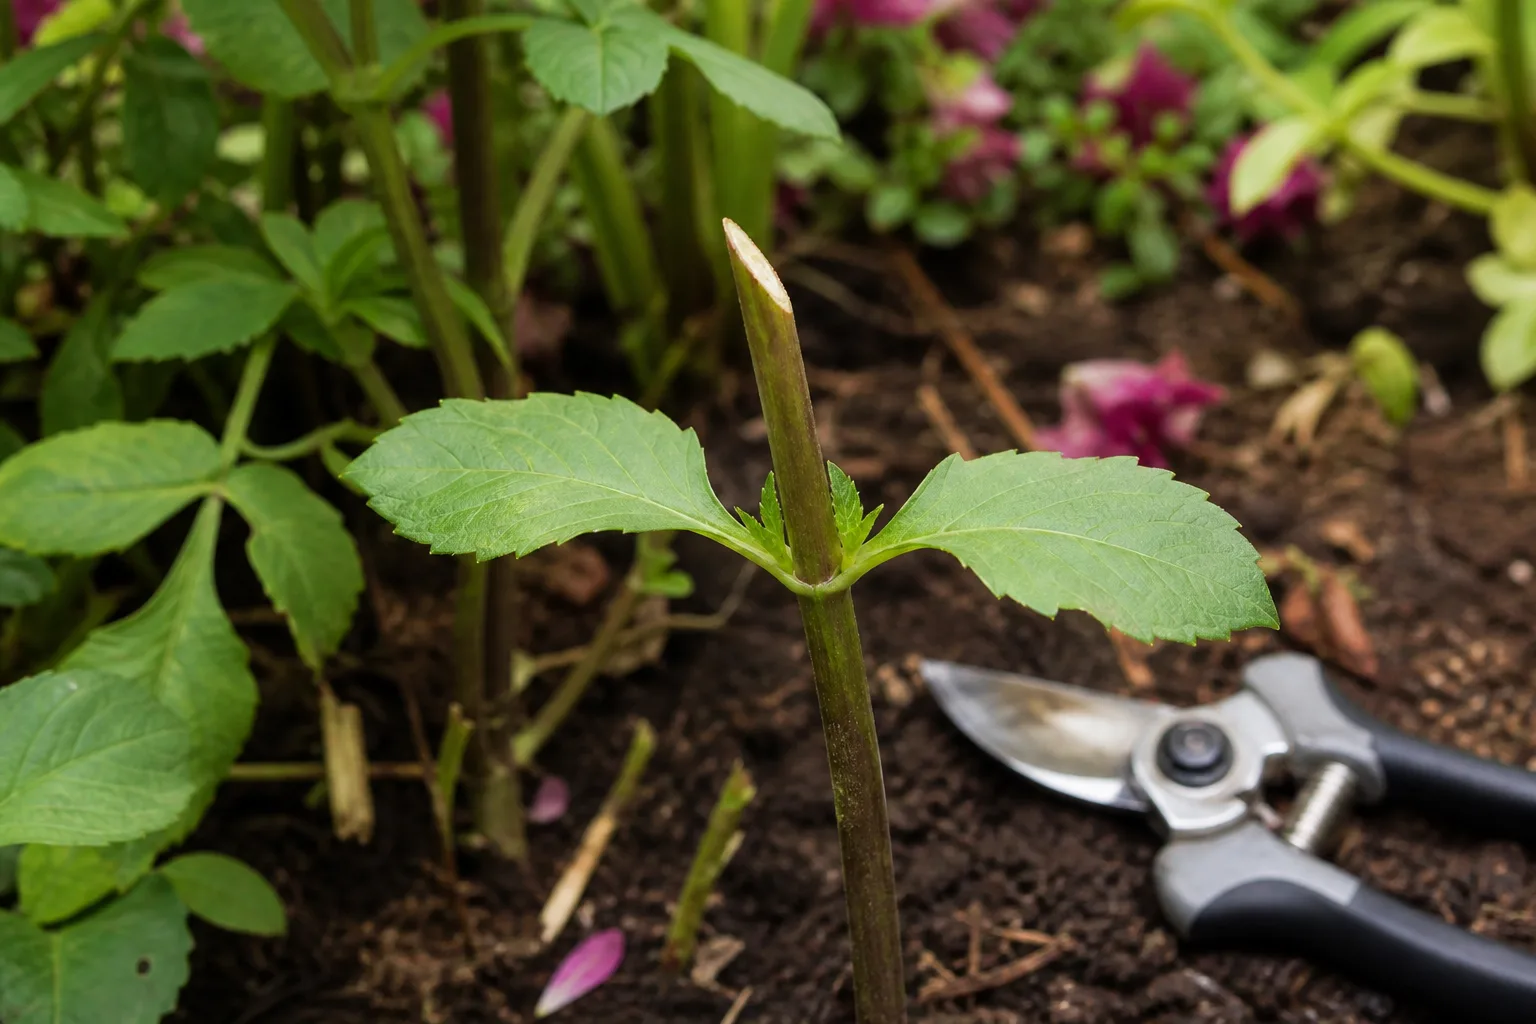
For a small stem, cut just above a healthy, outward-facing bud or leaf pair. The new shoot tends to grow in that direction, which helps keep the center open. Leave a short margin—about a quarter inch is a useful visual guide on many small stems—rather than cutting into the bud or leaving a long stub that will die back.
Make the cut at a slight angle so water does not sit on the cut surface. Do not obsess over a perfect angle if doing so makes you crush the stem; a sharp bypass pruner and a smooth cut matter more than a dramatic slant. On soft annual stems, pinching just above a leaf node can be enough.
For a larger branch, identify the swollen branch collar where it joins the trunk or main stem. Cut just outside that collar, preserving the plant’s natural boundary. A flush cut removes protective tissue, while a stub leaves dead wood that can decay. If a heavy limb might tear bark as it falls, use a three-cut method or have a qualified arborist handle it.
Avoid pruning sealers for ordinary garden cuts. Extension guidance from Colorado State notes that covering wounds can slow healing or encourage disease problems. The best protection is a correctly placed, smooth cut made with a sharp tool in reasonable weather.
Rule 4: Thin for Light Instead of Shearing the Outside
Flowers need light, and many woody plants flower most heavily on well-lit outer and lateral growth. If you shear only the tips, you create a dense green shell: the outside becomes leafy and flower-covered while the inside becomes shaded, bare, and increasingly woody. That shape may be appropriate for a formal hedge, but it is usually a poor strategy for an informal flowering shrub.
Use thinning cuts to remove an entire branch at its point of origin or shorten it back to a strong lateral branch. Step back after every few cuts. The goal is not to make the plant hollow; it is to allow a little more sunlight into the middle, improve air movement, and preserve enough foliage to keep the plant productive.
Open the center without stripping the plant
Imagine sunlight entering from the top and sides and reaching the lower interior branches. A naturally tapered shrub is often easier to keep productive than one whose top is wider than its base. This does not mean every shrub should be forced into a cone, but it does mean you should remove a few branches that block light rather than flattening the whole canopy.
Do not remove healthy lower branches simply because they are low. They may be carrying productive flowering wood and help the shrub look grounded. Remove a lower branch when it is dead, rubbing, diseased, obstructing access, or clearly inconsistent with the plant’s intended form—not as an automatic rule.
The one-third guideline is a useful guardrail, not a universal law. Avoid removing more than about one-third of a mature shrub’s live branches or leaf area in a single session unless you are following a species-specific renovation method. A drought-stressed, newly planted, slow-growing, or recently transplanted shrub may need much less.
Over-pruning often produces a flush of long, weak shoots called water sprouts. They may look like proof that the plant is responding well, but they can create a crowded canopy and do not automatically translate into more flowers. Good structure is slower and more selective: fewer cuts, better placed.
Rule 5: Deadhead With a Purpose
Deadheading is the removal of fading or spent flowers; it is lighter and more targeted than structural pruning. It can extend the display of many annuals and perennials by preventing or delaying seed production, and it can redirect the plant toward another flush of flowers when the species is capable of reblooming. It does not make every plant flower again.
Check the plant before you remove every seed head. Birds may use the seeds, dried heads can provide winter interest, and some gardeners want to collect seed. The RHS deadheading guide recommends leaving plants that produce decorative or wildlife-friendly seeds and notes that a few days’ delay rarely ruins flowering performance.
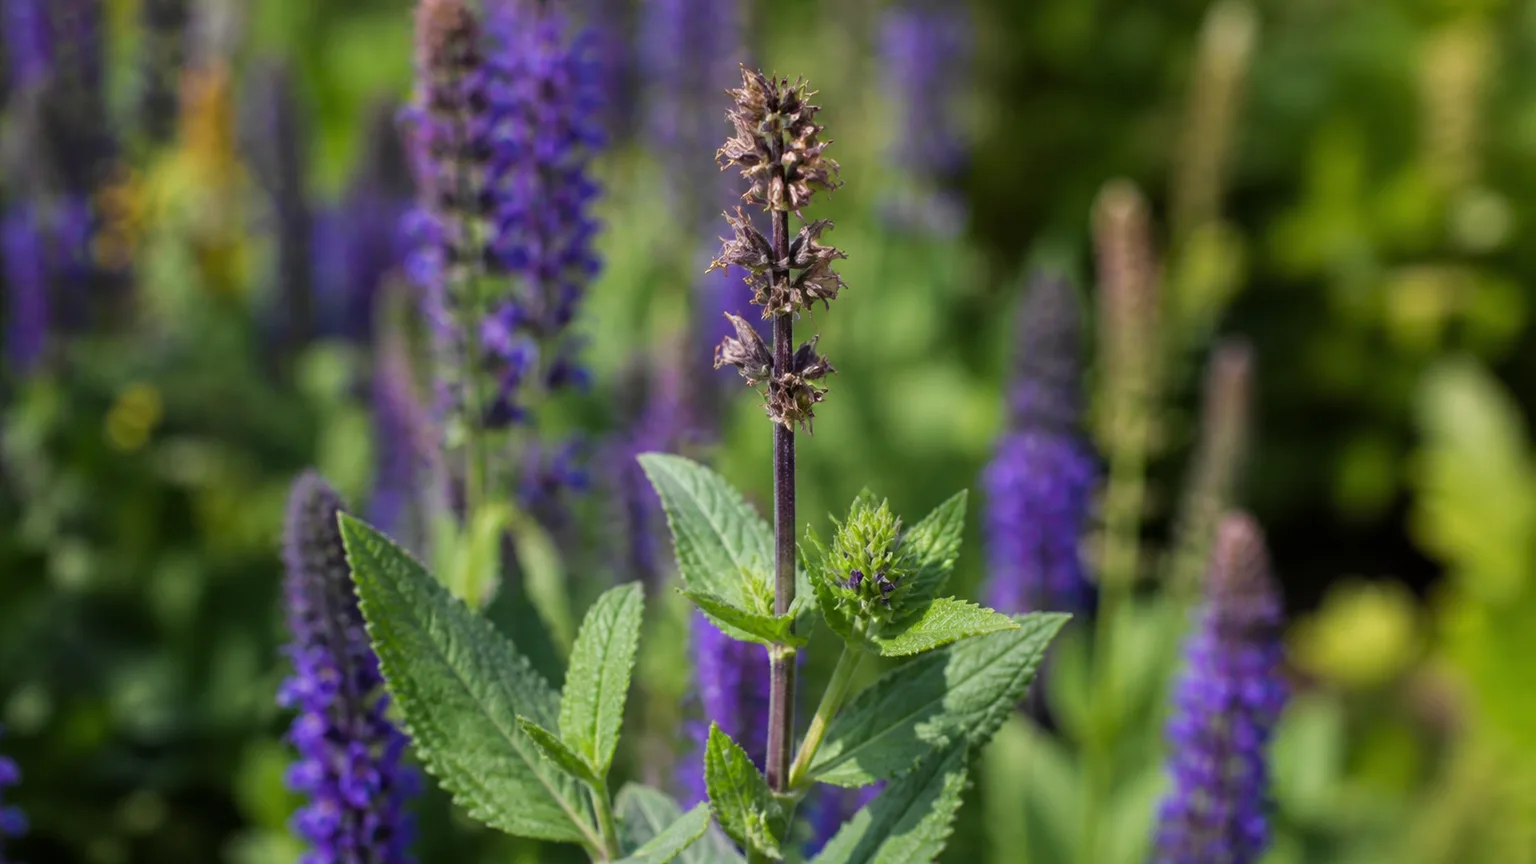
Follow a spent flower stem downward. For a single flower, cut just above the next healthy bud, leaf pair, or side shoot. For a cluster, remove the entire faded cluster once most of its flowers are finished, but do not cut below fresh buds that are still developing. On plants such as salvia, the visible brown spike may be only the top of a stem that still has green side growth below it.
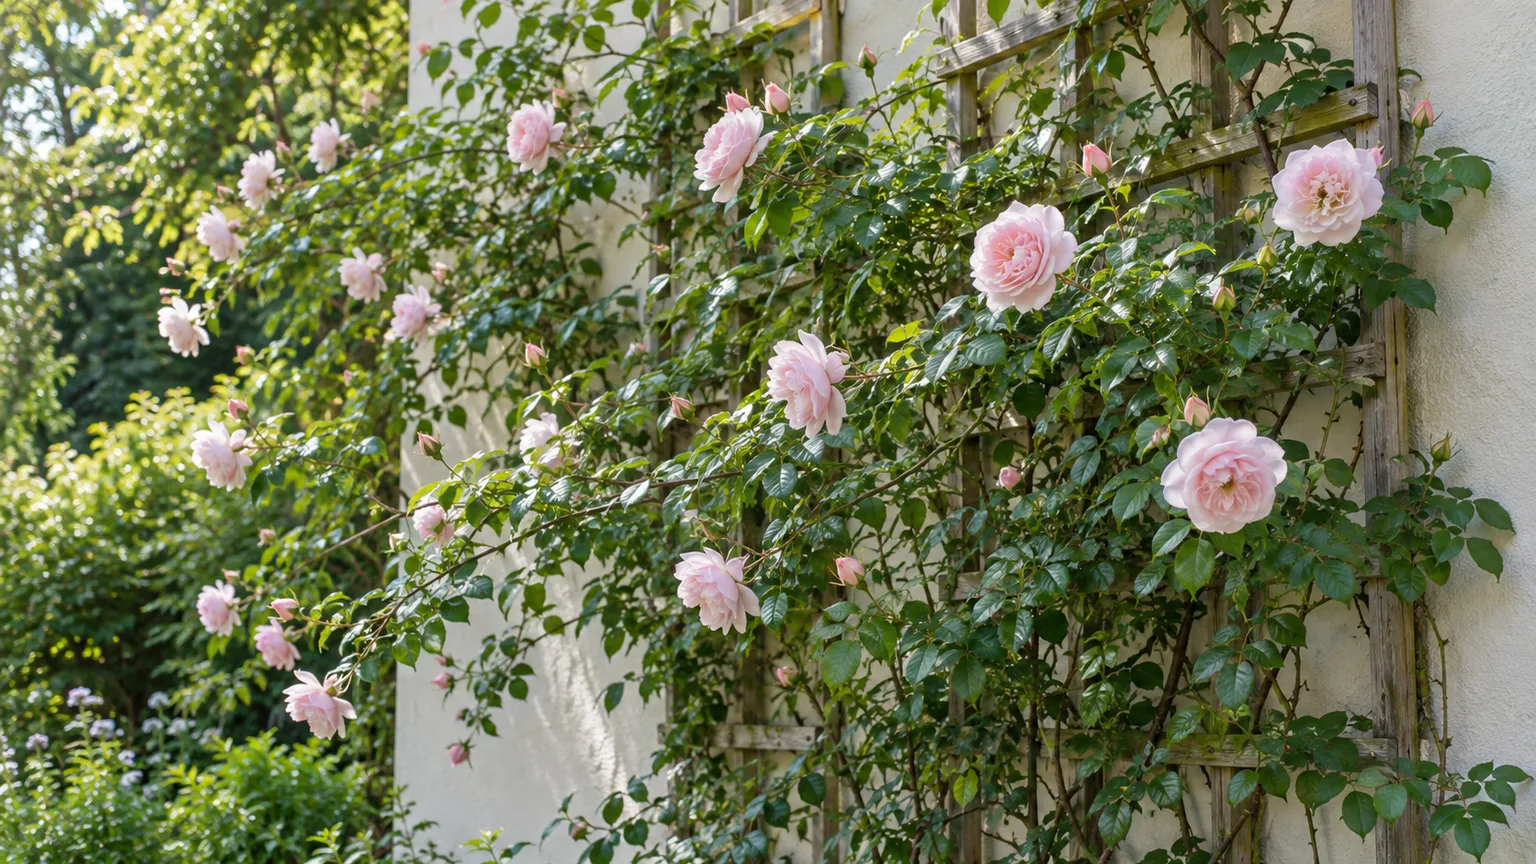
Deadheading roses illustrates why plant-specific observation matters. A repeat-flowering rose can often be cut back to a strong outward-facing leaf or bud, while a once-blooming shrub rose may be better left to form hips after flowering. For roses, Garden Gate’s pruning guidance recommends looking for a vigorous shoot and choosing a strong leaf with five leaflets when deadheading many repeat-flowering types.
With thick or stringy stems, use pruners rather than tearing the plant. Thin-stemmed bedding plants may be pinched between finger and thumb. For large flower heads such as peonies, removing the spent head can tidy the plant, but cutting away healthy foliage too early reduces the leaves that are rebuilding the underground crown for next year.
Rule 6: Use Sharp, Clean Tools for Every Plant
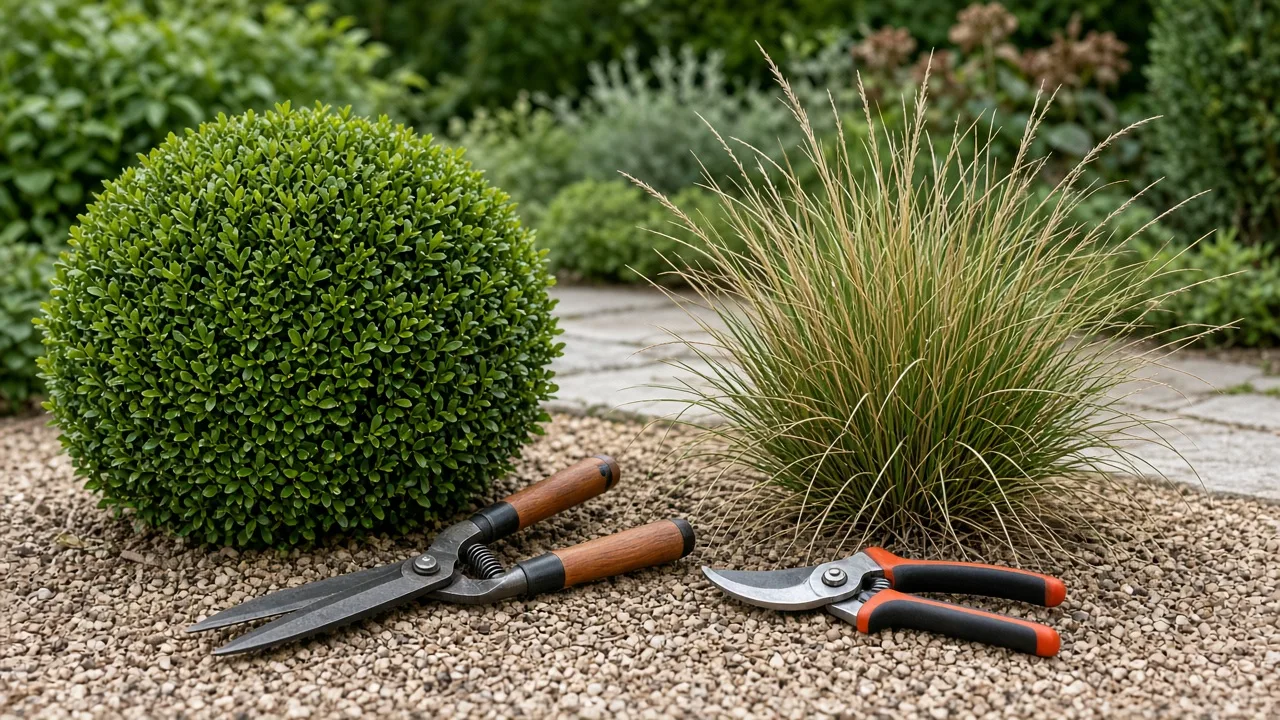
Sharp tools make smooth cuts with less crushing. A bypass pruner is the everyday choice for small live stems because its curved blade passes the fixed counterblade like scissors. Loppers add leverage for thicker branches, while hedge shears are best reserved for formal hedges or a light finishing pass on plants that tolerate shearing.
Do not use household scissors on woody stems or force a small pruner through a branch it cannot handle. If the tool twists, crushes, or leaves ragged bark, stop and change tools. Ragged wounds take longer to dry and make it harder to see the actual edge of living tissue.
Match the tool to the branch
Before you start, wipe sap and soil from the blades and check that the pivot moves freely. During the job, clean visible residue whenever you move from a diseased plant to a healthy one. At the end, wash away plant debris, dry the tool, and apply a small amount of tool oil to the pivot if the manufacturer allows it.
Disinfection is most important when disease is present or when you are moving between plants that could share a pathogen. Alcohol wipes or a suitable household disinfectant can be practical for a quick pass, but follow the product label, allow the blade to remain wet for its stated contact time, and keep disinfectant away from living plant tissue and soil. Cleaning removes debris; disinfection is the extra step that reduces the chance of carrying contamination.
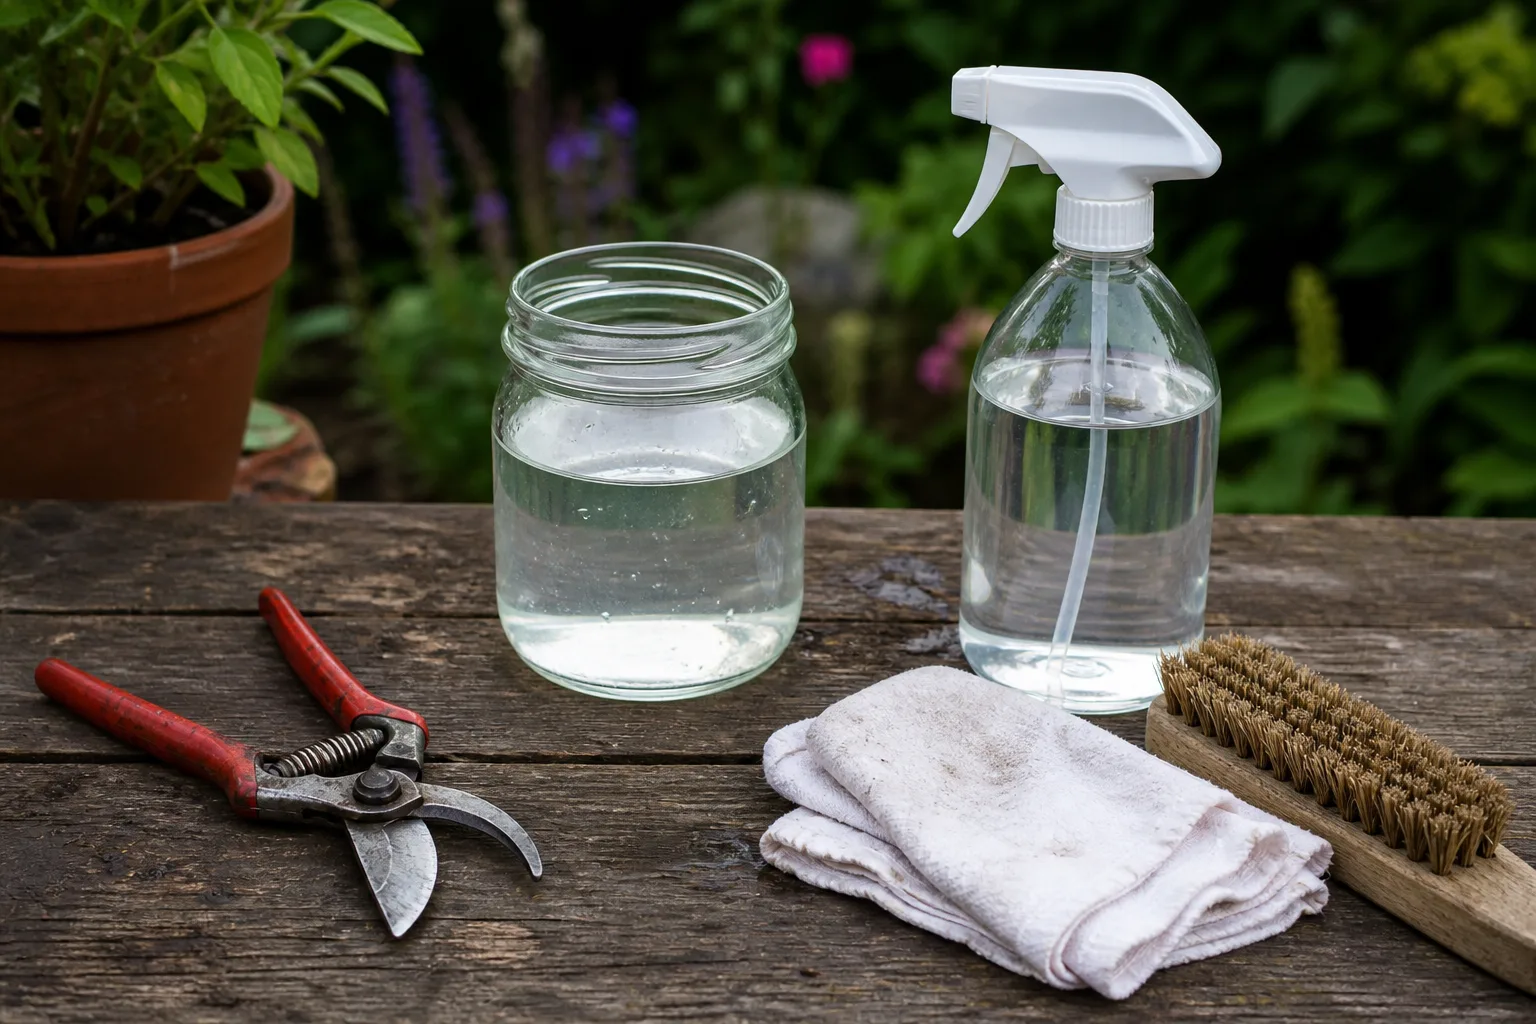
Work in dry conditions when possible, especially if you are making many cuts on disease-prone plants. Avoid handling visibly diseased material and then immediately deadheading healthy flowers without cleaning the tool. If a plant has a confirmed serious disease, keep its prunings separate and ask a local extension service how to dispose of them.
Repair an Overgrown Shrub in Stages
An old shrub with bare stems at the bottom and a dense tuft at the top usually needs renewal, not a frantic haircut. Cutting everything to a short stump may be appropriate for a few vigorous, new-wood bloomers, but it can remove a season of flowers, expose the plant to stress, or overwhelm a slow-growing shrub.
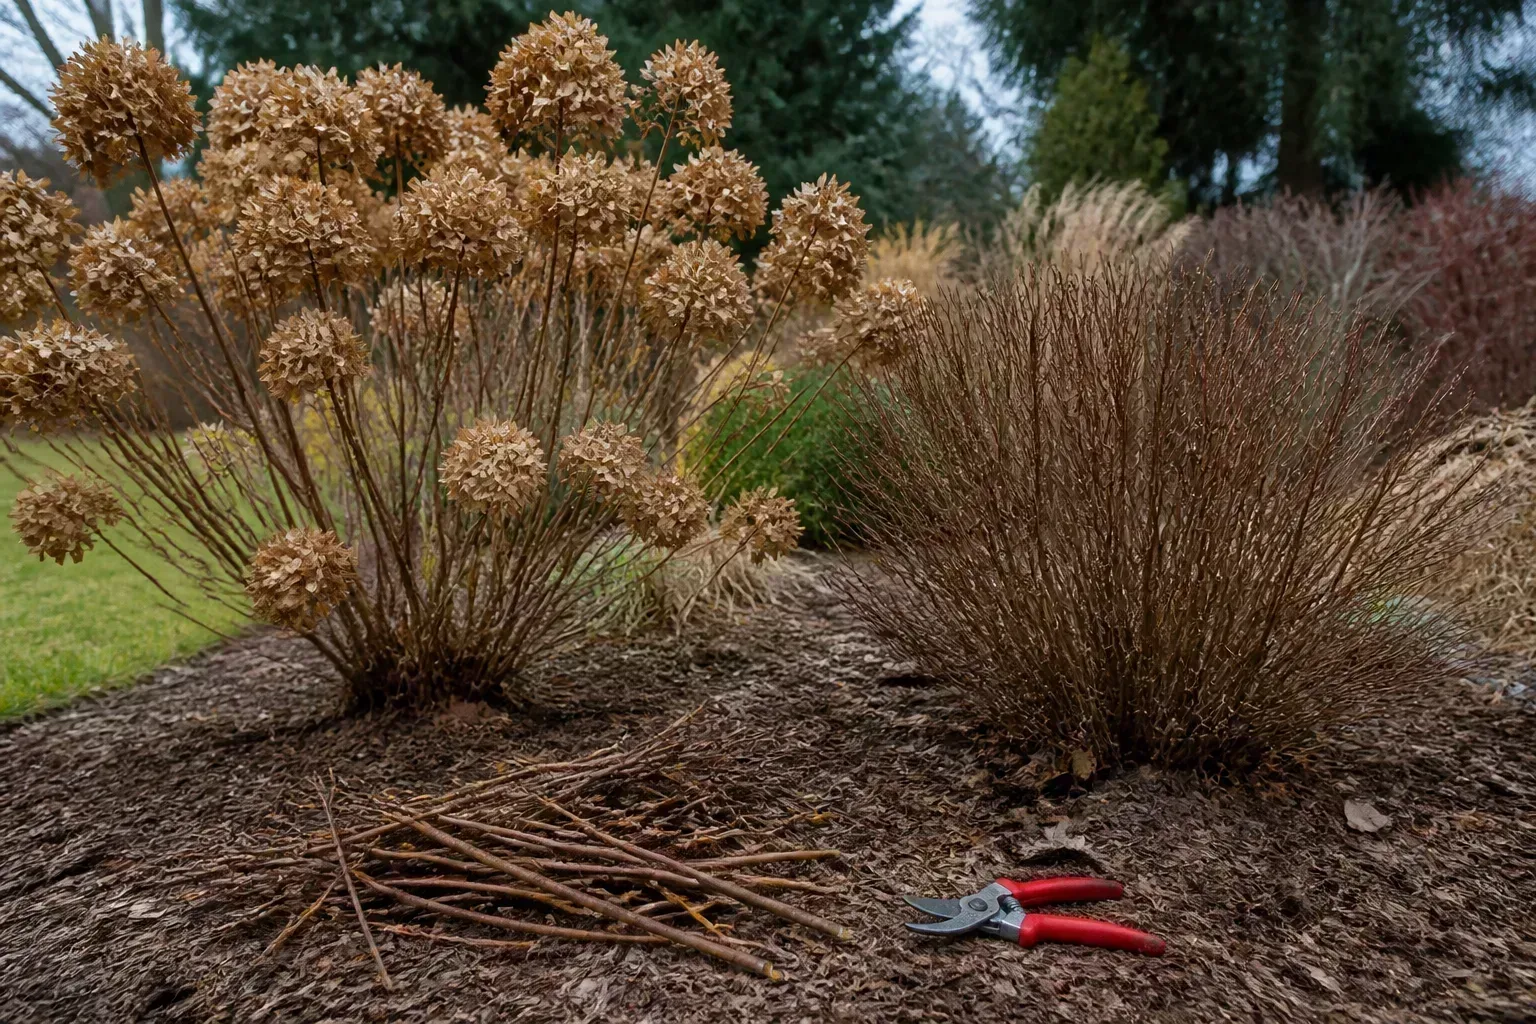
For a multi-stemmed shrub, remove about one-third of the oldest, thickest stems at the base in the correct pruning window. In the second year, remove another third; finish the last third in the third year. Each season, also remove dead, diseased, weak, and badly crossing wood, then make only the shaping cuts needed to keep the new growth balanced.
This staged approach preserves some flowering wood while encouraging young stems from the base. It is especially useful for shrubs that respond well to renewal but do not tolerate severe cutting, and for gardens where losing the entire display for one year would be a problem. The RHS describes a three-year renewal sequence for congested shrubs and roses, with the exact timing still tied to the plant’s flowering group.
Some vigorous plants are exceptions. A summer-flowering shrub that blooms on new wood may tolerate a harder late-winter reduction, while an old-wood lilac cut in winter may sacrifice nearly all of its spring flowers. If you cannot identify the plant, take a photograph to a local extension office or nursery before making a major cut.
Use Sunlight and Recovery as Your Stop Signals
Stop pruning when you have removed the problem that brought you to the plant. The canopy should still have enough leaves and branches to support recovery, the center should not be stripped bare, and the remaining stems should point toward a balanced outline. A plant that looks “perfectly cleaned up” may actually be overworked.
After a substantial cut, water deeply if the plant is dry and keep the root zone evenly cared for without turning it soggy. Do not respond to pruning stress with a heavy dose of fertilizer unless a soil test or plant-specific recommendation supports it. New shoots need light, water, and time; forcing them can produce weak growth that is more vulnerable to drought, frost, or pests.
If the plant fails to bloom after pruning, first reconstruct the timing. Did you cut an old-wood shrub in winter? Did a late frost kill newly exposed buds? Did you shear away the flowering tips while leaving shaded interior wood? Did drought, transplant stress, excessive shade, or overfertilization limit flowering independently of the pruning?
A no-flower season is information. Mark the plant’s bloom date, note which stems carried flowers, and record the cut date. That simple log turns next year’s pruning from guesswork into an observation-based decision, especially for hydrangeas, roses, and shrubs with confusing cultivar differences.
Conclusion
The best pruning rule is not to cut more; it is to cut with a reason. Remove dead, diseased, and damaged growth first, then protect flower buds by pruning spring bloomers after flowering and summer bloomers before new growth begins.
Place each cut above a healthy outward-facing bud or outside a branch collar, thin for light instead of automatically shearing, and deadhead only when the plant benefits from it. Finish with sharp, clean tools and a conservative stop point. If the plant is unfamiliar or overgrown, observe one season or renew it in stages. That patience is often what turns a healthy shrub into one that flowers more reliably next year.