Pumpkin Carving Ideas for Every Skill Level
Explore 20 pumpkin carving ideas, from friendly faces to detailed silhouettes, with step-by-step carving, preservation, lighting, and cleanup tips.
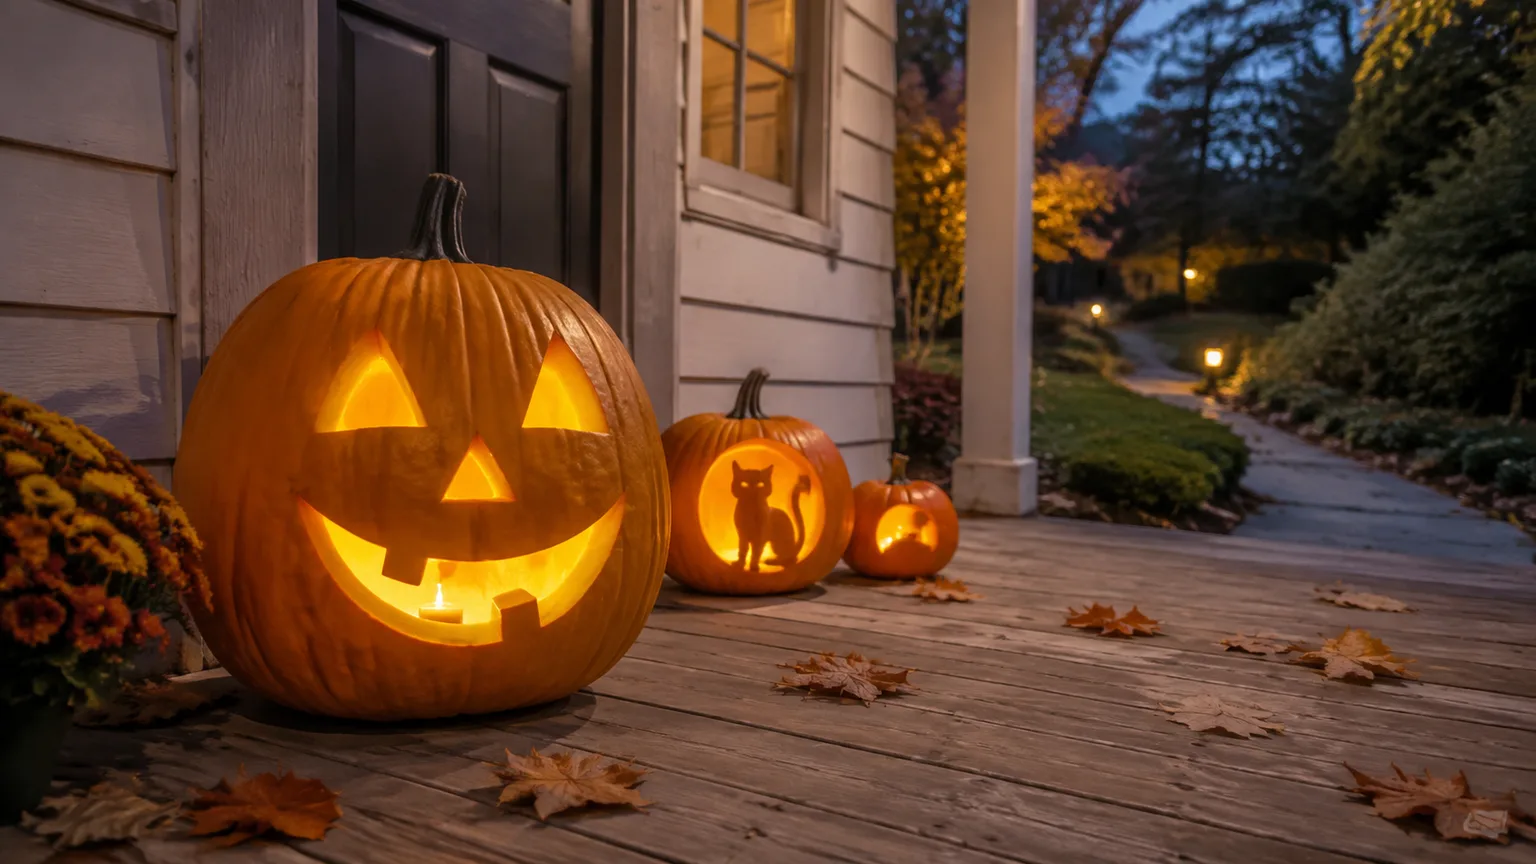
The best pumpkin carving ideas are not necessarily the most intricate. They are the designs that fit the pumpkin you bought, the tools you have, the distance people will view it from, and the number of days you need it to last.
Use a simple face for a busy front walk, a cutout silhouette for a porch focal point, or shallow etching when you want detail without removing large pieces of shell. The guide below gives you 20 designs, then shows how to choose, carve, light, preserve, and eventually reuse the pumpkin.
Choose the right design before you cut
Start with three decisions: who is carving, where the pumpkin will sit, and how far away people will see it. A five-year-old can draw a face, scoop pulp, and help choose the light, but cutting belongs to an adult; a small tabletop pumpkin can carry delicate detail that will disappear on a dark porch; and a design meant to survive a week of outdoor weather should have fewer thin bridges and fragile points.
Think of the face as a stencil made of two things: solid shell and negative space. A beginner-friendly design has wide openings, thick connections between features, and a clear silhouette. Tiny teeth, narrow lettering, and long hairline cuts look impressive in a close-up photo but can break when you clean the inside or move the pumpkin.
If you are carving several pumpkins, assign each one a job. One large face can anchor the display, two smaller pumpkins can repeat a motif such as bats or stars, and an uncarved white or warty pumpkin can give the group contrast. The result looks planned even when every pumpkin uses a different technique.
Learn the visual alphabet of pumpkin carving
Cutout is the classic method: remove shell completely so light passes through. It gives the brightest result and works best for faces, large letters, windows, moons, and silhouettes. Etching removes only the colored outer skin, leaving pale flesh behind; it is useful for leaves, fur, feathers, and decorative borders that need detail but not a hole.
Drilling makes a field of round openings. Change the bit size or spacing to create constellations, geometric patterns, or a gradient from dense to open. Building out adds material instead of removing it: use clean shell scraps for a tongue, ears, eyebrows, or a crooked nose, and secure non-food props only when the pumpkin is purely decorative.
The strongest designs combine only two techniques. For example, etch a moon and clouds, cut out three windows in a haunted house, or drill stars around a simple ghost. Limiting the visual alphabet keeps the design legible and makes the project easier to finish cleanly.
20 pumpkin carving ideas, sorted by effort and effect
Easy designs that read from the sidewalk
-
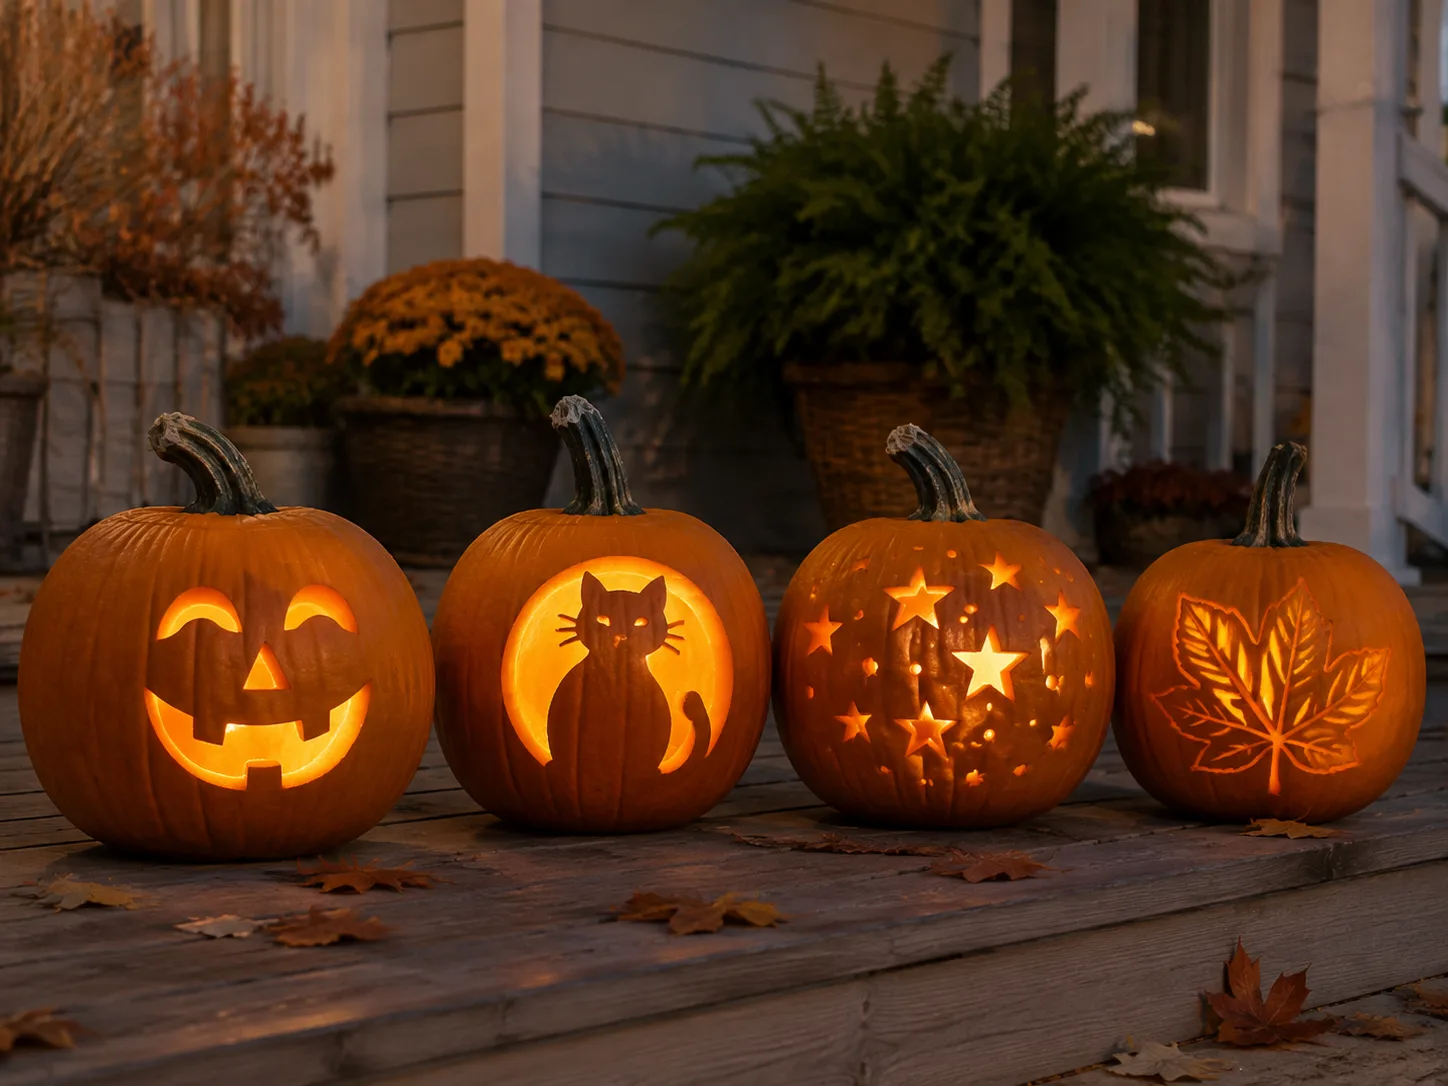
Classic smiling jack-o’-lantern: Use two large eyes, a small nose, and a broad curved mouth. Keep the openings generous and the teeth optional; this is the most forgiving design because the face still works if a line is uneven.
-
Three-expression row: Carve the same pumpkin shape as happy, surprised, and mischievous faces. Repeating the format creates a collection, while changing only the eyes and mouth keeps the work manageable.
-
Peekaboo ghost: Cut a rounded ghost body on the front and leave two small shell bridges at the top so it appears to float. A flameless light placed low inside makes the cutout glow without requiring tiny details.
-
Cat or dog silhouette: Choose pointed ears for a cat or floppy ears for a dog, then let the outer pumpkin edge supply the head shape. A few etched whiskers or a cutout paw print identify the animal faster than a crowded realistic portrait.
-
Bat flight pattern: Cut one large bat on a central pumpkin or drill a trail of small bats across several pumpkins. Let the wings stay thick; delicate wing tips are among the first parts to snap.
-
Large house number: Carve one oversized numeral per pumpkin and line them along the path. Block letters and numbers are easier to read than a long phrase, especially when the pumpkins are viewed in low light.
-
Heart or star window: A single geometric opening can look polished when the pumpkin is small or unusually shaped. Add a border of drilled holes if you want more light without making the main cutout complicated.
Animal and character designs with personality
-
Seed-toothed monster: Give a simple monster a large mouth, then attach clean, dry pumpkin seeds around the opening as teeth or scales. Keep the seeds on the decorative exterior only and use a non-toxic craft adhesive suitable for the material; this pumpkin is no longer a food project.
-
Owl eyes: Cut two large circles or rings, then etch feather marks around them. The design reads well from a distance, and the natural ribbing of a pumpkin can become part of the feather texture.
-
Four-eyed creature: Vary the size and direction of four eyes while keeping one wide mouth. It is an easy way to make a funny or eerie pumpkin without attempting a recognizable character.
-
Fang mouth: Carve a broad grin and leave triangular teeth in the shell. Paint is optional, but do it only after deciding the pumpkin will remain decorative; paint and outdoor exposure rule out eating the flesh or seeds.
-
Pumpkin eating a mini pumpkin: Cut a mouth large enough to hold a small intact gourd and build the expression around it. Support the smaller gourd so it cannot roll into a walkway, and treat the arrangement as a prop rather than a food container.
-
Pet portrait, simplified: Instead of tracing every feature from a photograph, use the pet’s strongest silhouette: ear shape, snout, or collar tag. A profile or one-color outline is more recognizable and more achievable than a shaded portrait.
Nature, words, and geometric designs
-
Leaf-vein pumpkin: Etch a large maple, oak, or fern leaf and cut only a few main veins through the shell. The contrast between pale etched skin and glowing openings gives detail without weakening the pumpkin with dozens of cuts.
-
Night-sky pumpkin: Cut a crescent moon and drill stars in different sizes. Place the largest holes toward the moon and smaller ones toward the opposite side to create a simple visual gradient.
-
Haunted-house silhouette: Etch the roofline, then cut windows, a moon, and a crooked door. Leave a solid band around the bottom so the pumpkin keeps its strength when carried.
-
Boo or one-word message: Choose a short word in heavy, rounded lettering. Tape a paper pattern to the pumpkin, mark the outlines, and avoid floating letter centers by leaving thick bridges or using a stencil font designed for cutouts.
-
Geometric luminary: Drill diamonds, arcs, or a honeycomb pattern around the pumpkin. This is a good choice for a modern home because the pattern stays decorative even when the light is off.
Advanced dimensional and functional designs
-
Fairy-door pumpkin house: Cut a small door low on the front and build a path from clean twigs, acorns, or stones. Keep additions lightweight and out of the walkway; the charm comes from scale, not from covering every inch of shell.
-
Pumpkin vase or planter: Cut a broad opening, remove the pulp, and place a watertight container or a plant in its nursery pot inside. Drainage and moisture are the limiting factors, so use faux stems for a centerpiece or keep a living plant in its own pot rather than filling the pumpkin directly with wet soil.
Match the design to your pumpkin’s shape
Roll the pumpkin gently before choosing the pattern. A flat side is ideal for a face or message; a tall, narrow fruit suits a vertical haunted house; a squat pumpkin makes a good moon, owl, or wide monster; and a deeply ribbed pumpkin can turn its natural grooves into a striped background.
Avoid placing important features across a deep crease. The shell changes angle there, so the line may look crooked and the saw may bind. Warty pumpkins are excellent for monsters, witches, and texture-led designs, while pale varieties make etched patterns visible even before you turn on the light.
Test the design at the distance that matters. Hold the paper pattern several feet away or photograph the uncarved pumpkin from the sidewalk. If the eyes, lettering, or silhouette disappear, enlarge the shapes before you cut. This small check prevents the most common listicle-to-real-life disappointment: a detailed design that becomes a dark blob on the porch.
Set up the safest, cleanest carving station
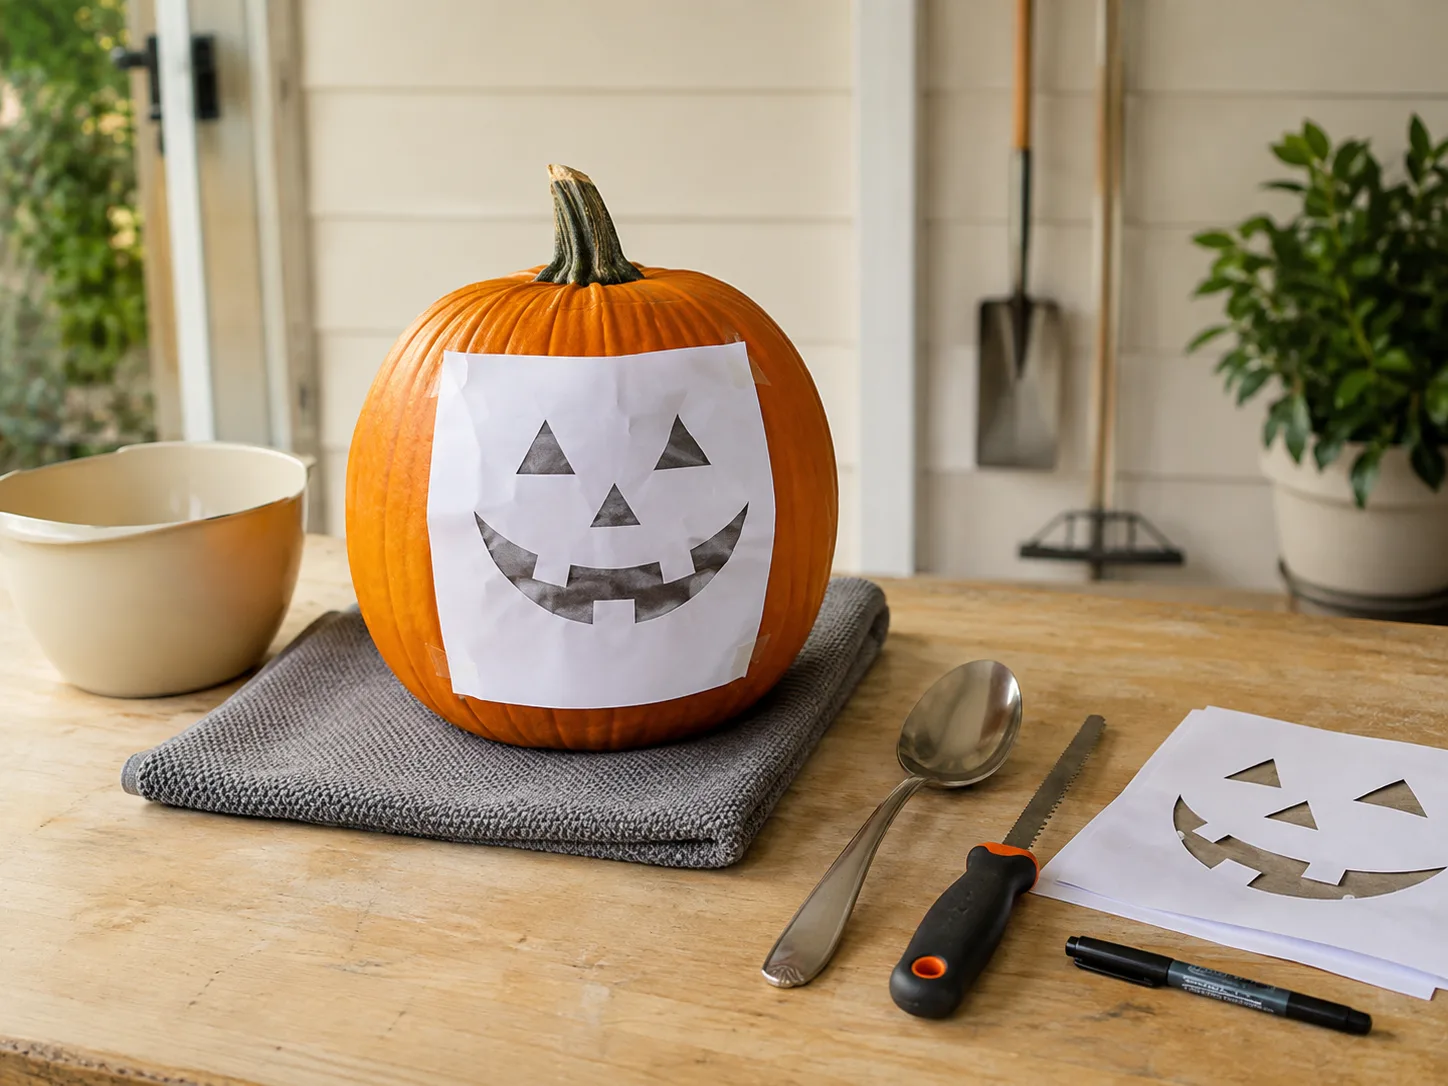
Choose a bright, dry, stable work area with enough room for the pumpkin, tools, pattern, and a scrap bowl. Wash and thoroughly dry your hands, cutting surface, and tools before starting; Shriners Children’s specifically warns that moisture can make the setup slip. Their guidance also recommends adult-only cutting, small controlled strokes, and a pumpkin carving kit with a small serrated saw rather than a blade that can wedge in the thick shell. (Shriners Children’s pumpkin carving safety guidance)
Use a non-slip towel under the pumpkin and keep the free hand behind the direction of the cut. Do not brace the pumpkin against your body or hold it in your lap. A dull kitchen knife is not automatically safer: it can require more force, slip, or become stuck. For children, divide the fun into safe jobs such as drawing, taping the stencil, scooping with a spoon, sorting seeds, and choosing the LED light.
The U.S. Consumer Product Safety Commission’s Halloween guidance reports an annual average of 3,200 Halloween-related emergency-department injuries in its cited three-year period, with 55% related to pumpkin carving. That statistic is a reason to design the activity around control and supervision, not a reason to skip the tradition.
How to carve a pumpkin without fighting the shell
Choose the opening and remove the pulp
You have two practical opening choices. A top opening is familiar and convenient for scooping, but cut the lid on a slight inward angle so it rests on the rim instead of dropping through. A bottom opening can leave the top more attractive and lets some people set the pumpkin over a light, but it needs a stable, flat base and careful handling. There is no single best opening for every design; choose the one that gives your hand room and keeps the pumpkin steady.
Draw the opening first, keeping the lid smaller than the widest part of the pumpkin. Saw with short back-and-forth motions rather than forcing the tool downward. Scoop out strings and seeds, then scrape the inner wall behind the face until it is roughly an inch thick; a thinner face area lets light through, while leaving extra shell around the lid and base preserves strength. A practical carving sequence that starts from a bottom opening and thins the face is also described by Good Housekeeping’s pumpkin carving guide.
Dry the interior with a clean towel if it is very wet. Do not rinse the pumpkin and then immediately carve it: water left in the cavity encourages softening, and damp tools are harder to control.
Transfer, cut, and refine the pattern
Draw directly with a washable marker or print a pattern to size. Tape the paper tightly to the pumpkin, then prick along the important lines with a fork or pushpin. Remove the paper and connect the dots with a marker, making bridges thicker than you think you need; the light will make the openings look larger at night.
Cut the largest, simplest sections first. Work from the center of a piece toward its edge, then push the scrap inward instead of levering it against the outer skin. Leave tiny details until the main silhouette is complete, and use etching for lines that do not need to glow. If a piece tears, turn the mistake into a tooth, eyebrow, tongue, wing, or scar rather than widening every nearby cut.
Clean the inside edges with the saw, but resist the urge to make every line mathematically perfect. A pumpkin is organic, and a design with a few intentional irregularities usually looks better than one with thin, stressed shell around every feature.
Light a jack-o’-lantern without adding a fire hazard
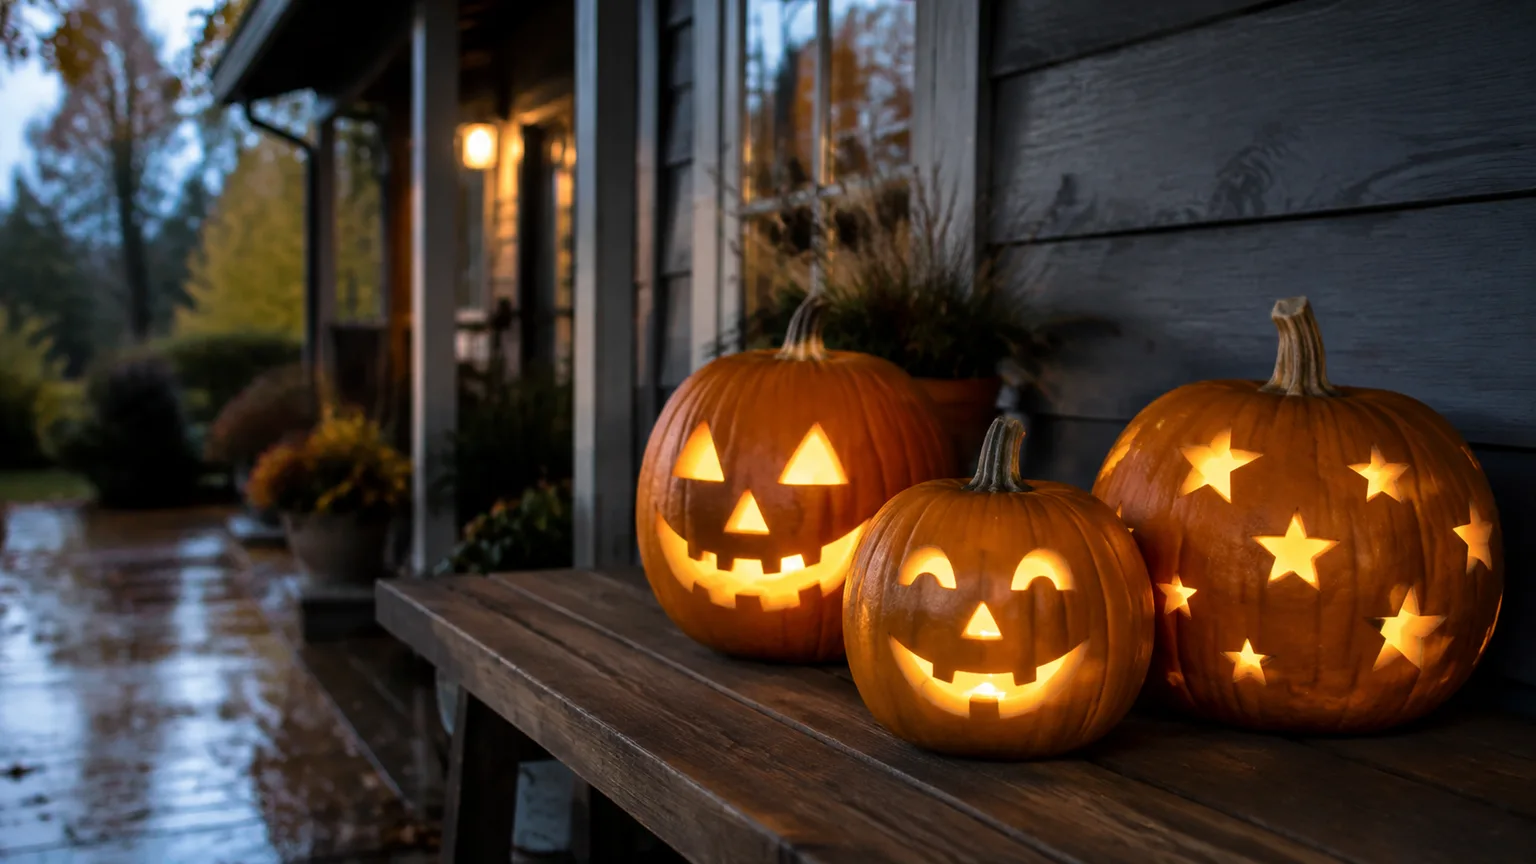
Use a battery-operated LED tea light, small flashlight, or glow stick as the default, especially on a porch, around children or pets, or near dry leaves and fabric. The CPSC recommends battery-operated lights or glow sticks instead of open-flame candles in jack-o’-lanterns. LEDs also make it easier to display a carved pumpkin indoors without heat building under the lid.
An open flame adds a risk that the design cannot solve. The U.S. Fire Administration’s candle guidance notes that candles should be kept at least 12 inches from anything that can burn, placed in stable holders, and extinguished whenever you leave the room or go to bed. A hollow pumpkin is surrounded by combustible shell and may sit near leaves, paper, costumes, or a dry wreath, so flameless lighting is the sensible choice.
If you use a real candle despite that added risk, never leave it unattended, keep the pumpkin away from anything combustible, place it on a stable nonflammable surface, and follow local fire guidance. Do not put a candle in a pumpkin used as a planter, vase, candy bowl, or food vessel, and do not make a chimney hole by improvising around a flame when an LED can produce the same effect safely.
How long carved pumpkins last and how to slow rot
Treat a carved pumpkin as a short-lived display, not an October-long permanent decoration. A sound pumpkin may last several days and sometimes longer in cool, dry conditions, but warm nights, direct sun, rain, high humidity, bruises, and large wet cut surfaces accelerate collapse. Plan your carving date backward from the event that matters: carve close to Halloween for the freshest face, or carve earlier only when you accept more maintenance and a shorter-looking display.
Start with a firm pumpkin with a sturdy stem, no soft spots, no deep bruises, and a flat base. If you grew it yourself, mature color, a hard rind, a woody stem, and a hollow sound when tapped are useful harvest clues. Savvy Gardening’s harvesting guidance explains that mature pumpkins can be cured in a dry, ventilated place before storage and that frost-damaged or underripe fruit is more prone to rot.
After carving, keep the pumpkin shaded and protected from rain, set it on a surface that allows air movement, and bring it into a cool place overnight if your climate is hot. Check it daily. If the shell becomes soft, the smell turns sour, liquid pools inside, or mold appears, remove it from the display; do not try to rescue a moldy pumpkin with a surface wipe.
Petroleum jelly on exposed cut edges is a commonly suggested moisture-management trick, but it is not a guarantee and it makes the pumpkin unsuitable for later eating. Never use a preservative hack to justify storing a pumpkin that is already soft or moldy. The best preservation strategy is still a fresh pumpkin, a clean dry cut, shade, ventilation, and a realistic display window.
What to do with pumpkin seeds and guts
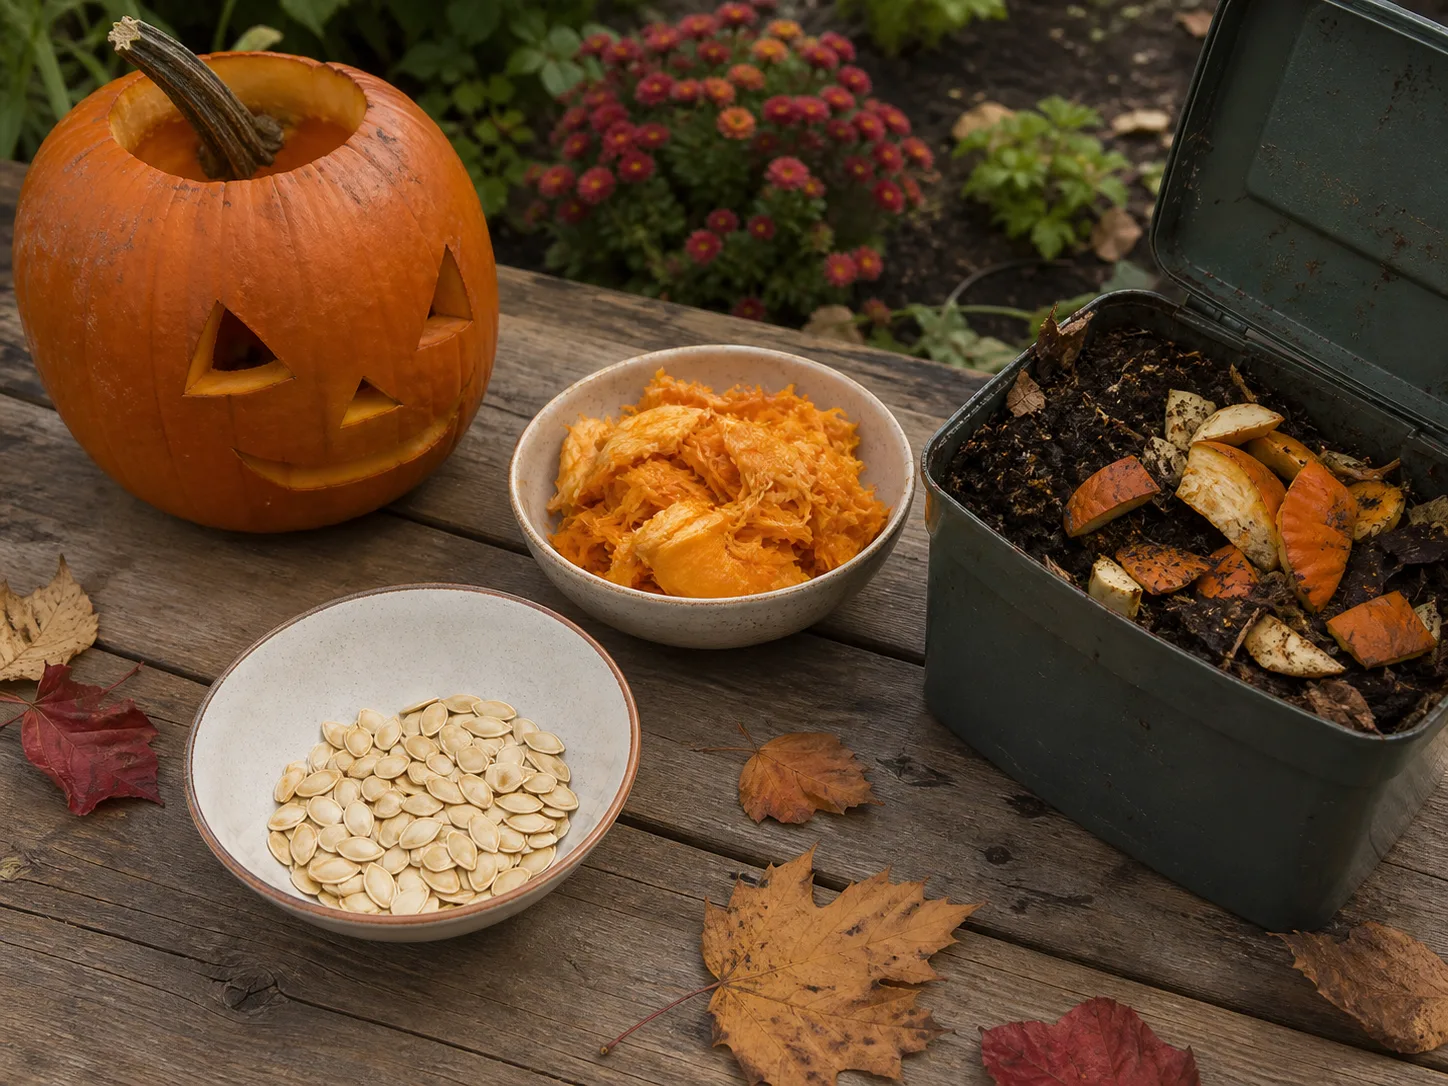
Separate the leftovers before they touch paint, glue, candle wax, glitter, or outdoor dirt. If the seeds and flesh stayed clean and the pumpkin has no mold, you can rinse the seeds, dry them, season them, and roast them according to a tested recipe. Keep a separate cooking pumpkin if food is the priority; once a carved pumpkin has been outside or exposed to decorative materials, do not eat its flesh or seeds.
For clean, undecorated scraps, chop the flesh and add it to a working compost pile or bury small pieces in an active garden bed. Fine Gardening’s reuse guidance also suggests using an intact pumpkin for cooking, turning an old gourd into soil amendment, making a bird feeder, or planting fall flowers around it. Those options work only when the pumpkin is appropriate for that use and free from mold, wax, paint, or other contaminants.
A soft pumpkin can become wildlife food in some yards, but check local rules and your own nuisance tolerance first. Pumpkins can attract squirrels, rodents, insects, or larger animals, so place one well away from doors and paths, never beside a foundation, and remove it when it becomes moldy. If you make a planter, use a nursery-pot insert or a liner, provide drainage, and keep the pumpkin under cover; Gardening Know How notes that organic pumpkin containers eventually break down and that excess heat and moisture speed decay. (Long-lasting pumpkin planter guidance)
Fix common carving mistakes before display
The design looks too dark: Scrape the inner wall thinner behind the main features, enlarge a few strategic openings, or switch to a brighter LED. Do not turn every etched line into a hole; contrast is what gives the face definition.
A bridge broke: Keep the scrap if it fits, secure it with a short toothpick only when the pumpkin is out of reach of children and pets, or redesign the feature as a larger connected shape. A crooked eyebrow can become an expressive eyebrow; a missing tooth can become a gap in the grin.
The lid falls inside: Trim the opening slightly smaller, recut the lid at an inward angle, or switch to a bottom opening for the next pumpkin. Never force a lid that has become soft, because the rim is already losing strength.
The pumpkin tips over: Rotate the display so the flattest side is down, add a non-slip pad, or use a shallow stable tray. Do not place a heavy prop on top or set the pumpkin where a person must step around it.
The face is hard to read: Remove small details and increase the size of the eyes, mouth, or silhouette. From a sidewalk, bold negative space wins; save the fine etching for a pumpkin people will inspect up close.
The pumpkin is shrinking: Move it out of direct sun and rain, empty any trapped liquid, and accept that a brief revival is not the same as preservation. If it is soft, moldy, or foul-smelling, compost or discard it rather than bringing decay indoors.
Conclusion
Choose the design by matching the pumpkin, the viewing distance, and the carver’s real skill—not by chasing the most complicated picture. Large cutouts, thick bridges, a stable dry setup, adult-only cutting, and a flameless light will give you a pumpkin that looks intentional and is much easier to enjoy.
Carve close to the day you need it, keep it shaded and ventilated, and separate clean edible scraps from decorated or weathered leftovers. A friendly face, a bold silhouette, or a simple drilled pattern can carry an entire porch when the shape is clear and the pumpkin is treated as a temporary seasonal material.



