How to Fix Bare Spots in a Lawn: Seed or Sod
Repair patchy grass with a diagnosis-first plan for seed, sod, or plugs, plus timing, soil prep, watering, mowing, and prevention tips.
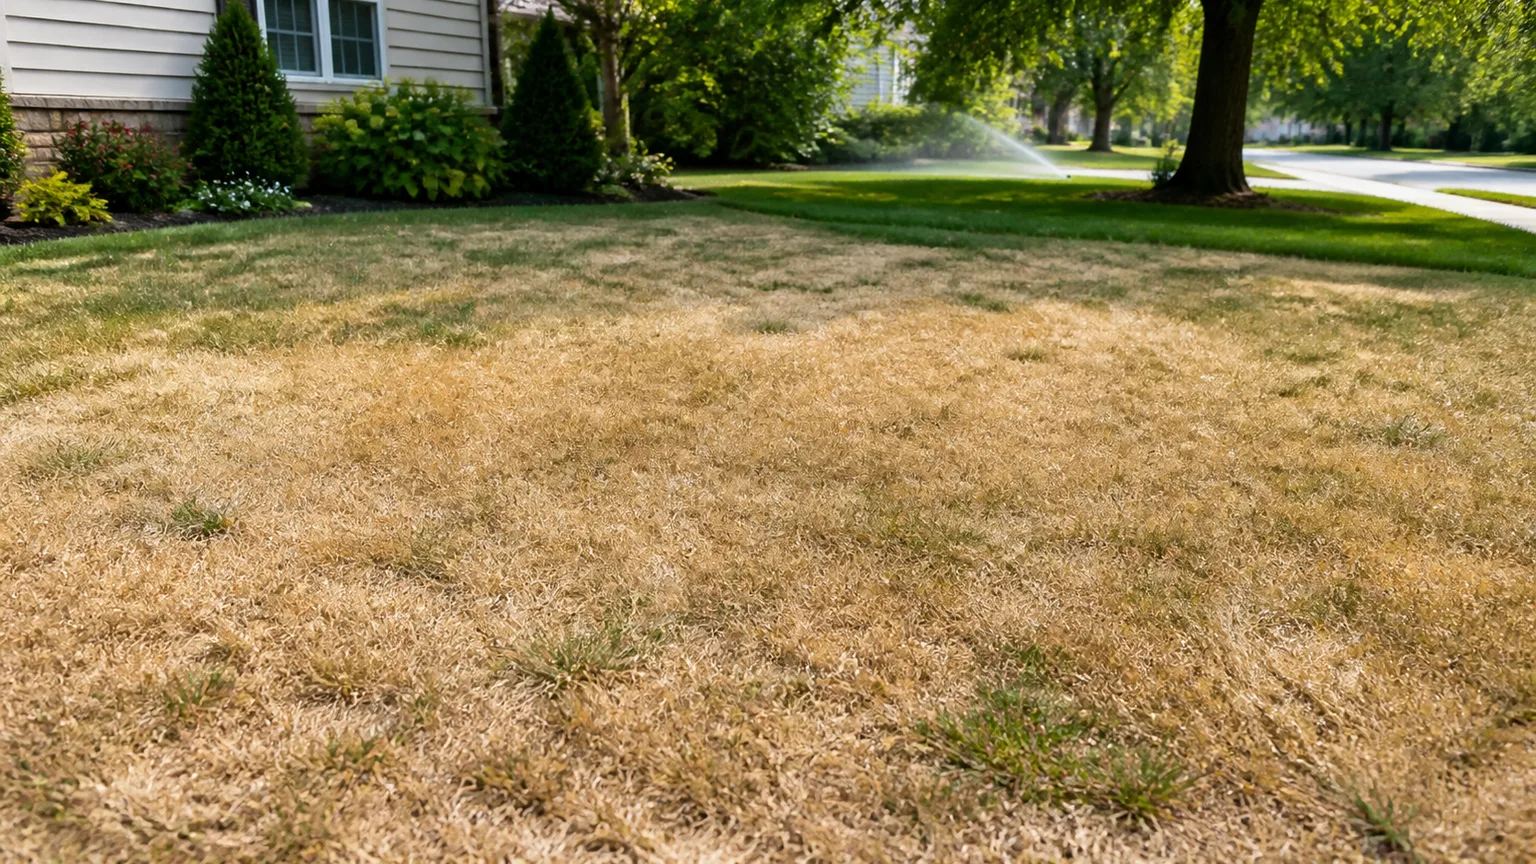
A bare spot is rarely just a missing handful of grass. It is usually a clue that something about the site—traffic, water, shade, soil, pests, pets, or the grass variety itself—stopped turf from surviving there. If you throw seed onto that same condition, you can get a brief flush of green followed by the same empty patch.
The durable sequence is diagnose, prepare, match, establish, and prevent. Seed is usually the best value for a small patch, sod is the quickest visual repair, and plugs make sense for spreading warm-season turf. The right choice depends less on the size of the hole than on why the grass disappeared and whether you can protect new roots while they establish.
Start With the Cause, Not the Seed Bag
Walk around the patch before you touch it. Look at its shape, its position, and what the surrounding grass is doing. A round yellow-brown patch beside a fence suggests a different problem from a long strip along a shortcut, and neither should be repaired the same way as a low spot that stays wet after rain.
University of Maryland Extension and University of Minnesota Extension both treat lawn renovation as a site-preparation job, not just a seeding job. That distinction is the reason to spend a few minutes diagnosing before you spend money on seed, sod, or fertilizer.
A Quick Pattern Check
Use the pattern as a first filter, not as a final diagnosis:
- A narrow strip or path: Repeated foot traffic, pet running, mower wheels, or a delivery route may be compacting the soil. If people will keep using the route, a stepping-stone path or mulch may be a better permanent answer than replacing grass every season.
- A small circle with a darker green edge: Pet urine can kill the center while the diluted edge receives extra nitrogen and grows darker. Redirect the pet, dilute fresh deposits with water when practical, and do not reseed until the routine has changed.
- Grass that lifts like a loose carpet: Check for root-feeding insects or severe root damage before replanting. New seed cannot survive if the roots are being removed below ground.
- A patch under a tree, beside a wall, or in a newly shaded corner: The original grass may no longer receive enough light. A shade-tolerant blend, a different mowing approach, or a non-turf groundcover may be more realistic than forcing a sun-loving grass to grow there.
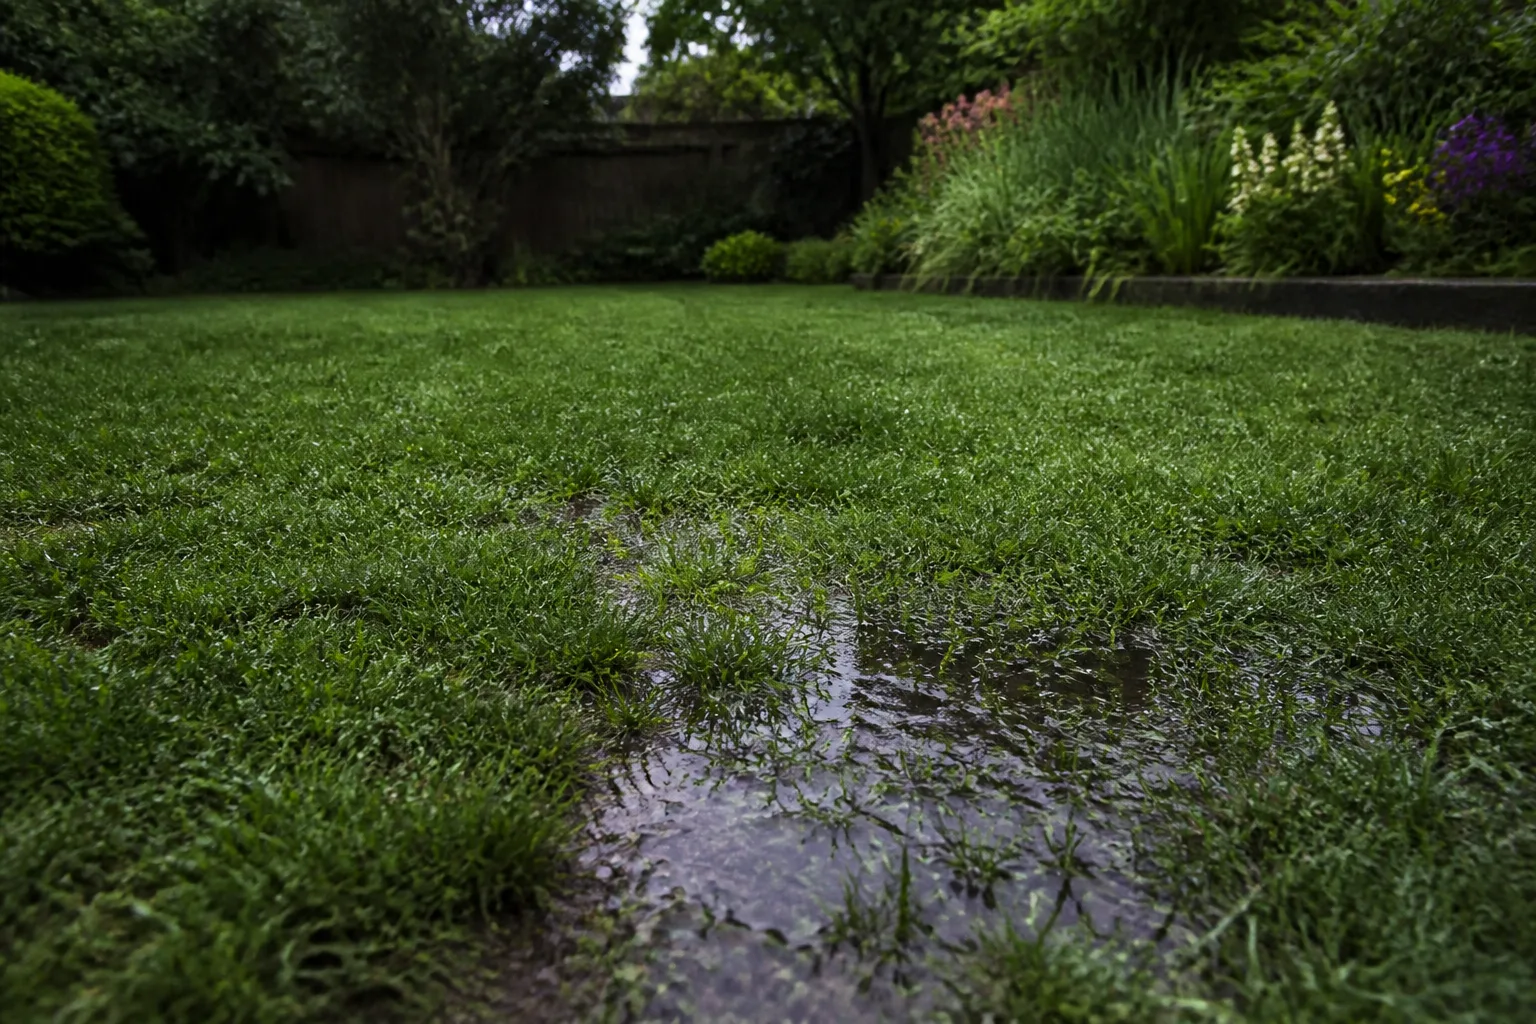
- A low or muddy spot: Correct drainage and grade before repairing. Seed washed away by runoff or rotted in standing water is not a seed-quality problem.
- A clean-edged brown patch after a spill or treatment: Mark the area, identify what touched it, and follow local extension or product-label guidance before adding more amendments. Some chemical injuries cannot be fixed by dilution or reseeding alone.
If you cannot find a pattern, test the soil in and around the patch. A basic soil test is more useful than guessing at lime or fertilizer because pH and nutrient problems are not reliably diagnosed by grass color alone. Bob Vila’s lawn-repair guide likewise treats soil, buried debris, mowing, pests, drought, and traffic as possible causes rather than assuming every bare area has the same fix.
When to Pause and Investigate
Do not repair immediately if the lawn is showing signs of an active disease, expanding insect damage, widespread thinning, or repeated failure in the same place. Take clear photos, note recent weather and irrigation, and ask your county extension office or a qualified lawn professional for help when the cause is uncertain.
You also may not need a grass repair at all. A permanently shady corner, a dog’s favorite route, a driveway edge salted in winter, or a slope that sheds water may be telling you that turf is the wrong plant for that micro-site. Changing the use of the area is often cheaper and more durable than buying replacement grass over and over.
Choose the Repair Method
The three practical repair choices are seed, sod, and plugs. Patch products that combine seed with mulch can be convenient, but they are still a seeding method: the surface must be prepared and the seedbed must stay evenly moist.
Seed for Most Small Patches
Choose seed when the bare area is small, you can keep people and pets off it, and you want the best chance of blending with the surrounding lawn. Seed lets you choose a mix for sun, shade, and climate, and it avoids the abrupt color or texture change that can happen when a new piece of sod does not match the old turf.
The trade-off is time. Germination may be quick for some grasses, but a patch can take several mowing cycles to look integrated and longer to develop a root system that tolerates normal traffic. A seeded patch is a small nursery bed inside your lawn; treat it that way until the roots hold.
Sod for Speed or Erosion
Use sod when you need immediate soil cover, the patch is washing out, the area is too large to keep evenly moist by hand, or the timing window for seed is closing. Sod is also useful for a visible repair before an event, but it costs more and must match the existing lawn’s grass type and growing conditions.
Sod is not maintenance-free. It needs firm contact with the prepared soil, immediate watering, and protection from foot traffic while roots knit into the ground. A piece that looks finished on day one can still lift or dry out if its underside loses contact with the soil.
Plugs for Spreading Warm-Season Grass
Plugs are small pieces of living turf planted into prepared soil. They can be a good fit for spreading warm-season grasses such as Bermuda, zoysia, or St. Augustine when matching sod is unavailable or when you want the existing grass to knit together over time.
Do not use plugs as a universal substitute for seed. Many cool-season lawn grasses grow as clumps rather than runners, so a plug will remain a clump unless you plant enough pieces to cover the area. Confirm how your existing grass spreads before choosing this method.
Pick the Right Timing and Grass Seed
Timing is about the grass’s growth pattern and the weather it will face after planting. A seedbed that is technically planted in the right month can still fail if it enters a heat wave, a freeze, or a period when you cannot water it consistently.
Cool-Season and Warm-Season Windows
For cool-season lawns, late summer into early fall is usually the strongest repair window because soil remains warm for germination while cooler air reduces heat stress on young plants. Early spring can work, but the patch has less time to establish before summer heat and weed competition arrive. University of Minnesota Extension’s seeding and sodding guidance explains the same basic trade-off: successful establishment depends on matching the grass and timing to local growing conditions. Avoid starting a large cool-season repair just before hot, dry weather unless you can provide reliable care.
For warm-season lawns, late spring and early summer are generally better because the grass is entering active growth and can spread while soil is warm. A late-season repair may sprout but fail to build enough roots before cool weather slows growth. Your local extension calendar is more reliable than a national month-by-month rule, especially in transition zones.
The same timing logic applies to sod, but sod gives you a wider practical window if you can keep it moist and the grass is actively rooting. Do not use that flexibility to install sod on frozen ground, in waterlogged soil, or during a heat emergency when you cannot monitor it.
Match Sun, Soil, and Existing Turf
Buy seed by matching the existing lawn, not by choosing the bag with the fastest promise. Compare blade width, color, growth habit, and the amount of sun the patch receives. If you cannot identify the grass, take a small sample or photos to a garden center or county extension office.
For a sunny cool-season patch, the right blend may differ from the blend used in a tree’s filtered shade. For a warm-season lawn, a compatible species or cultivar matters because texture and spread can make a mismatched patch obvious even when it is healthy. If the site is too shady for the rest of the lawn, do not hide the problem with a generic “sun and shade” label; choose a grass that genuinely tolerates the light or redesign the spot.
Read the seed label for coverage and application rate. Over-seeding a small patch does not guarantee a thicker result: crowded seedlings compete for water and can be more vulnerable to damping off and weak rooting.
Prepare the Patch So New Roots Can Hold
The repair starts when the old turf and debris are removed. Do not bury dead grass under new seed and hope it becomes soil quickly; a loose layer of thatch can keep seed from contacting the ground and can create an uneven, dry surface.
Clear, Loosen, and Level
Rake out dead blades, leaves, loose thatch, stones, and clumps of grass. If the edge is ragged, cut it into a simple shape with a spade so the repair is easier to prepare and water evenly. Stop if you uncover a buried root, construction debris, a leaking line, or a suspicious chemical spill; solve that problem before continuing.
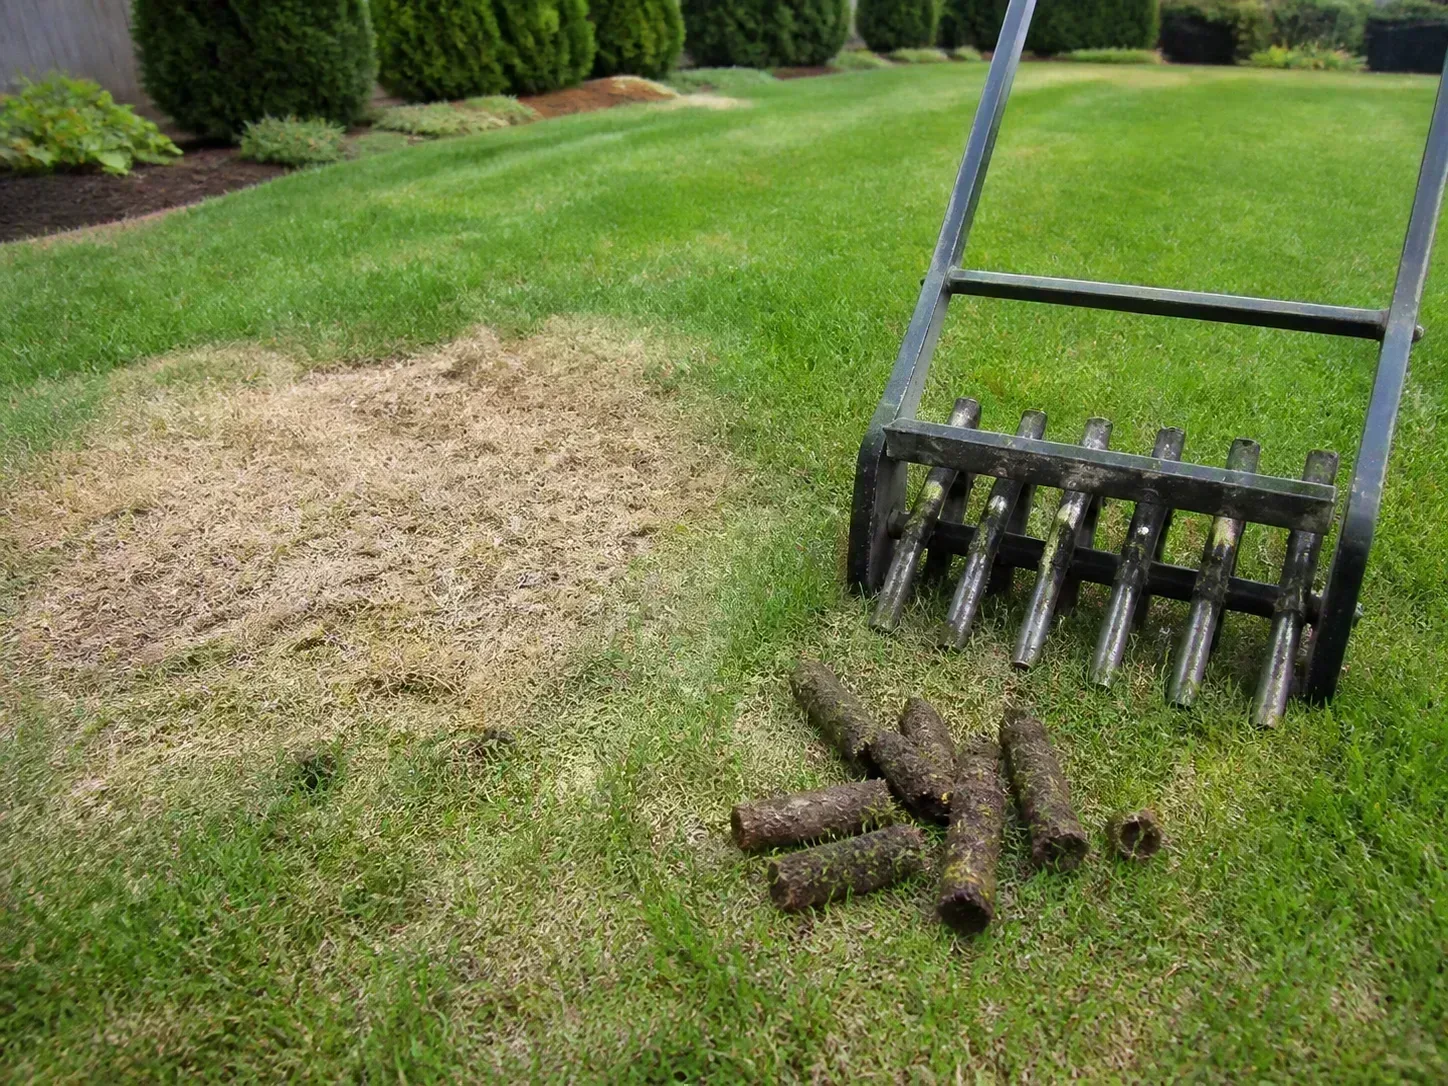
Loosen the exposed soil with a hand cultivator or garden rake. For a small patch, you usually need to work only the upper few inches; the goal is a crumbly, level seedbed, not a deep excavation. If the soil is hard enough that a tool barely enters it, aerate or dig out the compacted layer rather than scattering seed on a sealed surface.
Add a thin layer of screened topsoil or a soil-and-compost blend when the patch is low, depleted, or full of poor fill. Blend it into the existing soil so you do not create a sharp layer that roots cannot cross. Compost is an amendment, not a replacement for soil, and a deep layer of pure compost can settle, dry unevenly, or hold more moisture than the surrounding lawn.
Finish by leveling the surface with the surrounding grade. A shallow depression can collect water, while a raised mound dries first and is scalped by the mower. For seed, leave the surface fine and slightly firm; for sod, make the finished patch low enough that the sod will sit level with the existing grass.
Improve Compaction Without Creating a Compost Layer
Compaction is common along play areas, gates, driveways, and mowing routes. If the soil is moist but not wet, a core aerator can remove plugs and open pathways for air and water. On a small patch, a hand fork or cultivator can be enough; do not repeatedly pound a solid tine into saturated clay and call the job finished.
Work soil when it crumbles rather than smears. The University of Maryland Extension’s lawn-renovation guidance emphasizes timing and preparation because working wet soil can make compaction worse. Once the ground is prepared, keep heavy traffic off the patch so the repair does not recreate the same problem.
Fertilizer is not a substitute for compaction relief or poor drainage. If a soil test shows a nutrient need, follow its recommendation and the fertilizer label. Avoid adding high-nitrogen fertilizer simply to make a weak patch turn green; fast top growth can make the area look improved while roots remain shallow and the underlying stress continues.
How to Reseed a Bare Spot
- Measure the prepared area and choose matching seed. Use the grass type already growing nearby, adjusted for the patch’s sun and moisture. A blend is often more forgiving than a single variety when the site has variable conditions, but the label should still fit your lawn region.
- Spread seed evenly. For a small patch, sow in two light passes at right angles rather than dumping the whole amount in one line. Follow the label’s rate; the seed should cover the soil without forming piles.
- Press in seed-to-soil contact. Lightly rake so some seed settles into the surface, then press the area with the back of the rake or a flat board. Do not bury seed deeply. Grass seed needs contact with moist soil, not a deep hole.
- Cover lightly if the site needs protection. A thin layer of clean straw or a labeled seed mulch can slow drying and reduce bird disturbance. Keep the cover loose enough that light and air reach the seed, and avoid a thick blanket that stays wet or prevents seedlings from emerging.
- Water with a gentle spray. The first goal is an evenly moist surface. Use a soft nozzle or a small sprinkler so water does not wash seed to the low side of the patch. Check the soil with a finger rather than relying only on minutes on a timer.
- Protect the patch. Use a temporary low barrier, a visible marker, or a change in the route people and pets take. Do not lay plastic over the seedbed; it can overheat the surface, block air, and turn a watering mistake into a saturated patch.
The repaired area should look settled, not muddy, after watering. If seed is collecting in puddles or running onto the sidewalk, pause, let the water soak in, and correct the grade or spray pattern before the next session.
How to Patch With Sod
Buy or cut sod that matches the existing grass as closely as possible. Keep it cool and shaded while you work, but do not let it dry out. If you are cutting a piece from another part of the yard, take it from an area that has the same sun, soil, and watering conditions; moving shade-grown turf into full sun can create a second problem.
Lay the sod over the prepared area and use a sharp spade to trace its outline. Remove the old dead turf and enough soil to let the sod sit level with the surrounding lawn. A raised patch catches the mower and dries at the edges; a low patch collects water and receives less light.
Set the sod into the opening without stretching it. Press or roll it so the underside makes full contact with the soil, then water immediately until the soil below is moist. For several days, lift a corner gently to check that the underside and soil are not drying, but do not keep pulling it up to test the roots.
The sod should stay moist while it knits, but not remain waterlogged. Reduce watering gradually as roots hold, using a tug test after the first week or two: if the piece resists a gentle lift, it is beginning to anchor. Keep traffic off until the seams are stable and the soil is firm enough that footsteps do not leave ruts.
Water and Protect New Grass
Watering is the part of lawn repair most likely to fail because a patch dries faster than the surrounding turf. A large sprinkler cycle can miss the spot, while a hard hose stream can move seed and expose roots. Watch the patch itself.
During germination, water lightly and often enough to keep the upper seedbed from drying. The exact frequency depends on sun, wind, soil, temperature, and rainfall; a sunny sandy patch may need attention more often than a shaded clay patch. The surface should be moist, not glossy with standing water.
After seedlings emerge, begin stretching the interval between waterings while applying enough water to moisten the root zone. This encourages roots to grow downward instead of remaining in a constantly wet surface film. Do not make the change all at once during a hot spell; young roots still need a gradual transition.
Sod needs a different visual check: the seam and underside must not dry, but water should not pool along the edges. If water runs off, split the session into shorter applications and correct the grade later. Irrigation that misses the patch should be adjusted before you assume the seed is bad.
Keep people, pets, mower wheels, hoses, and toys away from the repair. A single shortcut across a soft patch can compact the soil or tear out seedlings. If you cannot protect the area for the establishment period, sod or a temporary non-turf solution may be more realistic than seed.
Mow, Feed, and Judge the Repair
Wait until new grass is tall enough to mow without pulling it from the soil. As a practical check, the seedlings should be rooted firmly and tall enough that the mower removes only a modest portion of the blade. Mow when the soil is firm, use a sharp blade, and avoid turning sharply over the patch.
The first cut is not the time to make the repaired area match the rest of the lawn by scalping it. BBC Gardeners’ World Magazine recommends making the first seasonal cut high and taking only a small amount; the same restraint helps a young patch. Let it grow a little taller if needed, then lower the height gradually in line with the grass type.
Do not automatically fertilize the patch on planting day. New seed can be damaged by excess fertilizer, and a patch that needs drainage, light, or pest correction will not be rescued by more nitrogen. If a soil test or the seed label supports feeding, apply only the recommended product and timing, keeping granules off hard surfaces and away from waterways.
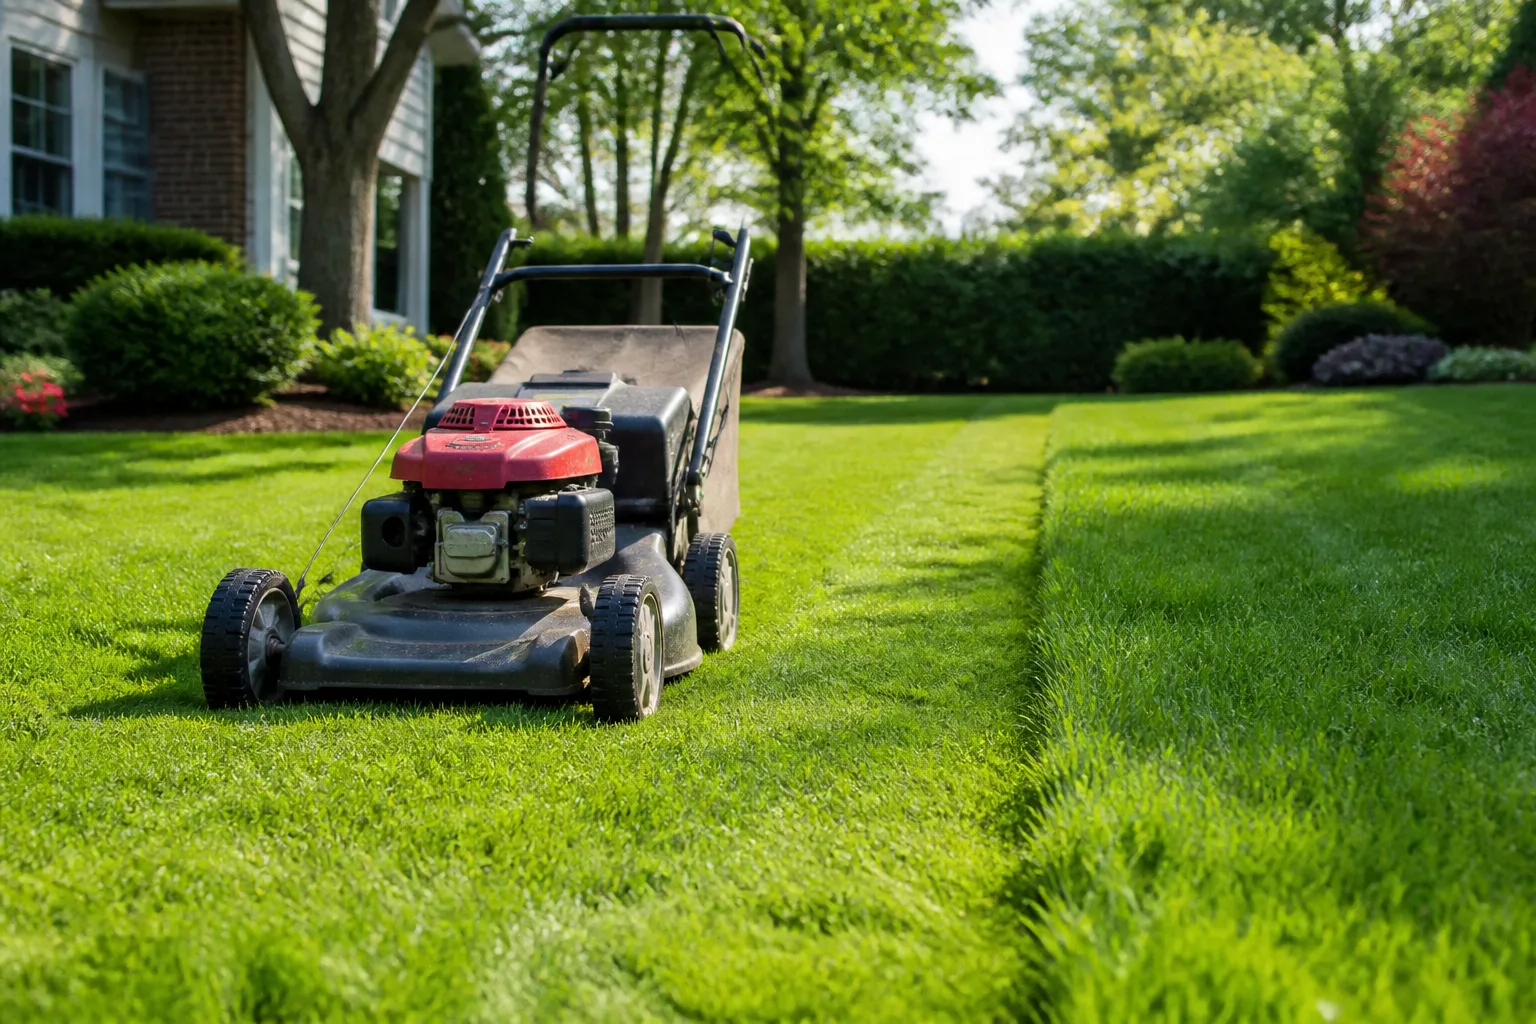
Judge the repair by trend, not by whether it matches color immediately. Some grass types emerge faster than others, and a new patch may look lighter or finer until it matures. Worry when the soil repeatedly dries despite correct watering, seedlings disappear after emerging, the patch lifts, or the same pattern returns after every repair.
Prevent the Same Bare Spot From Returning
Prevention is a short list when it is matched to the cause:
- Traffic: Reroute foot traffic, add stepping stones, rotate play areas, or create a durable path. Aeration helps compaction but does not make a constantly walked route into a low-maintenance lawn.
- Pet urine: Change the pet’s bathroom pattern and rinse fresh deposits when practical. A gravel or mulch station may be kinder to both the lawn and your schedule.
- Shade: Prune only where appropriate and avoid damaging tree roots. If the light has changed permanently, use a more shade-tolerant turf or replace the area with a suitable groundcover or bed.
- Drainage and runoff: Repair low spots, redirect concentrated water, clear clogged irrigation heads, and avoid mowing or tilling wet soil. BBC Gardeners’ World’s lawn-care guidance recommends waiting for ground to dry before relieving compaction and using a garden fork to open wet areas; the same principle prevents you from sealing the soil during repair.
- Pests and disease: Confirm the problem before using an insecticide or fungicide. Follow the product label and local rules, and ask an extension professional when the pattern is spreading or the diagnosis is unclear.
- Mowing: Keep the blade sharp, avoid removing too much leaf tissue at once, and follow the height range for the grass type. Repeated scalping can turn a thin area into a bare one.
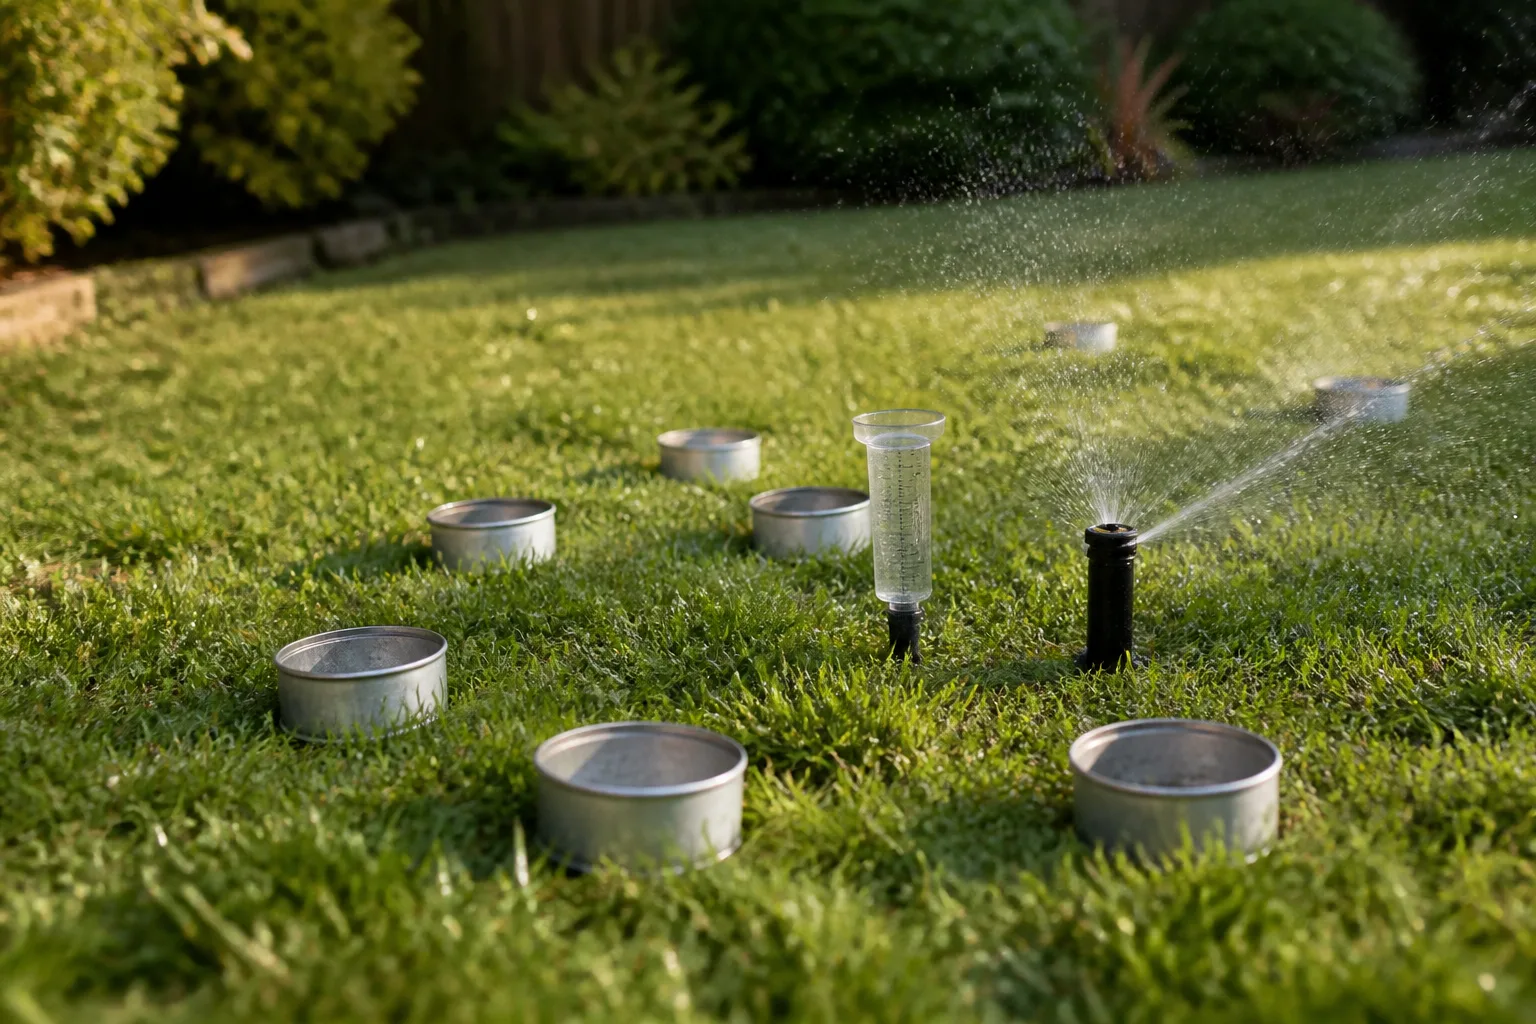
- Watering: Check sprinkler coverage with straight-sided cans or similar catch containers. Watering a whole lawn on a fixed schedule does not guarantee that a slope, tree shadow, or narrow side yard is receiving the same amount.
If more than a few isolated patches are failing, stop treating each one as a separate hole. Thin turf across a large percentage of the lawn can point to soil, light, irrigation, fertility, or grass-selection problems that call for overseeding or renovation rather than repeated spot repairs. A soil test and a site map of sun, water, and traffic can save several rounds of guesswork.
Conclusion
To fix patchy grass and bare spots, start by asking why the grass disappeared. Remove dead material, prepare the soil, choose a compatible seed, sod, or plug, and keep the repair moist and protected until roots hold.
Seed is usually the economical choice for a small patch, sod is the fast and erosion-resistant choice, and plugs suit spreading warm-season lawns. The repair becomes durable only when the original cause is corrected—whether that means relieving compaction, changing a traffic route, improving irrigation, addressing pests, or admitting that the site is too shady or wet for turf.



