Should You Prune Asters in Fall? A Practical Guide
Should you prune asters in fall? Learn when to cut, when to wait until spring, how far to trim, and how to protect blooms, roots, and wildlife.
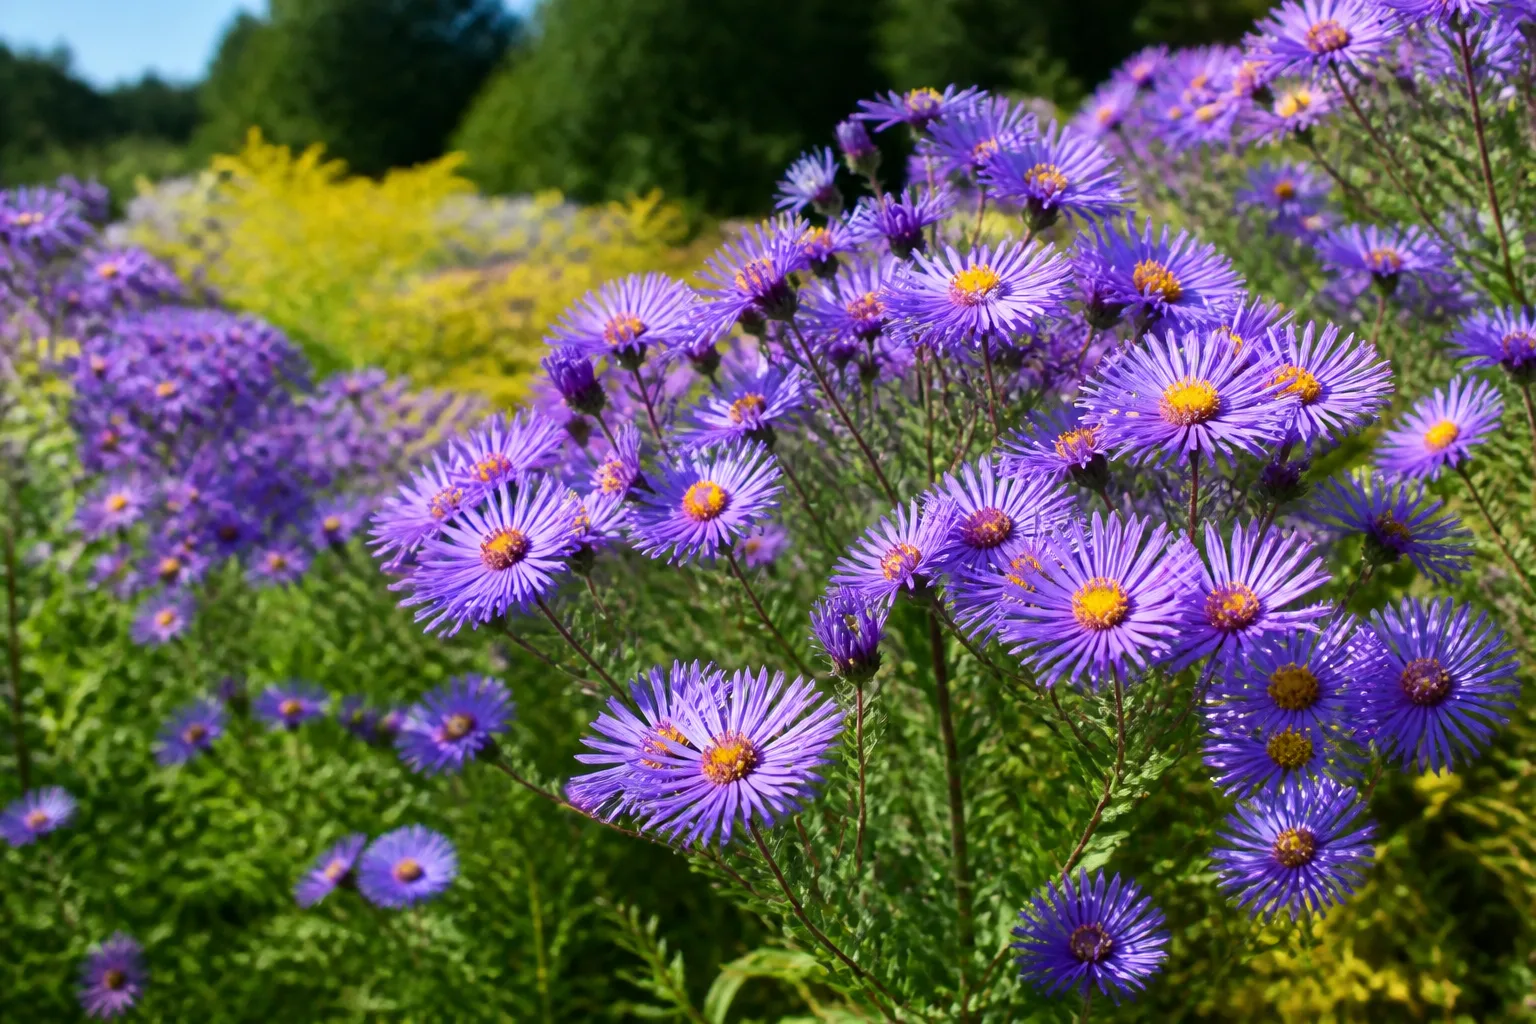
The Short Answer: Fall Pruning Is Optional
You can prune perennial asters in fall, but you do not have to. Cut them back after they have finished flowering and gone dormant if you want a tidier bed, need to remove diseased foliage, or want to limit unwanted seedlings. Leave healthy stems and seed heads until spring if winter structure, bird food, and overwintering insect habitat matter more to you.
The important distinction is timing. Fall pruning is a cleanup decision, not the main technique for producing more flowers next year. The bloom-building work happens earlier: give the plant adequate sun and moisture, pinch tall stems in late spring or early summer if appropriate, deadhead during bloom, and divide an old crowded clump when its center declines.
The Royal Horticultural Society (RHS) describes autumn through spring as a suitable general window for cutting back herbaceous perennials, while also noting that some stems are worth leaving for wildlife. Its aster guidance says deadheading is usually unnecessary for a good display and that seed heads can provide winter interest, bird food, and shelter (RHS: Perennials—cutting back; RHS: How to grow asters).
Confirm You Are Pruning Perennial Asters
“Aster” is a common name used for several related-looking plants, and the winter plan changes depending on which one is in your bed. Most hardy garden asters are herbaceous perennials now classified in genera such as Symphyotrichum, Eurybia, and Aster. They die back above ground and return from a perennial crown.
China asters (Callistephus chinensis) are different. They are annuals that complete their life cycle in one season, so there is no perennial crown to protect for next year. Once they finish flowering, remove the spent plants if they were diseased or if you are clearing the bed; save seed only if you want to grow variable seedlings. The RHS keeps China asters in its aster guide but identifies them as annuals, while most North American asters sold for borders are perennials.
The plant label may say “Michaelmas daisy,” “New England aster,” or “New York aster” rather than simply aster. If you are unsure, look for a species or cultivar name before making a low cut. A healthy perennial aster should have a low crown or basal rosette from which next season’s shoots will emerge; an annual aster will not return from that same root system.
This distinction also prevents a common mistake: assuming that a fall cutback can rescue a plant that is actually a short-lived annual, a tender container plant, or a different daisy-family flower with different winter behavior. Prune the plant you have, not the common name you remember.
Decide What You Want From Fall Cleanup
Start with the job you need the pruning to do. If your goal is a neat winter border, cutback is reasonable after dormancy. If your goal is a wildlife-friendly garden, leave at least some stems and seed heads. If your goal is more flowers next year, inspect the whole growing season rather than expecting a fall haircut to solve a light, water, spacing, or age problem.
| Your priority | Sensible approach |
|---|---|
| A clean, visible bed | Cut healthy perennial asters after natural dieback, usually leaving a short stub. |
| Disease cleanup | Remove spotted, mildewed, rusty, or collapsed material after the plant finishes for the season; keep it out of cool home compost. |
| Winter wildlife value | Leave sound stems and seed heads standing, then clean them before new basal shoots are damaged in spring. |
| Less self-seeding | Remove mature seed heads before they disperse, or cut back after frost once flowering has finished. |
| Stronger bloom next year | Review sun, water, pinching, airflow, and clump age; fall cutback alone is not enough. |
Leaving everything standing and cutting everything to the ground are not the only choices. You can remove visibly diseased stems, cut back a leaning section that is covering a path, and leave an undamaged portion of the clump for winter habitat. A selective cleanup often gives you most of the sanitation benefit without erasing every seed head.
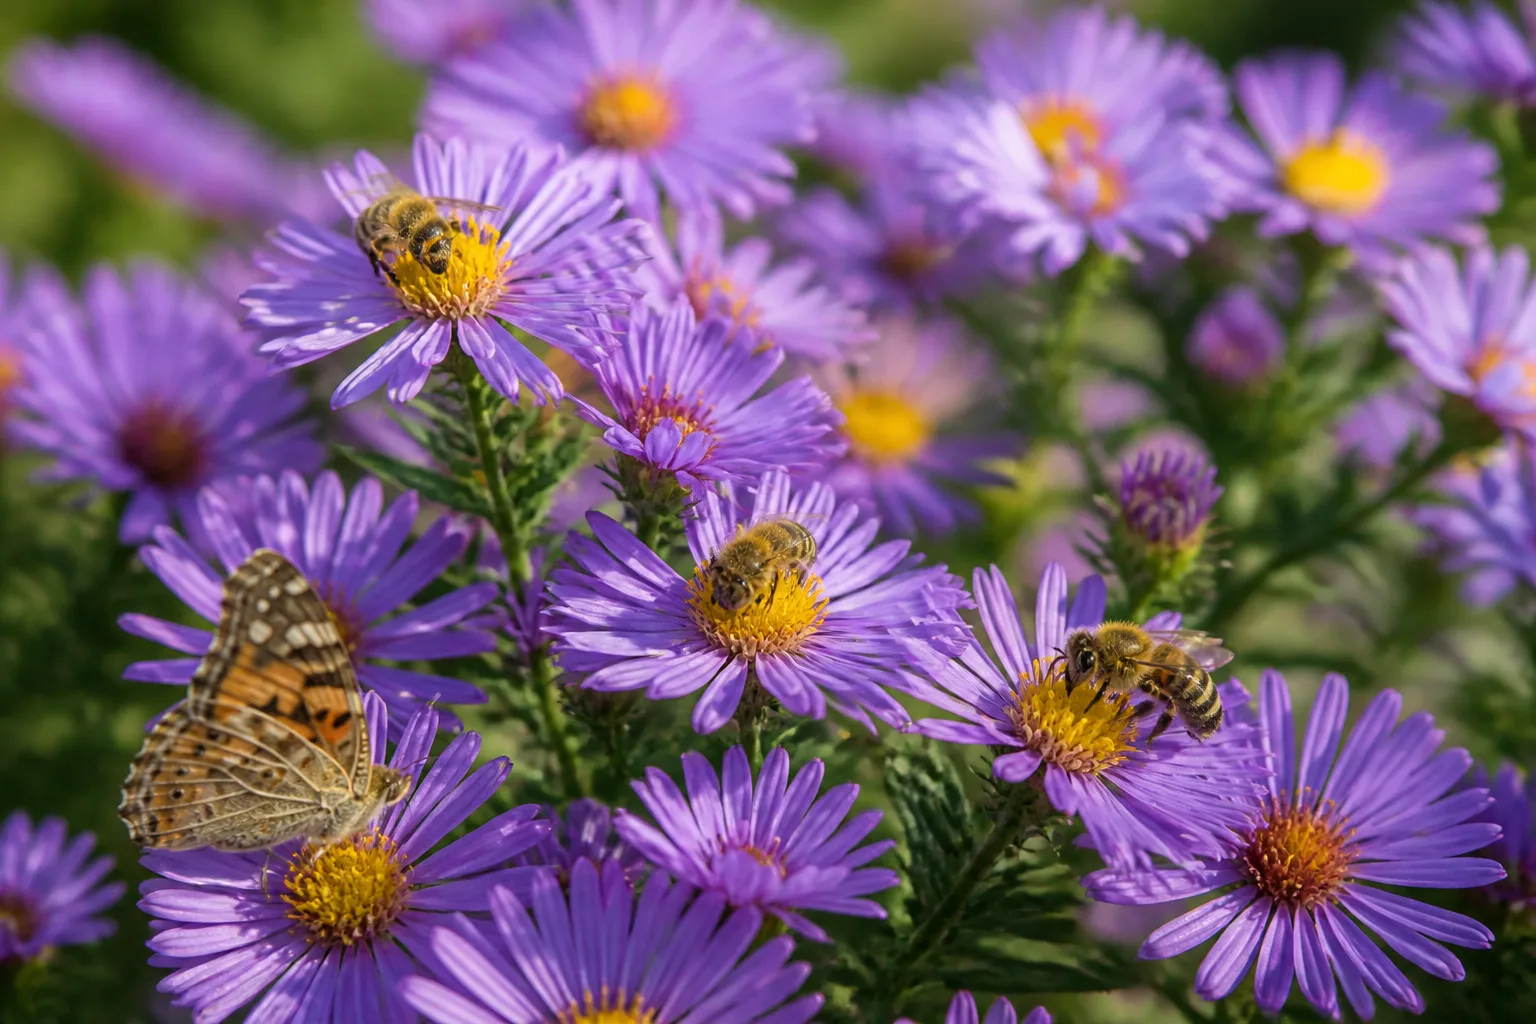
When Fall Pruning Is a Good Choice
Fall cutback makes the most sense when the foliage is fully dead or clearly diseased and the material is creating a problem. A bed that stays wet, collapses into a dense mat, or has recurring powdery mildew can benefit from removing old tissue so you can see the crown, clear the soil surface, and plan better airflow next season.
It is also practical when asters are planted beside a walkway, lawn edge, or winter vegetable bed. Shortening the stems reduces the chance that wind will scatter brittle debris across a path and makes it easier to apply a measured mulch layer around, rather than over, the crown.
Fall cleanup can limit self-sowing, too. Many asters produce fluffy seed heads that travel on wind. That is useful in a naturalized planting but less welcome in a small formal bed where seedlings land in paths or crowd slower perennials. Cut the seed-bearing stems once you have enjoyed the flowers and before the heads disperse.
Do not oversell the pest and disease benefit. Removing infected foliage and old debris can reduce the amount of material available for some problems to persist, but it does not sterilize the soil or guarantee that next year’s foliage will be healthy. The durable fixes are still correct spacing, good air movement, root-zone watering, resistant cultivars, and accurate diagnosis.
When Spring Cleanup Is the Better Choice
Spring cleanup is often the better choice for a healthy clump in a wildlife-focused garden. Standing stems add shape to a bare winter border, and seed heads can feed birds when fewer natural foods are available. Hollow or pithy stems may also offer shelter to overwintering insects, so removing every stalk in October has an ecological cost even when the bed looks tidier.
Spring cleanup works when you can reach the bed before new shoots begin pushing through the old material. The RHS recommends cutting back from around March in its guidance, but your local spring may arrive earlier or later. Watch the plant rather than copying a calendar date: when short green shoots are visible at the crown, lift or snip the old stems carefully instead of dragging a rake across them.
Leaving stems is not neglect. It is a planned choice that trades a little winter mess for habitat and winter interest. You can leave the healthiest, most attractive stems and remove only material showing leaf spots, mildew, rust, or soft decay; the RHS specifically recommends separating diseased material from healthy garden debris.
If you have a small bed that becomes inaccessible after snow, ice, or spring mud, fall cleanup may still be the safer scheduling choice. The best season is the one that lets you remove problem material without trampling wet soil or cutting into new shoots.
Wait for Dormancy, Not Just September
Do not prune simply because the calendar says fall. Asters may still be flowering, supporting bees, or carrying green leaves that are storing energy in the crown. Removing green stems too early can shorten the display and throws away working foliage before the plant has completed its seasonal cycle.
Use one of these signals instead: the plant has finished flowering and the foliage is yellowing or brown, a hard frost has collapsed the stems, or the clump has clearly entered dormancy. A light frost that only singes the outer leaves is not always enough. In a mild autumn, the plant may stay active for weeks after the first chilly night. Practical aster-pruning guidance from Gardening Know How likewise separates season-end cutback from spring thinning and early-season pinching.
An Ask Extension response on cutting back perennials gives a useful rule: if gardeners choose to cut, they can wait until after frost and cut close to the crown. Another Ask Extension answer, drawing on Oregon State University guidance for colder, freeze-thaw-prone conditions, describes late fall or early winter cutback after dieback and a taller 6–8-inch stub that can help hold snow and insulate the plant (Ask Extension: cutting back perennials after frost; Ask Extension: winter care of perennials).
Those are not contradictory instructions. They reflect different plants, climates, and goals. In a sheltered, well-drained bed, a short cut after full dormancy is usually fine. In an exposed site with repeated freezing and thawing, leaving a little more stem can provide structure; follow local extension advice if your winter is unusually severe.
How Far Back Should You Cut Asters?
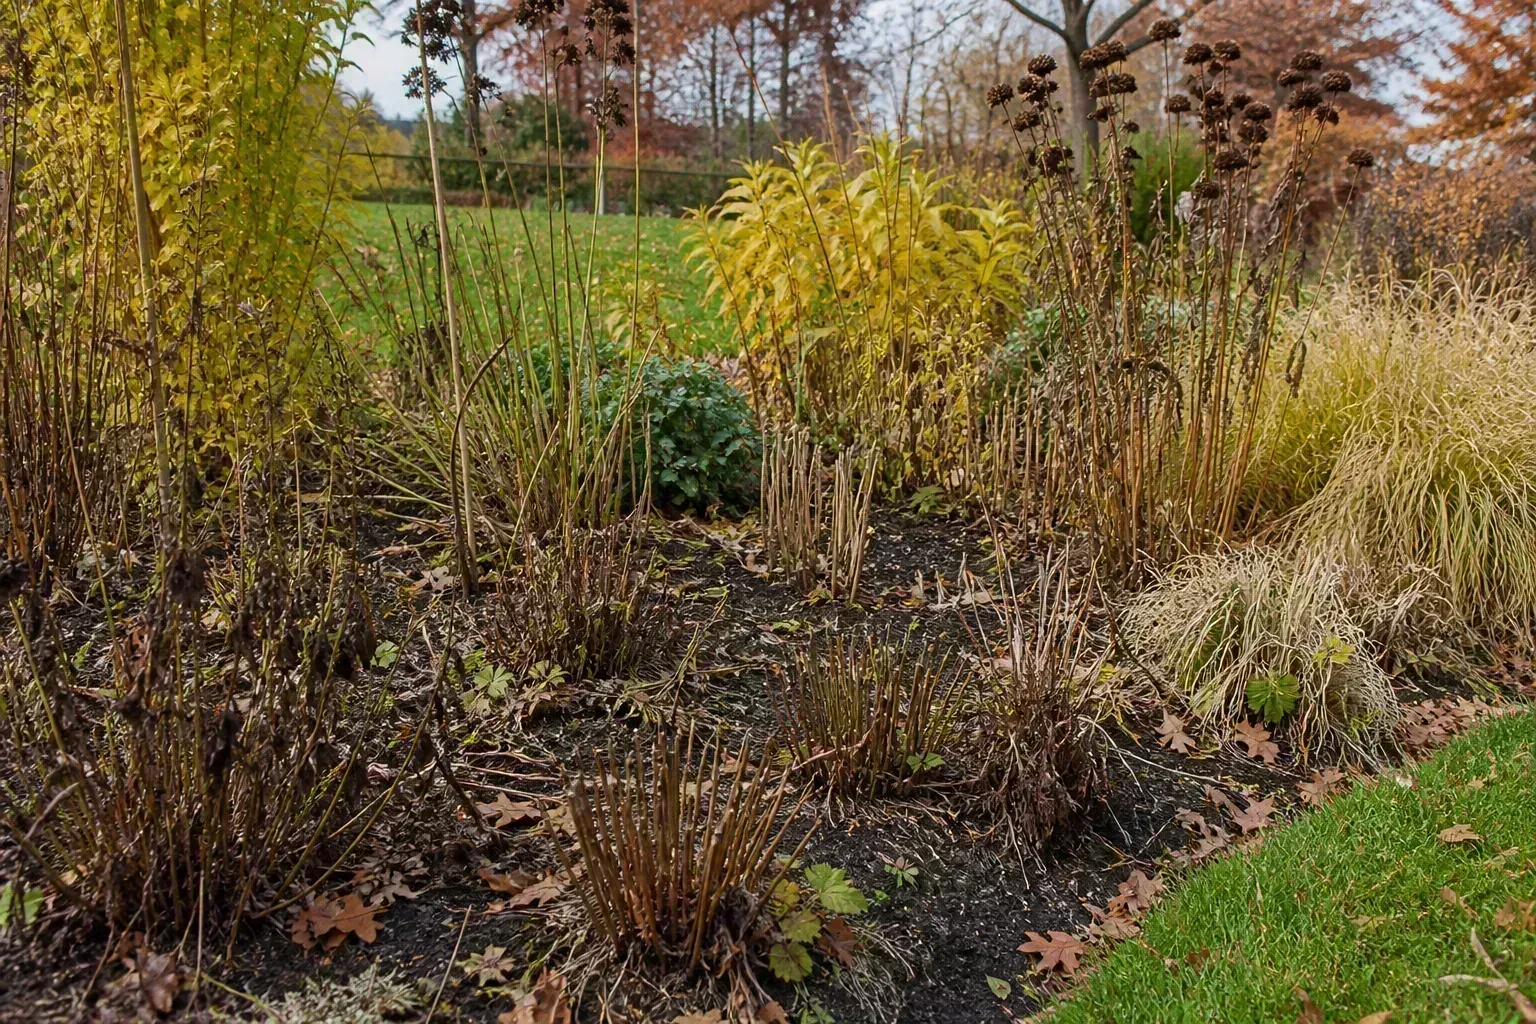
For most established perennial asters, cut the dead stems to about 1–2 inches above the soil or crown once the plant is dormant. Make the cut high enough that you can see where the crown is and low enough that the old stems do not form a floppy winter bundle. If the crown is hidden, clear loose debris first rather than cutting blindly.
Some gardeners leave 2–3 inches, while a taller stub of roughly 6–8 inches can be sensible in exposed locations where stems help hold snow or make the dormant clump easier to find. The goal is not a magic measurement; it is to remove dead, diseased, or unwanted top growth without nicking the crown or burying it under wet debris.
Cut individual stems rather than taking one deep, sweeping chop through the whole plant. This matters when asters are mixed with neighboring perennials or when fresh basal shoots are already present. The RHS gives asters as an example of a perennial that should be cut back less severely when new basal growth is showing.
Tools and Sanitation That Prevent Problems
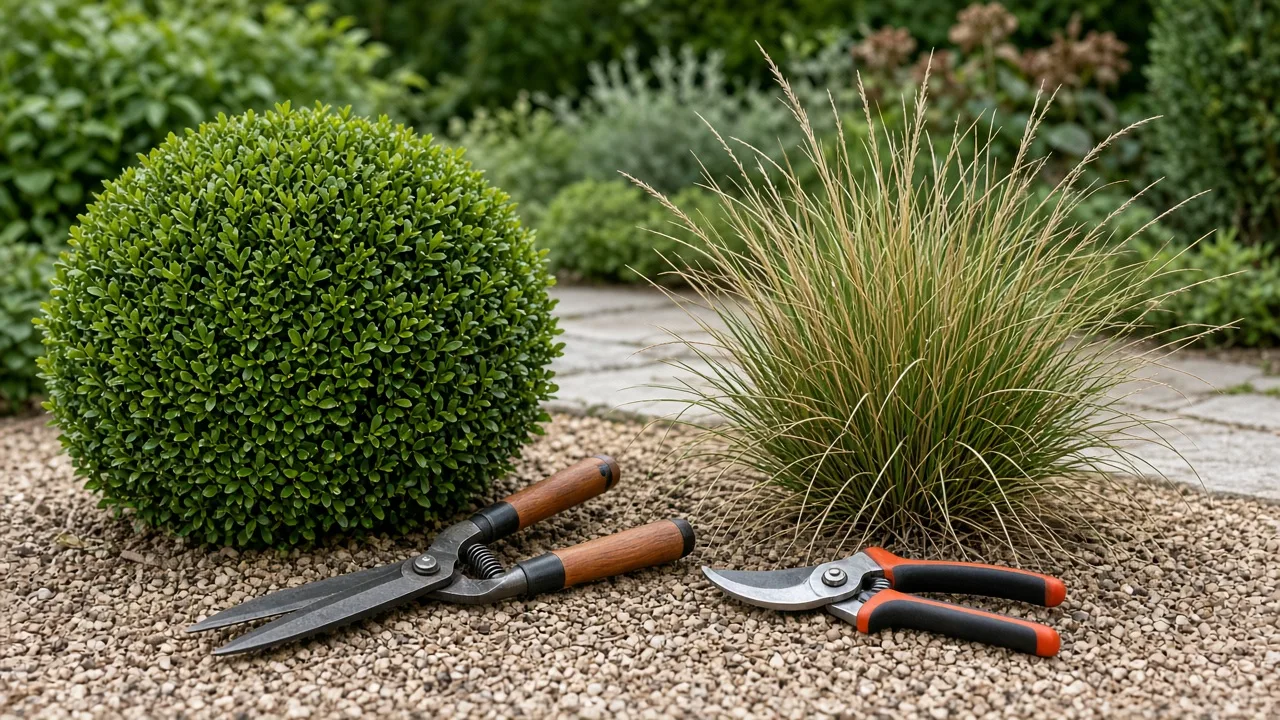
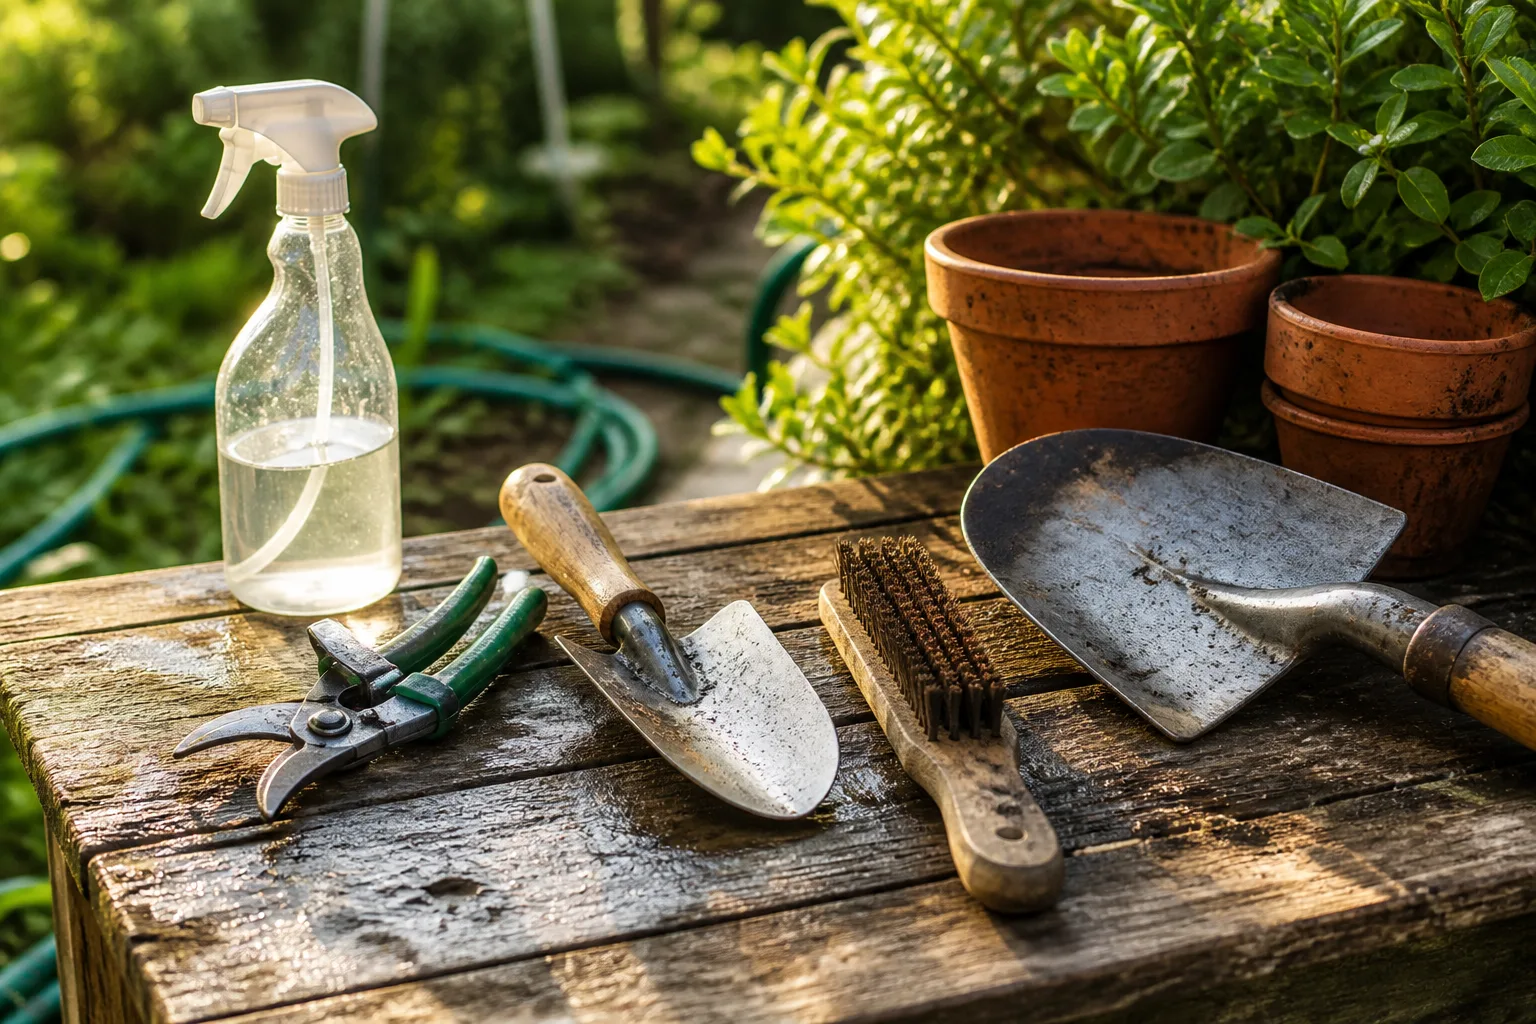
Use bypass pruners or sharp hand shears for ordinary aster stems. A sharp blade makes a controlled cut; a dull blade crushes and tears tissue, making the work slower and harder to aim. Long-handled shears are useful for a broad, empty bed but can nick hidden crowns when asters are planted among other perennials.
Choose a dry morning after dew has evaporated, especially if you are deadheading or removing a few live diseased stems earlier in the season. Gardener’s Path recommends dry conditions, sharp pruners, and sanitation because wet foliage and ragged cuts make disease transfer and infection more likely. The timing is a practical risk reduction, not a guarantee that a fungus cannot spread.
Brush soil and plant fragments from the blades as you move between clumps. If one plant has suspicious spotting, mildew, rust-colored pustules, unusual wilt, or a collapsing base, clean the tool before touching another plant. Use the disinfectant method recommended by your local extension service or product label; if you use a bleach solution, protect clothing and rinse and dry metal afterward to reduce corrosion.
Wear gloves when stems are rough or when you are handling diseased material. Keep a bucket, tarp, or paper yard-waste bag beside you so you do not drop suspect leaves back into the bed. The cleanest pruning job can be undermined if infected debris is left under the crown.
Step-by-Step Fall Aster Pruning
- Inspect the clump before cutting. Look for green leaves, new shoots at the base, healthy seed heads, broken stems, and signs of powdery mildew, rust, leaf spots, wilt, or rot. Decide whether you need a full cutback or only selective removal.
- Confirm that flowering and active growth are over. If the plant is still carrying fresh flowers or substantial green foliage, wait unless you are removing a clearly diseased section.
- Clear the crown area by hand. Pull away loose leaves and weeds so you can see the dormant base. Do not dig into the crown to find a lower cutting point.
- Cut stems in manageable groups. Use sharp pruners and leave about 1–2 inches above the crown for a normal tidy cut. Use a slightly taller stub if winter exposure, snow capture, or plant marking makes that useful.
- Remove diseased material from the bed. Do not toss mildewed, rusty, or heavily spotted foliage into a cool home compost pile. Follow local green-waste guidance or dispose of it as household waste when appropriate.
- Clean up without burying the crown. Finish by removing matted debris, checking that water can drain, and keeping mulch loose and away from the center of the clump.
If the bed is crowded, do not try to solve every structural problem during a wet late-fall cleanup. Mark the clump and plan spring thinning or division when the soil is workable. A rushed attempt to dig or split a plant in cold mud can damage both the crown and the surrounding bed.
Deadhead Asters During the Growing Season
Deadheading is different from cutting back for winter. During bloom, remove spent flower clusters to keep the plant looking fresh, reduce unwanted seed production, and sometimes encourage additional side flowers. Cut a finished flowering stem back to a healthy branching point or to its point of origin, depending on how the cultivar branches.
You do not need to deadhead every aster to get a good display. The RHS notes that many asters produce so many flowers that deadheading is not necessary for performance. It is most useful when you want a tidy border, want to limit seedlings, or notice that a cultivar continues to produce buds after older flowers fade.
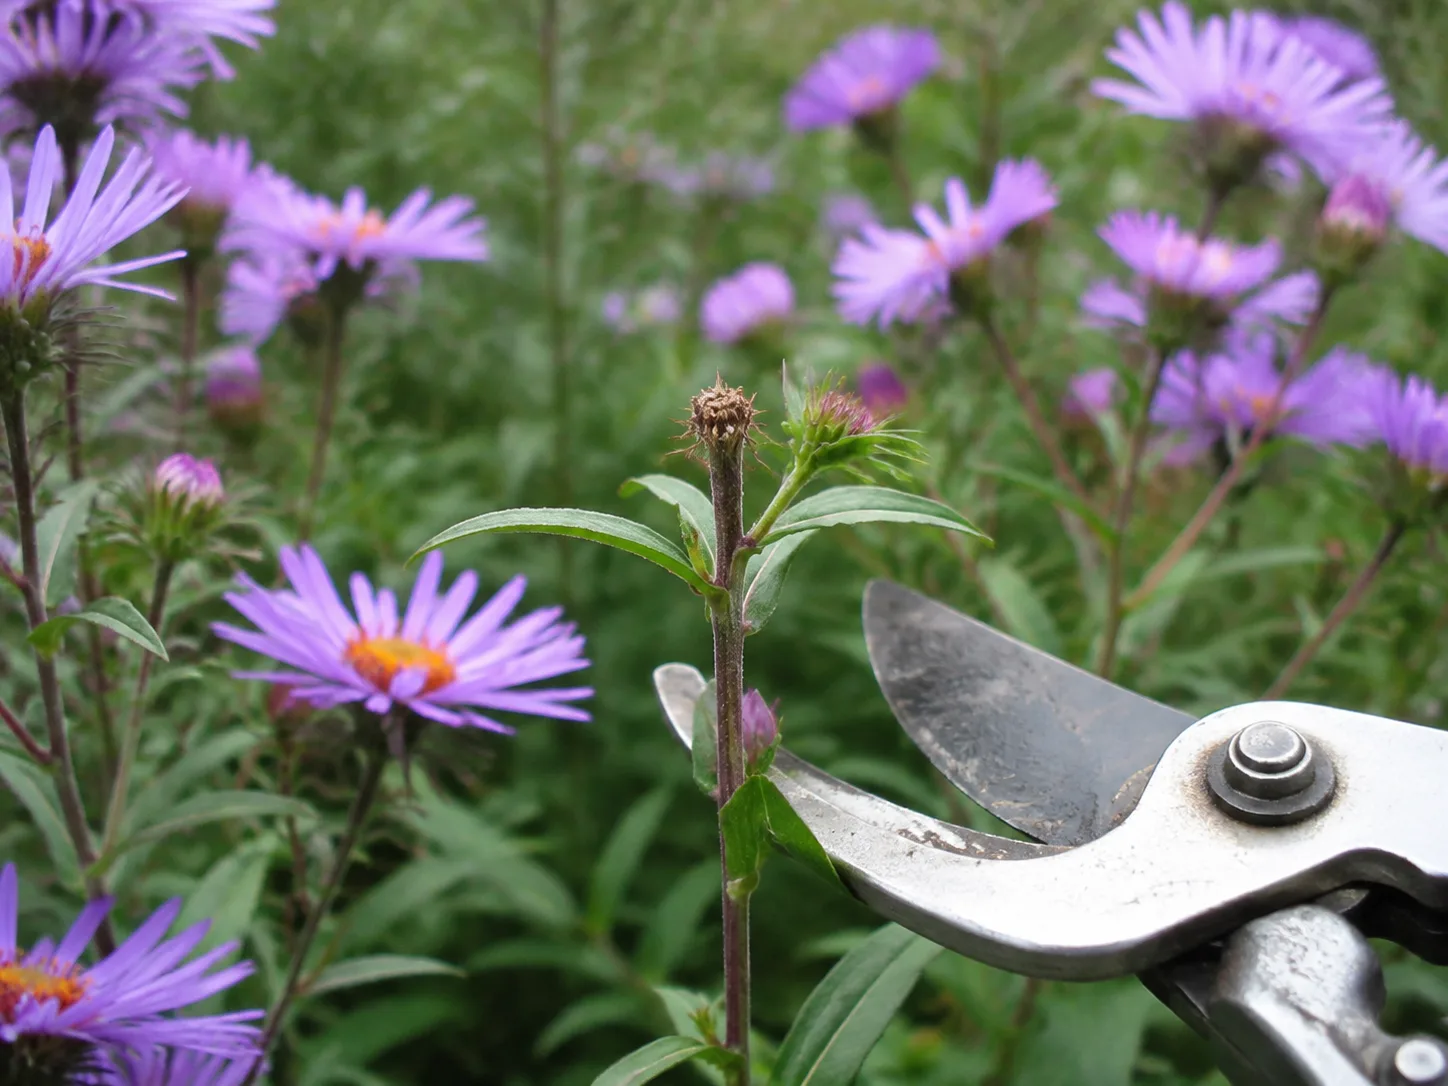
Deadheading also lets you harvest flowers for a vase before they become seed heads. Make the cut while the stem is firm and the surrounding foliage is dry. If the entire plant is fading at the end of the season, stop treating each spent flower as a separate task and choose either a late-season selective cleanup or a dormant cutback.
Pinch Asters Earlier for Bushier Plants
If your asters flower well but become tall, thin, or prone to flopping, the useful pruning window is late spring to early summer, not fall. Pinch or shear back the soft growing tips before buds form to encourage lateral branches and a shorter, fuller plant. Gardening Know How suggests removing the growing tip just above a node and pinching from midspring into early summer.
The trade-off is timing. Pinching delays flowering slightly because the plant must make extra side shoots before it blooms. Stop early enough for your local season, and do not use the same aggressive schedule on a naturally compact cultivar that already stays upright.
A practical limit is to remove no more than about one-third of the active height in a single pass. Tall New England asters may respond well; a short, late-blooming plant or a cultivar already carrying buds may not. If you need the earliest possible flowers, skip the pinch and install support before the stems reach full height.
Thin or Divide Crowded Clumps
Thinning removes selected stems; division separates an established clump. They solve different problems. If the center is too dense, remove roughly one in three older stems at the base in spring to open airflow. If the center has become woody or hollow and growth is strong only around the outside, dig and divide the plant instead.
Gardening Know How recommends spring thinning as a way to reduce crowding and mildew pressure. Gardener’s Path places division in spring for manageability, vigor, and airflow, while the RHS recommends lifting and dividing most asters every three to five years in early spring.
Divide as new shoots emerge and the soil is workable, or divide in fall soon after flowering only when the plant has enough mild weather left to root before the ground freezes. Keep vigorous outer sections with live roots and shoots, discard a dead woody center, replant at the original depth, and water the divisions until established.
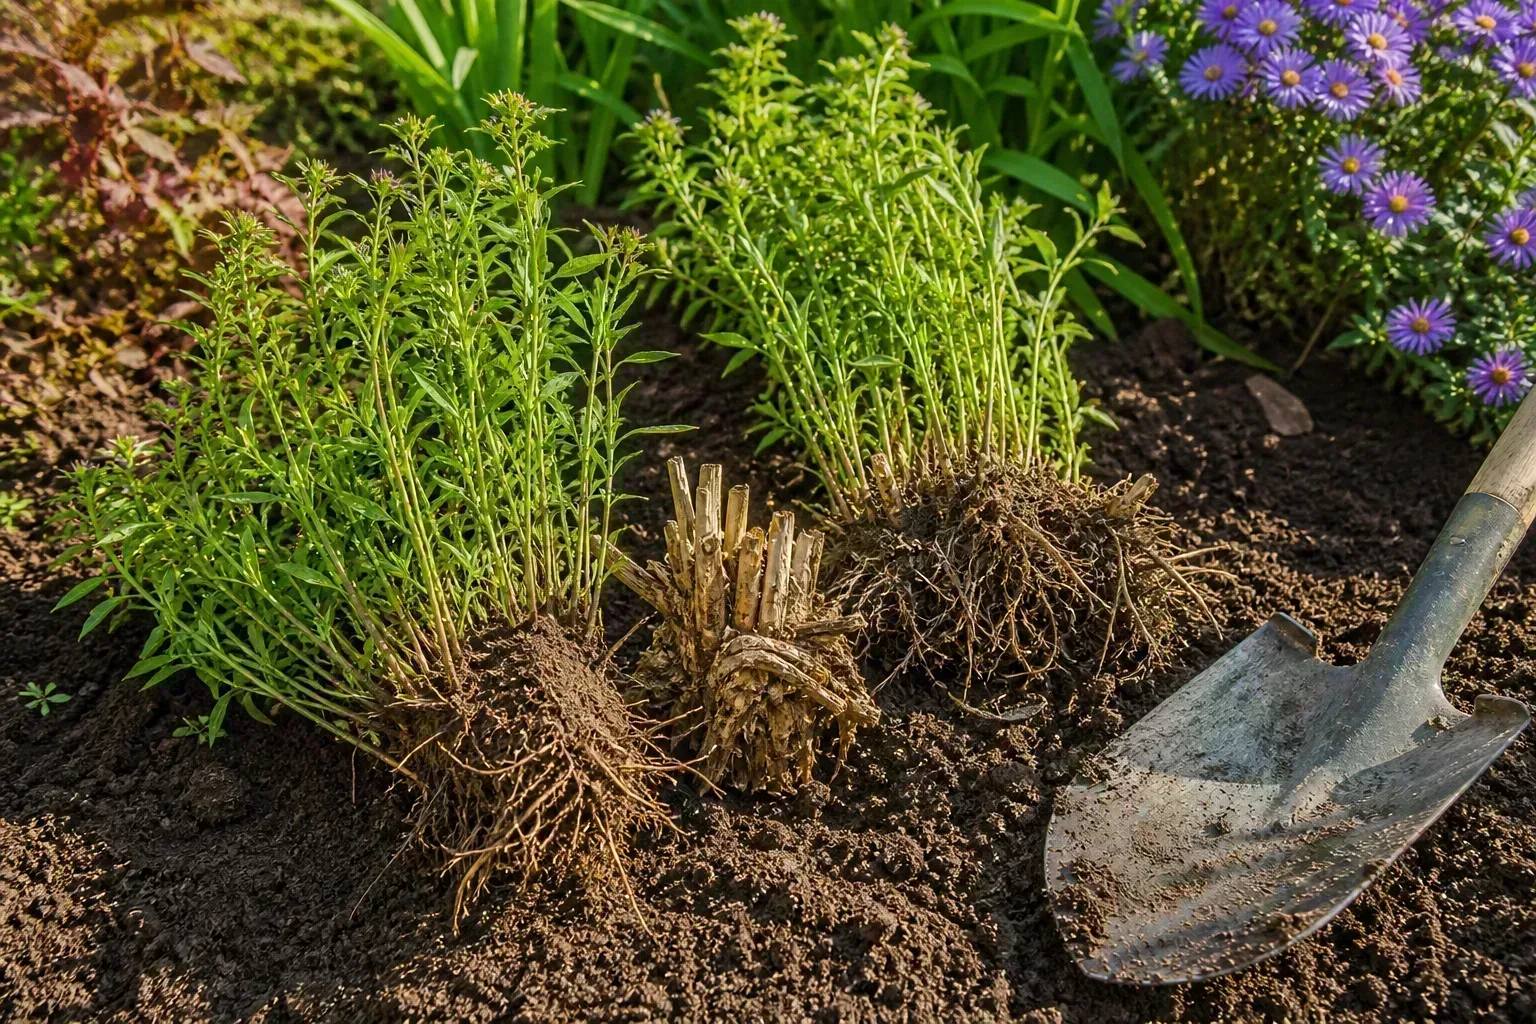
Neither fall cutback nor division can compensate for deep shade or chronically wet soil. If a clump is leggy, sparse, or declining, check light and drainage before reaching for fertilizer. Asters generally flower best in full sun and moisture-retentive but well-drained soil; the RHS warns that prolonged winter wet is a bigger risk for many types than cold itself.
Adapt the Plan to Your Climate and Aster Type
In a cold, exposed garden, leave a little more stem if it helps hold snow or lets you locate the crown. An Ask Extension response from Oregon describes 6–8 inches as a useful winter-care height in freeze-thaw conditions and recommends applying mulch after the ground has lightly frozen. That guidance is climate-specific, so do not assume the same mulch depth or cut height suits a warm, wet garden.
In a humid region, prioritize airflow and sanitation. Tall New York asters and crowded cultivars can develop powdery mildew, while base watering, mature spacing, selective thinning, and a mildew-resistant replacement can improve the next season more reliably than cutting everything low in November.
In a mild climate, do not let a warm October trick you into early pruning. Asters may remain green and active well after the first cool nights. Wait for natural dieback, or remove only the sections that are genuinely diseased or interfering with the bed.
Container-grown asters need a separate check. Pots experience faster temperature and moisture swings than in-ground beds, and the plant may be less protected from winter wind. Cut only after dormancy, keep drainage holes clear, and move the container to a sheltered place if your cultivar is not reliably hardy in its pot.
Fall Aftercare: Water, Mulch, and Debris
Pruning does not mean the plant needs fertilizer. Established asters usually need little feeding beyond healthy soil and a spring compost mulch. Late nitrogen can push soft leafy growth at the wrong time and cannot repair a crown that has been damaged by waterlogging or an early cut.
If fall is dry, water the root zone deeply while the plant is still able to take up moisture. Do not keep a dormant aster sitting in saturated soil. Asters prefer moisture-retentive ground, but the root crown still needs drainage through winter.
Apply a loose layer of compost, shredded leaves, or another suitable mulch around the plant when local conditions call for it. Keep the crown visible and avoid piling wet material against the short stubs. In freeze-thaw climates, follow local extension recommendations rather than treating mulch as a universal requirement.
Healthy, dry debris may be suitable for composting when your compost system reaches appropriate conditions. Diseased leaves and stems deserve more caution. RHS guidance recommends separating material with leaf spots, mildew, or rust and sending it through appropriate green-waste disposal or a local recycling route rather than assuming a cool backyard pile will destroy every pathogen.
Common Mistakes That Reduce Aster Vigor
Cutting while the plant is still green is the most common timing mistake. Green leaves are still making and moving energy to the crown, so an early haircut can reduce the plant’s reserves without improving winter survival.
Using a fixed date for every climate creates the same problem. September may be late summer in one garden and the end of the season in another. Let flowering, frost, and dieback tell you when the plant is ready.
Shaving into the crown is another avoidable error. A short stub is useful; a blade pressed into the dormant base can injure next season’s growing points. Clear debris first and cut what you can see.
Treating fall cutback as a bloom guarantee leads to misplaced effort. More flowers next year are more likely when the plant gets enough sun, steady moisture during bud formation, good airflow, timely pinching, and periodic division when crowded.
Composting diseased material casually can return a problem to the bed. Separate suspicious debris from healthy material and follow local disposal guidance, especially if the foliage had severe mildew, rust, wilt, or an unexplained collapse.
Removing every stem in a wildlife garden sacrifices winter structure and potential habitat for a cosmetic result. Leave a selected patch standing when the material is healthy, then clean it before new shoots become difficult to see.
What to Expect When Spring Arrives
If you cut asters in fall, the bed may look bare for months. That is normal for an herbaceous perennial. The crown is dormant underground, and the short stems are simply markers that help you avoid digging through the area.
If you left stems standing, schedule cleanup before new growth gets tall. Hand-pull loose stems or cut them close to the crown while you can still see the base. Avoid raking aggressively across emerging shoots, and do not mistake a little winter discoloration for a reason to remove live basal growth.
Use the return of new shoots as a review point. If the clump is thin, ask whether it received enough sun and water last year. If only the edges grow, plan spring division. If the stems flopped, pinch earlier next season or install support sooner. If mildew returned, open the spacing or choose a more resistant cultivar.
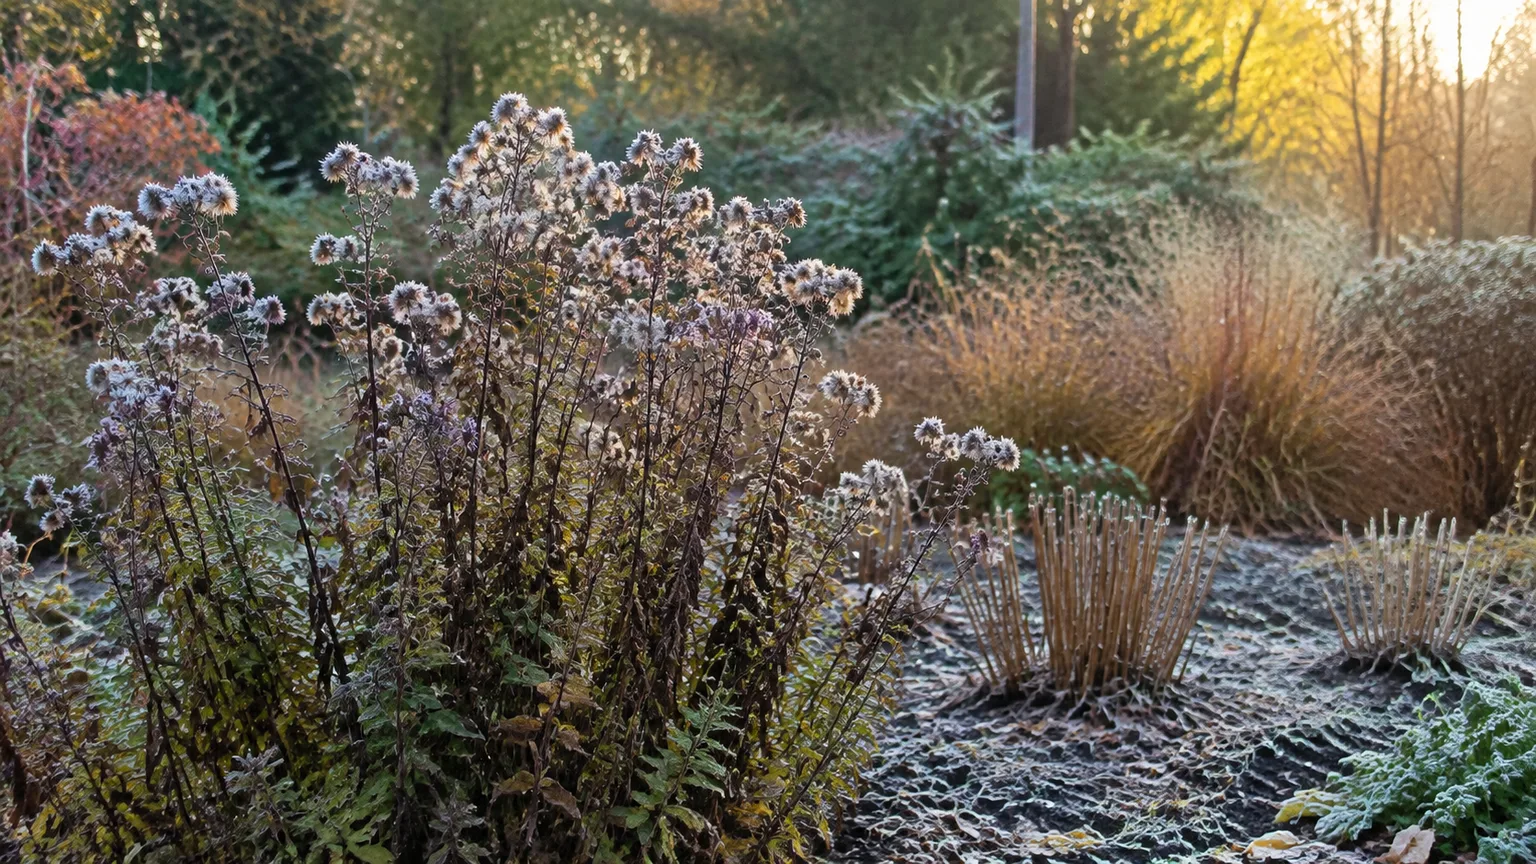
The next season’s bloom is a result of the whole cycle, not one pruning cut. Treat fall as the moment to remove what is harmful, preserve what is valuable, and set up the spring decisions that will actually shape the plant.
Conclusion
Prune asters in fall if the plant is dormant and you need sanitation, tidiness, or seed control. Leave healthy stems until spring if you value winter structure, birds, and overwintering insects. Both choices can be correct.
Wait until flowering is finished and foliage has naturally died back or a hard frost has collapsed the plant. Cut most perennial asters to about 1–2 inches above the crown with sharp, clean pruners, leave a taller stub in exposed freeze-thaw conditions when useful, and never cut blindly into new basal shoots. Remove diseased debris from the bed, keep mulch off the crown, and remember that better blooms next year depend more on light, moisture, airflow, pinching, deadheading, and clump health than on a mandatory fall haircut.