How to Grow Tulips: Planting, Care, and Reblooming
Learn how to grow tulips with the right fall timing, planting depth, drainage, and after-bloom care—and understand which bulbs are most likely to return.
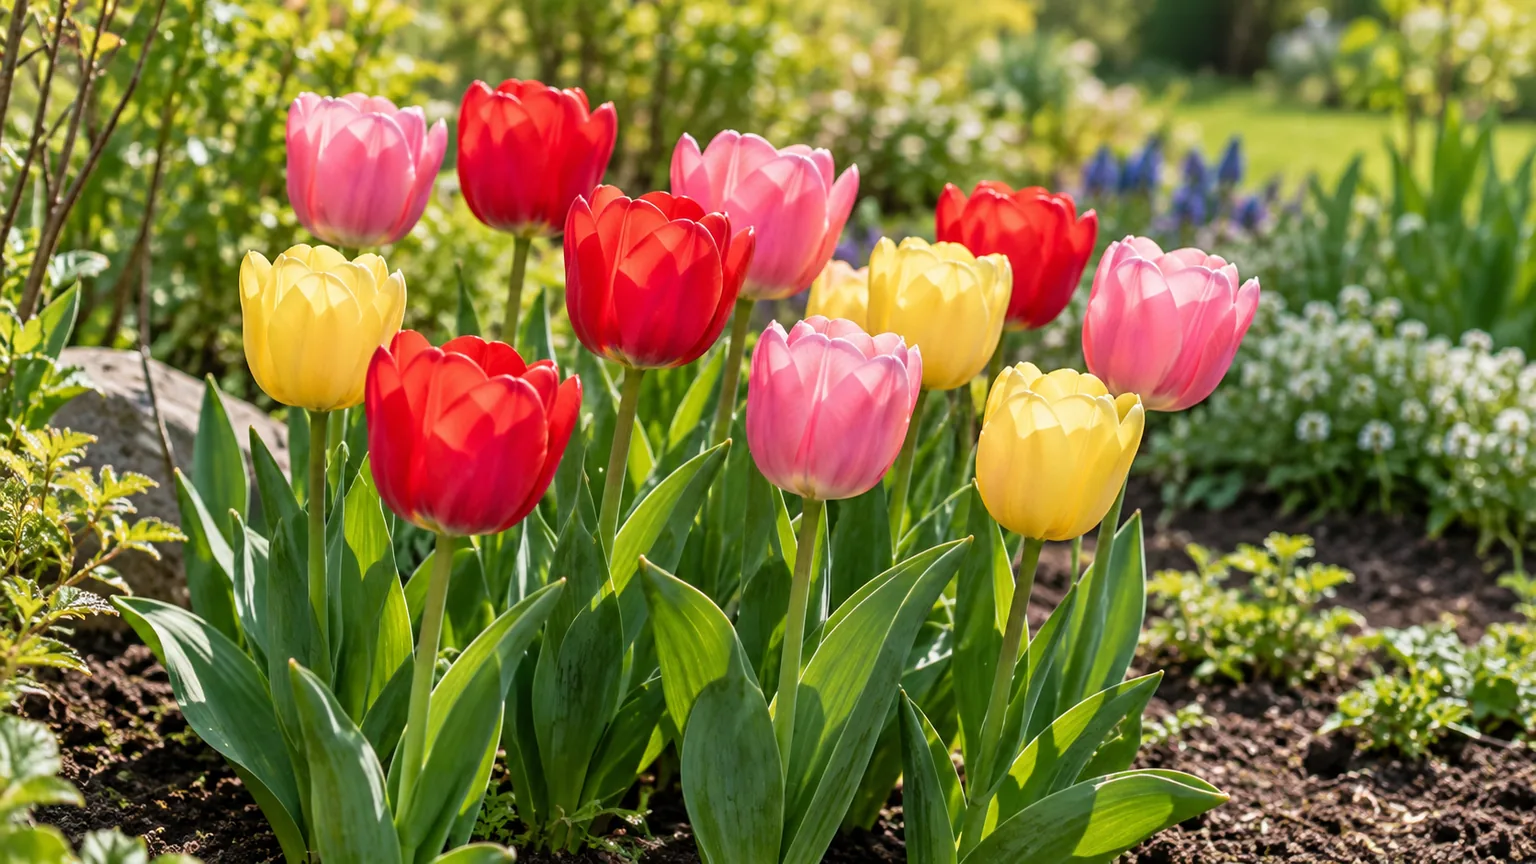
Tulips are straightforward to plant, but getting a strong display is mostly a matter of matching the bulbs to your climate and keeping them out of wet soil. Plant firm bulbs in cool autumn soil, give them sun and a period of winter chill, then let their leaves finish feeding the bulbs after the flowers fade. Those steps can produce a dependable spring show; they cannot make every modern tulip hybrid rebloom for years.
Before you buy, decide whether you want a spectacular one-season display or a planting that has a reasonable chance of returning. That choice affects which tulips to choose, where to put them, and whether you leave bulbs in the ground or treat them as annuals.
Decide what you want from tulips before you buy
Tulips are spring-flowering bulbs that store energy underground while dormant. Their foliage appears in the cool season, flowers open in spring, and the leaves then use sunlight to recharge the bulb before it rests through summer. A sunny planting spot and healthy leaves matter more to next year’s flowers than a heavy dose of fertilizer.
A tulip can be botanically perennial yet still disappoint as a garden perennial. Many highly bred hybrids flower impressively the first year and then produce fewer or smaller blooms; in warm-winter or wet-summer gardens, that decline can be faster. If you want a large, consistent color block, plan to replace bulbs periodically. If you want repeat flowers, shop for species tulips or cultivars explicitly described as naturalizing or perennializing, and accept that results depend on local conditions.
Choose tulip types for your winter and bloom goals
Species tulips are usually smaller and closer to wild forms than the large formal hybrids sold for showy beds. They are often better candidates for naturalizing, though a label is a starting point rather than a promise. Darwin Hybrid tulips are also commonly selected for stronger repeat performance than many bedding types, but the NC State Extension Plant Toolbox cautions that tulip performance often declines substantially after the first year. Its guidance also notes that species tulips tend to do better as perennials than hybrids. NC State Extension’s tulip profile gives a useful reality check before you buy.
Use the supplier’s information to choose bloom time, mature height, and planting depth; “early,” “midseason,” and “late” tulips can stretch the display across several weeks. Larger bulbs generally have more stored reserves than undersized bulbs of the same cultivar, but bulb size alone does not determine whether a variety will perennialize. For a first bed, choose two or three compatible cultivars with overlapping bloom windows rather than a bag of unlabelled mixed bulbs; it is easier to learn what thrives in your garden.
When to plant tulip bulbs
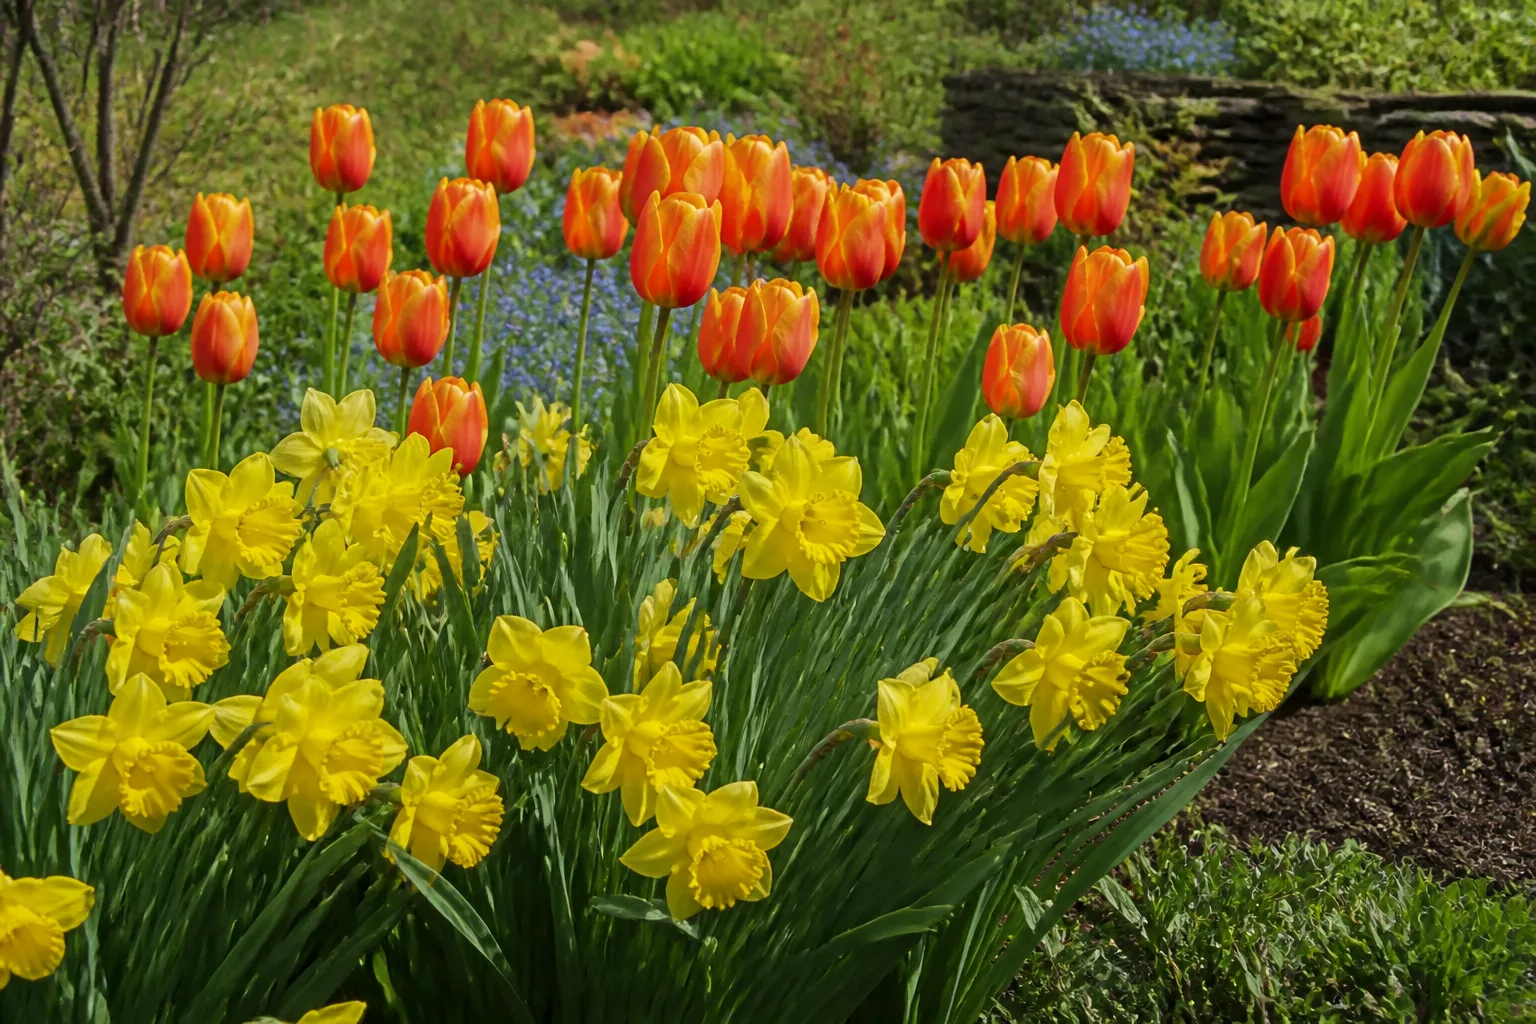
In regions with a real winter, plant tulips in fall after summer heat has eased but while the soil is still workable. The bulb needs time to establish roots before the ground freezes and needs winter cold to develop a spring flower. Planting too early into warm ground can encourage premature growth; waiting until the soil is deeply frozen makes it difficult to plant at the right depth.
Warm-winter gardeners should not rely on a calendar intended for colder regions. If winters do not provide enough chill, buy pre-chilled bulbs from a supplier that ships them for your area, and treat them as a seasonal display rather than assuming they will return. Some tulips can be grown in mild climates, but the cultivar and its chilling history matter; check the bulb seller’s instructions rather than applying a single USDA-zone rule to every variety.
Use cooling soil, not a fixed month
A practical signal is soil cooling into roughly the mid-50s to below 60°F, with the planting bed still easy to dig. Country Living’s garden guidance uses about 55°F, while an NC State Cooperative Extension article recommends planting spring bulbs after soil falls below 60°F. Those nearby thresholds reflect a useful range, not a magic line: local weather, soil type, and the bulb supplier’s guidance should decide your exact week. Country Living’s fall planting guide and NC State Cooperative Extension’s planting guidance explain the seasonal approach.
If bulbs arrive before your bed is ready, keep them in a cool, dark, dry, ventilated place and plant them as soon as conditions suit. Do not store them in a sealed damp bag or leave them in direct sun, where heat and moisture can damage the scales. If the ground freezes before you can plant, use a deep pot with drainage and protect it from extreme freeze-thaw swings; a pot is easier to manage than forcing a trowel into frozen ground.
Choose a sunny site with dry summer soil
Tulips flower best with full sun during their spring growth, generally at least six hours of direct light. A spot beneath a deciduous tree can work because it receives light before the tree leafs out, then becomes shaded as the bulbs finish their active growth. Avoid a location where a fence, evergreen, or building blocks the spring sun all day.
Drainage is as important as light. Tulips grow during the cool season and go dormant in summer; bulbs that sit in cold, wet soil or stay damp through summer are more prone to rot. NC State Extension describes tulips as suited to cool, moist winters followed by warm, dry summers and warns that bulb and root rot can occur in poorly drained soil. Its plant profile is especially useful for gardeners whose beds stay wet after rain.
Fix drainage before planting
After a soaking rain, check the bed rather than judging it when the surface looks dry. If water remains in a puddle or the soil is sticky and saturated for hours, choose another location, build a raised bed, or improve the planting area broadly with organic matter. A small pocket of gravel under each bulb will not drain a heavy, waterlogged bed; it can leave the bulb sitting in a basin of wet soil.
Loose, well-drained garden soil is enough; tulips do not need a rich custom mix. If the soil is very compacted, loosen a wider area so roots can spread, and incorporate mature compost through the bed rather than packing it tightly into each hole. Avoid planting in a place that receives frequent summer irrigation from lawn sprinklers. Once the leaves yellow and the bulbs go dormant, dry conditions help them last.
How to plant tulip bulbs in a garden bed
Buy bulbs that feel firm and heavy for their size. Skip bulbs that are soft, crushed, moldy, or already shriveled; a loose papery outer tunic is normal, but mushiness or a sour smell signals decay. Keep them cool and plant soon after purchase because bulbs left warm or dry for a long time may lose vigor.
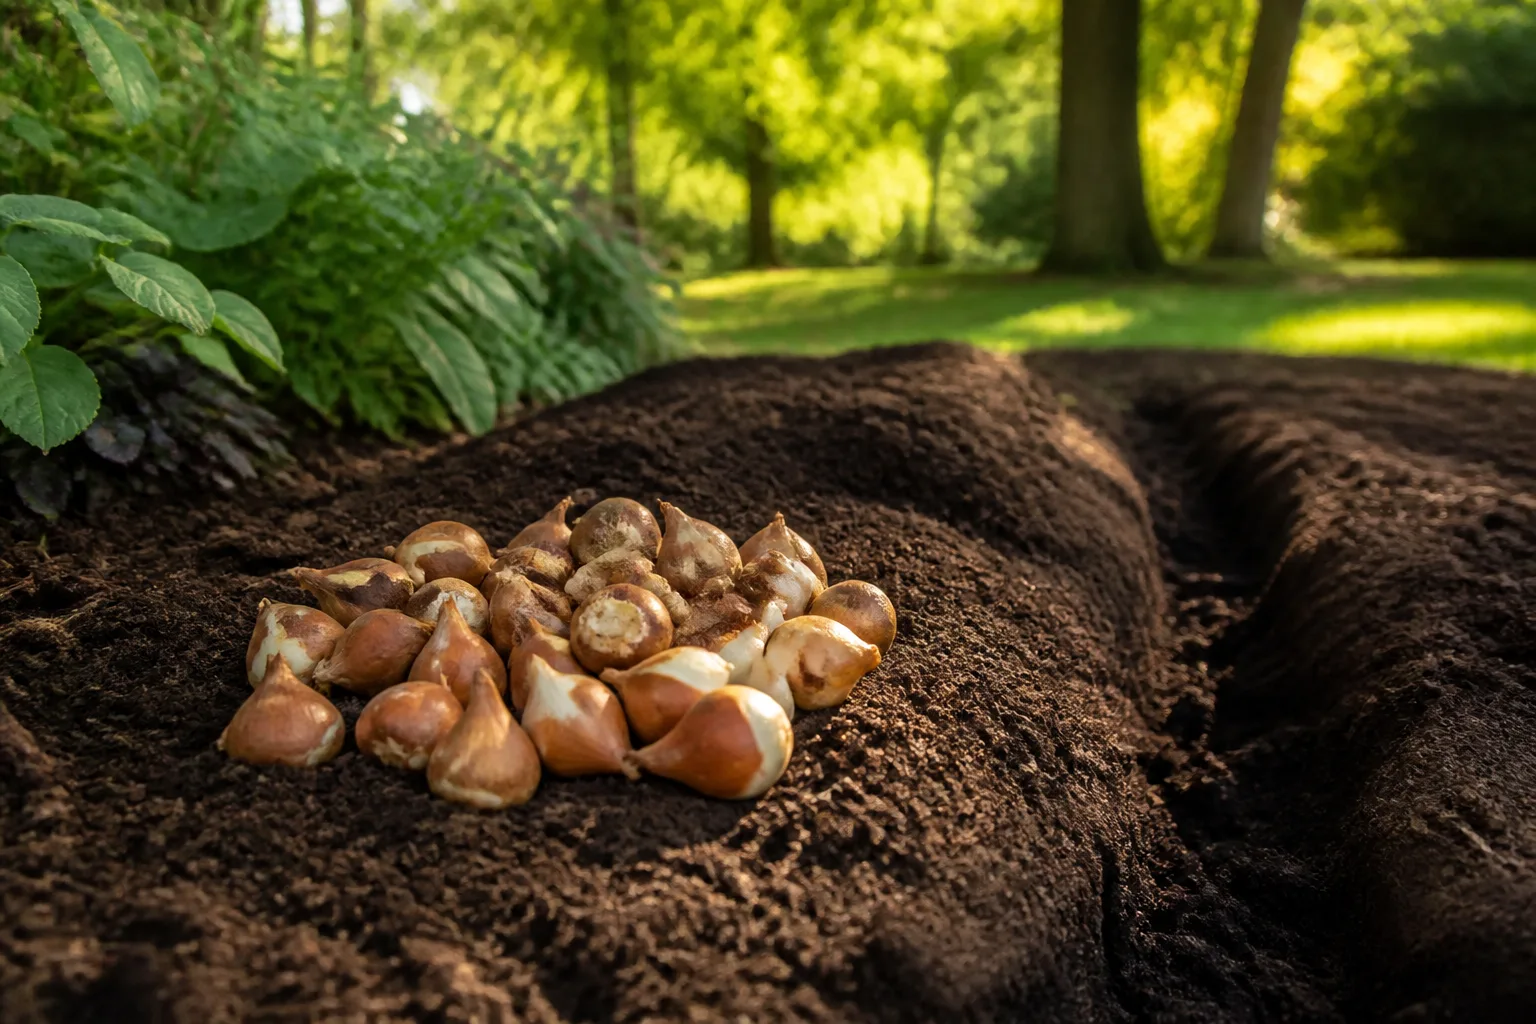
Before digging, arrange the bulbs on the soil surface to judge the spacing and color pattern. Plant in irregular drifts or groups rather than a single straight line if you want a natural-looking bed. A broad cluster also reads as a fuller display from a distance, and you can mark where the bulbs are so you do not disturb them when planting summer flowers.
Measure depth and spacing for each bulb
The most reliable general rule is to plant a bulb about three times its own height deep, measured from the bulb’s base to the finished soil surface. A 2-inch-tall bulb will therefore sit about 6 inches below the surface. Large hybrid tulips often need a deeper planting than small species tulips, so follow the package if its instructions differ; NC State Extension and Epic Gardening both describe the three-times-size rule. Epic Gardening’s depth guide also explains why planting depth helps buffer bulbs from temperature and moisture swings.
Set each bulb with its pointed tip facing up and its flatter, root-producing base down. If the top is hard to distinguish, lay the bulb on its side; the shoot can usually curve upward, though correct orientation makes emergence easier. Space most garden tulips about 4 to 6 inches apart, adjusting for bulb size and the package instructions. Closer spacing gives a dense visual effect but leaves less room for offsets and can increase crowding in a long-term planting.
Plant clusters for a fuller display
For a large bed, open a trench or broad planting area rather than digging individual holes one by one. Set the bulbs at the same depth with a few inches between them, cover with loose soil, and water once to settle the planting. A group of ten or more bulbs creates a clearer patch of color than the same number scattered across a lawn, and staggered rows avoid a rigid grid.
If animals regularly dig bulbs in your yard, install a physical barrier while planting instead of waiting for the first losses. A bulb cage or a sheet of hardware cloth over the bed can discourage digging animals, but secure it so it stays in place and do not block the shoots from emerging. The right mesh depends on the animals in your area; loose chicken wire with wide openings may not stop small rodents.
Water and feed tulips as they grow
Water the bed after planting if the soil is dry; the moisture helps settle soil around the bulbs and starts root growth. After that, let rainfall do most of the work through fall and winter. Water during an unusually dry spell when the soil around newly planted bulbs is dry, but do not keep the bed continually wet.
In spring, tulips need even moisture while leaves and buds are actively growing, not waterlogged soil. If rain has been steady, skip the hose; if the top several inches of soil are dry and plants are actively growing, water slowly at ground level. Once foliage turns yellow and the bulbs are dormant, stop routine irrigation over the bed if you can. Overwatering after bloom is a common way to undo otherwise good care.
Tulips are not a reason to fertilize by guesswork. Work compost into poor soil before planting, and use a soil test if you suspect a nutrient problem. If you choose a bulb fertilizer, use a product labeled for bulbs and follow its directions; avoid overapplying nitrogen, which can encourage leafy growth without fixing shade, poor drainage, or an unsuitable climate. NC State Extension’s local planting article describes a light fertilizer application as an option, while the decisive basics remain planting depth, light, and drainage.
Grow tulips in containers or force them indoors
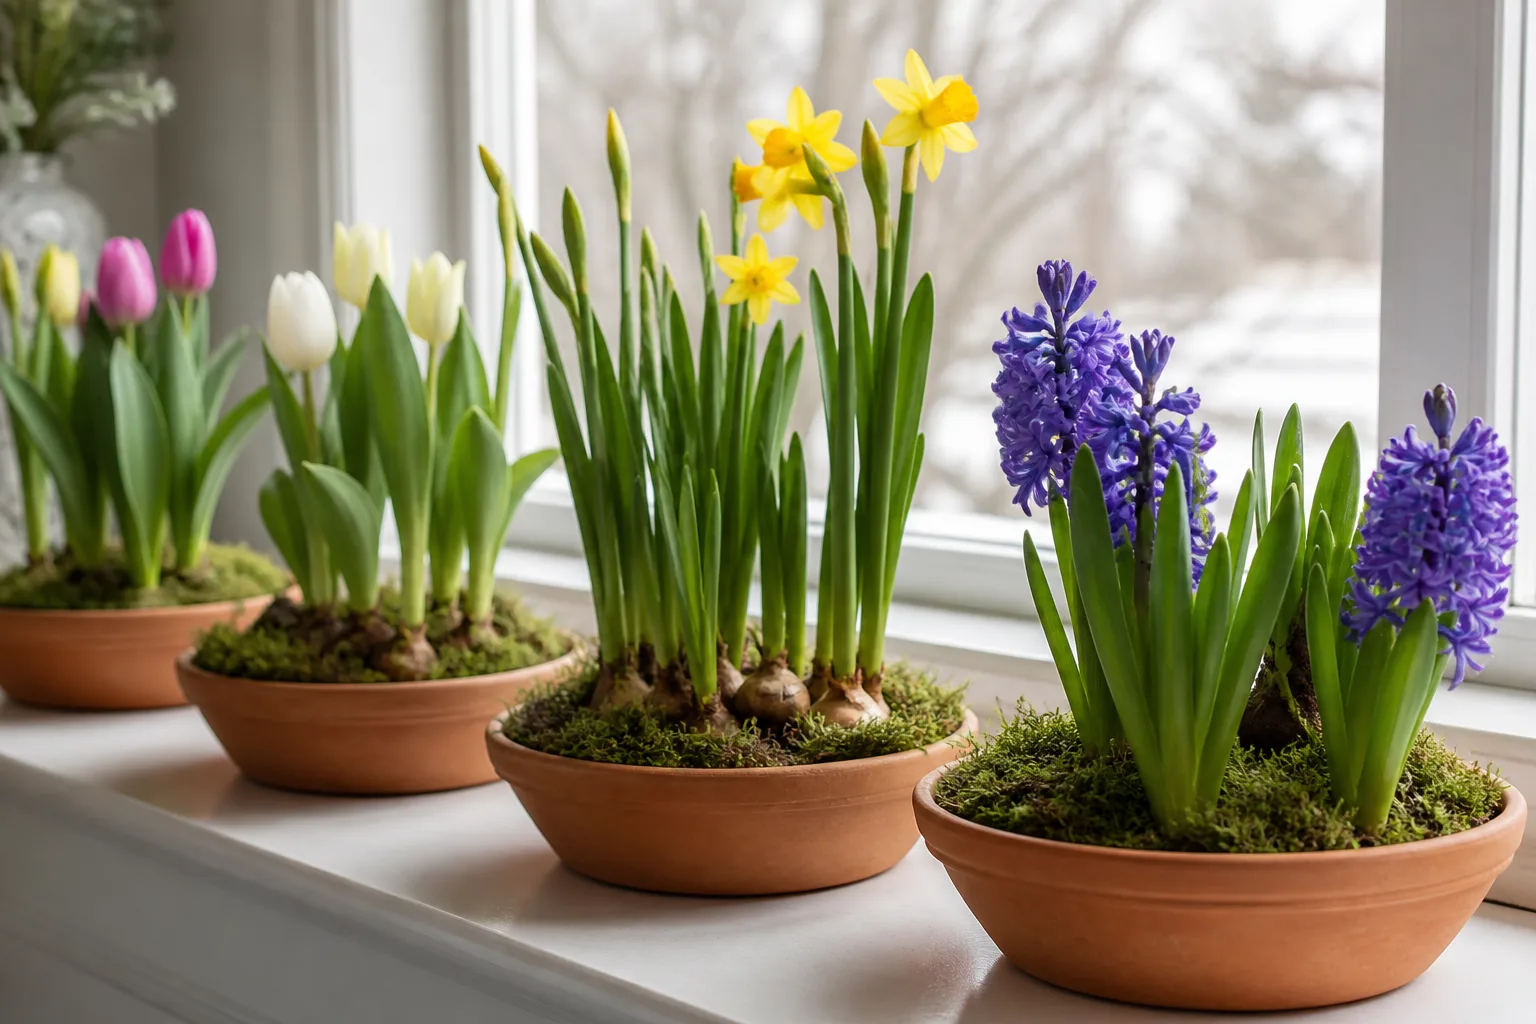
Pots make it possible to place tulips where drainage is better and move the display into view. Choose a sturdy container with unobstructed drainage holes and enough depth for the bulbs plus a layer of soil below them; a very shallow decorative bowl is not a practical winter home for garden tulips. Use a loose potting mix, set bulbs close together without pressing them against one another, cover at the recommended depth, and water until excess drains from the bottom.
A container freezes and dries faster than garden soil. In cold regions, protect outdoor pots from repeated hard freeze-thaw cycles by grouping them beside a sheltered wall, insulating the sides, or sinking the pot into the ground for winter. Check occasionally during a dry autumn, but do not water a frozen or saturated pot. For pots that will stay indoors, follow the chilling steps below rather than keeping bulbs in a warm room and hoping they flower.
Give potted bulbs their winter chill
Tulips need a period of cold before they bloom. For forcing, use pre-chilled bulbs or give the potted bulbs the chill period specified by the supplier; practical recommendations commonly span roughly 10 to 16 weeks depending on cultivar and method. Country Living describes a 10-to-14-week cold period, and Epic Gardening discusses about 12 to 16 weeks, so use the bulb label as the deciding instruction rather than treating one duration as universal.
Keep the pot in a consistently cold, unheated location during chilling, protected from waterlogging and severe temperature swings. After the chill period, bring it into bright, cool conditions and keep the mix lightly moist while shoots develop. Flowers generally last longer in a cool room than beside a heater or in hot direct sun. Forced bulbs can make a beautiful indoor display, but their energy reserves are often depleted; plan to compost or discard them after bloom instead of expecting a reliable second show.
Care for tulips after they bloom
When a flower fades, remove the spent flower and seed pod if you are not collecting seed. Deadheading directs the plant’s remaining effort toward the bulb rather than seed production. Use clean snips and cut the flower stem without slicing into nearby leaves.
The leaves are the bulb’s solar panels. Leave them standing until they have yellowed naturally, which can take several weeks after bloom; cutting, braiding, or tying green leaves reduces the energy the bulb can store for the next cycle. If the fading foliage looks messy, hide it behind later-emerging perennials or annuals instead of removing it early. Water normally while leaves are green if the soil becomes dry, then let the planting dry as dormancy arrives.
Deadhead flowers but keep green leaves
Do not pull up bulbs just because the petals have fallen. If you are growing tulips as perennials in well-drained soil, leave them in place and let the foliage complete its cycle. In a damp-summer bed, or where you need to replant the space, wait until leaves have yellowed, lift the bulbs carefully, discard soft or diseased ones, and store sound bulbs in a cool, dry, ventilated place until fall.
If flowers are cut for a vase, leave as much foliage on the plant as possible. Cut flower stems low enough to use but avoid harvesting the leaves. Tulips also continue growing after they are cut, so choose a vase with room for the stems to lengthen and top up clean water regularly. The garden bulbs still need their leaves to finish the season.
Help tulips return—or know when to replace them
A weak second-year display does not always mean you did something wrong. Some hybrid tulips are bred for a large first-year flower rather than dependable naturalizing, and warm winters, hot summers, shade, wet dormant soil, or early leaf removal can reduce repeat bloom. Before replacing bulbs, look back at the season: did foliage emerge normally, did the bed drain, and did the leaves remain until they yellowed?
If there were healthy leaves but no flowers, the bulbs may be too small or immature, may not have received enough winter chill, or may have been weakened by foliage removal the year before. If shoots are distorted, collapse at the soil line, or emerge from soft bulbs, suspect rot or disease instead of adding fertilizer. Replanting a sunny, well-drained bed with a cultivar suited to your winters is more likely to help than increasing feed or water.
For repeat blooms, start with species tulips or a cultivar labeled for perennializing, and provide the cool winter and dry summer conditions that fit the plant’s seasonal cycle. Darwin Hybrid types are another reasonable choice for a multi-year display, but even these can decline; NC State Extension notes that flowering performance may fall sharply after the first year. Treat “returns every year” as a goal to improve, not a guarantee printed on a package.
Propagate offsets only when bulbs are mature
Tulips make small daughter bulbs, called offsets, beside the parent bulb. If an established clump becomes crowded, lift it only after the foliage has died back, separate firm offsets gently, and replant them at their normal depth in fall. Small offsets may produce leaves for a season or more before they are large enough to flower, so do not mistake foliage-only growth for failure.
Growing tulips from seed is a much slower project and does not preserve the exact traits of a named hybrid. Seedlings need several seasons to grow into flowering bulbs, and the resulting flowers can differ from the parent. For most home gardens, buying the desired cultivar or dividing mature offsets is more practical than collecting seed.
Protect tulips from pests, rot, and contact irritation
Squirrels and other rodents may dig up or eat freshly planted bulbs, while deer can browse emerging flowers. A buried mesh cage or firmly secured hardware cloth over the planting area is often more predictable than relying on scent alone. If deer are the main problem, a barrier tall and secure enough to exclude them is more dependable than expecting a nearby plant to protect the tulips.
A bulb that is soft, foul-smelling, or covered in spreading mold should not go into the bed. Wet soil favors bulb and root rot; space bulbs so air can circulate and avoid summer irrigation over dormant bulbs. NC State Extension also lists tulip viruses and gray mold among possible problems. If a plant has severely distorted growth or suspicious streaking, remove the affected plant and bulb rather than composting it, and clean tools before using them elsewhere.
Tulips can irritate people and should not be treated as edible flowers. NC State’s Plant Toolbox describes low-severity poisoning in people, notes that the bulb has the highest toxin concentration, and warns that skin contact can trigger dermatitis; the listing also flags tulips as problematic for cats and dogs. Wear gloves if you are handling many bulbs or have sensitive skin, wash after planting, and keep bulbs and plant parts away from children and pets. If someone or an animal eats a tulip bulb or plant, contact a medical professional or veterinarian for advice. NC State Extension’s toxicity and plant-problem notes provide the source details.
Reduce wildlife losses at planting time
Place the barrier before you backfill: cover the bottom and sides of a bulb cage, or fasten mesh across the bed so an animal cannot lift an edge. Keep the mesh below or loosely above the soil surface in a way that lets shoots pass without becoming trapped. Remove or reposition it once shoots emerge if it is constricting growth.
For a small planting, a deep container can be easier to protect than an exposed border. Use a heavy pot with drainage and keep it where animals cannot tip it over. Repellents vary by product and weather, so follow the label and plan to reapply only as directed; no repellent can make an unprotected bed wildlife-proof.
Conclusion
For a reliable first spring display, buy firm bulbs suited to your climate, plant them in cool autumn soil at the labeled depth, and choose a sunny bed that drains quickly. Water once after planting and only as needed while the plants are actively growing; keep green leaves intact after bloom until they yellow.
If you want tulips to return, select species or perennializing cultivars and give them the winter chill and dry summer conditions they need, while accepting that repeat flowering varies by variety and garden. If dependable color matters more than saving bulbs, replanting a fresh batch periodically is a sensible plan—not a sign that you failed to care for them.