Spring Lawn Care Steps for a Stronger, Healthier Lawn
Start spring lawn care at the right time. Learn what to rake, test, seed, feed, water, and mow—and which jobs to skip until grass is actively growing.
Spring lawn care is not a race to make the yard green. The best first move is to wait until the soil can support your weight and the grass is beginning to grow; raking, mowing, or driving equipment across waterlogged ground can do more harm than a week of patience can undo. Then choose only the tasks your lawn actually needs.
A useful spring checklist covers winter cleanup, soil testing, compaction, thin spots, weed prevention, feeding, irrigation, mowing, and diagnosis of damage. The order matters: seeding and some weed-prevention products conflict, and fertilizer applied before active growth or ahead of heavy rain can be wasted or harmful. Use the steps below as a menu guided by your grass type and local extension calendar, not as eleven treatments every lawn must receive.
Before You Start: Timing Depends on Grass Type and Soil Conditions
First identify the turfgrass if you can. Kentucky bluegrass, perennial ryegrass, and most fescues are cool-season grasses; they grow most vigorously in spring and fall. Bermudagrass, zoysiagrass, St. Augustinegrass, and centipedegrass are warm-season grasses that may look dormant or brown while the soil and air are still cool, then begin growing as temperatures rise.
That difference changes the calendar. A cool-season lawn may need early spring cleanup while it is waking up, but its most reliable seeding window is usually late summer to early fall, when seedlings have less summer heat to face. A warm-season lawn often should not be fertilized or heavily disturbed until it has greened up and is growing. Virginia Tech’s turf specialist cautions against pushing warm-season grass with nitrogen before late-frost risk has passed, while Penn State Extension’s seasonal calendar emphasizes that recommendations shift with local weather.
Use conditions rather than a date printed for another state. If footprints remain in soft soil, wait. If the turf is still dormant, hold off on fertilizer and aggressive raking. Local cooperative extension calendars can translate general advice to your grass type, region, and seasonal pattern.
1. Walk the Lawn and Identify What Needs Attention
Before buying seed or fertilizer, walk the whole lawn and map its problems. Note standing water, bare soil, thin areas, matted grass, animal digging, salt damage near pavement, and spots that receive shade or heavy foot traffic. A quick sketch or photos from the same few locations will help you compare changes in a month rather than treating every brown patch as a nutrient deficiency.
Look for patterns. A narrow brown strip beside a driveway may point to winter salt or reflected heat; a low area that stays wet suggests drainage or grading trouble; a path worn by repeated traffic may need a stepping stone or a tougher grass blend. If the same patch fails every year, reseeding alone is unlikely to solve it. Correct the cause first, such as redirecting a downspout, relieving compaction, or reducing traffic.
Also confirm what kind of grass you have before selecting seed or setting a mower. Grass blends are not interchangeable: a cool-season seed mix can struggle in a hot, humid region, while a warm-season turf may need a different establishment window. If you do not know the species, take a clear close-up to a local extension office or garden center, or compare it with a regional turfgrass identification guide before applying products.
2. Clear Winter Debris Without Working Wet Soil
Once the lawn is dry enough to walk on without leaving deep prints, remove branches, trash, and heavy leaf piles. A flexible leaf rake is usually sufficient for surface debris. If the grass is still dormant or the ground is soft, postpone the cleanup; vigorous raking can pull out living crowns and compact wet soil. Gardening Know How’s spring lawn guidance likewise recommends waiting until the lawn and ground are dry before raking.
Matted grass may be snow mold or simply blades pressed flat by winter. Gently rake a matted area when growth begins so light and air reach the leaves, then watch for new green blades. Avoid ripping through it with a metal dethatching rake before you know what the layer is. Loose dead leaves and clippings on top of the turf are not the same thing as thatch, the tightly interwoven stems and roots that build between green leaves and soil.
Dethatching is an as-needed renovation, not a yearly spring ritual. Measure the thatch layer and follow a regional recommendation for your grass species before removing it. Penn State Extension advises mechanical dethatching only when thatch has built up substantially, and recommends doing it during favorable cool weather with adequate moisture. If the layer is thin, leave it in place; it can protect the soil and will break down over time.
3. Test the Soil Before Adding Lime or Fertilizer
A soil test is more useful than guessing from color. Take samples from several representative spots, mix them in a clean container, and submit the amount requested by your local cooperative extension or soil-testing lab. Keep problem areas separate if they behave differently, and avoid sampling right after applying lime or fertilizer. Follow the lab’s collection directions because sampling depth and number of cores vary by program.
The report can show soil pH and levels of nutrients such as phosphorus and potassium, then recommend whether an amendment is needed. Most turfgrasses grow well in slightly acidic to neutral soil, but exact targets can vary by grass and region. Penn State Extension’s home-lawn guidance gives a typical pH range of 6.0 to 7.0 and advises applying lime only in response to a soil-test recommendation. Lime changes pH gradually; adding extra does not make the adjustment happen faster.
A basic soil test may not provide a reliable nitrogen prescription because nitrogen availability changes through the season and is influenced by management. Use the local turf calendar and product label for nitrogen decisions rather than reading a low number on the report as a reason to feed immediately. Skip phosphorus unless a test or local regulation supports its use; it is not a universal spring boost, and runoff can carry nutrients from pavement into storm drains and waterways.
4. Aerate Only Where Soil Is Compacted
Aeration helps when soil compaction is limiting root growth, not because spring has arrived. You may notice hard, dense ground, poor infiltration, shallow roots, or thinning in high-traffic zones. A simple field check is to push a screwdriver into moist soil: if it meets strong resistance across a broad area, compaction may be worth investigating. One difficult spot alone is not proof; dry clay can also feel hard.
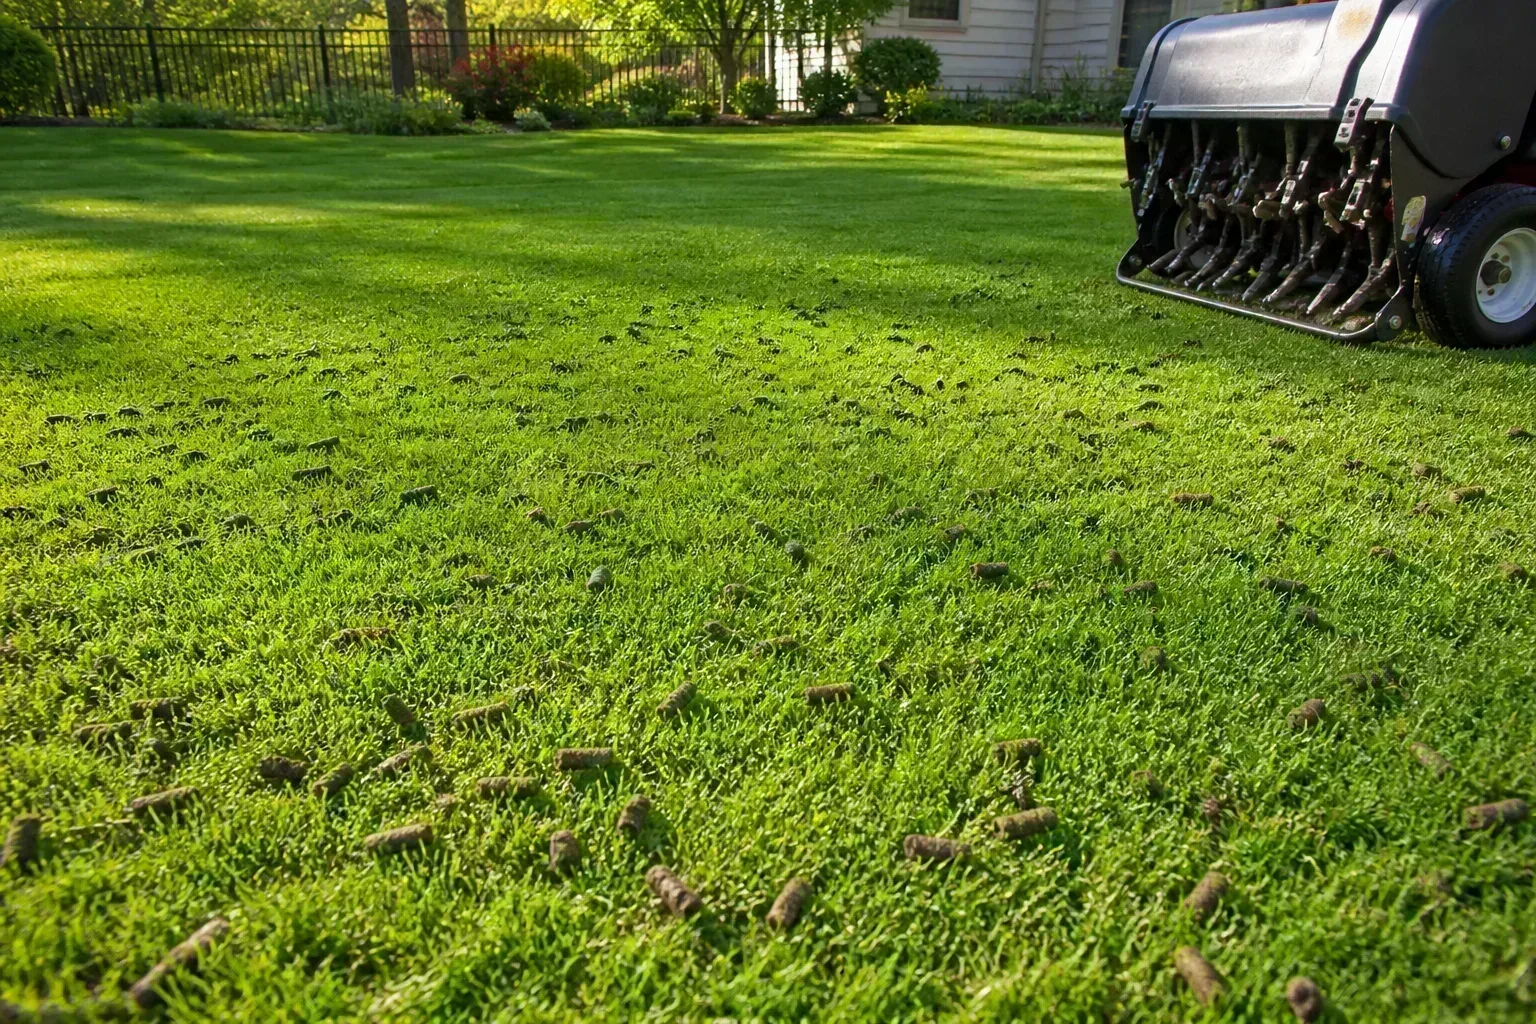
When the lawn needs aeration, choose a core aerator that removes plugs of soil. Solid spikes only push soil sideways and can increase compaction around the holes, especially in clay. Penn State Extension distinguishes hollow-tine core aeration from solid-tine tools and notes that aeration timing should let the grass recover. For cool-season lawns, fall is generally a lower-stress time; spring can be reasonable for serious compaction when the turf is actively growing and conditions are favorable. Warm-season grasses should be aerated during active growth so they can fill in.
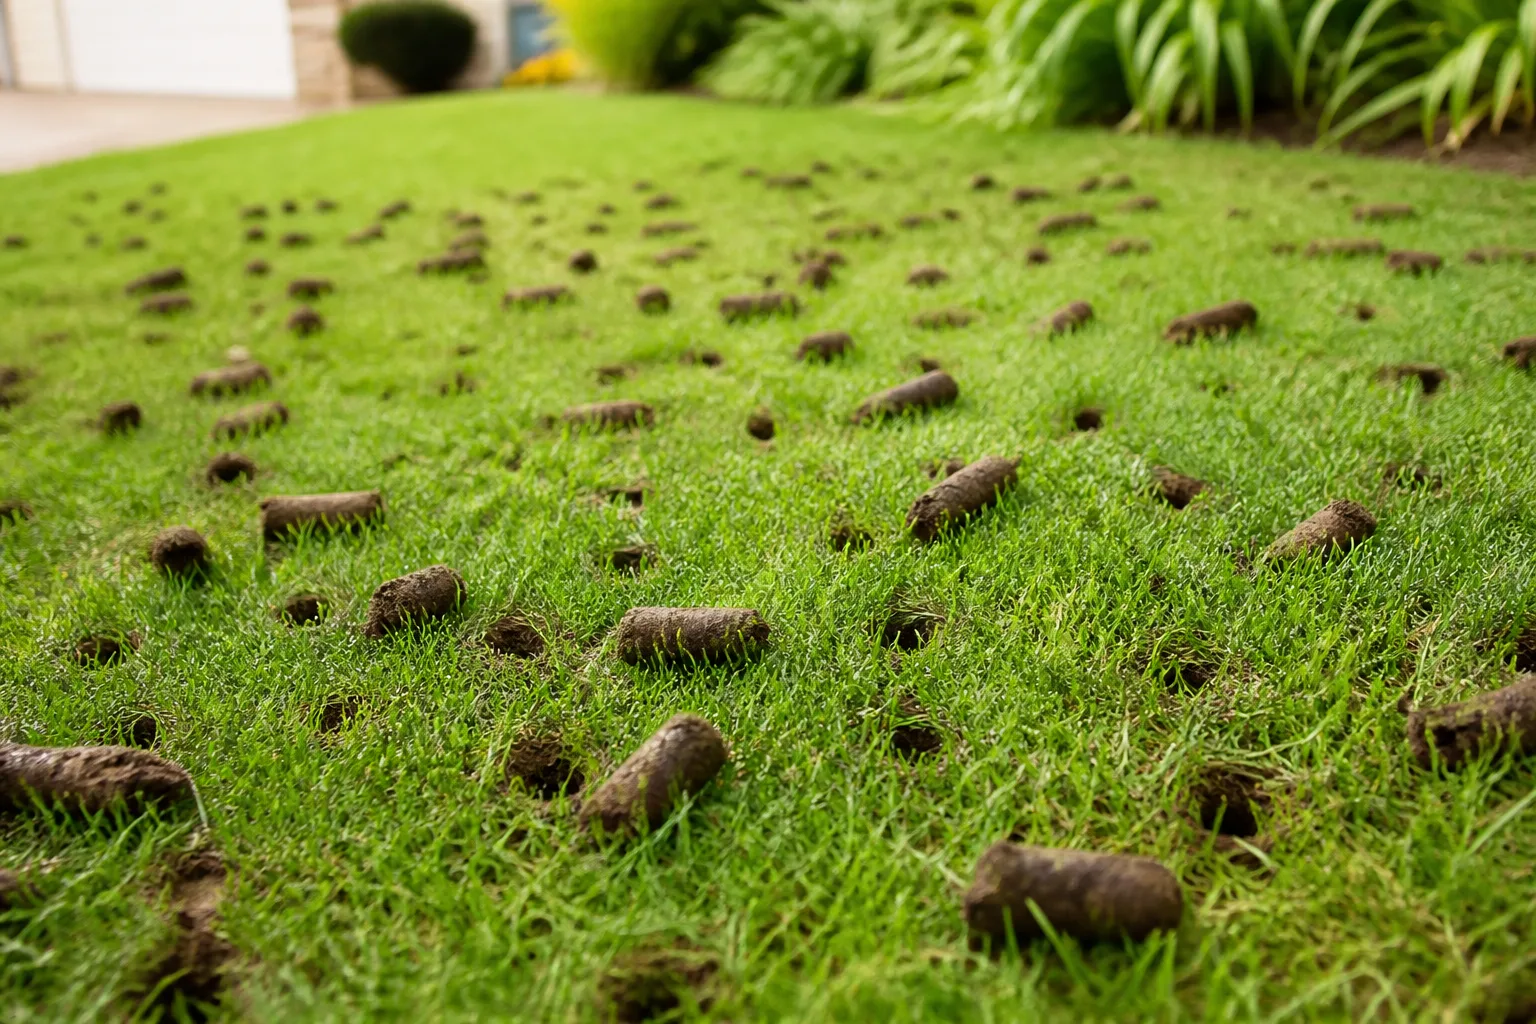
Do not aerate waterlogged soil, drought-stressed turf, or a lawn that is otherwise healthy and open. If you plan to apply a pre-emergent herbicide, ask the local extension service how aeration timing affects that barrier; core holes can disrupt treated soil. After aeration, leave the soil plugs to dry and crumble on the lawn unless they are unusually large or the surface needs a specific finish. If you are weighing whether your yard actually needs this work, see the related lawn aeration guide.
5. Overseed Bare Areas When Grass Can Establish
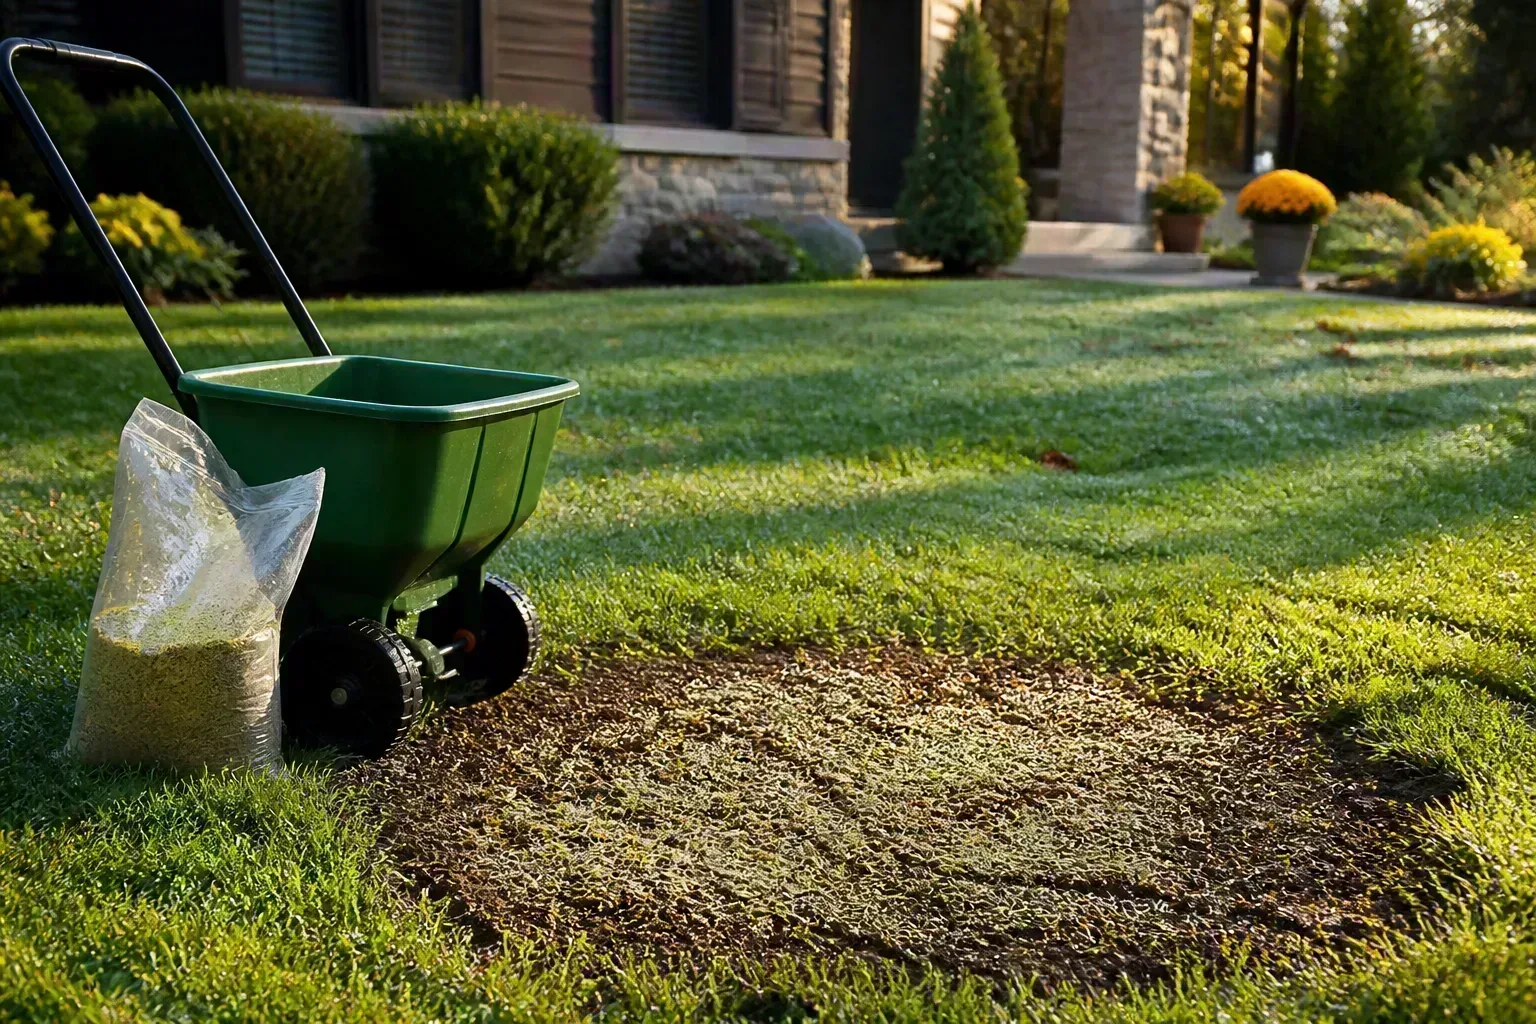
Seeding is most effective when seed touches soil and can stay evenly moist. For a small bare patch, loosen the surface lightly, remove dead material, distribute an appropriate grass seed at its label rate, and press it into contact with the soil without burying it deeply. A thin layer of screened compost can help keep moisture steady, but a thick covering can block light and prevent seedlings from emerging.
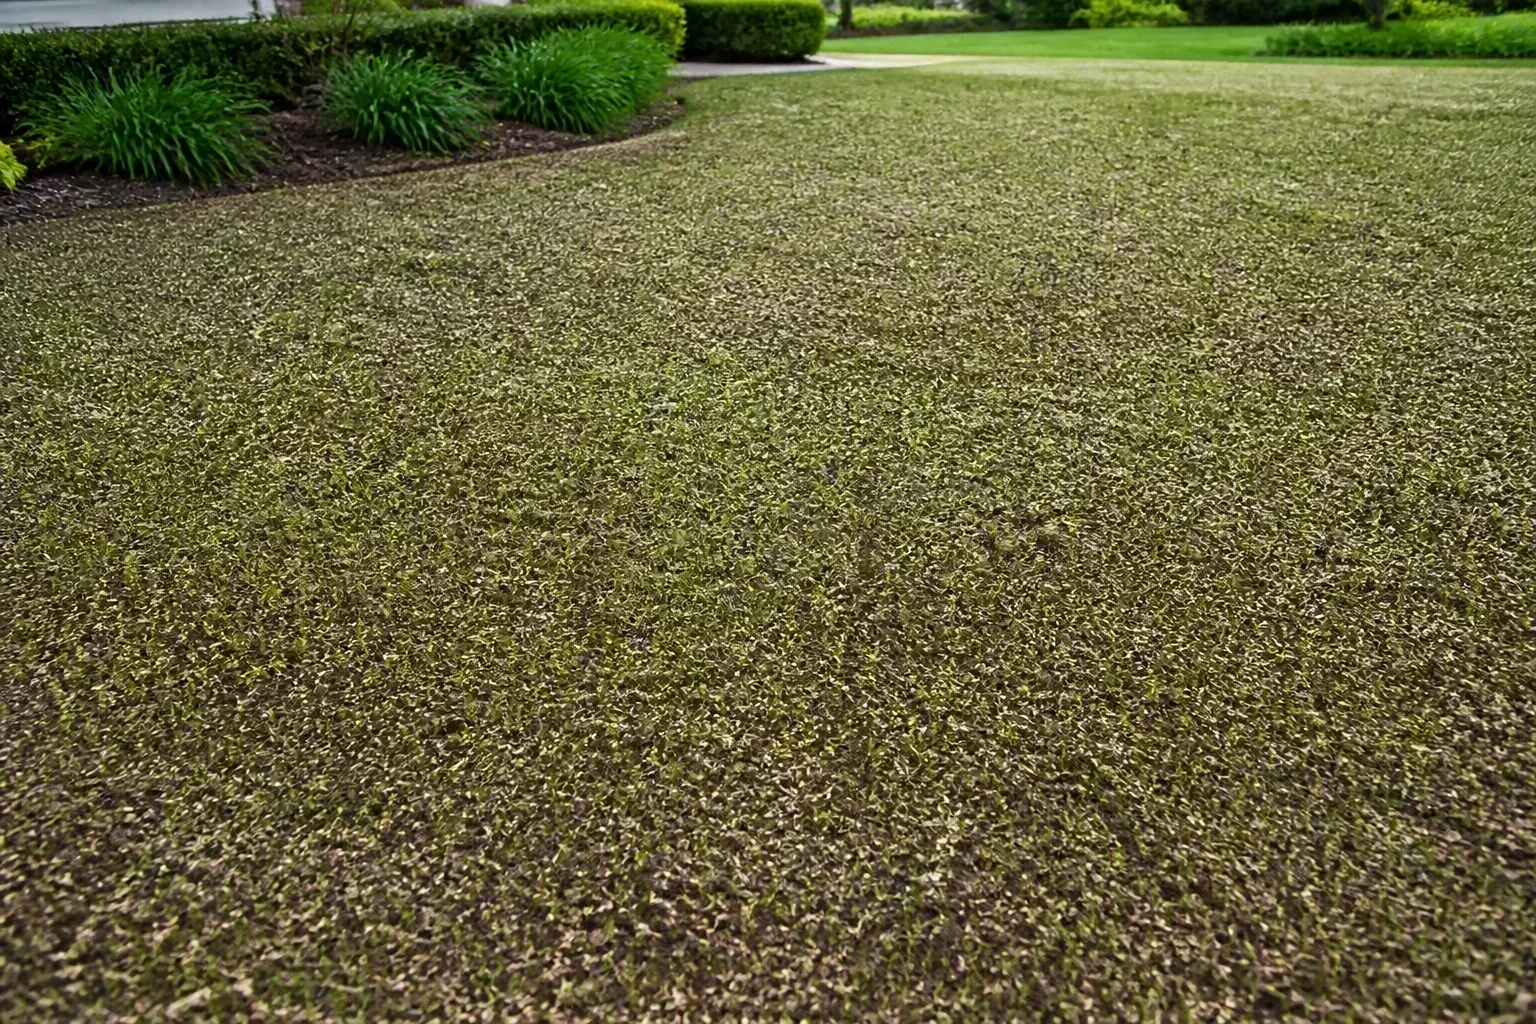
The best timing depends on grass type. Late summer or early fall is usually the more dependable establishment window for cool-season grasses because seedlings can grow through cool weather before the following summer. Spring overseeding can still repair small winter-damaged spots, but seedlings may face weed competition and heat stress before they develop deep roots. Penn State Extension notes that spring overseeding is possible and stresses good seed-to-soil contact; Virginia Tech likewise warns that spring-established cool-season grass needs careful irrigation through summer.
Choose seed for the site, not just the bag’s color or marketing. Match the blend to the existing turf, shade, traffic, and climate, and read the label for seeding rate and watering instructions. Keep the seed zone consistently moist until germination and establishment, which is different from watering mature turf. Do not let a new patch dry out between sprinkles, but avoid flooding it or washing seed downhill. If the damage is widespread, repair drainage, shade, or traffic conditions before investing in a full-lawn overseed. For a step-by-step patch repair, use this bare-spot overseeding guide.
6. Choose Between Seeding and Pre-Emergent Weed Control
Before applying a crabgrass preventer or another pre-emergent product, decide whether your priority is to establish new grass or prevent annual weeds. Many pre-emergent herbicides form a barrier near the soil surface that stops seeds from germinating. That can include desirable grass seed. A lawn cannot reliably be seeded through that barrier, so overseeding and standard pre-emergent treatment are usually competing plans.
If you need new grass, prioritize seed establishment and postpone the pre-emergent application unless the product label explicitly allows the combination for the species you are planting. Some products are designed for use with certain grass seed types, but that exception is specific to the product, grass, and timing; it should not be assumed. If weed prevention is the priority because the lawn is already dense, apply only when local timing and the label indicate the target weed is about to germinate.
Calendar dates vary by region and year. Soil temperature, weather, and local weed development are more useful than copying a date from a different climate. Virginia Cooperative Extension describes spring pre-emergent timing in relation to local plant and weed cues, while Penn State Extension notes that recommended application dates vary across its own state. Follow the product label and state guidance, and avoid treating a newly seeded area with a product that prevents those seedlings from growing. This Old House’s practical spring checklist also flags overseeding and herbicide use as jobs that can conflict, so settle the seed-versus-prevention choice before applying either treatment.
7. Tackle Existing Weeds Selectively
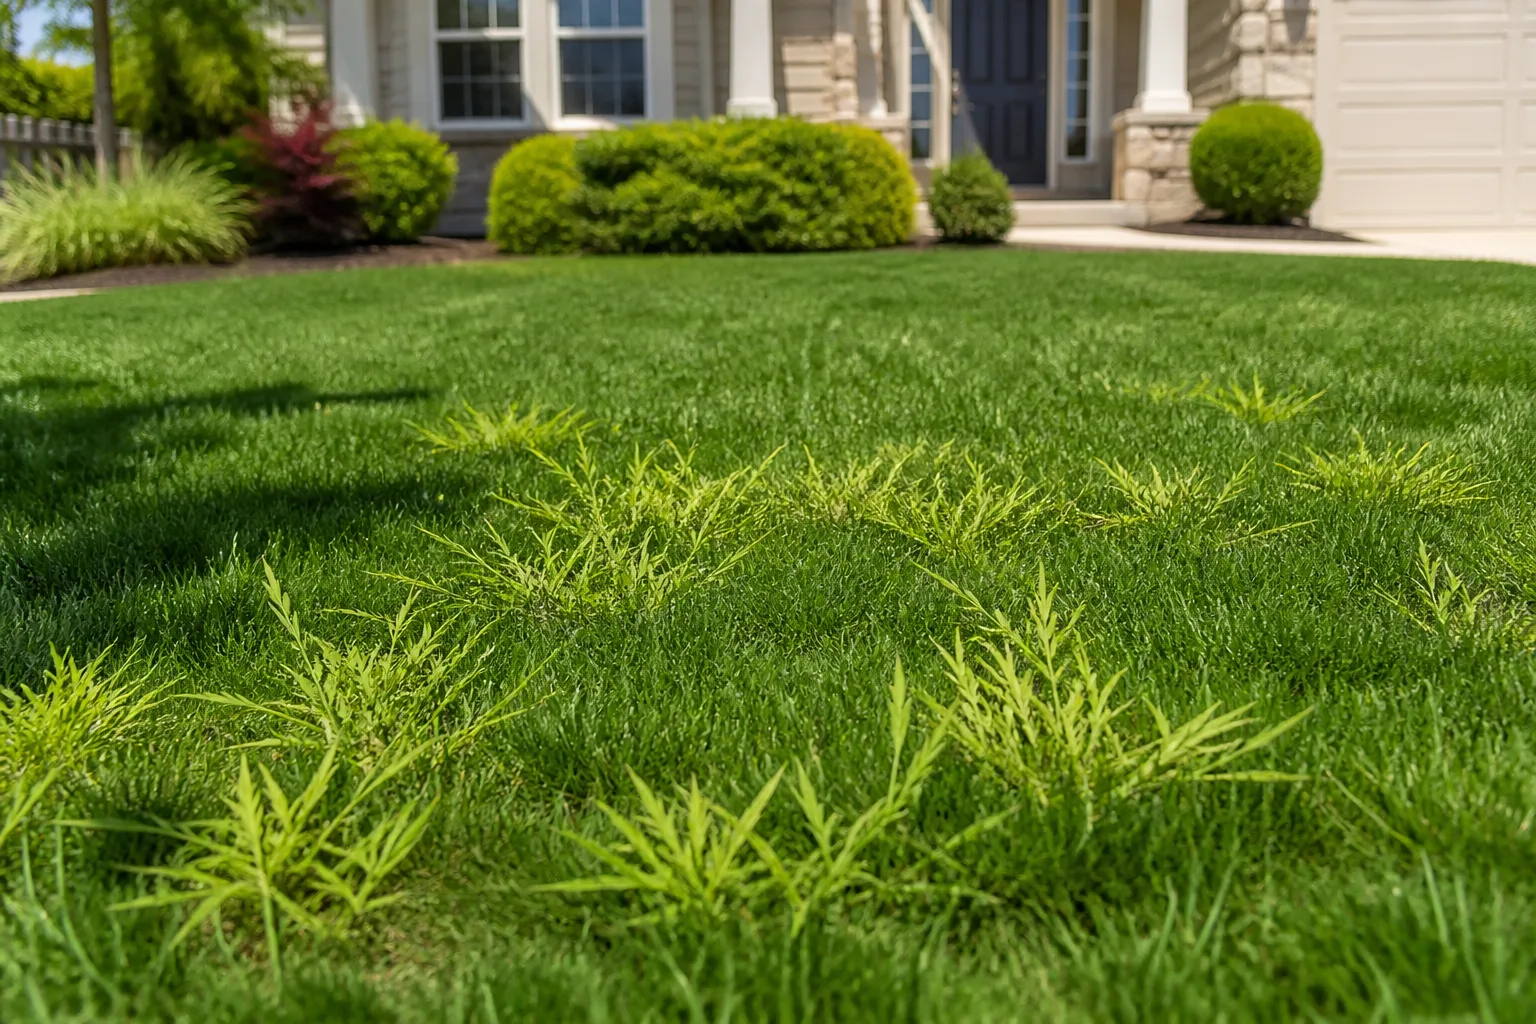
Pre-emergent products address certain weeds before they sprout; they do not remove established dandelions, clover, or violets. For a few broadleaf weeds, hand-pull after rain or irrigation has softened the soil, removing as much root as practical. If weeds are numerous, first identify them and confirm that the treatment is labeled for that weed and your turfgrass. A product that controls one species may injure another.
A dense, well-adapted lawn is the first line of prevention: it shades bare soil and leaves less room for new weeds. If you need a more detailed control plan, see the lawn weed management guide. Mowing too short, overwatering, compacted soil, or repeated traffic can create gaps that weeds exploit. Fixing those conditions may take longer than spraying, but it reduces the cycle of treating the same patch every spring.
If using a herbicide, read and follow its label exactly, protect nearby ornamental plants from drift, and keep people and pets off the treated area for the period specified by the product. Never apply ahead of heavy rain or onto pavement where it can wash into drains. When weeds are flowering, consider whether every one needs to be removed; low-growing clover or other flowers may be acceptable in a mixed lawn, depending on your goals and local pollinator practices.
8. Fertilize for Your Grass Type and Growth Stage
Do not fertilize simply because the grass looks brown after winter. Dormant warm-season turf can remain tan until sustained warmth arrives, and early nitrogen will not make it wake up safely. Cool-season grass may benefit from a measured spring feeding, but a heavy dose can push leaf growth faster than roots can support and increase mowing needs. Virginia Tech’s turf specialist recommends restraint and a grass-specific plan rather than chasing the earliest green color.
Use the soil test for pH, phosphorus, and potassium, then use your regional turf guidance and product label for nitrogen timing and rate. A Wisconsin Extension guideline suggests waiting until after two mowings before feeding; a House Beautiful gardening report quotes the same UW–Madison recommendation, while both sources make clear that dates shift with location. A Wisconsin Extension spring guideline recommends waiting until after the lawn has been mowed twice before applying nitrogen; the same article explains that timing shifts by location within the state. In Virginia, extension guidance says a modest total spring nitrogen amount can be split for cool-season lawns. Those are regional recommendations, not a rate to transfer automatically to another state or grass.
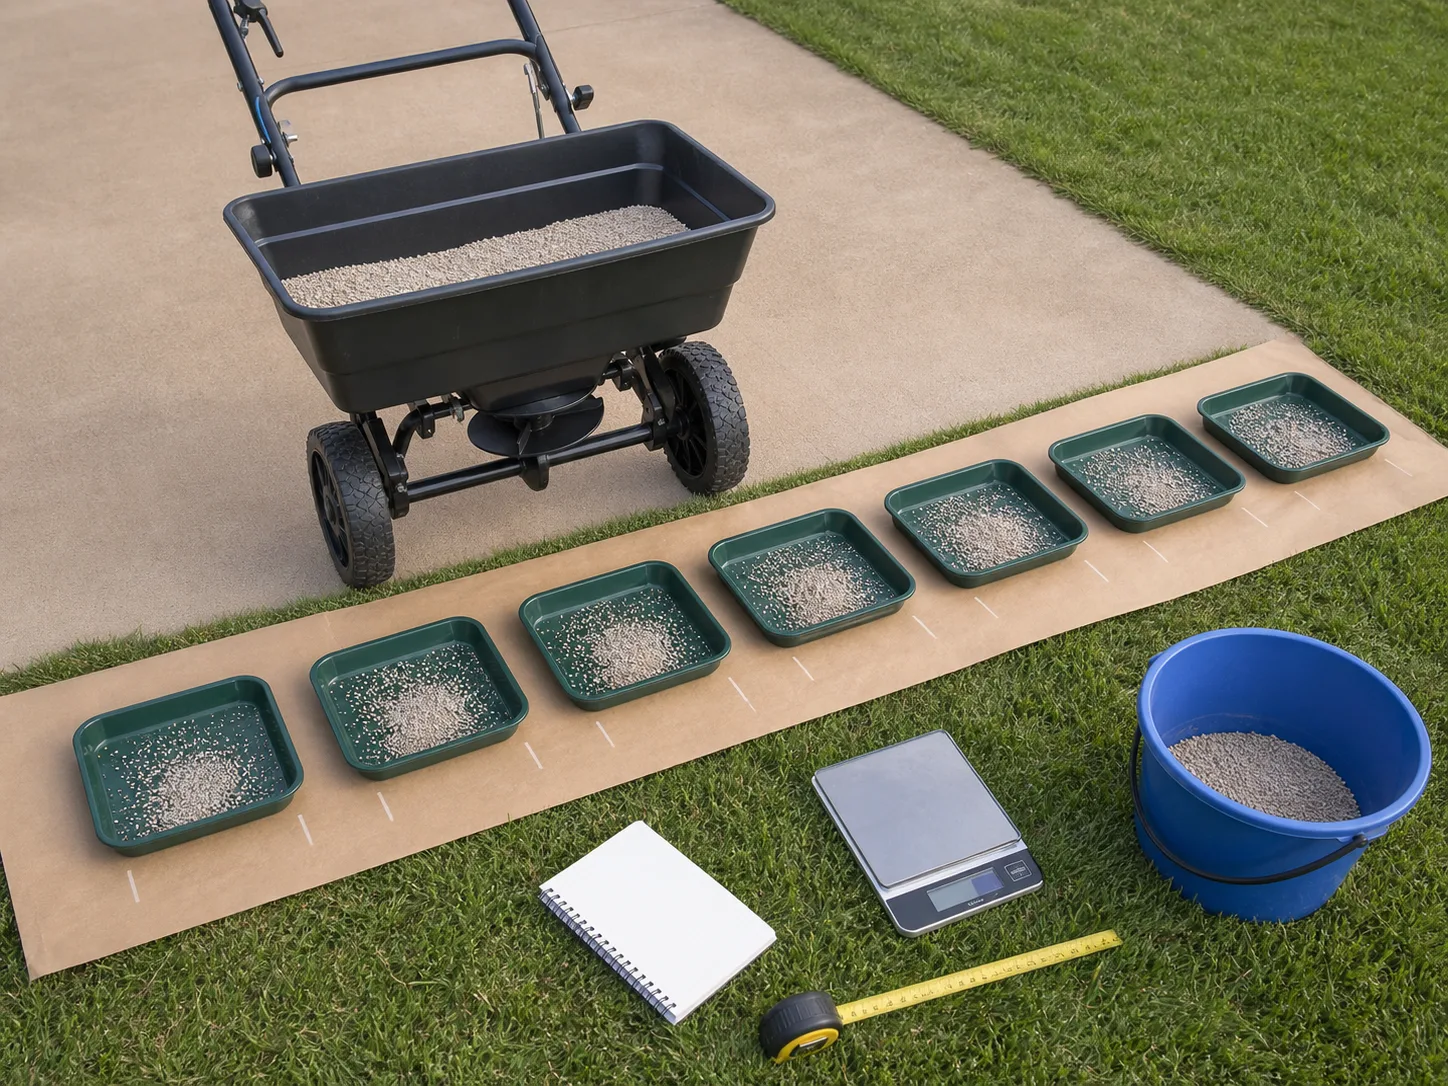
If fertilizer is appropriate, measure the lawn area and calibrate the spreader. Apply evenly, avoid overlapping passes, and sweep granules off sidewalks and driveways back onto the turf. Do not fertilize frozen ground, stressed or dormant grass, or before a forecast downpour. The goal is steady growth at the right time, not the darkest possible green lawn in April. University of Wisconsin Extension explains why excess spring nitrogen can favor top growth at the expense of roots and why nutrients should be kept off hard surfaces.
9. Water Only When the Lawn Needs It
Established lawns usually need little supplemental irrigation in a cool, rainy spring. Check rainfall before turning on sprinklers, and wait until the lawn shows signs of water stress or local conditions call for irrigation. Watering on a fixed weekly schedule can keep roots too close to the surface, waste water, and prolong wet conditions that some disease problems favor. Gardening Know How’s watering guidance recommends waiting for signs of need, then watering deeply rather than giving frequent light sprinkles.
When you do water established turf, aim for the root zone and give the soil time to absorb it. A rain gauge or straight-sided container can show how much your sprinkler delivers; use several across the lawn because coverage often varies. Water early in the day when practical, and split a long cycle into shorter runs if water begins to puddle or run off. The amount and frequency depend on rainfall, soil texture, slope, grass type, and local restrictions, so one weekly inch is a rough reference—not a fixed prescription.
Newly seeded patches are the exception. Keep the upper soil evenly moist until seedlings are established, using light applications as needed, then gradually shift toward deeper, less frequent watering. Follow the seed label and local guidance, since seed size and weather affect the establishment period. If a patch is repeatedly dry or soggy, solve the irrigation or drainage issue rather than compensating with an automatic schedule.
10. Service the Mower and Cut at the Right Height
Before the first regular mow, inspect the mower, sharpen or replace a damaged blade, clear old grass from the deck, and complete the maintenance listed in its manual. Disconnect the spark plug or remove the battery before working near the blade, and use the manufacturer’s safe procedure. A dull blade tears leaves instead of making a clean cut, leaving ragged tips that can make the lawn look brown.
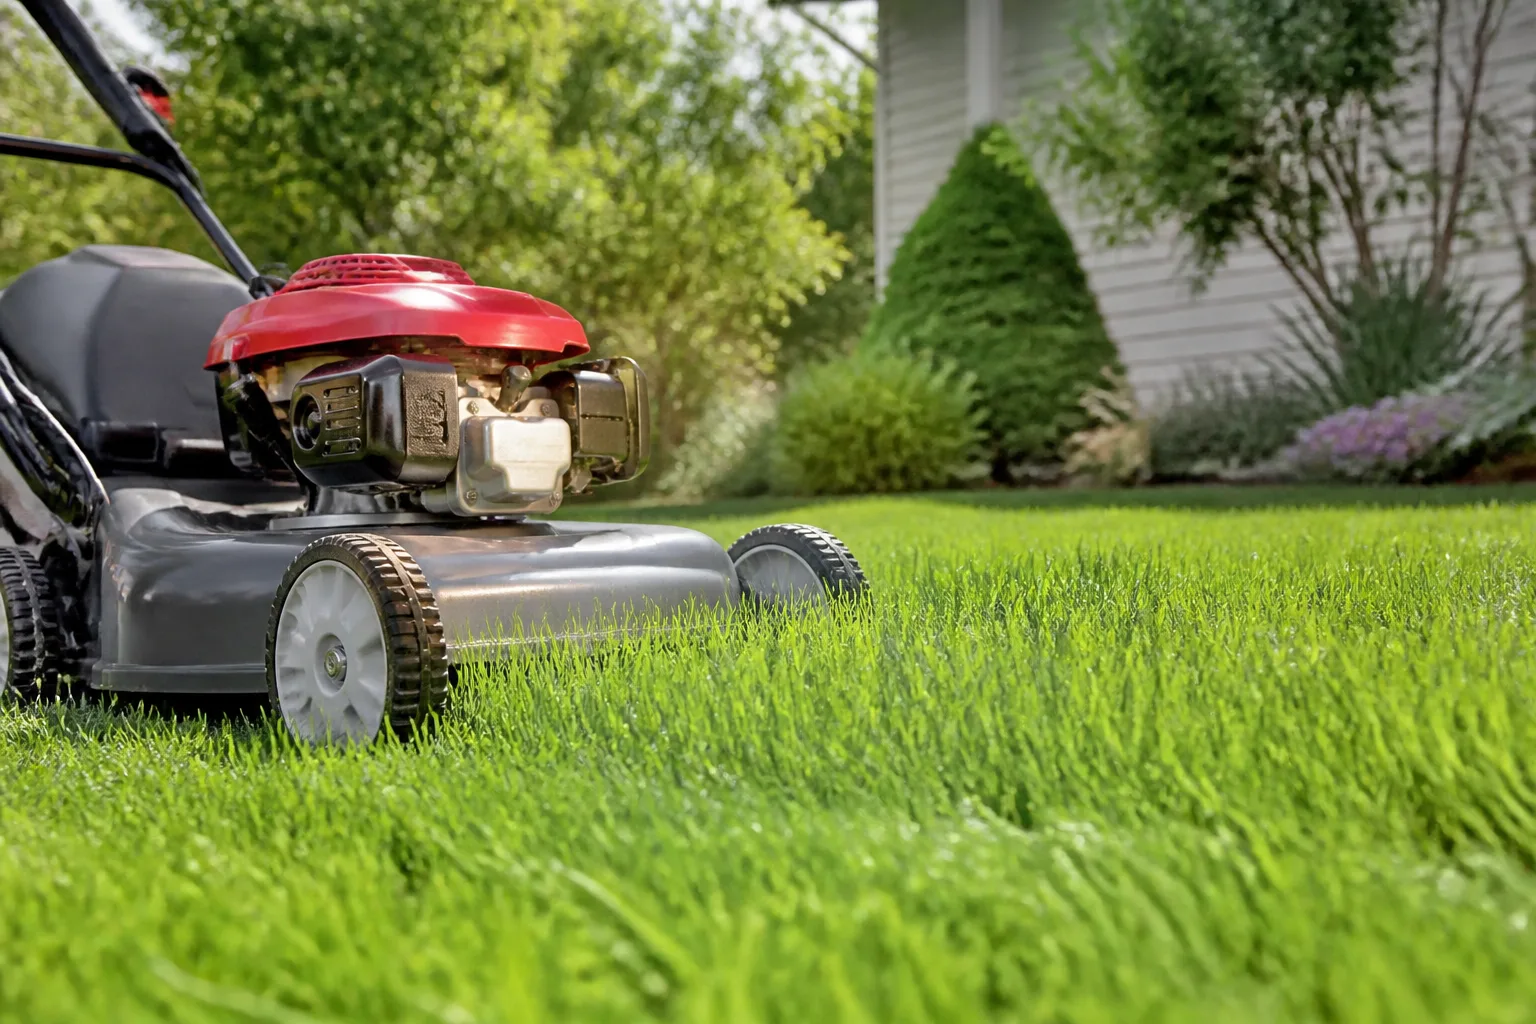
Wait until the lawn is dry and the soil is firm enough that mower wheels will not rut it. Do not scalp the lawn to remove winter color. Set the mower according to the grass species and your local extension recommendations, then remove no more than one-third of the leaf height in a single cut. If grass has grown very tall, lower it gradually over several mowings instead of cutting it down to soil level all at once.
Warm- and cool-season grasses do not share one ideal mowing height. Many home lawns do well when kept taller than a close-cropped putting surface, but the correct range depends on the species and whether the site is sunny, shaded, or drought-prone. Virginia Tech advises keeping to the one-third rule and adjusting height as cool-season grass enters warmer weather; Penn State Extension recommends mowing according to growth rate and keeping equipment sharp. If clippings are short and spread evenly, they can remain; remove or disperse clumps that shade the grass beneath them.
11. Diagnose Pests and Disease Before Treating
A brown patch is a symptom, not a diagnosis. Winter injury, drought, salt, dog urine, shade, poor drainage, insects, and disease can all produce discoloration. Look at the shape and location of the damage, inspect roots and the soil surface, and check whether the spot is expanding. Compare the area with healthy turf and consider what changed there over the winter.
Treat pests or disease only when you have a reasonable diagnosis and the problem warrants action. Penn State Extension notes that accurate diagnosis is the first step in turf disease management, since causes are not always visible without testing. If a disease keeps returning, send a sample to a university plant diagnostic lab or extension office rather than applying fungicide by guesswork. Routine preventative sprays can miss the cause and expose beneficial organisms unnecessarily.
Grubs also do not require automatic spring treatment in every lawn. Root-feeding injury is more likely when sections of turf loosen easily and animals are digging for larvae, but appearance alone is not enough to choose a treatment. Check larvae and root damage, then ask a local extension specialist whether the species, count, season, and injury justify intervention. For any pesticide, follow the specific label and local rules; do not apply leftover products at a stronger rate or outside their intended season.
A Sensible Order of Operations
The easiest way to avoid conflicting tasks is to decide about renovation and weed prevention before buying products. Use this sequence as a starting point, then adapt it to the lawn:
| If your lawn… | Start with… | Then… |
|---|---|---|
| Is healthy but needs ordinary cleanup | Wait for firm, dry ground; remove debris gently | Test soil if feeding is planned; mow when active growth requires it |
| Has thin or bare areas | Correct the cause, prepare soil, choose appropriate seed | Keep new seed moist; delay incompatible pre-emergent products |
| Is compacted by traffic or clay soil | Confirm compaction and check grass activity | Core-aerate during a recovery-friendly window; seed only if it can establish |
| Is dense but crabgrass is a recurring issue | Identify grass and likely weed timing | Use a suitable labeled pre-emergent; postpone ordinary overseeding |
| Is warm-season and still dormant | Remove only loose debris when ground is firm | Wait for green-up and active growth before feeding or major renovation |
This sequence avoids treating every lawn the same. A homeowner with a dense warm-season lawn may skip seeding and focus on waiting for green-up, while a cool-season lawn with bare patches may prioritize repair and accept that weed prevention must wait. There is no benefit to completing every row if your yard does not have that problem.
Spring Lawn Care Mistakes That Cost Time and Turf
The most common mistake is doing the right task at the wrong time: raking before grass resumes growth, mowing over wet ground, feeding dormant turf, or applying pre-emergent after spreading grass seed. These actions can tear plants, compact soil, encourage excess leaf growth, or prevent the seed you paid for from germinating. Check the lawn first, then schedule the task around active growth and soil conditions.
The next mistake is treating visible color as a diagnosis. Brown grass is not automatically hungry, and a green response to fertilizer does not prove that fertilizer was necessary. A soil test, species identification, and observation of water and traffic patterns can help distinguish nutrient issues from compaction, seasonal dormancy, disease, or site damage.
Finally, avoid turning a seasonal checklist into a product schedule. Apply only what a test or confirmed problem calls for, measure product rates, keep treatments off hard surfaces, and consult local extension recommendations when regional timing matters. A lawn that grows steadily with fewer inputs is often easier to maintain than one pushed for rapid spring color.
Conclusion
Good spring lawn care starts with observation and restraint. Wait for firm soil and active growth, identify the grass, clear debris gently, and use a soil test before changing pH or adding nutrients. Aerate, overseed, control weeds, and treat pests only when your lawn’s condition and timing make those steps useful.
The most important fork is whether you are seeding or preventing weeds; plan that choice before applying products. Then mow at an appropriate height, water according to rainfall and signs of stress, and keep the lawn’s specific problem—not a calendar checklist—at the center of your decisions.