Why Christmas Tree Bows Work So Well This Year
Learn why Christmas tree bows add softness and structure, how much ribbon to buy, where to place each bow, and how to secure them safely on real or artificial trees.
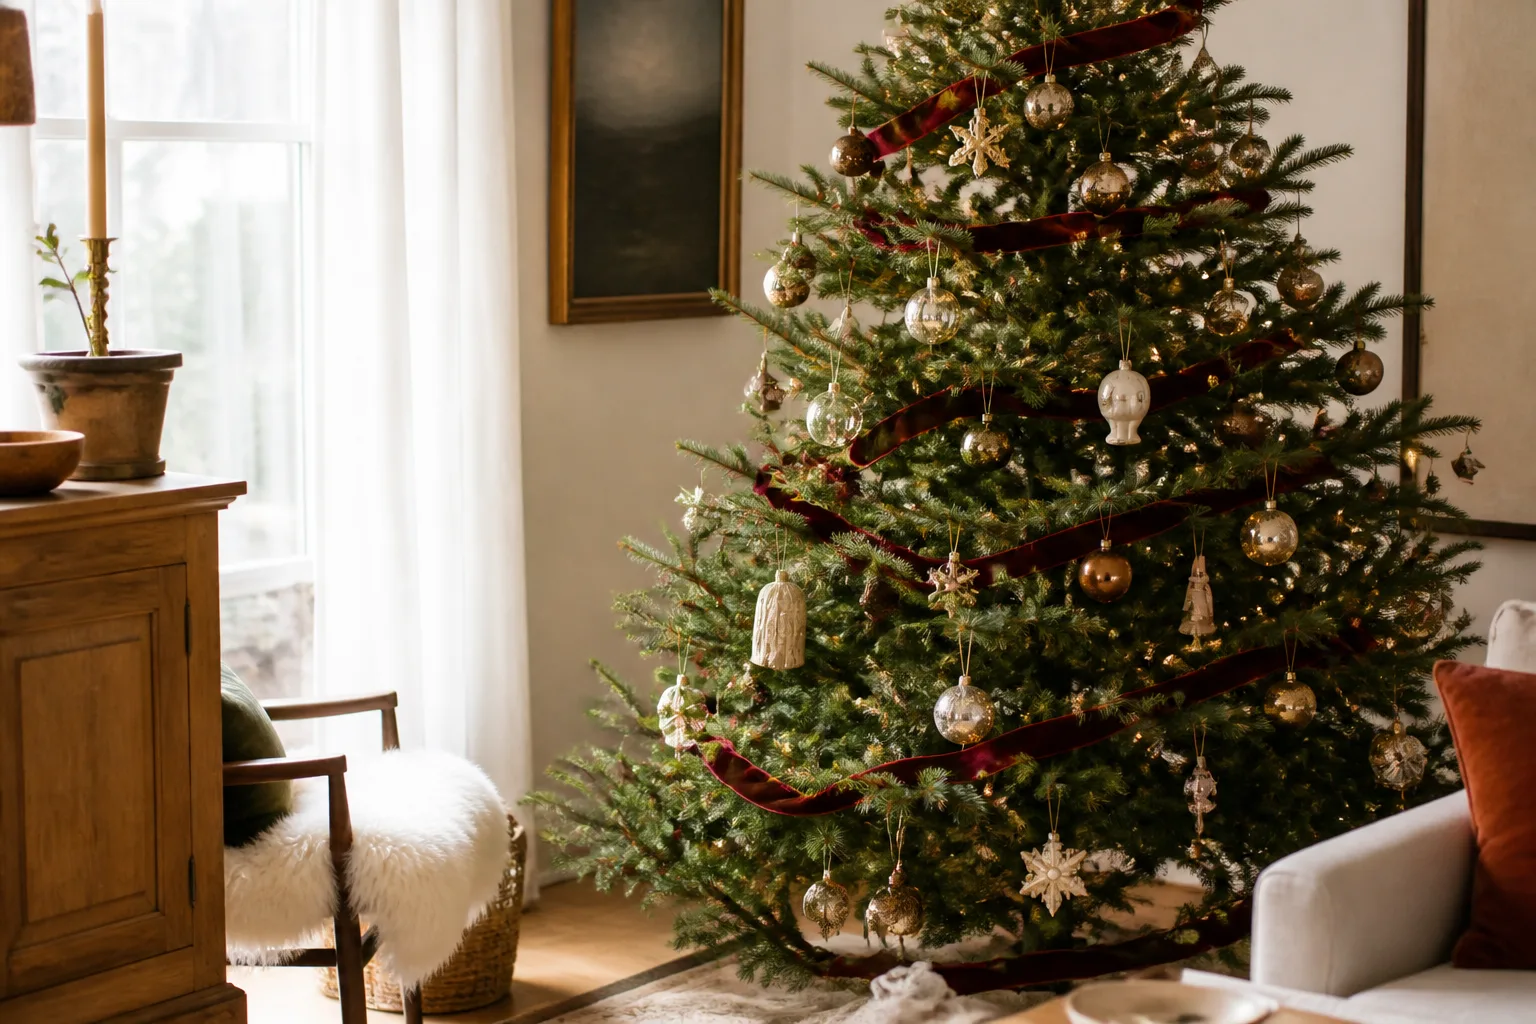
Velvet bows give a Christmas tree something ornaments alone often cannot: a soft shape that links the branches into one composition. A single bow can fill a thin spot, soften a sharp silhouette, or make a small tree feel finished. Several bows, spaced with intention, create rhythm without requiring a new box of matching baubles.
That is why this decorating idea feels more useful than a passing social-media trend. Bows are adjustable, reusable, and forgiving. You can make one oversized bow the focal point, scatter a handful of small bows through a full tree, or use a narrow ribbon to bring a quiet color through a room that already has plenty of decoration.
The best result is not the tree with the most bows. It is the tree where the bows support the shape, palette, and story you already have. Use the guide below to choose the material, calculate a sensible amount, make bows that hold their shape, and place them so the tree looks collected rather than covered.
What Bows Change on a Christmas Tree
Ornaments are mostly points: a sphere here, a star there, a sentimental figure tucked into a branch. Bows add lines and loops, so the eye travels across the tree instead of stopping at isolated objects. They also bring a different kind of texture. Velvet absorbs light and looks deep beside glossy glass, while a loosely hanging tail makes rigid branches feel more relaxed.
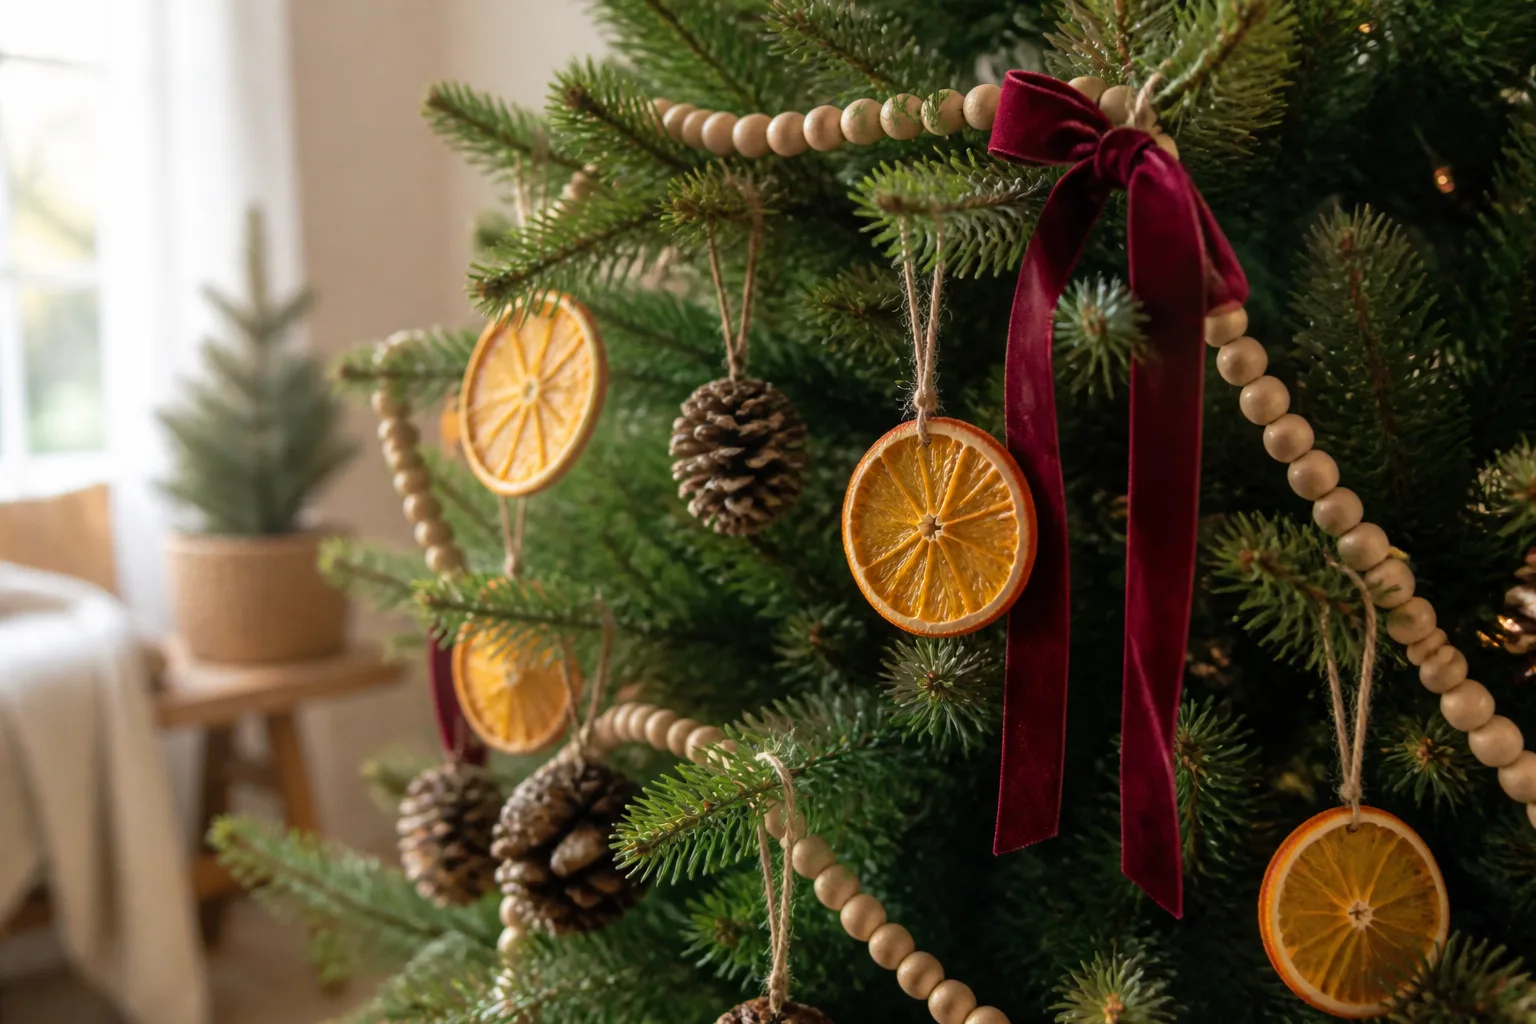
Bows can solve practical design problems, too. A bow placed just in front of a sparse section disguises the gap without stuffing it with filler ornaments. A repeated ribbon color can connect the tree to a sofa, mantel, or wrapped gifts. On a tabletop tree, one well-proportioned bow may provide enough visual weight that you need only lights and a few small ornaments.
There is a limit. Repetition becomes clutter when every branch gets an identical bow, when the loops are the same size as the ornaments, or when the ribbon competes with a busy garland. Think of bows as punctuation: enough to create a rhythm, not so much that every inch is shouting.
Pick the Right Ribbon Before You Buy
Start with the branch structure and the room’s light, not a product photo. Hold a ribbon sample beside the tree during the day and after the lights are on. A deep burgundy may look nearly black in a dim corner, while a pale velvet can disappear against a flocked tree but look beautiful against green needles.
Look for ribbon that can make a clean fold without fighting you. A loosely woven or very thin ribbon can look lovely on a mini tree, but its loops may collapse on a large tree. Heavy velvet creates a rich, deliberate bow, yet it can pull a flexible branch downward. If you are undecided, buy a small amount first and make one test bow before committing to a full roll.
Velvet, Satin, Grosgrain, or Sheer
Velvet is the easiest way to make bows feel warm and substantial. It has a matte pile, so it catches the tree lights as a soft glow rather than a hard flash. Cotton velvet, polyester velvet, and velvet ribbon with a wired edge behave differently, so judge the ribbon in your hands rather than trusting the word “velvet” alone.
Satin gives sharper highlights and a more formal finish. It is a good choice for a classic red-and-gold tree or a tree in a dining room, but unwired satin can slide against smooth artificial needles. Use smaller loops, a hidden tie, or a ribbon with enough friction to stay where you place it.
Grosgrain has a ribbed surface and more visual definition. It works especially well on a child-friendly or casual tree because it looks neat without feeling precious. It is also less likely than slippery satin to rotate after you attach it.
Sheer ribbon is light and airy, useful when you want a hint of color instead of a dominant accent. Layer it over a narrow velvet or use it for a few high bows. On its own, it may need a wire edge or a tighter knot to prevent the loops from disappearing into the branches.
For most full-size trees, a medium-width velvet or wired velvet is the safest starting point. If the tree is narrow, scale down the width; if the tree is very full, a wider ribbon can hold its own against the foliage. There is no universal best material—there is only the ribbon that keeps its shape at your tree’s scale.
Match Width and Weight to Your Tree
Use these as starting points, then make one sample bow and stand back several feet:
| Tree type | Starting ribbon width | Bow approach |
|---|---|---|
| Tabletop tree under 3 feet | 1/2 to 1 1/2 inches | One topper bow or three to five tiny bows |
| Pencil tree | 1 to 2 inches | Narrow, vertical bows with short tails |
| Full 6- to 7-foot tree | 1 1/2 to 3 inches | A mix of medium bows and one larger focal bow |
| Very full tree or tall room tree | 2 to 4 inches | Fewer, larger bows attached near sturdy branch joints |
The table is a visual guide, not a shopping mandate. A small tree can take a wide bow if the rest of the decor is quiet. A tall tree can look awkward with oversized loops if its branches are sparse or its ornaments are tiny. Proportion matters more than the number printed on the ribbon label.
How Much Ribbon and How Many Bows You Need
Buy less than your first impulse suggests. A tree usually looks better when you leave breathing room between bows, and excess velvet is expensive to store if you decide halfway through that the tree is already done.
For a small bow with loops about 4 to 5 inches wide, start with roughly 30 to 36 inches of ribbon. For a fuller bow with 6- to 8-inch loops and longer tails, start with 42 to 60 inches. Add about 15 percent for trimming, uneven ends, and the one bow you will inevitably remake while you refine the shape.
As a practical starting range, a 6- to 7-foot full tree often needs 8 to 12 medium bows if bows are the main decorative accent. A slim tree may need only 5 to 8. A tabletop tree may need one statement bow or three to five tiny ones. Begin at the low end, place the bows, and add only where the tree has a genuine visual gap.
To estimate your purchase, multiply your planned number of bows by the ribbon length for one bow, then add the waste allowance. Ten medium bows at 36 inches each uses 360 inches, or 10 yards, before the extra margin. That simple calculation is more reliable than buying “one roll” because rolls vary widely in length.
If you want to use the same ribbon on gifts or a wreath, buy that yardage separately. Taking ribbon from the bow budget halfway through decorating is how a tree ends up with short tails and mismatched scraps.
Make a Soft, Full Bow in Five Minutes
Make all the bows at a table before you start climbing around the tree. It lets you compare their size, trim the tails consistently, and see whether the ribbon is going to behave. If you are styling a large tree, make one finished bow first and use it as a size reference.
- Cut a length of ribbon for the bow size you want, leaving the tails longer than you think you need.
- Find the center and pinch it firmly between your fingers. Make one loop on each side, keeping the loops roughly even.
- Cross the loops at the pinched center and bring the ribbon behind the center, as if you were tying a shoelace.
- Pull the loops outward, then loosen them slightly so the bow looks soft instead of tightly cinched. Velvet usually looks better with a little irregularity than with perfectly flat loops.
- Secure the center with florist wire, a small twist tie, or a short piece of matching ribbon. Trim the tails on a diagonal or into a shallow V, then run your fingers over the nap to restore the velvet’s direction.
Do not cut every tail before you have tested the bow on the tree. A tail that looks elegant on a tabletop can disappear among lower branches. Trim after placement, and angle the tails so they point into open space rather than straight down over an ornament.
Prepare the Tree Before Decorating
Decorating should be the last part of tree setup, not the thing that hides an avoidable care problem. Set the tree in its final position, stabilize the stand, check the lights, and shape the branches before you add a single bow. That sequence prevents you from moving a decorated tree, crushing loops, or discovering a dark section after the ribbon is already attached.
The right preparation depends on the tree you own. A fresh-cut evergreen has a water requirement and a limited indoor lifespan. An artificial tree has a shape problem: its branches need to be opened and arranged so the bows have something sturdy to sit on.
Real Tree: Hydration Comes Before Styling
For a real tree, make the care baseline non-negotiable. NC State Extension recommends a fresh cut across the trunk, a stand that holds at least a gallon of water, frequent water checks, and placement away from fireplaces, radiators, heating vents, wood stoves, and sunny windows. Garden Therapy’s practical real-tree checklist likewise emphasizes a fresh cut, prompt water, daily reservoir checks, and a location away from heat. Put the tree in water promptly after the cut, and do not let the reservoir run dry while you are decorating.
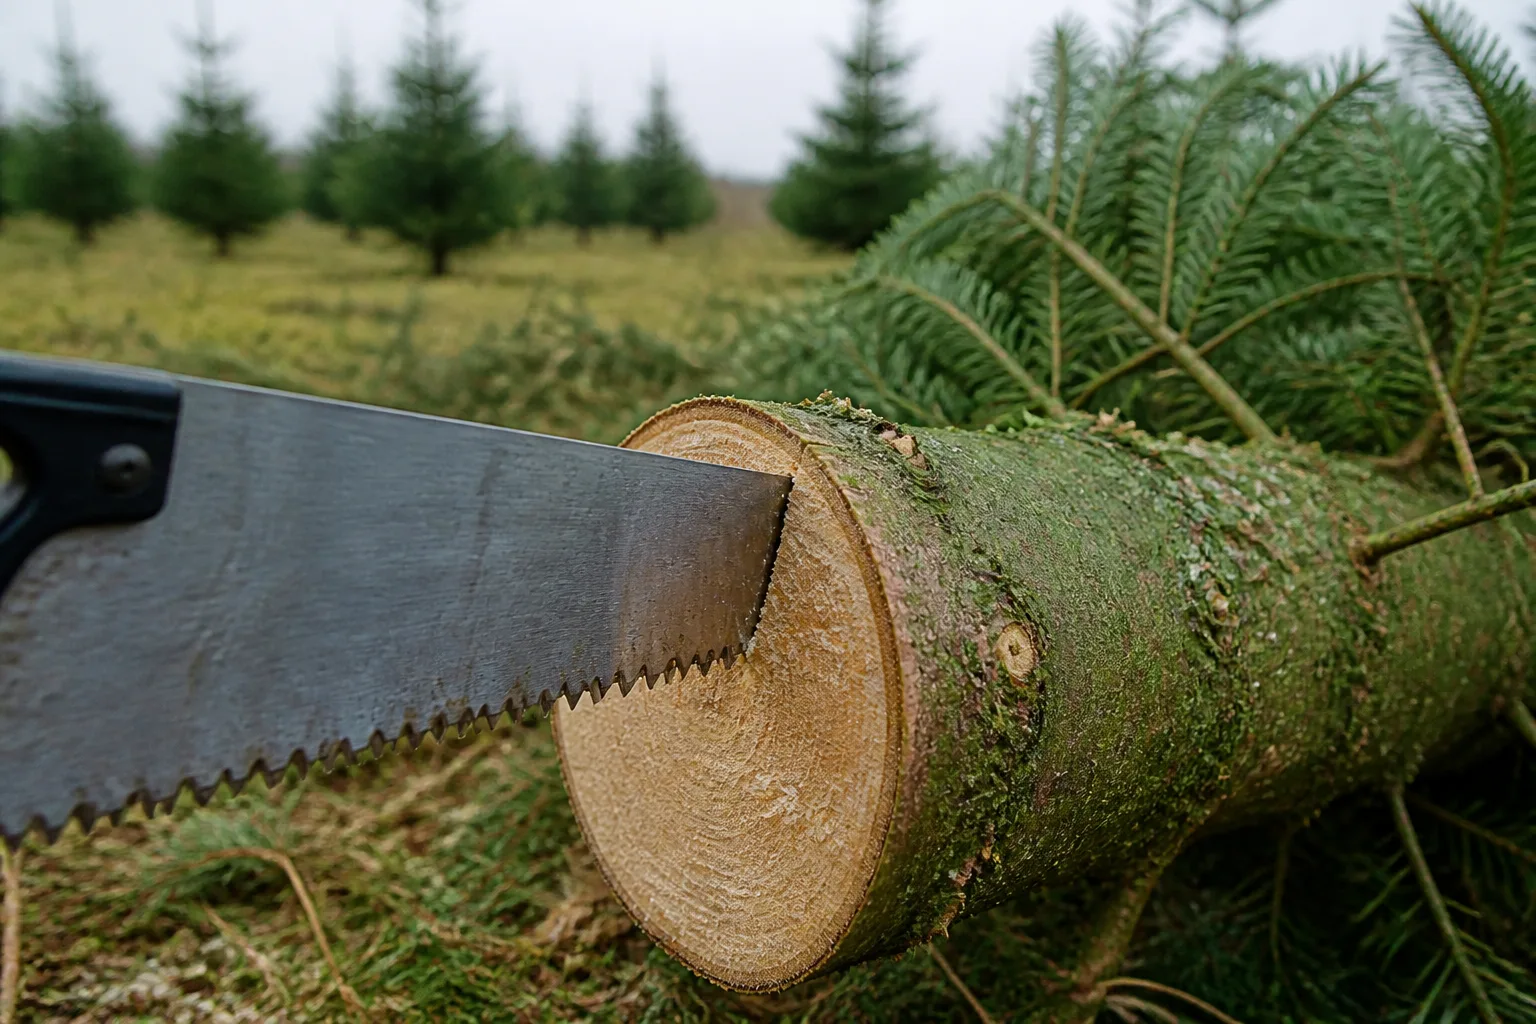
The reason to do this before bows is simple: you may need to adjust the stand or recut the trunk if the tree does not take up water. Once the tree is decorated, that repair becomes awkward and risks crushing the lower bows. NC State’s freshness guidance explains that a clean cut opens the wood for water uptake and that an excessively dry tree may become a fire hazard.
Use plain fresh water unless a qualified source for your specific tree says otherwise. NC State’s consumer care page points readers to research on preservatives and notes that plain water is the appropriate baseline. A bow can make a dry tree look cheerful for a photograph, but it cannot restore needle moisture or make a thirsty tree safer.
Once the stand is stable, keep the lowest bows clear of the water bowl and any damp floor covering. A tree skirt can hide the stand without touching the ribbon. If you need to mist or wash a tree outdoors for dust, do it before bringing the tree inside and let the branches dry.
Artificial Tree: Fluff, Shape, and Test the Lights
Artificial branches are often compressed for storage, so open and shape them before judging the number of bows. Work from the trunk outward, lifting branch tips and filling obvious holes. The goal is not mathematical symmetry; it is enough depth that a bow can sit partly inside the tree rather than hanging like a decoration on a flat wall.
If your tree is dusty, clean it before adding velvet. Fine dust settles into the pile and makes dark ribbon look dull. You can use the existing faux-tree fluffing guide for a fuller branch-by-branch setup, then make sure every light section works before ribbon covers the wiring.
Fluffing also reveals the tree’s natural visual lanes. Those lanes are useful for placement: a few bows can sit on the front edge, while others can be tucked just inside to create depth. Do not force a heavy bow onto a hinged tip that springs back. Move it closer to the thicker part of the branch instead.
Attach Bows So They Stay Put
A bow is secure when the attachment point holds the bow’s weight and the branch still moves naturally. For most medium bows, a short green florist wire or a matching twist tie works better than relying on a loose knot around a needle-covered tip. Savvy Gardening describes using florist wire or twine to secure lightweight holiday greenery and accessories, with the fastener hidden once the materials are in place.
Thread the wire through the back of the bow, not through the visible loops. Place the bow at a branch junction or around a sturdy secondary branch, twist the wire behind the branch, and tuck the ends into the foliage. Give the bow a gentle downward tug. If the branch bends dramatically, move the attachment closer to the trunk or use a smaller bow.
On an artificial tree, a built-in branch hook can hold a very small bow, but do not depend on the sharp end of a branch to catch fabric. On a real tree, avoid crushing the needles with repeated wire adjustments. If you need to remove a bow, untwist the fastener rather than pulling the bow straight out through the foliage.
For a topper, use two attachment points if the bow is large. One point lets the bow rotate; two points keep the loops facing the room. Place the fasteners before the final shaping, then fan the loops and tails until the bow reads from the main viewing angle.
Place Bows for Balance, Not Perfect Symmetry
Perfect symmetry makes a tree look manufactured, but random placement makes the ribbon look accidental. Use a loose rhythm instead: repeat the ribbon color at different heights, vary the angle of the tails, and leave enough space for ornaments to remain visible.
Start by deciding where the tree is mostly seen. If it faces a sofa, prioritize the front and the two sides that frame the room. If it sits in a window or entryway, rotate the tree while you work and distribute the bows around more of the circumference. The “front” is a decorating decision, not a rule built into the tree.
A Top-to-Bottom Placement Method
Place the largest bow first. It can sit at the top as a topper, slightly below the tip as a focal point, or in the upper third when you want a star or angel to remain dominant. Then add medium bows at the middle and lower thirds, never directly in a vertical line.
Next, walk backward from the tree and look for three things: an empty wedge, a heavy cluster of ornaments, and a bow that is pulling the eye too strongly. Move the bow before adding another. A useful pattern is a soft triangle—one high bow, two lower bows at different sides—then smaller echoes around it.
Place a few bows deeper in the branches and a few on the outer silhouette. The deeper bows create volume; the outer bows make the ribbon visible in photographs. Keep the deepest bows away from light sockets and cords so the ribbon does not trap heat or obscure a damaged connection.
Finally, turn the tree a quarter turn and check the pattern again. This catches the common mistake of decorating only the view from eye level. The best arrangement has a deliberate front while still looking finished when someone walks around it.
Build a Palette and Style That Does Not Feel Overdone
Use one ribbon as the anchor and let the rest of the tree answer it. Burgundy velvet with warm white lights and brass ornaments feels traditional without becoming theme-park red. Cream or taupe velvet calms a tree with many sentimental ornaments. Forest green ribbon can nearly disappear in daylight and then show up in the light, which suits a quiet, minimalist display.
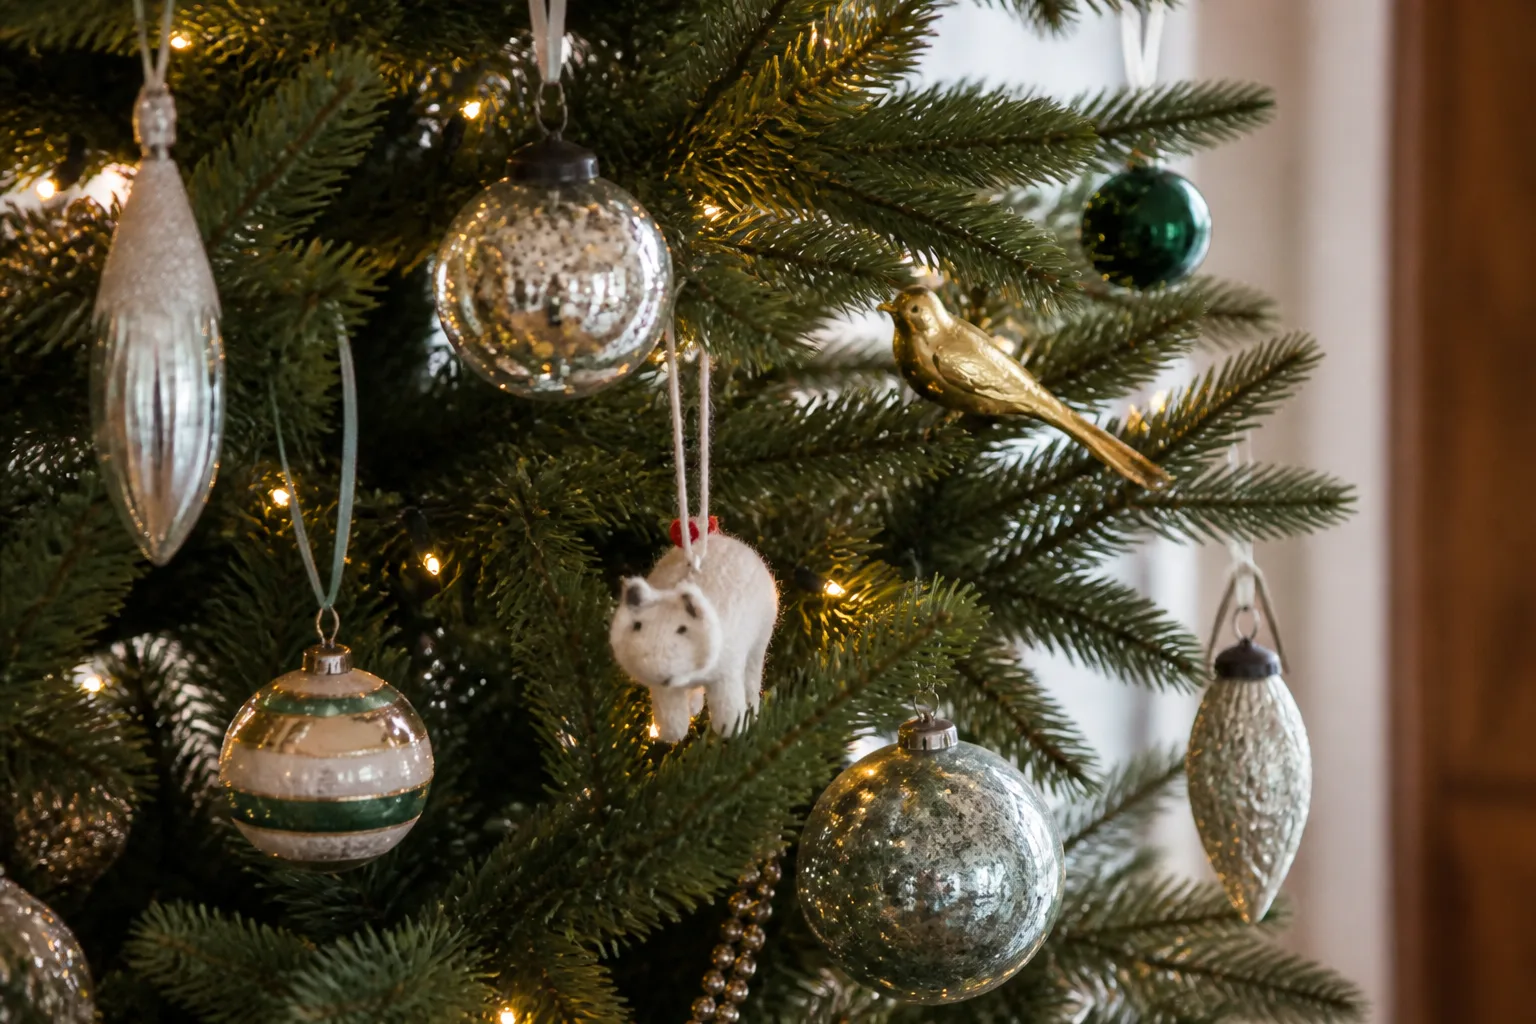
A simple palette formula is one ribbon color, one metal, and one natural or sentimental texture. For example: oxblood velvet, antique brass, and wood. Or: dusty rose velvet, silver, and clear glass. This gives the eye repetition without requiring every ornament to match.
If the tree already has a busy garland, reduce the bow count and use smaller loops. If it is mostly lights, let the bows do more work and choose a richer texture. A bow topper can be enough on a small tree; a large full tree may need repeated bows because one accent will disappear into the foliage.
For a farmhouse or cottage look, combine soft red velvet with woven ornaments, dried citrus, or pinecones. For a more formal tree, keep the tails crisp, use satin or wired velvet, and repeat a single metallic finish. For a modern tree, use fewer oversized bows with long vertical tails instead of filling every branch.
Natural accents can work, but choose them with the same restraint as ribbon. Savvy Gardening’s holiday-material guidance pairs evergreen textures with ribbon, pinecones, dried flowers, and other lightweight accessories; the lesson for a tree is to vary texture while keeping weight modest. A heavy cluster hanging from one tip will distort the branch and make even a good bow look lopsided.
Fix the Five Bow Mistakes That Flatten a Tree
The loops collapse. The ribbon is too soft for its size, the center is not secured tightly enough, or the bow is hanging from a weak tip. Use a wired edge, reduce the loop size, add a hidden support tie, or move the bow closer to the trunk.
The bows slide sideways. Smooth satin and polished artificial needles are a difficult combination. Attach the bow at a branch junction, use a small twist tie or florist wire, and keep the visible knot at the back. Do not solve sliding by making the knot visible on the front.
The tree looks like a uniform polka-dot pattern. Identical bows at identical intervals create visual gridlock. Vary height and orientation, skip some branches, and add a few smaller or deeper bows only after the main anchors are in place.
The tails vanish. Tails that are too short, too narrow, or pointed into dense foliage will not read from across the room. Cut a little longer, angle one tail into open space, and trim after the bow is attached. Two tails do not have to be the same length to look intentional.
The ribbon competes with everything else. Too many colors, finishes, or garlands can make the tree feel busy. Remove a few bows before buying another ornament set. A tree often improves when you keep the strongest ribbon placements and let the ornaments reclaim the spaces between them.
Keep Bows Safe Around Lights, Heat, Pets, and Kids
Ribbon is decorative fabric, not a safety feature. Keep bows away from candles, fireplaces, radiators, heating vents, and other hot surfaces. On a real tree, dryness is the bigger concern: the NC State Extension guidance on freshness and fire safety emphasizes maintaining water, avoiding heat, using lights in good working condition, and unplugging lights before sleep or leaving home.
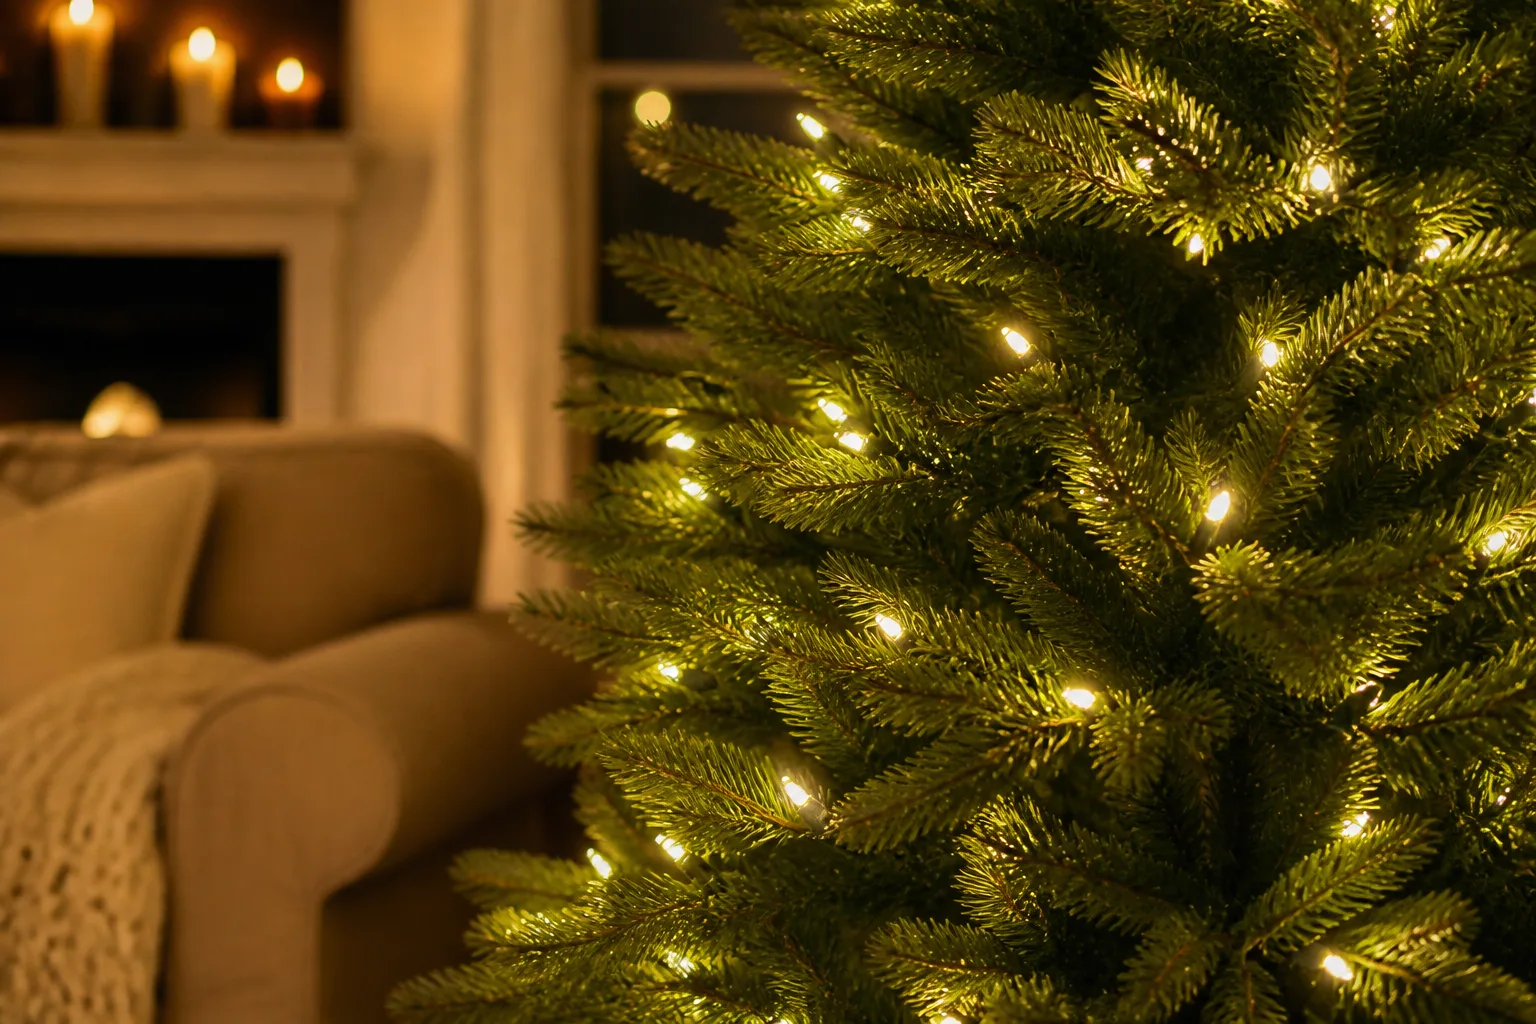
Use light strings that are in good condition and follow the connection limit printed by the manufacturer. Check that a bow is not pressing against a bulb, pinching a cord, or hiding a cracked socket. The safest placement is usually close to a sturdy branch but with enough clearance that the ribbon sits beside the lights rather than wrapped tightly over them.
Homes with cats, dogs, toddlers, or climbing children need a lower-branch plan. Use larger, securely fastened bows instead of loose ribbon ends and place fragile ornaments higher. Inspect every wire after attachment and tuck the ends fully into the tree. If a pet repeatedly pulls at the ribbon, remove the low bows; a pretty placement is not worth a swallowed fastener or a toppled tree.
The same common-sense rule applies to live trees and artificial ones: turn lights off when you go to bed or leave the house. Bows do not make unattended lighting safer. They simply make it more important to keep cords, bulbs, and attachment points visible enough to inspect.
Store Velvet Bows So They Look Good Next Year
Take the bows off before you disassemble the tree. Pulling them through compressed branches is how loops stretch, velvet catches, and hidden wire gets lost in the foliage. Untwist each fastener, reshape the loops with your fingers, and remove dust with a soft brush or a gentle shake outdoors.
Let any bow that feels damp or dusty air out completely before storage. Fold the tails loosely, place tissue or soft paper inside large loops if they crush easily, and store the bows in a cool, dry, dark container where heavier decorations cannot sit on top. A breathable fabric bag or a roomy lidded box is better than forcing velvet into a small plastic pouch.
Group the bows by size and color and keep a note of how many you used on each tree. That small inventory turns next year’s decorating into a ten-minute setup instead of a search through tangled ribbon. If a bow is permanently crushed, stained, or frayed, retire it before the next season rather than building the whole palette around a damaged piece.
Conclusion
Christmas tree bows work because they do more than decorate individual branches: they add softness, connect scattered ornaments, and give the eye a path through the tree. Velvet is especially effective when you want a cozy, collected look, but the real key is scale, spacing, and secure attachment, not the trend label on the ribbon.
Start with a few bows, a simple palette, and a tree that has already been fluffed, stabilized, watered, and checked for safe lighting. Place the largest accent first, repeat the ribbon at uneven heights, and stop when the bows support the tree instead of becoming the whole tree. Done that way, the look will feel personal this season and still usable when the next decorating trend arrives.



